


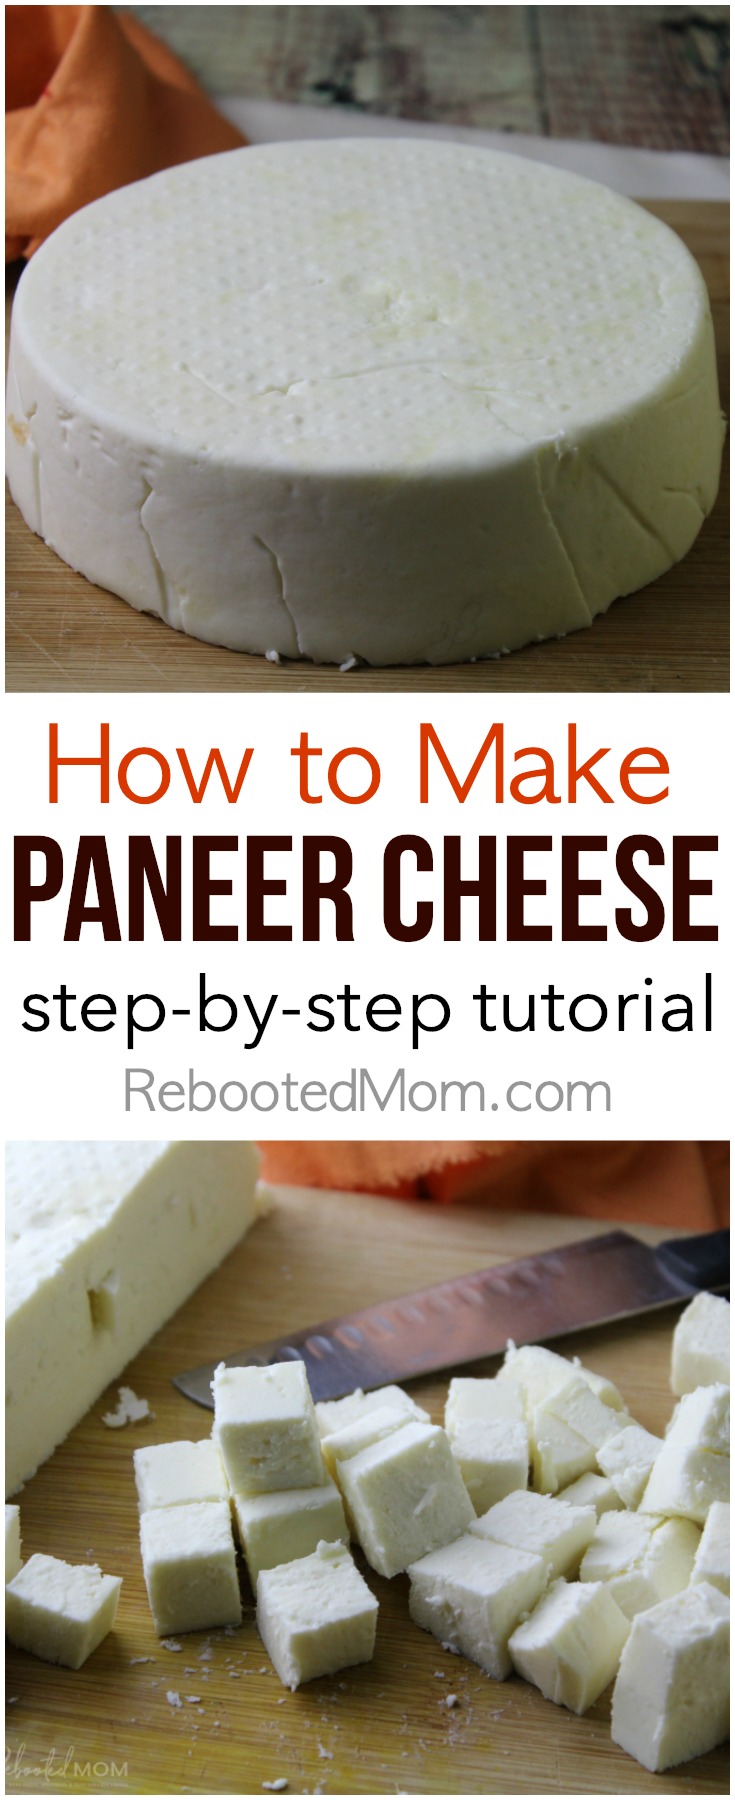
Learn how to make paneer cheese at home with these simple step by step directions that will allow you to make this deliciously soft, cubed cheese.
Paneer cheese is one of the easiest cheeses to make at home. With just a gallon of milk, lemon juice or vinegar, some cheesecloth and a stockpot, you can easily make it at home. When I say easy, I truly mean that paneer is SIMPLE. You can sometimes find it in the store, but there is something so gratifying about being able to make it yourself at home.
A type of fresh cheese, paneer can be made and eaten right away. There is no aging or culturing required. All you need to make paneer is milk, lemon juice or vinegar, and a bit of salt.
When you mix in the lemon juice or vinegar, the acidity will cause the milk to separate into curds and whey. Remove the whey (keep it – because it’s valuable for many other things), and press the curd. Voila – you have basic paneer cheese.
How to Use Paneer
Paneer is great when used in soups or curry because it doesn’t melt or get gooey like other cheeses will. You can even crumble it on flatbread, salads, or even use on kebabs on the grill. It will continue to keep its texture through it all.
When eaten on its own, paneer is a very mild cheese. It is delicious when thrown into spicy curry dishes because it compliments spicy flavors. Paneer has many similarities to Mexican queso fresco and ricotta and can be used in place of those cheese varieties in many recipes.
A Few Tips for Making Paneer at Home
Paneer is simple to make at home with a gallon of whole milk. I’ve always had success using raw whole milk. I would not recommend skim or low-fat milk simply because there isn’t enough fat in the milk to separate the milk into curds and whey.
Additionally, you’ll want to stay clear of ultra high temp (UHT) pasteurized milk. That pasteurization process changes the structure of the milk, which in turn won’t allow it to separate. If you are in a state that permits the sale of raw milk, I find that is the best milk to ensure a successful paneer.
Once made and pressed, this cheese will last a few days in proper refrigeration. You can opt to make paneer with a half gallon or a full gallon – I always find it easier to make paneer with a full gallon.
That gives us ample paneer to use for curry dishes and snacking on the remainder directly from the fridge — it’s delicious.

How to Make Paneer Cheese
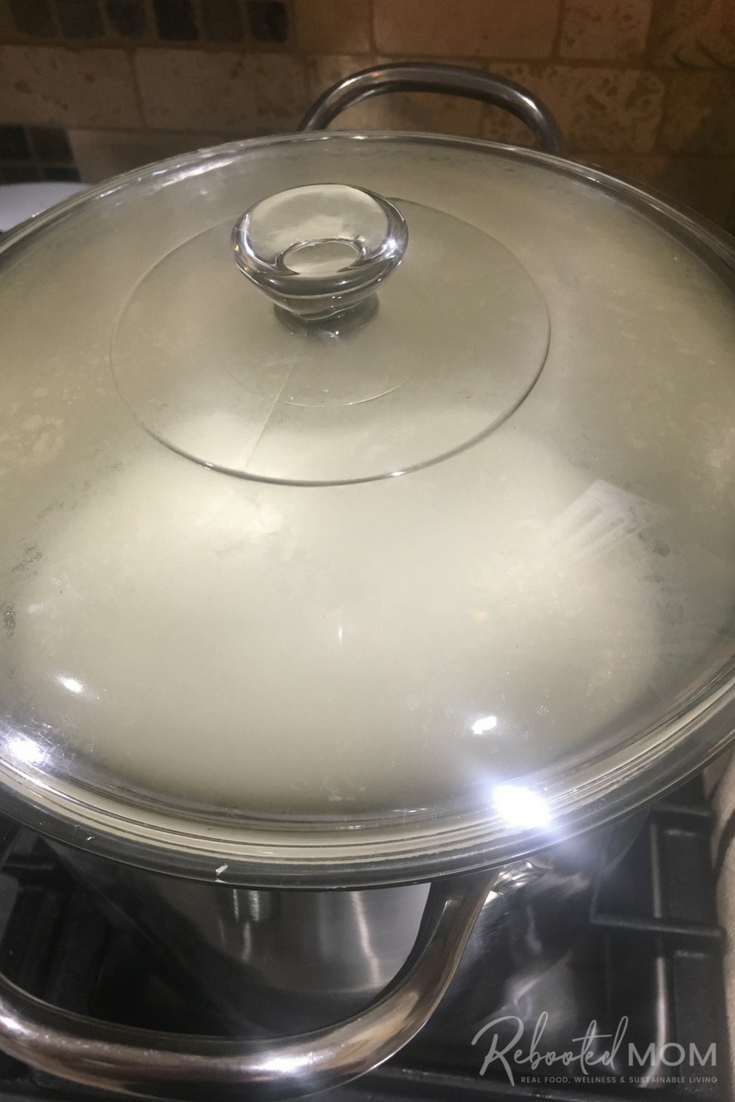
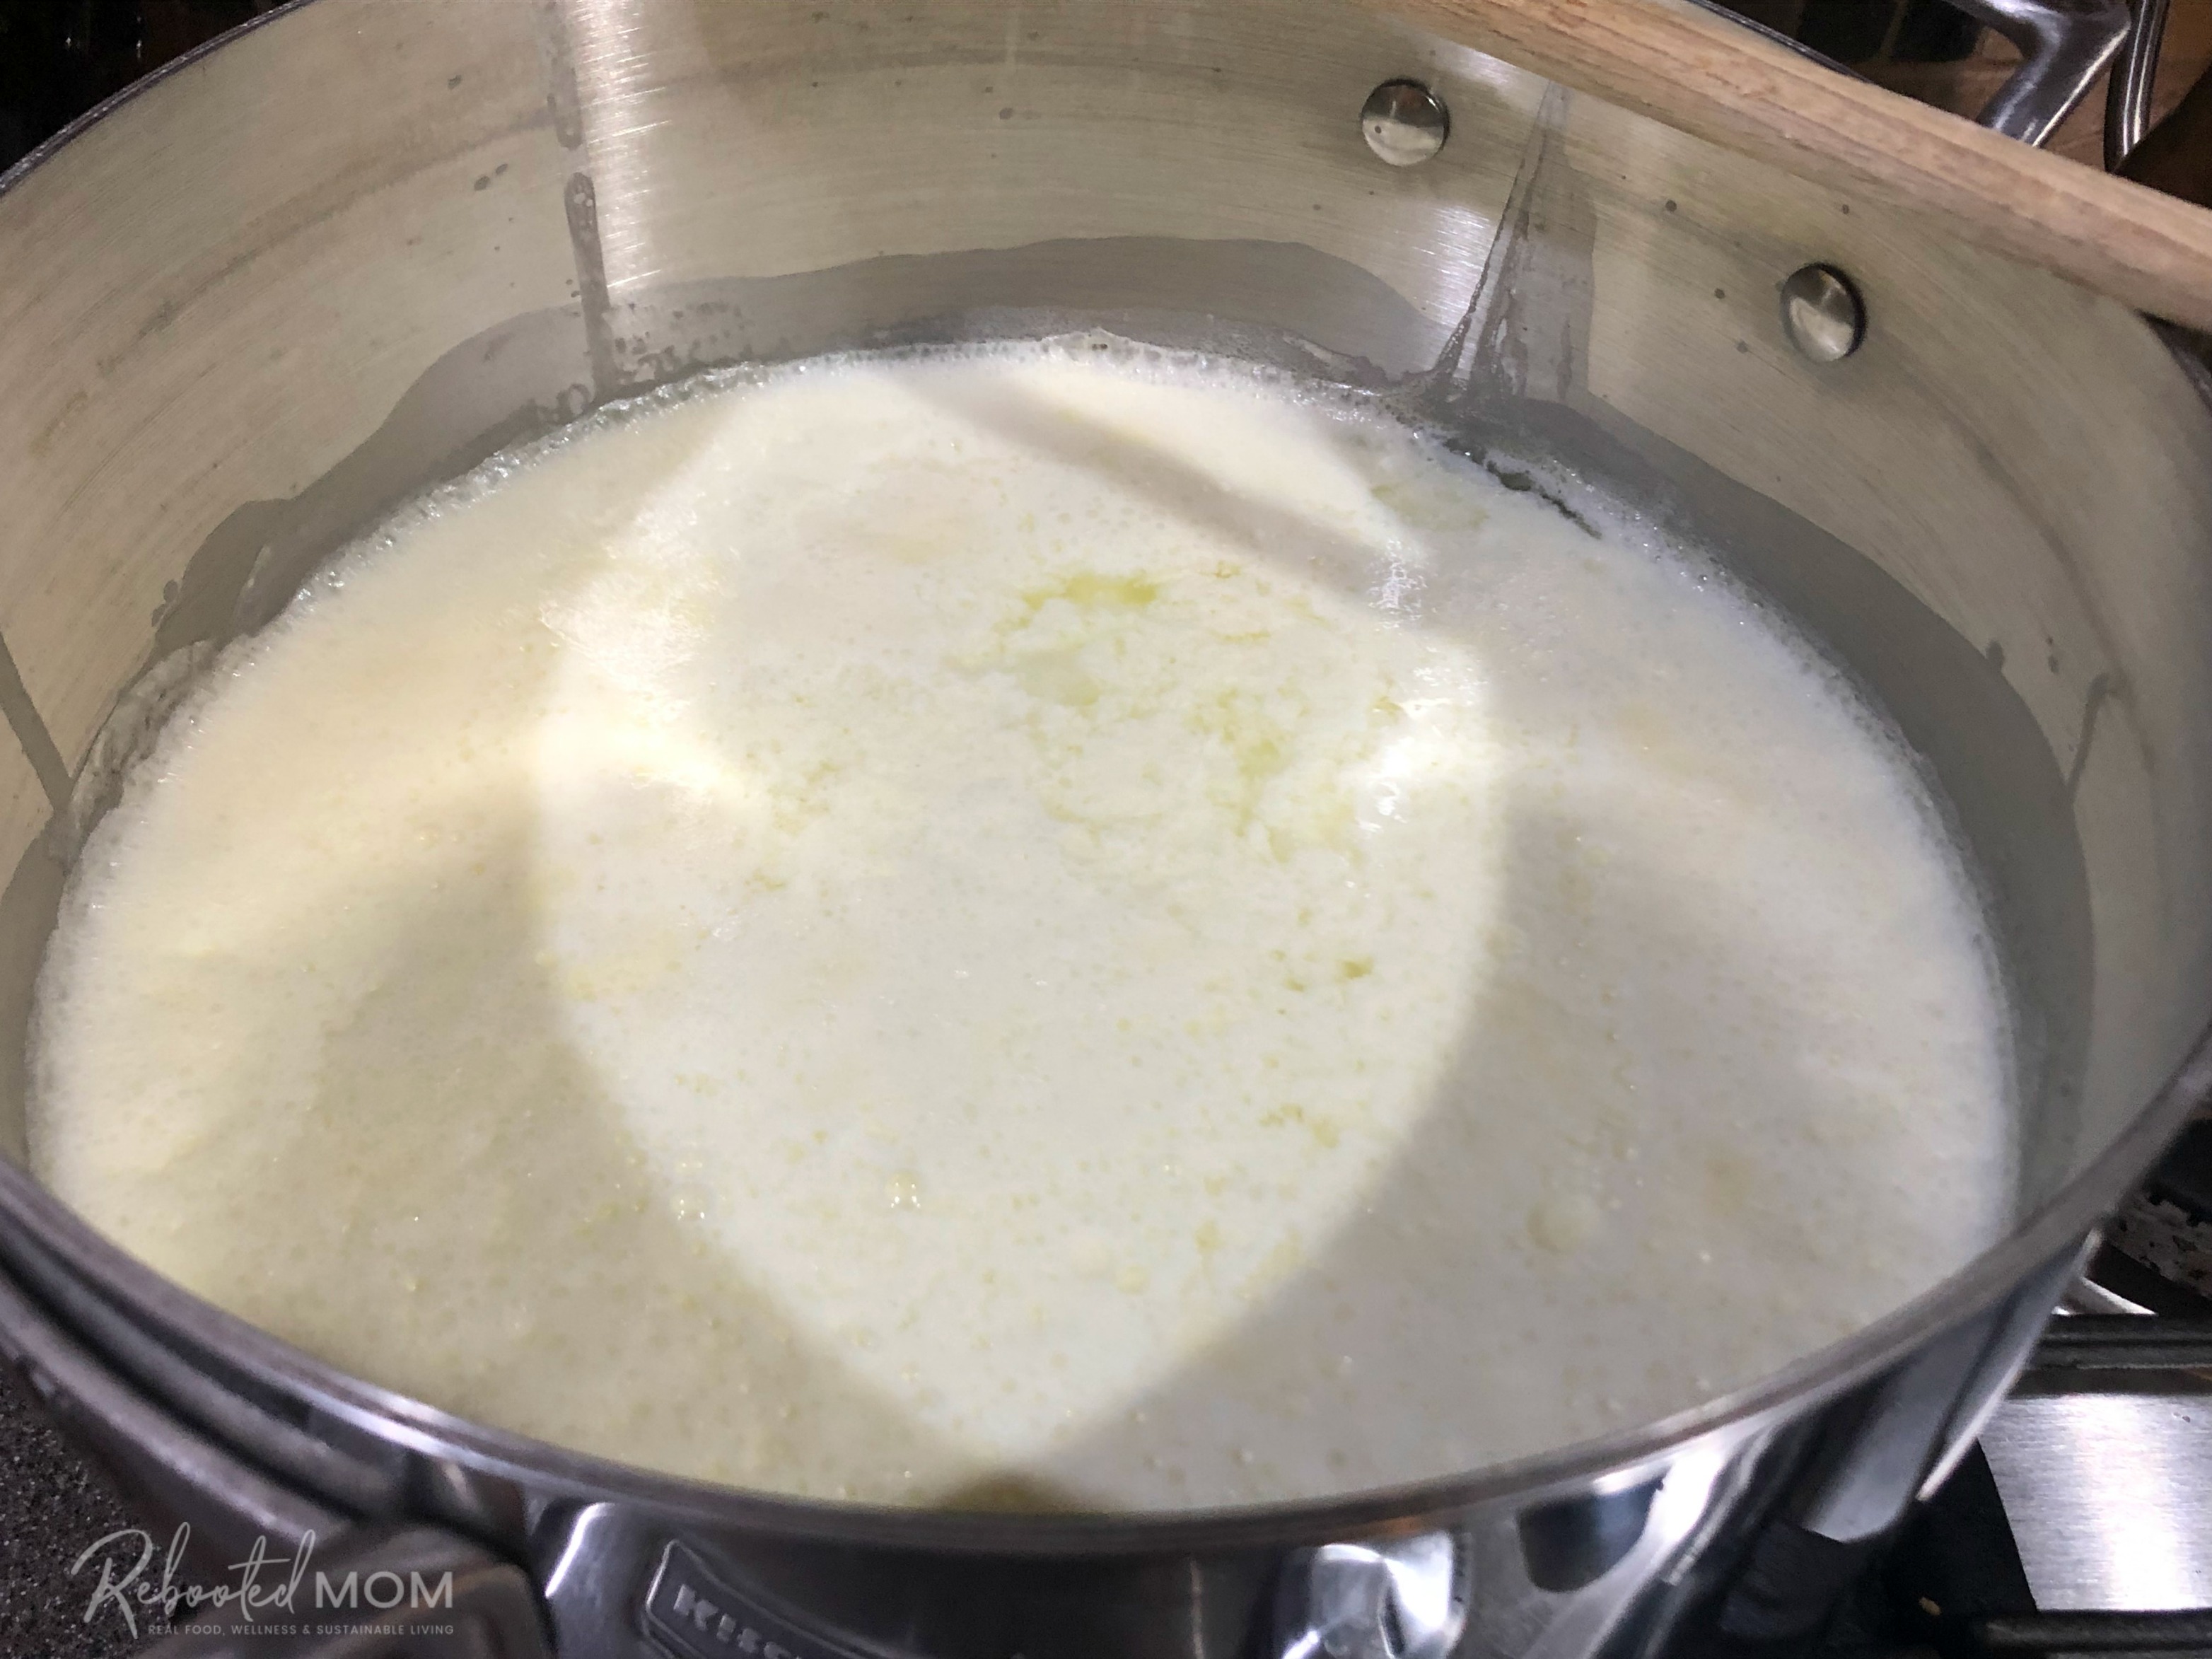
To make paneer, pour 1/2 to 1 gallon of milk into a heavy-bottom saucepan. Over medium heat, bring the milk to a low boil just around 200 degrees F.
It’s better to do this slowly rather than cranking the heat up and scorching the bottom of the pot. Stir the milk frequently making sure you scrape the bottom of the pot so the milk doesn’t burn. As it heats up, the milk will look foamy on top.
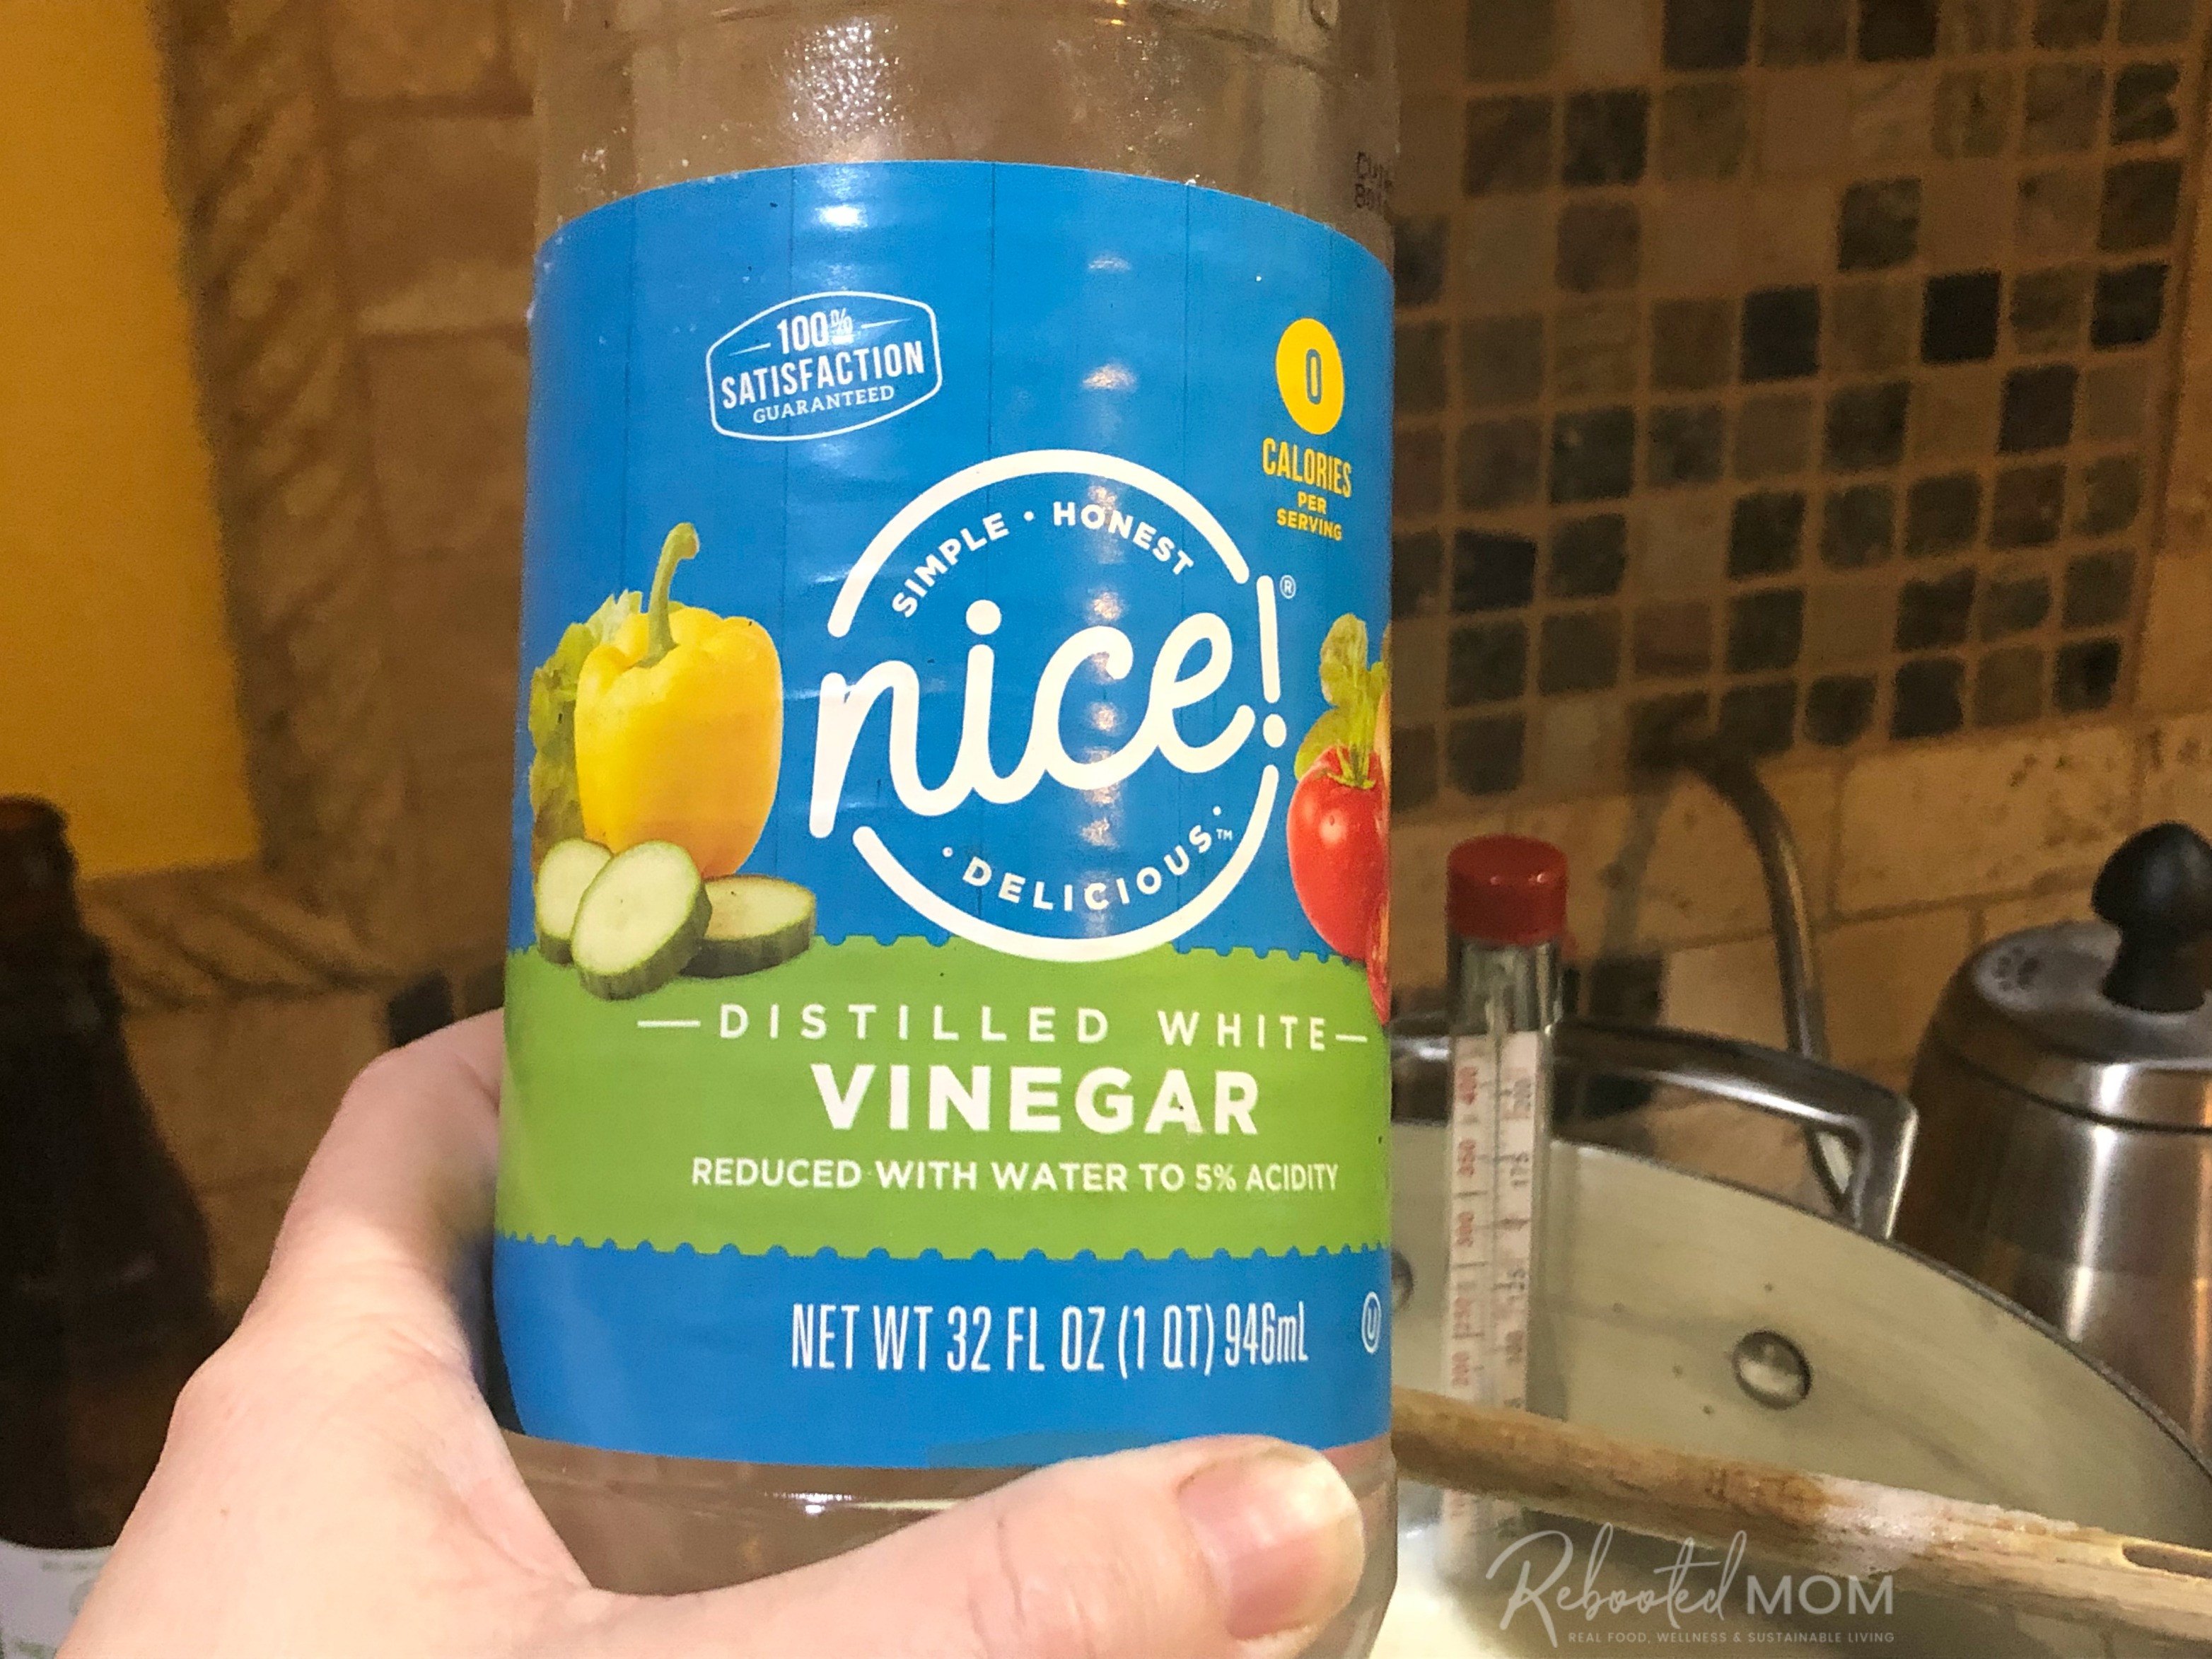
Remove the milk from the heat. Stir in the lemon juice:
- 1/2 C lemon juice or vinegar — 1 gallon of milk
- 1/4 C. lemon juice or vinegar — 1/2 gallon of milk
Once you stir in the acid medium, the milk may start to curdle over time. Cover the milk and allow it to rest for 10 minutes That time will allow the acid medium the opportunity to separate the curds from the whey.
After that ten minutes has passed, uncover the pot and prepare to strain. Set a strainer or colander over a mixing bowl and line it with cheesecloth (or any of these cheesecloth alternatives).
Carefully scoop the curds from the pot into the strainer (lined with cheesecloth). Let the whey drip into the bowl beneath.
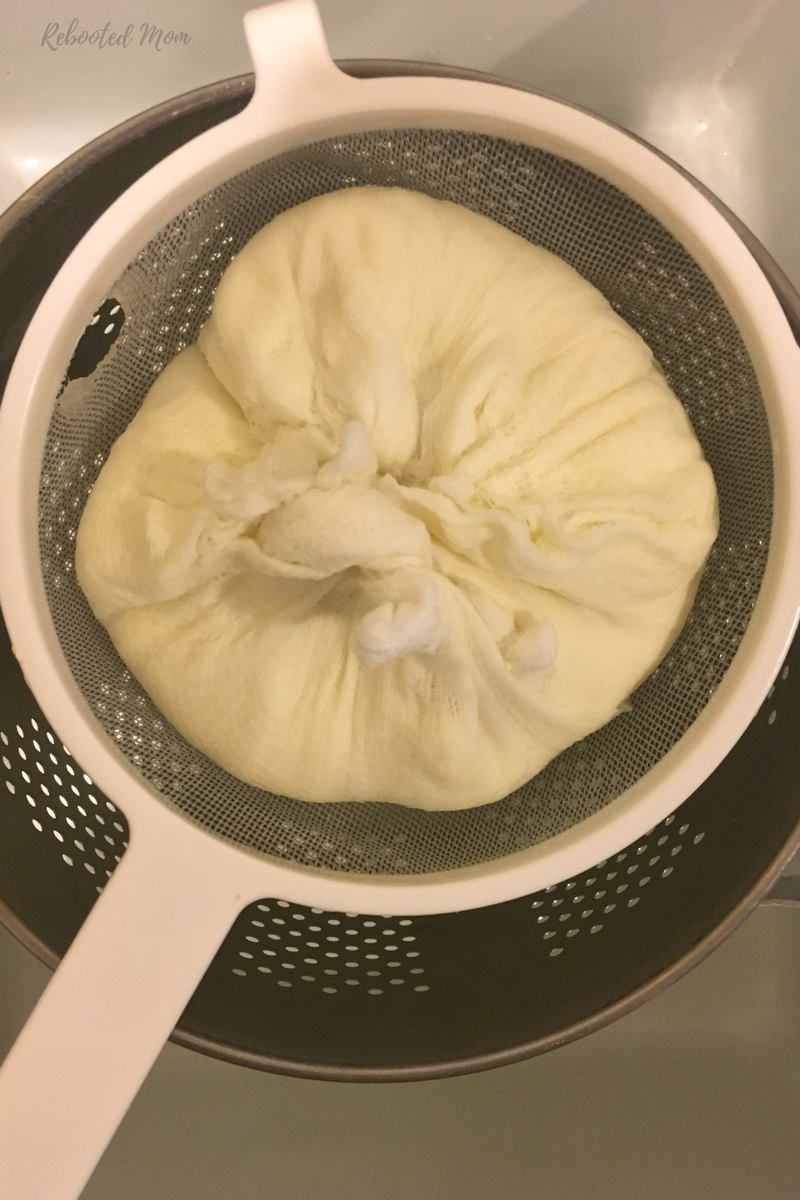
Once most of the whey has strained, sprinkle 1/2 tsp (or more to taste) of salt within the cheesecloth and give it a gentle stir. Gather the cheesecloth and squeeze to remove the extra whey that might be left. Keep that whey – it makes the most delicious caramel sauce!
Press your Cheese
Now, it’s time to press your cheese. A cheese press is not required to make paneer. I have done paneer with and without a press and both work equally well..
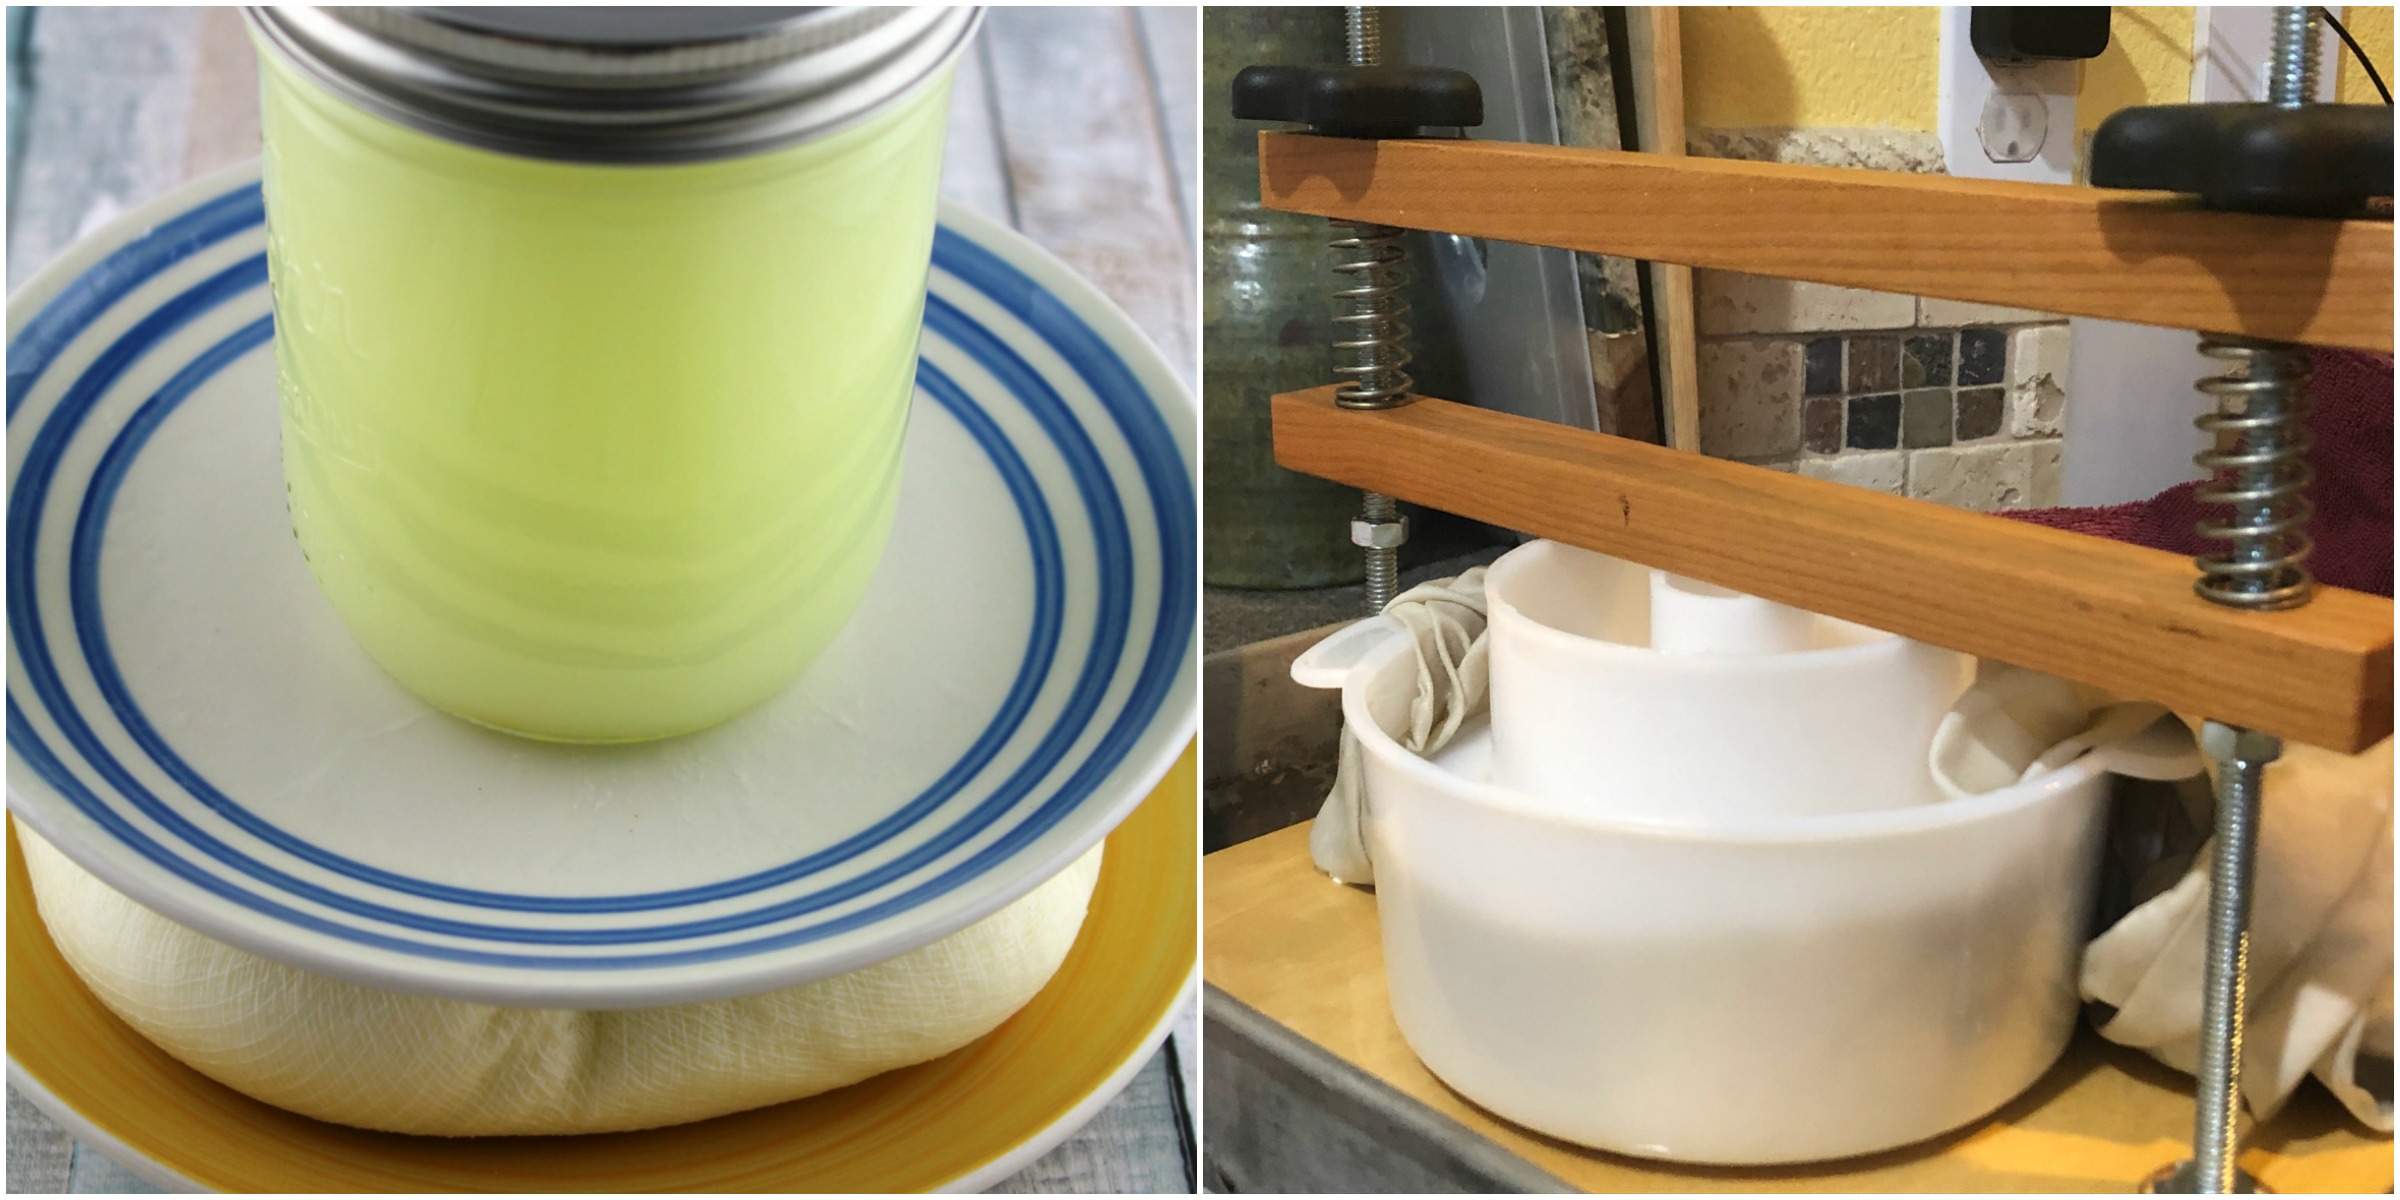
Without a cheese press: transfer the curds in the cheesecloth to a large plate. Shape the curds into a round, and set a second plate on top of the cheesecloth. Weigh it down with a jar (ours was filled with whey) or a few heavy cans for at least 15 minutes or up-to one hour.
With a cheese press: Line your cheese mold with cheesecloth. Gently transfer the curds from your colander/cheesecloth with your (clean) hands into the mold. Cover with cheesecloth. Set the follower on top. Arrange the press to allow the bar to drop down and the springs secure and press at 10 lbs for 15 minutes or up-to one hour.
(I picked up my cheese press on Etsy and have used it to make everything from Farmhouse Cheddar to Gouda and even Monterey Jack. It works beautifully.) If you don’t have a cheese press, you can use tomato cans to weigh a dinner plate atop your cheese.
Or, simply fill an empty milk jug with water and use as a press. It doesn’t have to be fancy! You might even have some hand weights at home that’ll work wonderful, too.
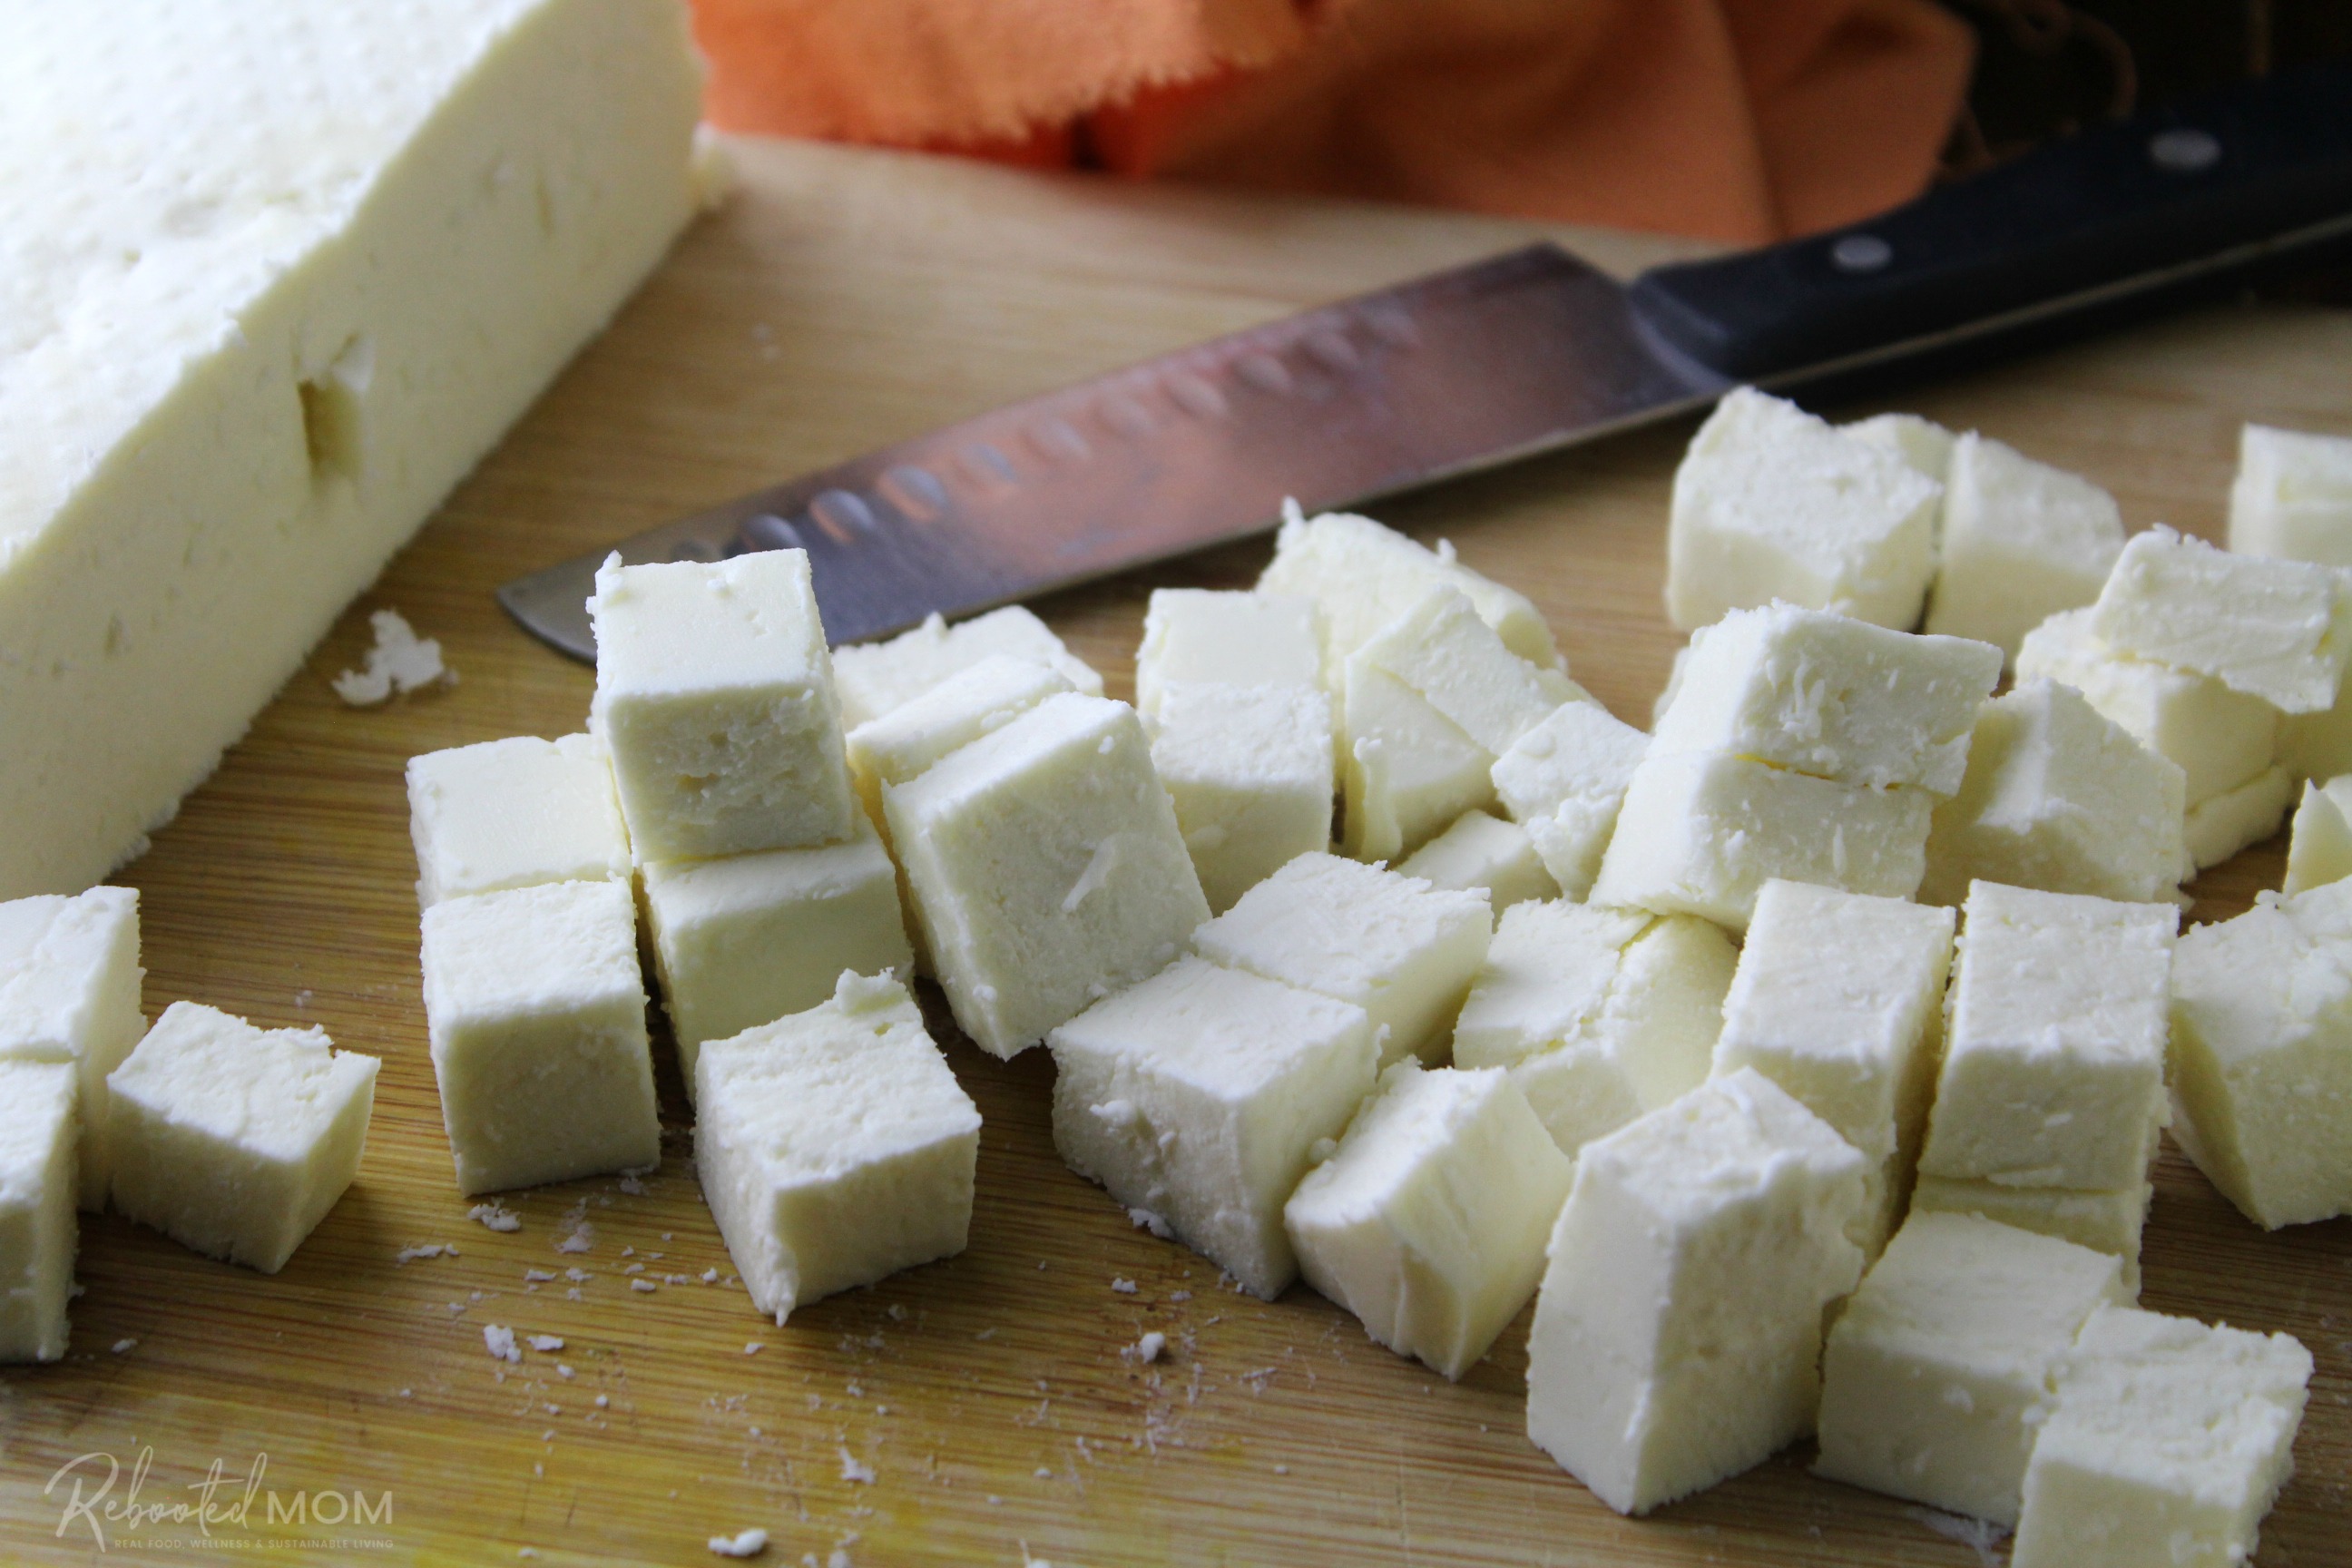
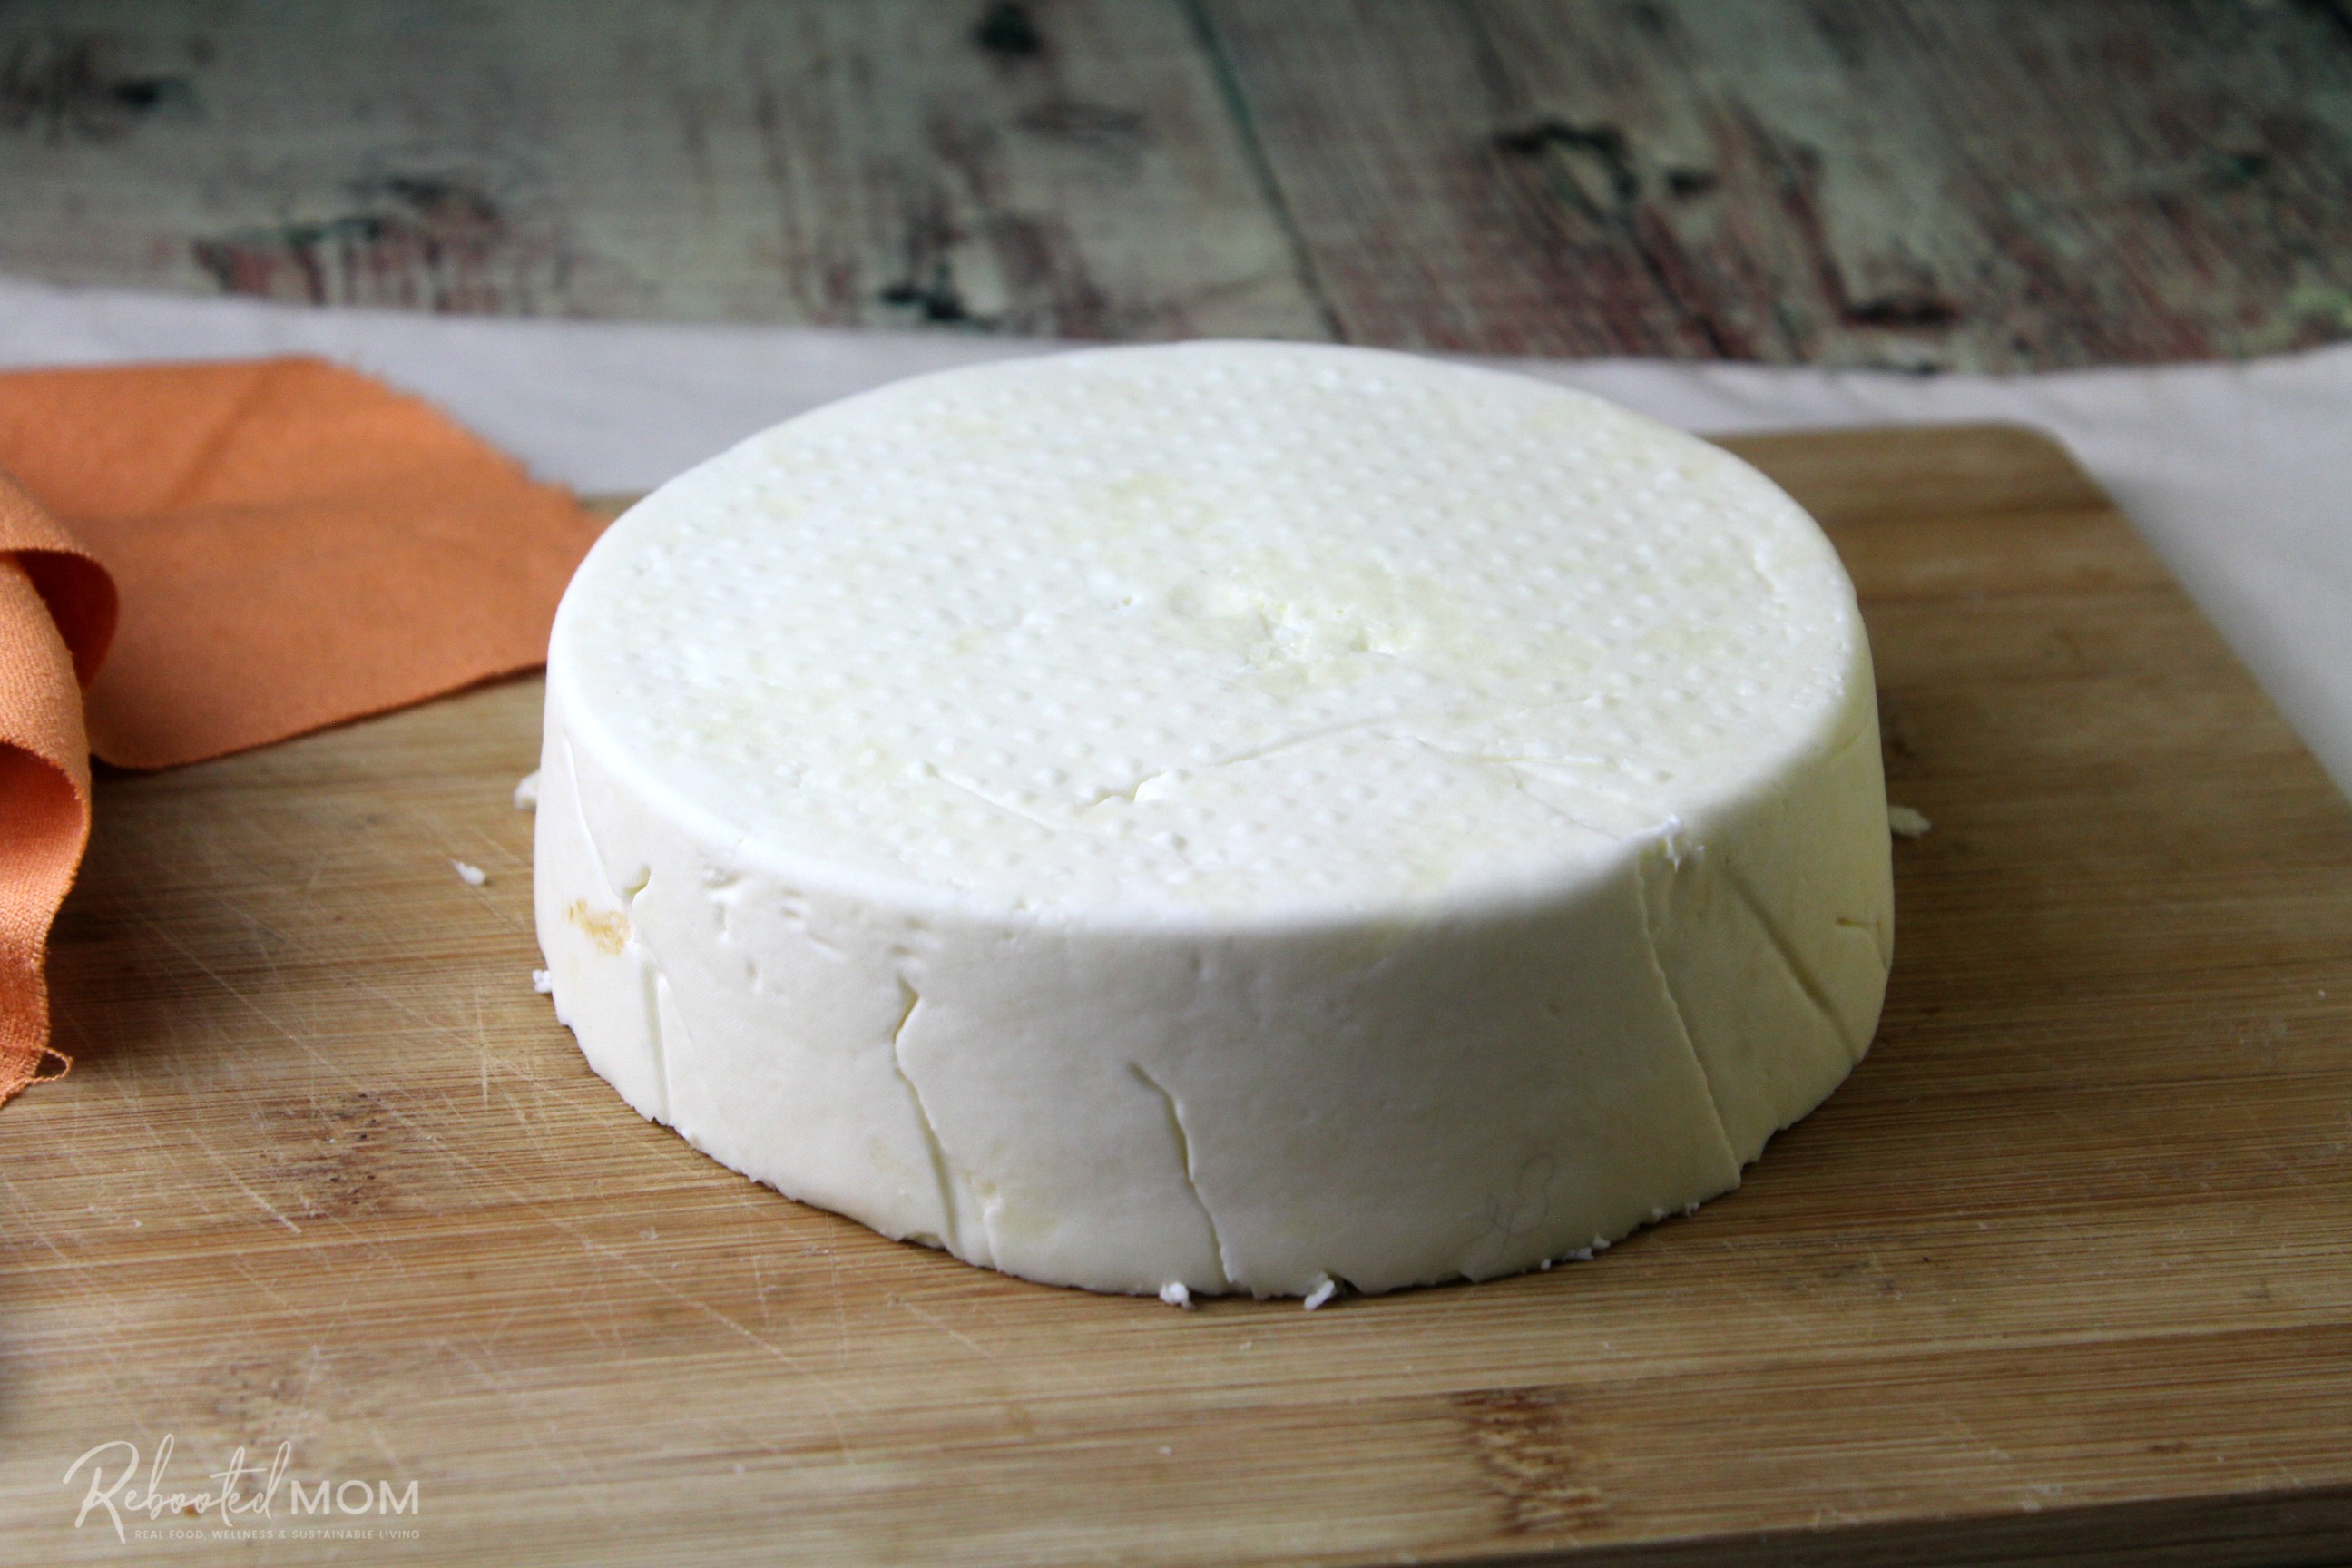
Once pressed, your paneer is ready to use. Use it immediately in your favorite recipe or refrigerate for up to 72 hours.
How to make paneer cheese at home. Step by step directions to make this delicious cheese for curry and more.
Ingredients
- 1 gallon milk (raw milk, or not UHT pasteurized)
- 1/2 C. lemon juice or vinegar
- 1/2 tsp salt (or more to taste)
- cheesecloth
- dinner plates (2) and weights (cans of food, or gallon of milk/water)
- non-reactive stainless steel pot for up to a gallon of milk
- strainer/colander
- slotted spoon
- optional: cheese press
Instructions
- pour 1/2 to 1 gallon of milk into a heavy-bottom saucepan. Over medium heat, slowly bring the milk to a low boil just around 200 degrees F. Stir the milk frequently making sure you scrape the bottom of the pot so the milk doesn't burn. As it heats up, the milk will look foamy.
- Remove the milk from the heat. Stir in the lemon juice or vinegar.
- Once you stir in the acid medium, the milk may start to curdle over time. Cover the milk and allow it to rest for 10 minutes That time will allow the acid medium the opportunity to separate the curds from the whey.
- After that ten minutes has passed, uncover the pot and prepare to strain. Set a strainer or colander over a mixing bowl and line it with cheesecloth (or any of these cheesecloth alternatives).
- Carefully scoop the curds from the pot into the strainer (lined with cheesecloth). Let the whey drip into the bowl beneath.
- Once most of the whey has strained, sprinkle 1/2 tsp of salt within the cheesecloth and give it a gentle stir. Gather the cheesecloth and squeeze to remove the extra whey that might be left.
- Now, it's time to press your cheese.
- Without a cheese press: transfer the curds in the cheesecloth to a large plate. Shape them into a round, and set a second plate on top of the cheesecloth. Weigh it down with a jar (ours was filled with whey) or a few heavy cans for at least 15 minutes or up to one hour.
- With a cheese press: Line your cheese mold with cheesecloth. Gently transfer the curds from your colander/cheesecloth with your (clean) hands into the mold. Cover with cheesecloth. Set the follower on top. Arrange the press to allow the bar to drop down and the springs secure and press at 10 lbs for one hour.
- Unwrap the cheesecloth from the cheese. Your cheese is now ready to eat. Once pressed, your paneer is ready to use. Use it immediately in your favorite recipe or refrigerate for up to 72 hours.

If you love making cheese, you’ll want to try any of these easy cheeses at home:

Does this paneer well?
It did for me.