


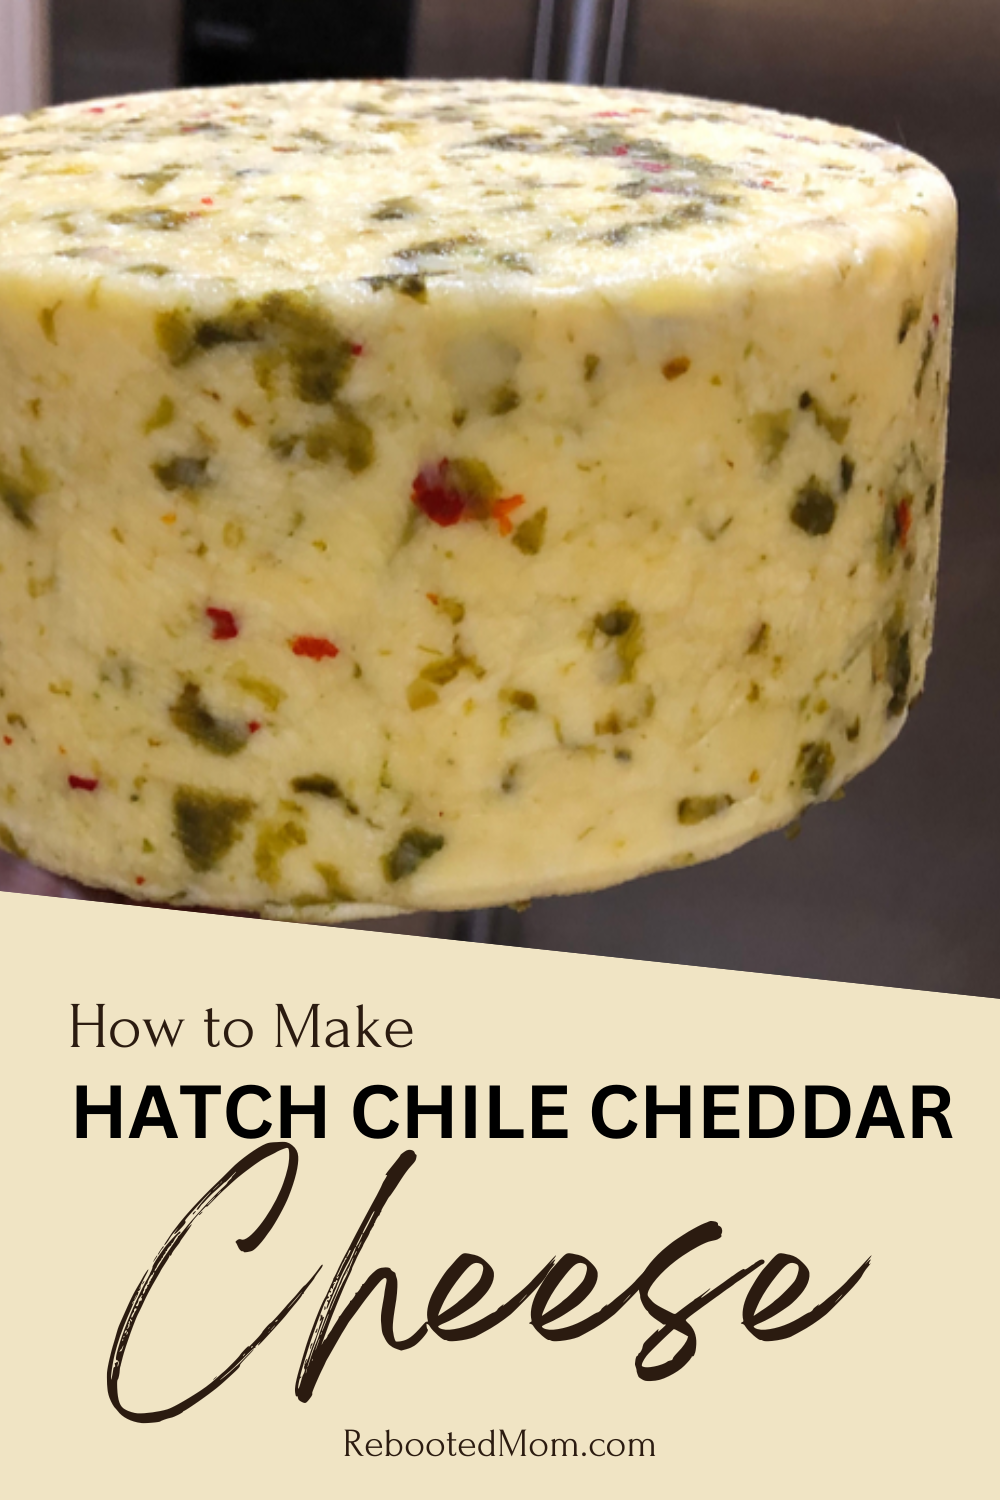
Learn how to make your own Hatch Chile Cheddar Cheese with roasted Hatch chiles using this thorough step by step tutorial!
It has been Hatch chile season the last few weeks here in the desert Southwest. Everywhere you turn there are Hatch chiles – the smell is out of this world and I just can’t seem to get enough of them.
So good!
After roasting the last few chiles and chopping them up really small, I was wondering what they’d taste like tucked up in some cheddar cheese. A few years ago, I started making cheese… first, it was soft cheeses like paneer and queso fresco.
Then I moved onto cream cheese, Monterey Jack and Halloumi Cheese.
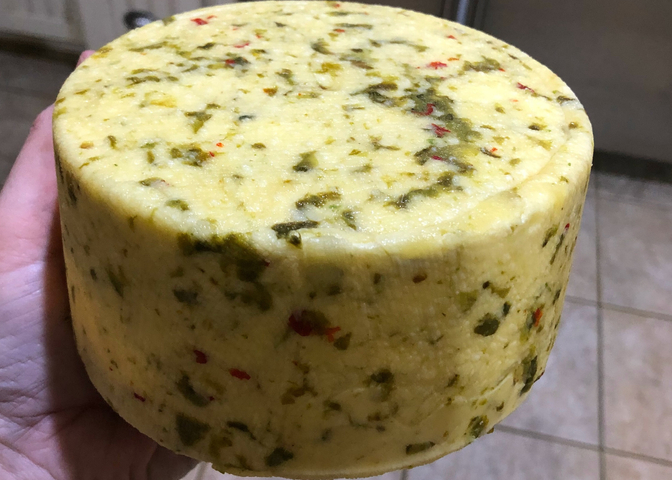
Making your own cheese is not only delicious but completely rewarding in so many ways. Of all the cheese varieties I’ve made, I think this Hatch chile cheddar has to be my favorite yet!
What is Cheddar Cheese?
Cheddar cheese is an off-white or orange colored hard cheese that originates in Somerset, an English village of Cheddar. This particular cheese is such an important part of cheesemaking — it accounts for over half of all British cheese sales at a whopping 52%.
Cheddar is a cows milk cheese that ranges in taste from mild to sharp depending on the length of aging and origin.
Aging and Storing
Cheddar Cheese should be stored in a cool area – or a cheese fridge (wine cooler) where the temp remains around 50-55 degrees consistently. The cheese can be aged from 3 months to 7 months. The longer it ages, the more dry and crumbly it will become.
If aging, it’s important that you turn the cheese every other day in the first month, then once a week for each month remaining. Or, once you are done pressing your cheese, allow it to dry to the touch and then vac seal it.
Vac sealing doesn’t require you to wax the outside.
I have an inexpensive vacuum sealer from Amazon that uses regular FoodSaver bags (you can often times pick them up on sale). It wasn’t overly expensive and it works beautifully.
Hatch Chile Cheddar Cheese
- 2.5 gallons of raw cow’s milk (find raw milk in your area)
- 1 packet of Mesophilic Starter culture
- 1/2 tsp rennet diluted in 1/4 C. cool water (or 1/4 tsp extra strength rennet)
- 2 Tbsp high quality sea salt
- 6 Hatch chiles, stems and seeds removed, roasted, peeled and finely minced
**I haven’t ever used pasteurized milk to make cheese. If you should use pasteurized, you will want to add 1/2 tsp calcium chloride in 1/4 C. water before adding the rennet. Stir in well.
Other Materials Needed
- 2-2.5 lb cheese mold
- optional: cheese press (I love this one) or hand weights that total 50 pounds
- non-reactive pot that holds 3 gallons or more
- cheese knife to cut the curd
- colander or fine mesh strainer
- 1-2 pieces of cheesecloth
Before you get started, make sure you have ample time at home without interruption. I like to start my cheese recipes early in the morning, that way I’m done by dinner (or at least have it in the press by then).
Heat the Milk
Before you start, make sure that the pot, spoon, knife, mold and cheesecloth are well sterilized.
Start by pouring your milk into a non-reactive stainless steel pot. Clip your thermometer to the side of the pot, or better yet, invest in a digital thermometer.
With the heat on low, gently bring the milk to a temperature of 88 degrees F.
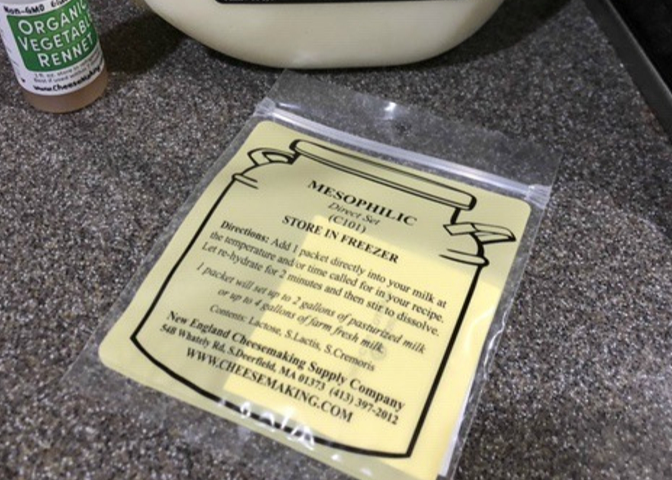
Add the Culture
Turn the heat off. Sprinkle your packet of mesophilic culture on the surface of the milk. Allow that culture to remain on the surface for a minute or so. Then stir gently with an up and down motion for 30 seconds.
Place the lid on the pot and let it rest for 45 minutes.
Stir in the Rennet
After that 45 minutes, remove the lid. If you are using pasteurized milk, add the calcium chloride at this time. Stir in well to distribute evenly.
Then add 1/2 tsp liquid rennet diluted in 1/4 C. cool water. Stir with an up and down motion for 30 seconds. Stop stirring, and cover the pot again – allow the pot to sit, undisturbed, for 45 minutes. The milk should retain the temperature of around 88 at this time; it’s ok if it drops a degree or two.
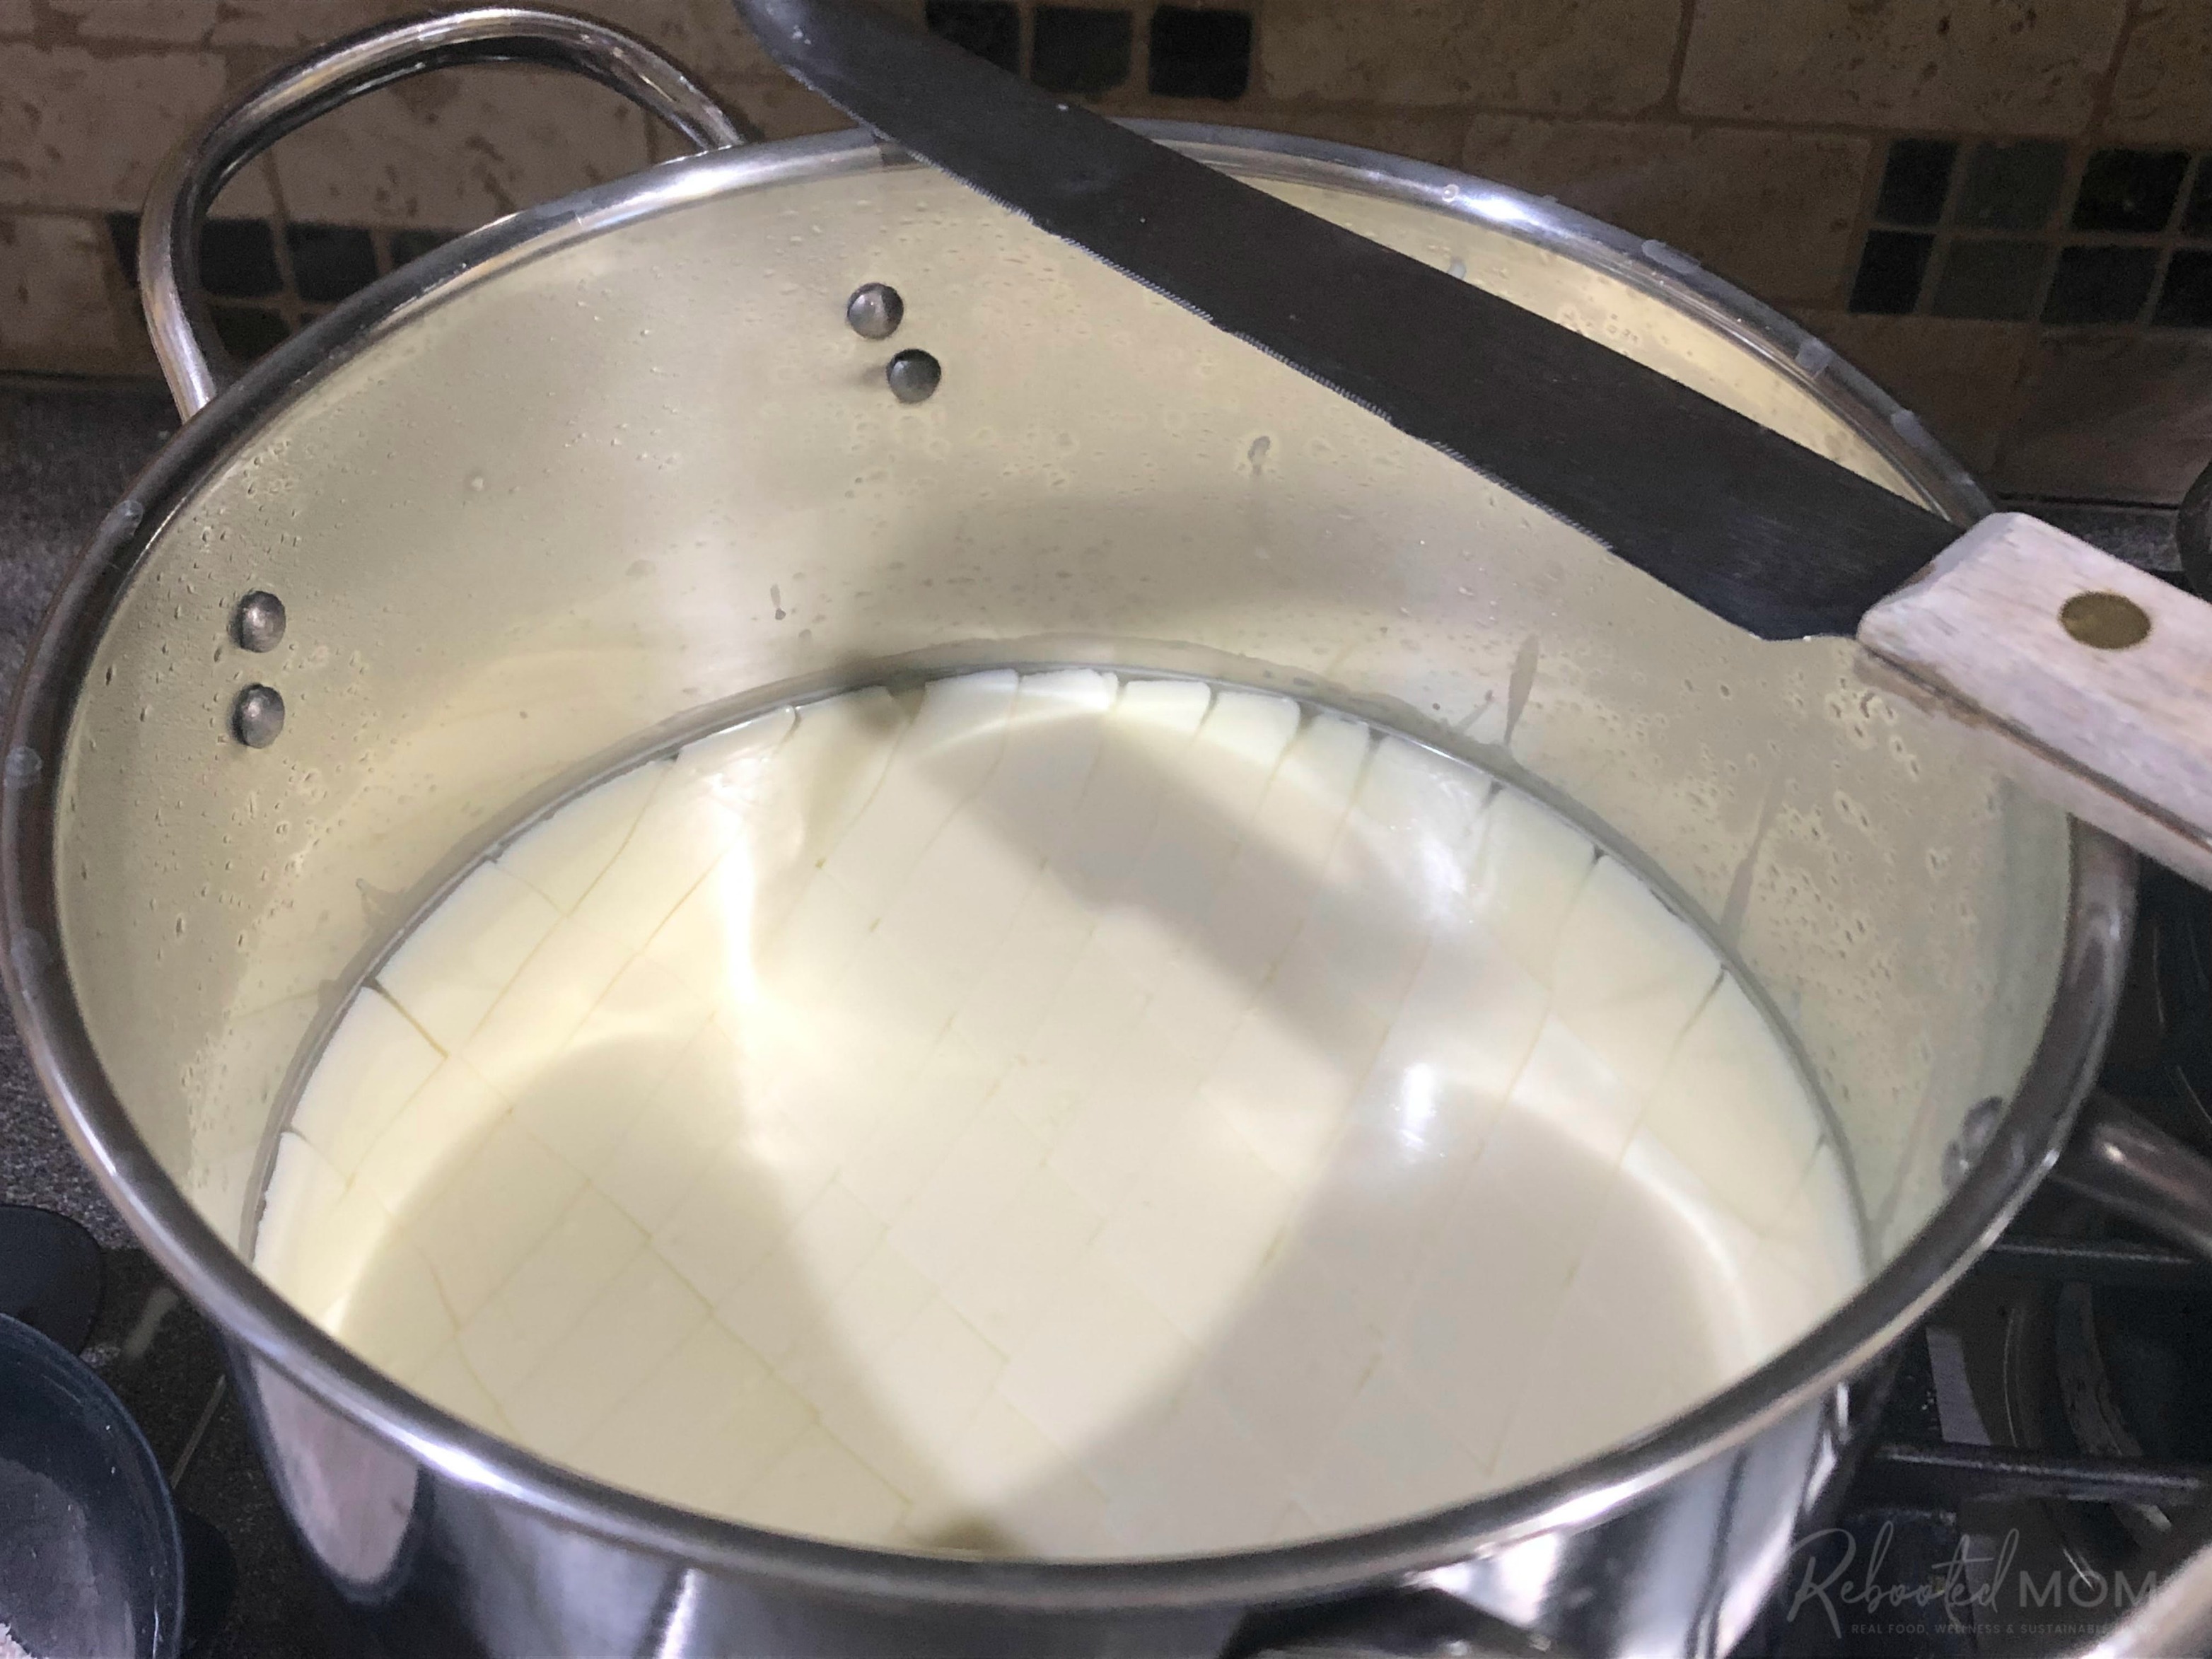
Cut the Curd
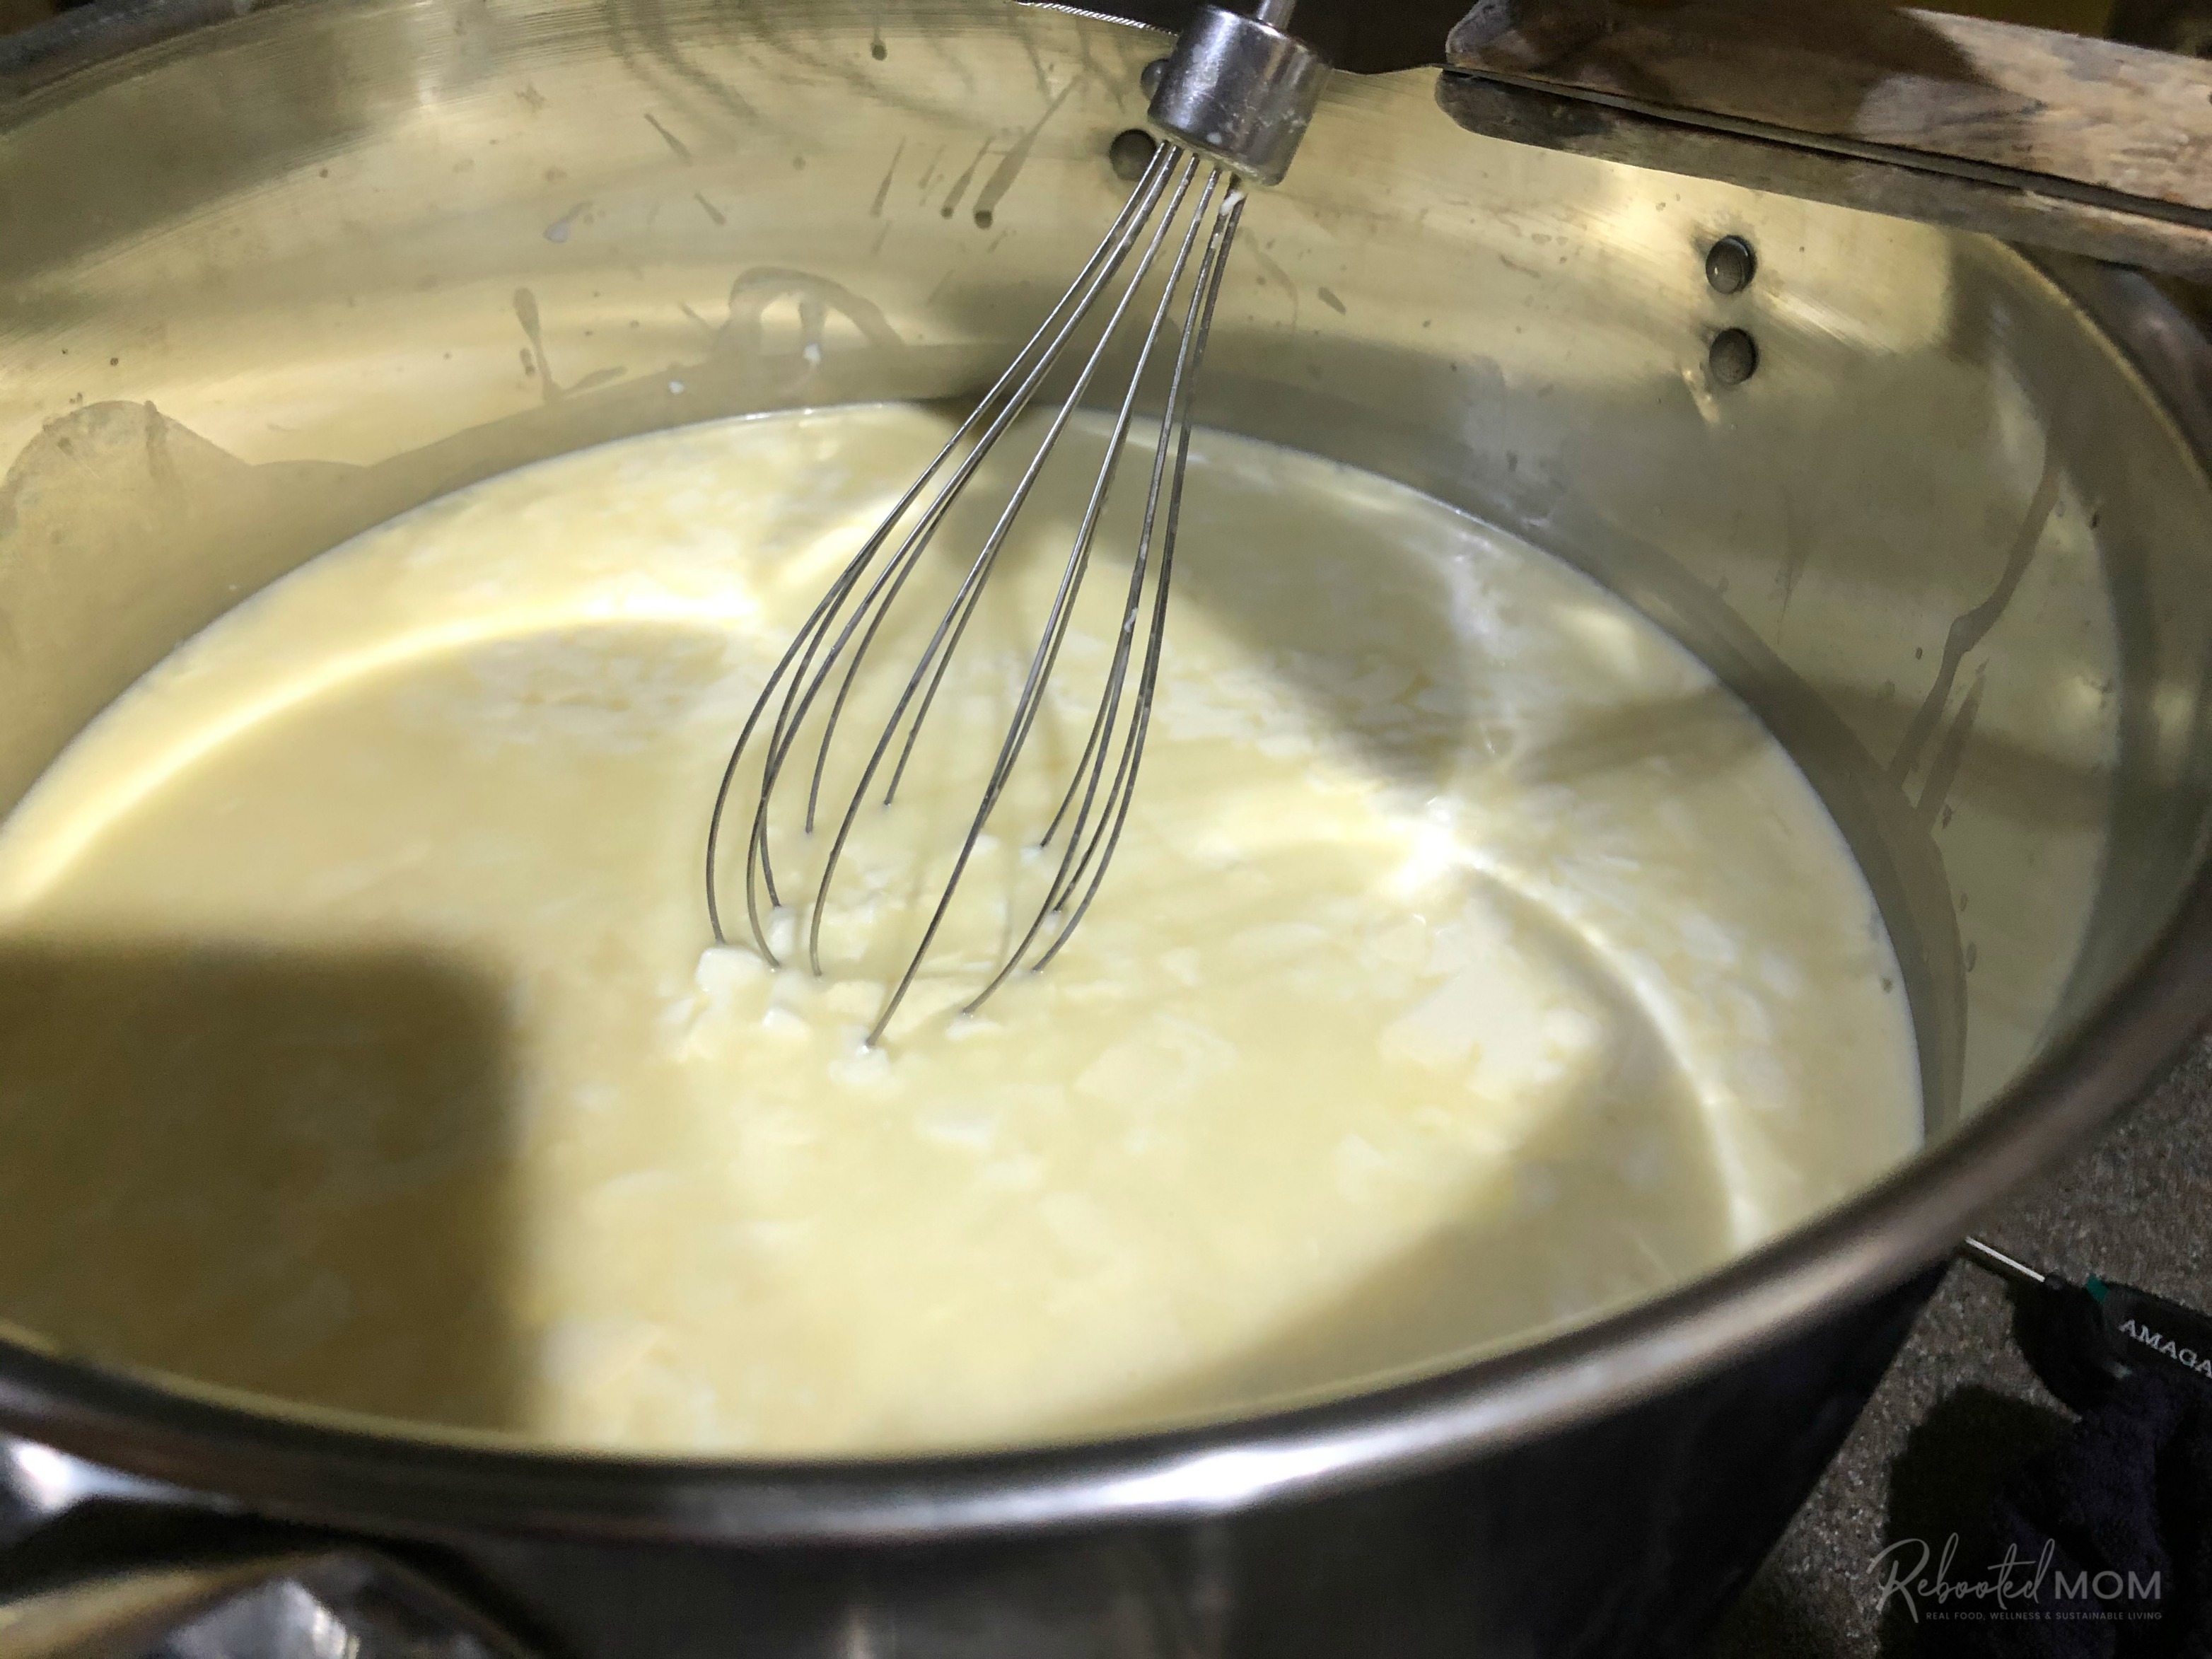
After 45 minutes, cut the curd into a checkerboard pattern at 1/2 inch intervals. The curd should give a clean break.
Once you cut the checkerboard, slant your knife diagonally and cut at an angle. Turn the pot 180 degrees and cut diagonally again at an angle.** I slice the curds with a long knife.
**Then I go back in with a whisk and stick the whisk in, turn it 360 degrees, and pull it out. I repeat that for the entire pot instead of doing a diagonal cut.
After the curds are cut, allow them to rest for 5 minutes.
Heat the Curd
Now that the curds have been off the heat for a considerable time, it’s time to heat them up very slowly over the course of 45 minutes. Turn the stove on low and stir, stir, stir until the curds reach 102 degrees F.
The caveat is that you don’t want this to happen too quickly. You might need to alternate turning the stove on (low) and off while stirring to gradually reach that temperature.
Stir frequently to keep the curds from matting. As you stir, use the side of your spoon to slice any large curds in half that didn’t get cut evenly with the knife in the last step.
Cook the Curds and Drain the Whey
After around 45 minutes, the curds should reach 102 degrees F. Turn the heat off. Keep the curds at 102 degrees F for 45 additional minutes. Stir every 5-10 minutes to prevent them from matting.
The temperature will definitely fluctuate – don’t worry. Try your best to keep the curds at a consistent temperature. During this time, the curds should sink to the bottom of the pot.
After 45 minutes, the curds will be at the bottom of the pot. Carefully drain off the whey. To do this, place a cheesecloth over a colander, and the colander over a large clean pot. Slowly pour the curds over the colander, allowing the cheesecloth/colander to catch the curds.
Allow the curds to drain for 5-10 minutes.
Divide for Cheddaring
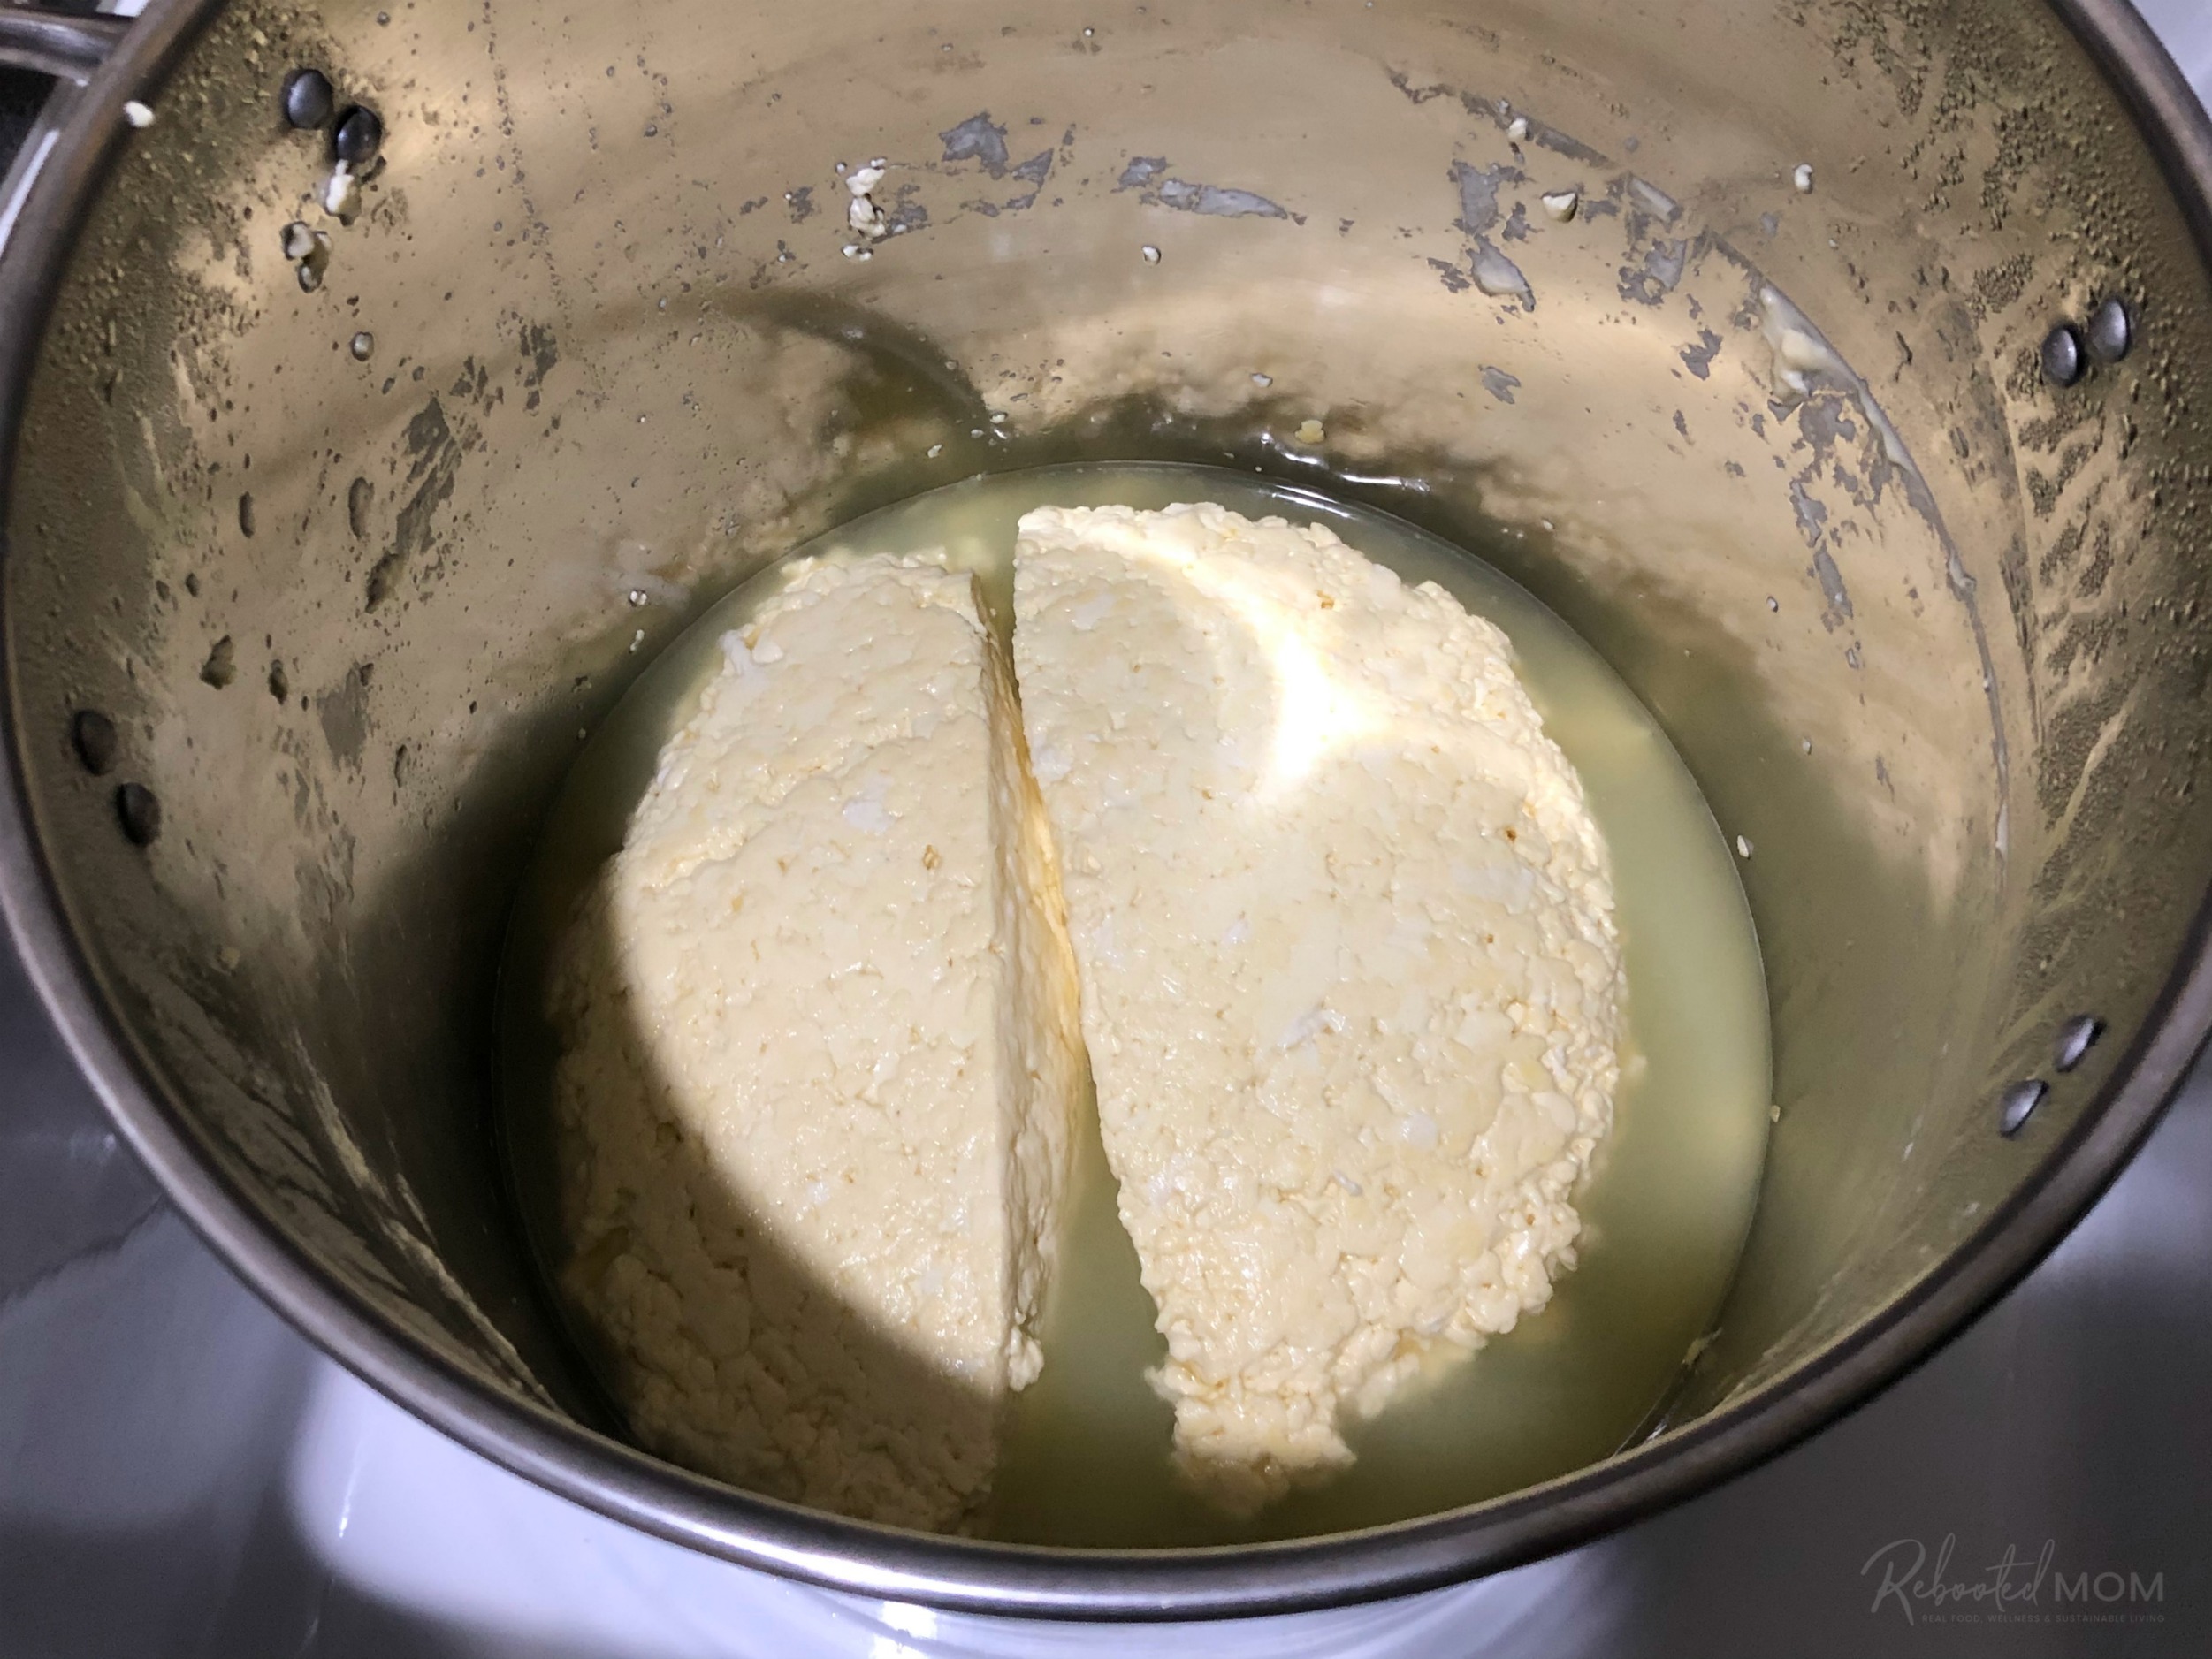
Open up the blob of curds in the cheesecloth and plop the mass in the bottom of the pot (same pot you heated up the curds in). Cut the blob in half.
Place the lid on the pot and place the entire pot in a clean sink. Fill the sink up with enough water so that the pot remains “seated” in the sink without floating around. (Or you might have to put a weight on it to keep it down).
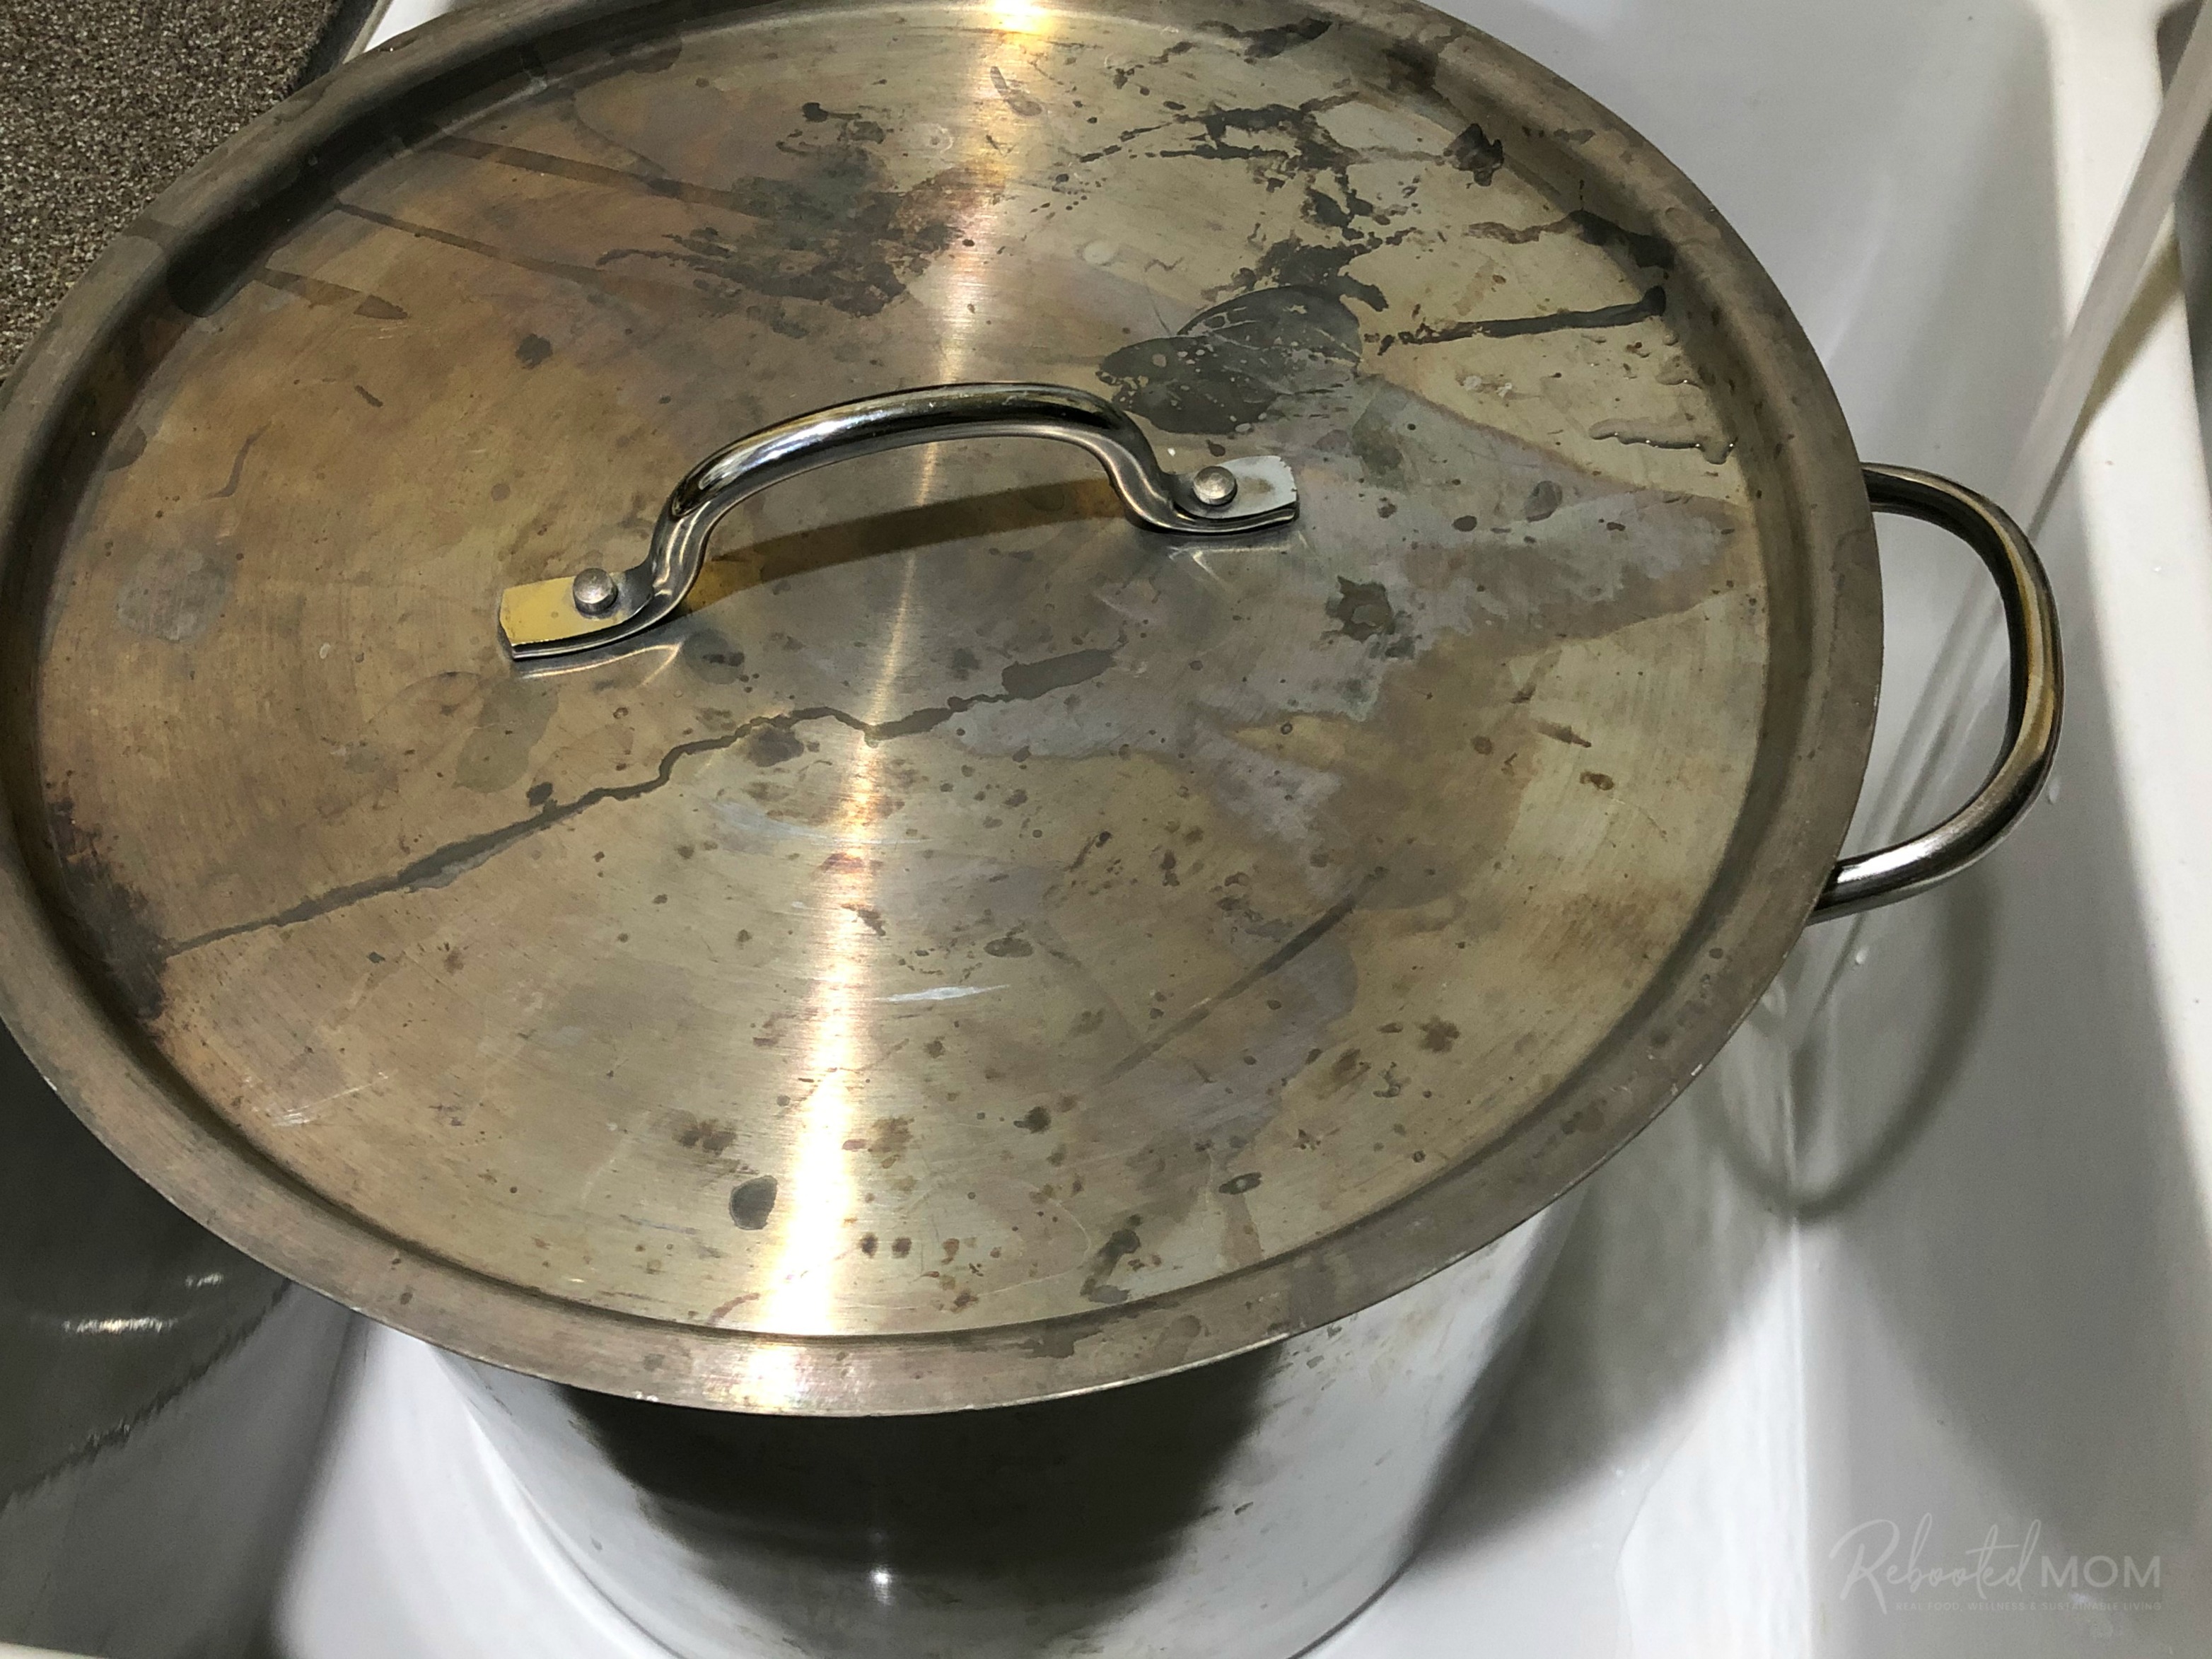
This cheddaring process takes 45 minutes and requires you to keep the curds warm at around 102-105 degrees as you flip the mass every 10 minutes.
Set the timer – after 10 minutes, go in the pot and flip the mass, put the lid back on the pot and ensure the water is still around 102-105 degrees. (If not, top off with warmer water).
Repeat that 4 times (for a total of 40 minutes). The last flip should be 15 minutes.
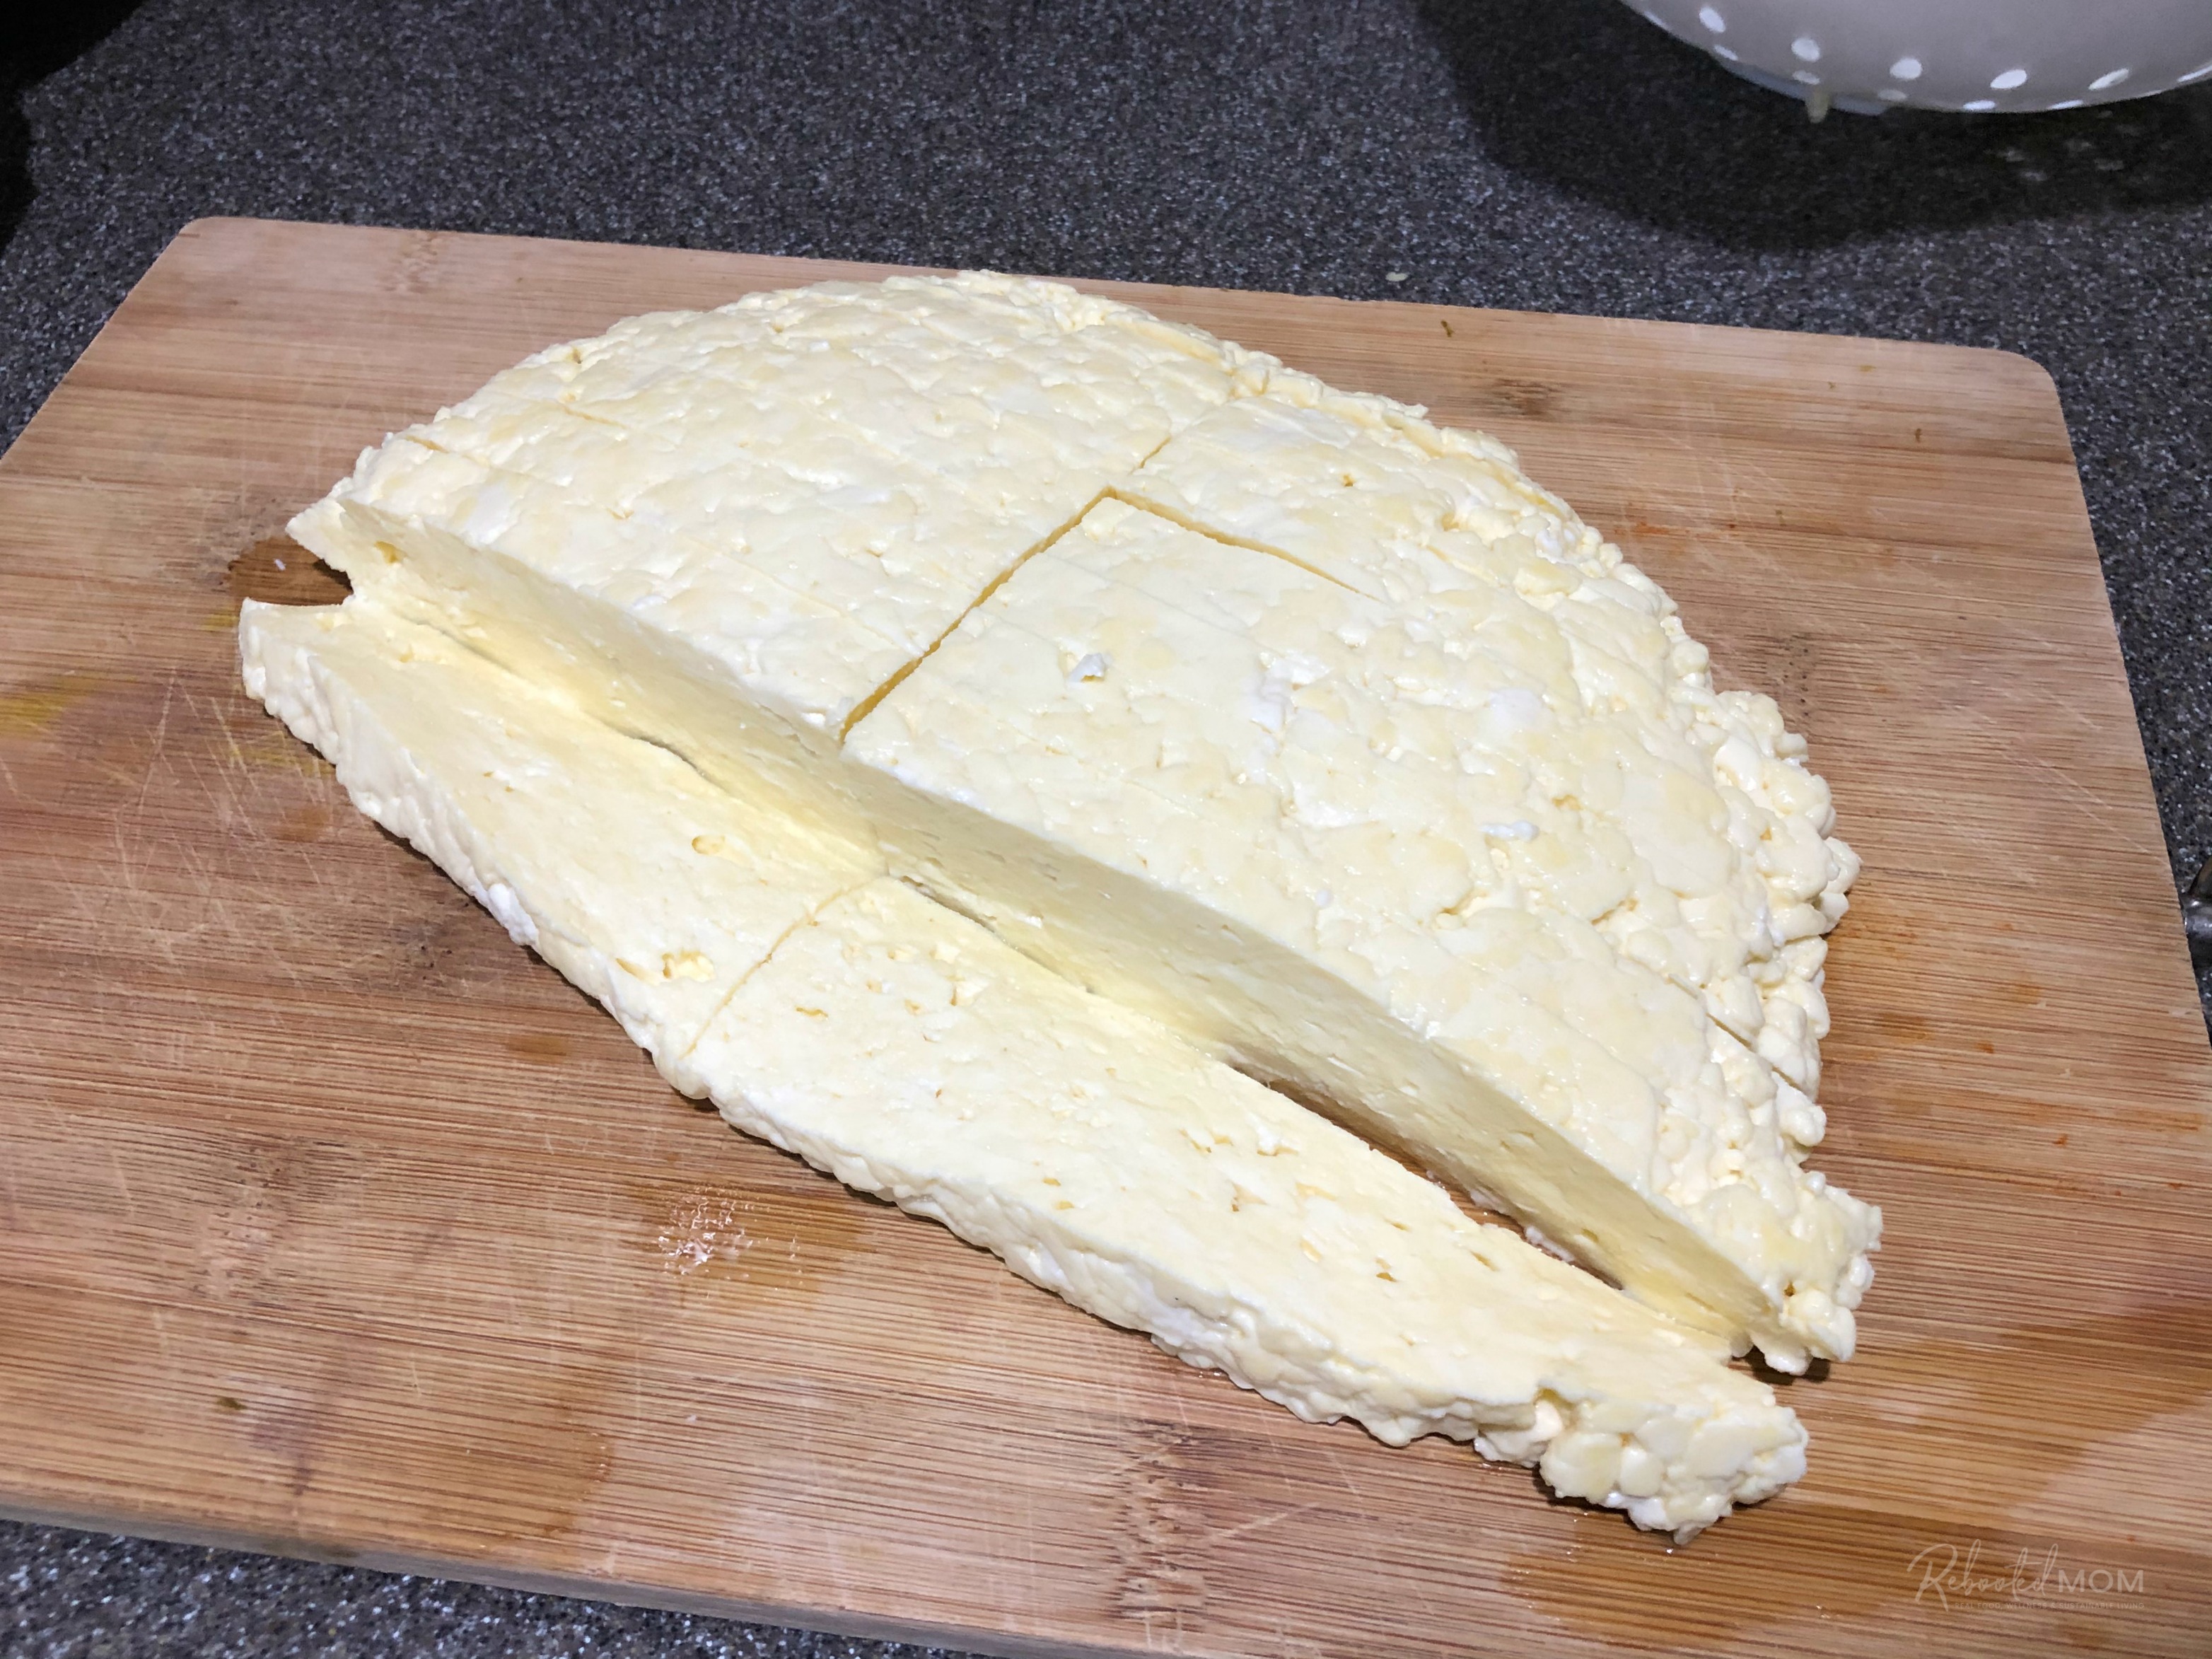
Cut the Mass
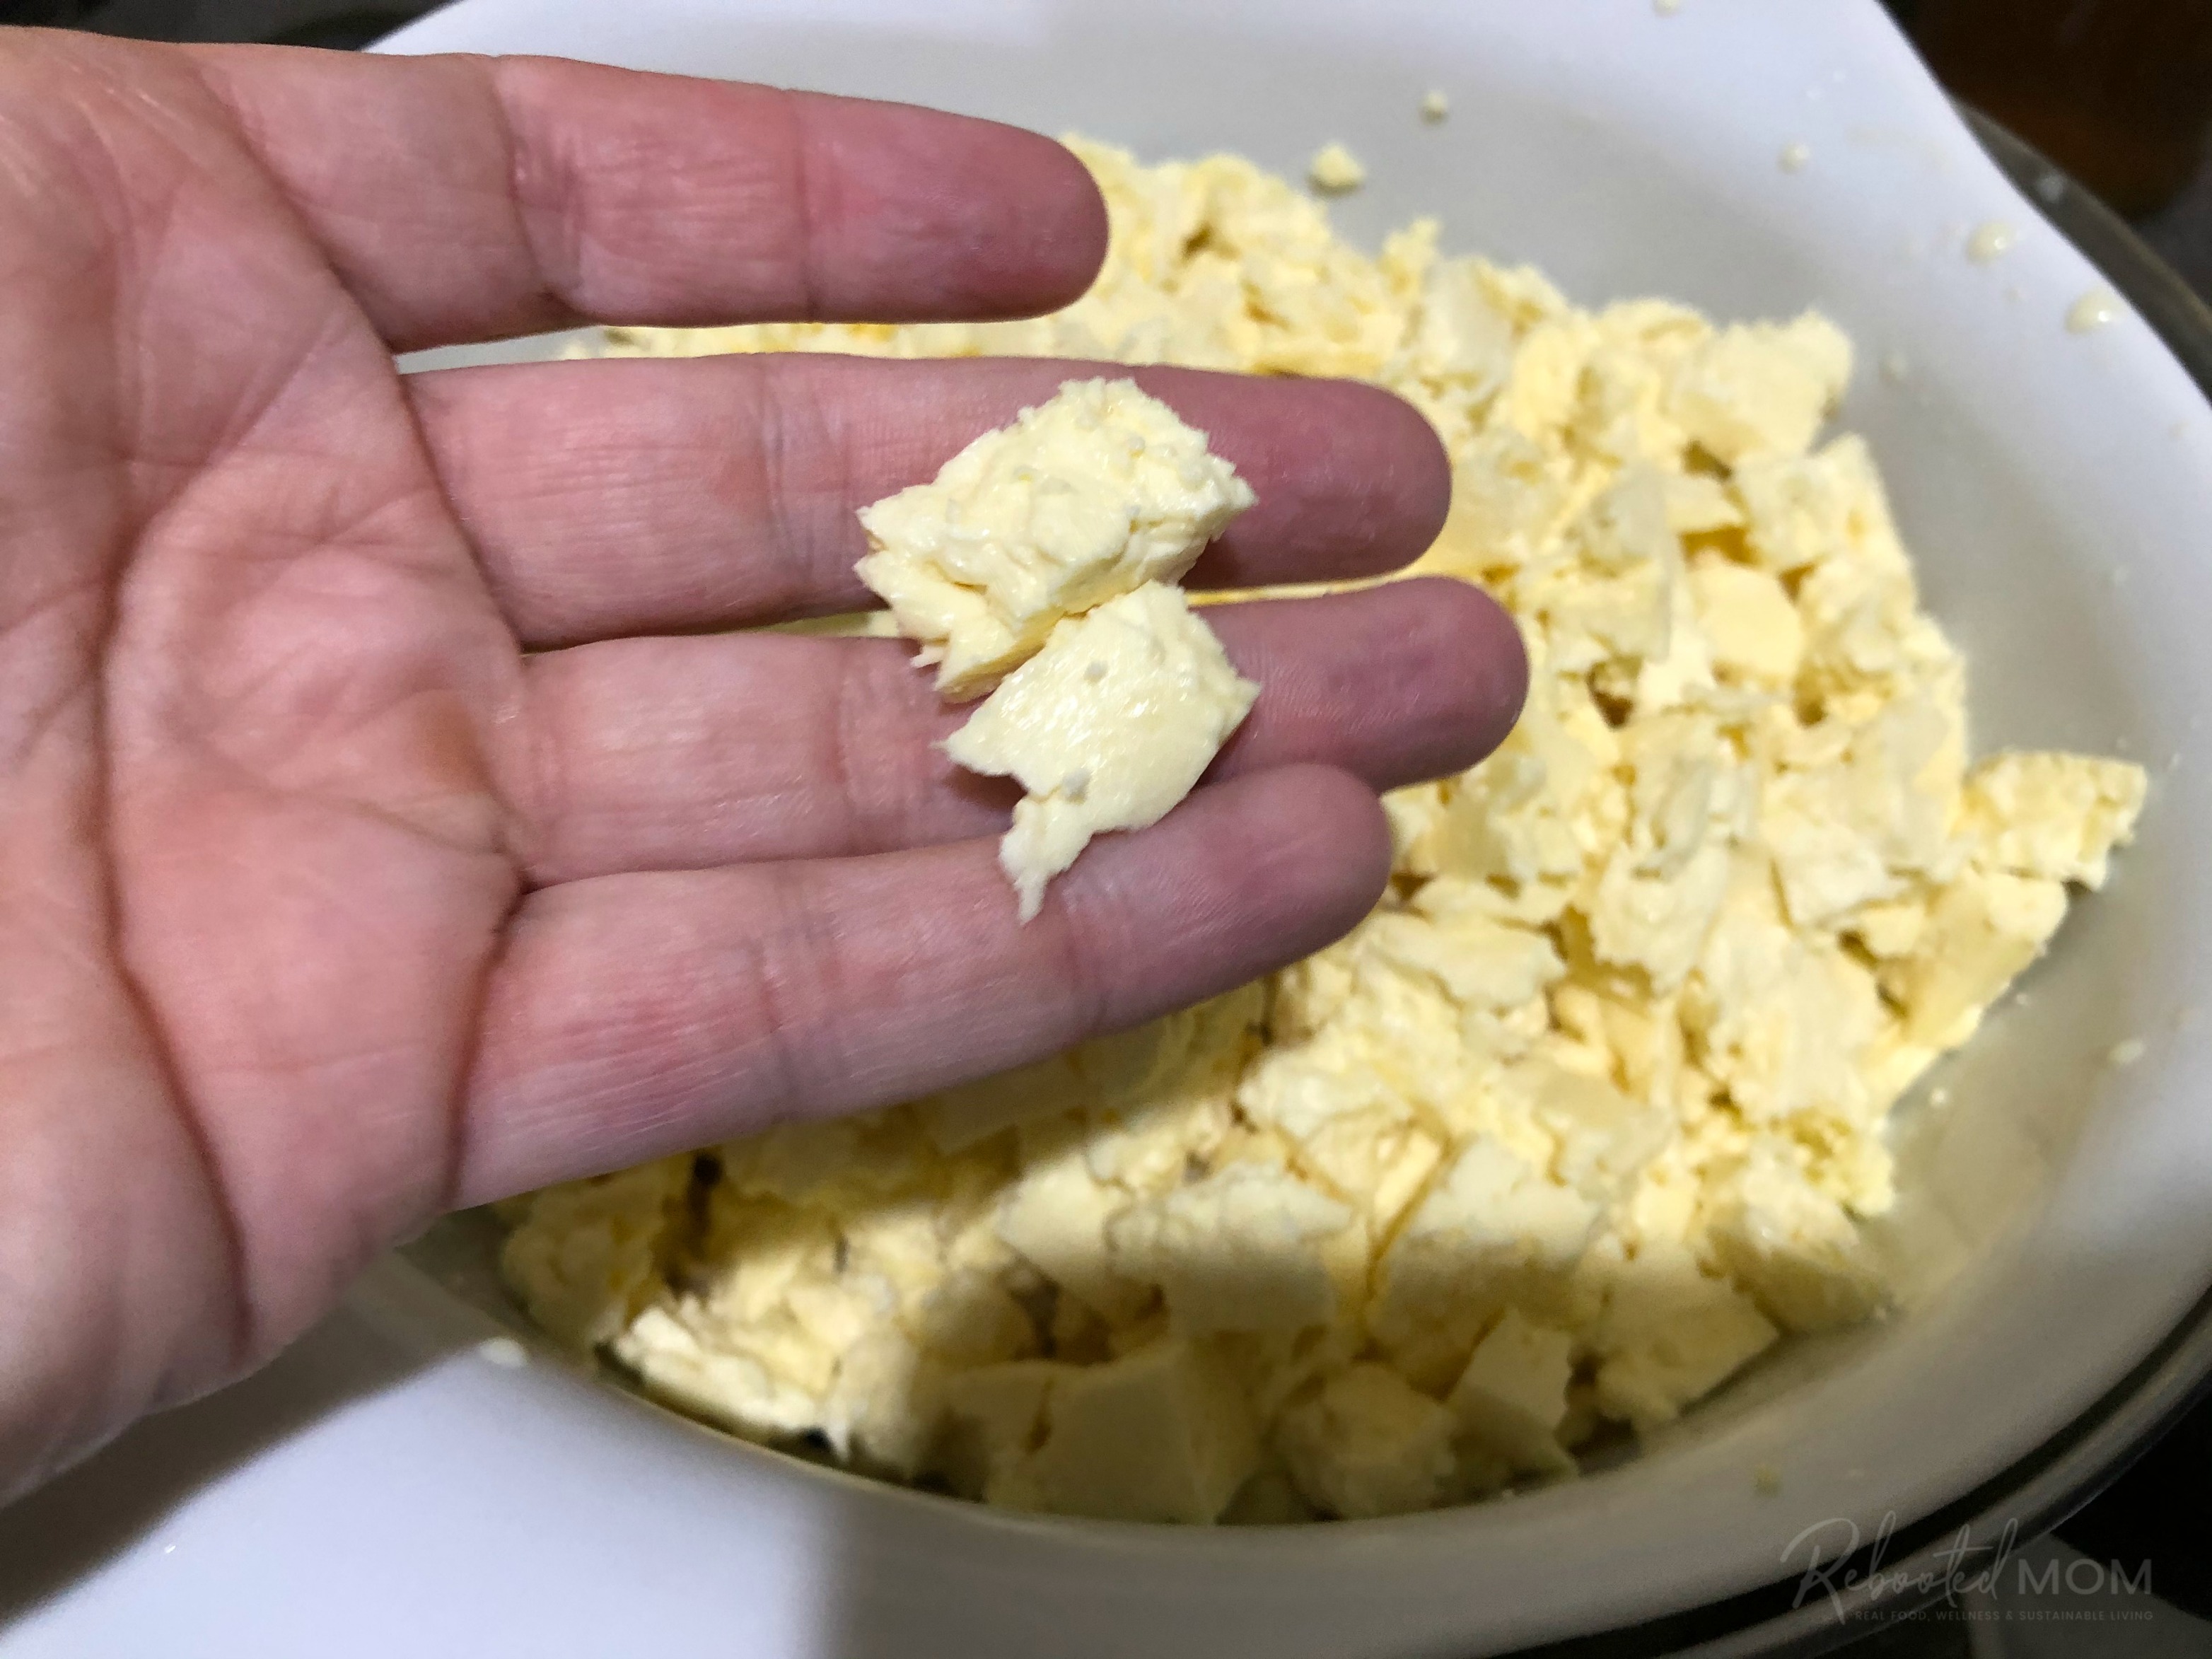
Remove both masses and put on a cutting board. Cut into 1 inch pieces lengthwise, then slice across the mass horizontally. Repeat for the second mass.
Place a colander over a large bowl to catch any remaining whey. Rip the strips of curd into smaller pieces the size of a peanut, and place in the colander.
With gloves on your hands, add your minced Hatch chiles, and stir well to ensure the chiles are mixed well within the cheese. Add 2 Tbsp salt, and work that salt through the cheese well with your hands as well.
Mold the Cheese
Once the Hatch chile and salt have been added, line your cheese mold with cheesecloth. Make sure there is cheesecloth hanging over the sides of the mold.
Place the cheese mold on the press – without the weight. Carefully transfer the curds from the colander to the mold. Place the follower on top, then add your weights.
- Press at 30 lbs of pressure for 1 hour.
- Carefully unwrap the curds, flip over, re-wrap, and press again at 50 pounds of pressure for 6 hours.
- Very carefully unwrap again, flip over, re-wrap, and press again at 50 lbs of pressure for 6-7 hours.
The Final Part
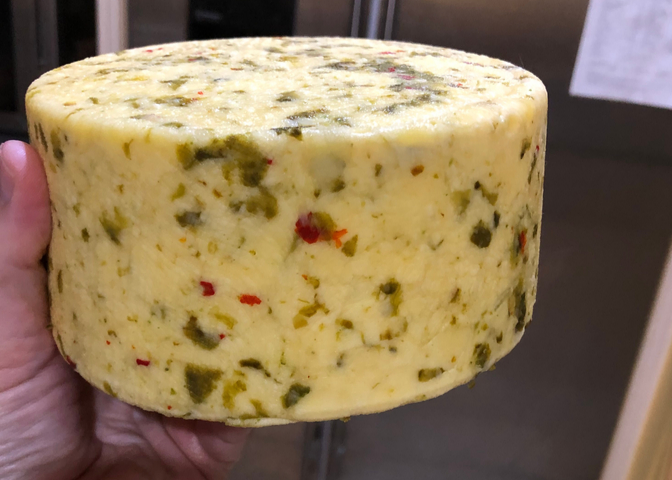
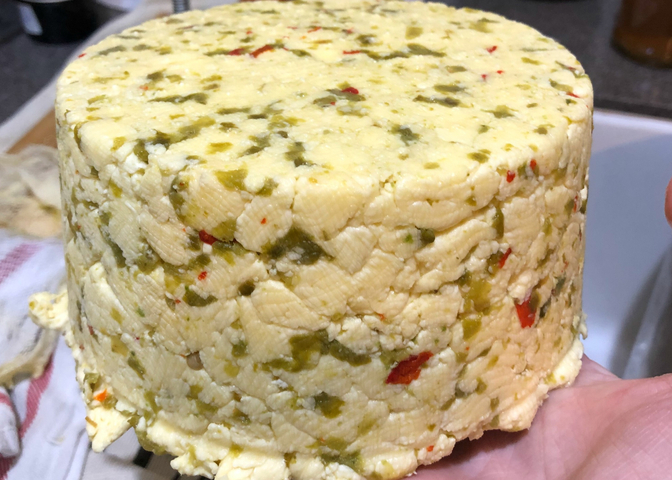
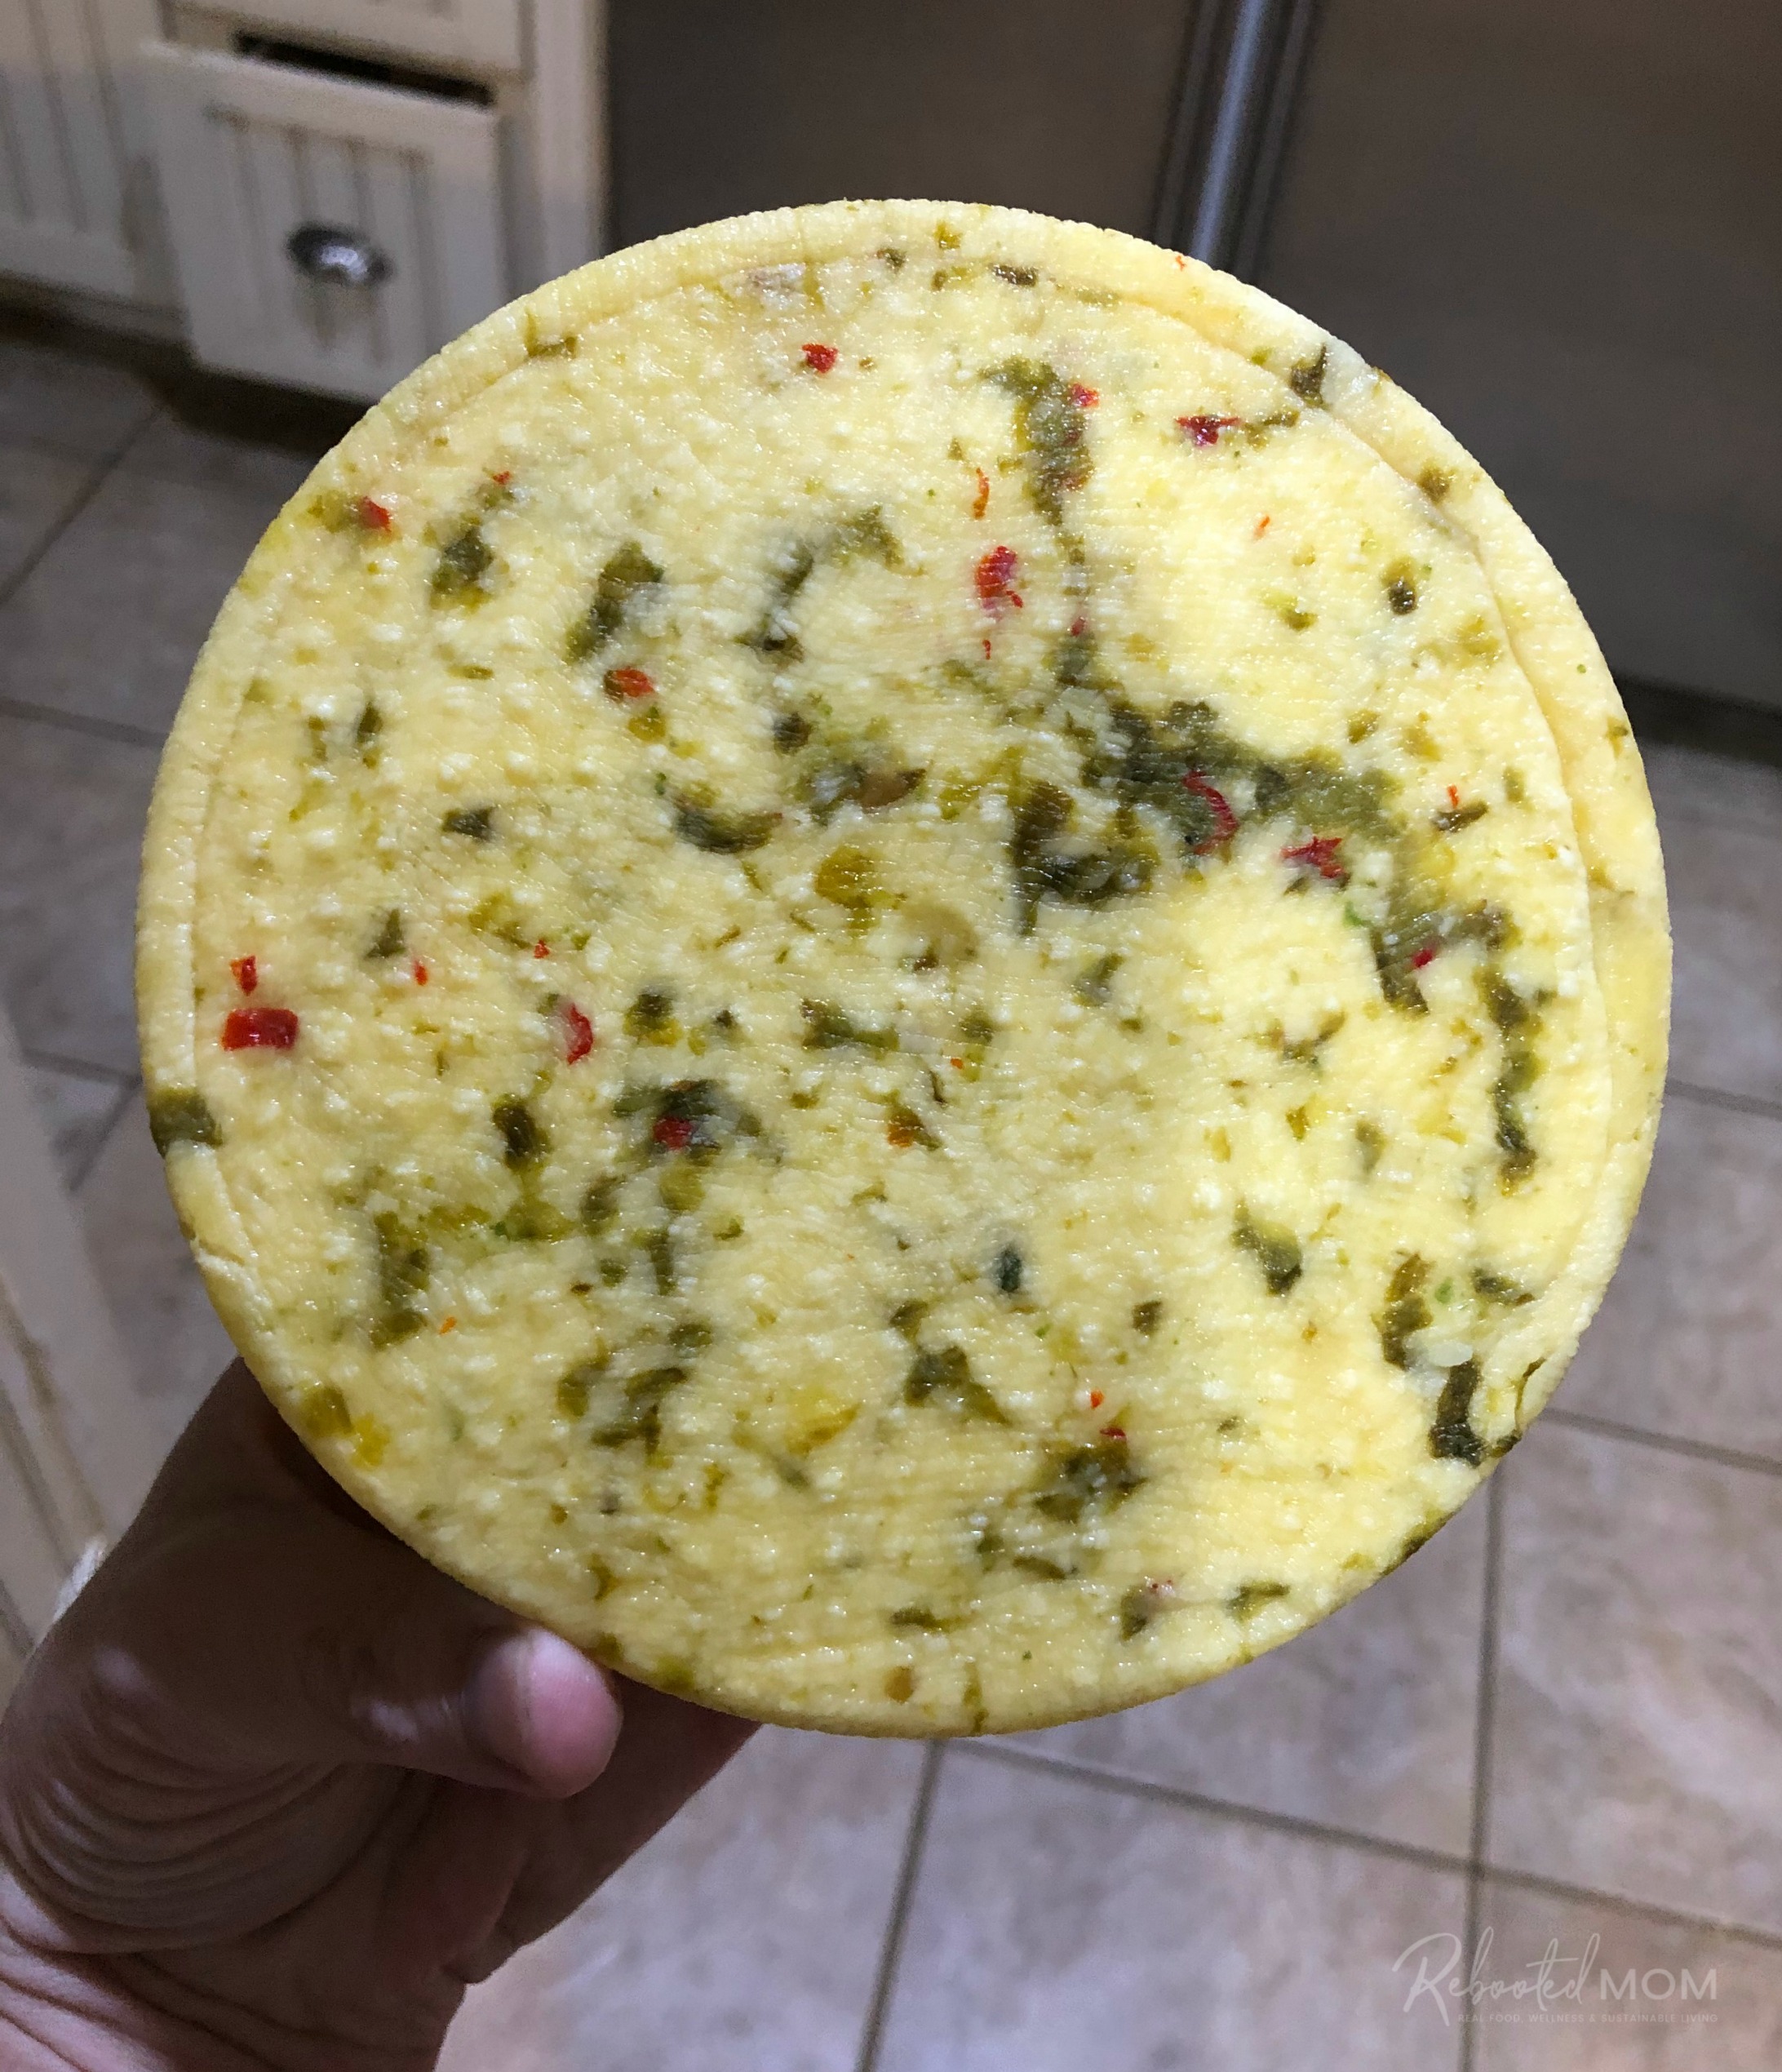
Once the cheese has pressed at 50 lbs for 12-13 hours, remove from the press. Carefully and I mean, carefully, unwrap the cheesecloth. Allow the cheese to dry to the touch at room temperature before waxing.
It’s important that you do not let it dry in a room that is too hot or dry. If you do, then it’ll get cracks on the surface of the cheese.
What I like to do is set it on a place atop of a clean piece of cheesecloth, then cover with a glass dish and set in the wine cooler for a few days. I turn it twice each day. Once it is dry, then I vacuum seal it and leave it in the cooler at a temp between 50-55 degrees.
*A note about vac sealing cheese
If your Hatch cheddar cheese is vac sealed, check routinely for moisture in the vac seal bag. If you notice an abundance of moisture, then simply open the vac seal bag, and allow the cheese to dry out a little more. During that time, cover it with a glass dish and allow it to sit in the wine cooler to prevent the heat from cracking the surface.

Leave a Reply