


Learn how to make delicious Halloumi Cheese at home with this easy to follow, step-by-step tutorial and just a few simple ingredients!
Over the last few months I’ve had an enjoyable time making all kinds of cheese. From Monterey jack to Pepper jack, Wensleydale, Gouda, Mozzarella, Paneer, and Darby Cheese.
Yum!
I really love good cheese – not to mention it’s high in protein and calcium. It’s a great way to put our local raw milk to use and one of the best ways to use 2-3 gallons at a time.
While I don’t have a particular favorite when it comes to cheese, I am a huge fan of halloumi cheese..
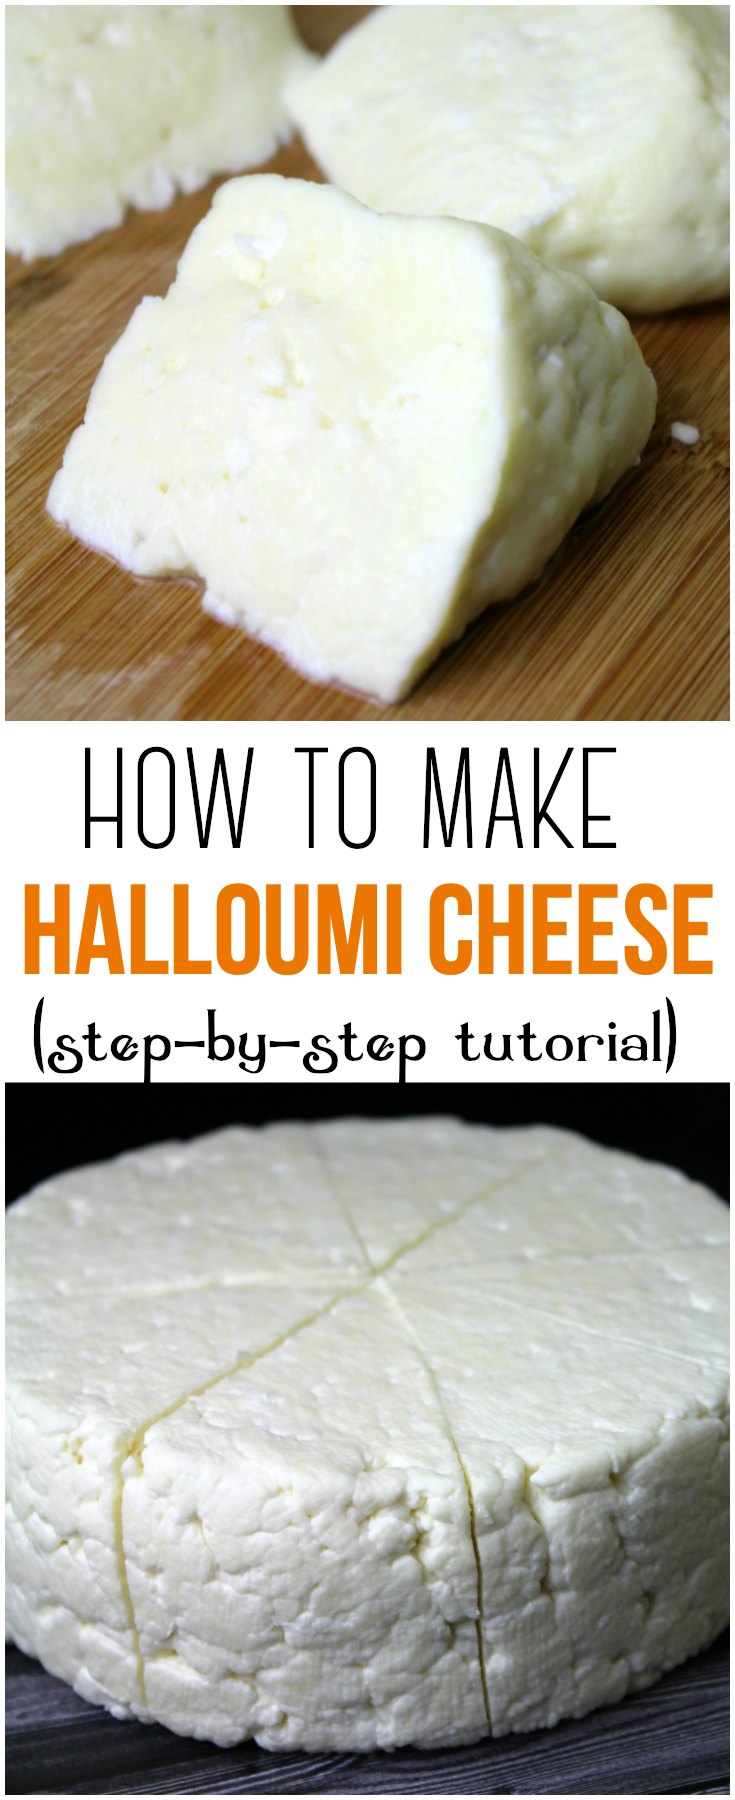
What is Halloumi Cheese?
Halloumi cheese is a cheese made from a mixture of cow and goat milk – or in some cases, 100% cow milk. It’s semi-firm, and white. It has the texture of mozzarella with the briny moisture of feta. The cheese originates in Cyprus — a Greek island in the Mediterranean. Many people around the world enjoy this cheese for it’s flavor and texture.
Halloumi is rather mild in taste and can be added to dishes raw (cold), or fried on each side in a little butter or oil.
Instead of melting when cooked, halloumi browns beautifully, especially when grilled. While you can buy it on Amazon, it’s quite expensive.. so making it yourself is much more cost effective.
While you can start with 1 gallon, I suggest using at least 2 gallons of milk to make a larger amount. It takes the same amount of time to make a batch of halloumi with 2+ gallons as it does with 1, so make it worth your while.
Halloumi Cheese Recipe
Grab the following items to get started:
- 2 gallons raw milk – not ultra pasteurized
- 2 packets Mesophilic culture
- 1/2 tsp single strength liquid rennet
- 1 oz salt
Other items needed:
- Thermometer
- Long knife to cut curds
- Spoon or ladle to stir curds
- Large colander
- Cheese mold
- Cheese press (or weights so you can fashion your own)
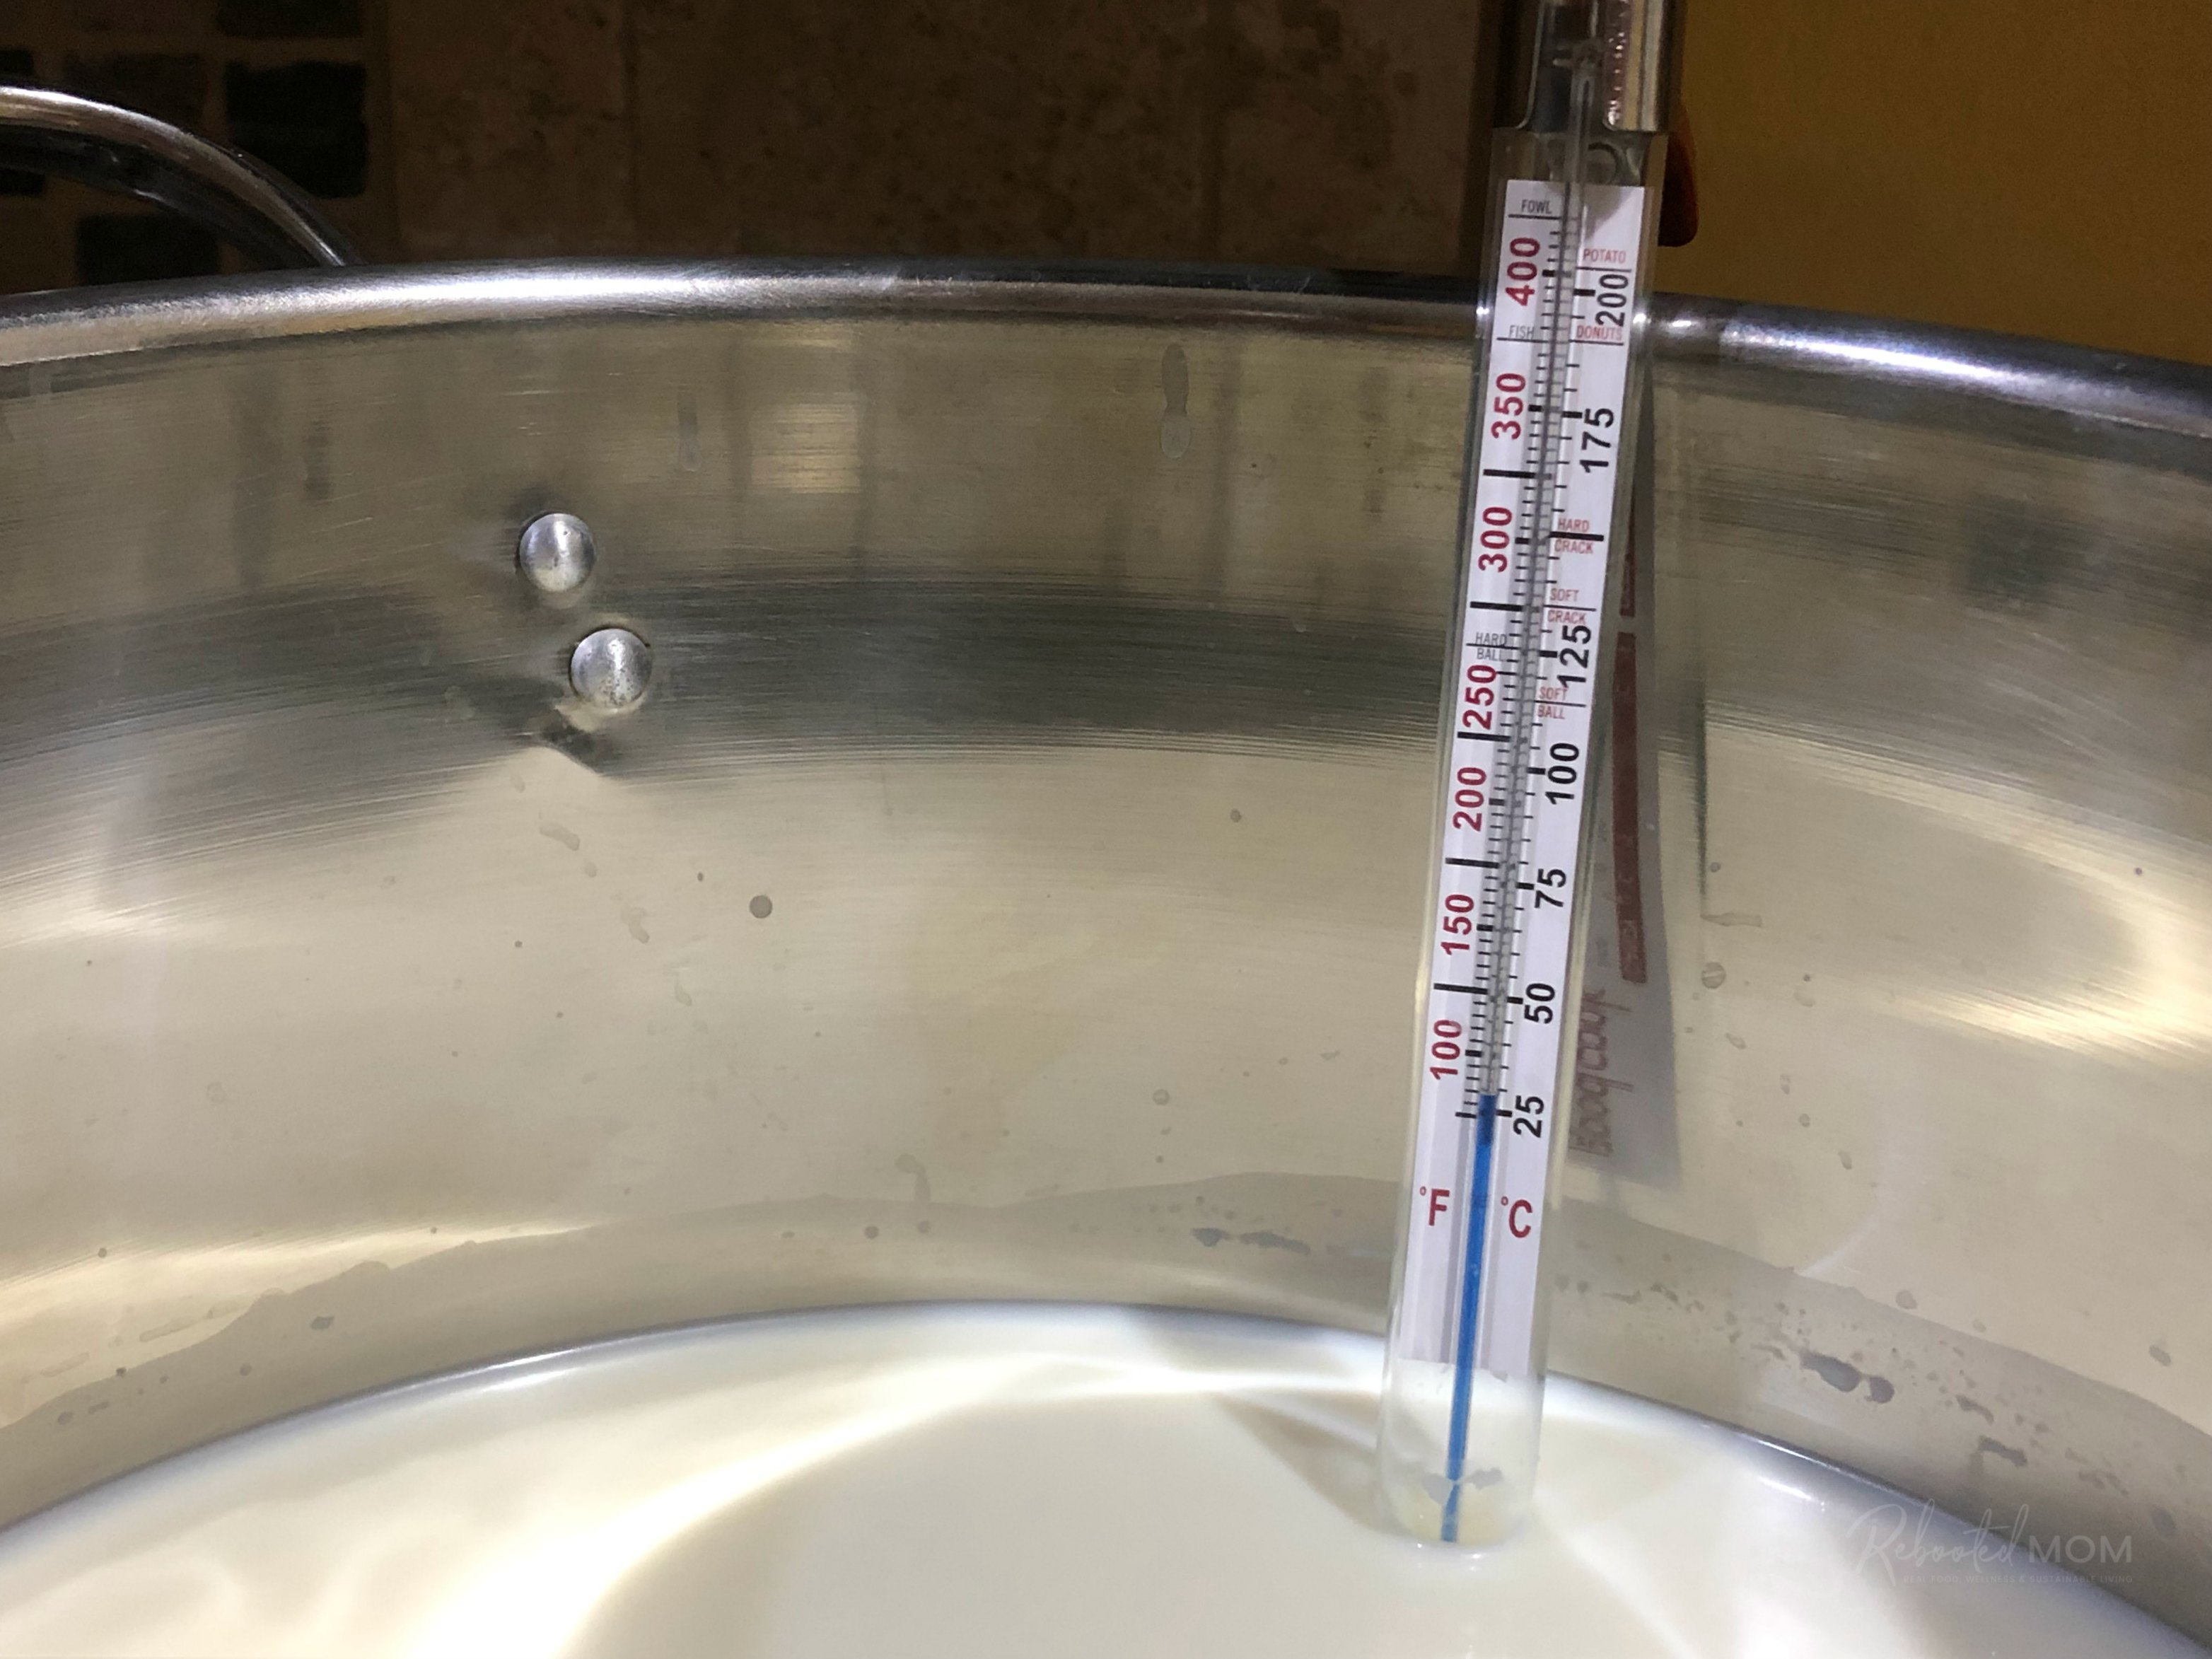
Step #1 — Heat the milk.
Pour the milk into a stainless steel pot and slowly heat to 88 degrees. Stir well as it heats to ensure even distribution of heat throughout the milk.
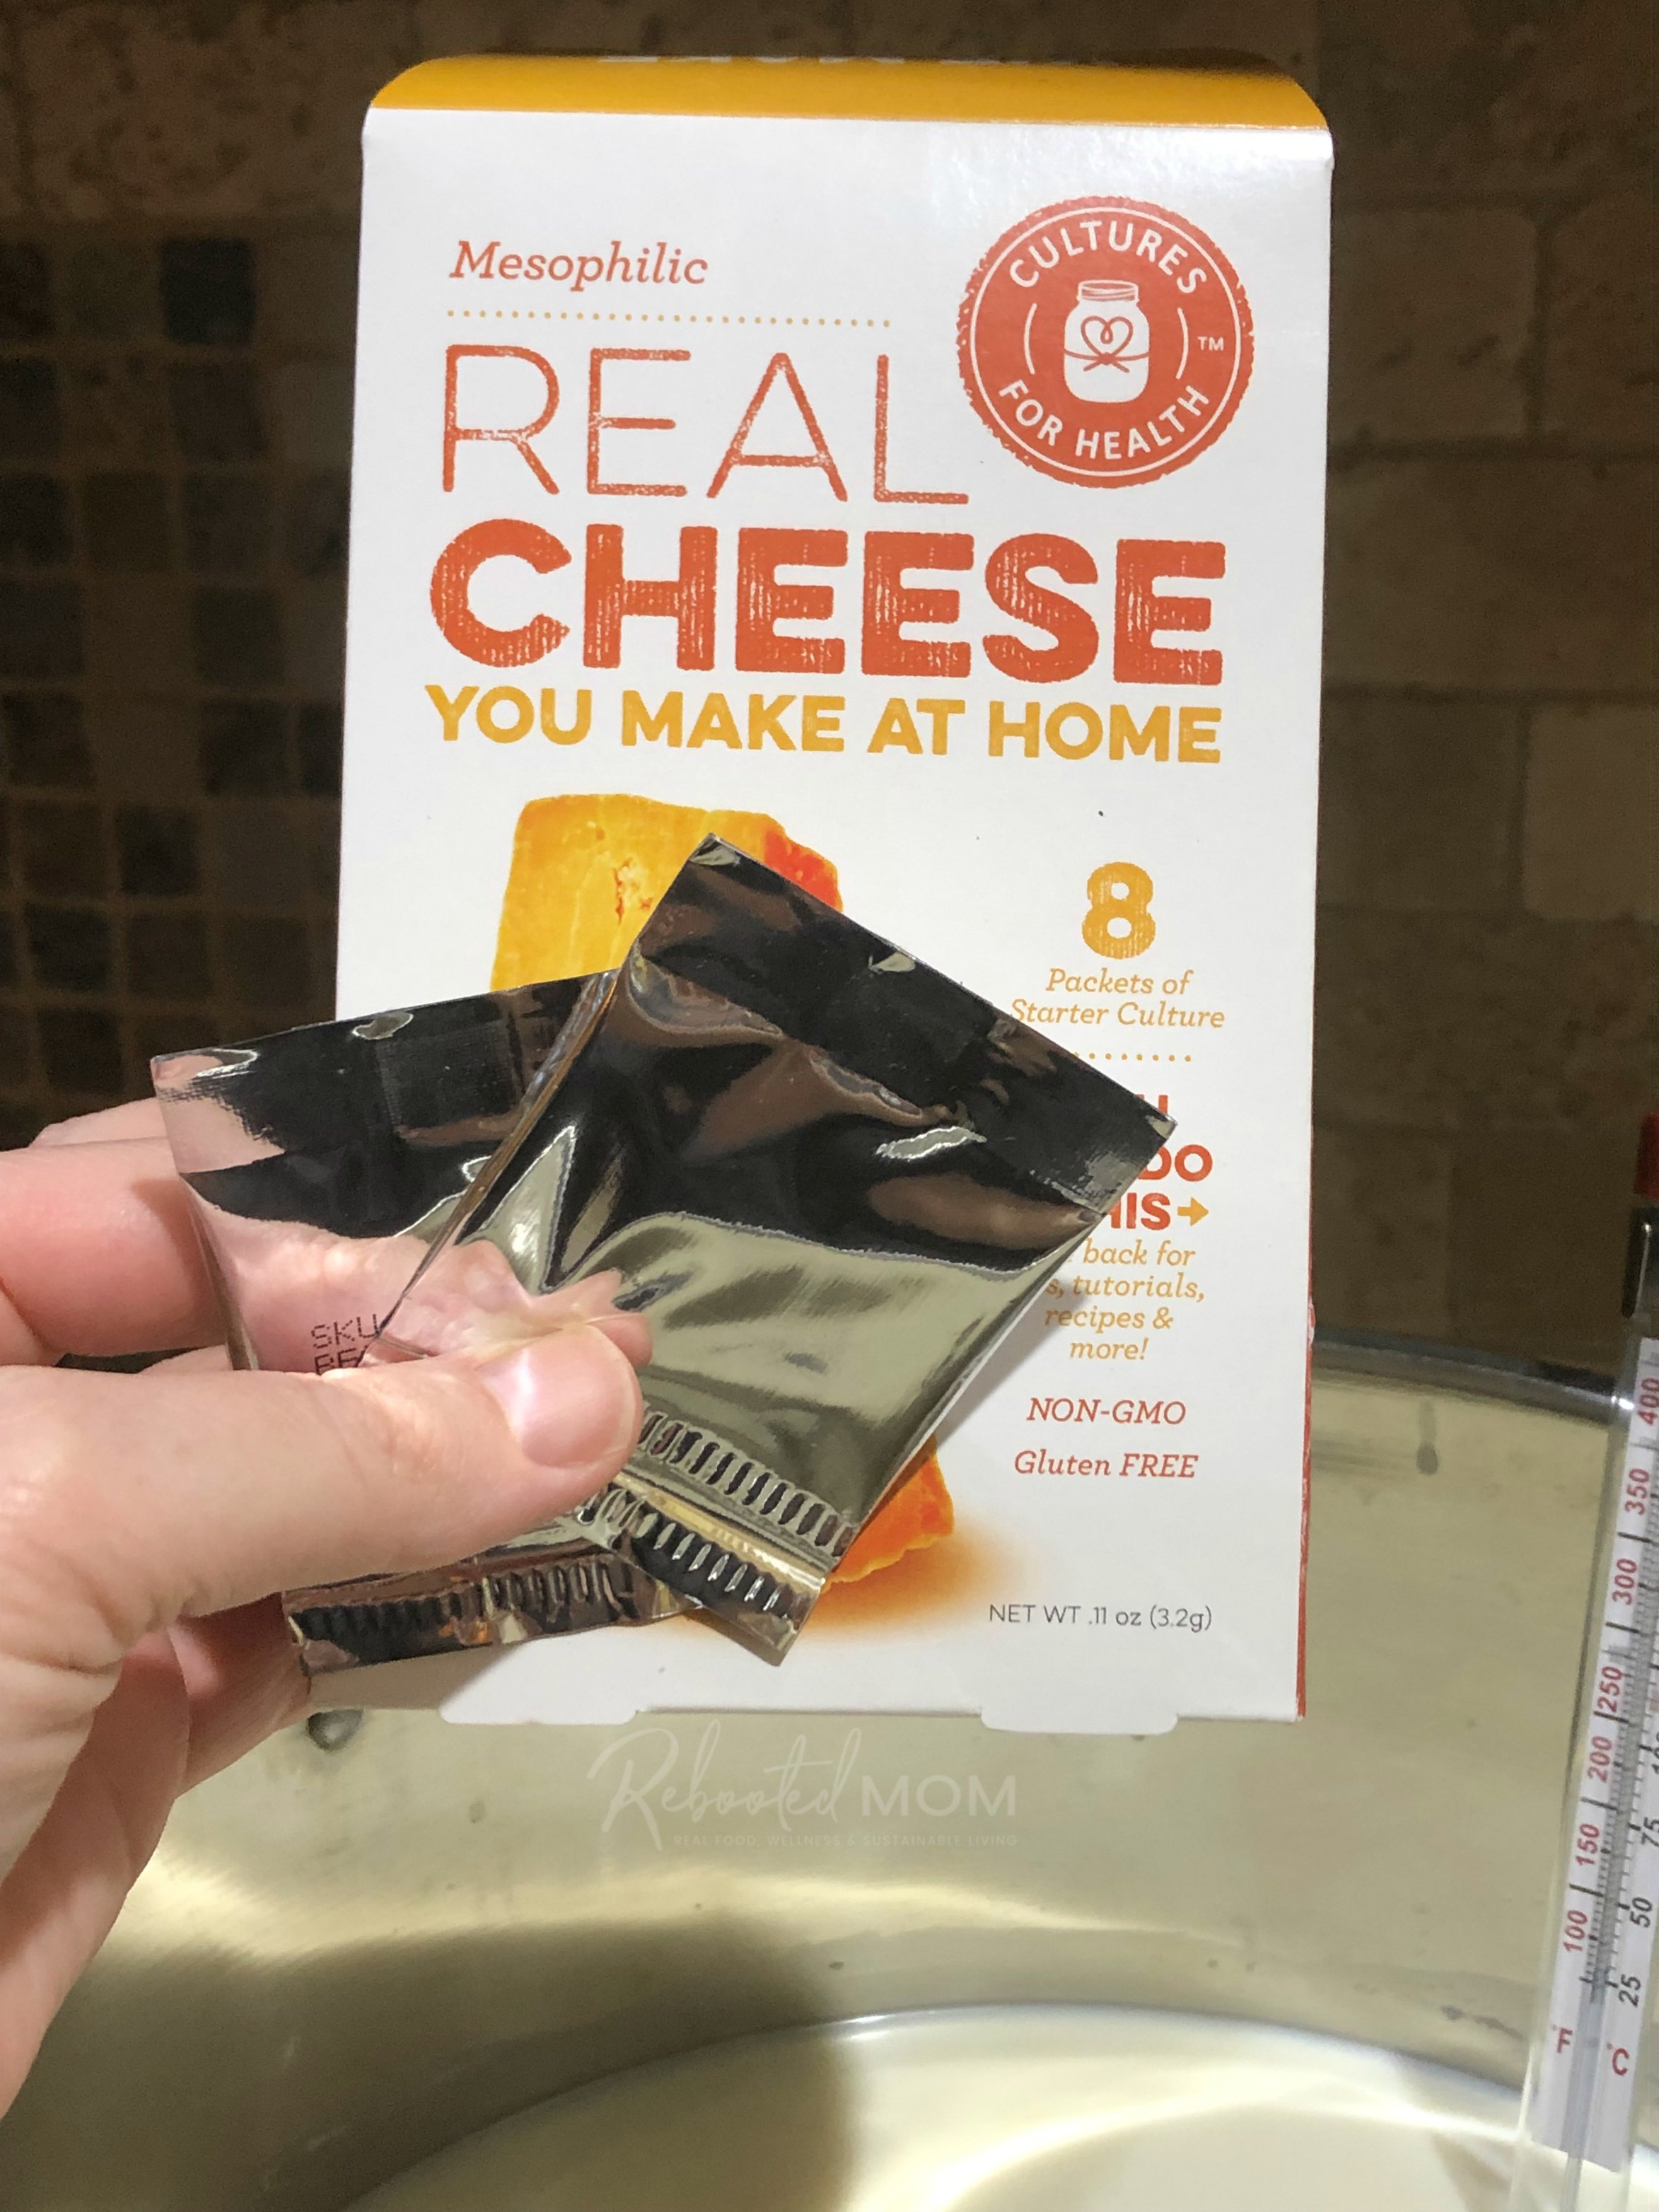
Once the milk is at the target temperature, turn the heat off. Sprinkle the culture on top. Allow the culture to sit and hydrate on the top of the milk for 1 minute.
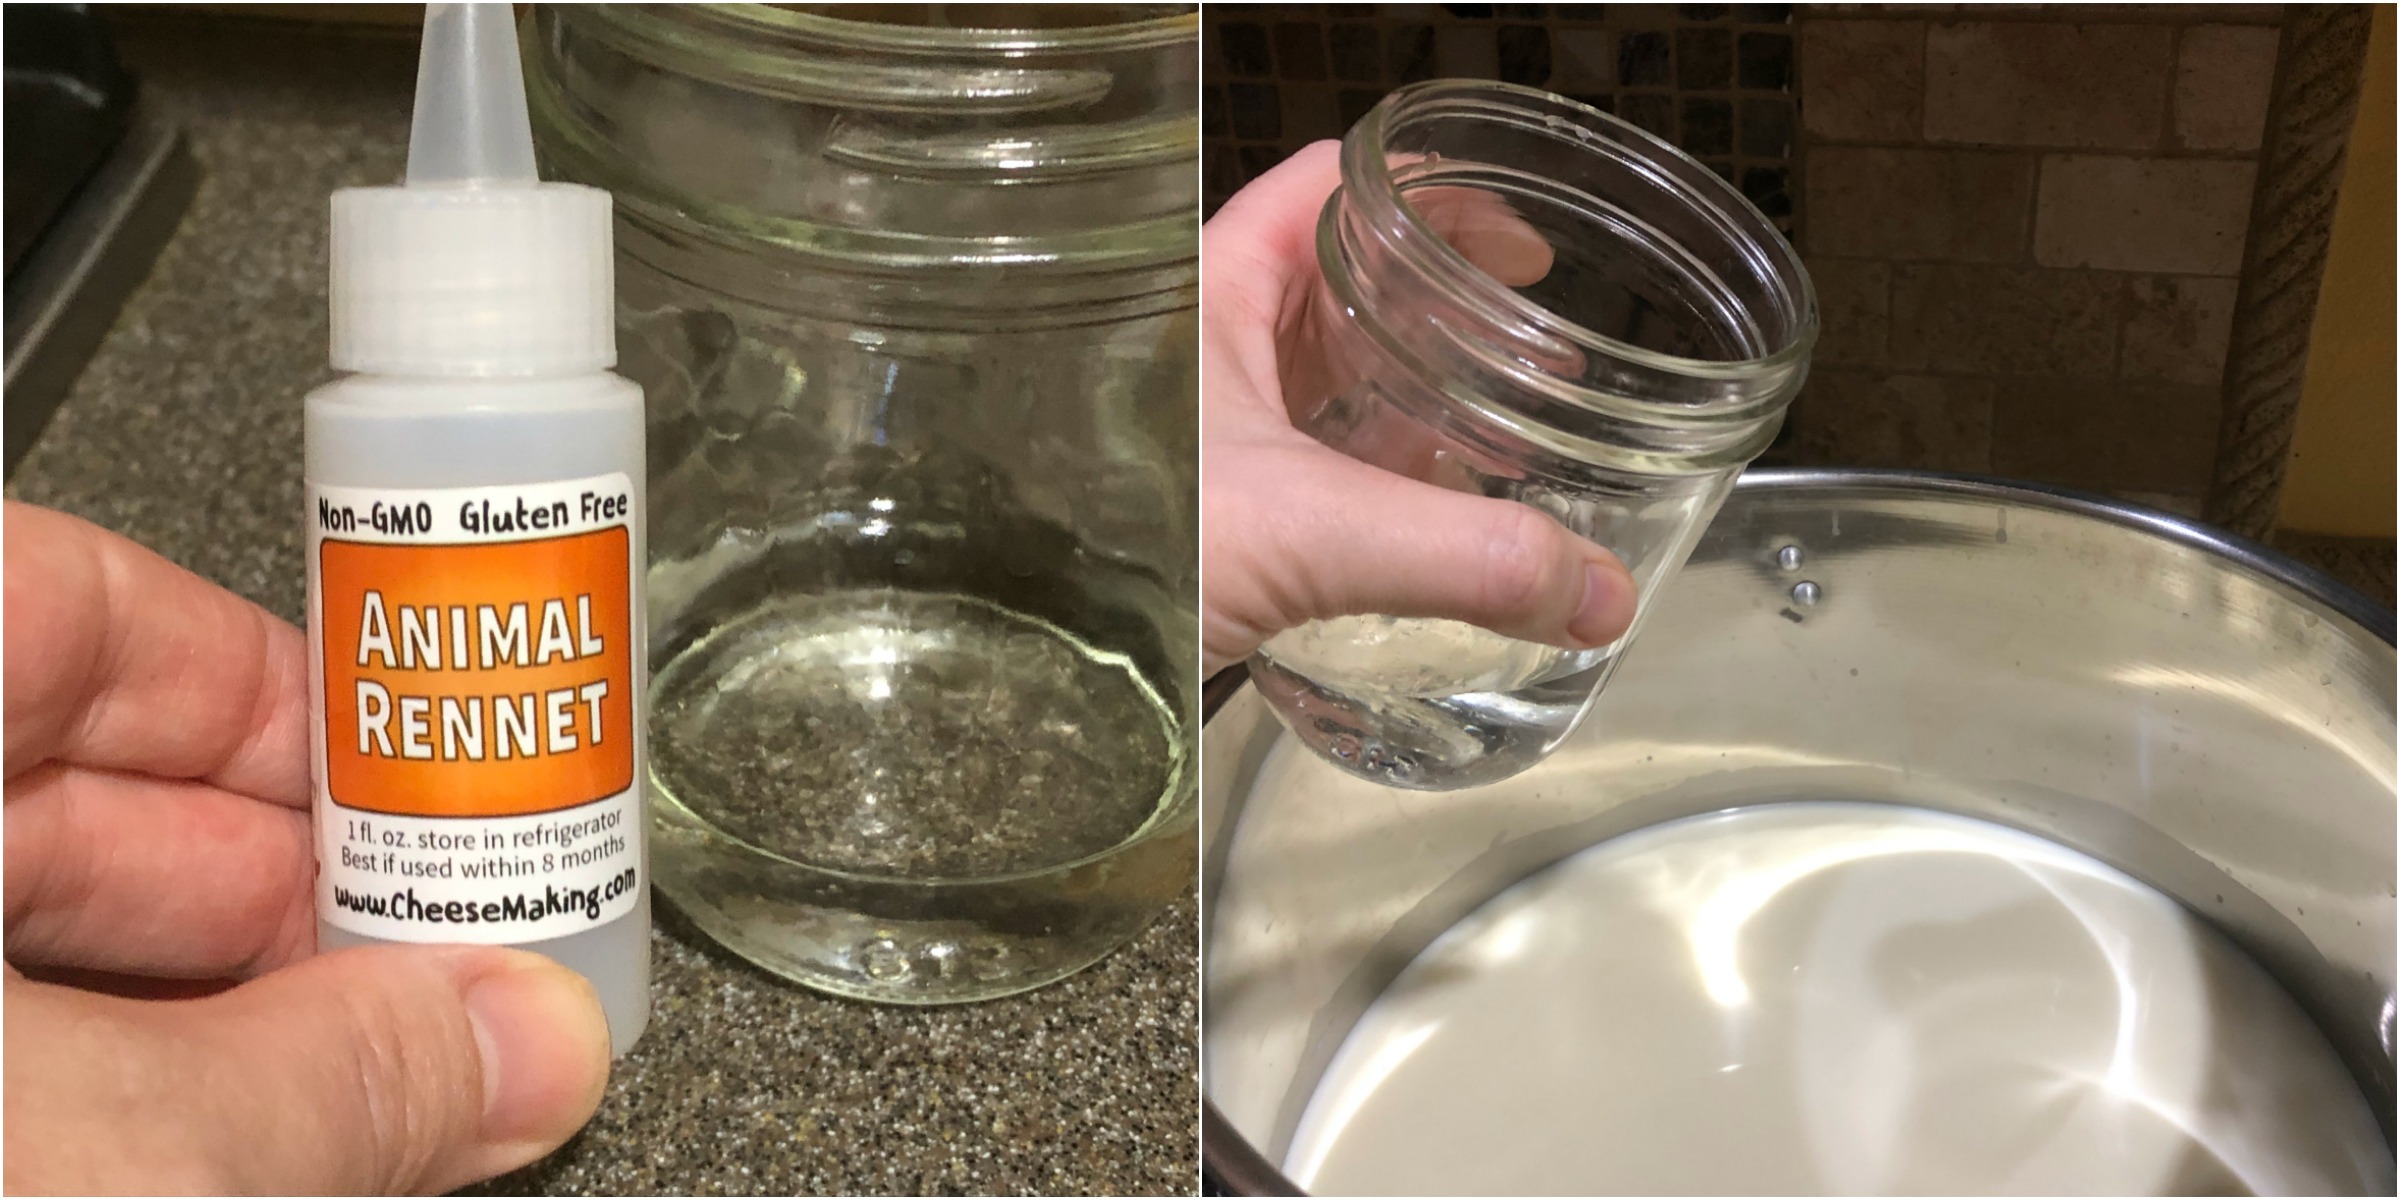
Step #2 — Coagulate with rennet.
Combine 1/2 tsp rennet in 1/4 C. cool, non-chlorinated water and pour into the milk. Stir for 30 seconds, using up and down motion, to incorporate into the milk. Cover the pot, and allow the culture and rennet to work for 45 minutes without interruption.
During this time, the milk may drop a few degrees – that is OK.
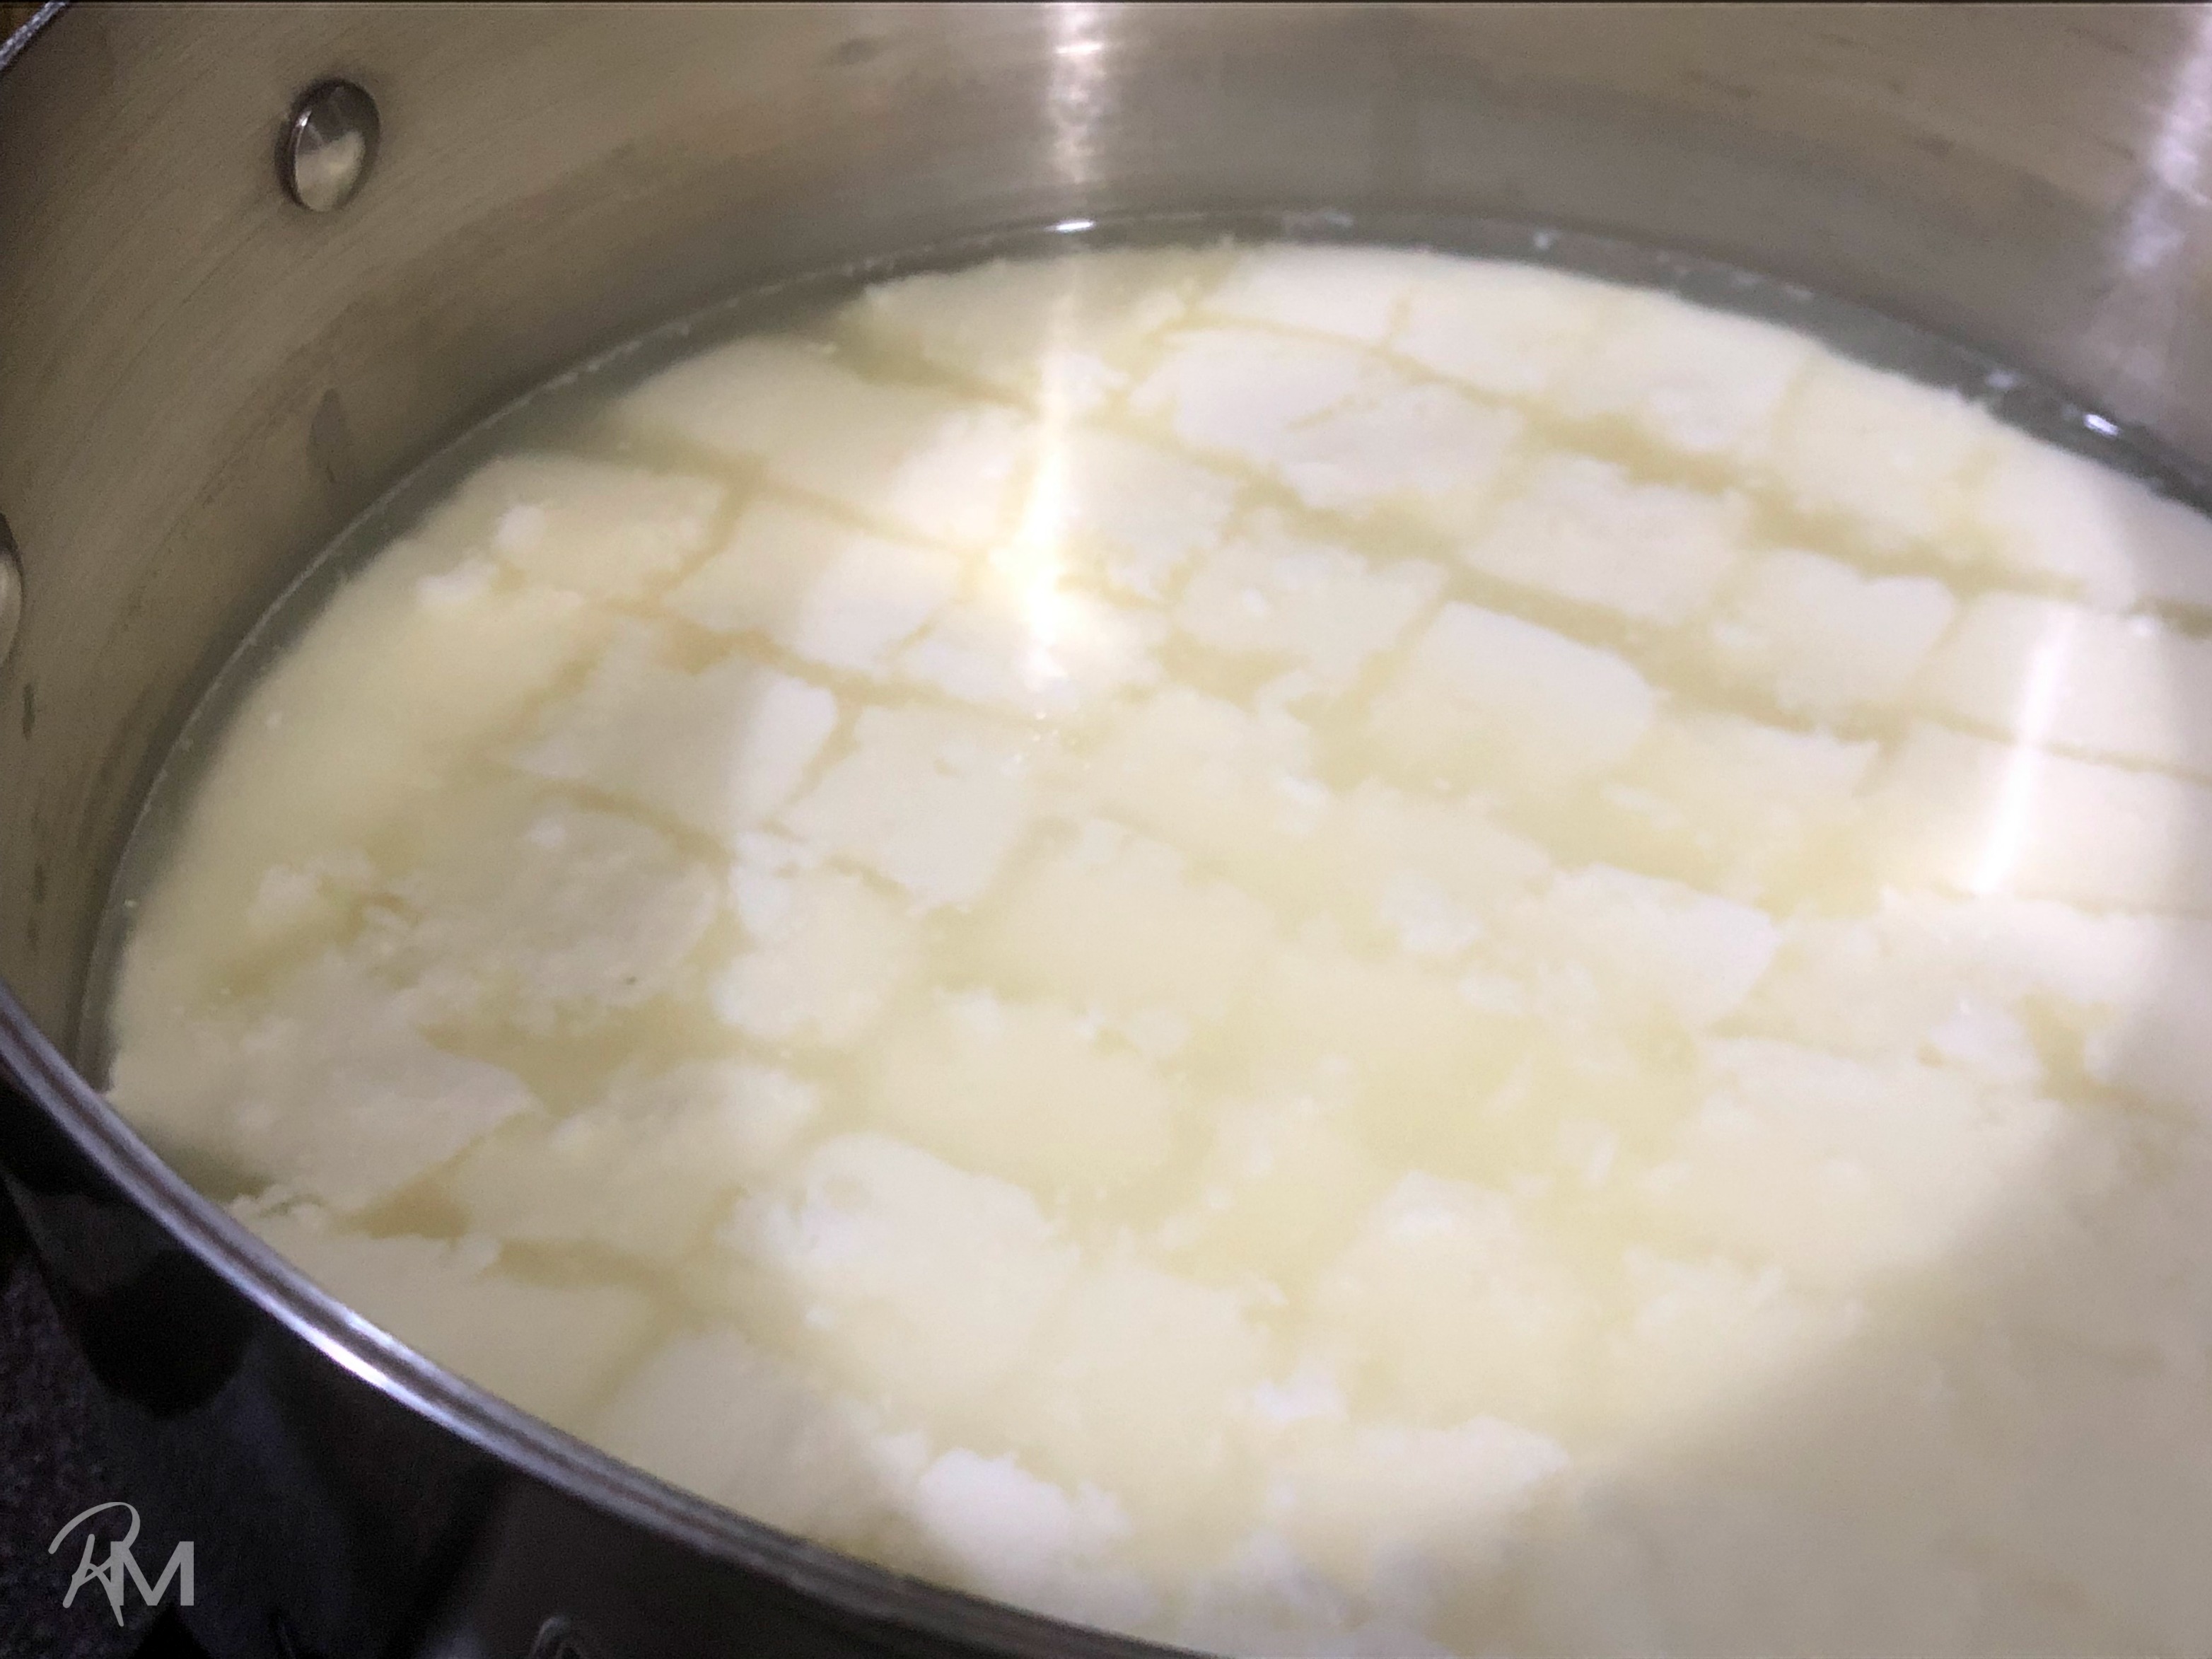
Step #3 — Cut your curds
After that 45 minute period, the curd should be ready to cut with your long knife. You want to see a nice, smooth split with a clean break.
Cut 1/2 inch spacing — checkerboard (horizontally, vertically). Then take your knife and slide it in there diagonally to get under the top. You might have to pull the pot towards you to tilt it to get that horizontal cut.
Once the curds have been cut, cover the pot and allow the curds to rest for 5 minutes.
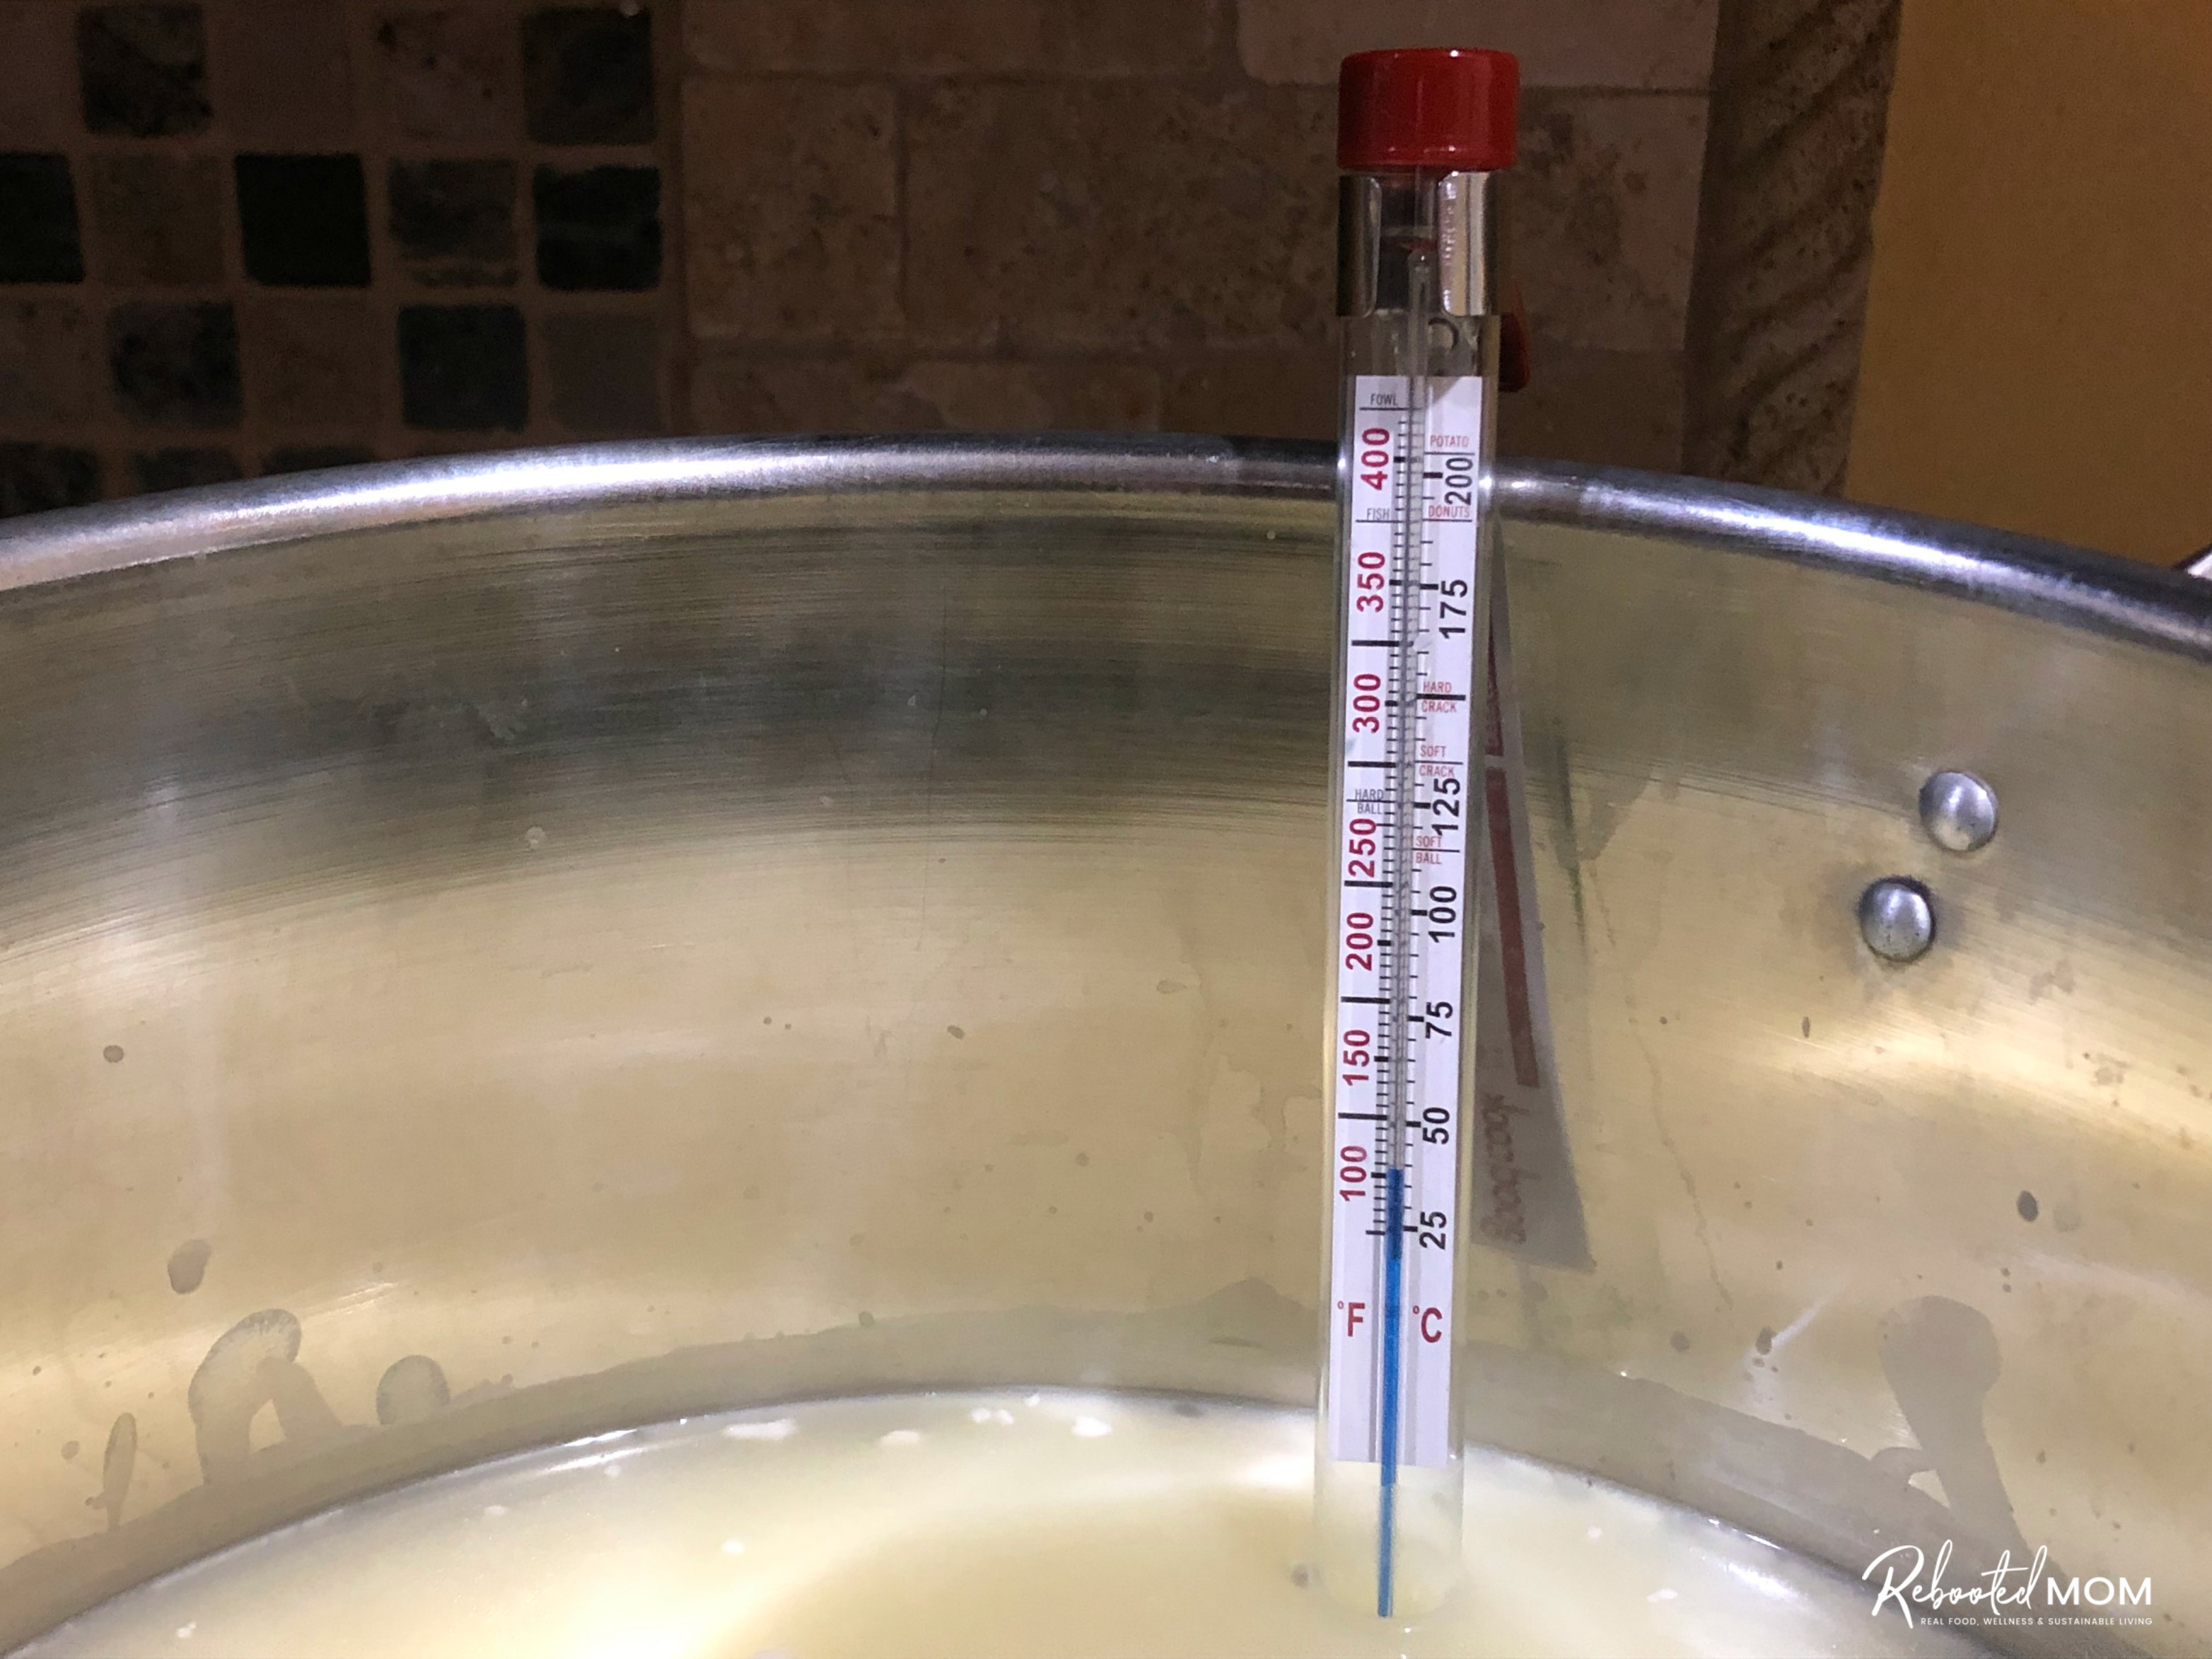
Step #4 — Cook the curds
After the curds have rested, put the thermometer back on the pot. Turn the heat on the pot and increase the heat slowly to 100 degrees — over the course of 20-30 minutes.
I have a gas stove, so it’s easy to finagle the temperature by turning it off and on periodically as necessary. You don’t want to heat the curds too quickly.
Once at the target temperature of 100 degrees F, keep at that temp for 30 additional minutes. During that time, stir every 5 minutes. During that time, try to stir every 5-6 minutes to prevent the curds from clumping together in the bottom of the pot.
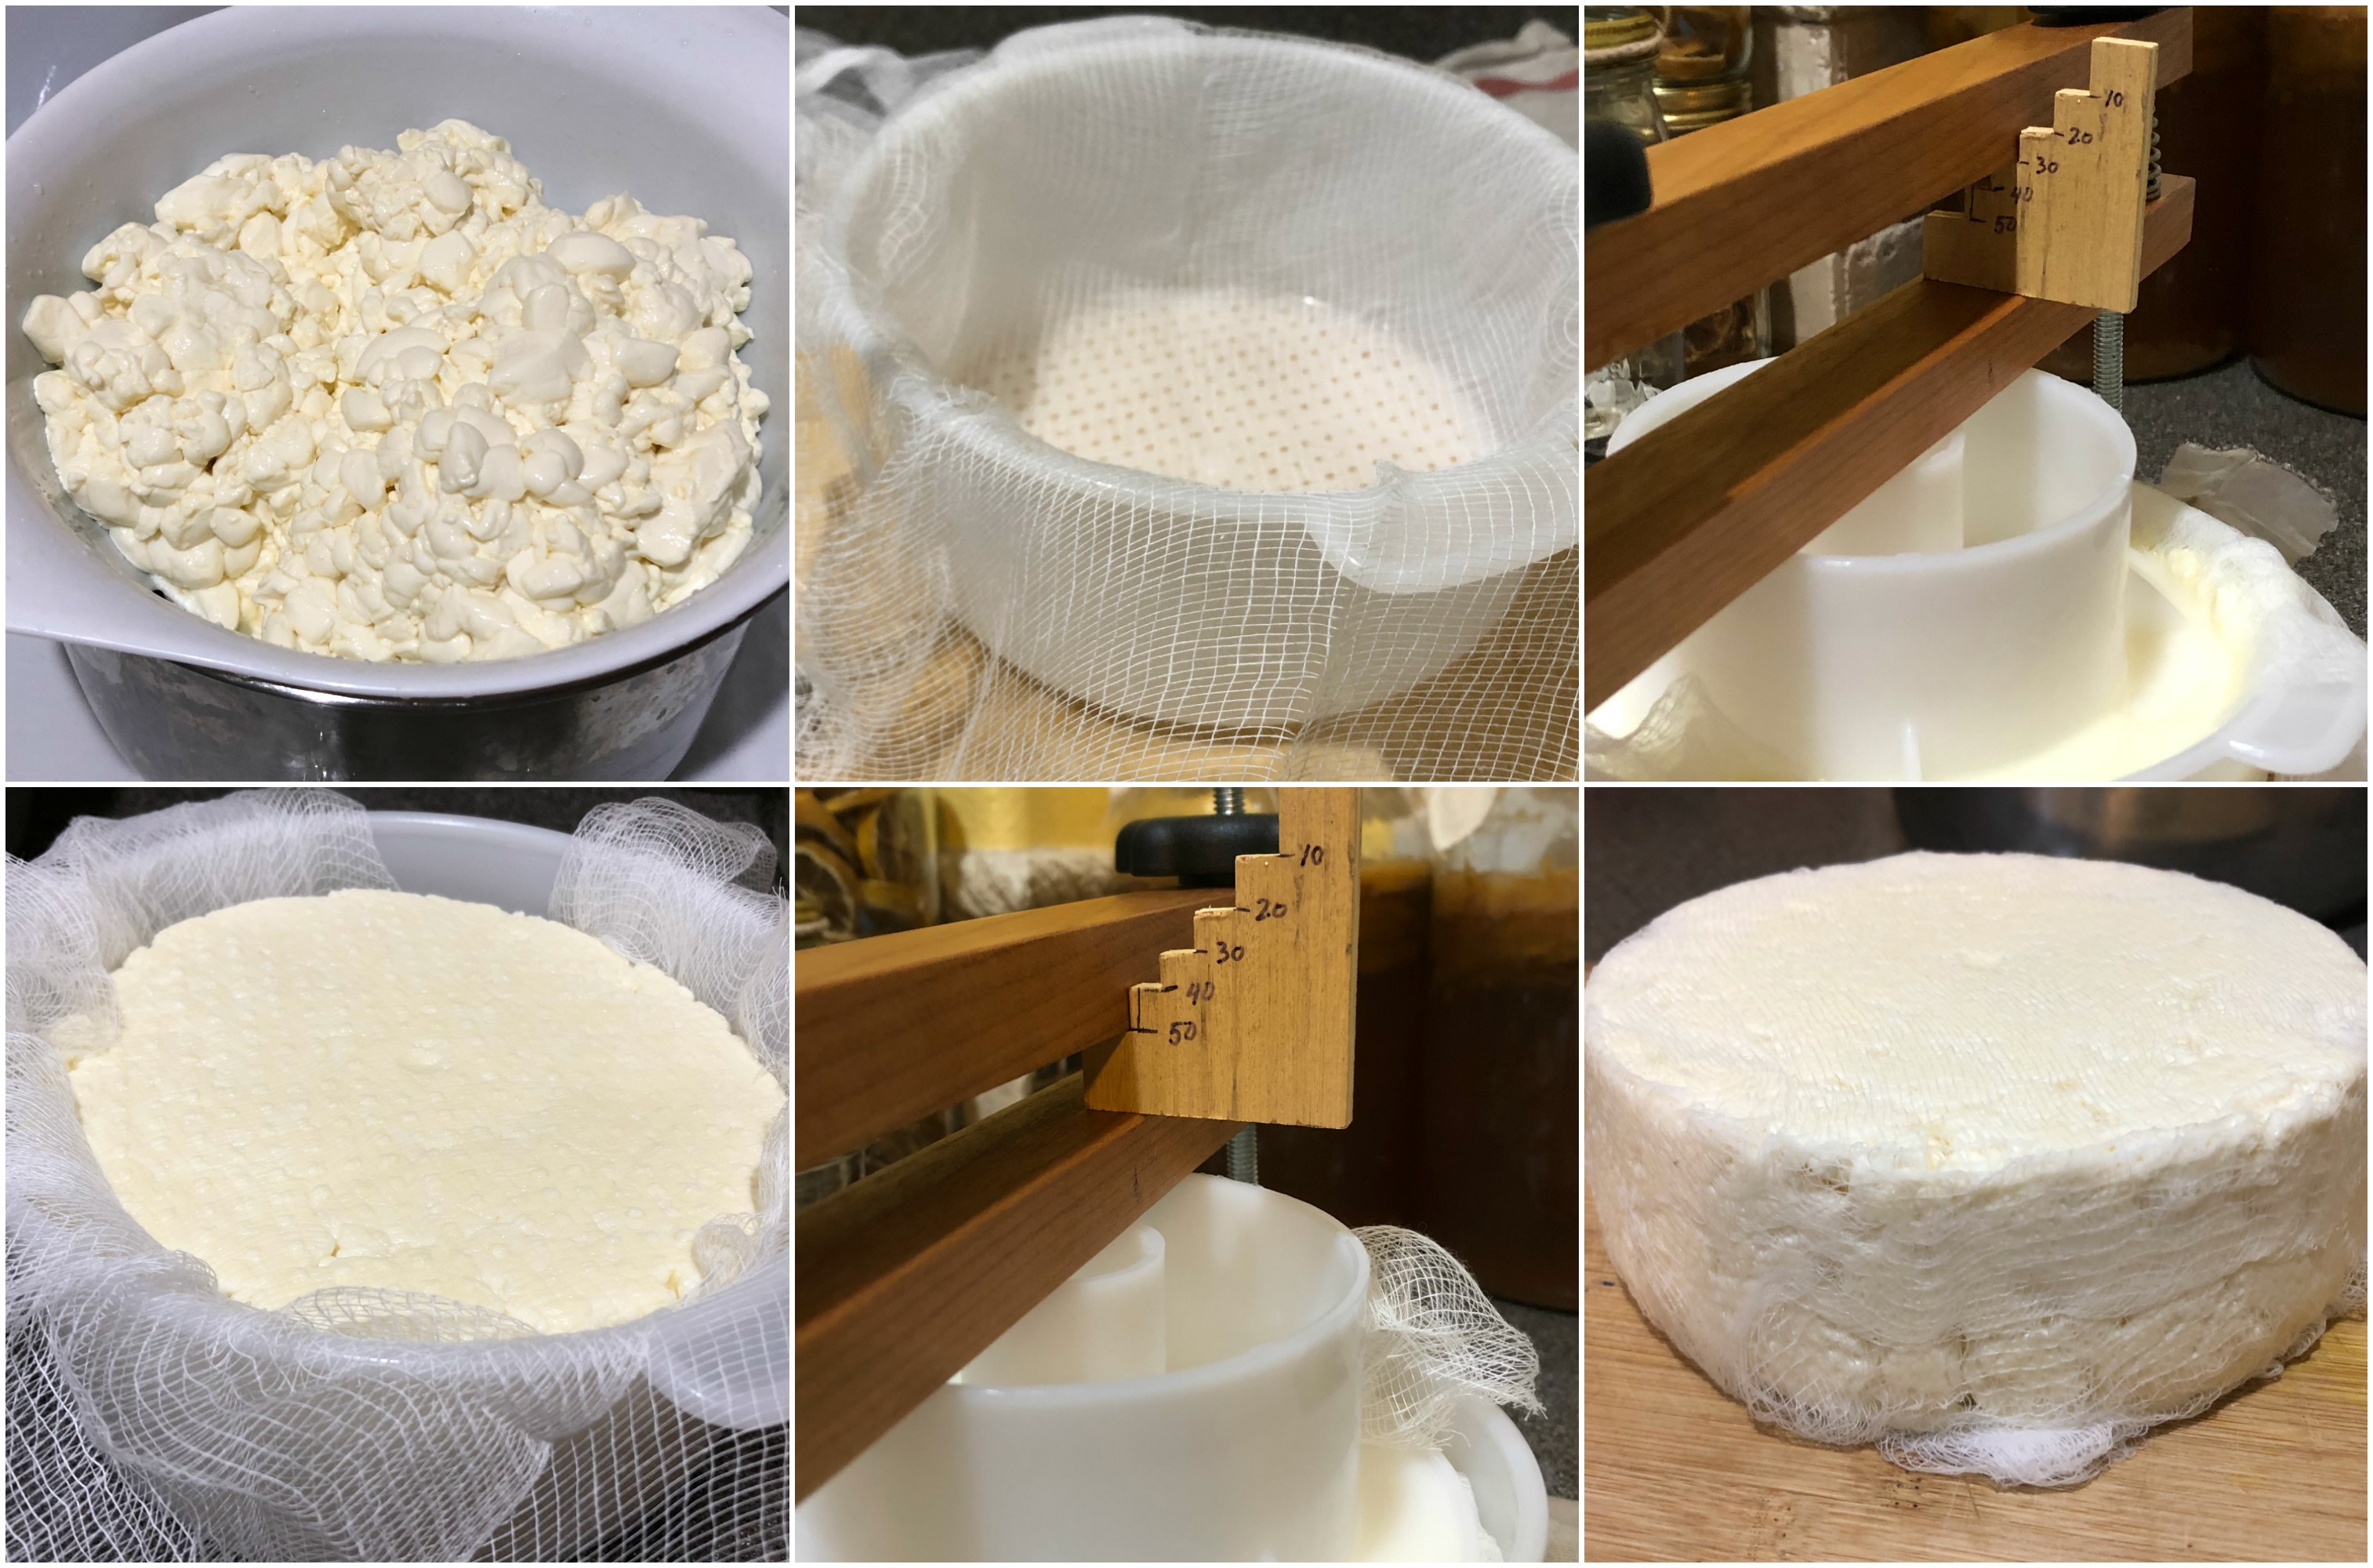
Step #5 — Transfer and Press the Curds
Now, the curds are ready to transfer to the colander and the mold. Place the colander on top of a second empty pot and pour the whey off the curds, catching the curds in the colander. Allow them to drain while you prepare the mold.
Transfer the curds to a cheesecloth lined mold, and place the follower on top. Press the cheese at 30 lbs weight for one hour. Remove from the press; unwrap, flip and re-wrap. Place it back in the mold with the follower on top. Press at 50 lbs for 30 minutes.
During this time, place the whey back on the stove and bring to the temperature of 174 degrees F. Check on it often, as whey can boil over quite easily.
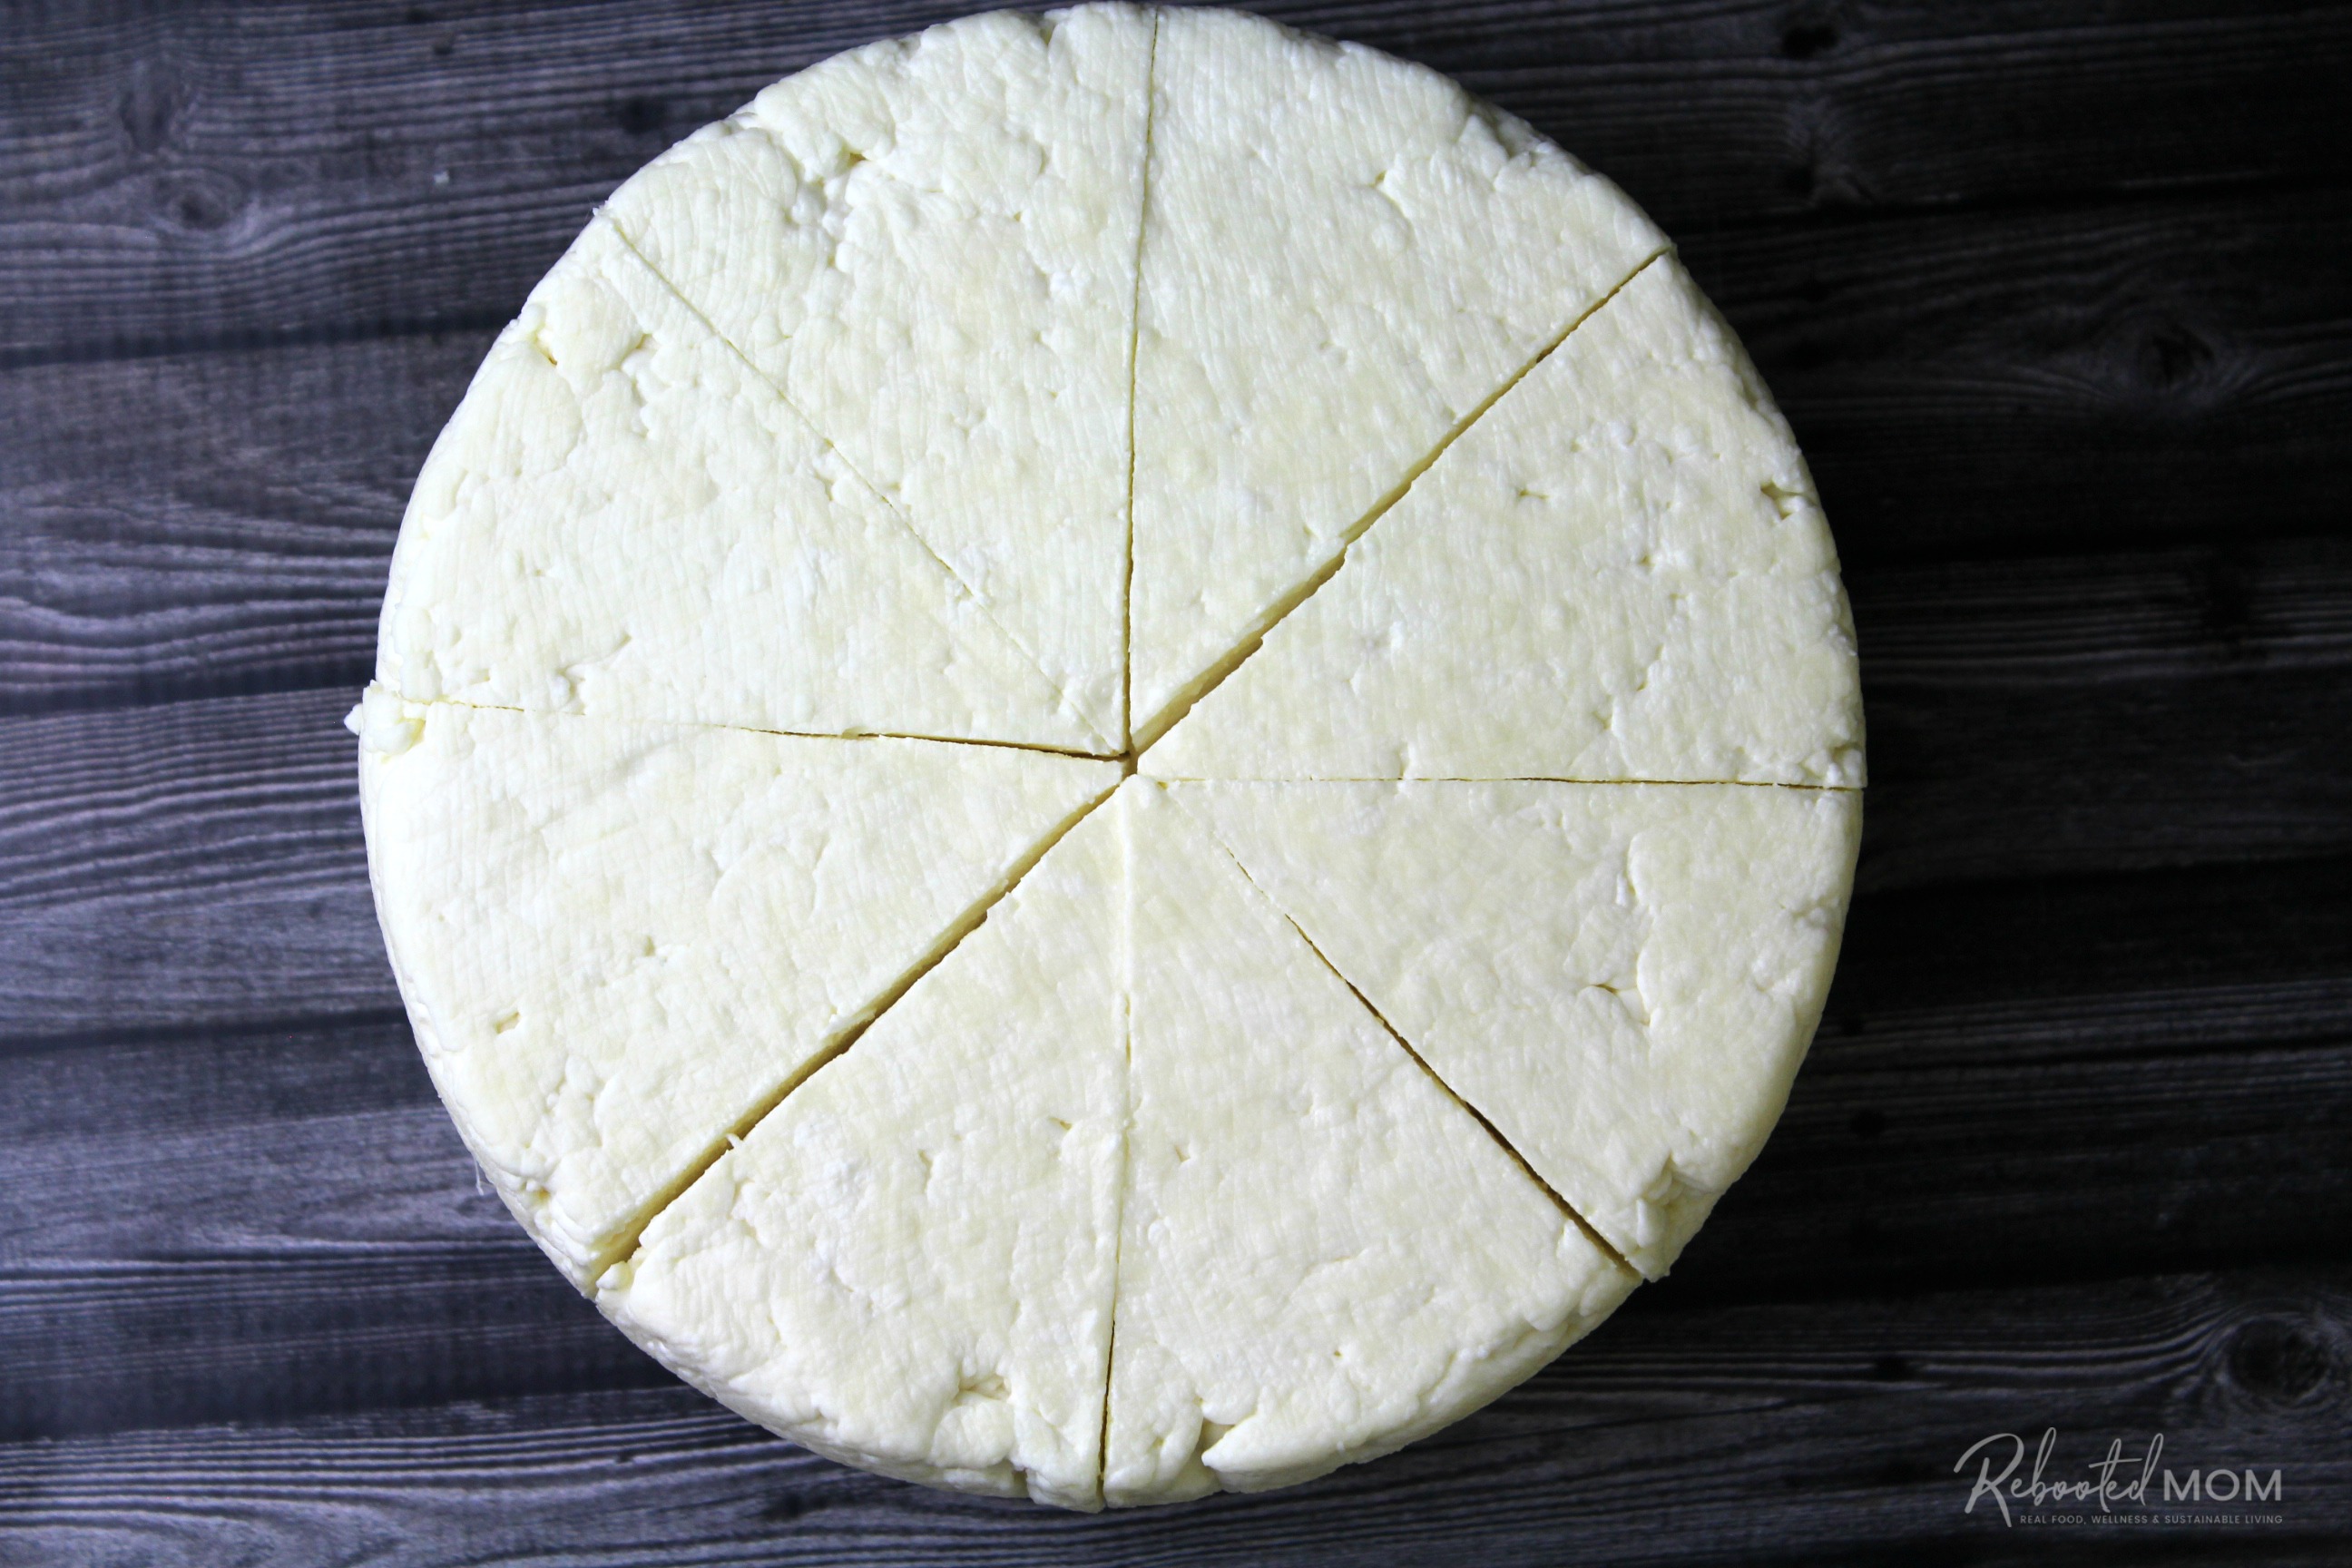
Step #6 — Cut and Cook
Remove the cheese from the mold and cheesecloth and place on a flat cutting surface. Cut the cheese into wedges (much like a pie).
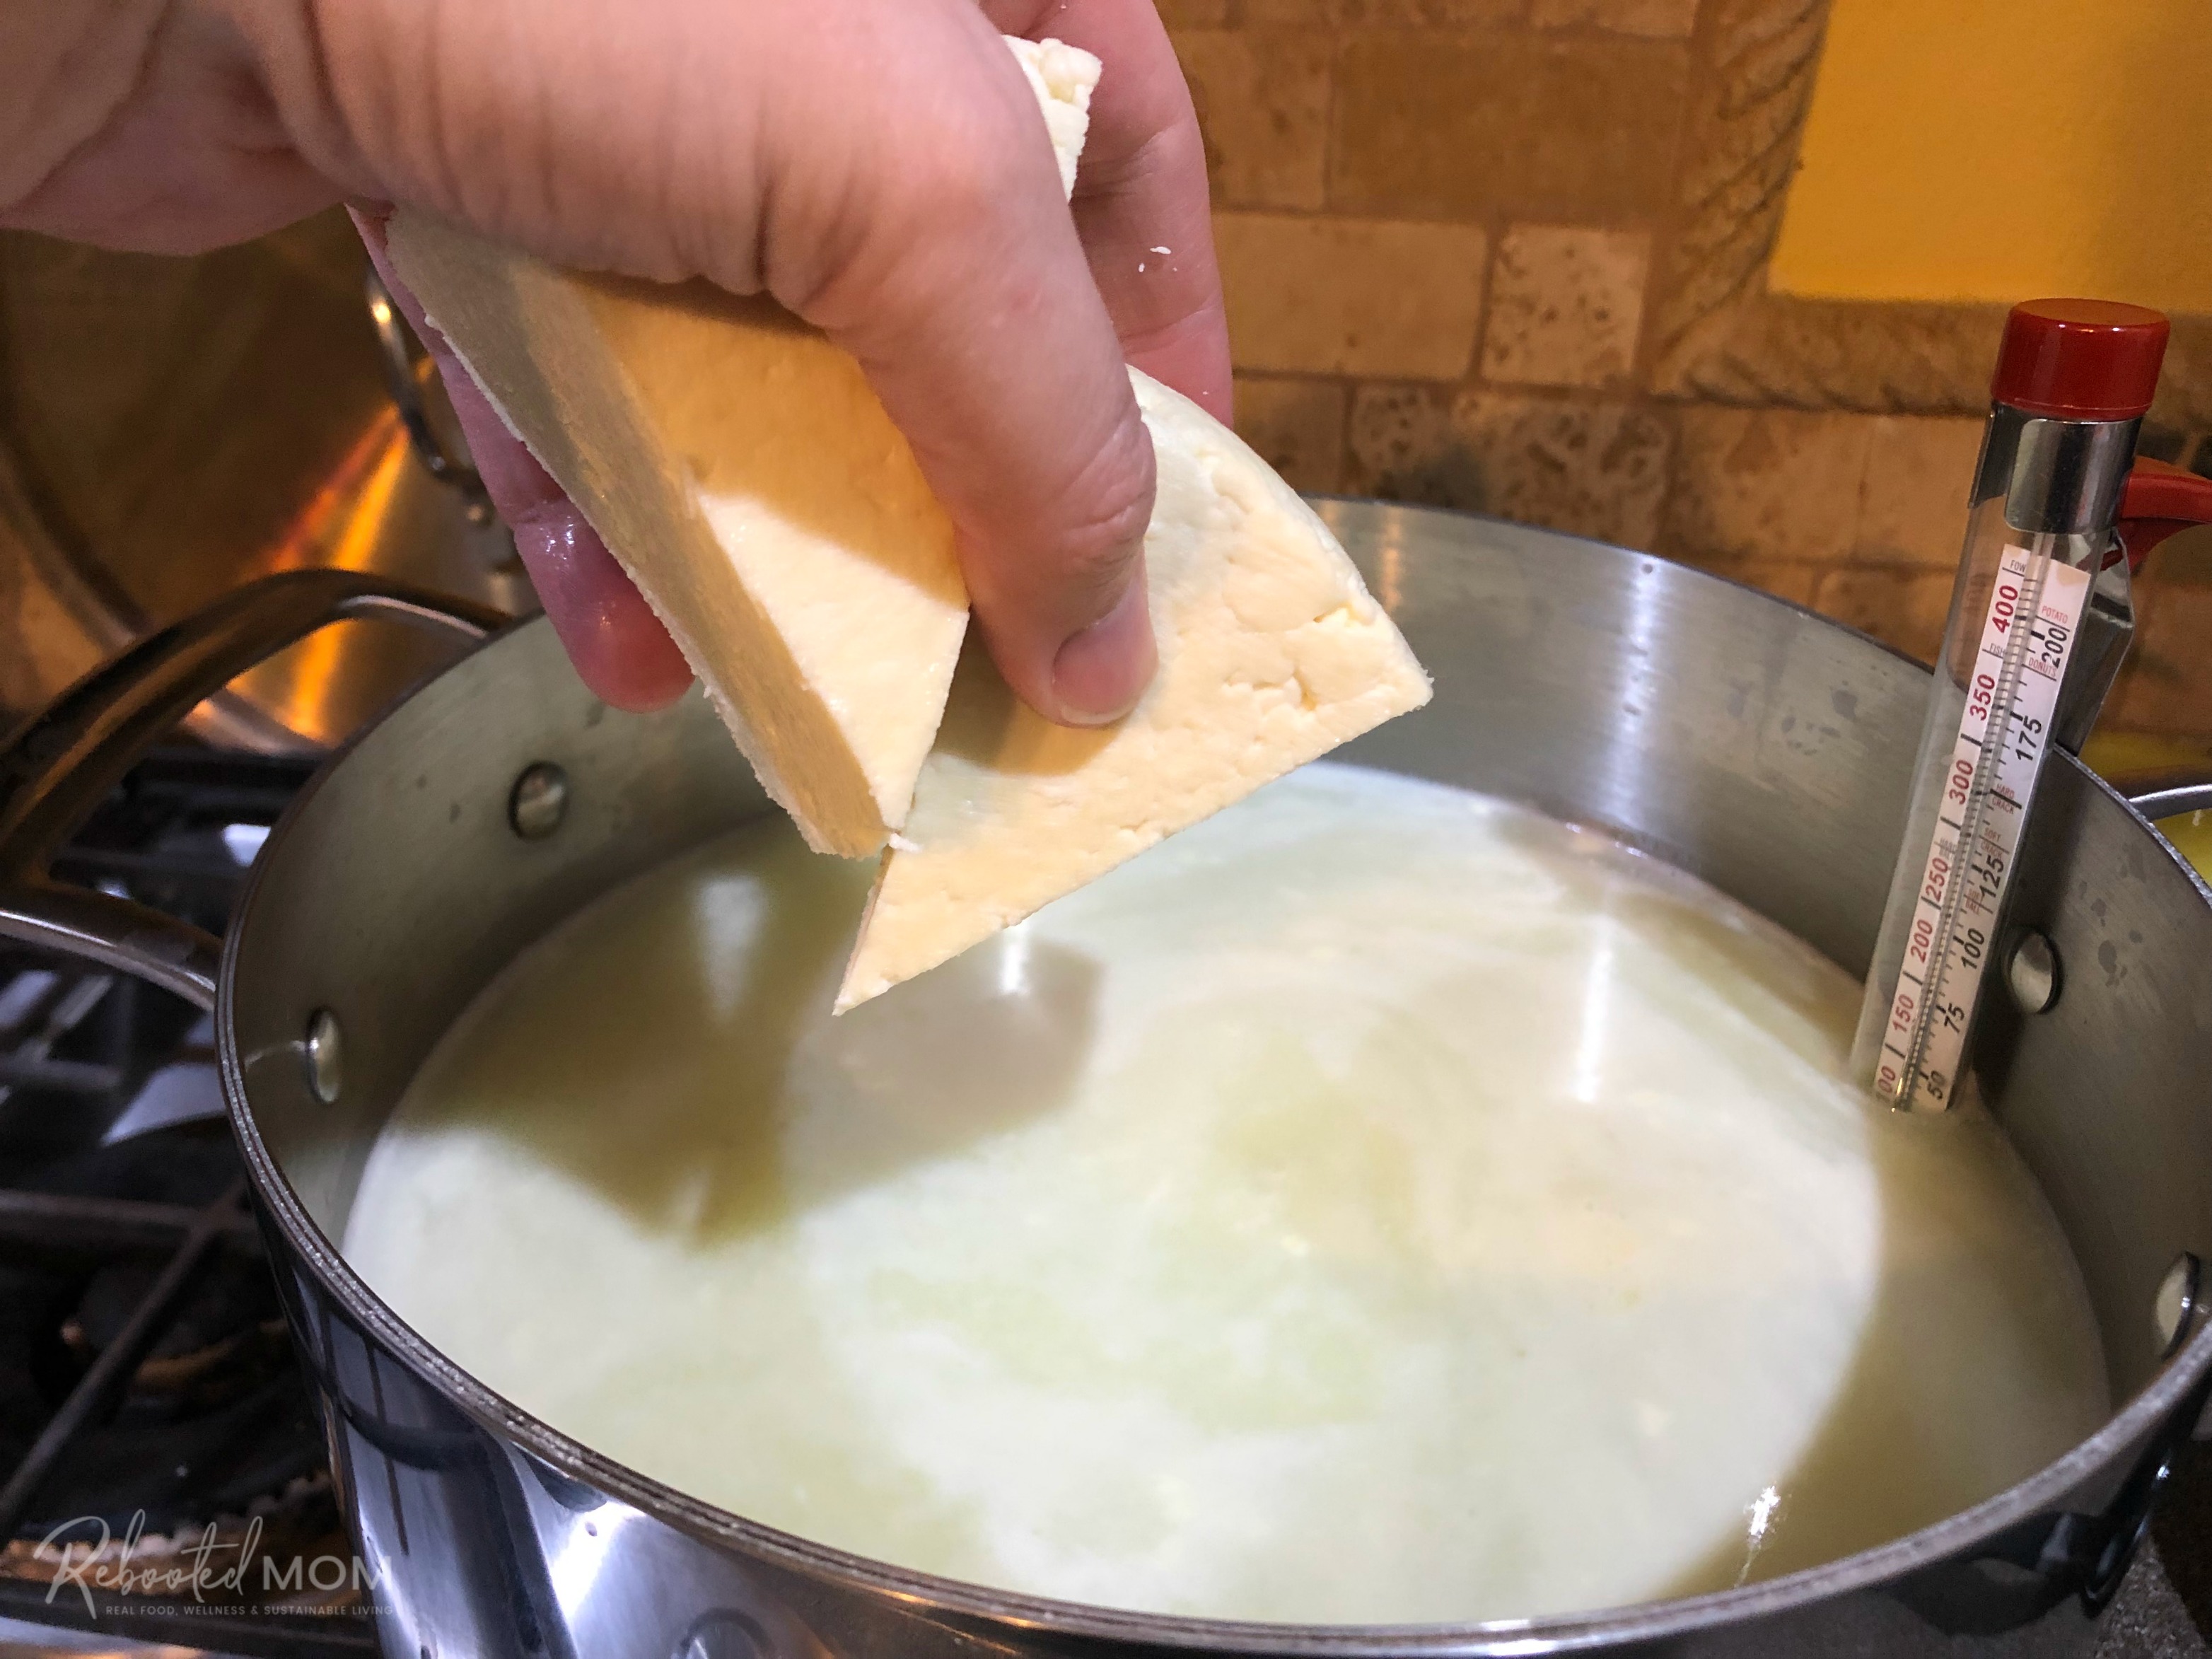
Place your slices into the whey at 174 degrees – initially they will sink. After 30-45 minutes they will float to the top – they are ready to remove.
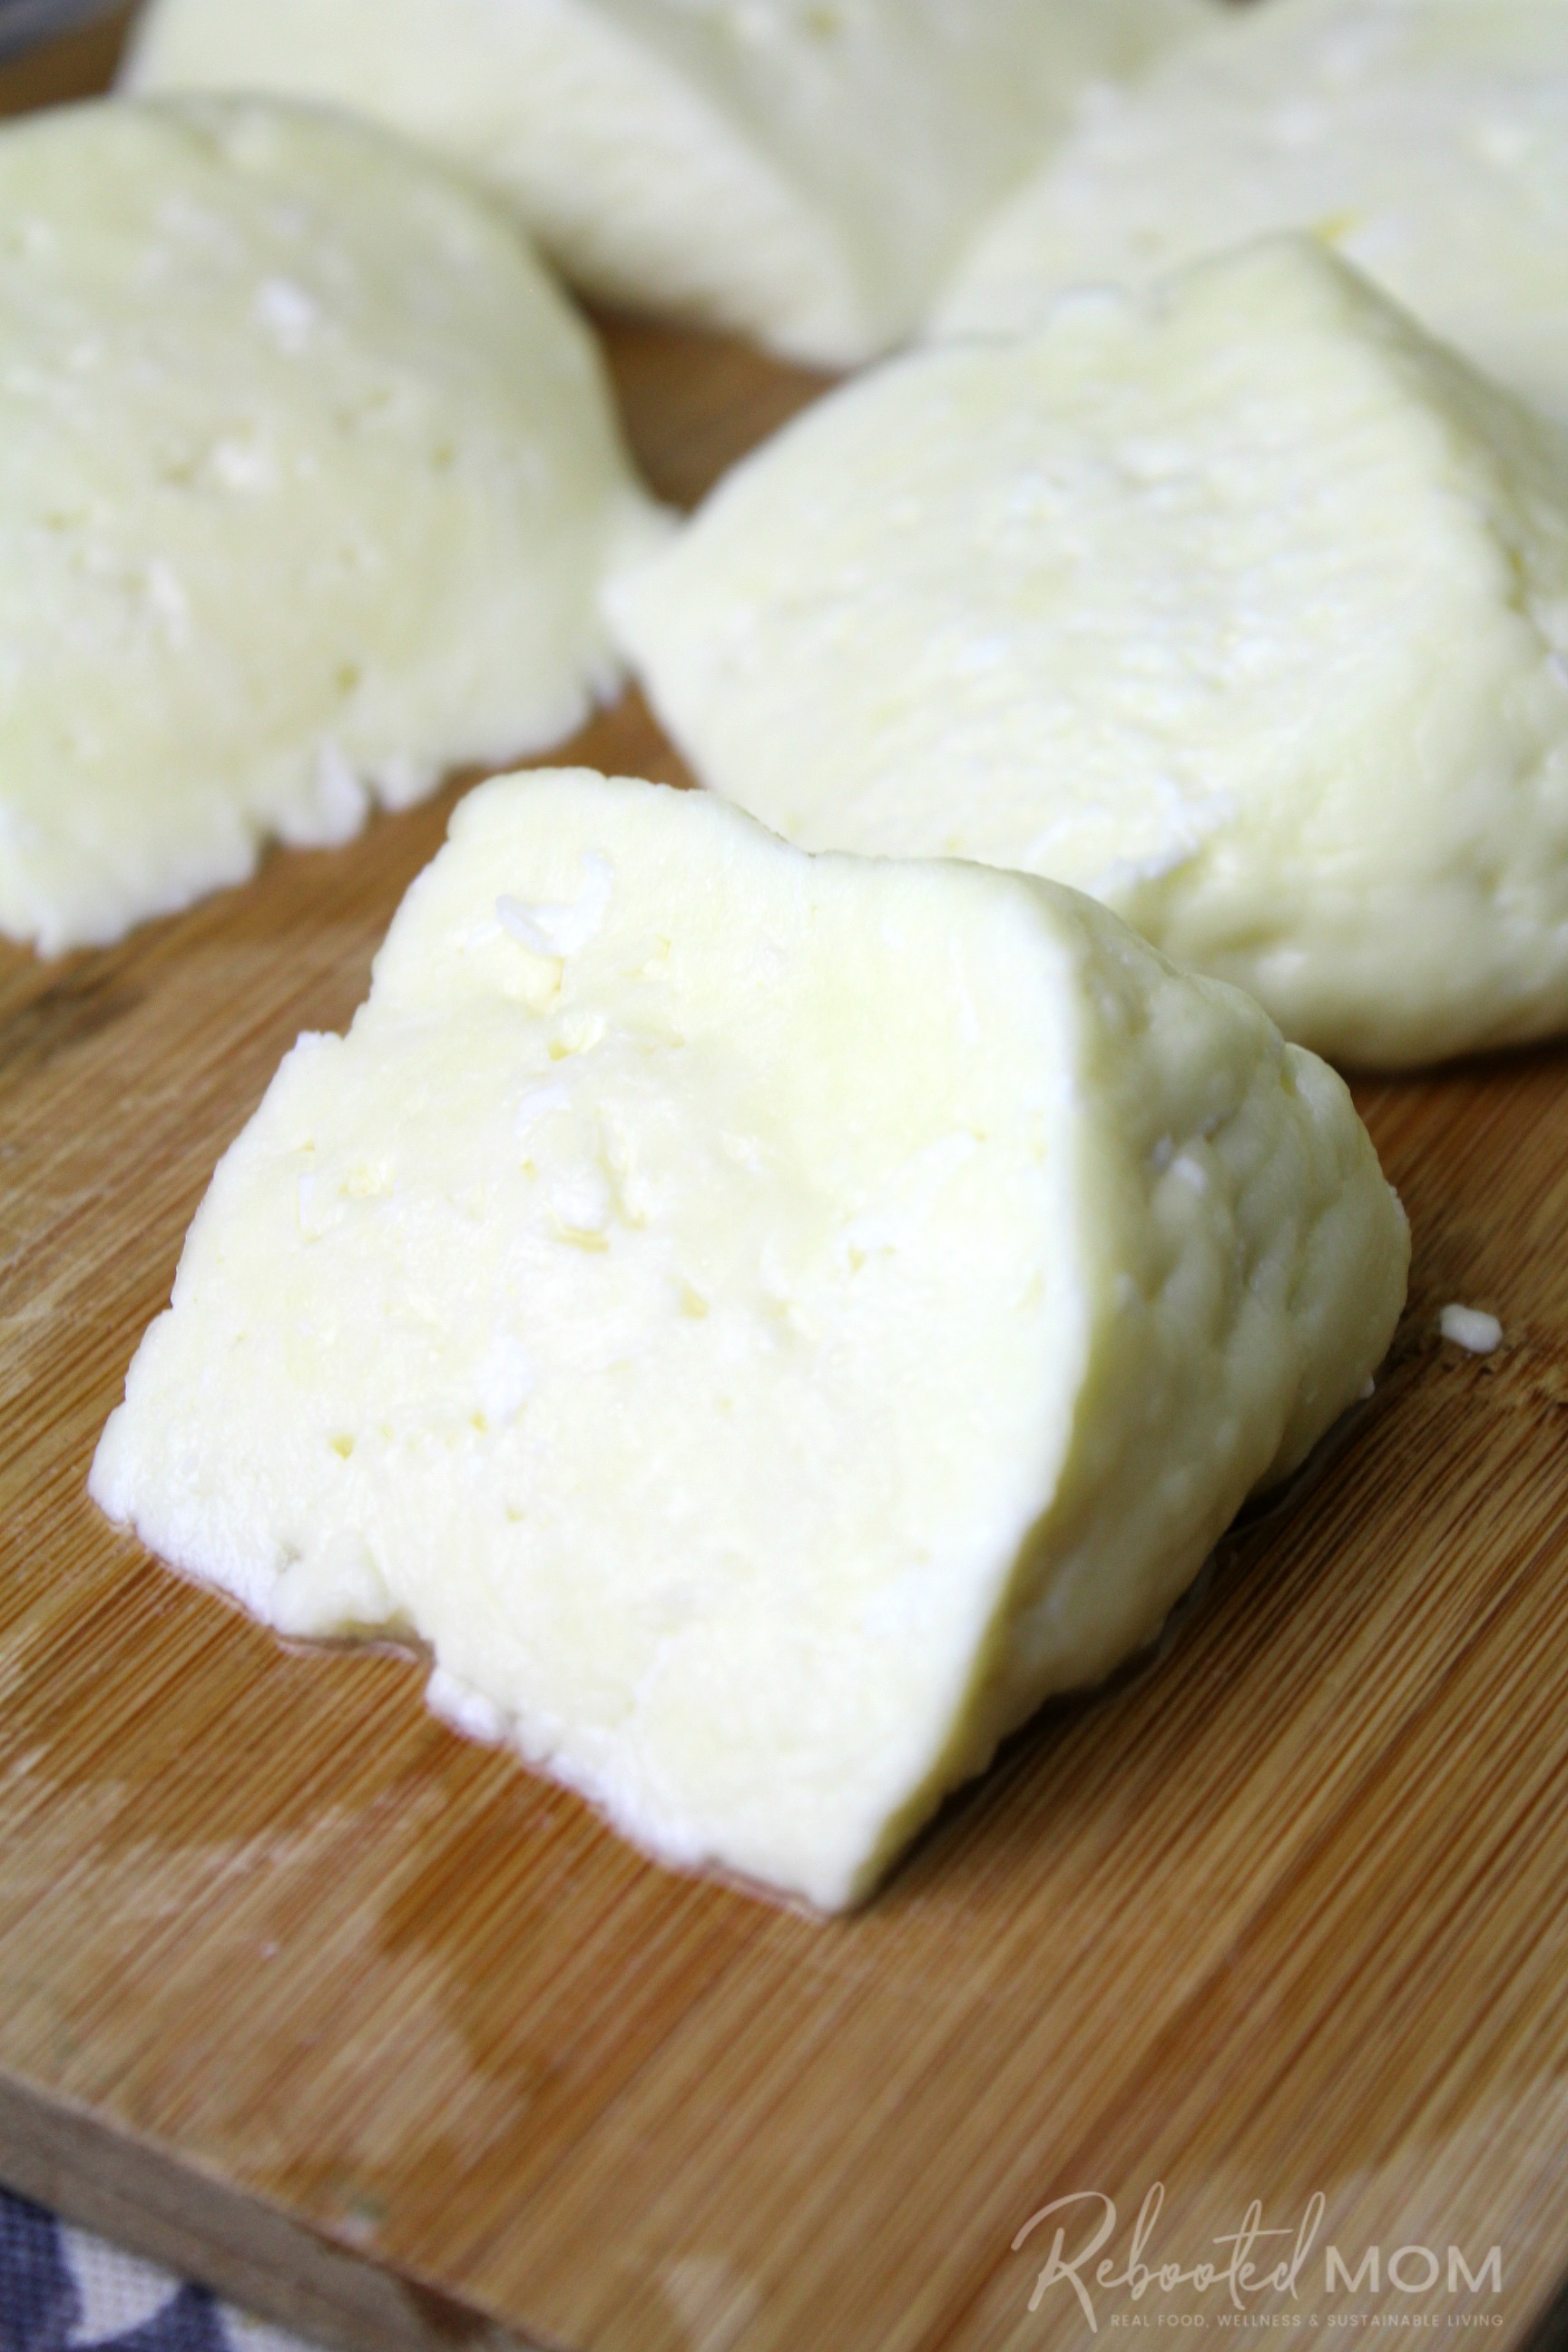

Remove the cheese and turn off the stove. Lay the cheese down on a clean cutting board and sprinkle with just under 1/8 C. salt between both sides. Loosely cover and allow to sit for 2-4 hours.
Store the cheese in a brine (8-12% salt + 1 gallon of water) in the fridge for up to 60 days. I prefer to use an 8% brine — which is just 2.56 oz of salt dissolved in 1 gallon of non-chlorinated water.
Always use a scale to measure your salt to ensure the best accuracy.
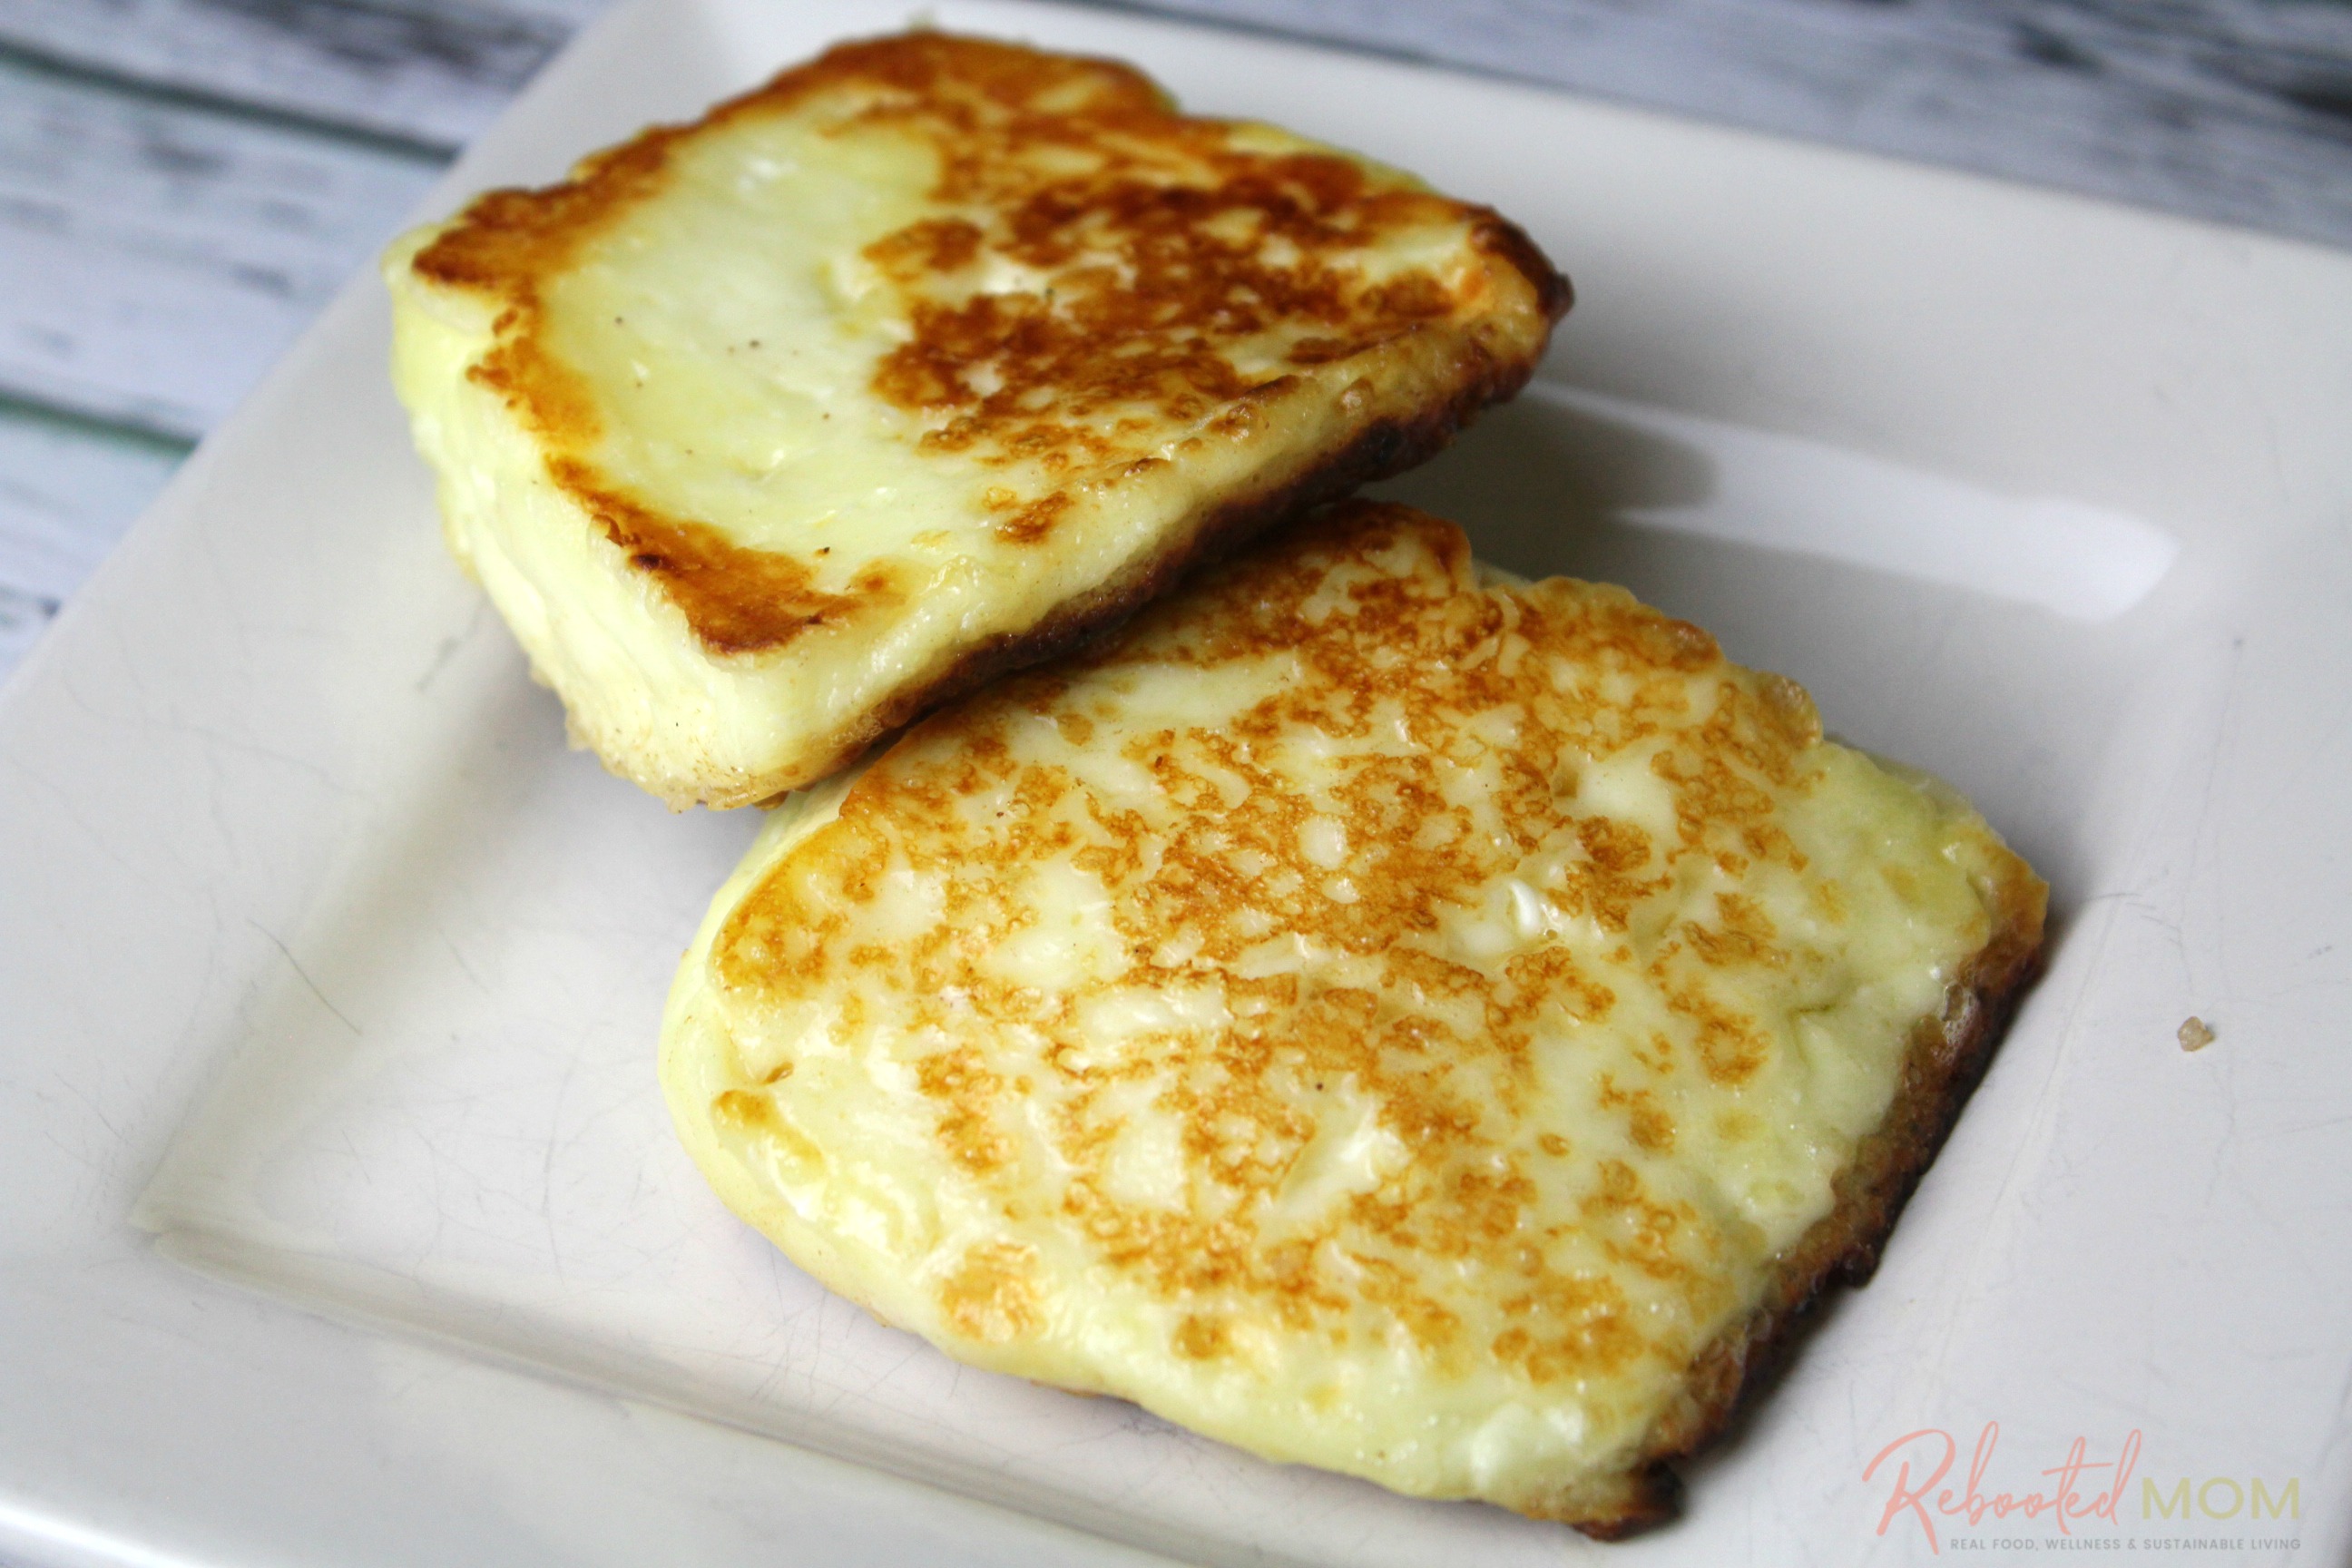
Enjoying your cheese
Once your Halloumi is done, you can enjoy it in slices (as-is) on a salad, or sandwich. One of my favorite ways to eat Halloumi is grilled or fried in a pan in butter or oil.
Simply put your cheese in a pan with a pat of butter or some oil and cook on each side for 2-3 minutes until browned. Flip and repeat.
Have you ever enjoyed Halloumi cheese?

[…] it be halloumi or mozzarella, you need time more than anything. Thankfully, to enjoy your favorite cheese, you […]