


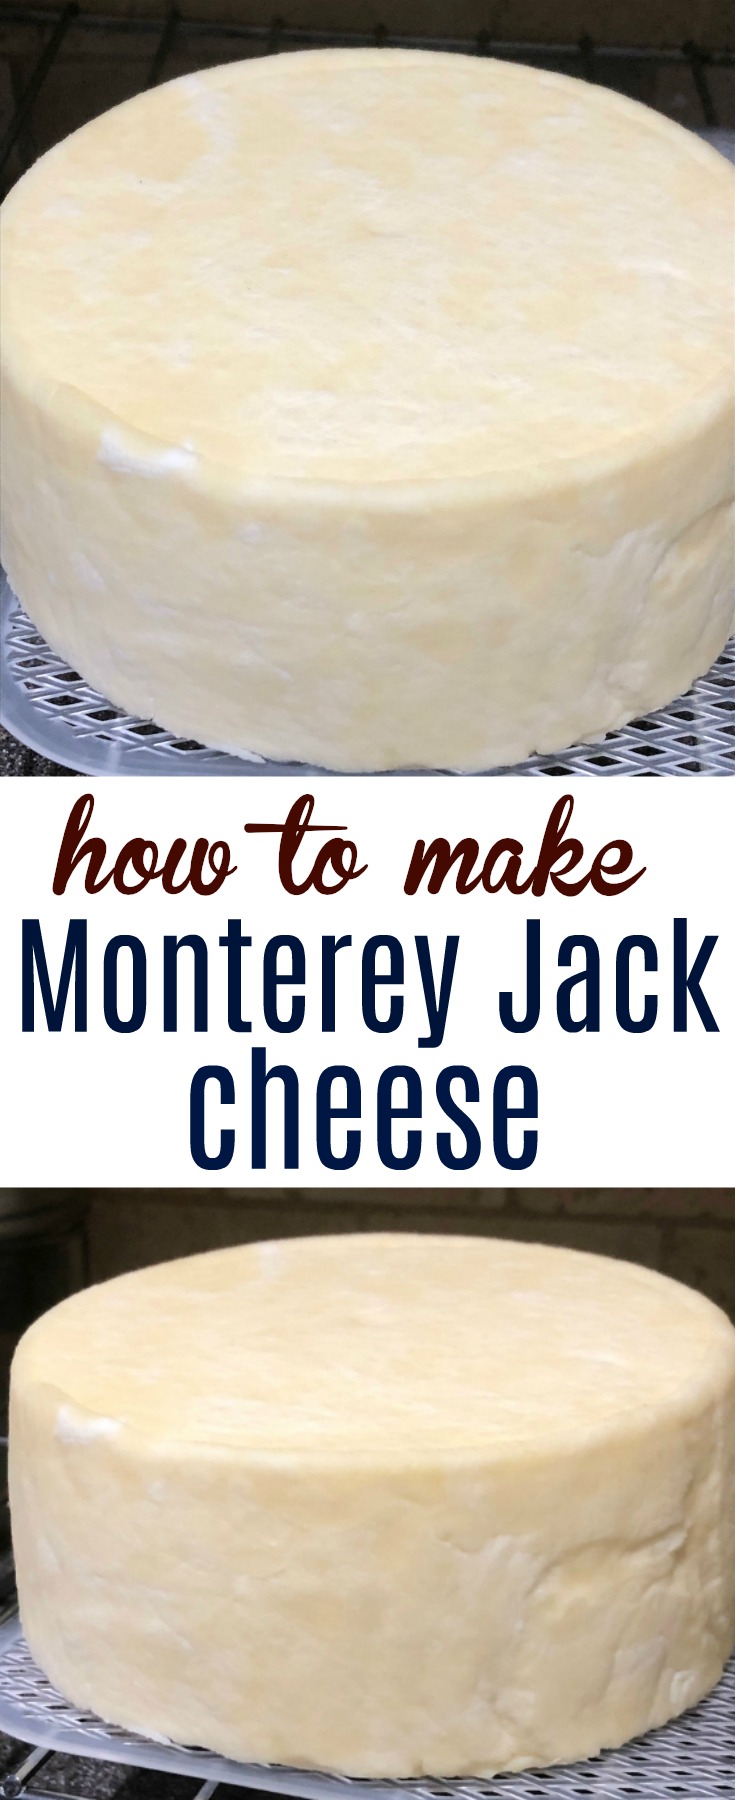
Learn how to make Monterey Jack cheese at home with these easy step-by-step instructions complete with pictures and supply list.
It has been about six months since I caught the cheesemaking bug. Not only is it pretty rewarding, cheesemaking can be very enjoyable too. Aside from the soft cheeses like paneer and queso fresco, Monterey Jack is one of the first aged cheese varieties that I made. It turned out quite successful and with that success, more cheese.
From Cheddar to Pepper Jack, even Gouda, there are so many wonderful varieties of cheese for new cheesemakers to try for themselves.
With a simple recipe for Monterey Jack cheese, you’ll not only gain confidence in your cheesemaking, you’ll end up with a wonderful homemade cheese.
What is Monterey Jack Cheese
Monterey Jack cheese is an American, semi-hard cheese that’s made with cow’s milk. Varieties of Monterey Jack include Pepper Jack, and Colby Jack.
But Monterey Jack is different ~ earliest forms of the cheese were made in the 18th century by the Spanish Franciscan friars of Monterey, Alta California.
The priests traveled with olives, cattle (milk) and grapes — the fresh milk was used by the friars to make this delectable cheese. The cheese was initially Queso blanco pais, but that wouldn’t be for long. With the establishment of a new state (California) in 1848, many Mexicans lost their farms to people like David Jack. It wasn’t long before David Jack capitalized on the marketability of the cheese by selling it with his name slapped on it “Jack’s Cheese”. From there it became “Monterey Jack’s Cheese.”
You can read a little history about that ordeal – think about that the next time you slice into your Monterey Jack cheese.
Aging and Storing
Monterey Jack should be stored in a cool area – or a cheese fridge (wine cooler) where the temp remains around 54-55 degrees consistently. The cheese can be aged from 4 weeks (1 month) to 6 months – although the longer it ages, the more dry and crumbly it will become.
If aging, it’s important that you turn the cheese every other day in the first month, then once a week for each month remaining.
Monterey Jack Ingredients:
- 2 gallons of raw cow’s milk (find raw milk in your area)
- 1 packet of Mesophilic Starter culture
- 1/2 tsp rennet diluted in 1/4 C. cool water
- For the brine: 2.25 quarts (5 C.) room temperature non-chlorinated water
- For the brine: 2 C. non-iodized cheese salt (can also use kosher salt or non-iodized sea salt)
Other materials required:
- 2 lb cheese mold
- optional: cheese press (I love this one) or hand weights that total 10 pounds
- non-reactive pot that holds more than 2 gallons
- cheese knife to cut the curd
- colander or fine mesh strainer
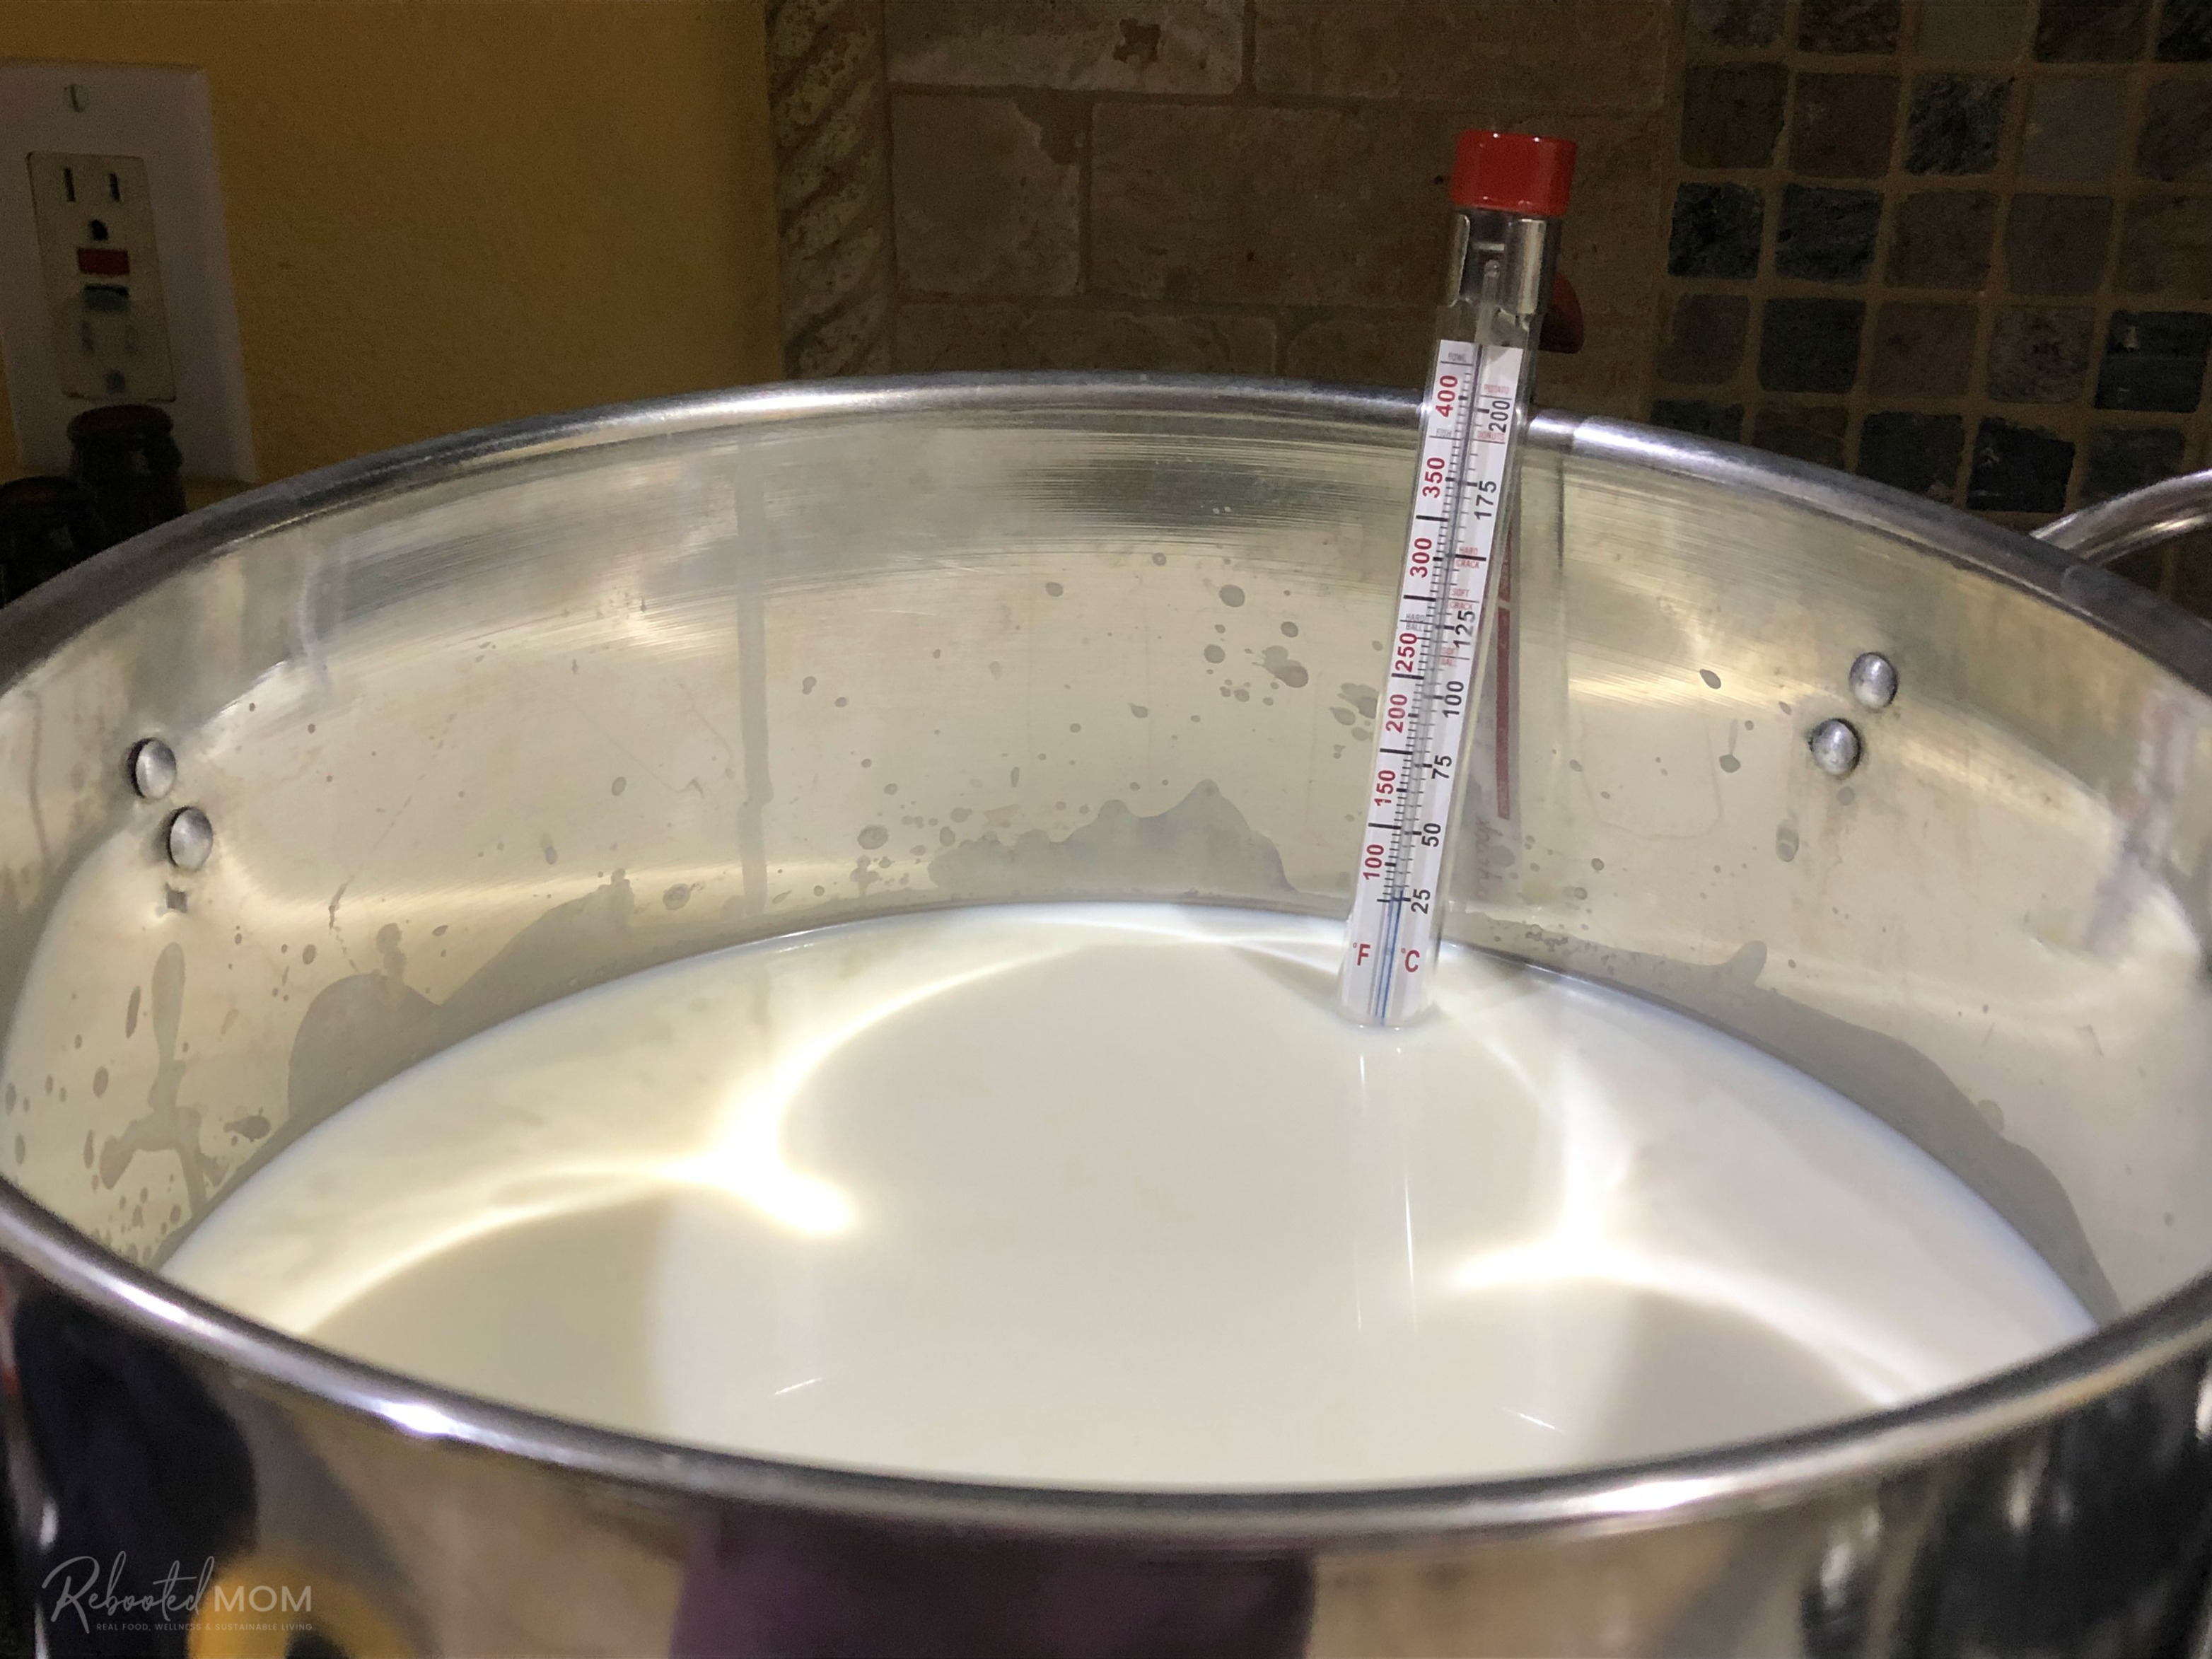
Start by pouring your milk into a non-reactive stainless steel pot. Clip your thermometer to the side of the pot, or better yet, invest in a digital thermometer.
With the heat on low, gently bring the milk to a temperature of 88 degrees F.

Turn off the heat, and sprinkle your Mesophilic culture on the top of the milk. Allow that culture to rehydrate for 5 minutes (during that time, don’t disturb the milk).
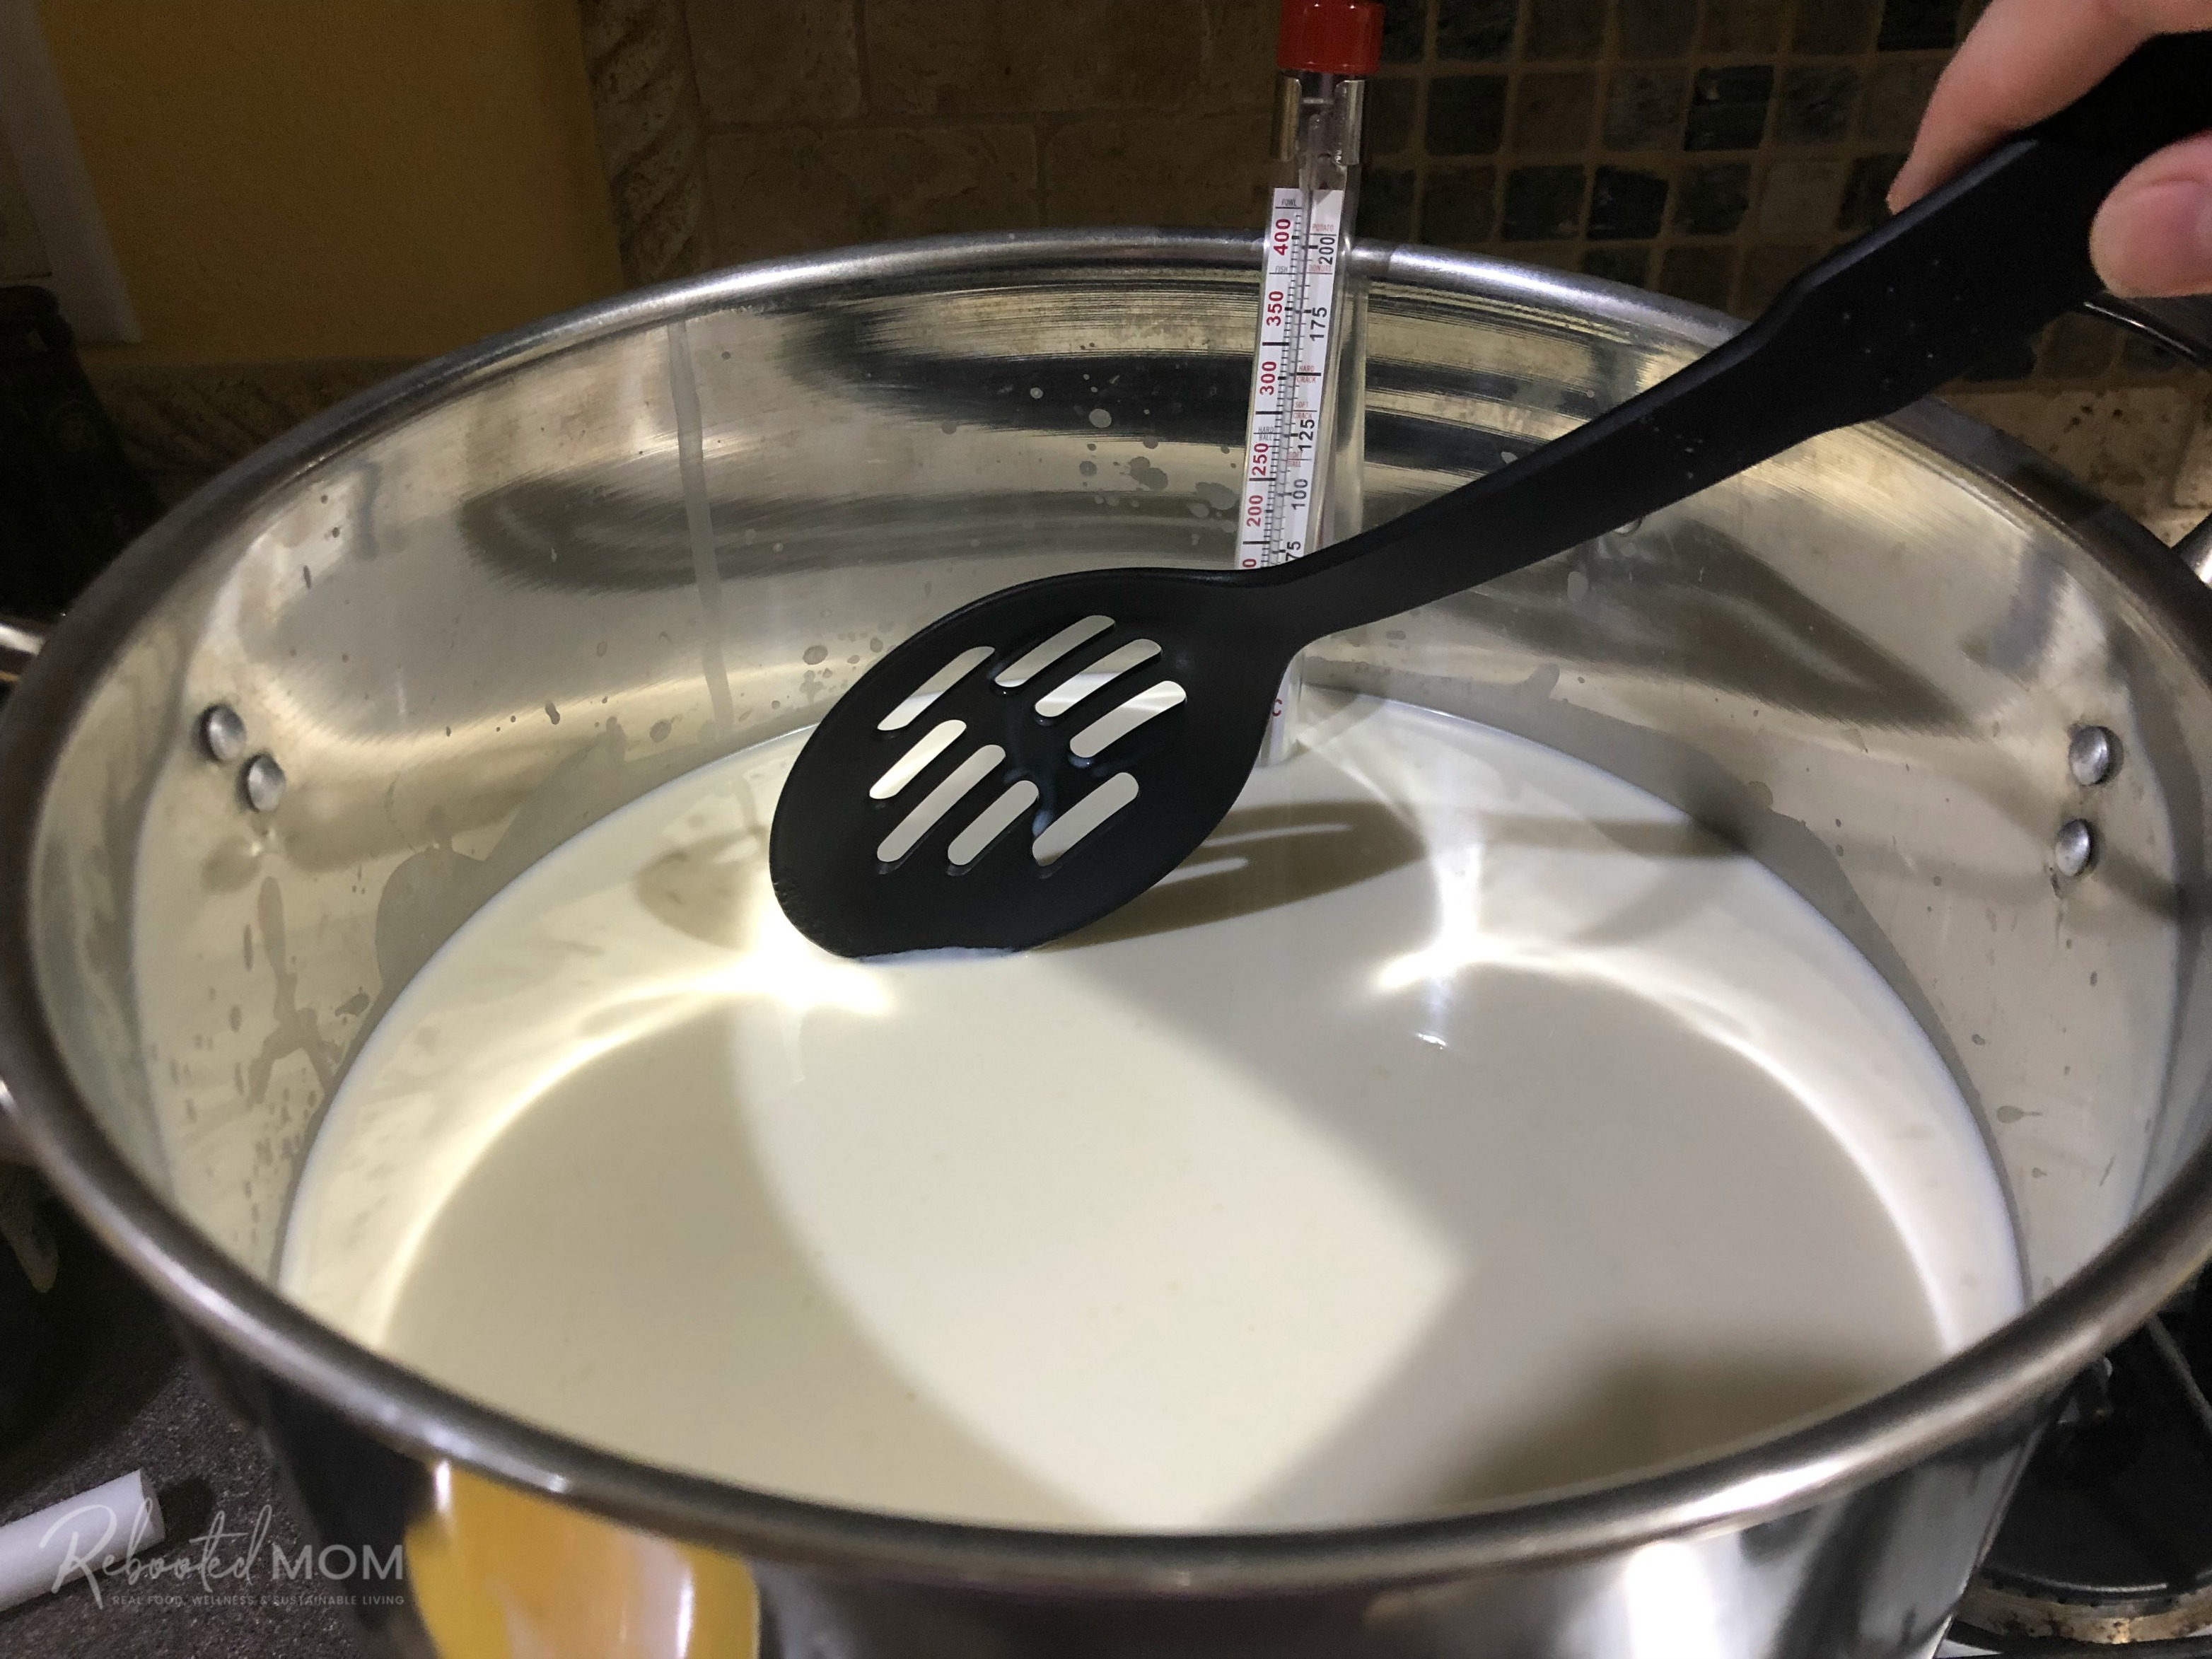
With the heat turned off, use a long spoon to gently stir the culture in to the milk for 1 minute.
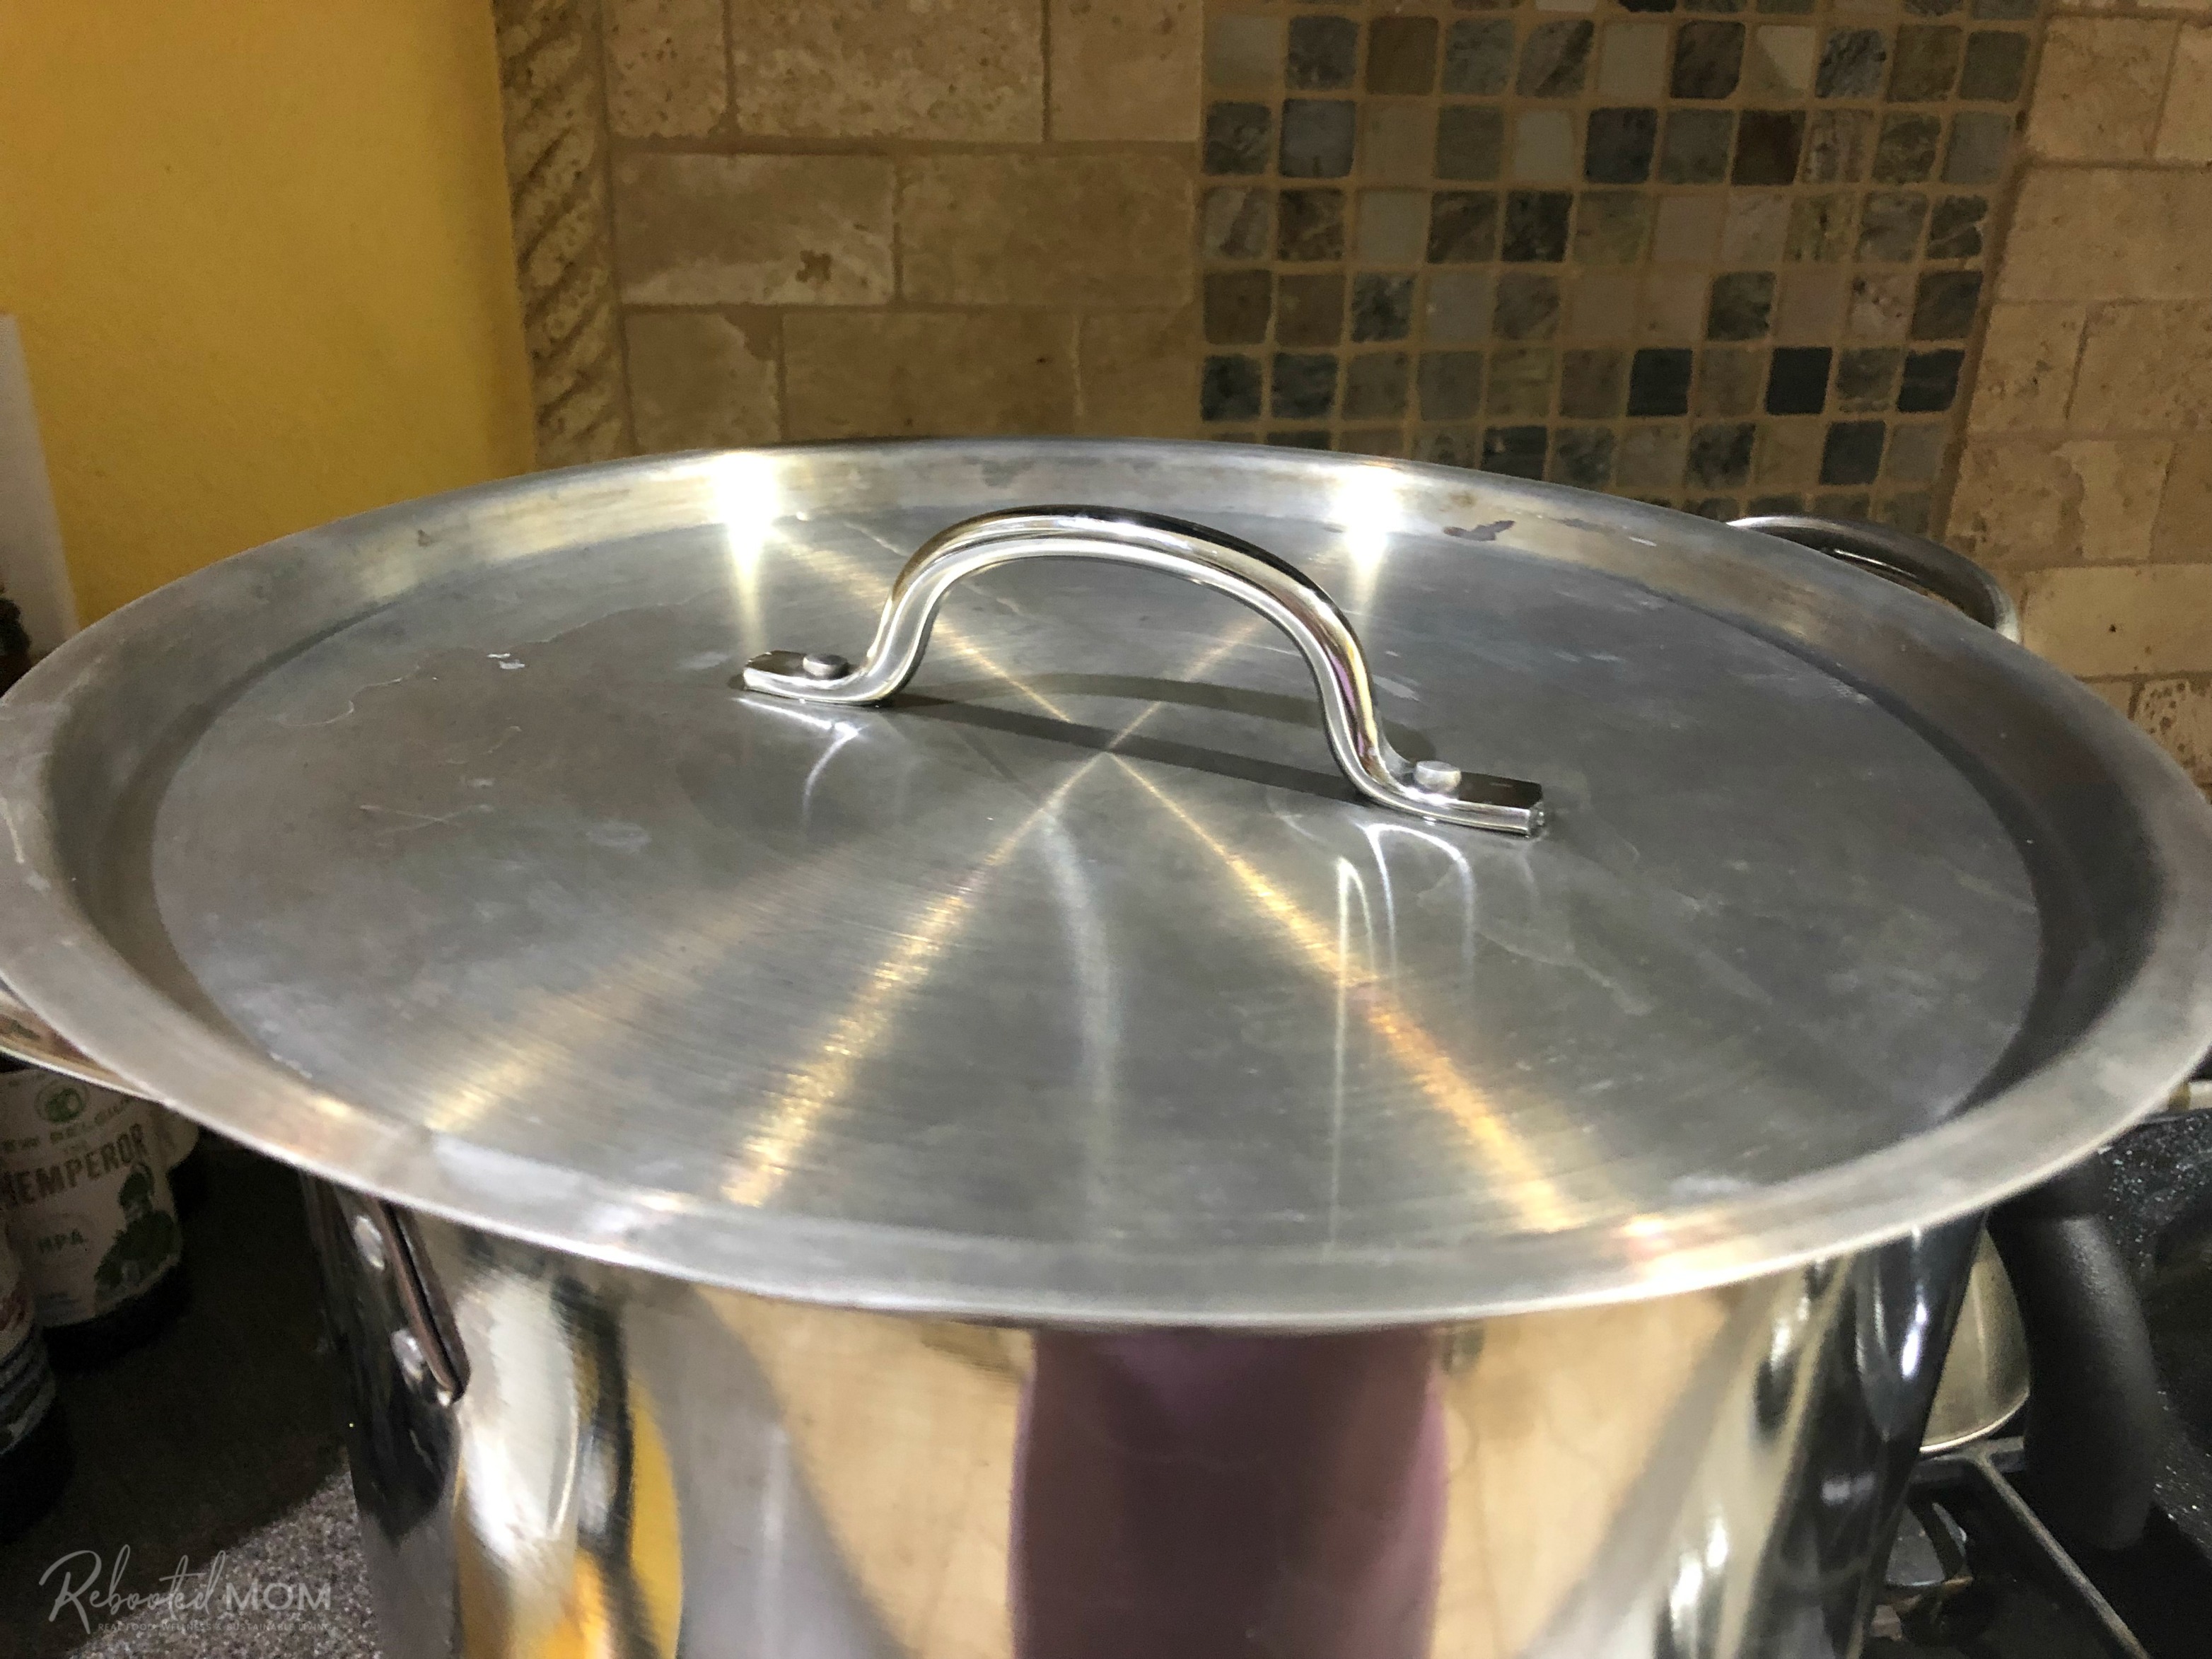
Place the lid on the pot and allow the milk to sit, undisturbed, for 45 minutes.
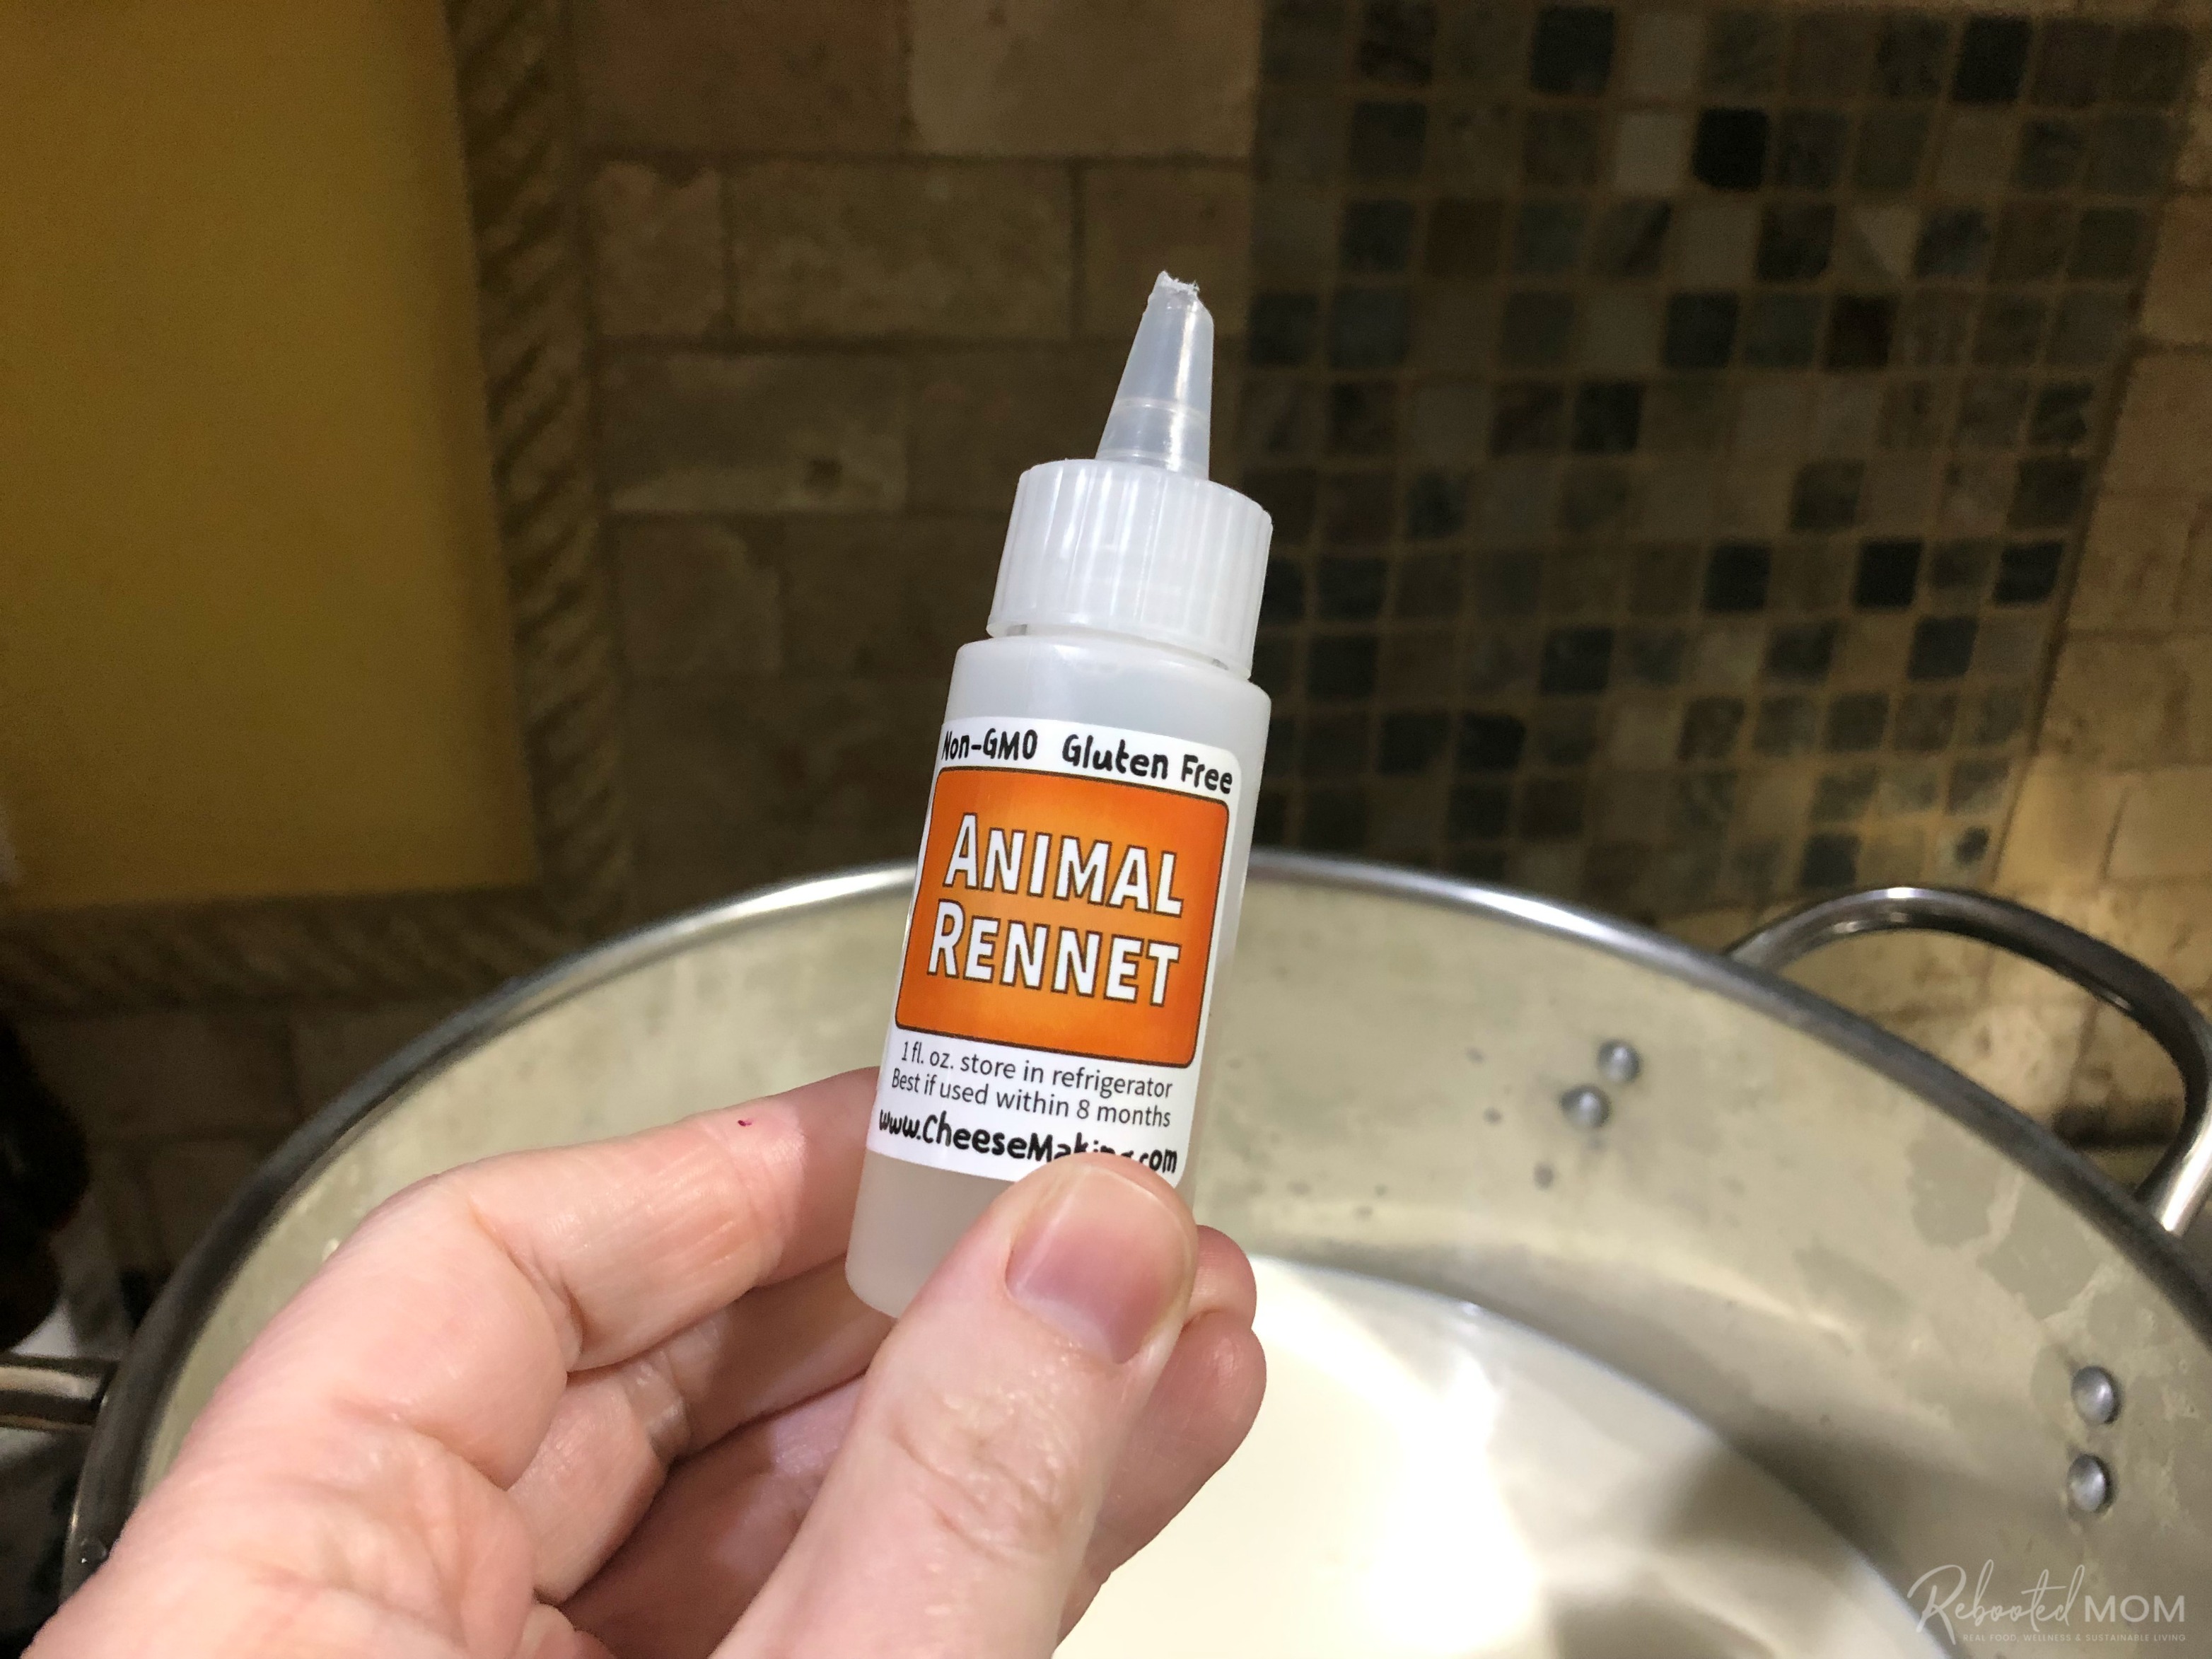
After 45 minutes, it’s time to add the rennet. Add 1/2 tsp of rennet in 1/4 C. non-chlorinated water. Gently pour that rennet + water into your pot with the milk. Stir for 1 minute. (Don’t stir for longer – rennet works quickly).
Place the lid back on the pot and allow the milk to sit for 45 minutes.
Cut the Curd
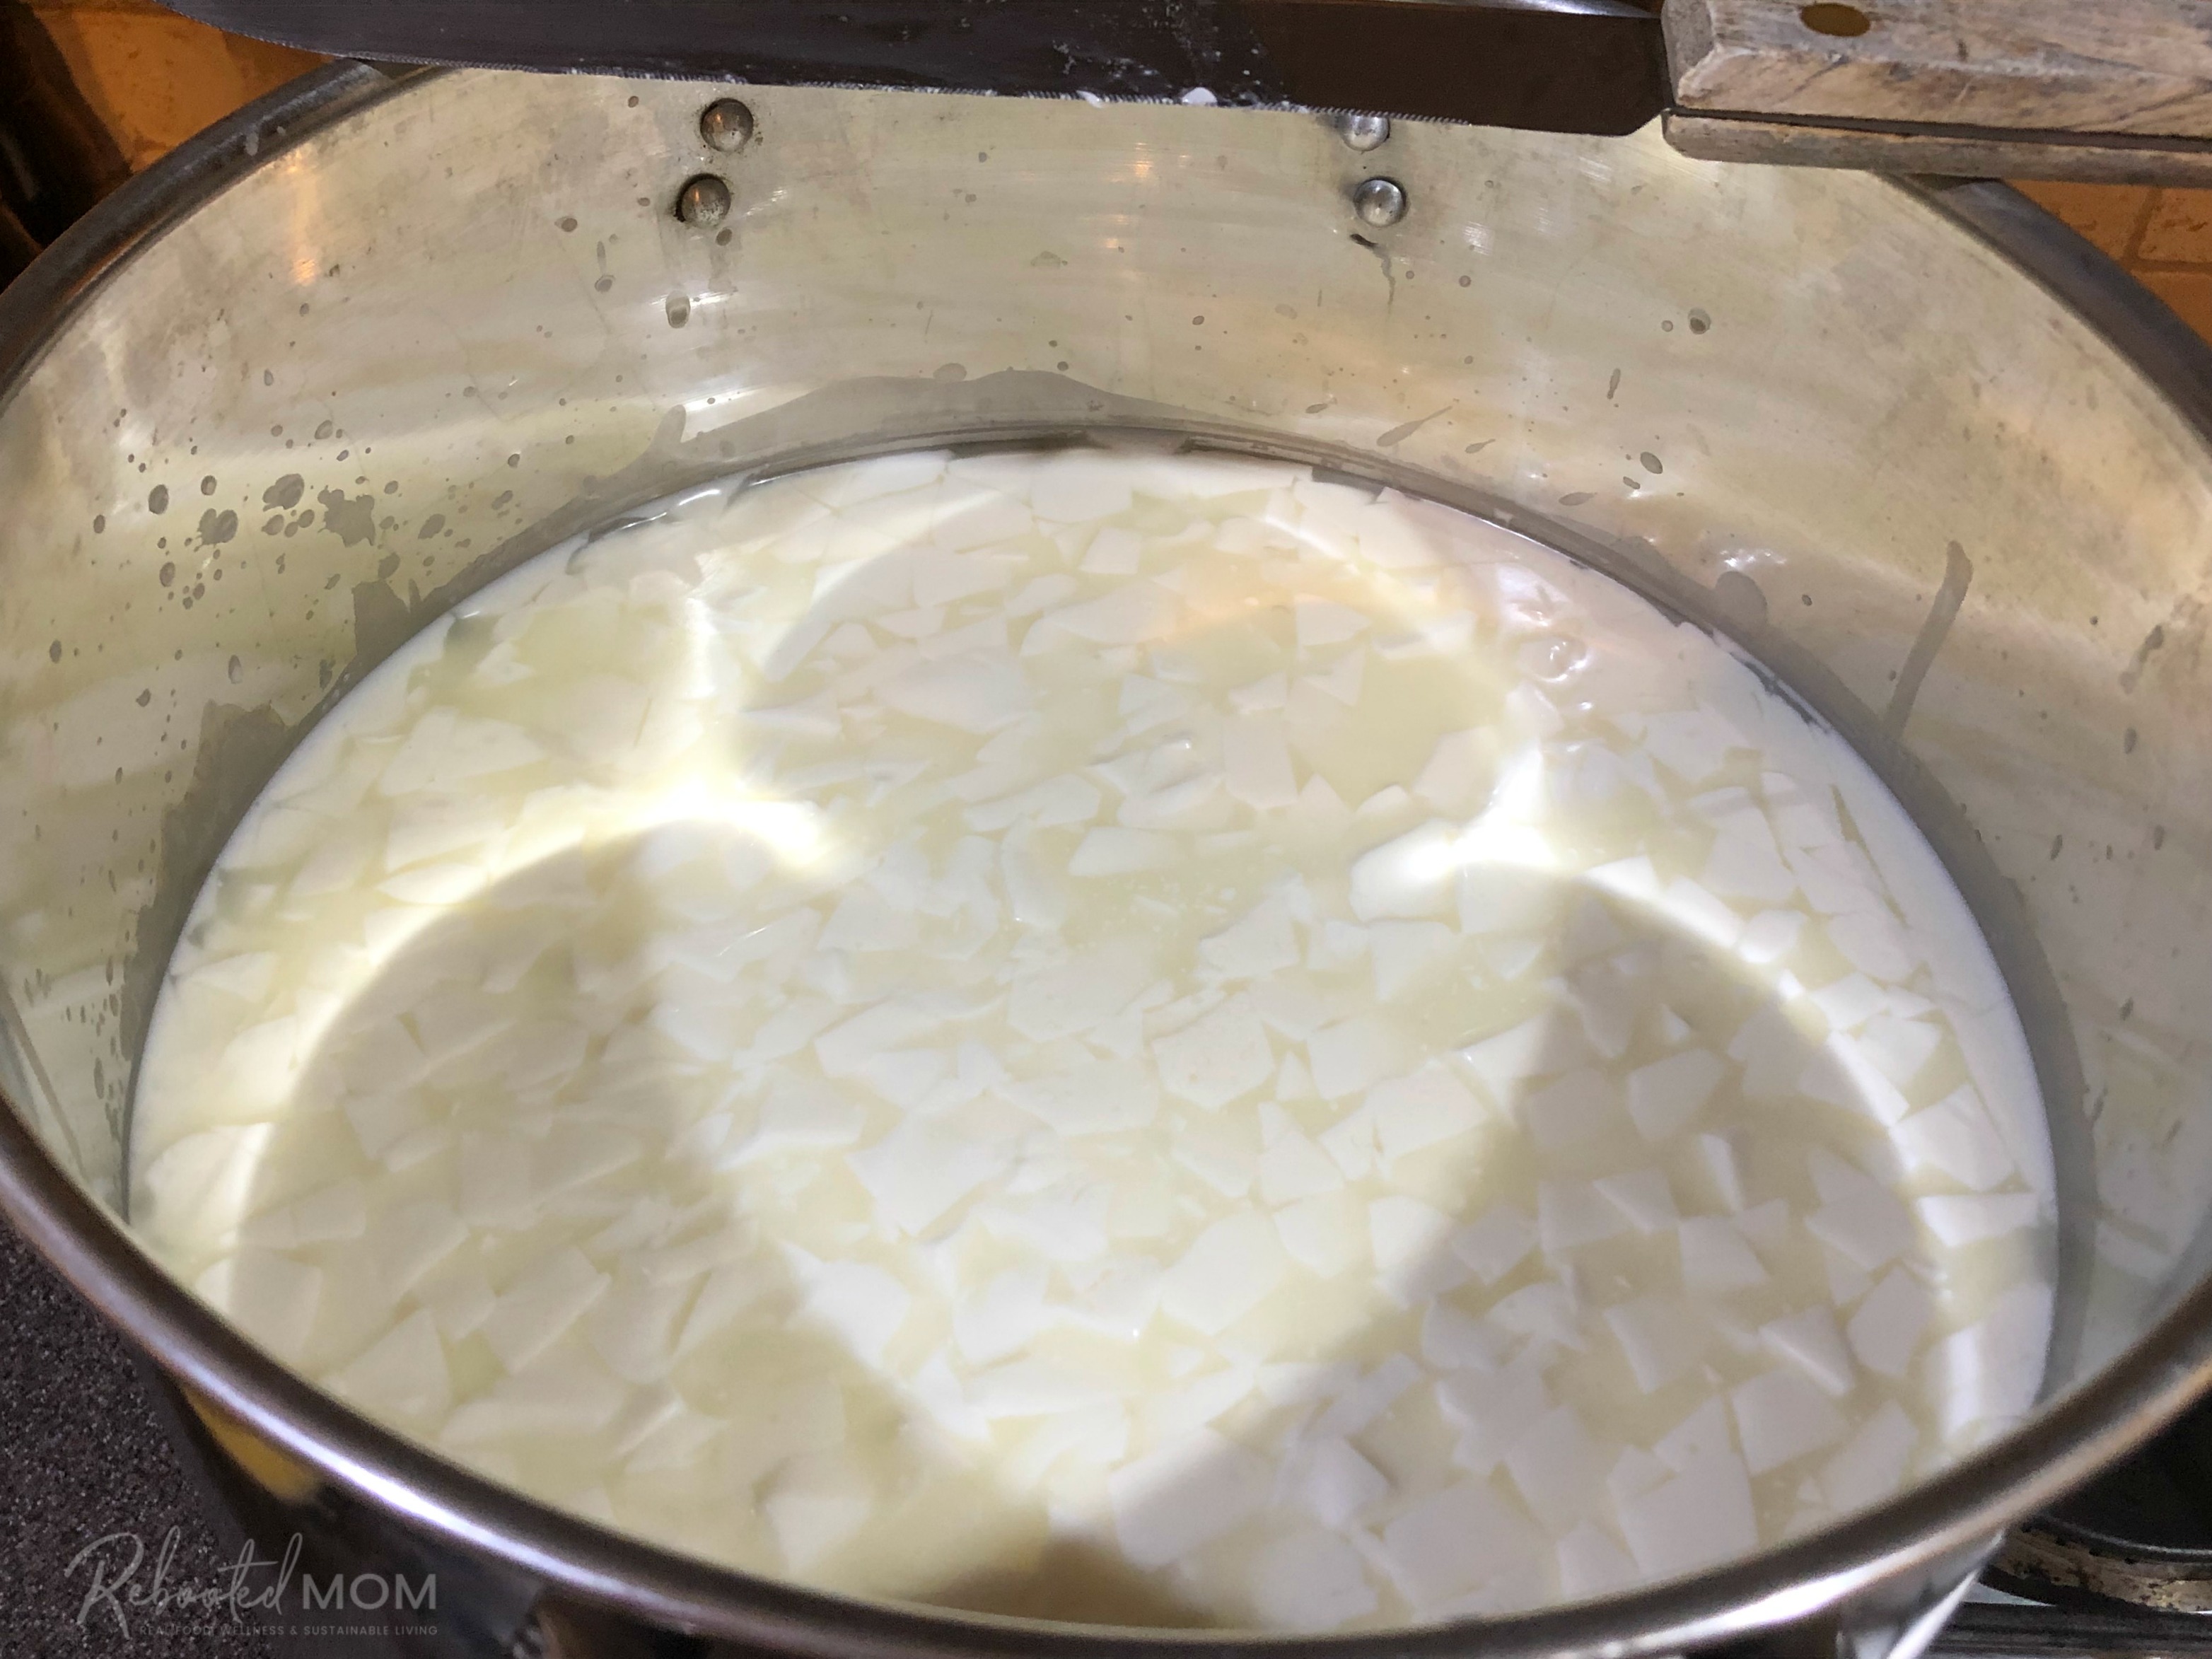
After 45 minutes, it’s time to cut the curd. (You’ll know the curd is ready when you take your knife and begin to slice — the break in the curd should quickly fill in with whey.)
Use a long knife to slice 1/2 inch rows, horizontally, down to the bottom of the pot. You’ll then want to slice vertically in 1/2 inch columns, down to the bottom of the pot.
You’ll basically do a checkerboard pattern.
Then, hold the long knife at a 45 degree angle and slice again… left to right, then turn the pot, and left to right again. You’re trying to get the curds as similar in size as you can.
Cover the pot and allow the curds to rest for 5 minutes.
Now, it’s time to cook the curds. Heat the curds to 100 degrees, very slowly (as low of heat as possible) over a 30 minute period. Take special care to stir those curds gently as they heat.
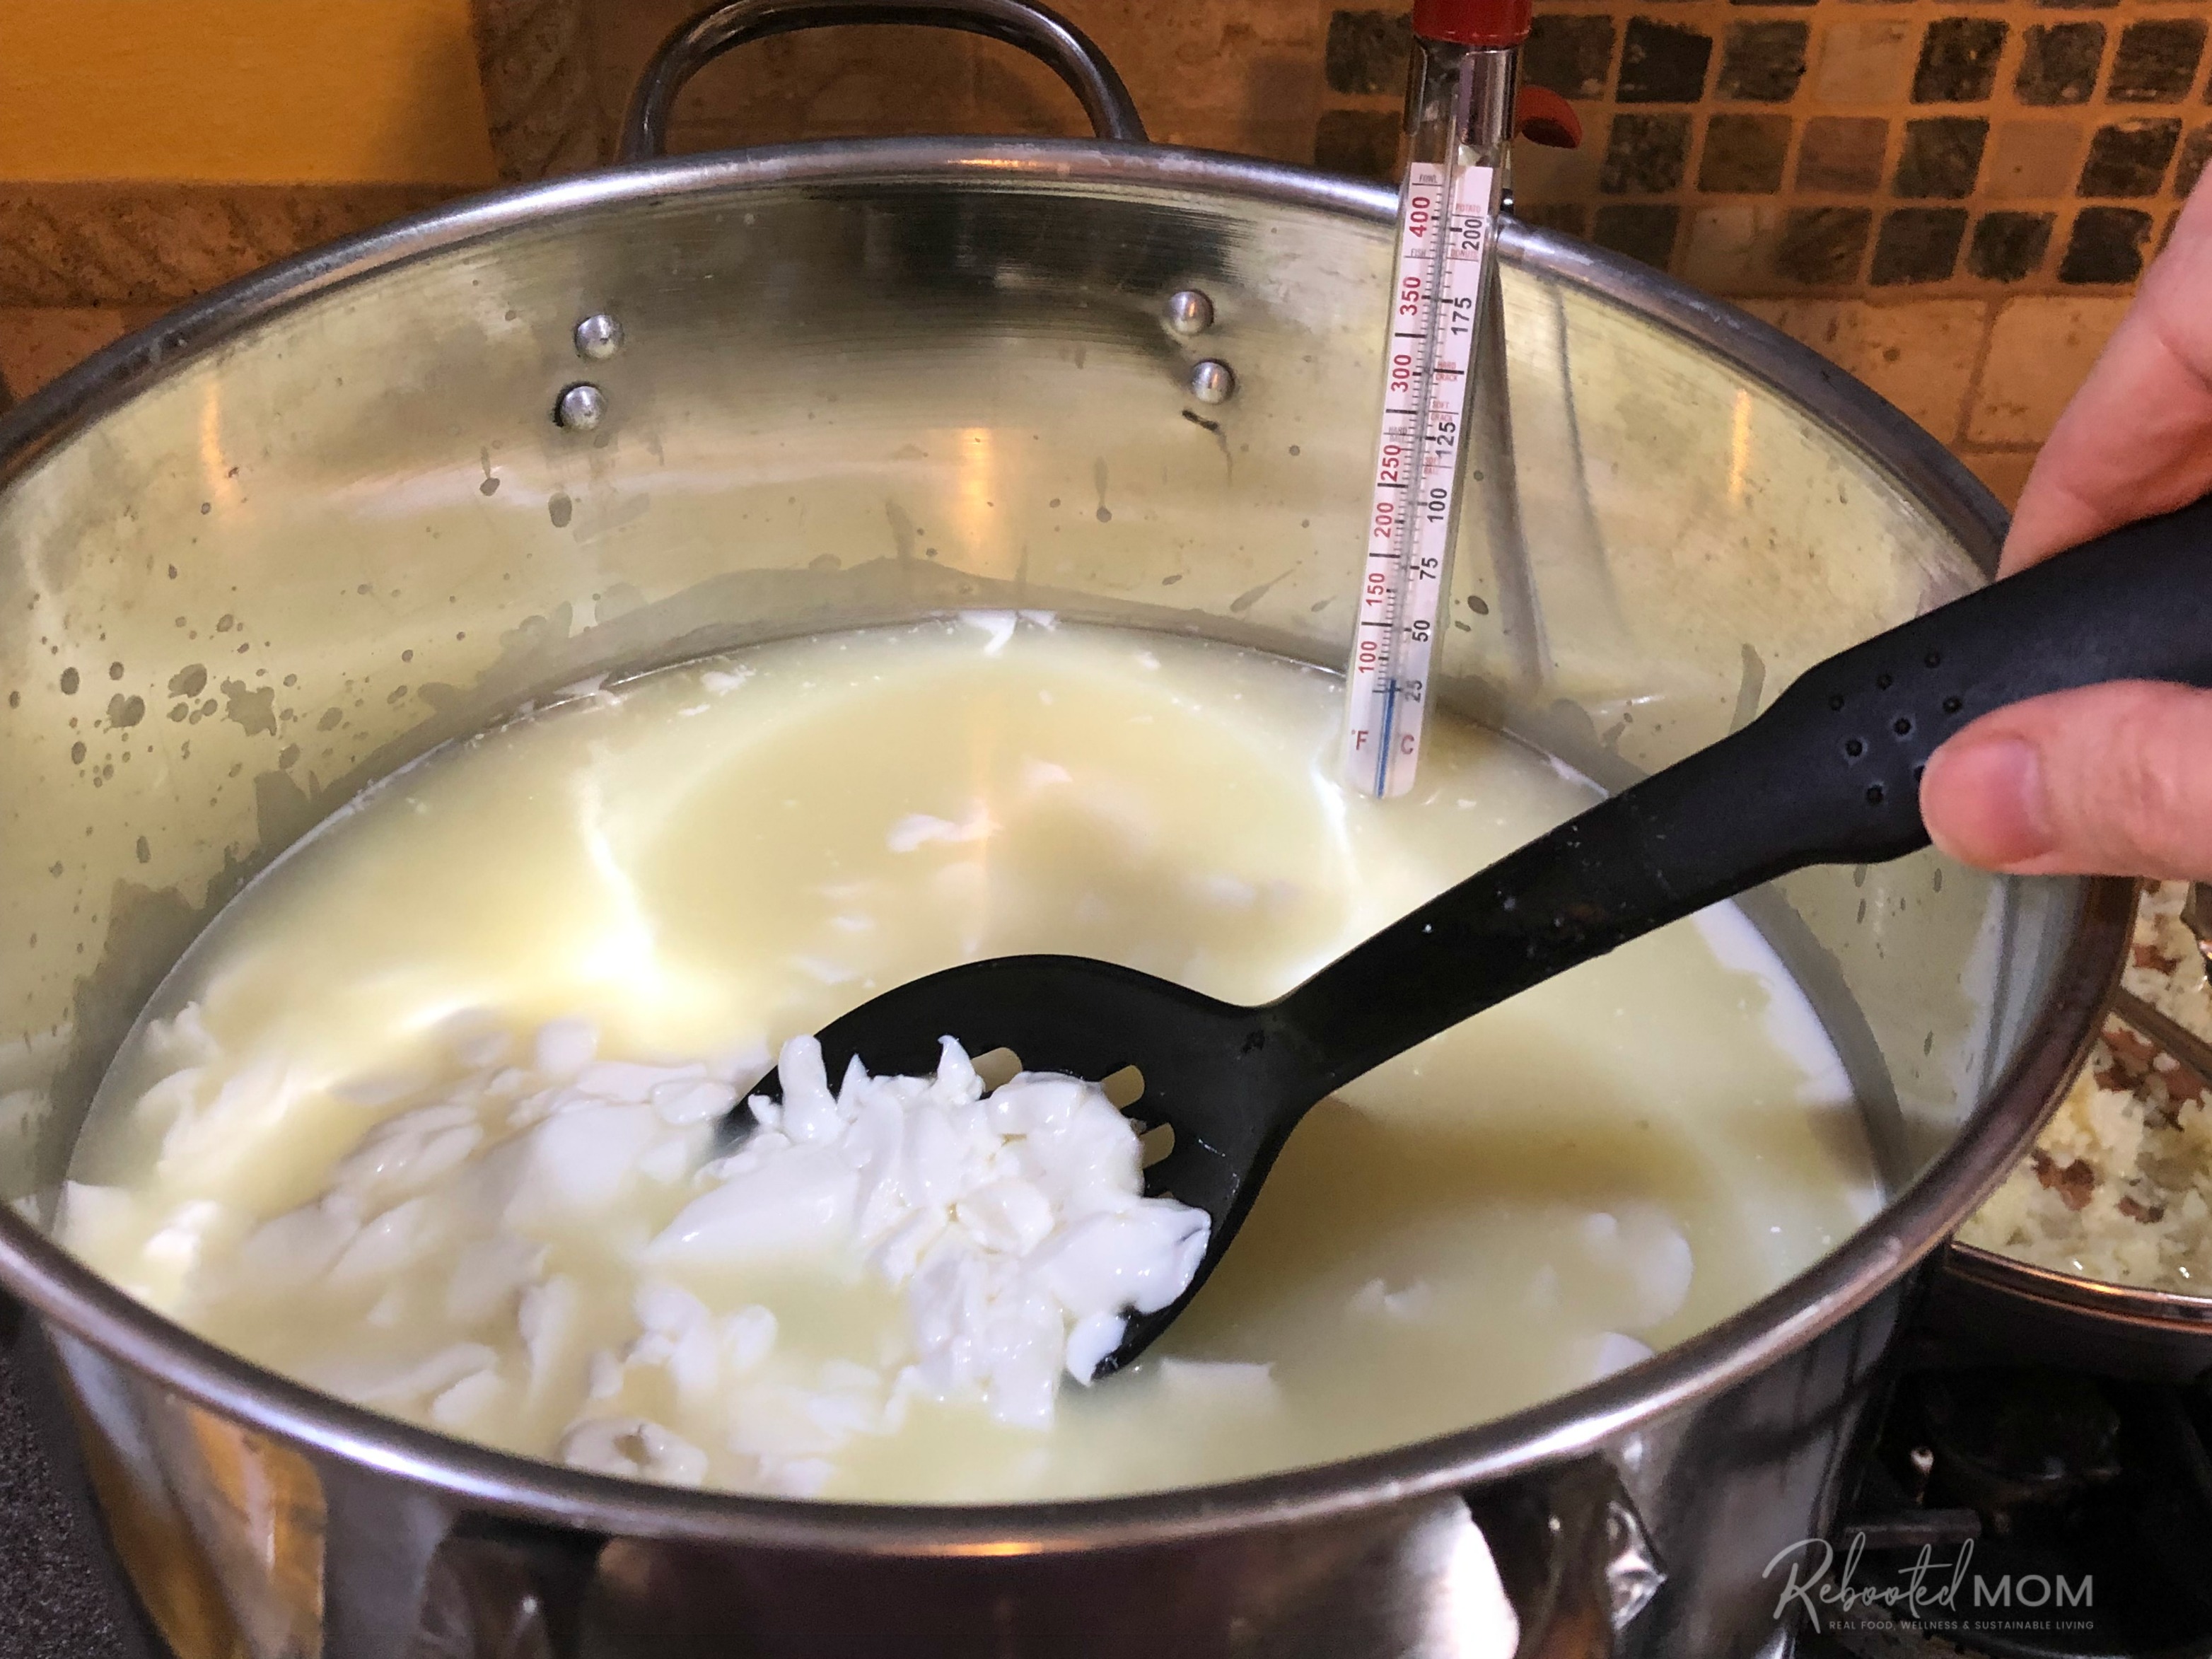
If you spot some curds that are still quite large, carefully slice them with the edge of the spoon as you stir.
Once you have reached the target temperature of 100 degrees F, cook the curds for 30 minutes at that temperature. Keep the heat on low – the thermal mass of the curds should keep the curds around 100 as you cook.
Stir every few minutes to prevent the curds from lumping together.
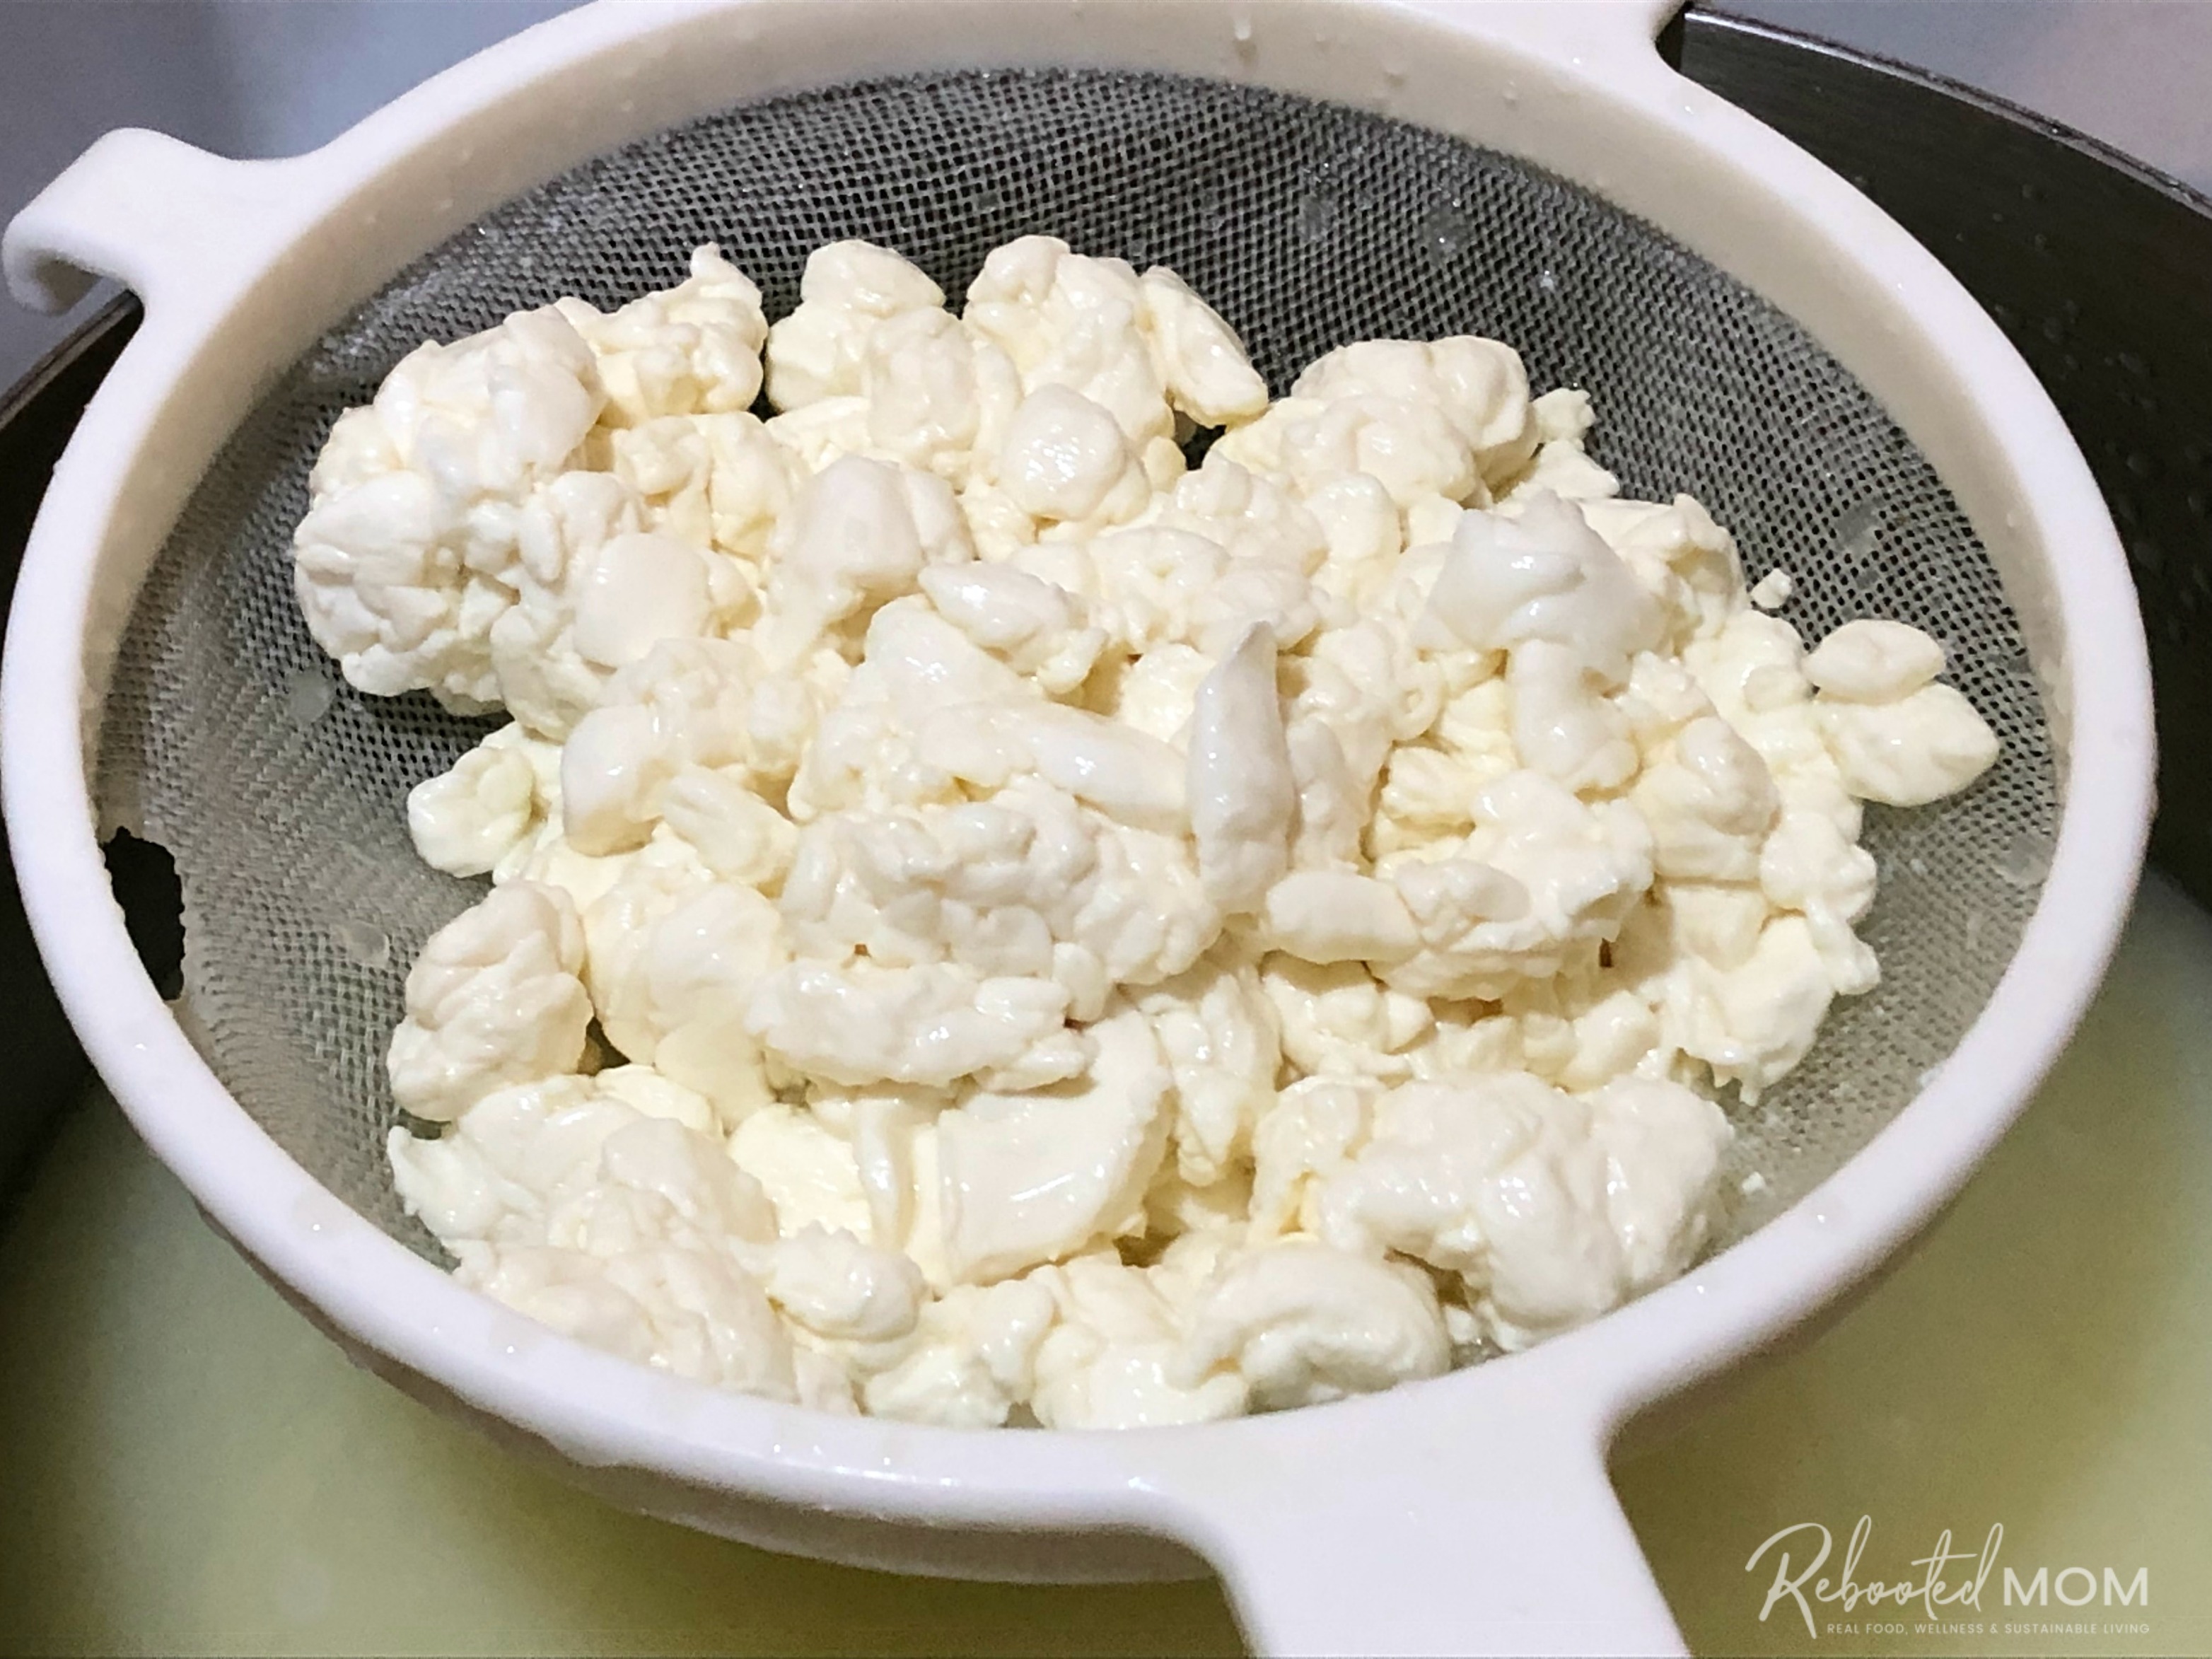
Gather a large pot in the kitchen sink, and top with a fine mesh strainer. Your goal is to rid the whey down to the curds. Carefully dump the pot into the strainer, making sure to catch any loose curds. You’ll dump half of that whey, keeping the whey just level with the curds.
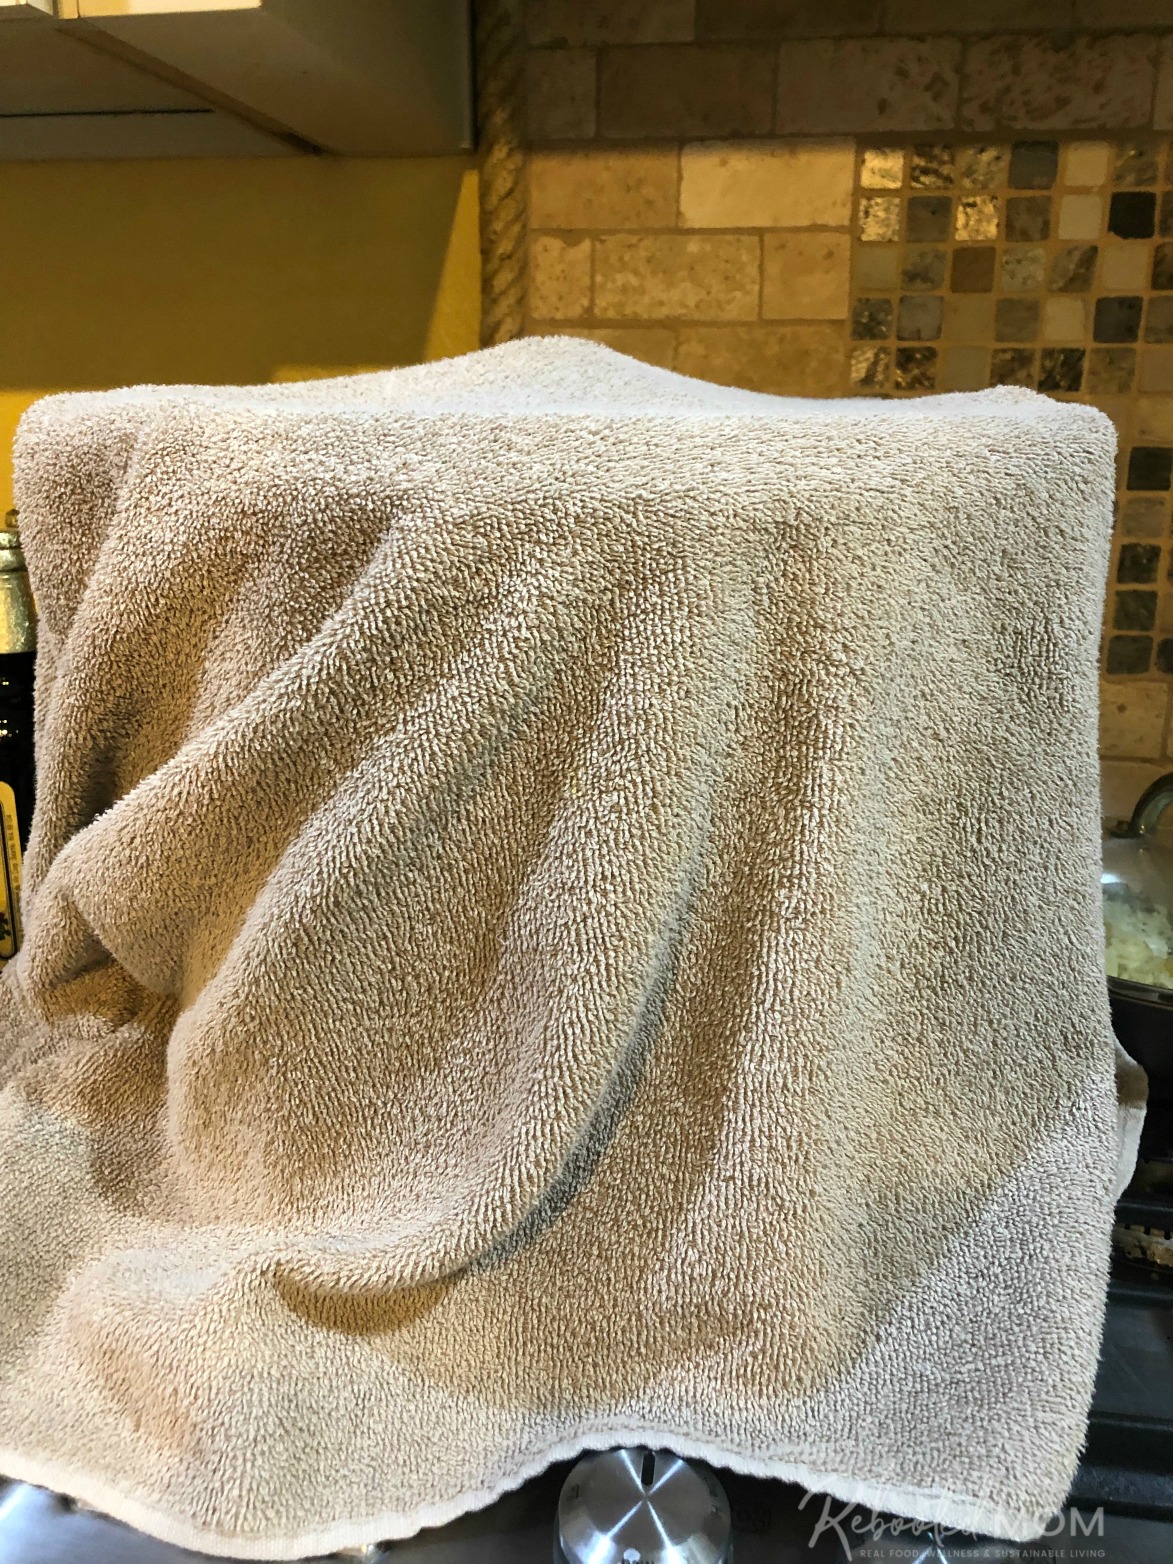
Put the curds back on the stove and cover. Allow them to rest for 30 minutes, all while keeping them at 100 degrees F. Stir them every few minutes to prevent them from sticking.
I like to cover the pot with a thick towel to help trap the heat within.
Press the Cheese
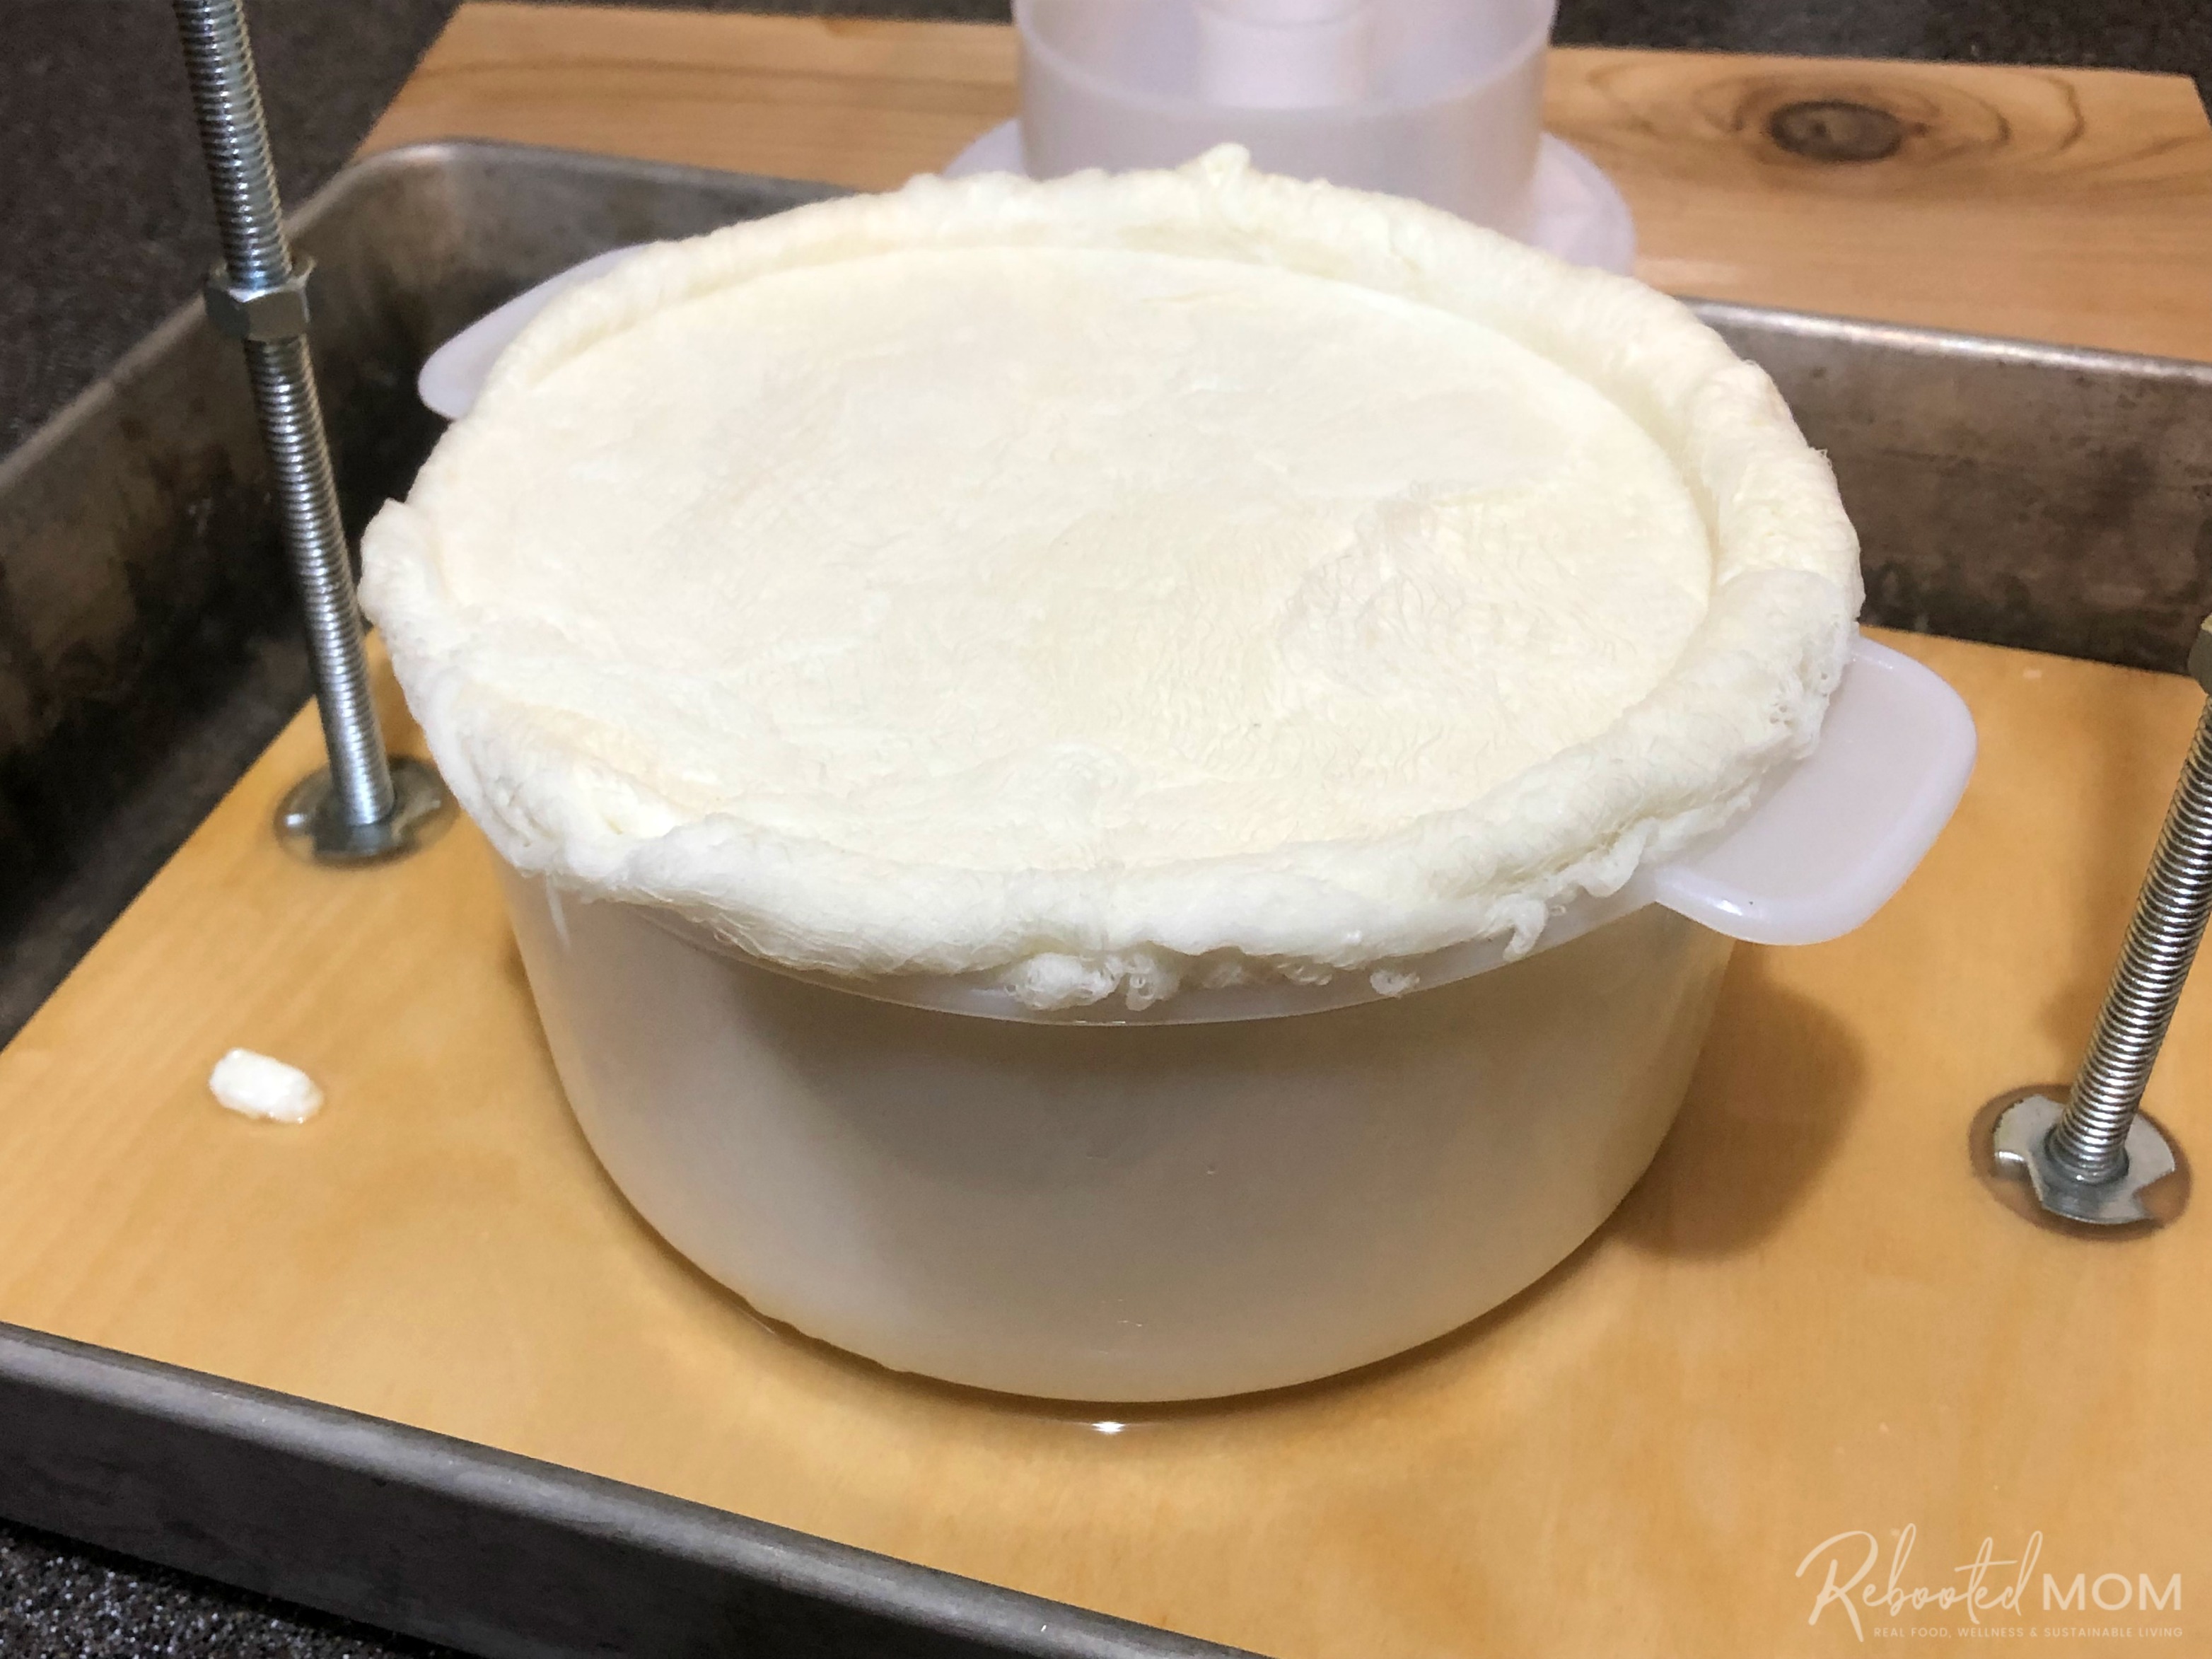
Pour the curds into a fine mesh colander. Then transfer into a cheesecloth-lined mold.
Place your follower on top of the mold, then place in your cheese press (I love this press I picked up on Etsy!)
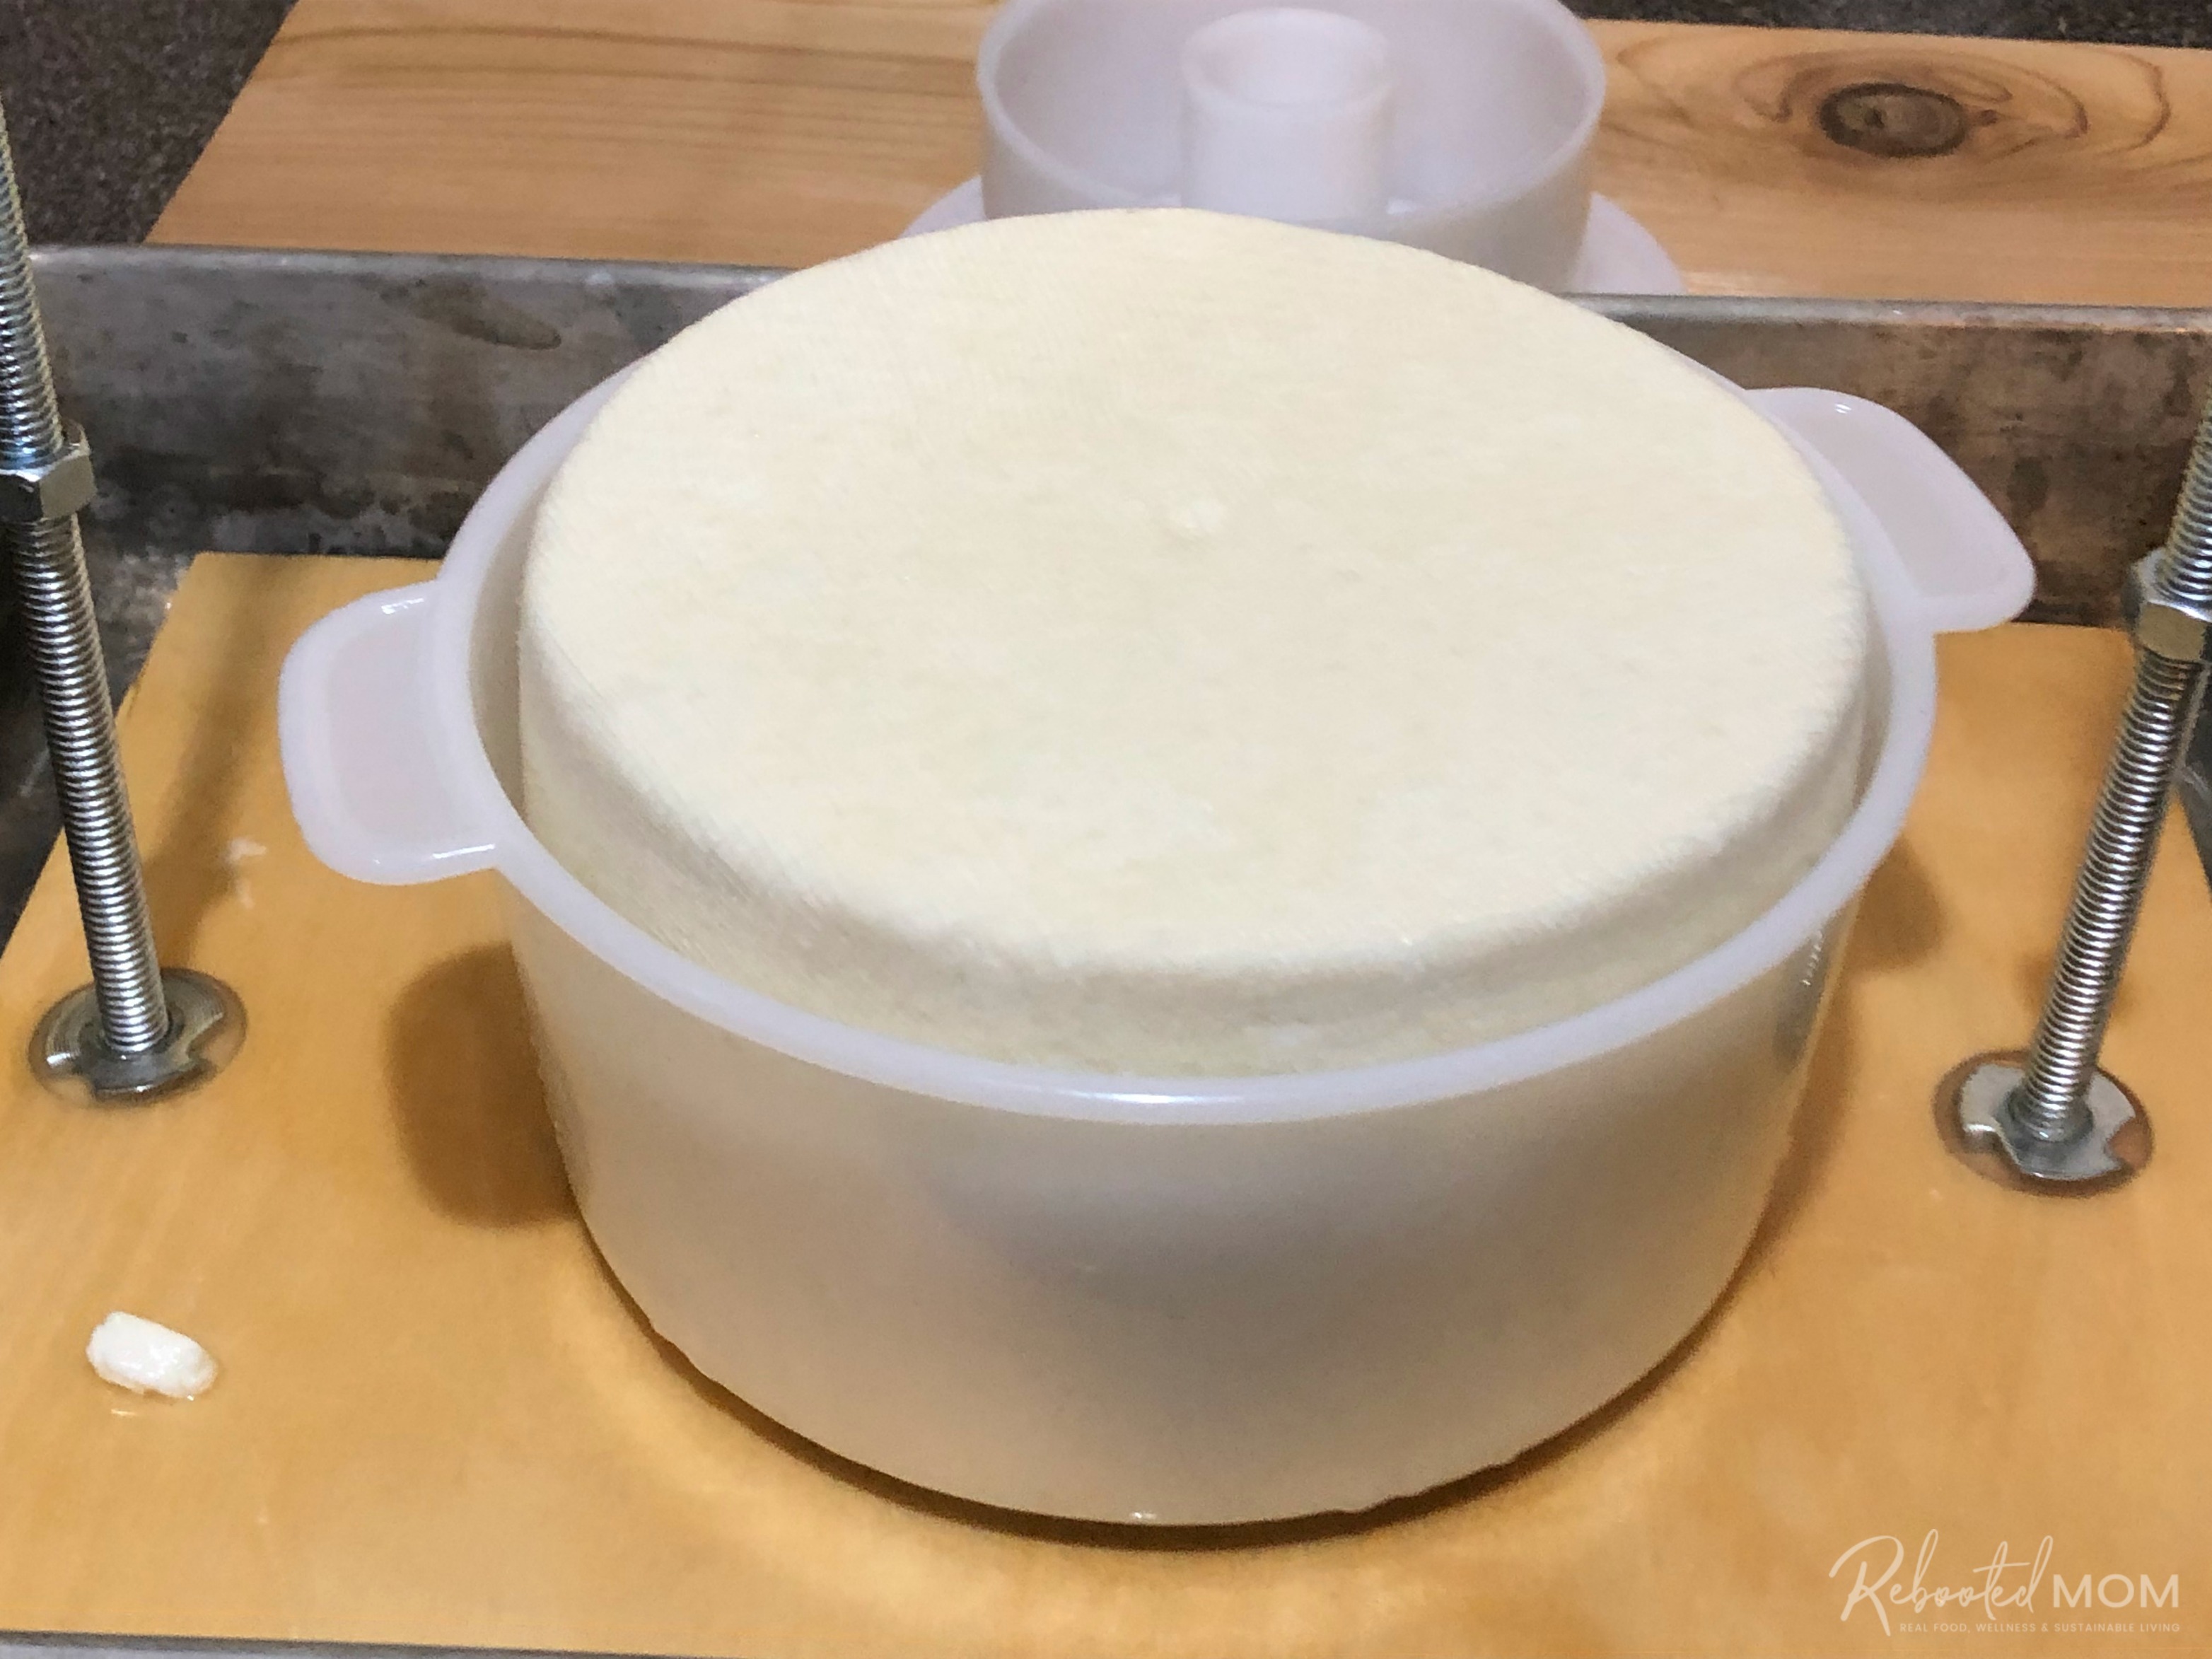
Press at 5 lb for 30 minutes. Then remove the cheese from the mold, unwrap the cheesecloth, flip the cheese and re-wrap. Place back in the mold and press for 10 lbs for 12 hours (overnight is best).
After that 12 hour press, remove the cheese. Unwrap the cheesecloth as carefully as you can. Now it’s time to brine the cheese – use an 18% solution and brine for 12 hours.
You’ll want to flip the cheese over at the 6-hour mark.
Making the Brine
Use an 18% brine solution, which is 2 C. of cheese salt to 5 cups of non-chlorinated water, and a teaspoon of vinegar. I like to gently heat up the water, then mix in the salt (heated water tends to absorb salt completely).
Once the salt is evenly mixed, add the vinegar and allow the water to cool to room temp before adding the cheese. To test the brine, place a raw egg (in-tact) in the water. If it floats, the brine is ready. If it sinks, the brine needs additional salt — it’s best to add a little at a time.
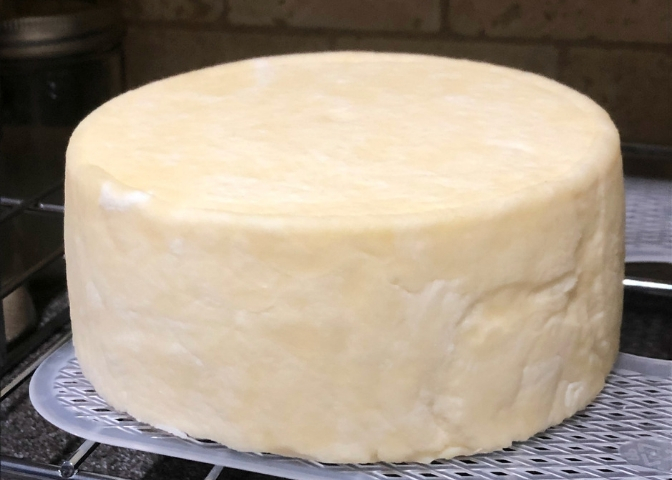
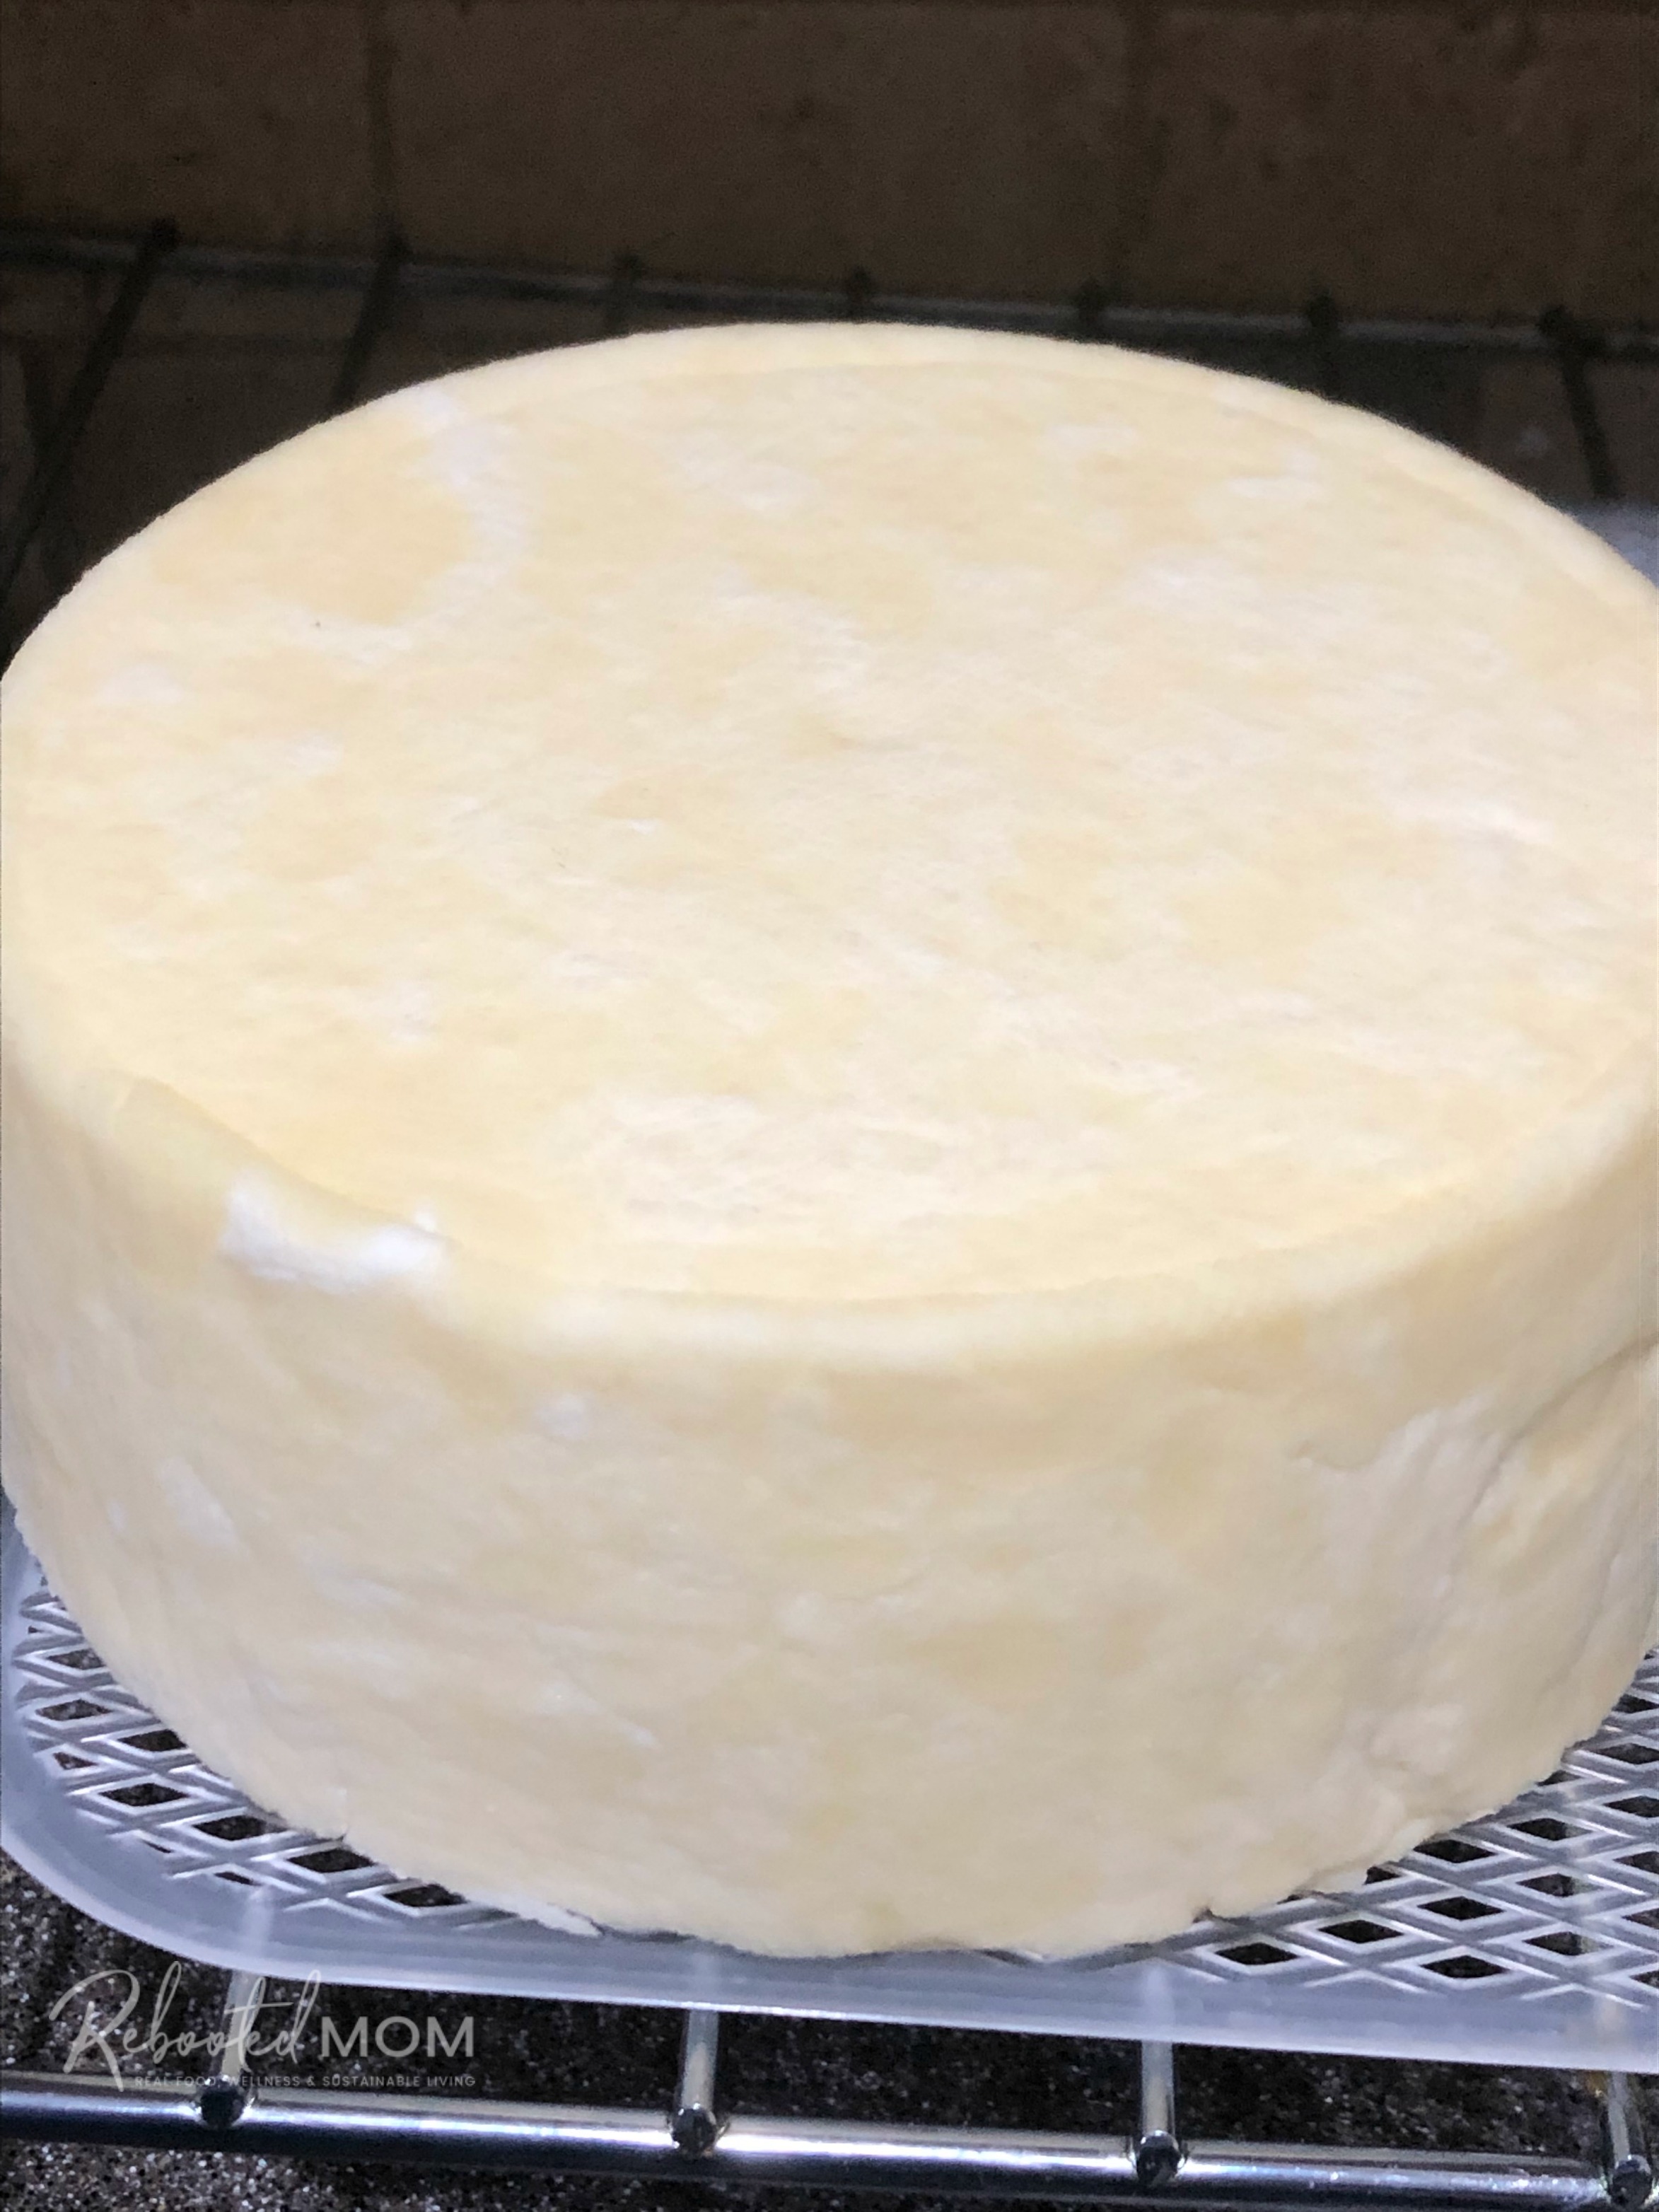
Place the cheese in the brine for 12 hours, flipping over at the 6 hour mark. Once brined, allow the cheese to rest on a cheese mat placed atop a rack that allows air flow under and over.
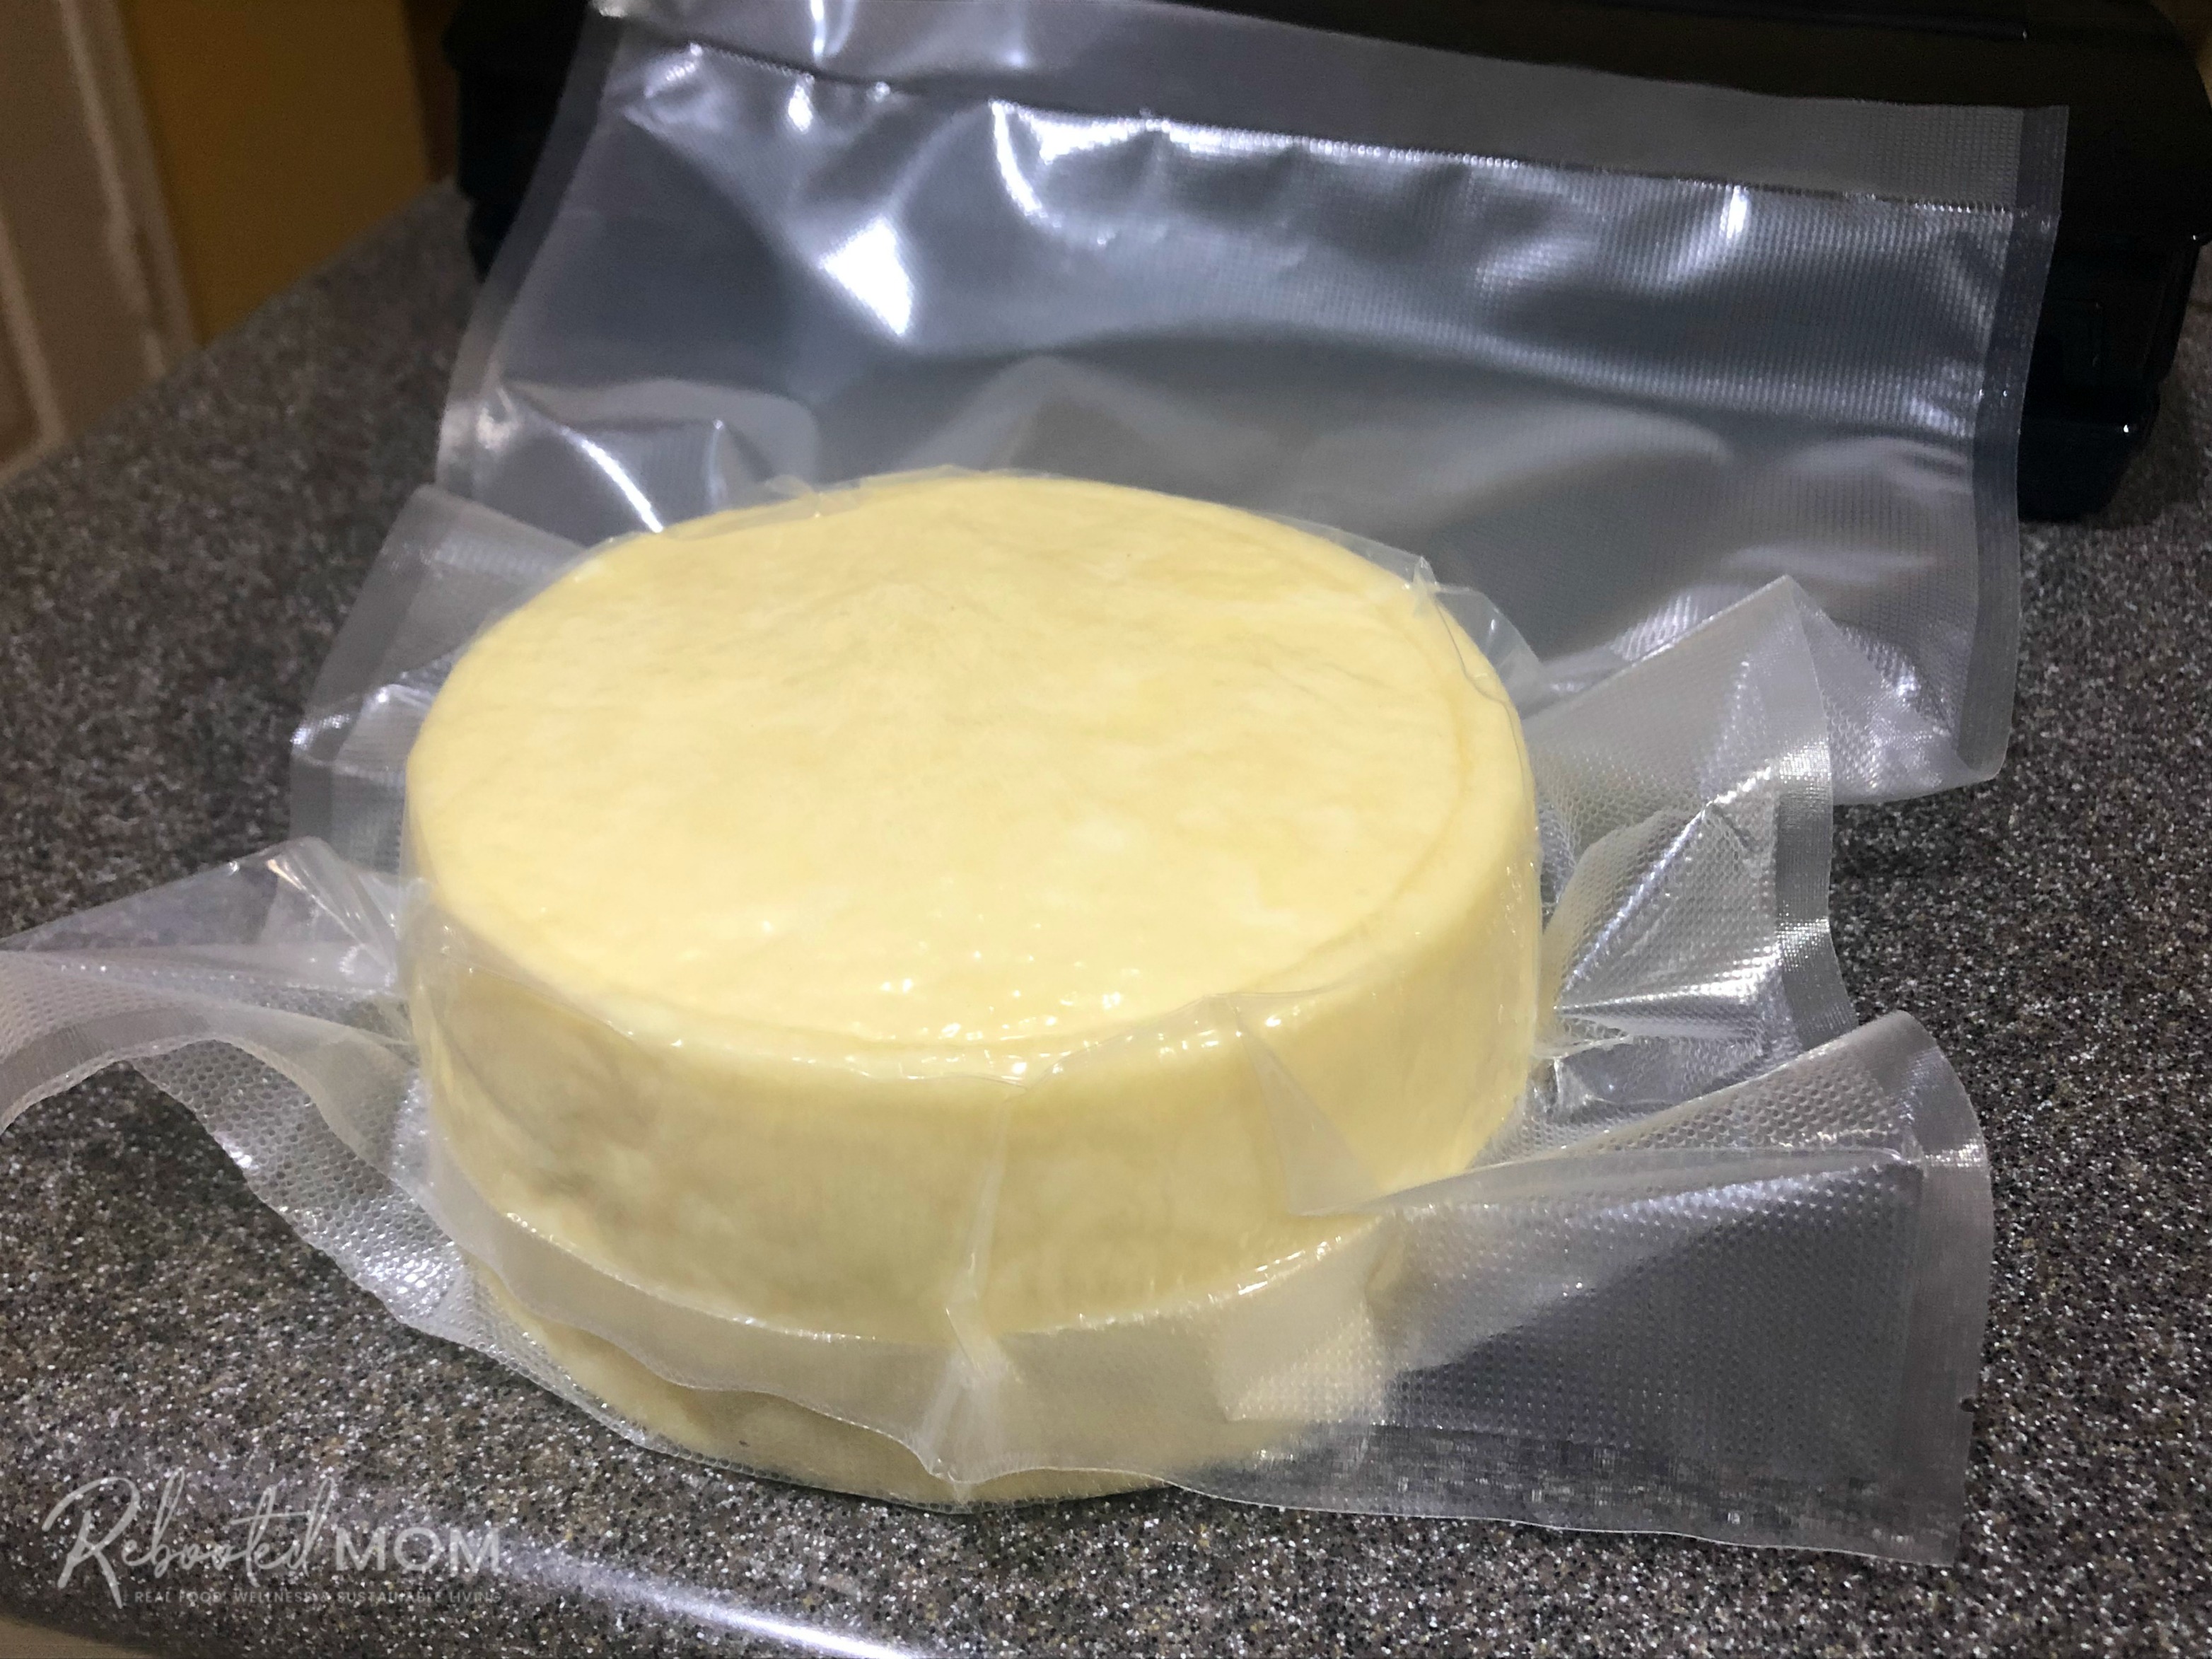
Dry cheese at room temp for 1-2 days (until the cheese is dry to touch). Your cheese drying may be longer or shorter based on your local humidity and weather patterns. Here in Phoenix it traditionally takes 1 1/2 days.
Once the cheese is entirely dry, place it in your vac-seal bag and vac-seal. Age the cheese in the cheese cave at 54 degrees for 5-8 weeks (or longer).
Ingredients
- 2 gallons raw milk
- 2 packets Mesophilic Culture
- 1/2 tsp rennet, dissolved in 1/4 C. water
- 2 C. non-iodized cheese salt
- 5 C. non-chlorinated water
Instructions
- Start by pouring your milk into a non-reactive stainless steel pot. Clip your thermometer to the side of the pot, or better yet, invest in a digital thermometer.
- With the heat on low, gently bring the milk to a temperature of 88 degrees F.
- Turn off the heat, and sprinkle 2 packets of Mesophilic culture on the top of the milk. Allow that culture to hydrate for 5 minutes (during that time, don't disturb the milk).
- With the heat turned off, use a long spoon to gently stir the culture in to the milk for 1 minute.
- Place the lid on the pot and allow the milk to sit, undisturbed, for 45 minutes.
- After 45 minutes, it's time to add the rennet. Add 1/2 tsp of rennet in 1/4 C. non-chlorinated water. Gently pour that rennet + water into your pot with the milk. Stir for 1 minute. (Don't stir for longer - rennet works quickly).
- Place the lid back on the pot and allow the milk to sit for 45 minutes.
- After 45 minutes, it's time to cut the curd. (You'll know the curd is ready when you take your knife and begin to slice -- the break in the curd should quickly fill in with whey.)
- Use a long knife to slice 1/2 inch rows, horizontally, down to the bottom of the pot. You'll then want to slice vertically in 1/2 inch columns, down to the bottom of the pot. You'll basically do a checkerboard pattern.
- Then, hold the long knife at a 45 degree angle and slice again... left to right, then turn the pot, and left to right again. You're trying to get the curds as similar in size as you can.
- Cover the pot and allow the curds to rest for 5 minutes.
- Now, it's time to cook the curds. Heat the curds to 100 degrees, very slowly (as low of heat as possible) over a 30 minute period. Take special care to stir those curds gently as they heat.
- If you spot some curds that are still quite large, carefully slice them with the edge of the spoon as you stir.
- Once you have reached the target temperature of 100 degrees F, cook the curds for 30 minutes at that temperature. Keep the heat on low - the thermal mass of the curds should keep the curds around 100 as you cook.
- Stir every few minutes to prevent the curds from lumping together.
- Gather a large pot in the kitchen sink, and top with a fine mesh strainer. Your goal is to rid the whey down to the curds. Carefully dump the pot into the strainer, making sure to catch any loose curds. You'll dump half of that whey, keeping the whey just level with the curds.
- Put the curds back on the stove and cover. Allow them to rest for 30 minutes, all while keeping them at 100 degrees F. Stir them every few minutes to prevent them from sticking. I like to cover the pot with a thick towel to help trap the heat within.
- Press the cheese: Pour the curds into a fine mesh colander. Then transfer into a cheesecloth-lined mold.
- Place your follower on top of the mold, then place in your cheese press (I love this press I picked up on Etsy!)
- Press at 5 lb for 30 minutes. Then remove the cheese from the mold, unwrap the cheesecloth, flip the cheese and re-wrap. Place back in the mold and press for 10 lbs for 12 hours (overnight is best).
- After that 12 hour press, remove the cheese. Unwrap the cheesecloth as carefully as you can. Now it's time to brine the cheese - use an 18% solution and brine for 12 hours. You'll want to flip the cheese over at the 6-hour mark.
- Making the Brine: Use an 18% brine solution, which is 2 C. of cheese salt to 5 cups of non-chlorinated water, and a teaspoon of vinegar. I like to gently heat up the water, then mix in the salt (heated water tends to absorb salt completely).
- Once the salt is evenly mixed, add the vinegar and allow the water to cool to room temp before adding the cheese. To test the brine, place a raw egg (in-tact) in the water. If it floats, the brine is ready. If it sinks, the brine needs additional salt -- it's best to add a little at a time.
- Place the cheese in the brine for 12 hours, flipping over at the 6 hour mark. Once brined, allow the cheese to rest on a cheese mat placed atop a rack that allows air flow under and over.
- Dry cheese at room temp for 1-2 days (until the cheese is dry to touch). Your cheese drying may be longer or shorter based on your local humidity and weather patterns. Here in Phoenix it traditionally takes 1 1/2 days.
- Once the cheese is entirely dry, place it in your vac-seal bag and vac-seal. Age the cheese in the cheese cave at 54 degrees for 5-8 weeks (or longer).


[…] I’m working on cheese and soap, my kids love every opportunity to help each other create new things. Whether fabric […]