


Making your own Mexican Queso Fresco (fresh cheese) is easier than you think! It’s delicious and creamy and so easy to make at home.

Fresh cheese is one of our favorite things to have in the house. We crumble it on our elotes during the summer, and when we make beans in our Instant Pot, we eat them with fresh cheese too.
I just love to eat it as is. Sad to say, if you put the plate in front of me, you have to stop me from being a piggy because it literally is SO good.
For quite a long time, we just bought the queso fresco in the market, and while it was just okay, it wasn’t anything to write home about.
What is Queso Fresco?
Queso fresco is merely an acid-set cheese. It’s simple to make – in fact, it requires nothing more than a pot, some raw milk, a thermometer, cheesecloth and a source of acid. You can use lemon juice or vinegar – lemon juice, however, will give it a sharper final taste.
Turning Milk into Cheese
When you make queso fresco, you’ll start with a high quality raw milk. Milk is made of proteins , sugar (lactose), fat, minerals, enzymes and minerals. The main players in making cheese are the casein and the whey.
Turning milk into cheese requires that you change the properties of the proteins. The caseins will coagulate into curds and leave behind the whey (the byproduct). You can help propagate this change with rennet, and with acid (lemon or vinegar). Aged cheeses typically use rennet (parmesan, brie, etc.) but queso fresco uses an acid – which makes it crazy crazy easy.
When you make queso fresco, you will separate the curds, strain them and press them into cheese.
These caseins and whey that are present in milk are usually suspended throughout – caseins are protein clumps that have amino acid chains sticking out, and they repel each other due to a slightly negative charge.
When you lower the pH of fresh milk by heating it to 165, the casein run to each other and cling. That cling forms very tight bonds.
Making queso fresco requires a really good, high quality milk that hasn’t been ultra pasteurized. We opt for raw milk, since the proteins are kept in their natural state and form curds easily.
Grocery store milk is usually not an option since it has been pasteurized to the point that milk proteins have been damaged.
So find a raw milk farm near you and pick up a gallon or two. (Raw milk is wonderful for those who are lactose intolerant – find out why).
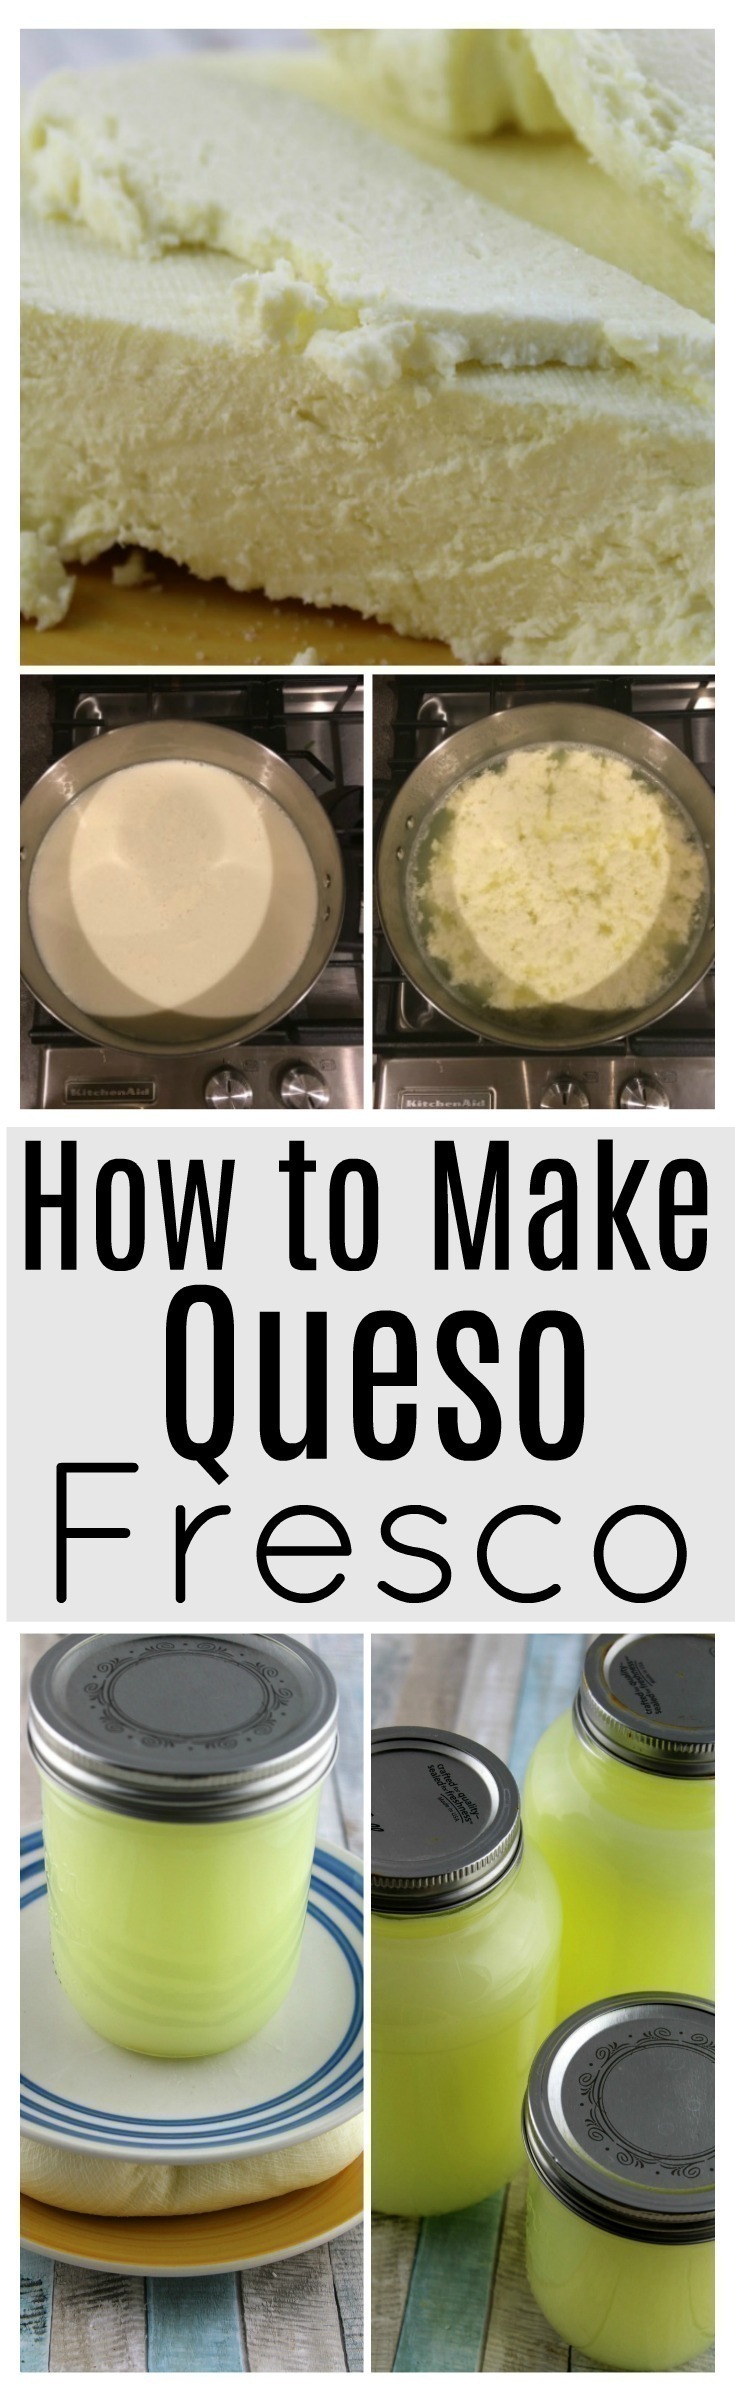
How to Make Queso Fresco
Are you ready to do this? Then lets get started!
Grab a heavy bottom pot, and pour your [raw] milk inside. Turn the stovetop on medium and carefully watch your milk at this stage to prevent scorching. You might want to continue to stir to keep the heat well distributed.
It’s better to go slow and steady to reach 165-185 degrees than crank up the heat and deal with a yucky pot of scorched milk.
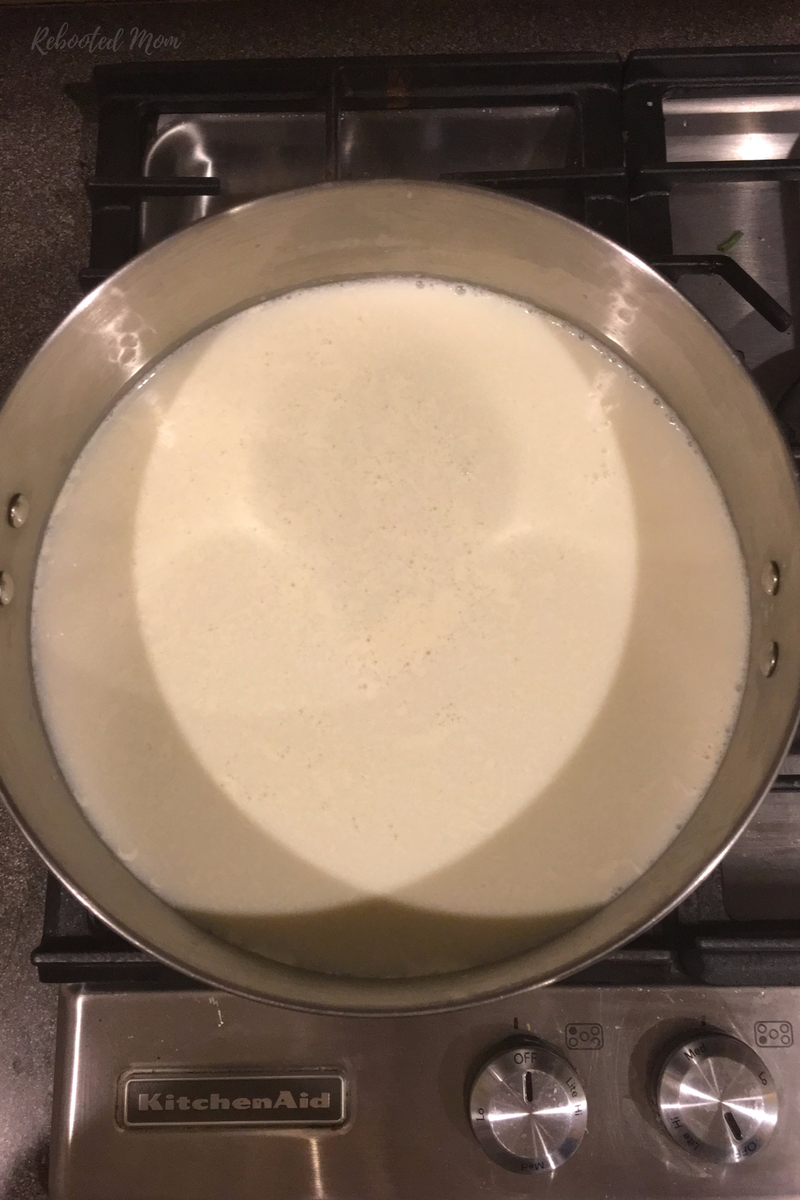
When the milk has reached 165-185, remove from the heat.
Add in your acid – you can opt for lemon juice or vinegar – it depends on your desired flavor. Lemon juice will give it a little more tang, while vinegar will result in a neutral type of flavor.
Work to add the acid, 1 Tbsp at a time, stirring after each addition.
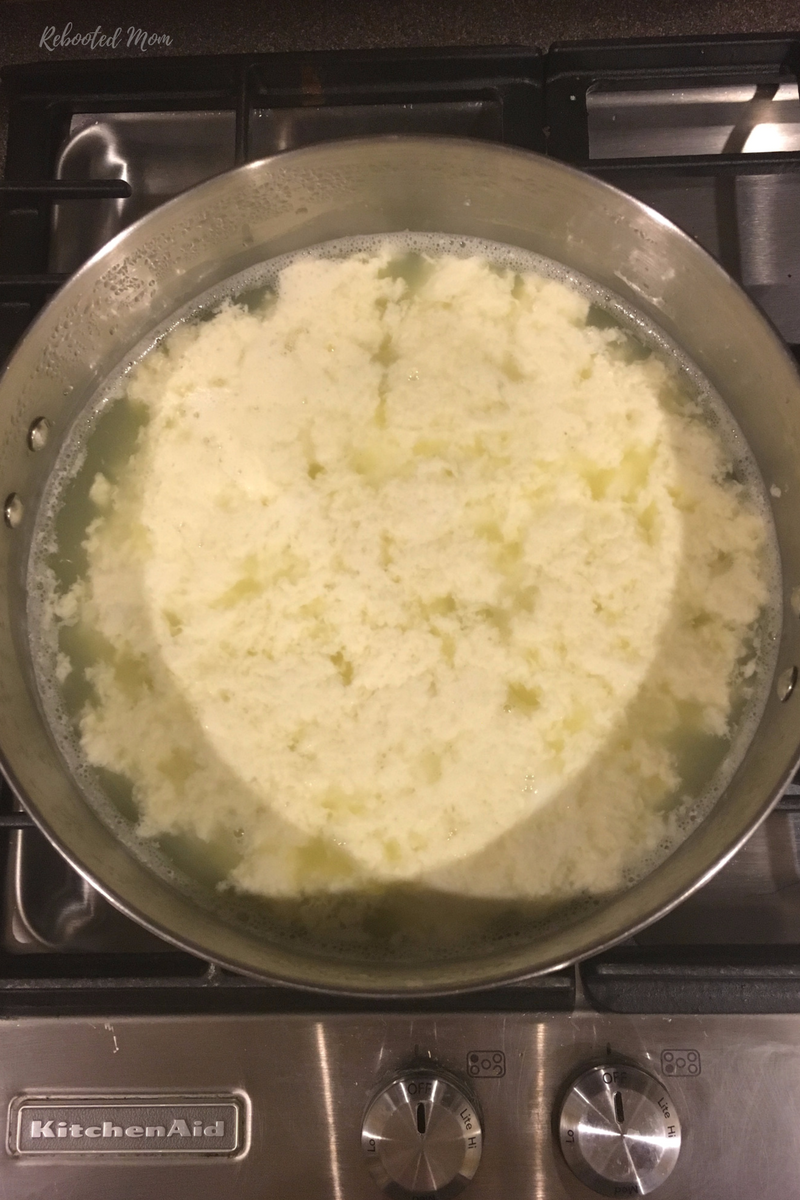
Continue to use all the acid – you’ll notice that the curds start to separate from the whey. Once you have added all of your acid, let the milk sit undisturbed and uncovered for 5-20 minutes.
That acid (whether lemon or vinegar) will help those milk proteins to separate.
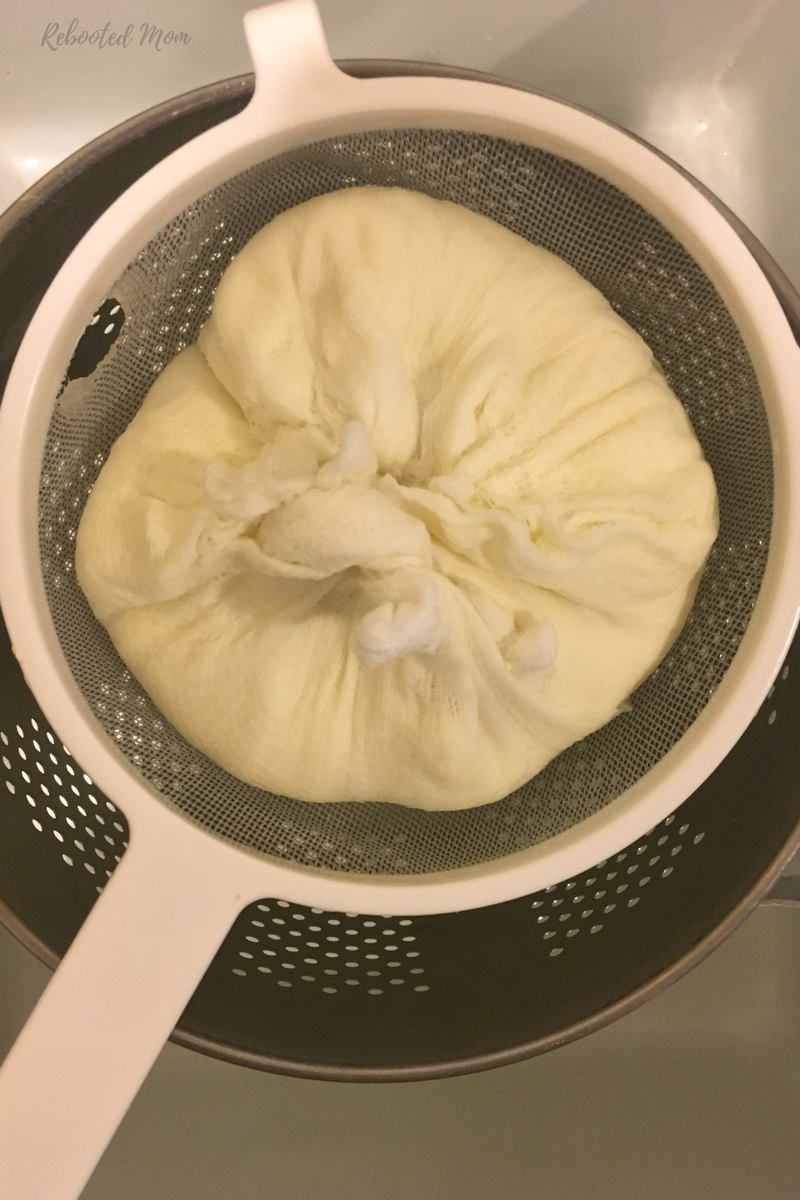
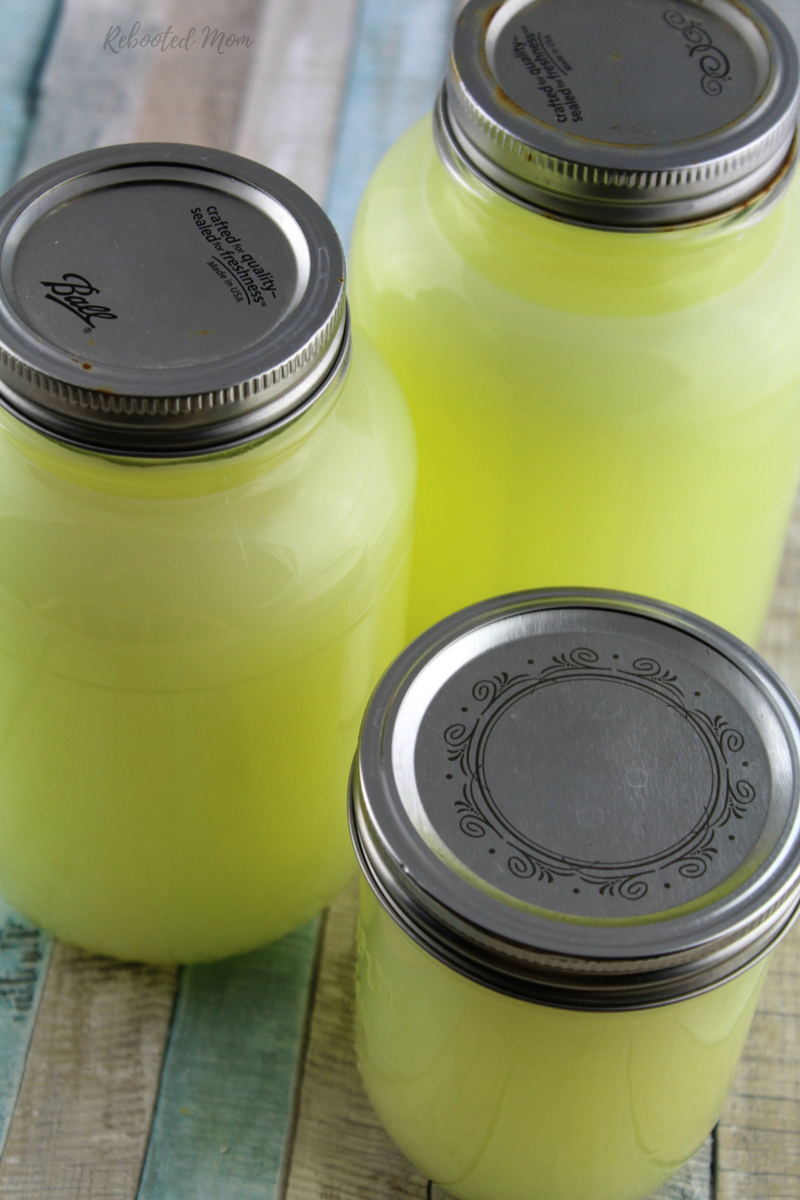
Then, ladle your curds into a colander lined with a cheesecloth – we usually use two placed diagonally over each other so we have enough give to tie up after it has drained. If you want to keep the whey, you might want to place the colander or strainer over another bowl to keep the whey.
The whey makes an incredible marinade for meat and can be used to soak grains. My favorite way to use whey is to make caramel (so so delicious!)
Finishing Up
Allow the curds to strain for 15-20 minutes – adding a quarter tsp of sea salt over the curds and gently stirring it in as it drains. Work to press your cheese by tying up the ends of the cheesecloth into the middle and then placing a weight on top.
You certainly don’t want to remove too much of the whey though. Removing too much will dry up the cheese faster.

Let that cheese sit on your counter top with the weight for an hour. Remove the weight and keep it wrapped, and toss in the fridge for another hour or two.
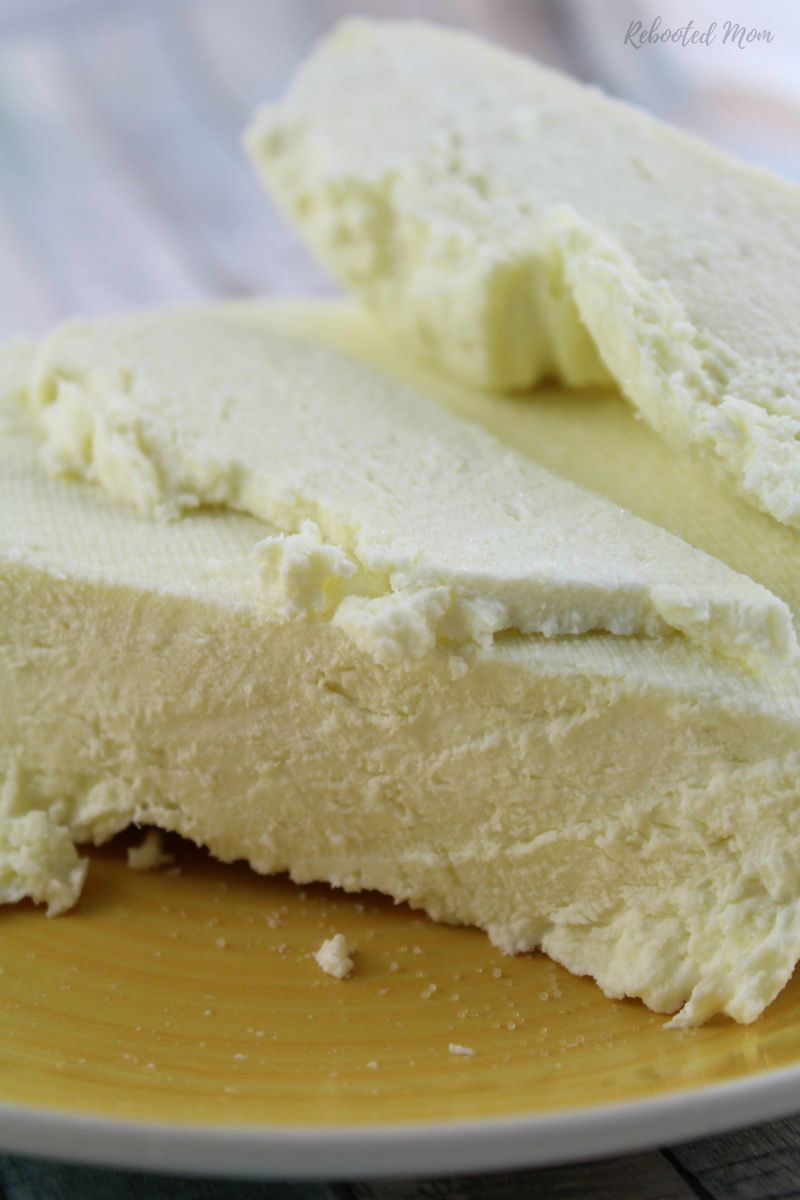
When you get ready to enjoy it, unwrap from the cheesecloth and cut into fresh slices.
Once you master making your own queso fresco you will never want to go back to purchasing in store.
When you are done making you cheese, keep the whey – it has so many amazing uses!
You can use it as a facial cleaner, in your bath, as a meat marinade, in your garden, and so much more. It’s so fun to use as a sourdough starter, too!
Making your own Mexican Queso Fresco (fresh cheese) is easier than you think! It's delicious and creamy and so easy to make at home.
Ingredients
- 1 gallon whole, raw unpasteurized milk
- 2/3 C. white vinegar or, fresh lemon juice (roughly 6-7 lemons)
- kosher salt
- Instant Read Thermometer
- Mesh Strainer (7 inch or larger) or colander
- Cheesecloth
Instructions
- Line your colander with 4 layers of cheesecloth and set over a large bowl.
- Pour your milk in a heavy bottom pot over medium-low heat. Stir frequently until the temperature reaches 165-185 on an instant read thermometer. Turn off the heat, and add the vinegar or lemon juice 1 Tbsp at a time - stir thoroughly after each addition. Continue until you have added all of the acid. Allow the pot to sit, uncovered, for up to 20 minutes while the milk separates.
- Using a slotted spoon transfer the milk curds to the colander, and allow to drain for up to 20 minutes. Towards the end, add your salt (gently) to taste.
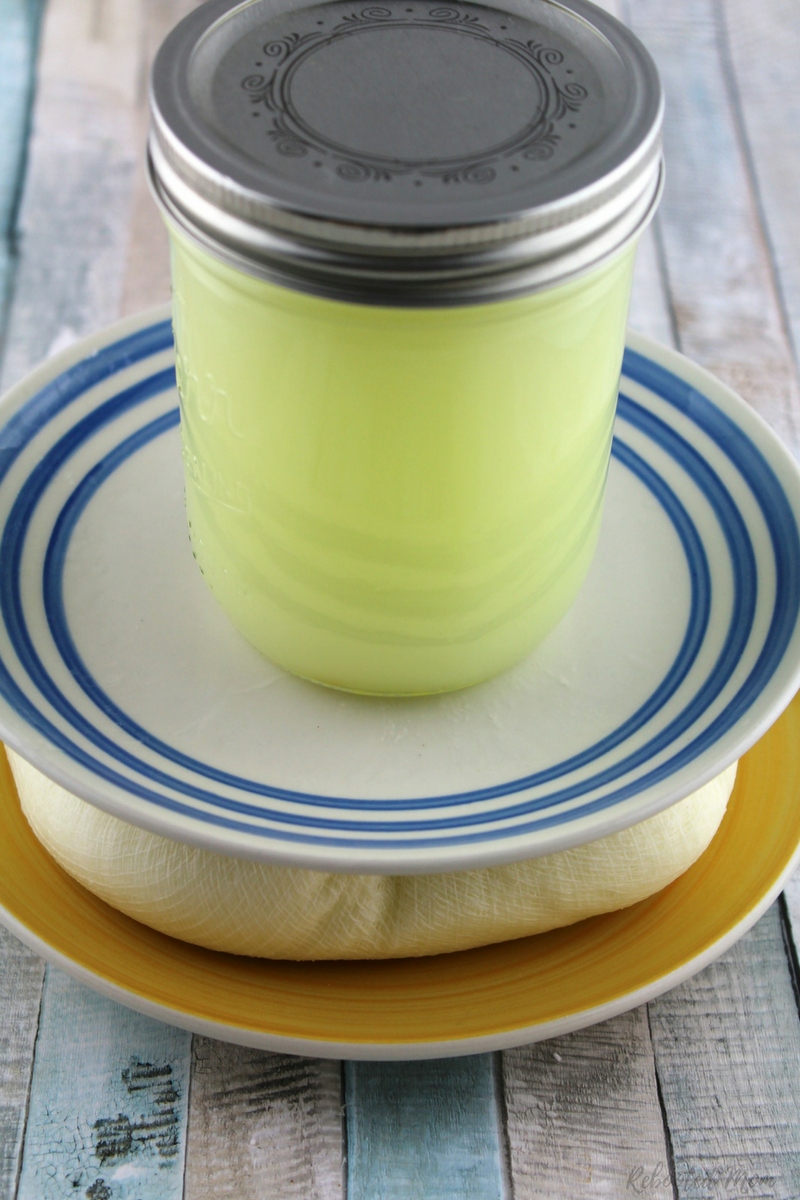
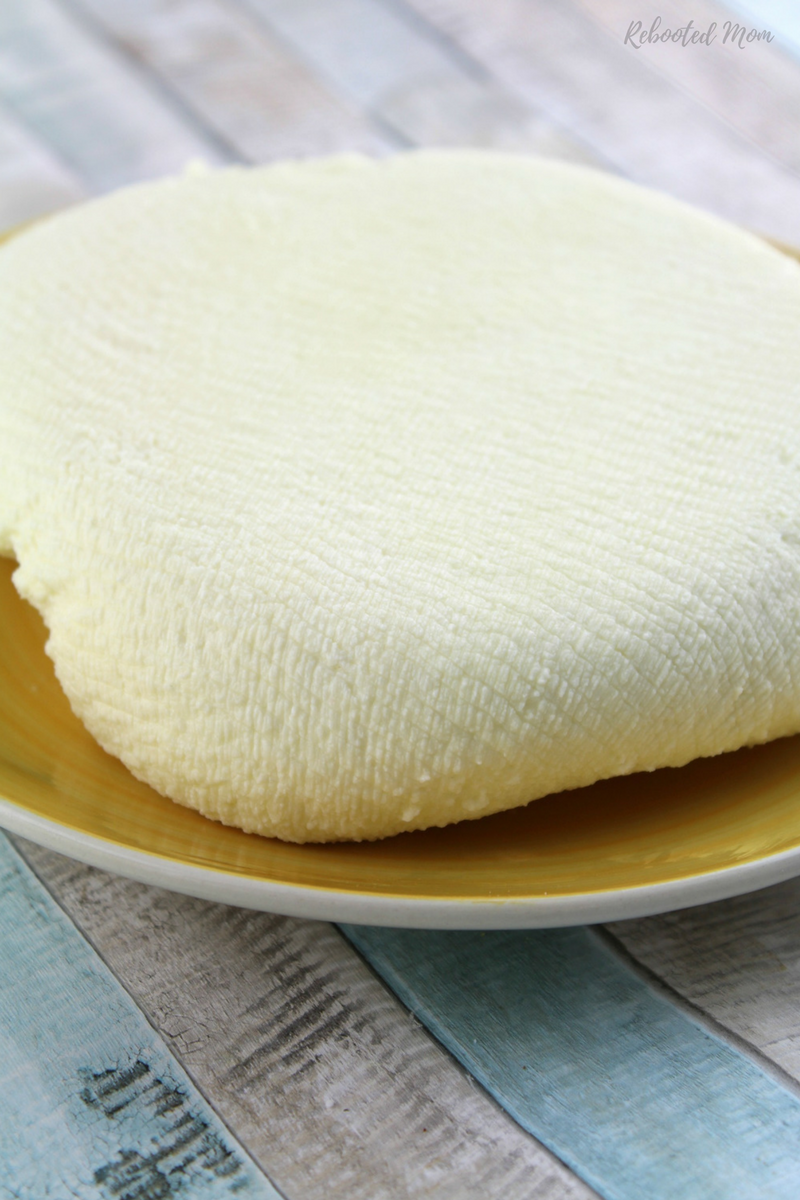
- Gather your cheesecloth ends towards the top middle to tie the cheese into a hockey puck shape - place the cheese in the colander and set a plate on top. Then, top a heavy object on top of the plate to give it some weight, and let sit for 1 hour until the cheese has formed a nicely pressed hockey puck shape.
- Take the weight off the cheese, followed by the plate, and set the cheese (with cheesecloth on ) on a plate in the fridge for an hour to chill. When ready to eat, untie the cheesecloth and toss - slice the queso fresco and enjoy.


Sheryl, great post! Can’t wait to try it when we start getting milk from our cow when she calves! Question…how long does queso fresco stay good for? Or maybe no one knows because it always gets eaten up before it goes bad! 🤷♀️ TIA!
Excited for you! I am not sure how long it stays good because ours usually goes in a day or two. Before I made it, we would buy it at the market here and it maybe would last 4-5 days in the fridge (as long as you keep it covered/refrigerated). Hope that helps. Let me know how it goes!
Hi please respond, my curds are stringy. Like Mozzarella not queso fresco, can you help me figure out what I did wrong? Maybe the milk got too hot?
My guess… is that the milk may have gotten too hot. I have (in the past) had that problem, when I first started making cheese, too. Can you still use it? Queso Fresco should be rather soft and crumbly – now, there is another Mexican cheese known as Queso Oaxaca, which is very stringy – Oaxaca cheese melts wonderfully (in Quesadillas and such). Queso Fresco is more of a crumbly, soft cheese.
Do you have a really good thermometer? When I first started making cheese, I had a thermometer, but the battery was … lets say, unpredictable. It was frustrating – because making cheese is not easy – it’s time consuming and can be costly! So I got a thermometer, was around $24. I still have it all these years later and it’s still going strong. But the first few that I had were pretty lousy (I got them on Amazon!)