


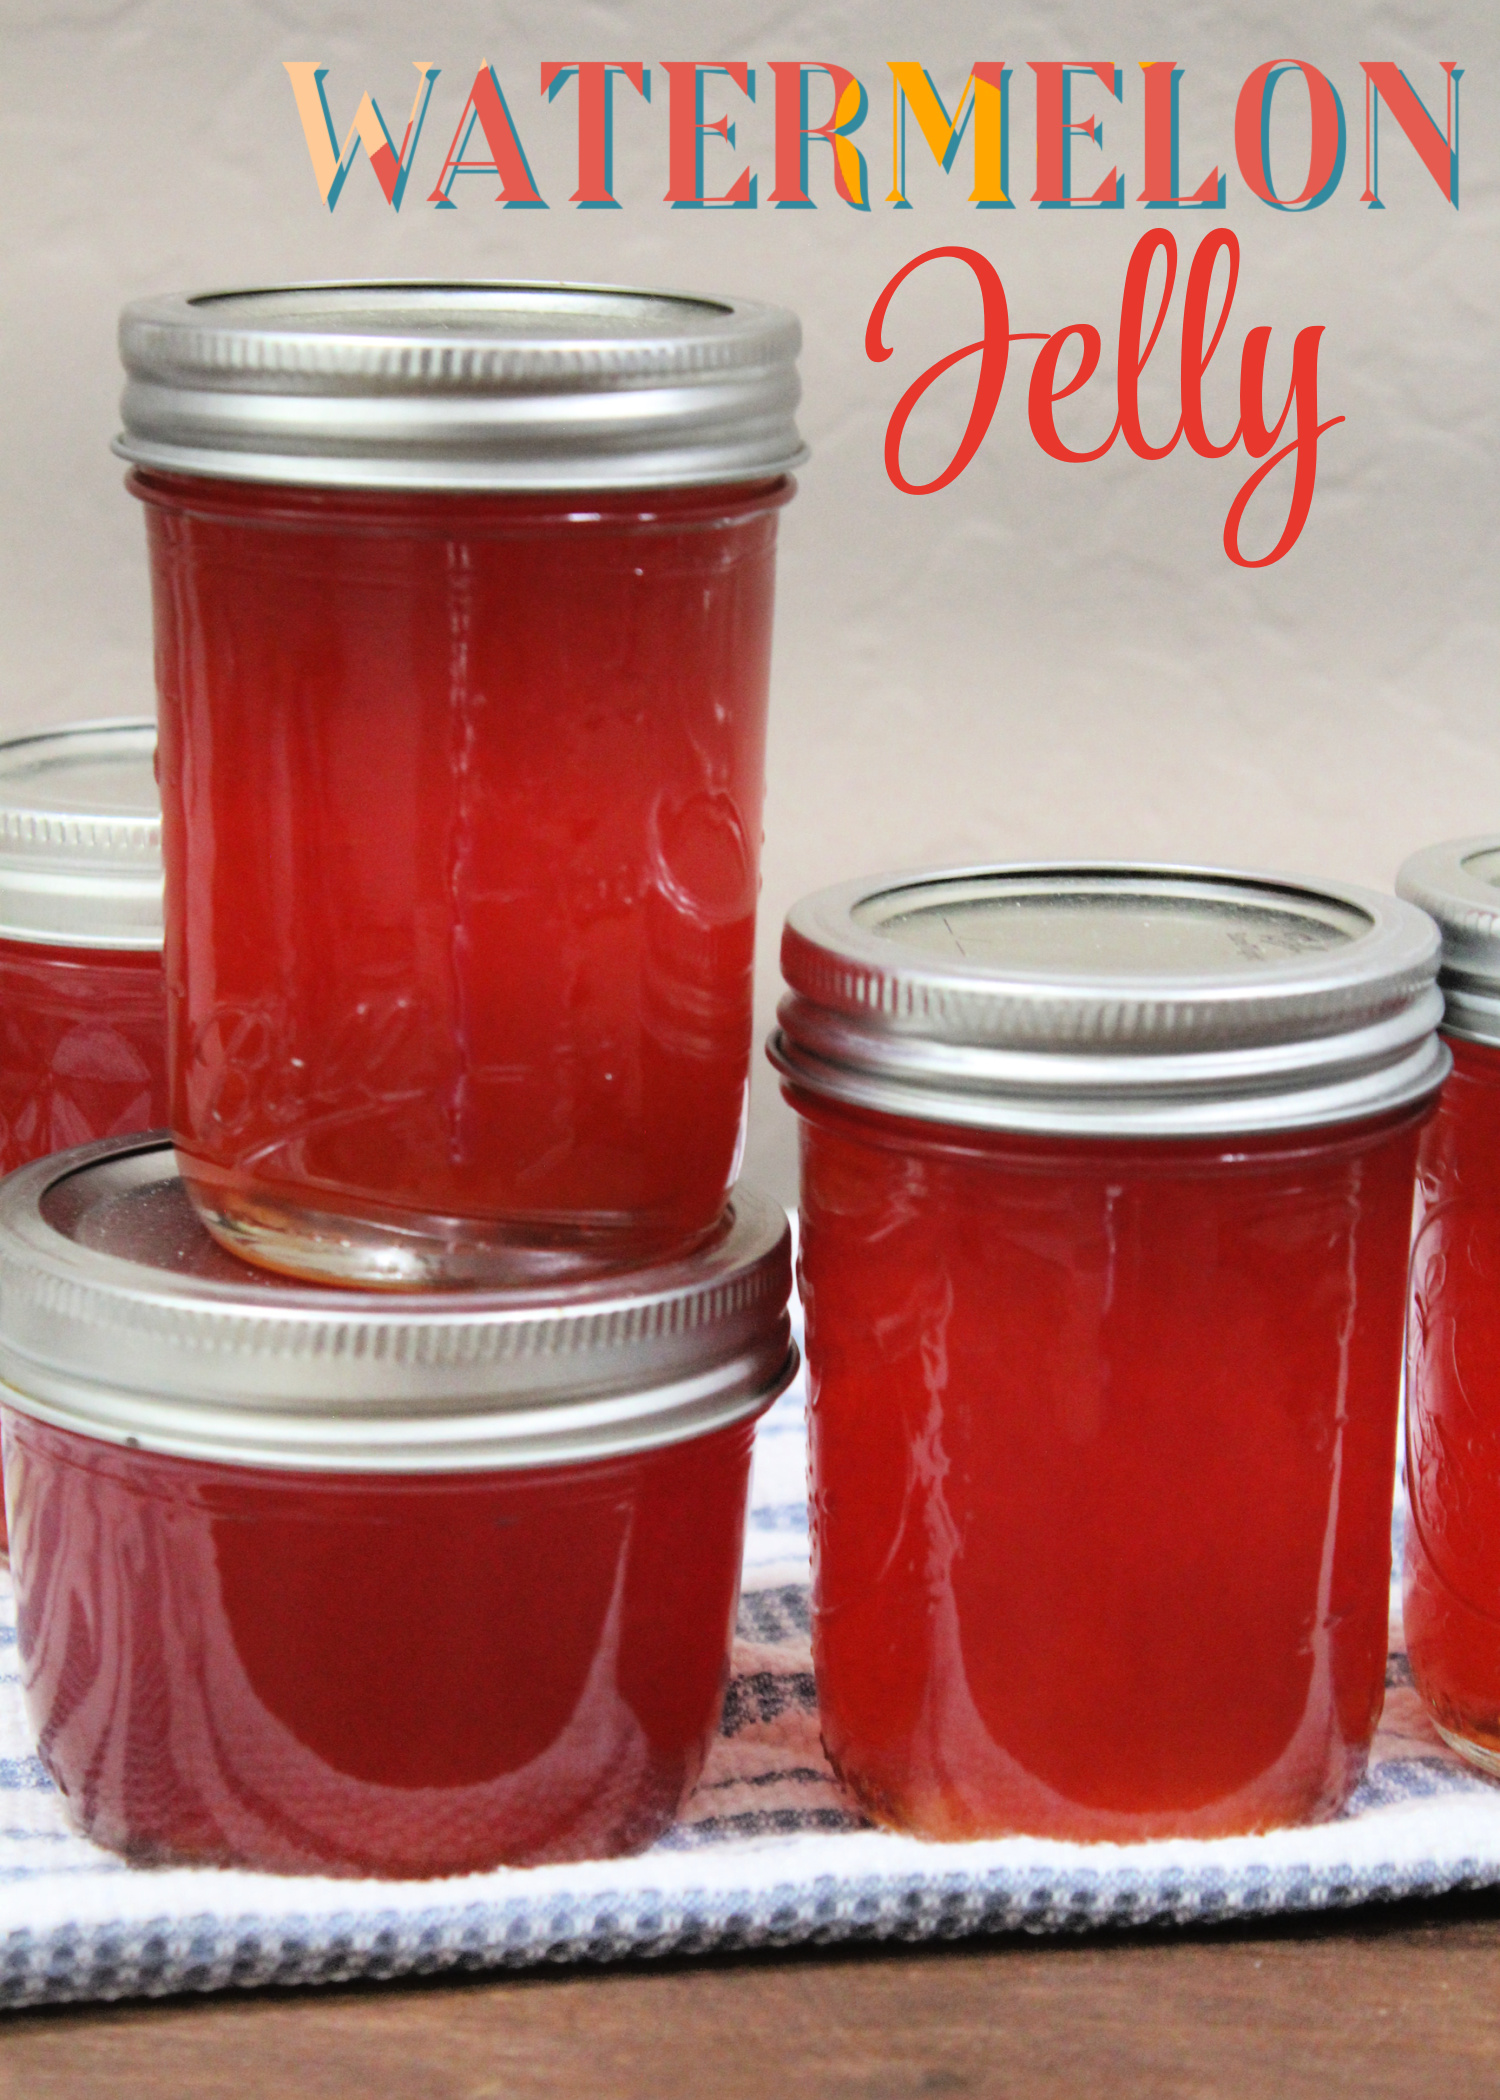
Watermelon Jelly – capture the beautiful color and intense flavor of watermelons in this simple summer jelly, a great way to help you enjoy watermelon long past summer!
Watermelon is the quintessential summer fruit – on sale usually around July 4th, and perhaps even showcased at every BBQ and get together all summer long.
Watermelon Jelly though… wooo eeee – what a GREAT way to preserve the taste of summer long past summer – agree? I can’t think of a better way to use it, than to make jelly.
And if you haven’t had watermelon jelly, you are definitely living under a rock – because it is the best jelly EVER. Of course, I might just be biased on that one 😉
Canning jam and jelly is one of my favorite ways to spend time in the kitchen. For me, canning is therapeutic – it helps feed the expanding stomachs of my growing kids, while at the same time affording me the opportunity to keep my hands busy in the kitchen.
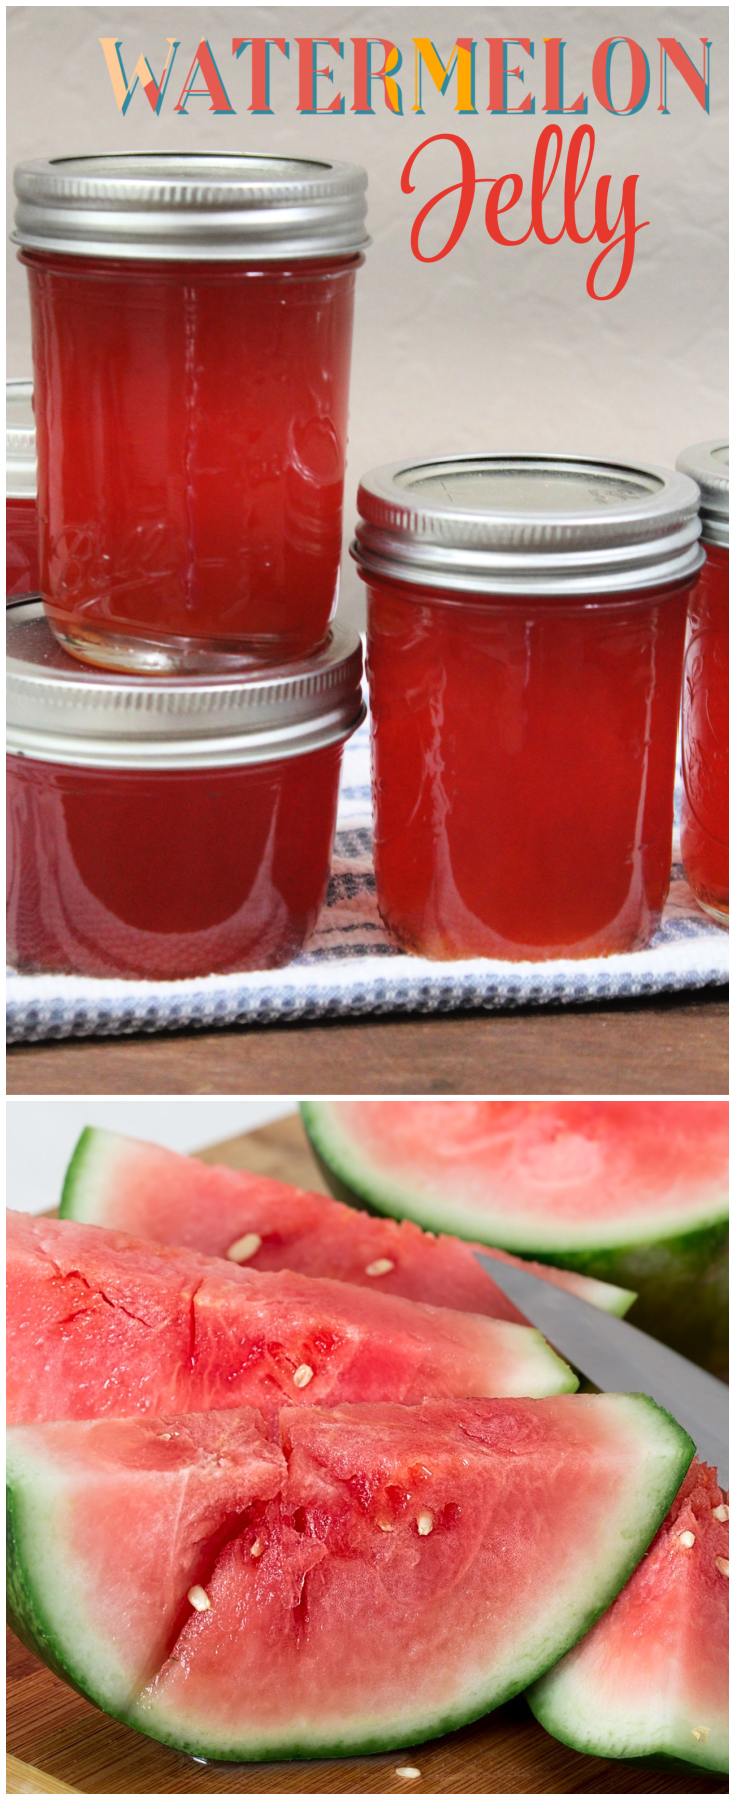
Watermelon Jelly
Watermelon Jelly is super easy to make – 6 cups of watermelon, chopped, some sugar, white rice vinegar or white balsamic vinegar, lemon juice and pectin.
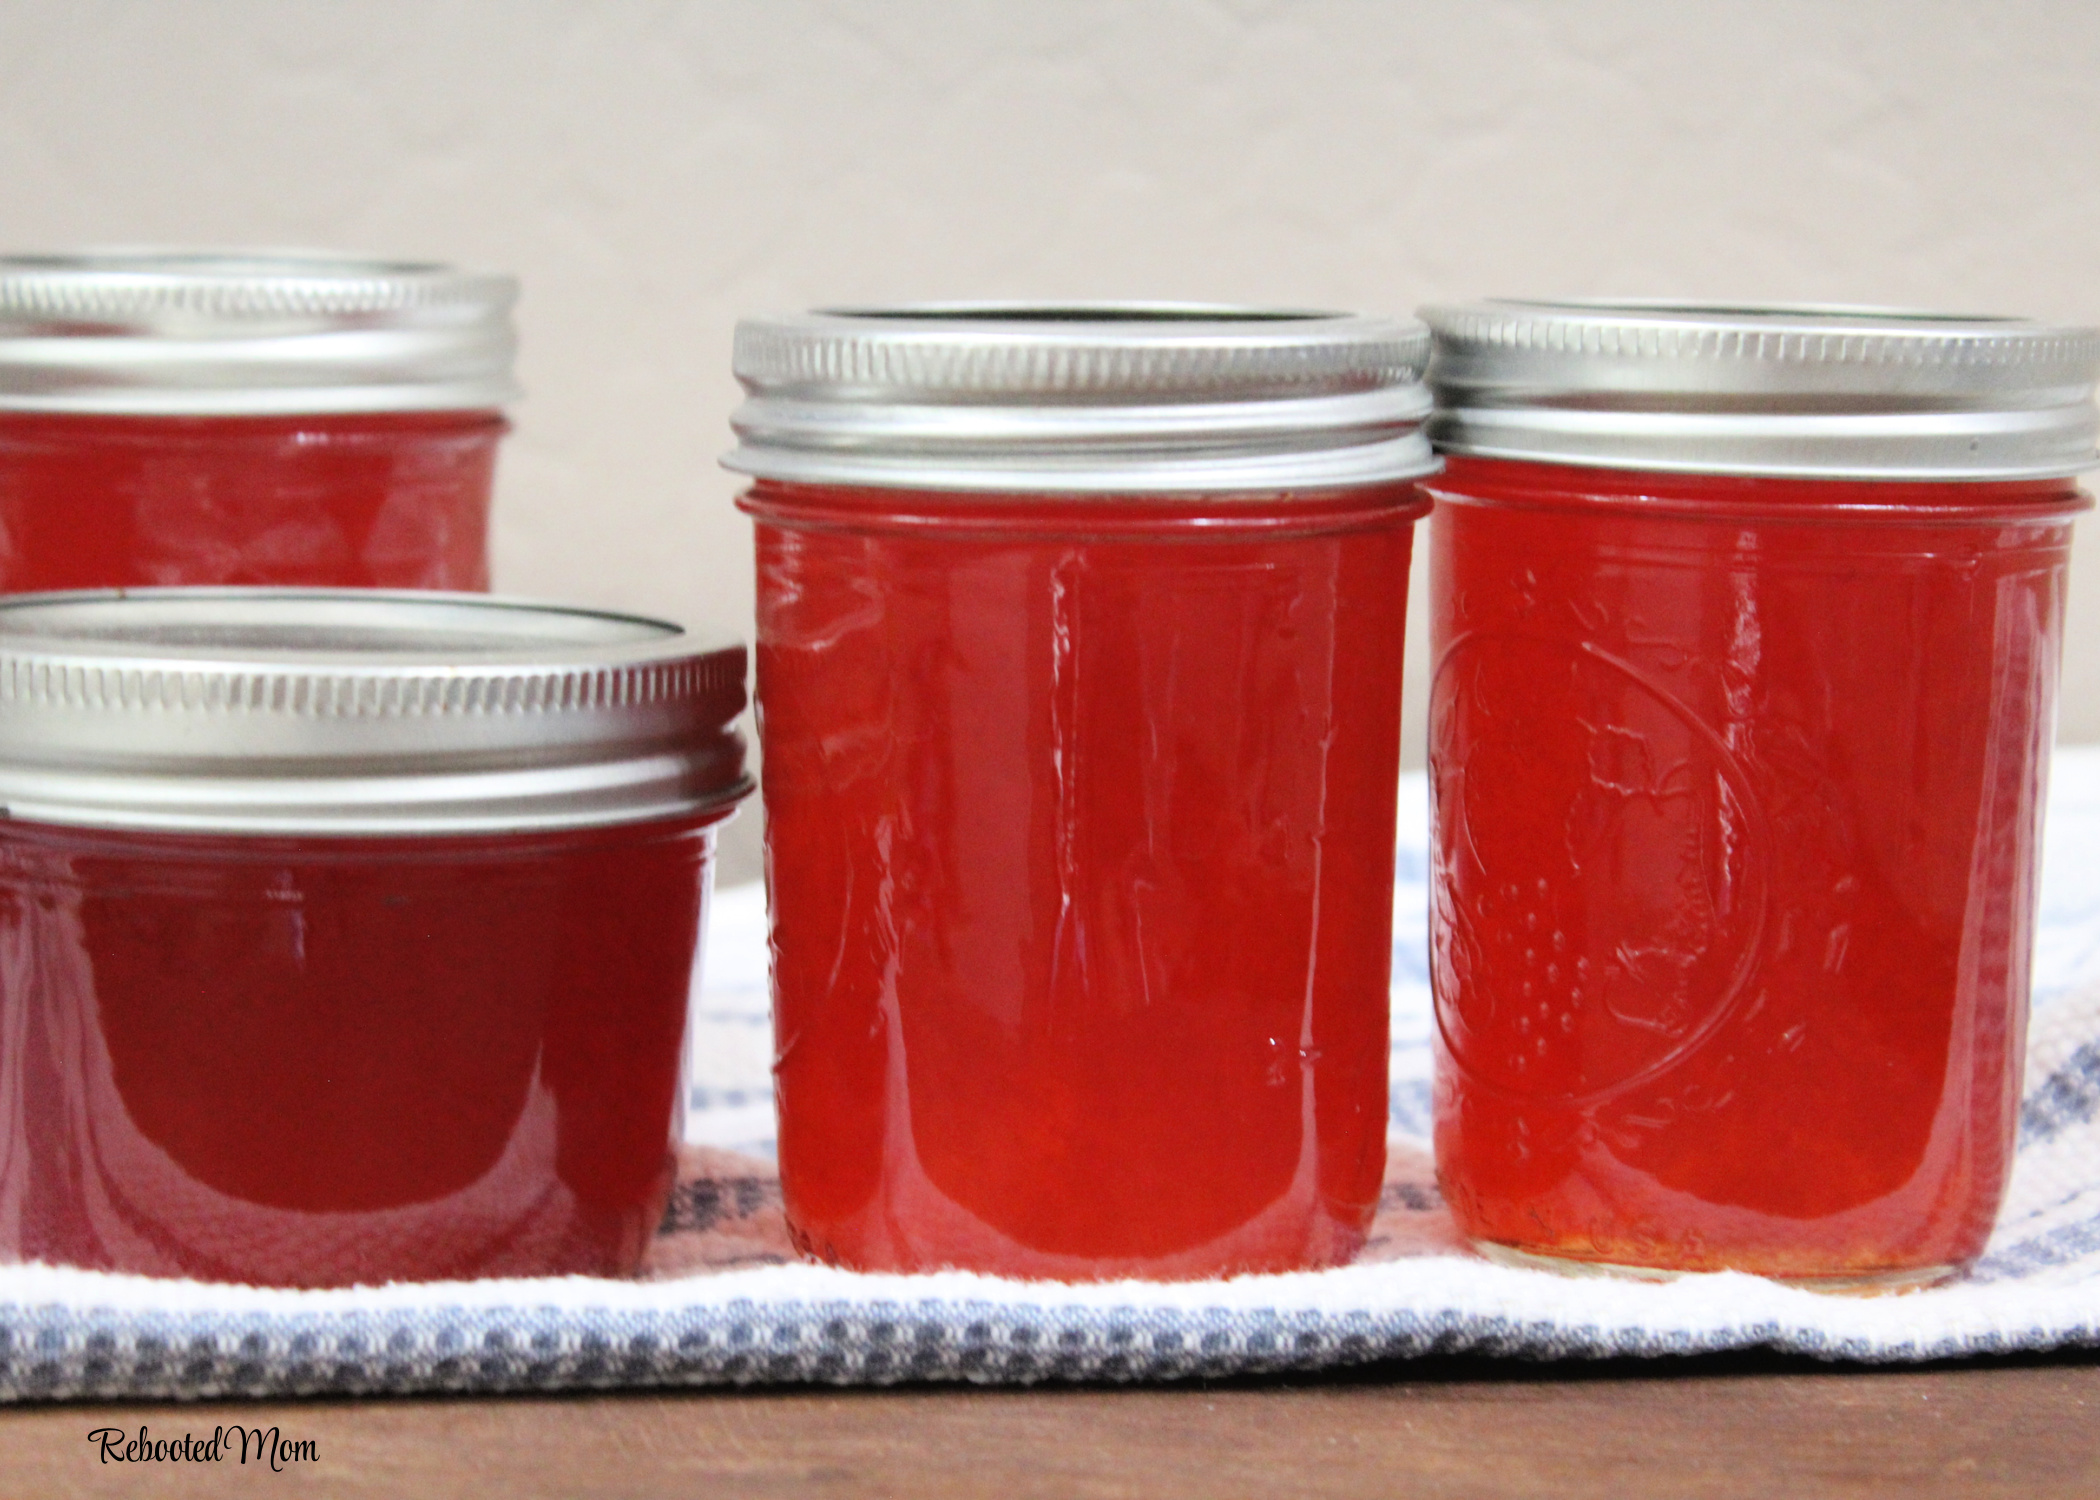
Red food coloring is optional — and quite honestly, the color of the jelly holds very well so in my opinion, the food coloring is not really needed at all.
Sterilizing Jars
Prior to canning your jelly, you’ll want to sterilize your jars. You can do this one of two ways:
Place your jars on a cookie sheet in the oven at 225 degrees F until you are ready to fill them. FYI – they get hot! So use caution!
Place your jars, lids and rings in a stockpot (ie: your water bath canner) and heat up the water to sterilize them. Then remove them just prior to filling.
Boiling Times
- 2 minutes for a soft gel
- 4 minutes for a medium gel
Testing the jelly: put a cereal spoon in a cup of ice water; take a spoon of the jelly and allow it to come to room temp on the spoon. If it results in a consistency that you are happy with, then the jelly is ready to be canned. If not, stir in a tsp or more of pectin and bring to a boil for an additional minute or two.
Adjustments for Altitude
- 1,001 – 3,000 feet: 10 minutes
- 3,001 to 6,000 feet: additional 15 minutes
- 6,001 to 8,000 feet: additional 20 minutes
- 8,001 to 10,000 feet: 25 minutes
After the jars have processed, carefully remove them from the water bath canner and allow them to stand upright on a towel as they cool. Let the jars sit, undisturbed for up to 24 hours. The jars will seal as they cool (you will hear a “ping”) – avoid pushing the lid down on the center of the jar until the jars are completely cooled. The jelly may take up to 24 hours to set.
Once cooled, check the seal by pushing the middle of the lid with your finger – it should not bounce back. If it does, the jars are not sealed and will need to be reprocessed.
If you don’t want to reprocess, you can refrigerate those jars and use them first.
LOOKING FOR MORE JELLY OR JAM RECIPES?
Look no further – try any of these, below:
- Spicy Red Pepper Jam
- Brandied Apple Jam
- Old Fashioned Grape Jam
- Rose Hip Jelly
- Prickly Pear Jelly
- Palo Verde Flower Jelly
- Old Fashioned Corn Cob Jelly
- Pine Needle Jelly Recipe
- Candy Apple Jelly
- Lavender Jelly
Watermelon Jelly
Equipment
- Water Bath Canner or, deep stockpot
- half pint canning jars, lids and rings
Ingredients
Watermelon Jelly - Makes 5 half pints (80 servings)
- 6 C watermelon, chopped
- 5 C granulated sugar
- 1/4 C lemon juice
- 1/3 C white wine vinegar or white balsamic vinegar
- 2 pouches liquid fruit pectin 3 oz each
Optional
- 2 drops red food coloring
Instructions
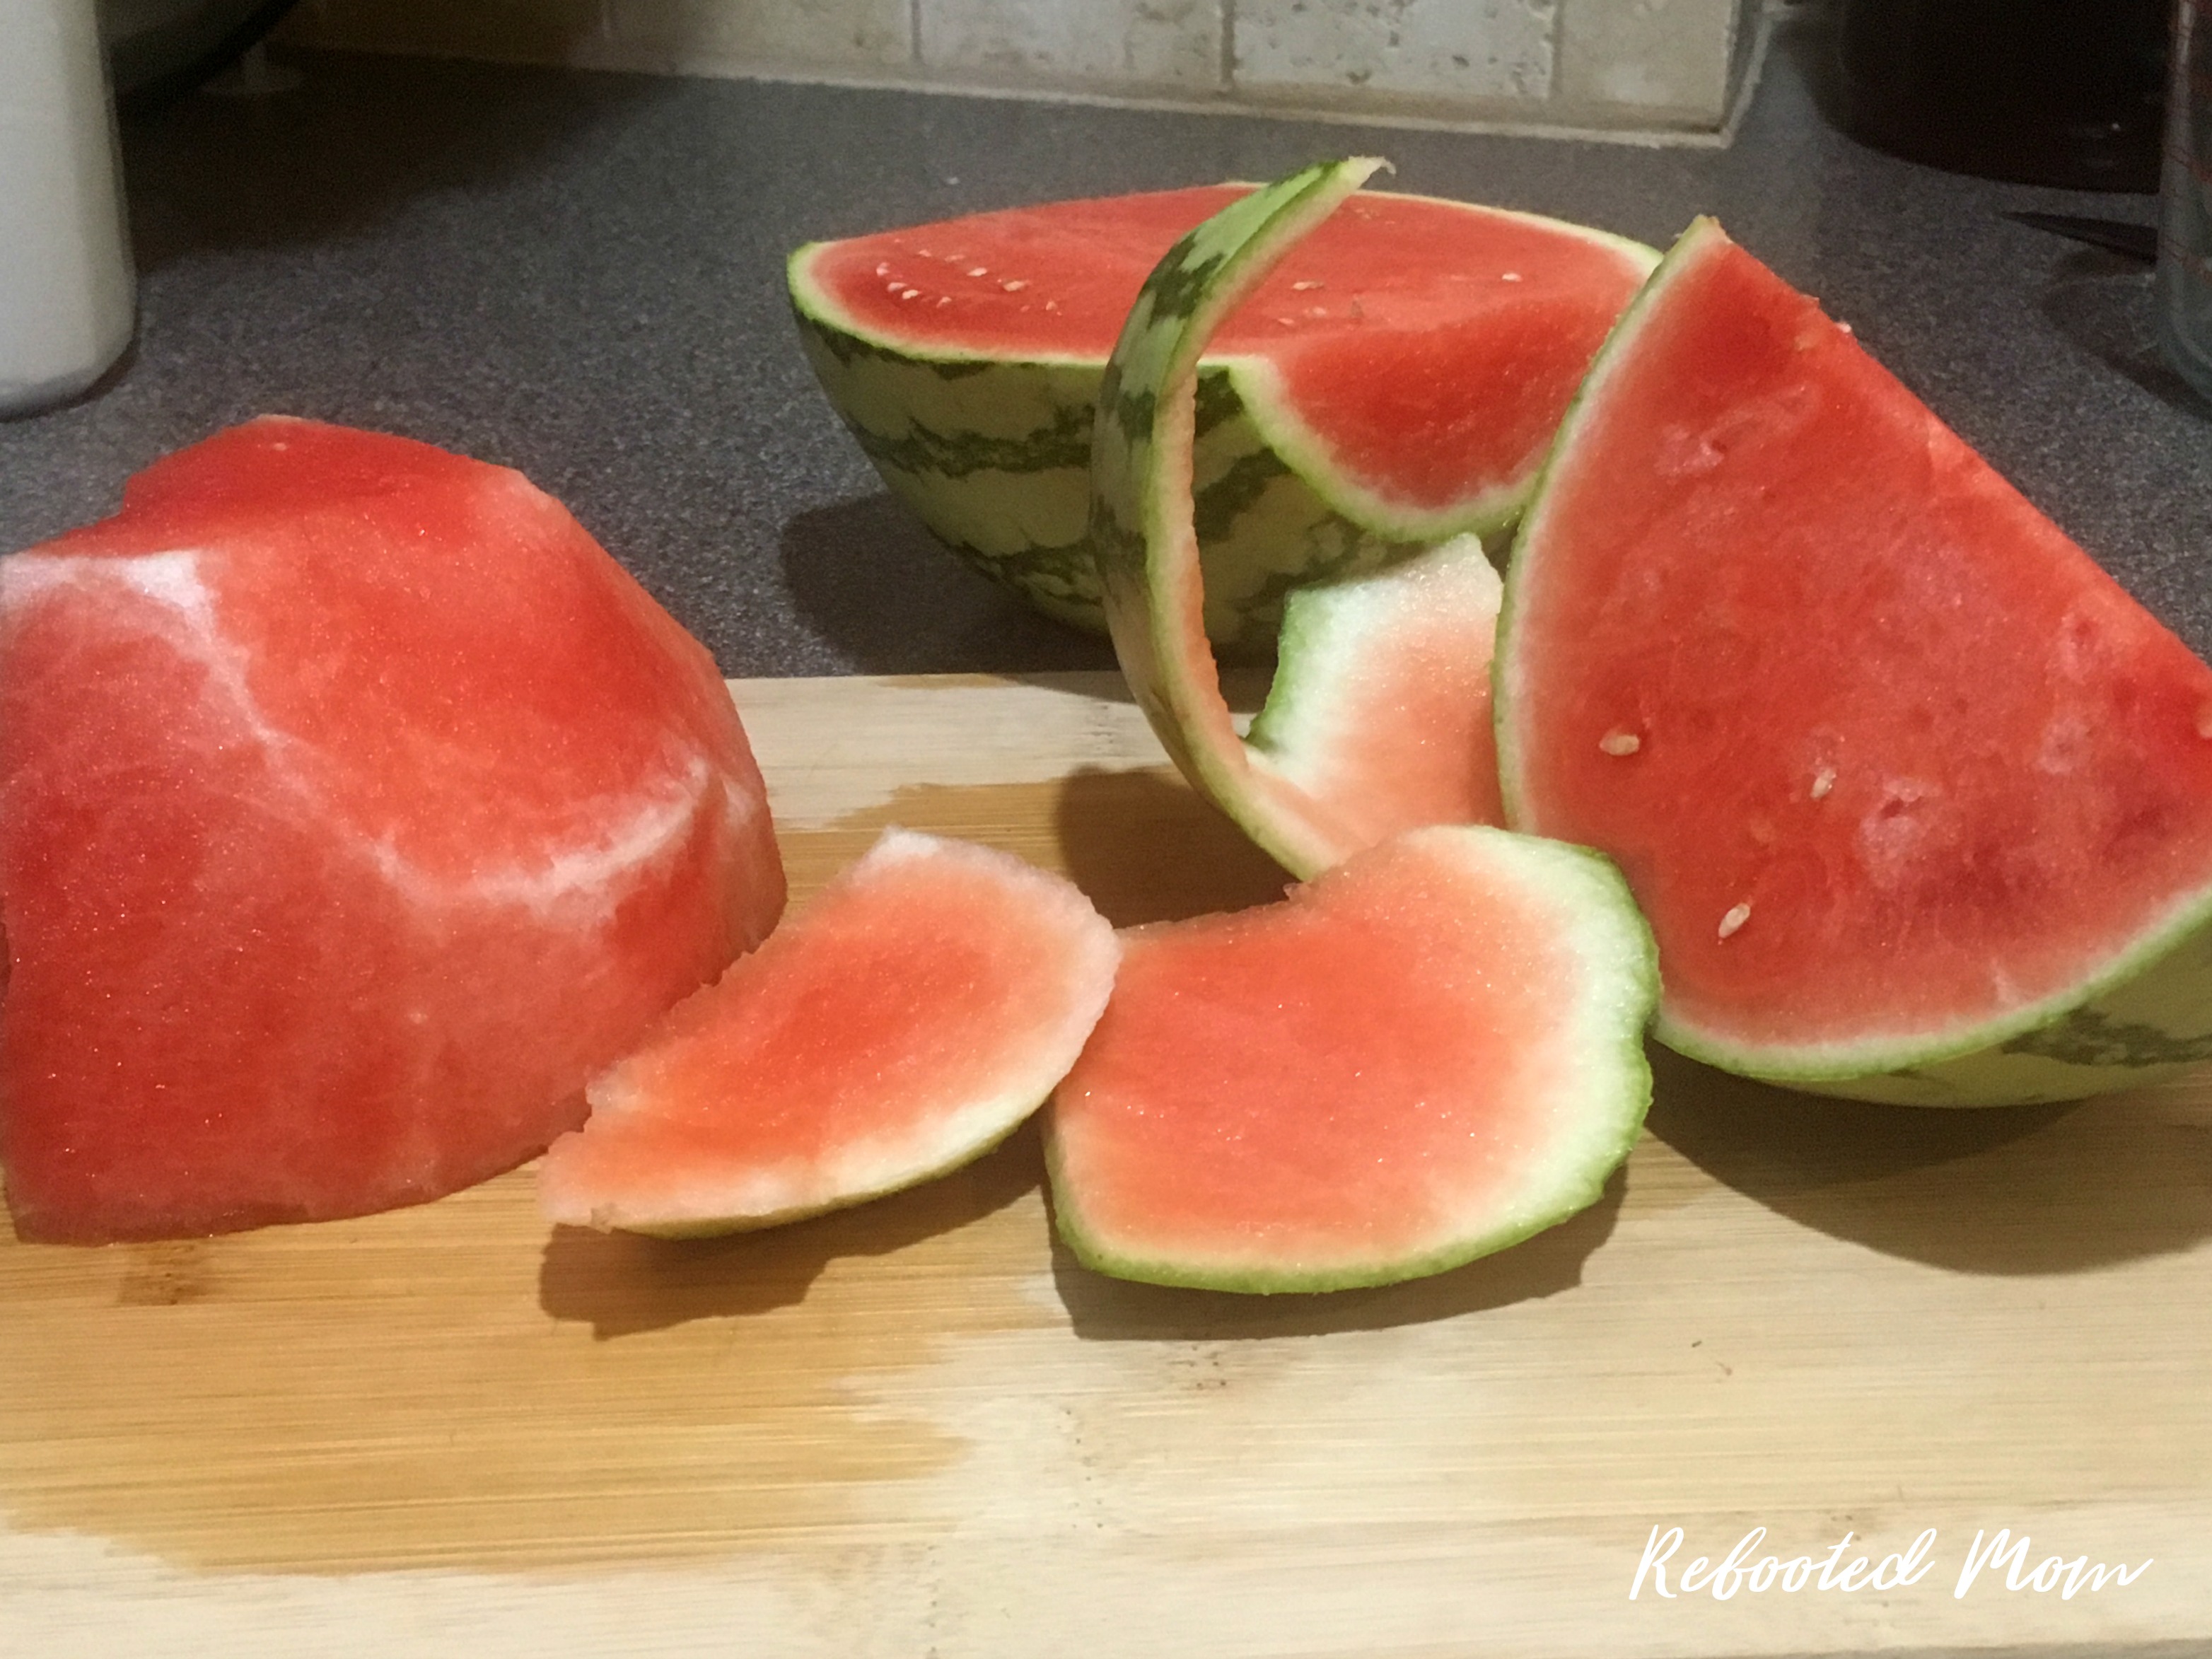
- Place watermelon in food processor or blender. Process until liquified.
- Pour pureed watermelon through several layers of cheesecloth over a large bowl. Allow the liquid to strain out until you have reached 2 C.
- Discard the pulp and seeds (if any) from the cheesecloth. Place the liquid, sugar, vinegar, lemon juice and (if desired) food coloring in a large stockpot. Bring to a boil, over high heat - stirring constantly.
- Add pectin. Continue to stir constantly until mixture reaches 220 degrees F (setting temp for jelly).
- Remove from heat. Skim off foam. Ladle the hot mixture into 5 half-pint canning jars, leaving 1/4" headspace. Wipe the rims, then center the lids on jars and screw on the bands.
- Place the jars in a water bath canner with simmering water - ensure that they are covered by at least 1 inch of water.
- Once the water bath canner comes to a rapid boil, allow the jars 10 minutes to process.
- Remove from the water bath and place on a towel-lined surface. Allow the jars to rest for up to 24 hours until the jelly has set.
Notes
Jelly didn't set?
If your jelly didn't set, don't panic. Sometimes it can take up to 48 hours for the jelly to set. If, however, after that time it is still not set, follow the below instructions to reprocess:- Open each jar, empty jelly into large, clean stock pot.
- Empty jars, lids must be re-washed and prepped again for canning.
- To the stock pot, add 1/4 C. granulated sugar, 2 Tbsp lemon juice, 1/4 C. water and 3 tsp pectin.
- Stir well and bring the mixture to a hard rolling boil (a boil that cannot be stirred down) for 1-2 minutes.
- Ladle into jars, wipe the rims, and apply the lids and bands. Re-process in a water bath for 10 minutes.
- Allow up to 48 hours for the jelly to set.
Nutrition
Did you try this recipe?
If you did, please take a second to leave a review – rate the recipe and comment, below the post. I’d love to know how it turned out for you!

[…] Watermelon Jelly […]