


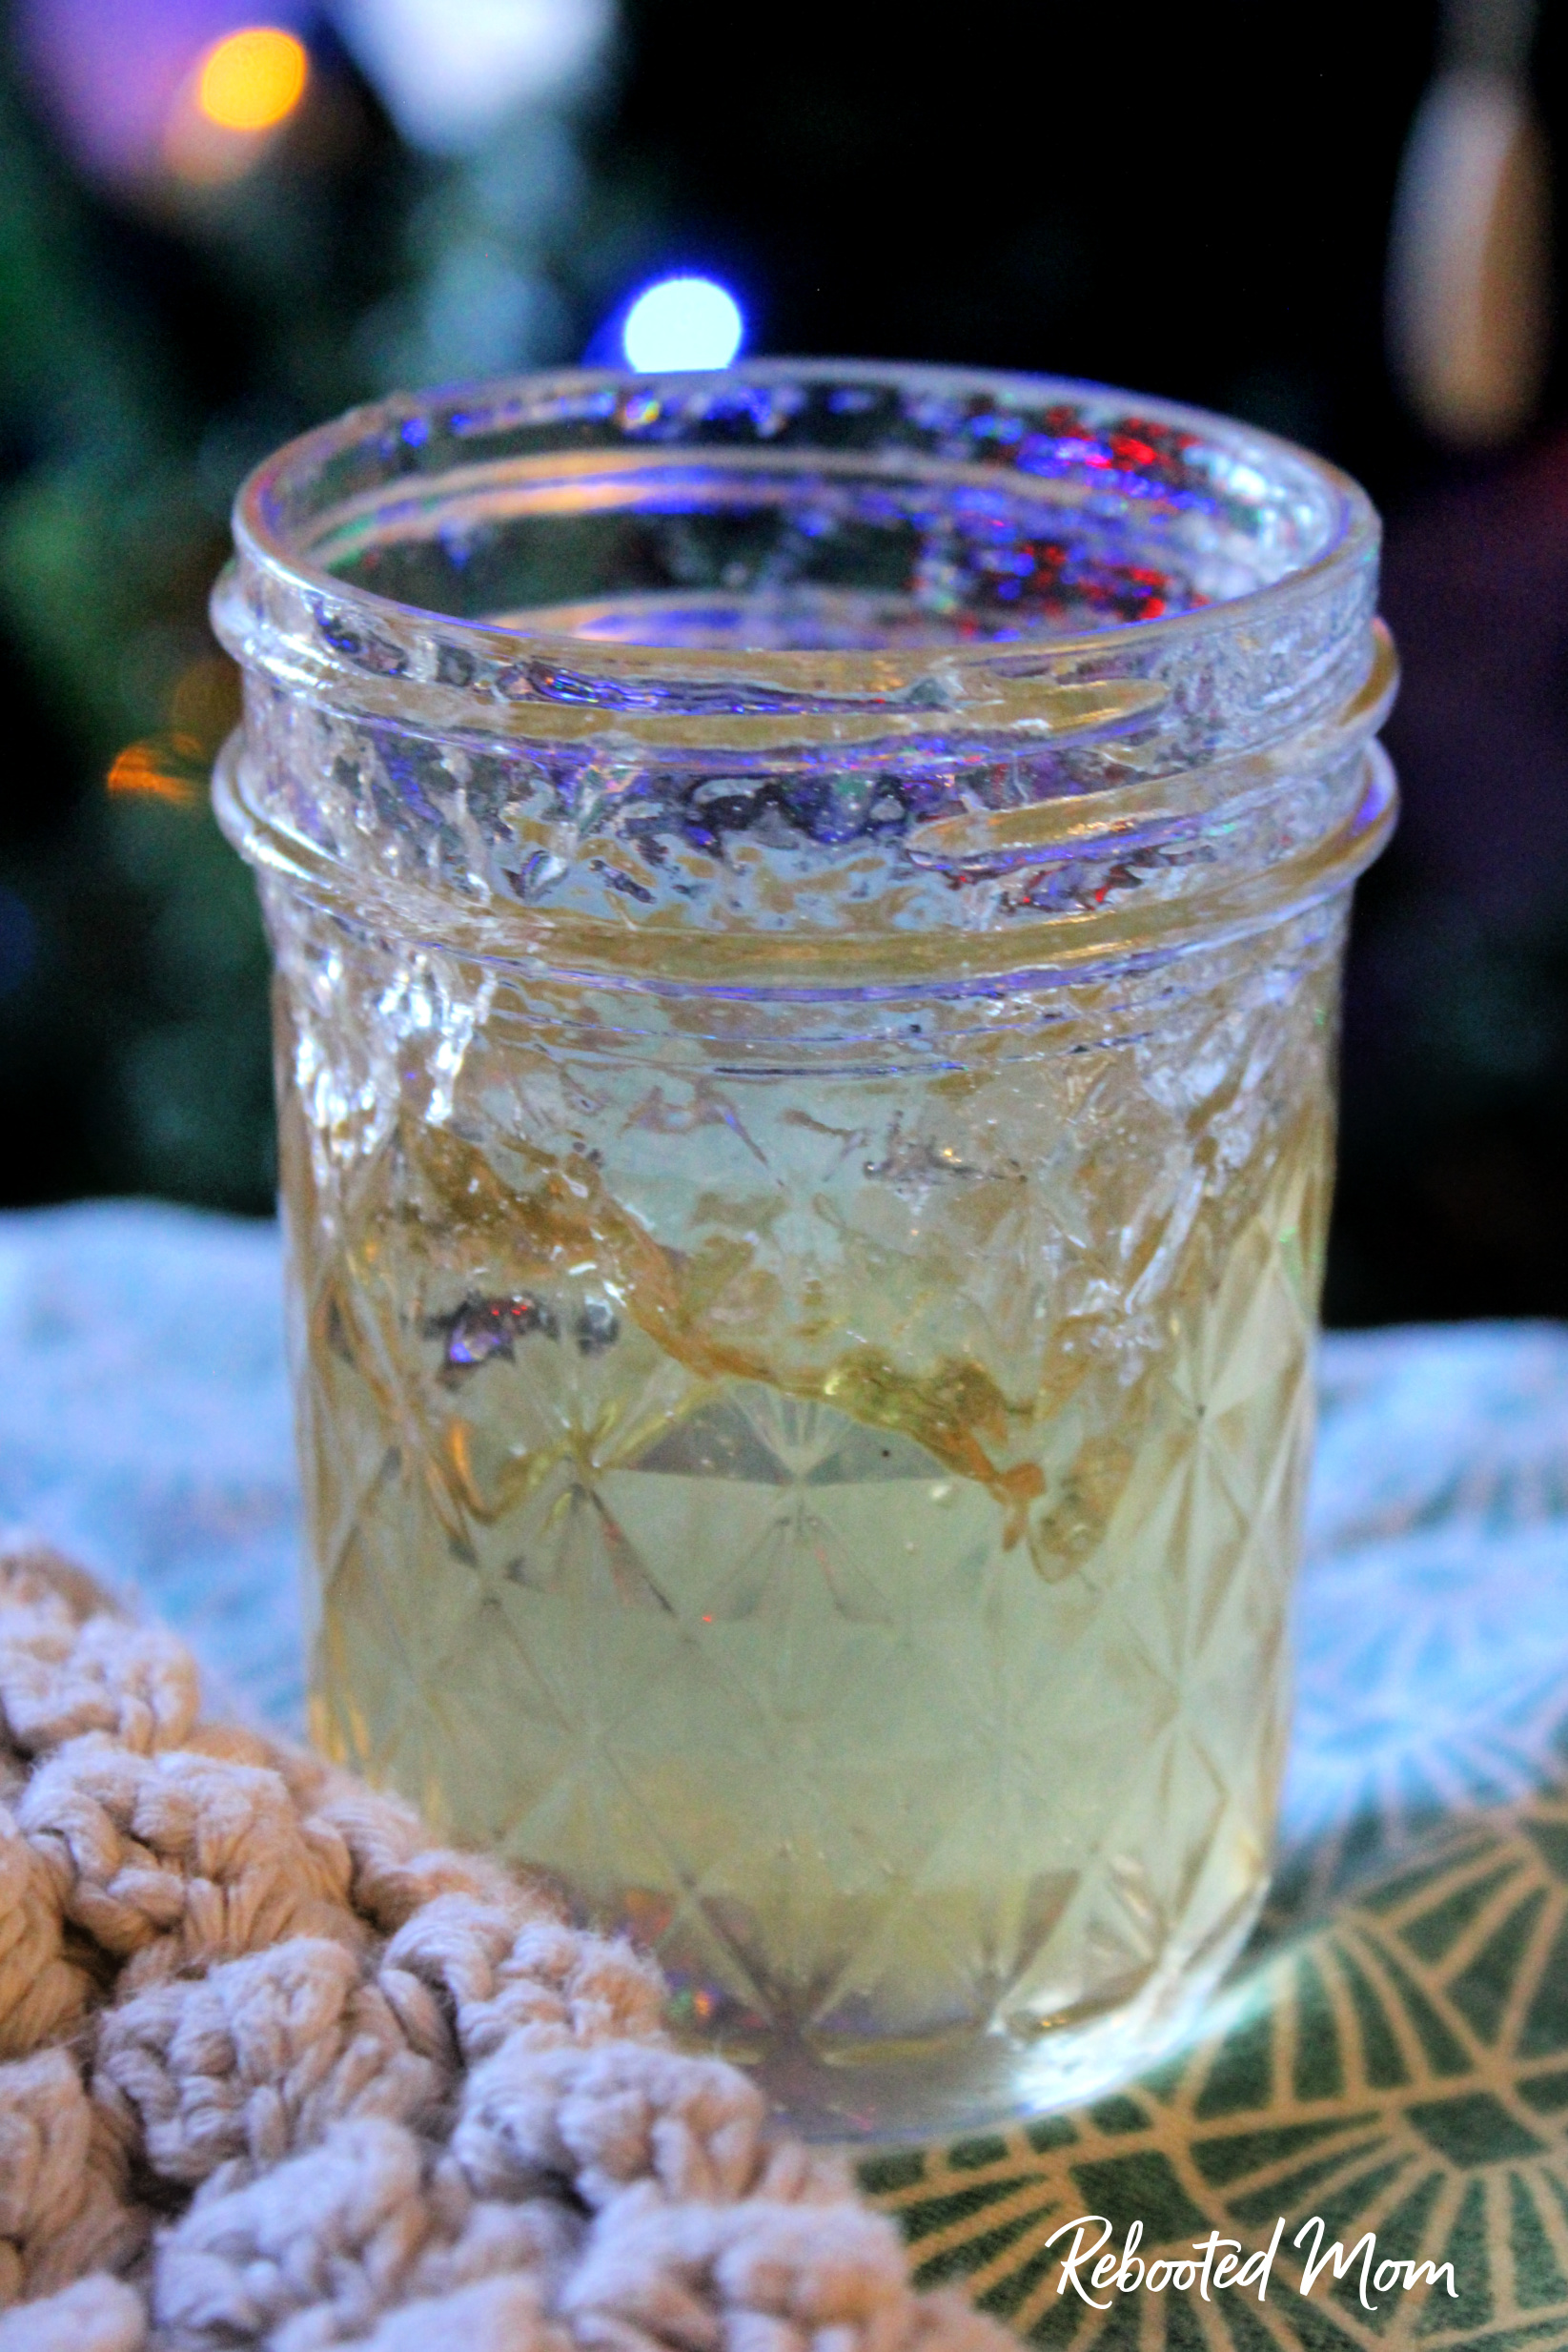
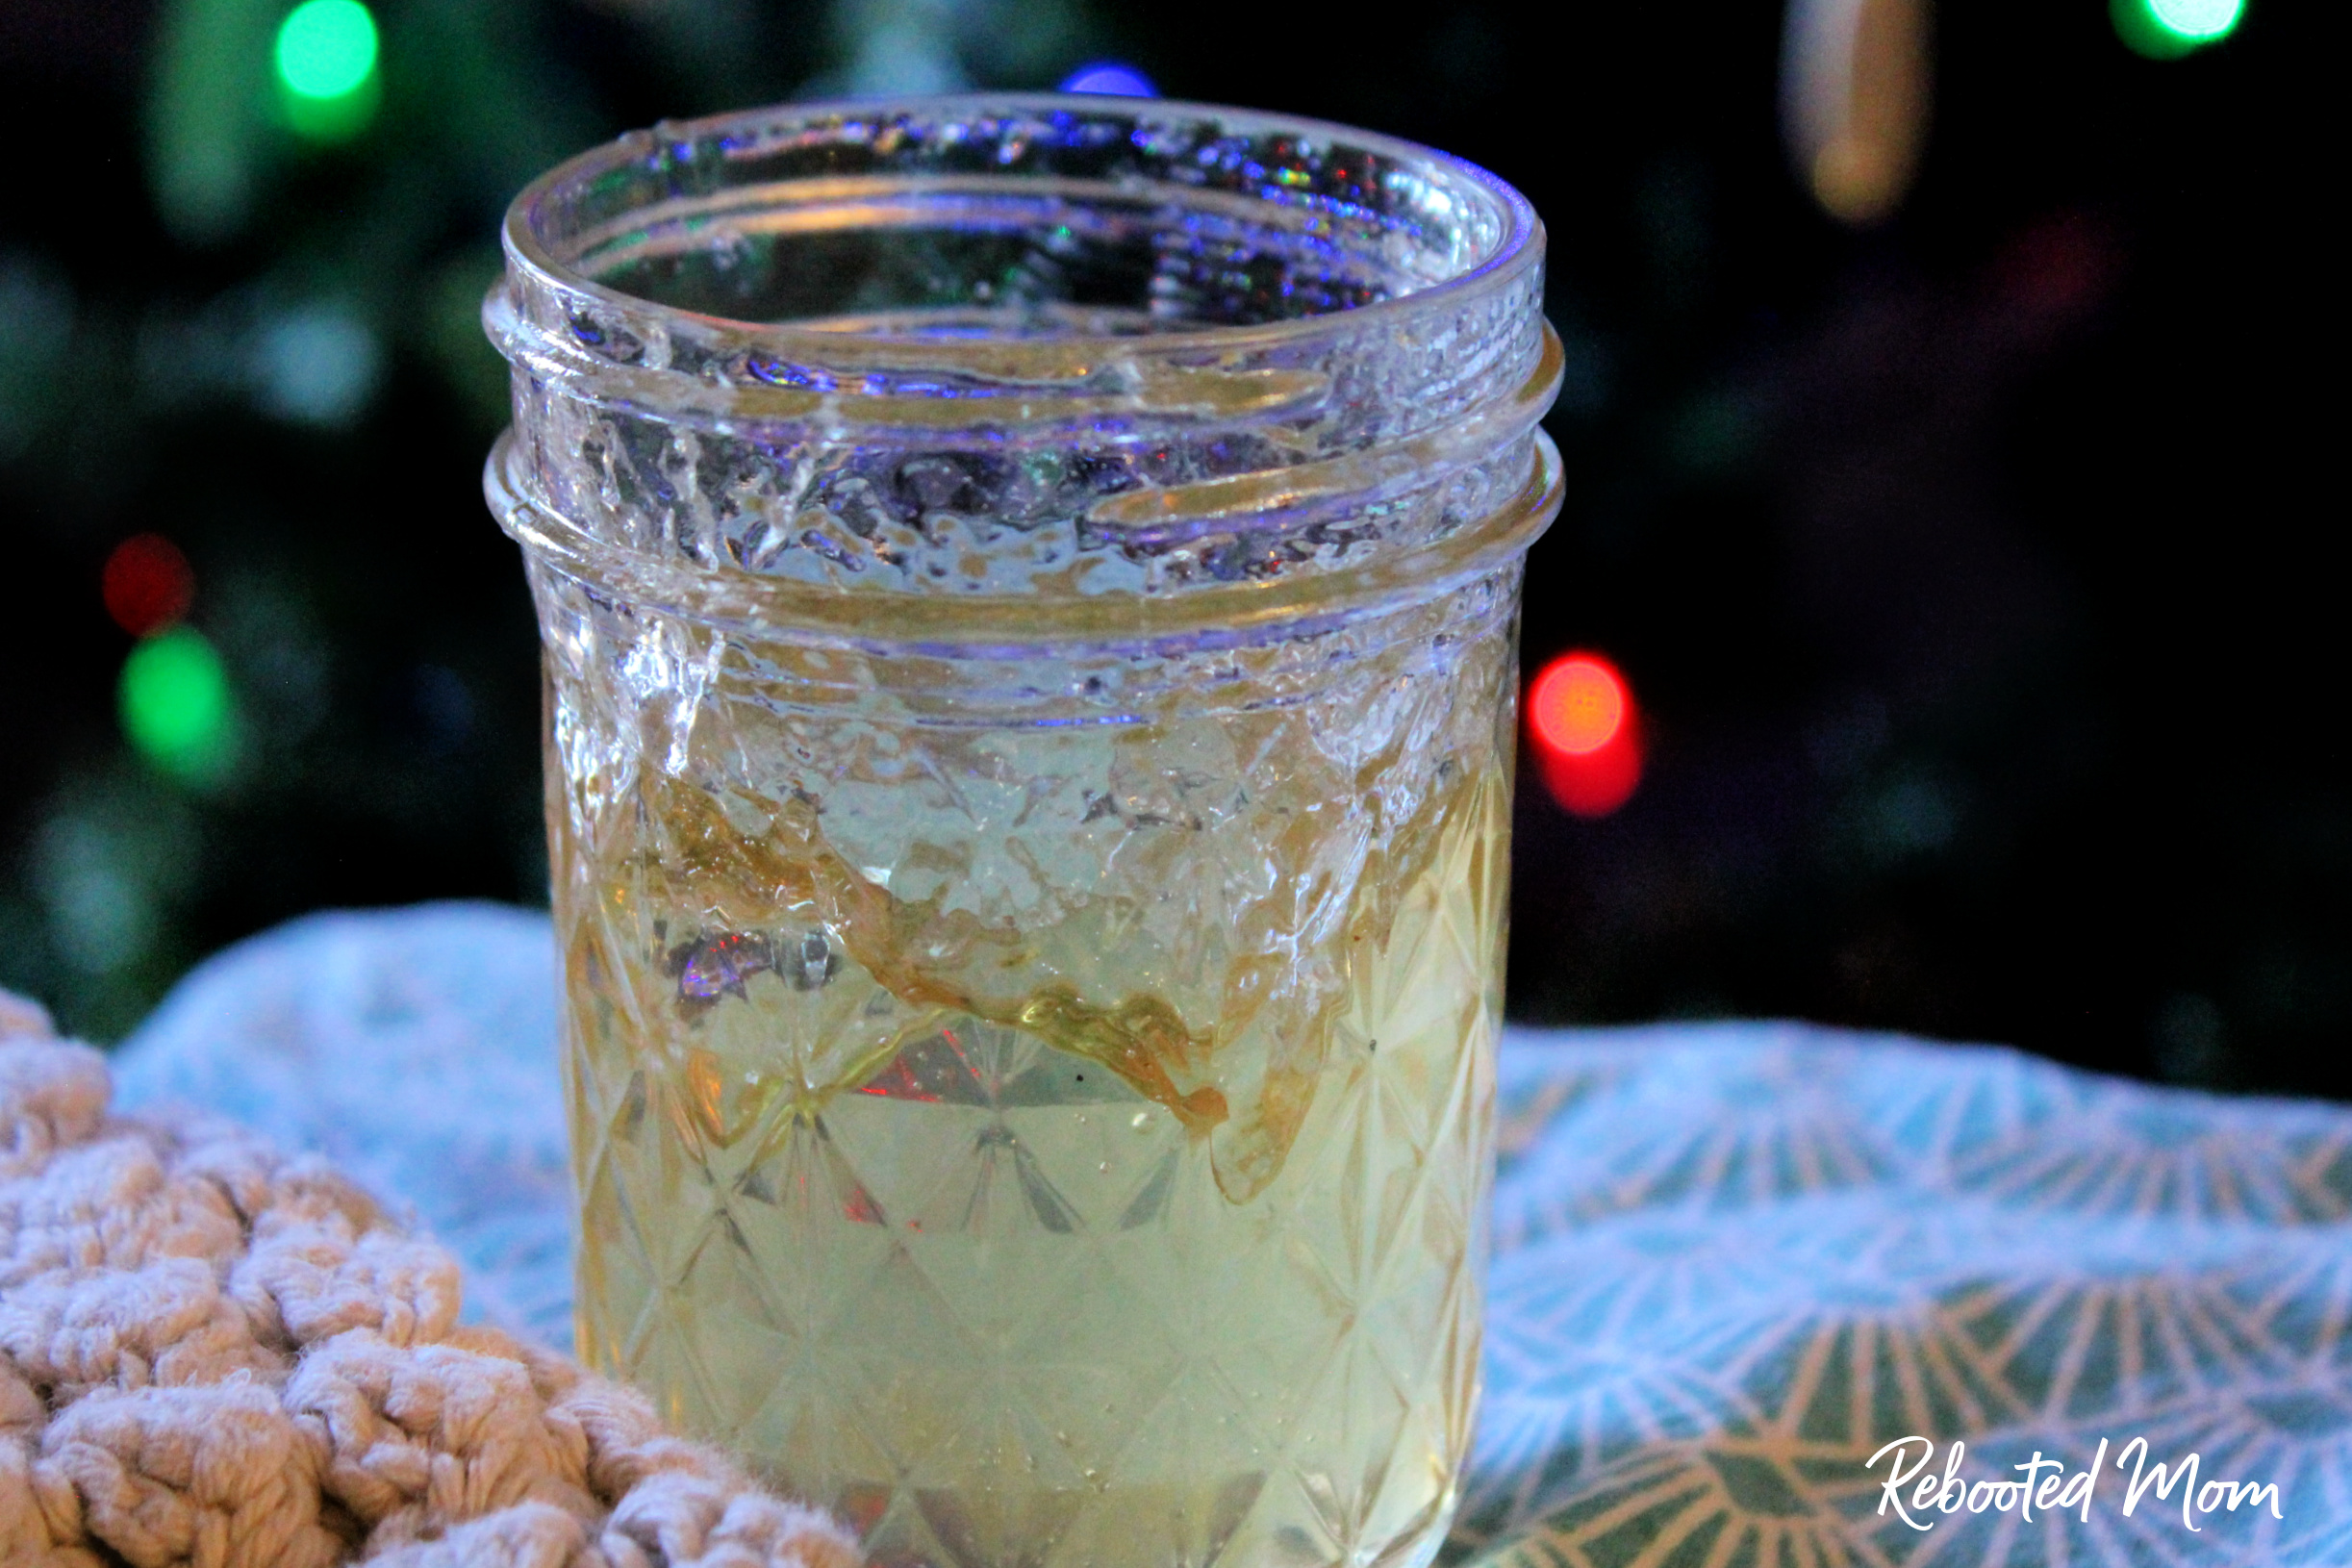
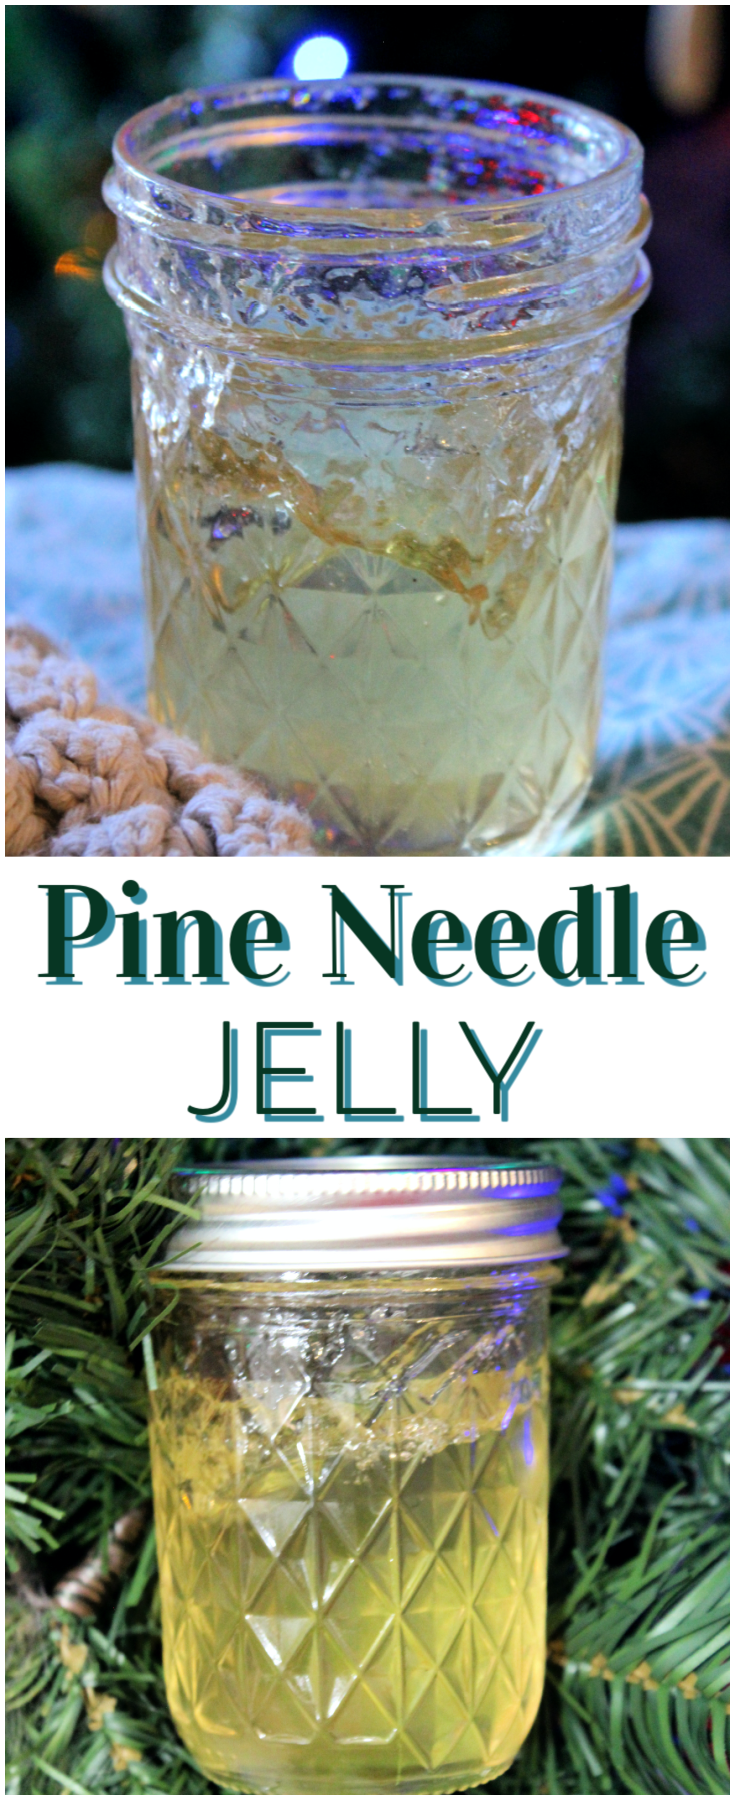
Pine Needle Jelly is a unique twist on traditionally jelly, with a subtle earthy scent of pine that’s delicious on bread or as an accompaniment to meat.
Just a few short months ago, I managed to score some Eastern White Pine Needles from a good friend in New Hampshire. White Pine Needles are wonderful when used in skincare (see this salve), but much like dried lavender, they can be used to make a unique twist on jelly.
Canning jam and jelly is one of my favorite ways to spend time in the kitchen. For me, canning is therapeutic – it helps feed the expanding stomachs of my growing kids, while at the same time affording me the opportunity to keep my hands busy in the kitchen.
Plus… coming up with new and unique varieties of jelly is my idea of fun… Maybe I’m just a bit off kilter (who knows?!) – all I can say is that I think creatively in the kitchen and I’d love for my kids to pick up on that as they age, too.
Which Pine Needles are Not Edible?
Not all varieties of pine needles can be used to make pine needle jelly. Ponderosa, Monterey, and lodgepole pine are reported to be toxic, and also Norfolk island pine, balsam fir, and yew pine (these three are not really true pines).
This jelly is made with Eastern White Pine Needles and is done by steeping dry pine needles in boiled water that has been removed from the heat.
The lemon juice (which is acidic) is necessary to cooperate with the pectin to “gel” the jelly. Don’t skip it!
HOW TO MAKE PINE NEEDLE JELLY
Making this jelly couldn’t be easier. You’ll want to bring 4 cups of water to a rolling boil on the stove top. Remove from the heat and add the pine needles. Allow the needles to steep in the hot water for 20 minutes; then strain them out and put the strained liquid back on the stovetop.
Add the lemon juice and pectin and continue stirring until dissolved. Over high heat, bring the mixture to a boil – add sugar. When the jelly returns to a hard, rolling boil, let it boil for 2-4 minutes (see below), stirring occasionally.
BOIL TIMES:
- 2 minutes for a soft gel
- 4 minutes for a medium gel
Testing the jelly: put a cereal spoon in a cup of ice water; take a spoon of the jelly and allow it to come to room temp on the spoon. If it results in a consistency that you are happy with, then the jelly is ready to be canned. If not, stir in a tsp or more of pectin and bring to a boil for an additional minute or two.
TO PROCESS THE JELLY:
Place jars in your water bath canner on an elevated rack. Lower the rack into the canner with the hot water. Add water around the jars so that the water covers the jars by at least 1″ (jars should not be touching). Cover the canner with the lid. Process the jars in your water bath canner for 10 minutes – the time starts when the water starts to boil.
Adjustments for Altitude:
- 1,001 – 3,000 feet: 10 minutes
- 3,001 to 6,000 feet: additional 15 minutes
- 6,001 to 8,000 feet: additional 20 minutes
- 8,001 to 10,000 feet: 25 minutes
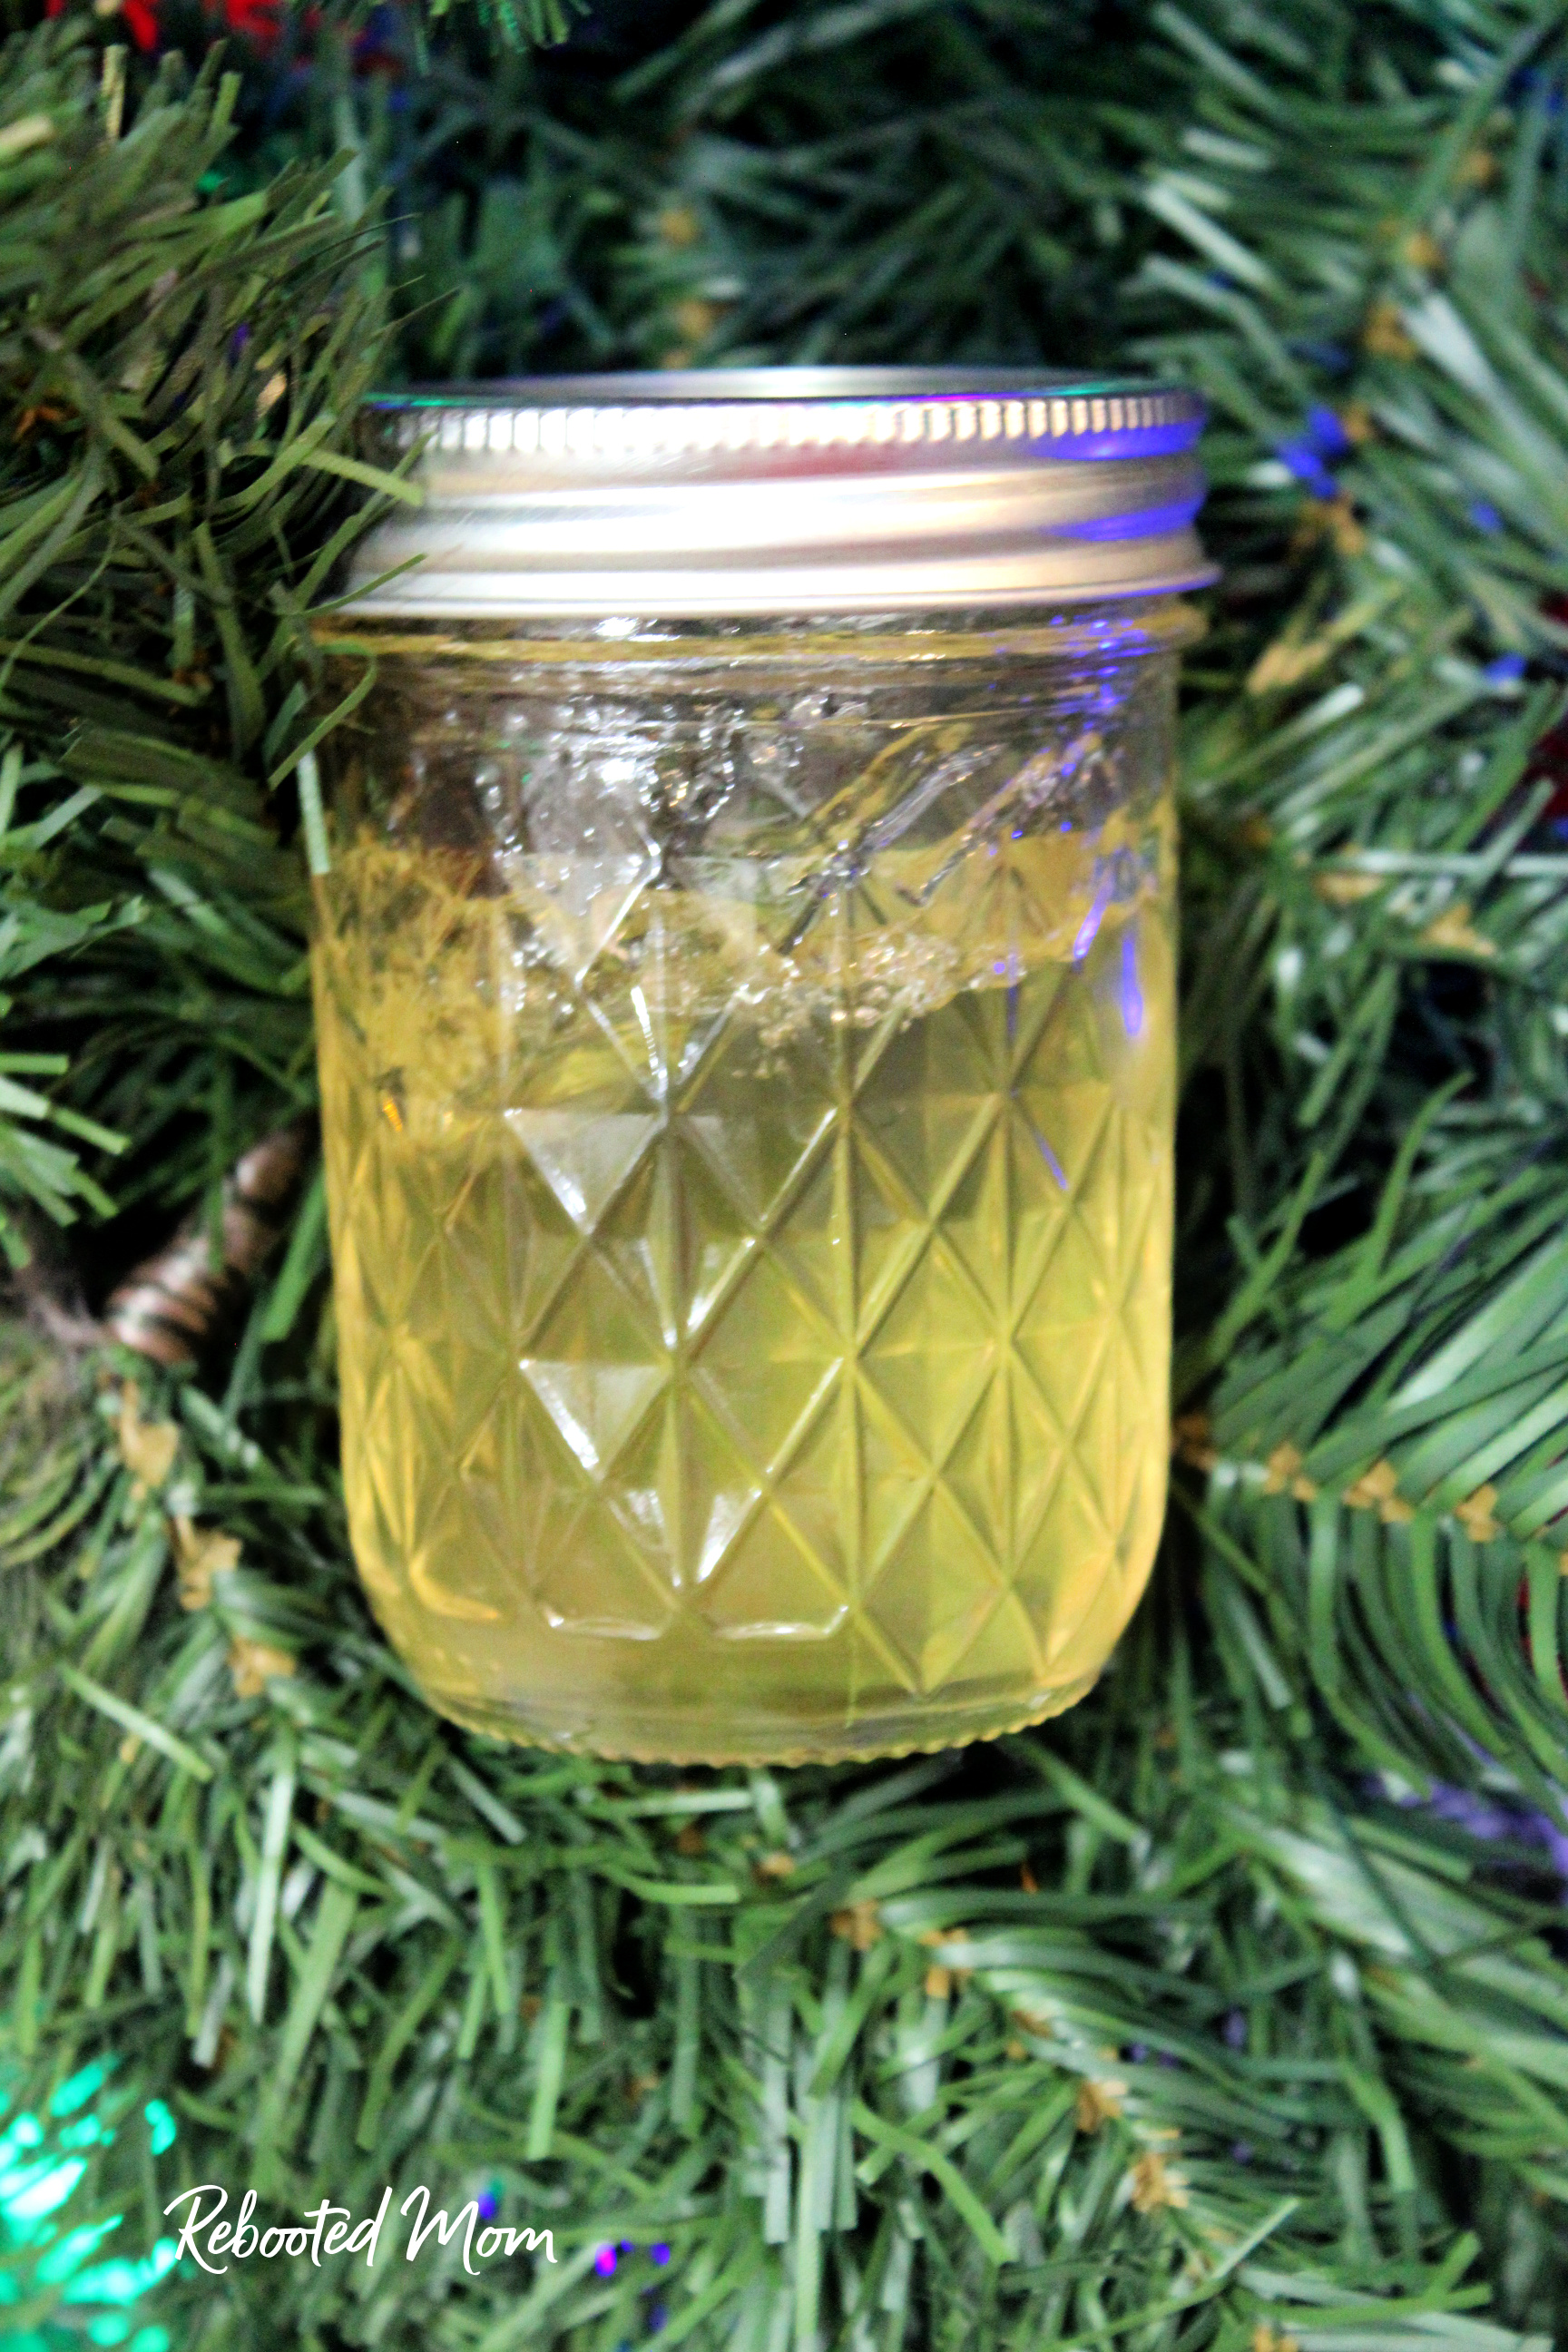
After the jars have processed, carefully remove them from the water bath canner and allow them to stand upright on a towel as they cool. Let the jars sit, undisturbed for up to 24 hours. The jars will seal as they cool (you will hear a “ping”) – avoid pushing the lid down on the center of the jar until the jars are completely cooled. The jelly may take up to 24 hours to set.
Once cooled, check the seal by pushing the middle of the lid with your finger – it should not bounce back. If it does, the jars are not sealed and will need to be reprocessed. If you don’t want to reprocess, you can refrigerate those jars and use them first.
Label your jars and store in a cool pantry for up to 12 months. Once opened, refrigerated jars may be used within 3 weeks.
Pine Needle Jelly
Equipment
- water bath canning pot with inside rack
- jar grabber
- 6 quart saucepan
- canning jars
- canning lids and rings
- jar funnel
- fine woven strainer or sieve
Ingredients
- 1 C white pine needles fresh or dried
- 4 C water
- 1/4 C lemon juice or juice of 2 lemons
- 5.5 C granulated sugar
- 1 box Sure-Jell pectin
Instructions
Prepare the jars and canner:
- Place your jars, lids and rings in the oven and preheat the oven at 210 degrees F until you are ready to use the jars. This is important as you should place room temperature jars into boiling water.
- Fill the bottom of the water bath canner with water and place on the stovetop.
Prepare the jelly:
- In your saucepan, add the water and bring to a boil. Remove from heat and stir in the pine needles.
- Allow the needles to steep, in the water, for 20-25 minutes.
- Strain the needles and compost/toss. Keep the strained water and add your lemon juice and pectin and stir well to combine.
- Bring the mixture to a boil over high heat stirring frequently. Add sugar and continue to stir to combine. Once the jelly returns to a boil, allow it to boil for 2-4 minutes (see chart below), stirring frequently.
Test the jelly:
- Testing the jelly: put a cereal spoon in a cup of ice water; take a spoon of the jelly and allow it to come to room temp on the spoon. If it results in a consistency that you are happy with, then the jelly is ready to be canned. If not, stir in a tsp or more of pectin and bring to a boil for an additional minute or two.
Process the jelly:
- Place jars in your water bath canner on an elevated rack. Lower the rack into the canner with the hot water. Add water around the jars so that the water covers the jars by at least 1" (jars should not be touching). Cover the canner with the lid. Process the jars in your water bath canner for 10 minutes - the time starts when the water starts to boil.
After processing the jelly:
- After the jars have processed, carefully remove them from the water bath canner and allow them to stand upright on a towel as they cool. Let the jars sit, undisturbed for up to 24 hours. As they cool, the jars will seal (and you will hear a "ping") - avoid pushing the lid down on the center of the jar until the jars are completely cooled. The jelly may take up to 24 hours to set.
- Once the jars are cooled, check the seal by pushing the middle of the lid with your finger - it should not bounce back. If it does, the jars are not sealed and will need to be reprocessed. If you don't want to reprocess, you can refrigerate those jars and use them first.
- Once the jars are cooled, check the seal by pushing the middle of the lid with your finger - it should not bounce back. If it does, the jars are not sealed and will need to be reprocessed. If you don't want to reprocess, you can refrigerate those jars and use them first.
- Label your jars and store in a cool pantry for up to 12 months. Once opened, refrigerated jars may be used within 3 weeks..
Did you make this Pine Jelly? If you did, please take a second to rate the recipe and leave a comment.
Looking for more Jelly and Jam recipes?
You might want to try any of these below:

Wonderful! Awesome! You have given us a recipe to use what God has given us! Phenomenal recipe, folks!
One of my favorite ways to use Pine needles … I often times pass out the Jelly at church fellowship and everyone loves to receive it. Thanks for the comment, Lisa.