


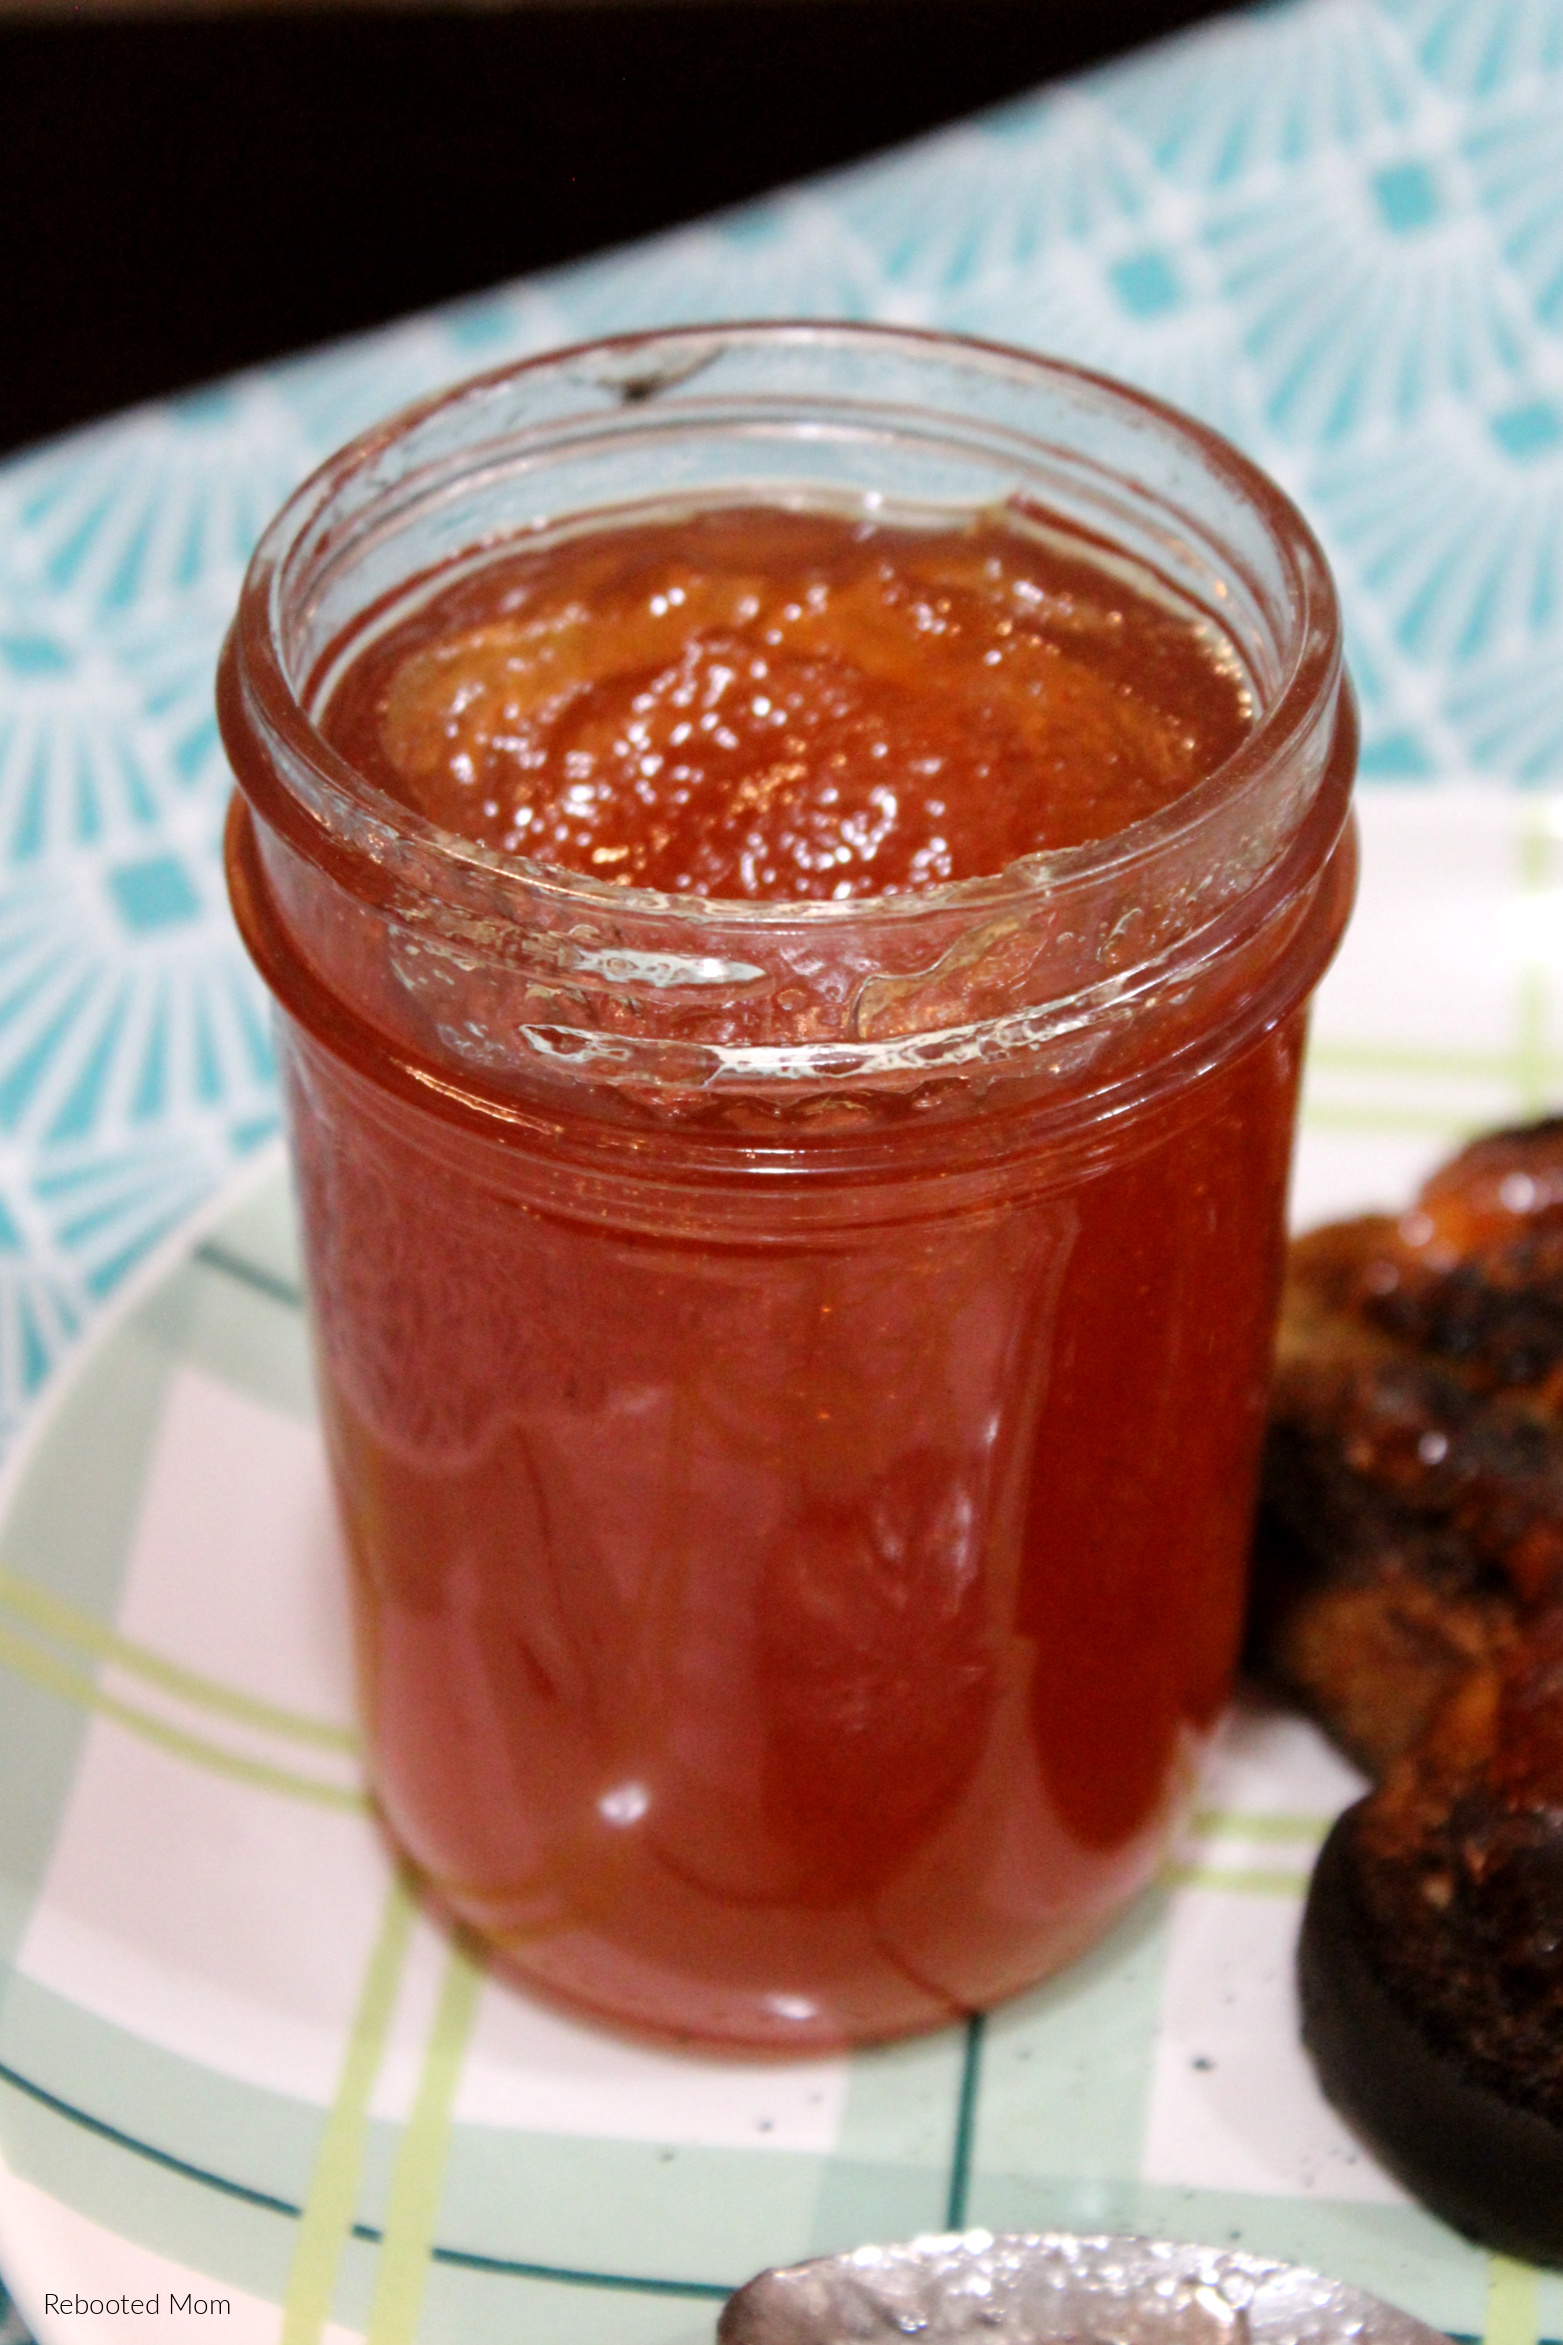
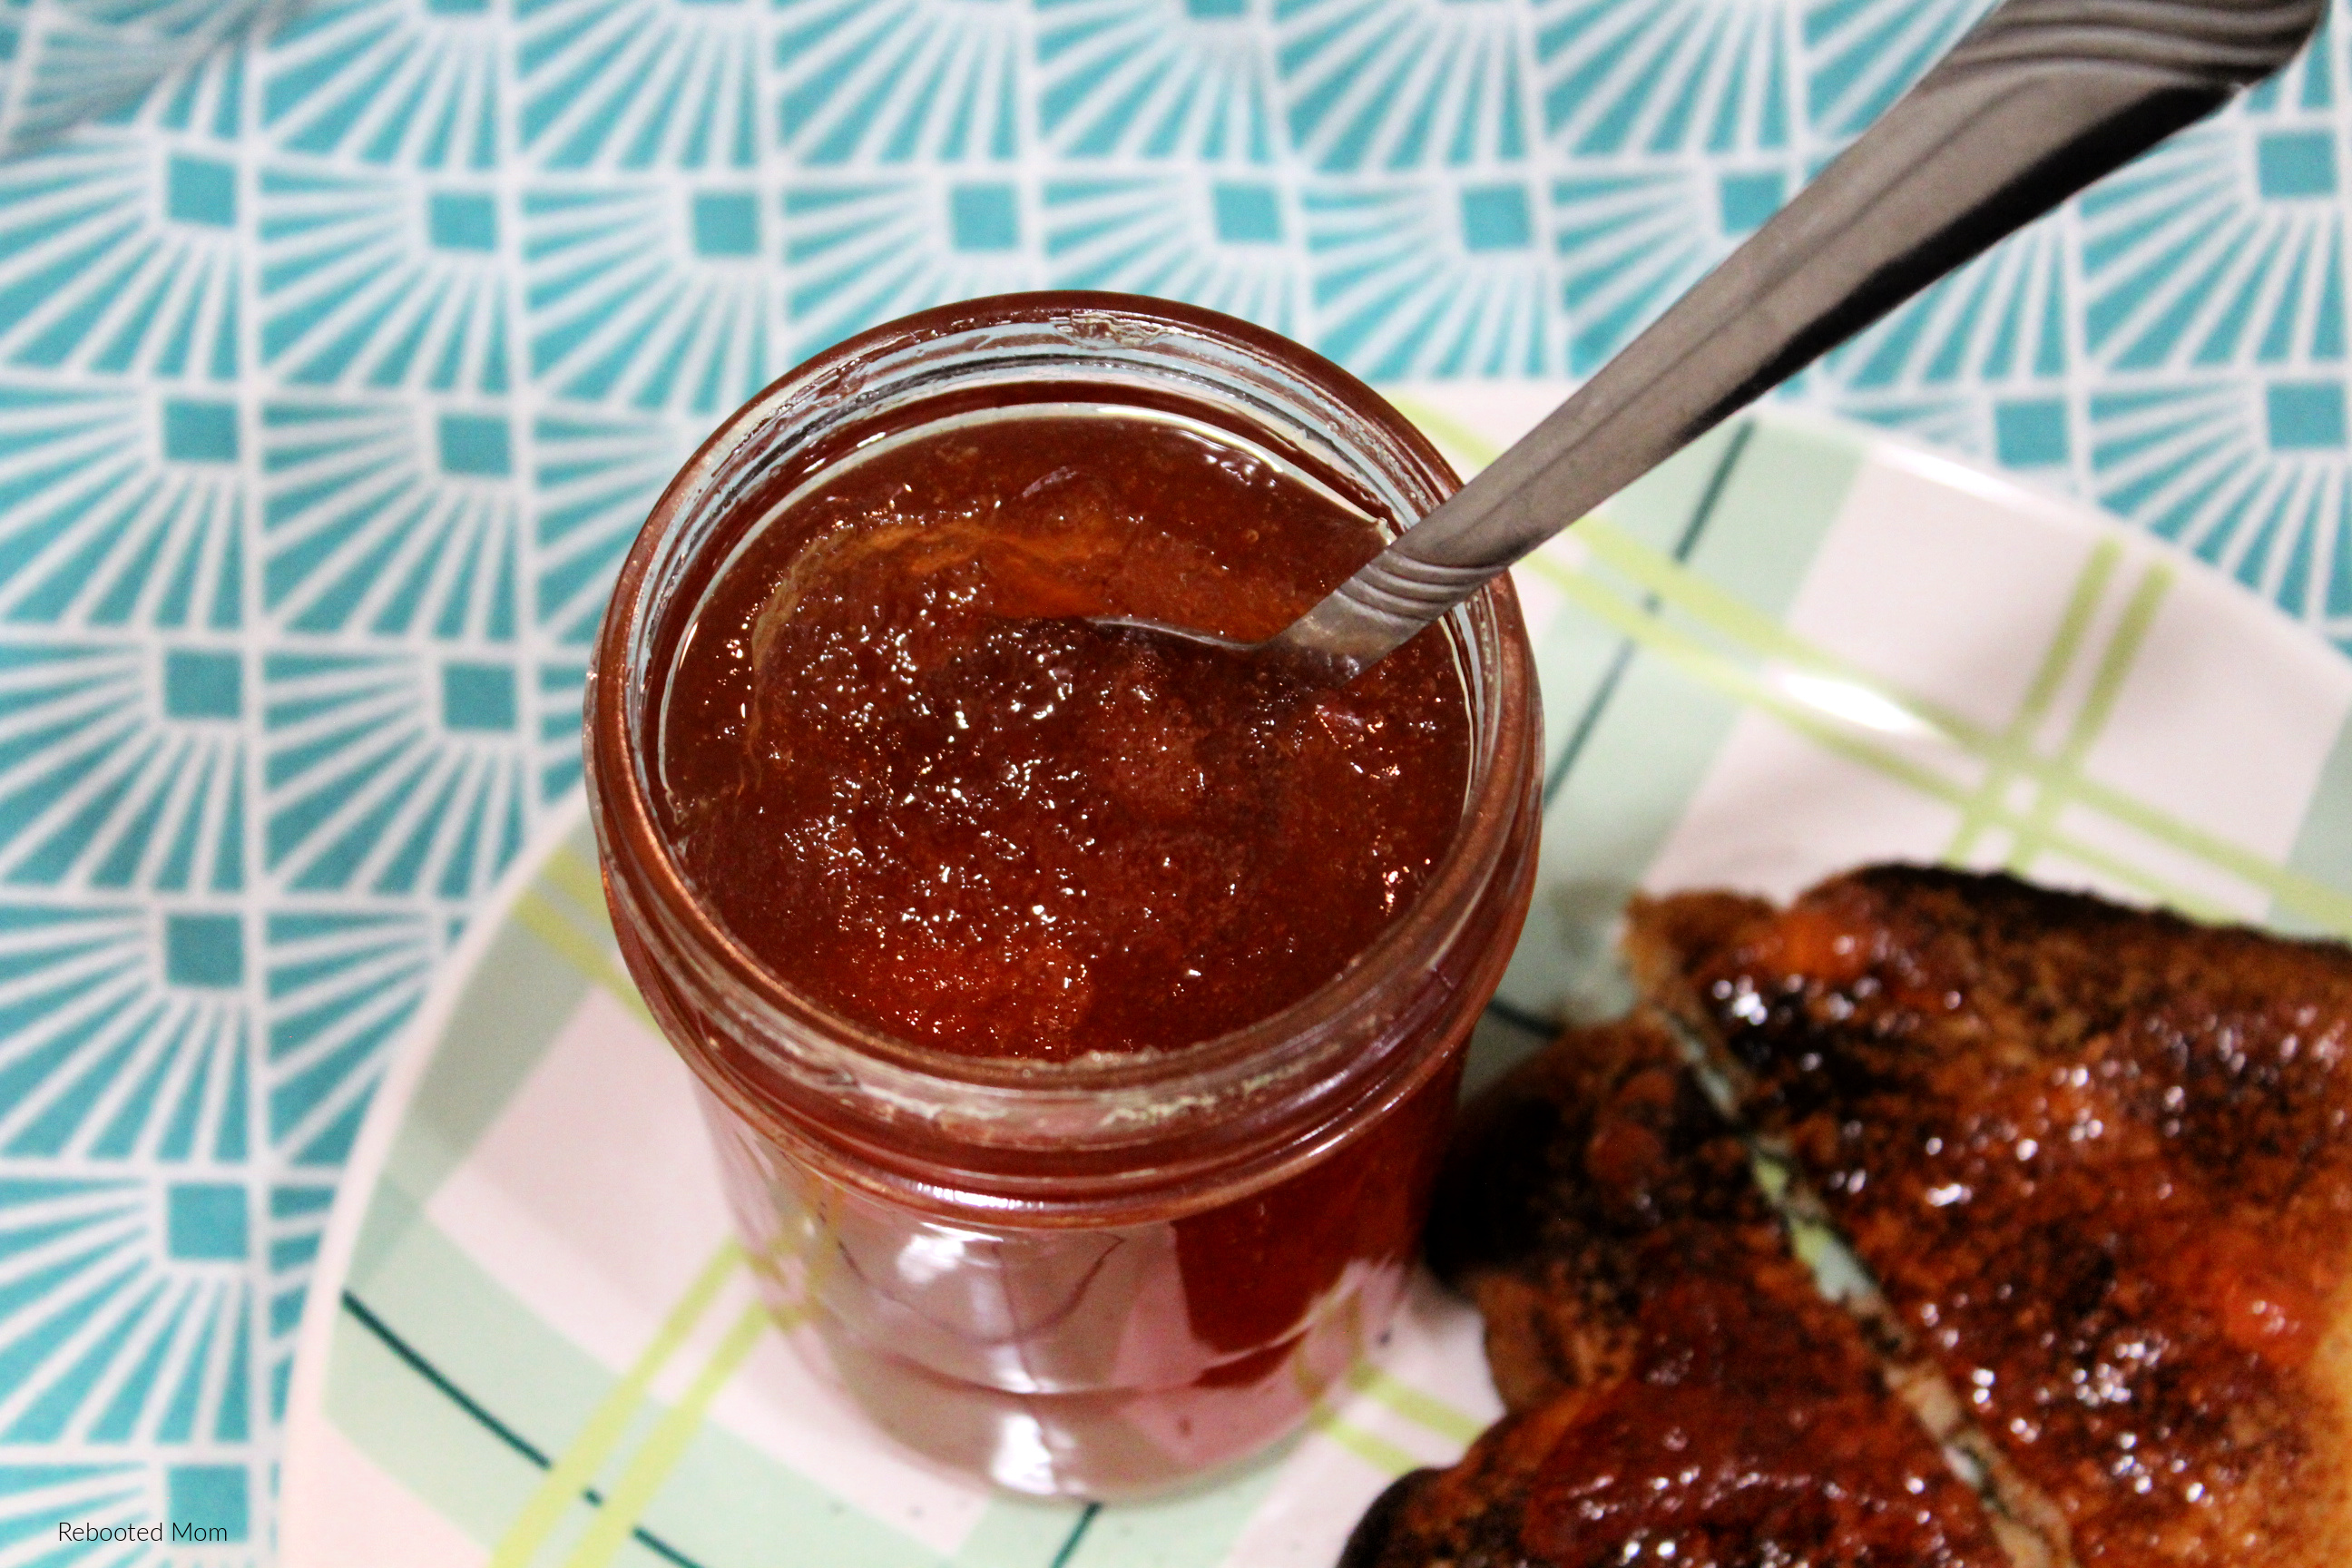
A testament to the desert Southwest, Prickly Pear Jelly takes the fruits from the cactus and transforms them into a delicious jelly!
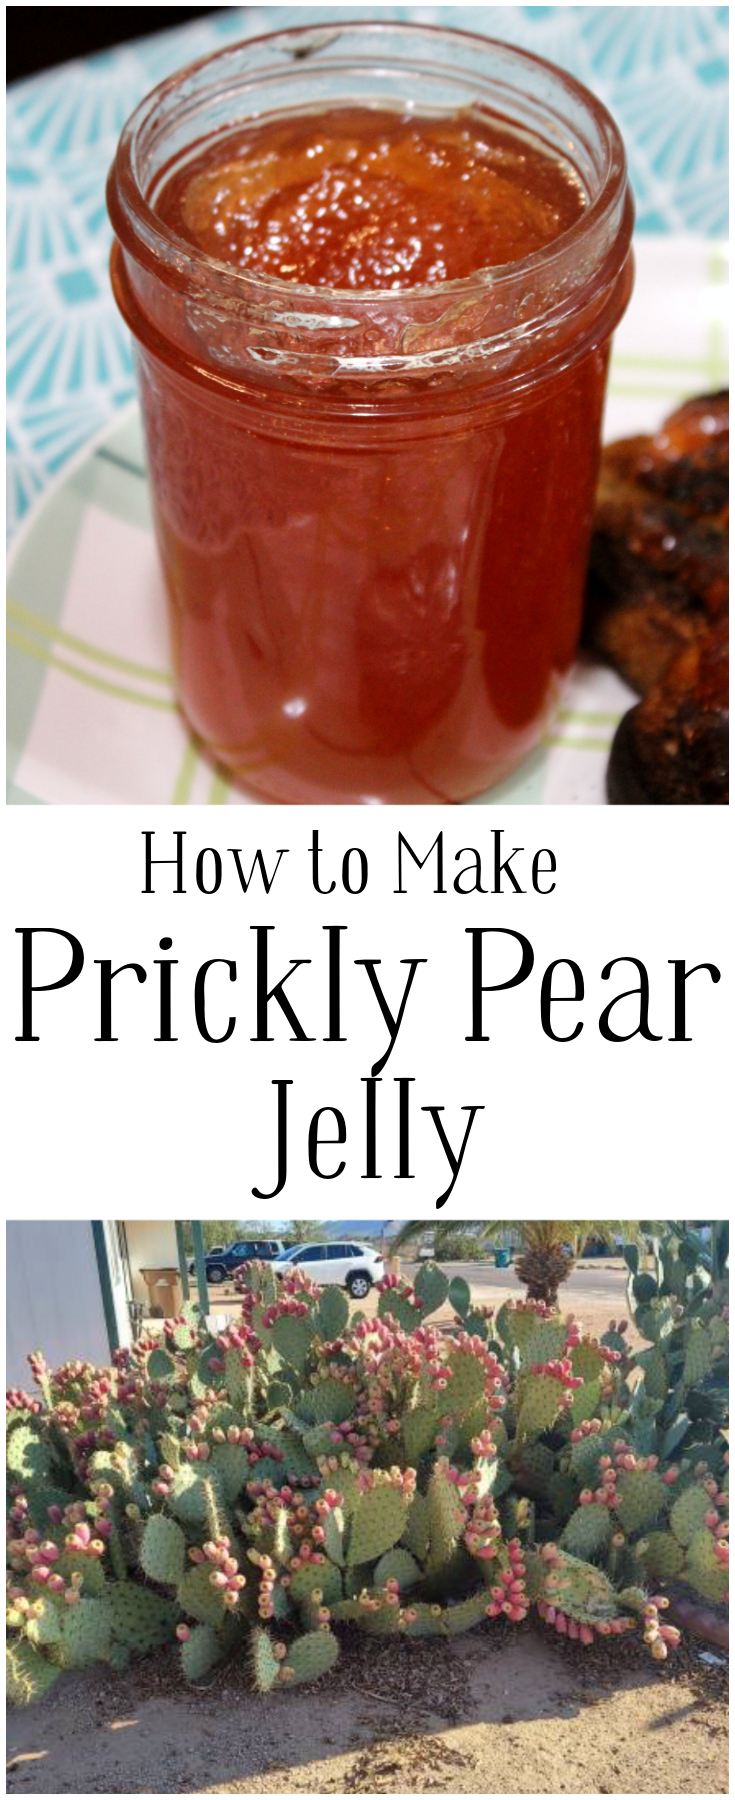
August is the start of Prickly Pear Season
Here in Arizona, Prickly Pear season starts in August and runs through the end of October. During this time, you can typically find Prickly Pears on cactus all over town. If you do any driving around the outskirts of the city, you’ll see them on cactus on roadsides, state trust land, and even the reservation.
You can also pick them up in the supermarket – but I will say that the supermarket doesn’t typically have local Prickly Pear cactus. The market has them shipped in from South America (which is so random – right?), and the supermarket prickly pears are green instead of pink.
Just a few short weeks ago, my oldest was looking to go out and pick prickly pears so we could make jelly, syrup, and even more Prickly Pear soap.
Beautiful, but Brutal
While I’m all about Prickly Pears, I’ll admit that picking them is one huge pain in the rear. It might not be the actual picking that I hate, but the cleaning and prepping of the actual pears in attempt to use them for jelly/other projects.
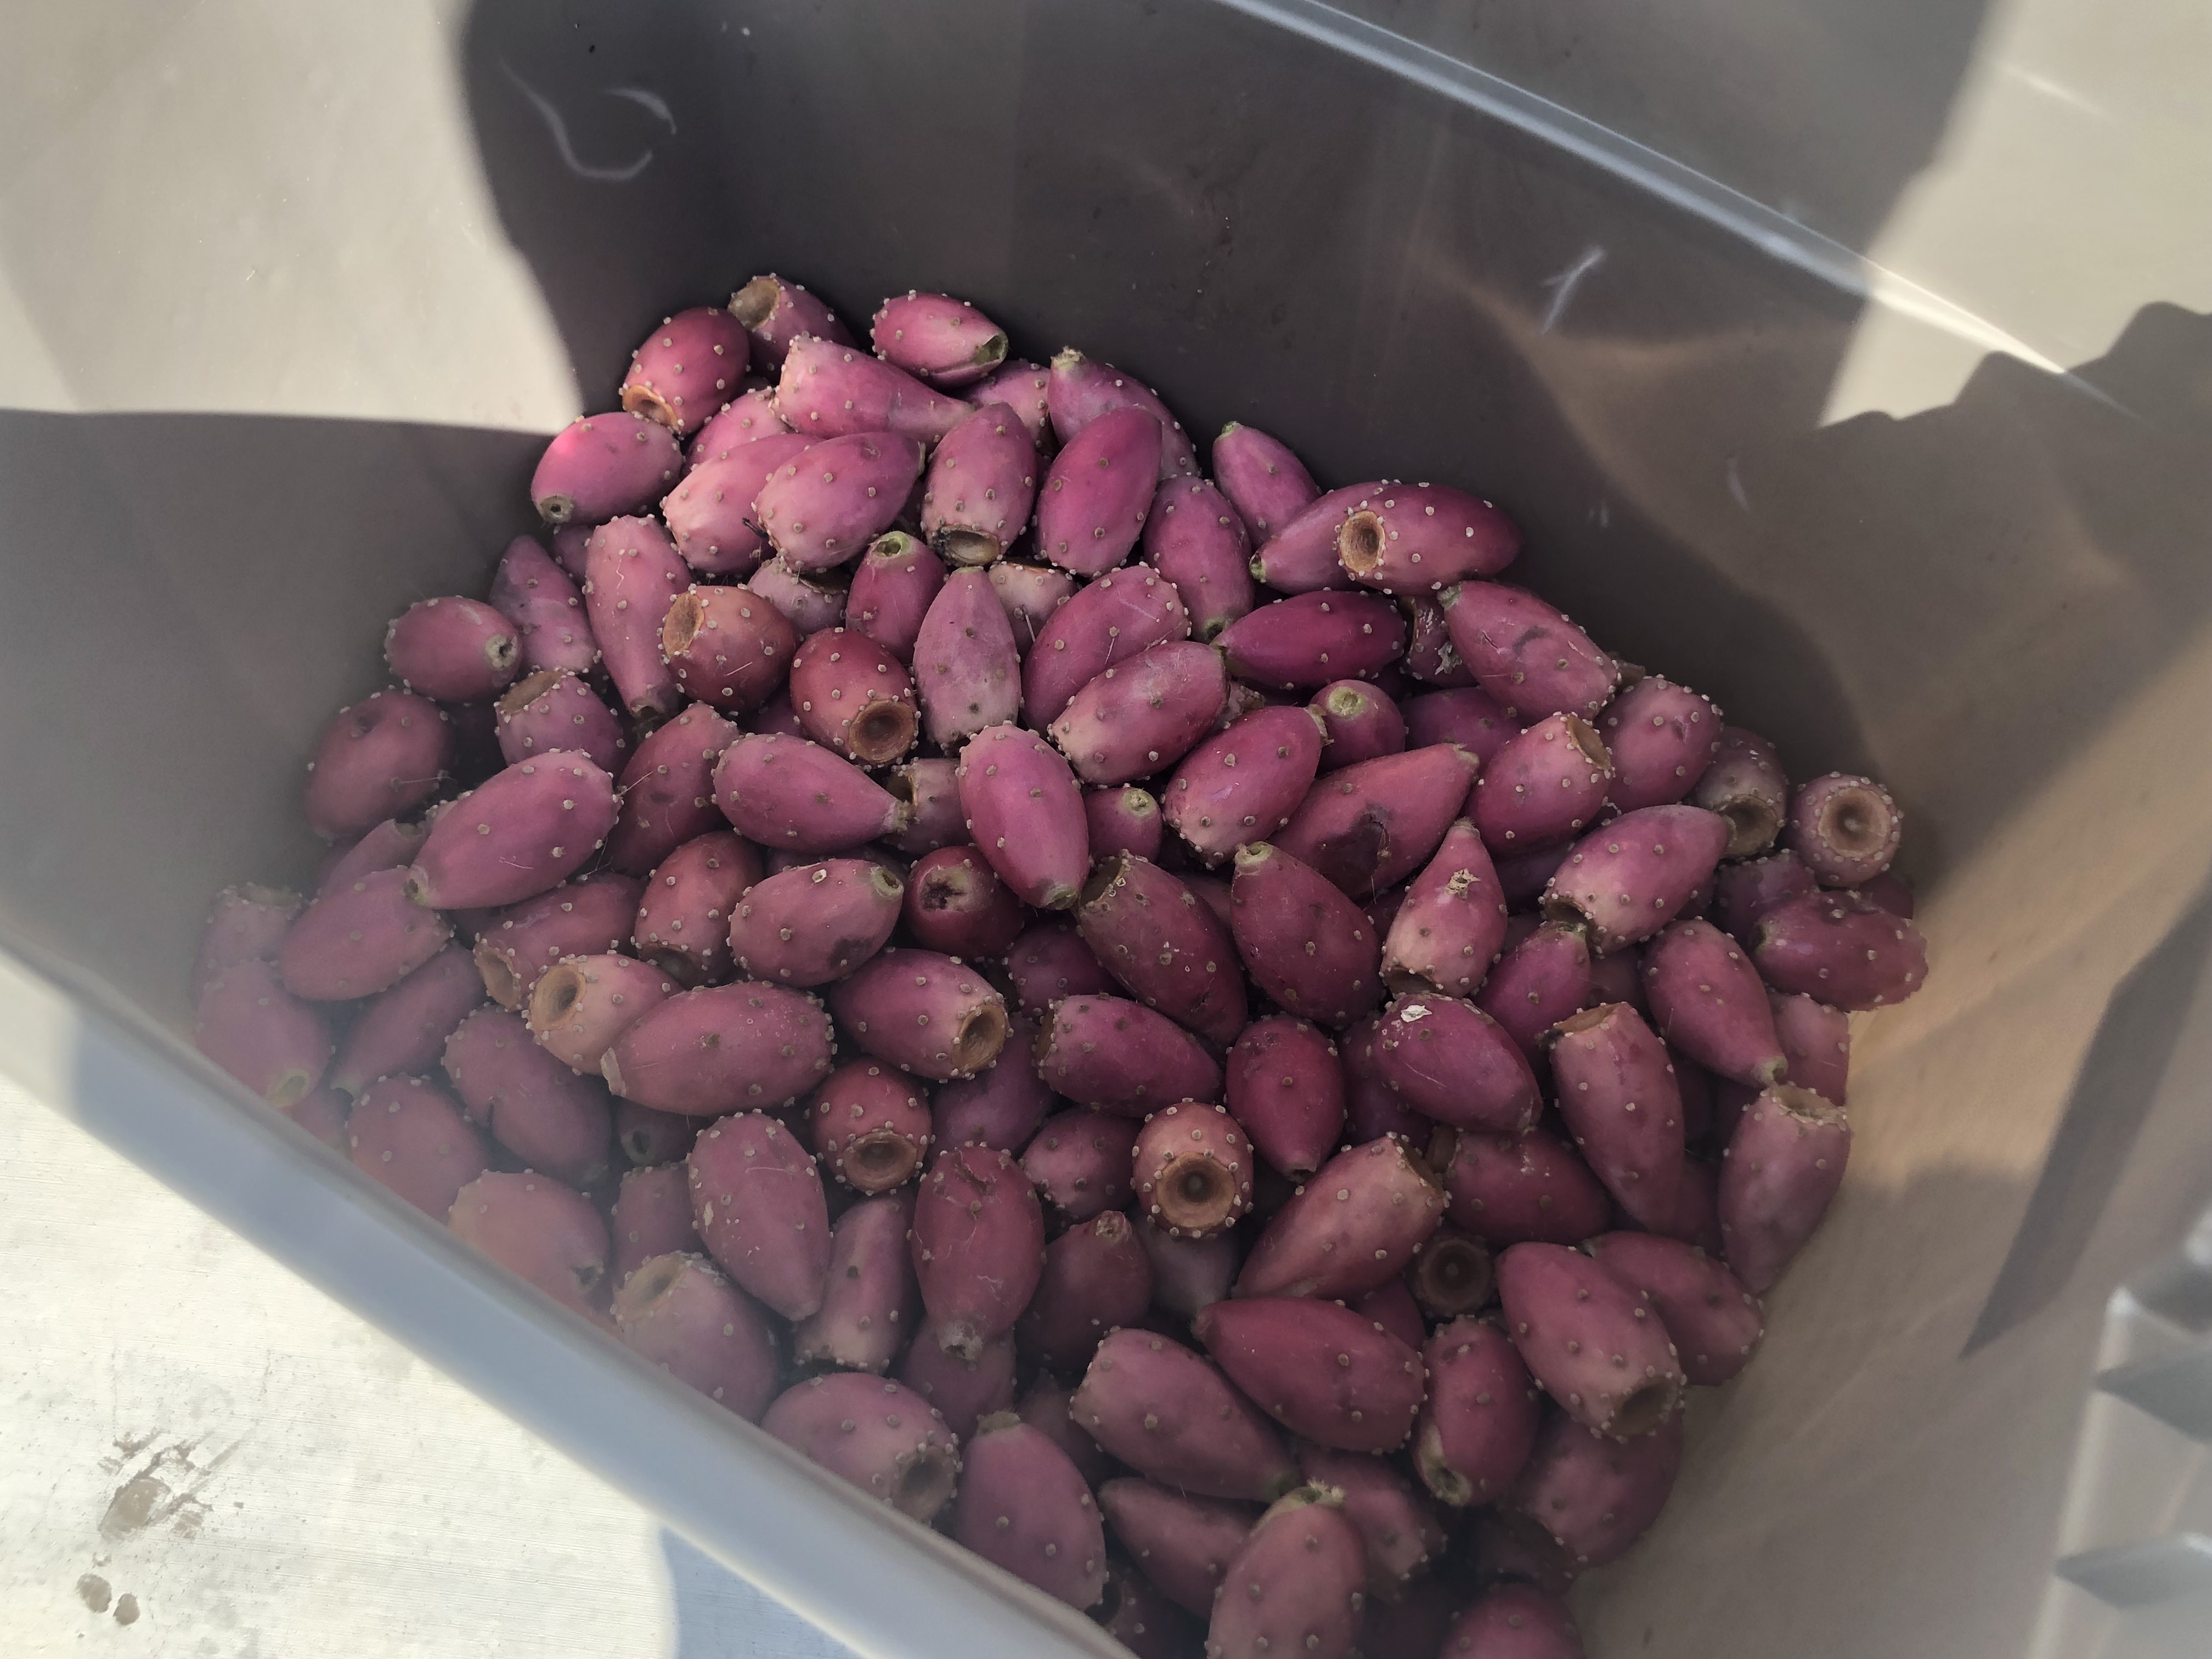
Simply put: You have no idea what you get yourself into until you’re sitting there with a huge 35 gal rubbermaid tub of prickly pears full of glochids. NOT fun! Though they look relatively harmless, the outside of the prickly pear is full of little prickles (glochids) that easily lodge in your hands, clothes, fall on the floor, get stuck in your foot…. you name it, they do it.
(Word to the wise: make sure you have a tweezers handy – no matter how careful you are, you will need that tweezers!)
My oldest suggested looking on Craigslist for prickly pears from someone’s yard. Thankfully, we found a sweet family around the corner that was offering free prickly pears (self pick). Onward we went – this is how I spent a Sunday afternoon between church services:
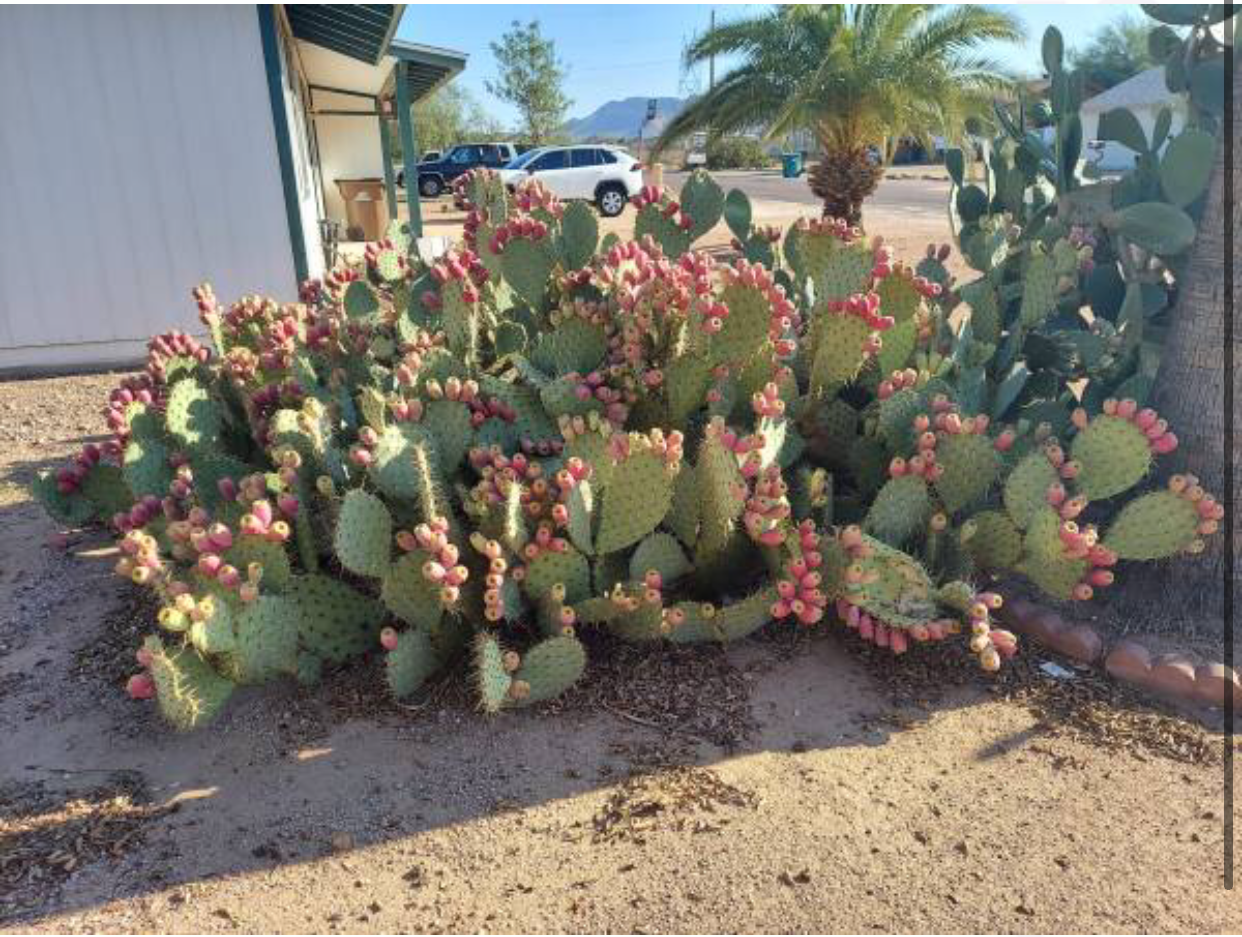
Prickly Pear Jelly takes the fruits from the cactus and transforms them into a delicious jelly!” data-pin-nopin=”true”> Tons of prickly pear fruits on a cactus just around the corner from my home.

My daughter wanted so desperately to pick all the pears.. in fact, I remember being the one telling her “listen, I think we have enough. Time to go now…”
She wanted no part of leaving. I should have known, honestly.. but I was patient, and kept picking.
Once we got home, her motivation was almost non-existent as she headed to sleep and had no intentions of cleaning them off. Hours later, I was scrubbing and prepping prickly pears wondering how I had been dragged into this predicament of having to do all the work when it was my daughter who wanted them in the first place.
(Make no mistake – I love to eat them. I just don’t like the work that goes into them before eating them!) I will admit, I wasn’t in the best mood!
A few tips for prickly pear picking:
- Use a long tongs, make sure you wear gloves and boots/long pants. Those prickles (glochids) are invisible — but hurt like heck when you get them in your clothing or hands.
- Use a simple twist to remove the pear from the plant.
- Try to pick the upper pears first – leave the lower pears on the plant for any animals/wildlife (they do eat them!)
- Pears that have a white substance that appears as bird poop — it’s not bird poop at all. That white substance is an aphid and if you rub it between your fingers, it will turn the color of pink/red (it’s what they use to color food and beauty products). That substance can only be found on female prickly pears.
- Once you pick your pears, time is of importance. Pears will start to deteriorate rather fast and attract fruit flies. Don’t leave them in your house – set them outside and work quickly.
- Dump the pears on the ground and rake them around to remove the glochids, or…
- Dump a certain amount of pears in the sink full of cold water. Add a bag/bunch of ice, and swish them around. The swishing motion of the ice against the pears will help the glochids lodge from the pears and come off.
I like to wear a cheap pair of those long, elbow-length rubbermaid gloves. I then will rub the pear between both palms and dislodge the prickles then put in a separate pail.
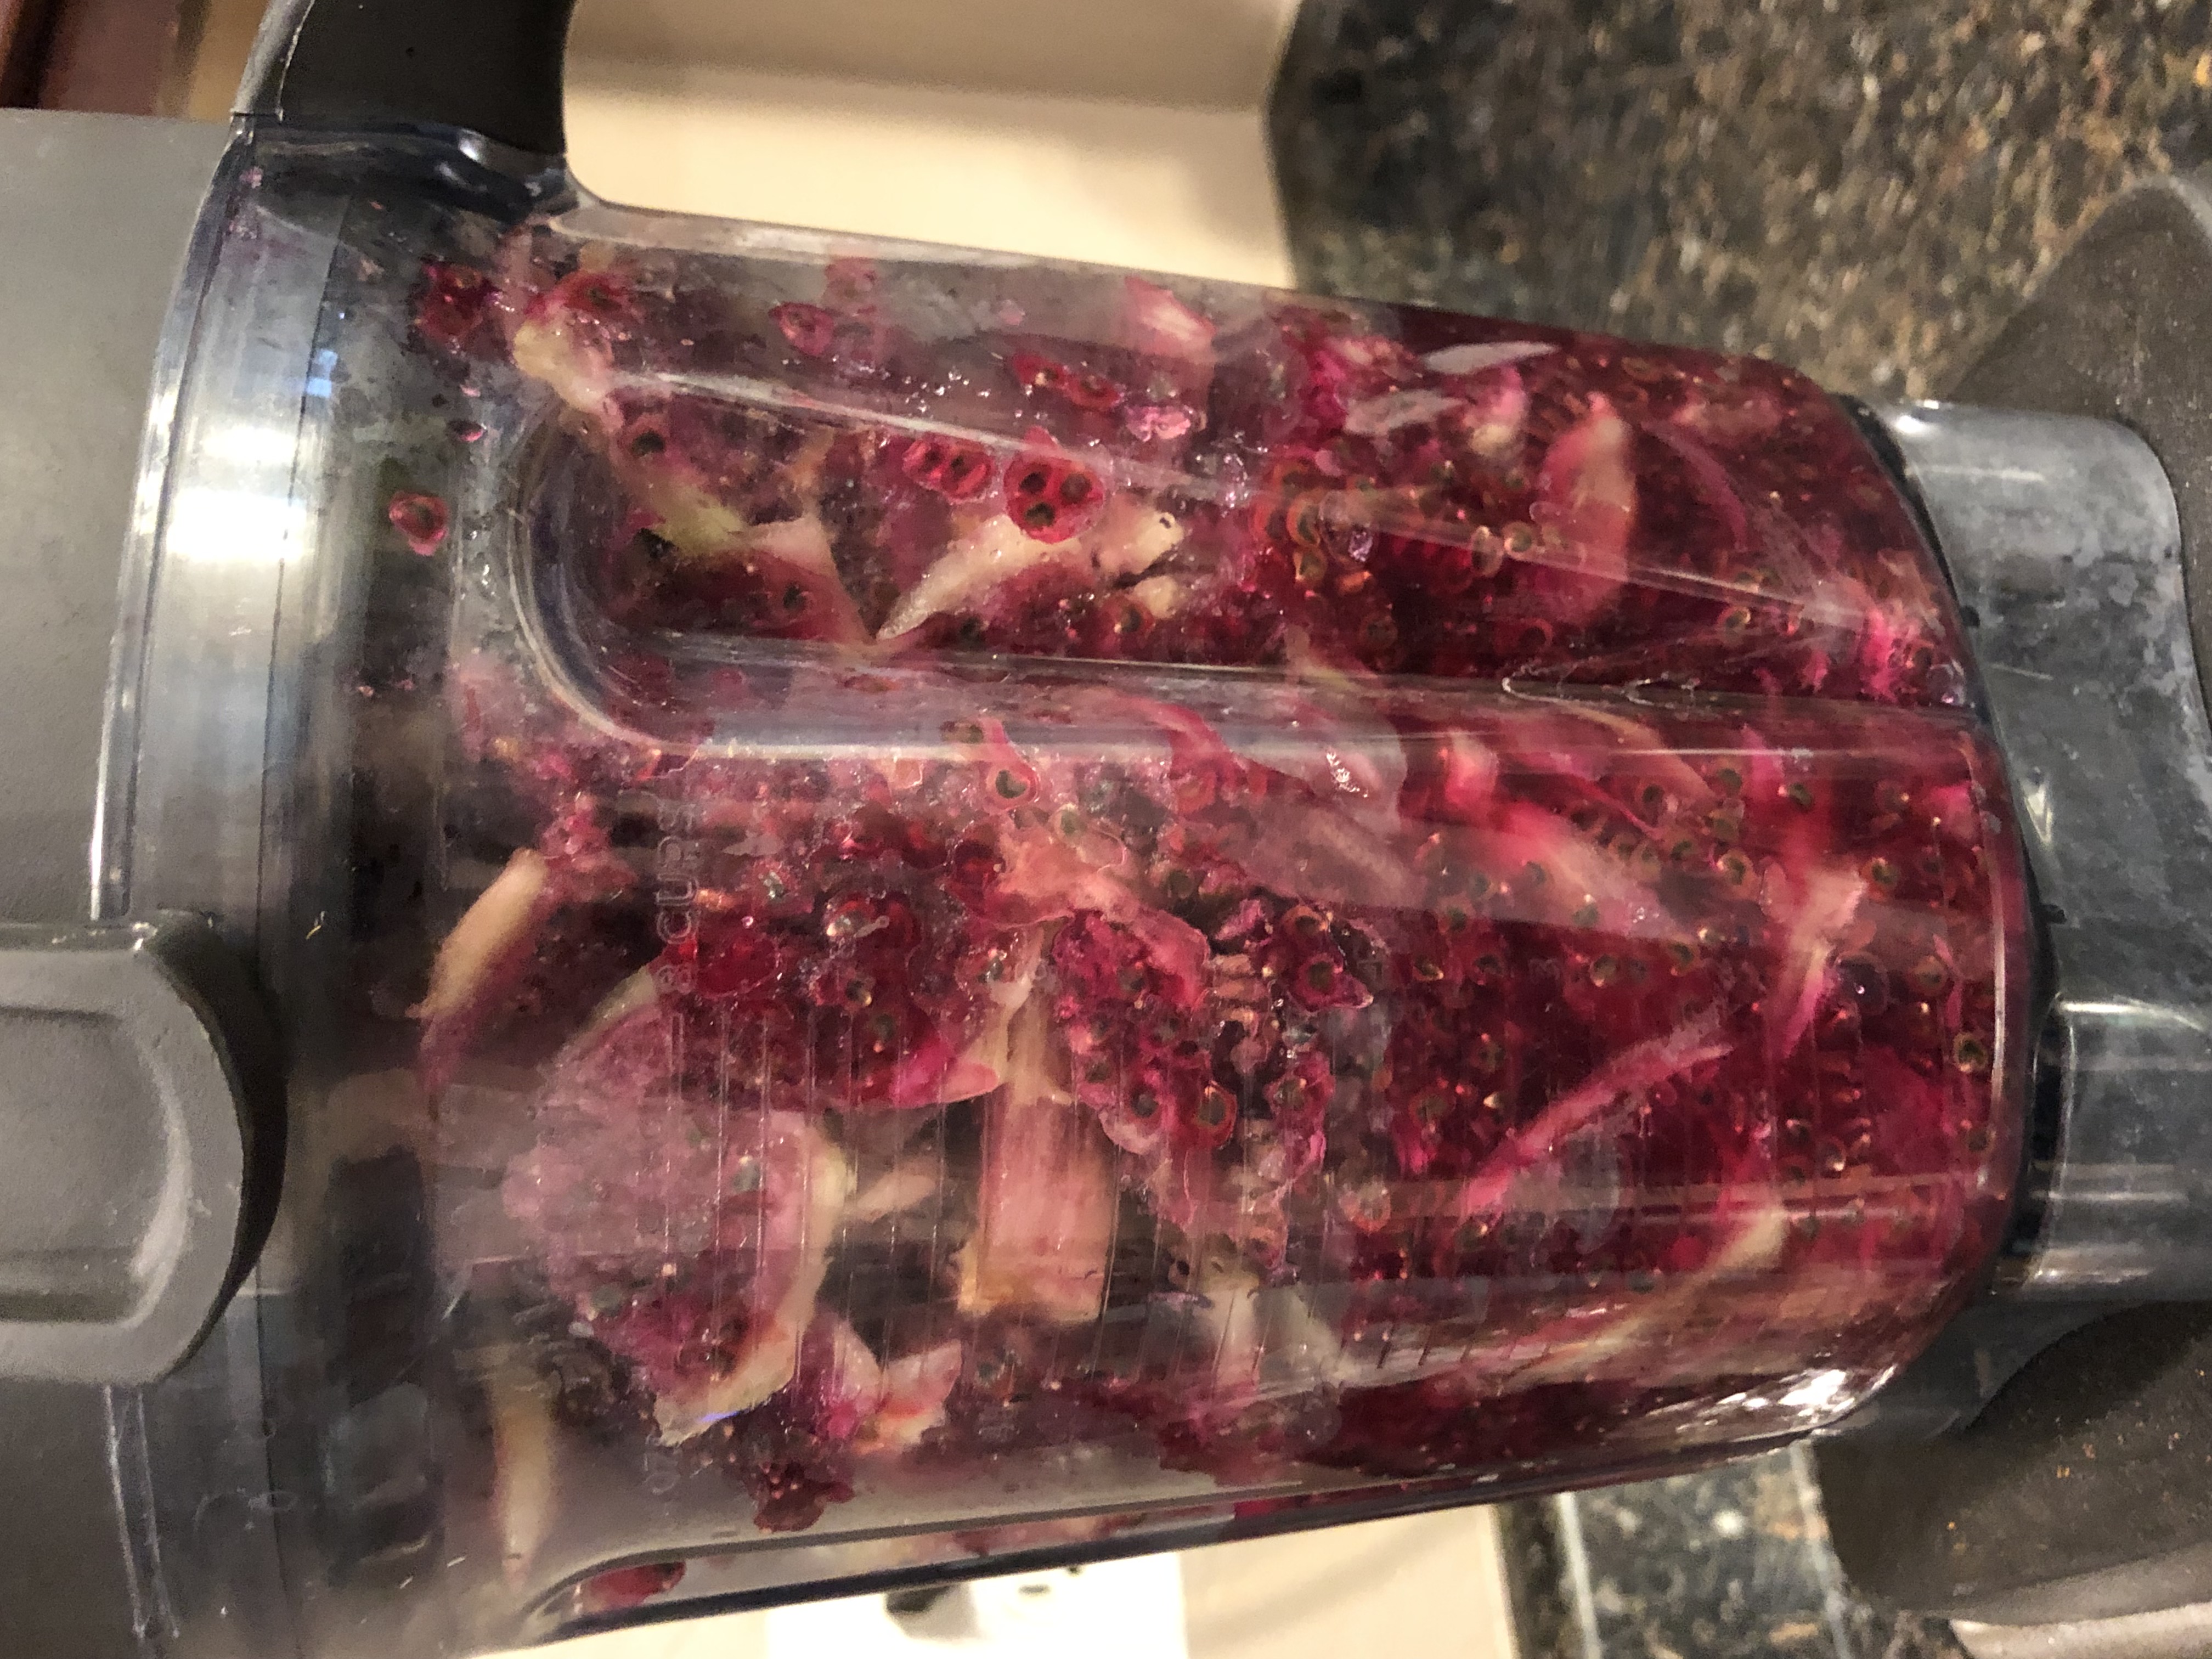
Lay the cleaned prickly pears on a cutting board. Slice each end of the pear then cut the pear open and scoop out the pulp. Add it to your blender. Once your blender is full (as mine above), then puree. Head here to see a tutorial on cleaning/prepping prickly pears.
For this recipe, I estimated to have used 70-80 pears, which garnished 4C of 100% prickly pear puree. I sifted through a strainer twice, then added the puree to a large pot.
If you have less than that in terms of prickly pears, you can add more pulp to puree; or, you can opt to dilute some of the puree with water – whatever you choose to do. I used a ratio of 1C sugar to 1C puree – though you can definitely go sweeter if you wish – I just didn’t think the jelly needed to be “too” sweet.
How to Make Prickly Pear Jelly
Once you clean the prickly pears and scoop out the pulp into your blender, blend the mixture until it’s a smooth puree. Strain it through a fine mesh strainer and add to your stock pot.
You should have 4C of prickly pear puree. If you aren’t concerned about using 100% puree, then feel free to add a bit of water to the puree. Add the lemon juice, sugar, and pectin to the pot and give it all a good stir.
A tall stock pot is a necessity when making jelly or jam. The jelly/jam will boil up and a deep pot ensures that it doesn’t boil over and burn your stove top range.
Crank that heat and bring the mixture to a boil. You want the mixture to reach 220 degrees F for the jelly to result in a good “set”.
While you are working on the jelly, take the time to toss the water bath canner on the stove and heat that water to boiling so that’s ready to go when your jelly is done. Then wash your jars and place the jars, lids and bands in a 200 degree F oven to sterilize. Pull them out just before you are ready to fill.

Fill the Sterilized Jars
Once the jelly has reached the setting point (220 degrees F), allow it to continue to boil for 4-5 minutes.
Then carefully remove from heat and ladle into sterilized canning jars, leaving 1/2 inch headspace. Wipe rims thoroughly and then apply lids and bands (finger tight).
Process in a Water Bath
Lower the Prickly Pear Jelly into a hot water bath, cover with 2 inches of water. Carefully place the lid on the water bath canner, and bring water to a steady boil.
Process the jelly for 10 minutes (half pints), adjusting for altitude. Turn off the heat, remove the lid and allow the jelly to rest for 5 minutes. Then remove the jars entirely and allow to cool. Check lids for a good seal after 24 hours. Lids should not flex up and down when center is pressed.
Store jars in a cool place for up to one year.
How to Serve Prickly Pear Jelly
This jelly is great when spread on fresh sourdough bread, toast, or even served as an appetizer on crackers with a little cream cheese. Looking for sweeter jam? Feel free to add more sugar and use regular pectin instead of low-sugar pectin.
Did you make this Prickly Pear Jelly? Please rate the recipe & share a comment with me to let me know how your jelly turned out.
Check out these other jam recipes:
- Small Batch Carrot Jam
- Wolf Berry Jam (Goji Berry)
- Rose Hip Jelly
- Old Fashioned Grape Jam
- Peach and Green Chile Jam
- Raspberry and Green Chile Jam
- Sweet and Spicy Jalapeno Jam
Prickly Pear Jelly
Ingredients
- 4 C prickly pear puree pulp of 70-80 prickly pears
- 4 C sugar
- 1 C lemon juice
- 1 box low-sugar pectin
Instructions
- Fill the water bath canner with water on a separate stove burner to prepare the jelly for the water bath.
- Wash the canning jars. Place the canning jars, lids and bands in the oven at 200 degrees F to sterilize while you are making the jam (it helps to have them all in an 13x9 dish to keep them all together).
- Clean your prickly pears; remove the pulp and add to your large blender. 70-80 prickly pears should yield 4C of puree. Proces the prickly pears (puree them); then strain through a fine mesh strainer.
- Add the prickly pear puree, sugar, pectin, and lemon juice to your deep stock pot. Give it a stir to combine.
- Crank the heat to high and bring the mixture to a rolling boil. Stir frequently, until the mixture reaches 220 degrees F. Once the mixture reaches 220 degrees F, continue to boil for 4-5 minutes.
- Carefully remove the pot from the stove.
- Remove from heat and ladle into sterilized canning jars, leaving 1/2 inch headspace. Wipe rims thoroughly and then apply lids and bands (finger tight).
- Placed filled jars in a hot water bath, ensuring that they are covered by 2 inches of water. Place lid on water bath canner, and bring water to a steady boil.
- Process the jars for 10 minutes (half pint), adjusting for altitude. Boil 10 minutes at altitudes of 1,000 feet or less. Boil one additional minute for every 1,000 feet elevation.
- Turn off the heat, remove the lid and allow the jars to rest for 5 minutes. Then remove the jars entirely and allow to cool.
- Check lids for seal after 24 hours. Lids should not flex up and down when center is pressed. Store jars in a cool place for up to 1 year.

Thank you for ALL the tips & this recipe! Just made it for the first time & it’s very good! Only problem was our fault, we didn’t have the best thermometer, so it went from almost done, a bit too done in seconds. Turned out a bit thick but delicious, next time, we’ll have a better thermometer, but will definitely use this recipe again!
I am so glad it turned out well for you, Stephanie :). I didn’t start with a good thermometer when I started making jam/jelly a few years ago. I remember making Hatch Chile and Peach Jam and it went to a bit “too” done and I was so frustrated! I picked up a good thermometer after that and it has made such a huge difference (that, and not getting distracted with the kids!)
Have a beautiful remainder to your August 🙂