


Whip up some delicious Lavender Jelly with just a few simple ingredients – perfect on toast, English muffins, ice cream, or even to gift!
While some areas of the country are digging out from snow and throwing on layer upon layer of clothing, here in Phoenix I’m canning.
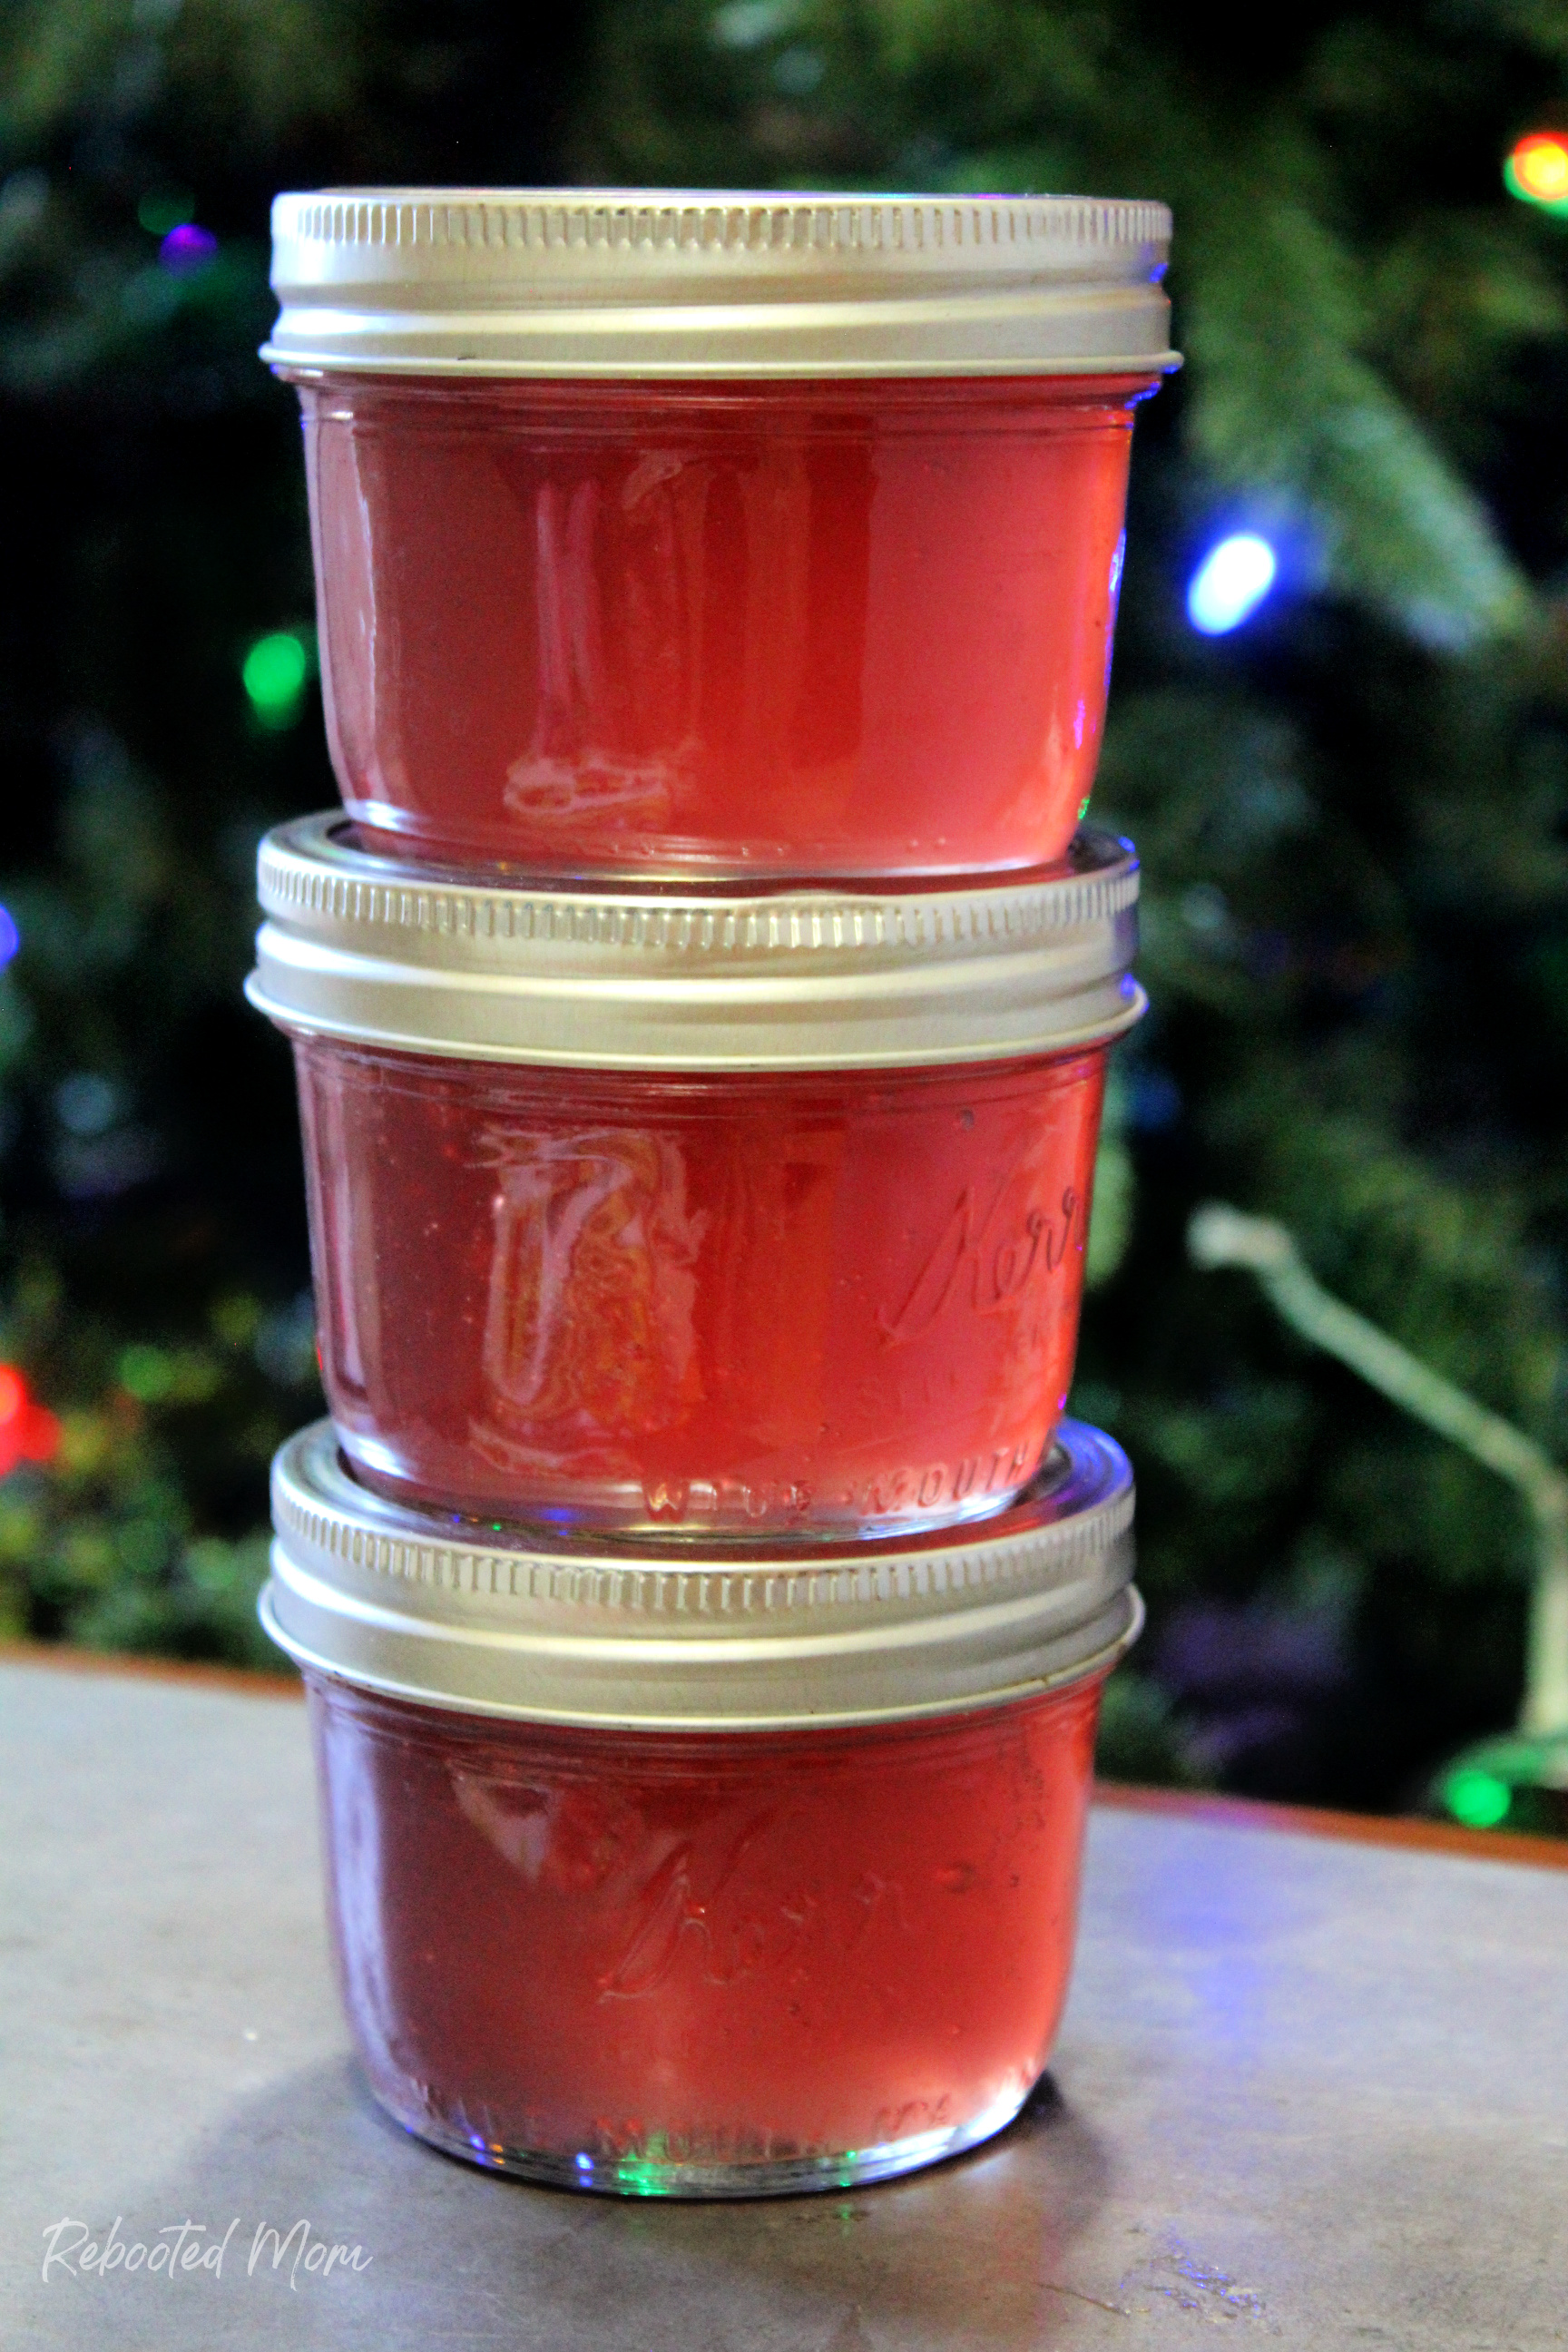
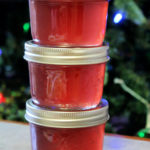
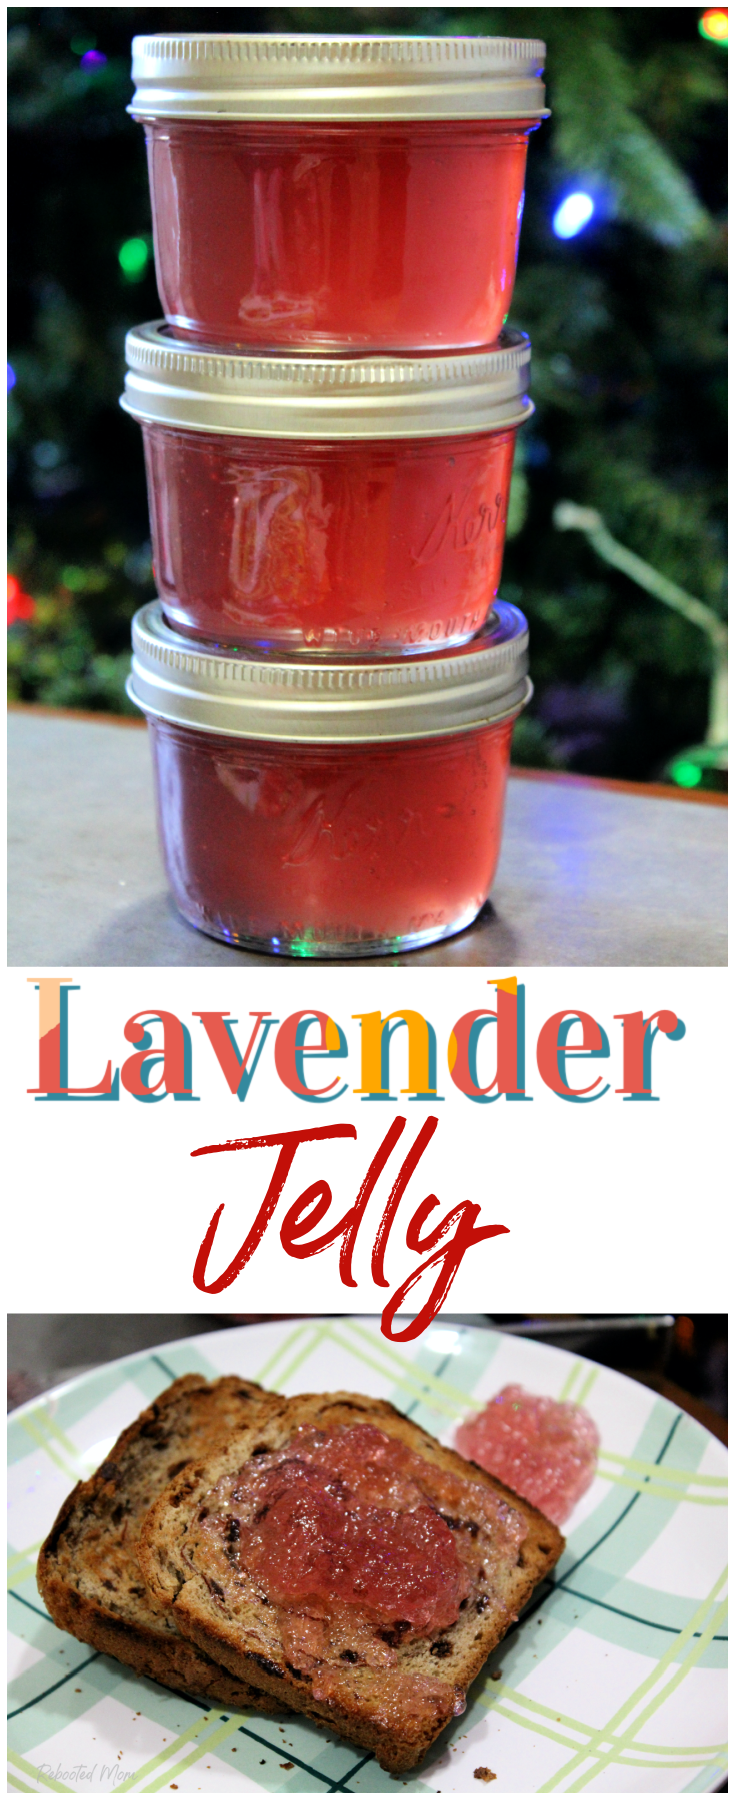
I’ve been picking up canning jars the last few weeks at Walmart. The half pint wide mouth jars are perhaps my favorite jars to can with (see pic, above). They provide just enough jam/jelly for the average person/family and are just so dog-gone cute. I was hard pressed to find jars this past year (thanks to COVID); but now that things are starting to get somewhat back to normal, I am seeing them pop up at Walmart.
When I do see them, I grab a flat – at $9.83 for 12, they are pretty handy to have around the house. Canning jam and jelly is one of my favorite ways to gift to friends at the holiday. When money is tight, I’m known for bartering jam/jelly to achieve a goal (yard work .. automotive work, etc.). At the end of the day though, I just love canning – it’s a cheap form of therapy.
After digging through my pantry to make room for groceries, I came across a scant 1/2 C of dried lavender buds. I purchased this lavender a while back to make handmade Lavender Salve (which is SO amazing to have!). I also used it to make some cold process soap by infusing the buds in olive oil.
This time around, however, I wanted to turn it into jelly. When you think of jelly, Lavender Jelly probably isn’t the first thing to come to mind. In fact, when I pulled the jars out of the water bath canner, my oldest turned and said “you can use lavender to make jelly? I had NO idea!”
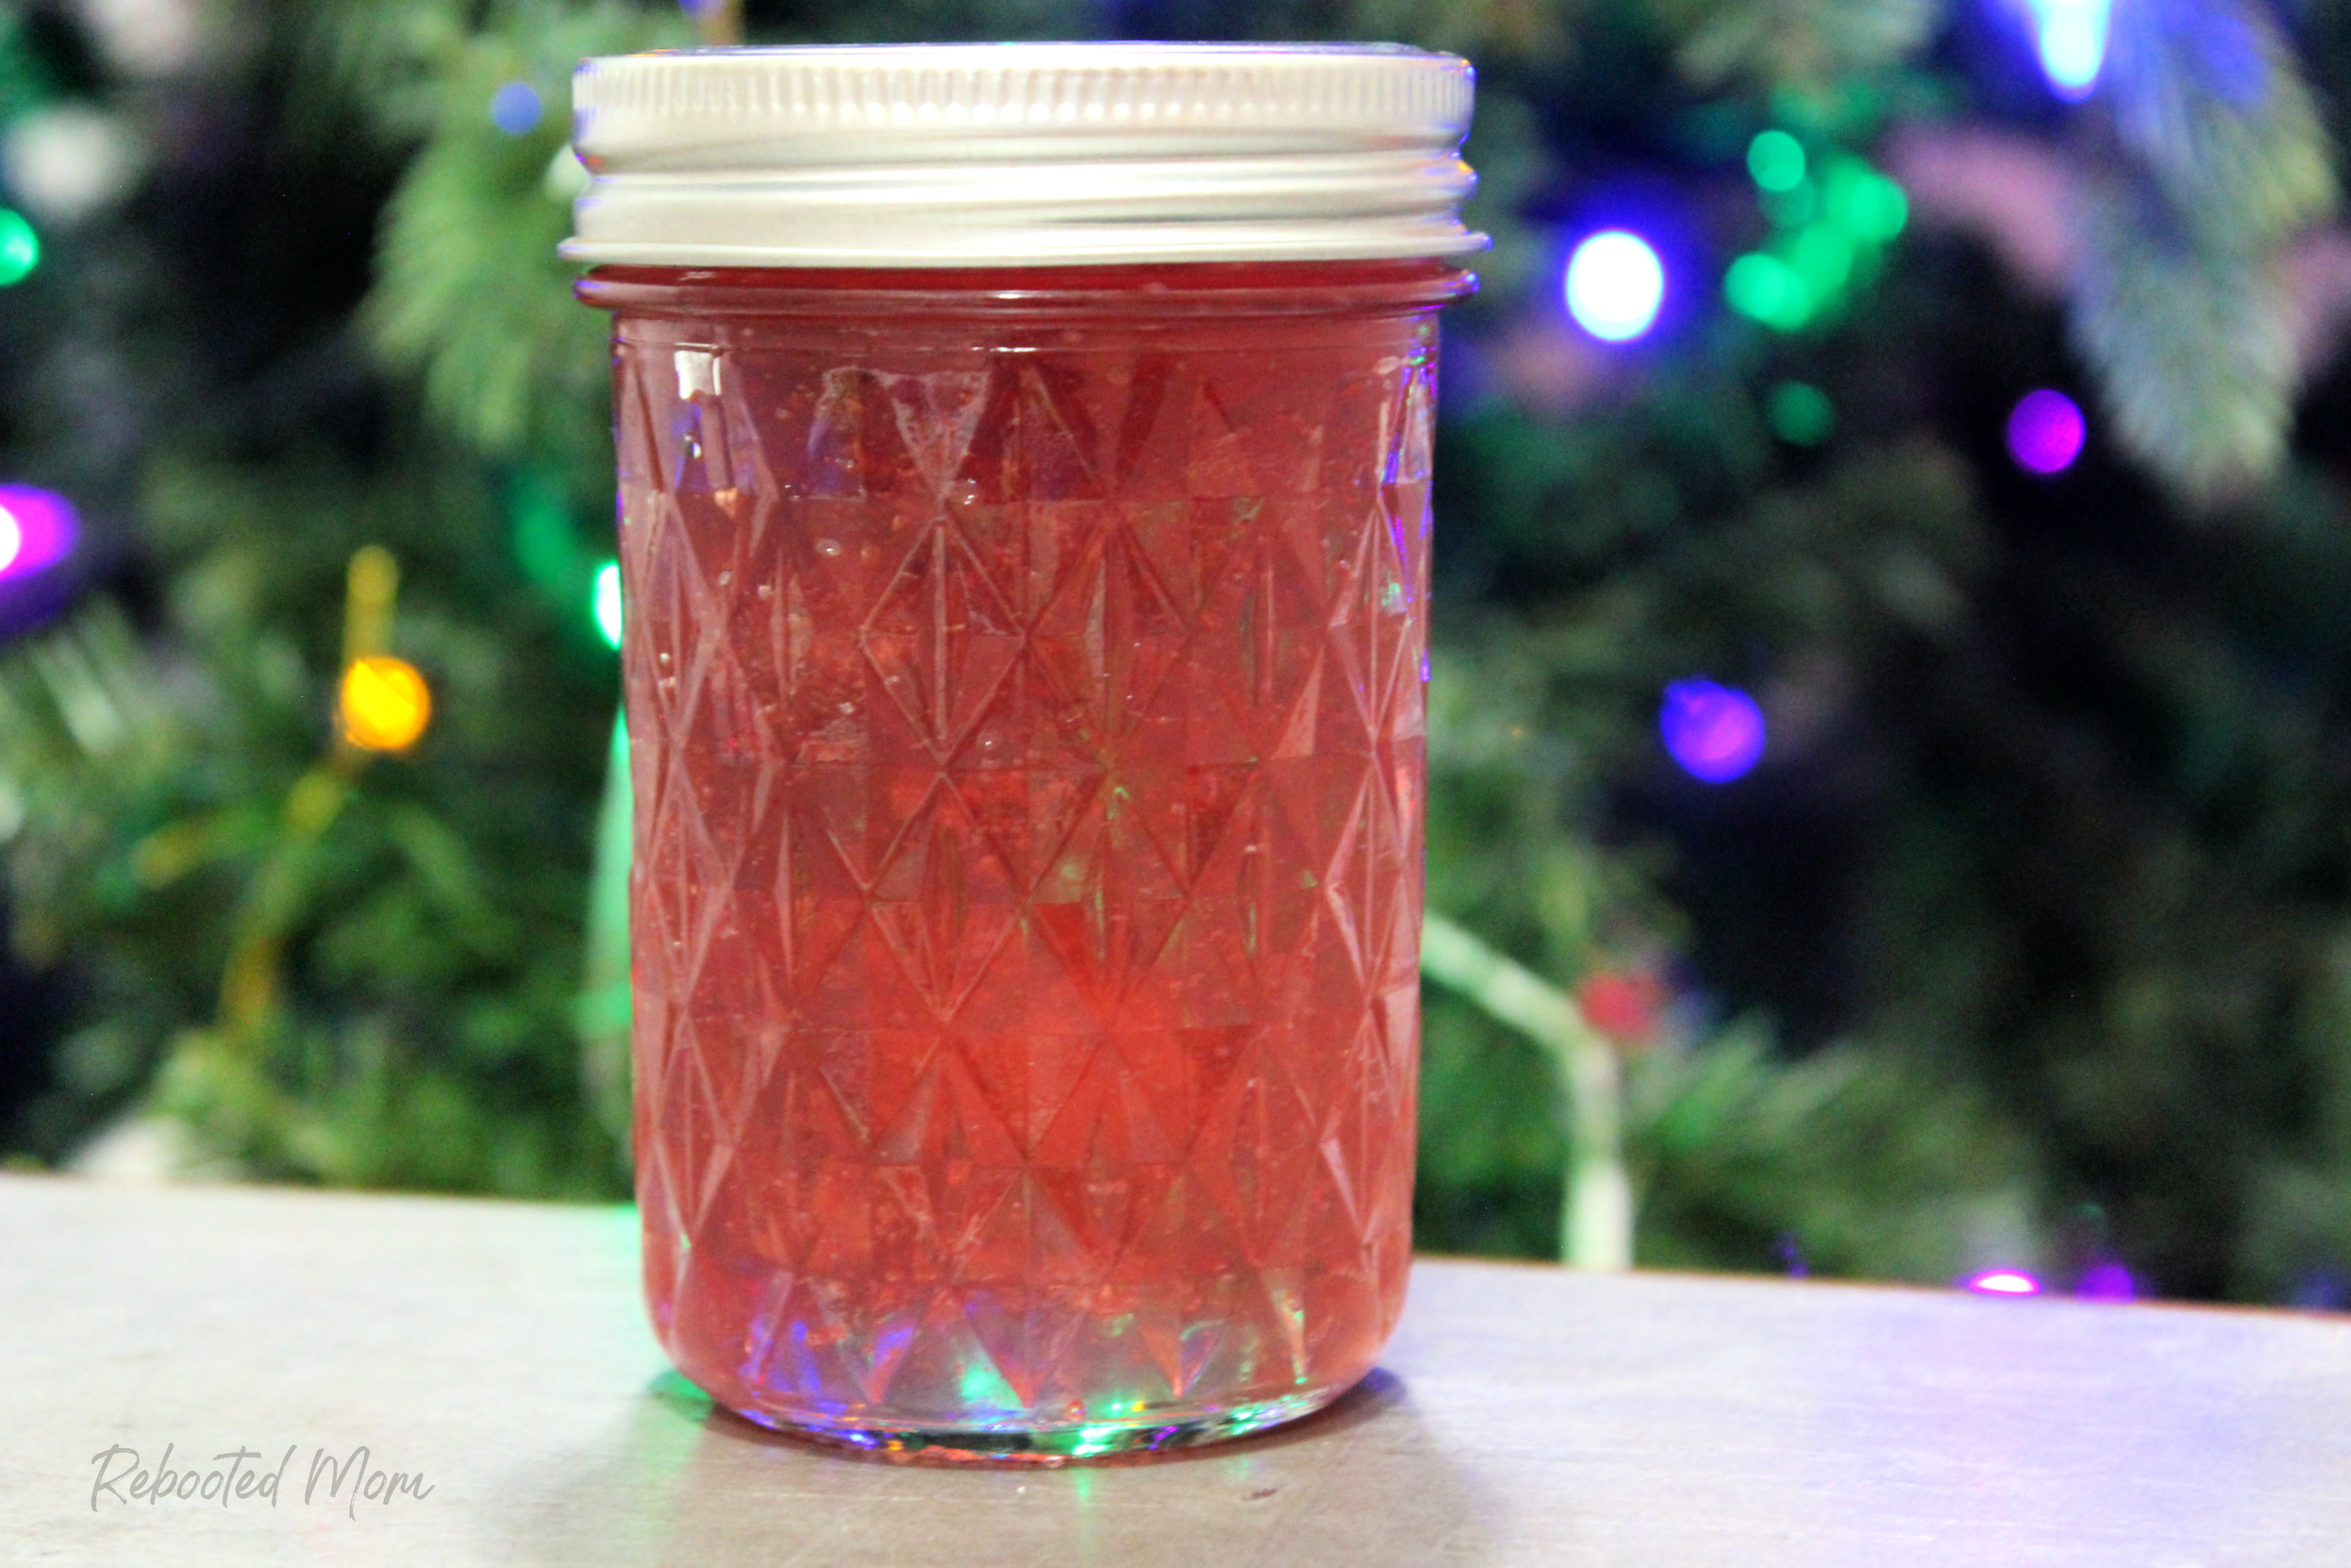
Truth is, lavender makes some of the most delicious (and beautiful!) jelly around!
How to Make Lavender Jelly
Making this jelly couldn’t be easier. You’ll want to bring 3.5 cups of water to a rolling boil on the stove top. Remove from the heat and add the dried lavender. Allow the lavender to steep in the hot water for 20 minutes; then strain out the buds (and compost) and put the stained liquid back on the stovetop.
Add the lemon juice and pectin and continue stirring until dissolved. Over high heat, bring the mixture to a boil – add sugar. When the jelly returns to a hard, rolling boil, let it boil for 2-4 minutes (see below), stirring occasionally.
Boil Times:
- 2 minutes for a soft gel
- 4 minutes for a medium gel
Testing the jelly: put a cereal spoon in a cup of ice water; take a spoon of the jelly and allow it to come to room temp on the spoon. If it results in a consistency that you are happy with, then the jelly is ready to be canned. If not, stir in a tsp or more of pectin and bring to a boil for an additional minute or two.
To process the jelly:
Place jars in your water bath canner on an elevated rack. Lower the rack into the canner with the hot water. Add water around the jars so that the water covers the jars by at least 1″ (jars should not be touching). Cover the canner with the lid. Process the jars in your water bath canner for 10 minutes – the time starts when the water starts to boil.
Adjustments for Altitude:
- 1,001 – 3,000 feet: 10 minutes
- 3,001 to 6,000 feet: additional 15 minutes
- 6,001 to 8,000 feet: additional 20 minutes
- 8,001 to 10,000 feet: 25 minutes
After the jars have processed, carefully remove them from the water bath canner and allow them to stand upright on a towel as they cool. Let the jars sit, undisturbed for up to 24 hours. As they cool, the jars will seal (and you will hear a “ping”) – avoid pushing the lid down on the center of the jar until the jars are completely cooled. The jelly may take up to 24 hours to set.
Once the jars are cooled, check the seal by pushing the middle of the lid with your finger – it should not bounce back. If it does, the jars are not sealed and will need to be reprocessed. If you don’t want to reprocess, you can refrigerate those jars and use them first.
Label your jars and store in a cool pantry for up to 12 months. Once opened, refrigerated jars may be used within 3 weeks.
How to Use Lavender Jelly
Lavender jelly is a unique (and beautiful) jelly that will wow unexpected recipients. Every time I gift this jelly I get a tremendous reaction similar to “I didn’t know you could use lavender to make jelly?!”
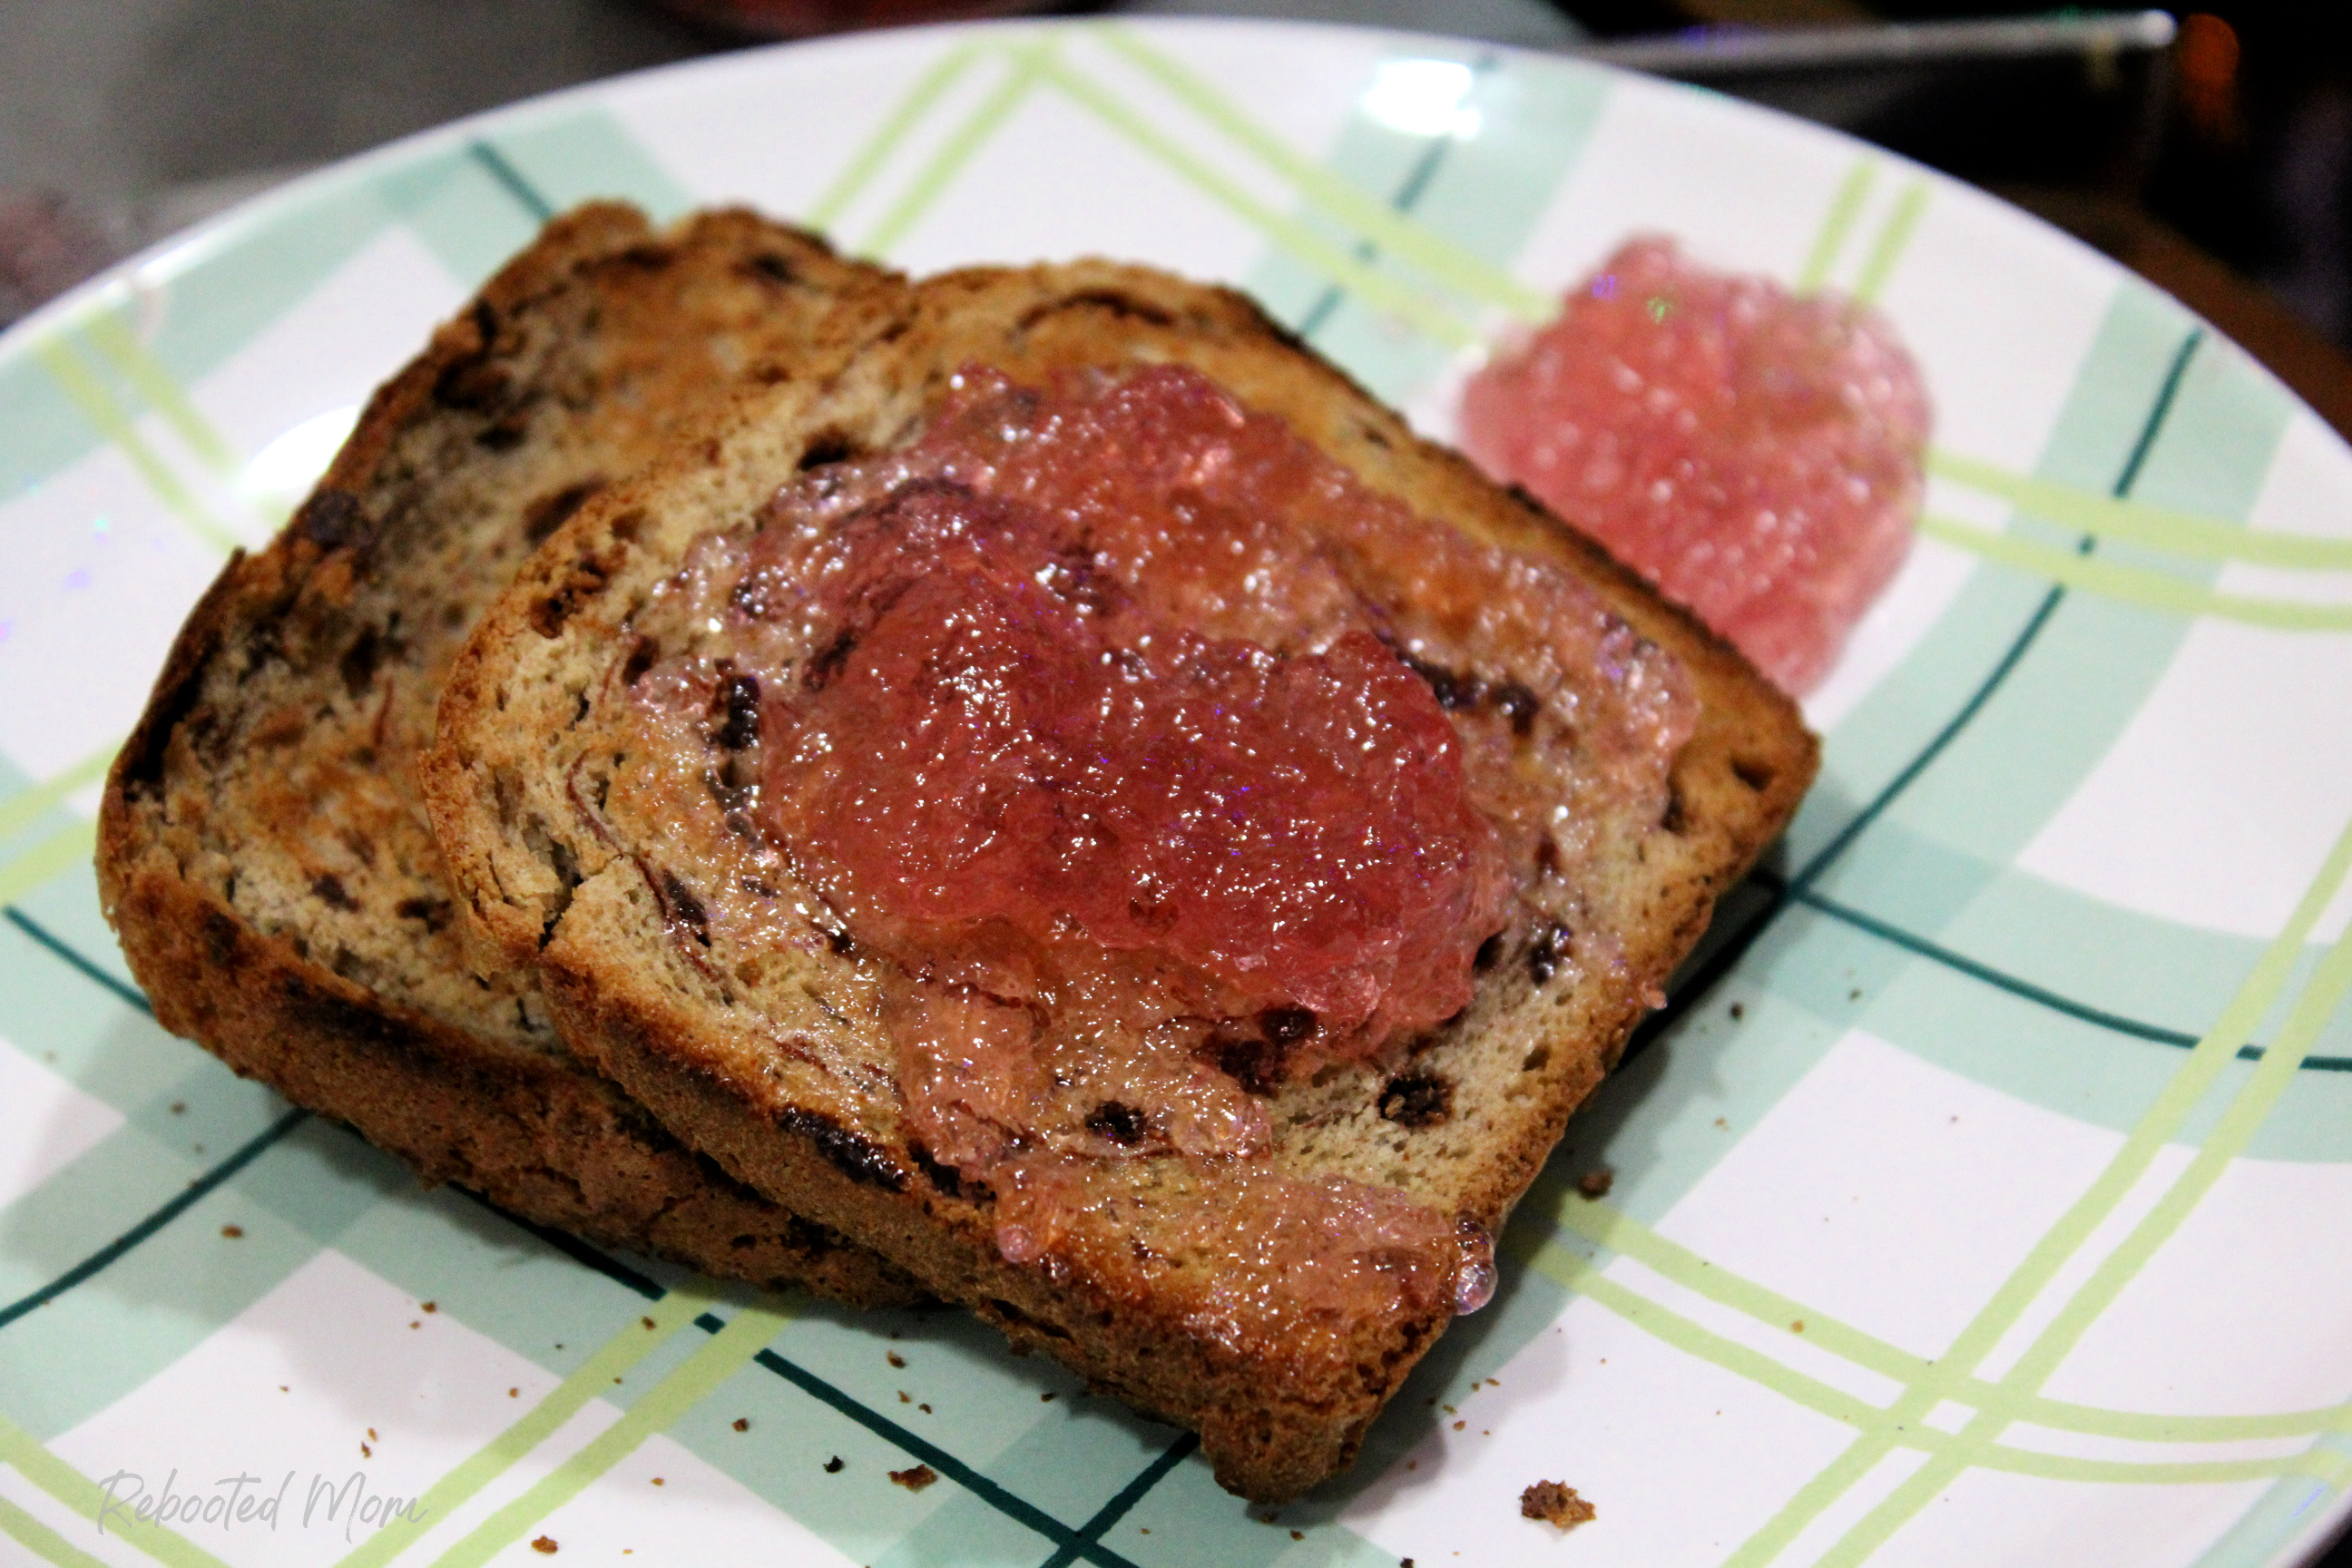
It’s great when eaten on top of sourdough bread, English muffins, ice cream or served next to your favorite meat recipe (such as meatballs).
Or go a step further and serve it next to your favorite cheese on a cheeseboard. The possibilities are endless.
Lavender Jelly
Equipment
- water bath canning pot with inside rack
- jar grabber
- 6 quart saucepan
- canning jars
- canning lids and rings
- jar funnel
- fine woven strainer or sieve
Ingredients
- 1/2 C dried lavender
- 4 C water
- 1/4 C lemon juice or juice of 2 lemons
- 4 C granulated sugar
- 1 box Sure-Jell low sugar pectin
Instructions
Prepare the jars and canner:
- Place your jars, lids and rings in the oven and preheat the oven at 210 degrees F until you are ready to use the jars. This is important as you should place room temperature jars into boiling water.
- Fill the bottom of the water bath canner with water and place on the stovetop.
Prepare the jelly:
- In your saucepan, add the water and bring to a boil. Remove from heat and stir in the dried lavender flowers.
- Allow the lavender to steep, in the water, for 20-25 minutes.
- Strain the buds and compost/toss. Keep the strained water and add your lemon juice and pectin and stir well to combine.
- Bring the mixture to a boil over high heat stirring frequently. Add sugar and continue to stir to combine. Once the jelly returns to a boil, allow it to boil for 2-4 minutes (see chart below), stirring frequently.
Test the jelly:
- Testing the jelly: put a cereal spoon in a cup of ice water; take a spoon of the jelly and allow it to come to room temp on the spoon. If it results in a consistency that you are happy with, then the jelly is ready to be canned. If not, stir in a tsp or more of pectin and bring to a boil for an additional minute or two.
Process the jelly:
- Place jars in your water bath canner on an elevated rack. Lower the rack into the canner with the hot water. Add water around the jars so that the water covers the jars by at least 1" (jars should not be touching). Cover the canner with the lid. Process the jars in your water bath canner for 10 minutes - the time starts when the water starts to boil.
After processing the jelly:
- After the jars have processed, carefully remove them from the water bath canner and allow them to stand upright on a towel as they cool. Let the jars sit, undisturbed for up to 24 hours. As they cool, the jars will seal (and you will hear a "ping") - avoid pushing the lid down on the center of the jar until the jars are completely cooled. The jelly may take up to 24 hours to set.
- Once the jars are cooled, check the seal by pushing the middle of the lid with your finger - it should not bounce back. If it does, the jars are not sealed and will need to be reprocessed. If you don't want to reprocess, you can refrigerate those jars and use them first.
- Once the jars are cooled, check the seal by pushing the middle of the lid with your finger - it should not bounce back. If it does, the jars are not sealed and will need to be reprocessed. If you don't want to reprocess, you can refrigerate those jars and use them first.
- Label your jars and store in a cool pantry for up to 12 months. Once opened, refrigerated jars may be used within 3 weeks..
Looking for more jam and jelly recipes?
Try any of these, below:

[…] Lavender Jelly […]