


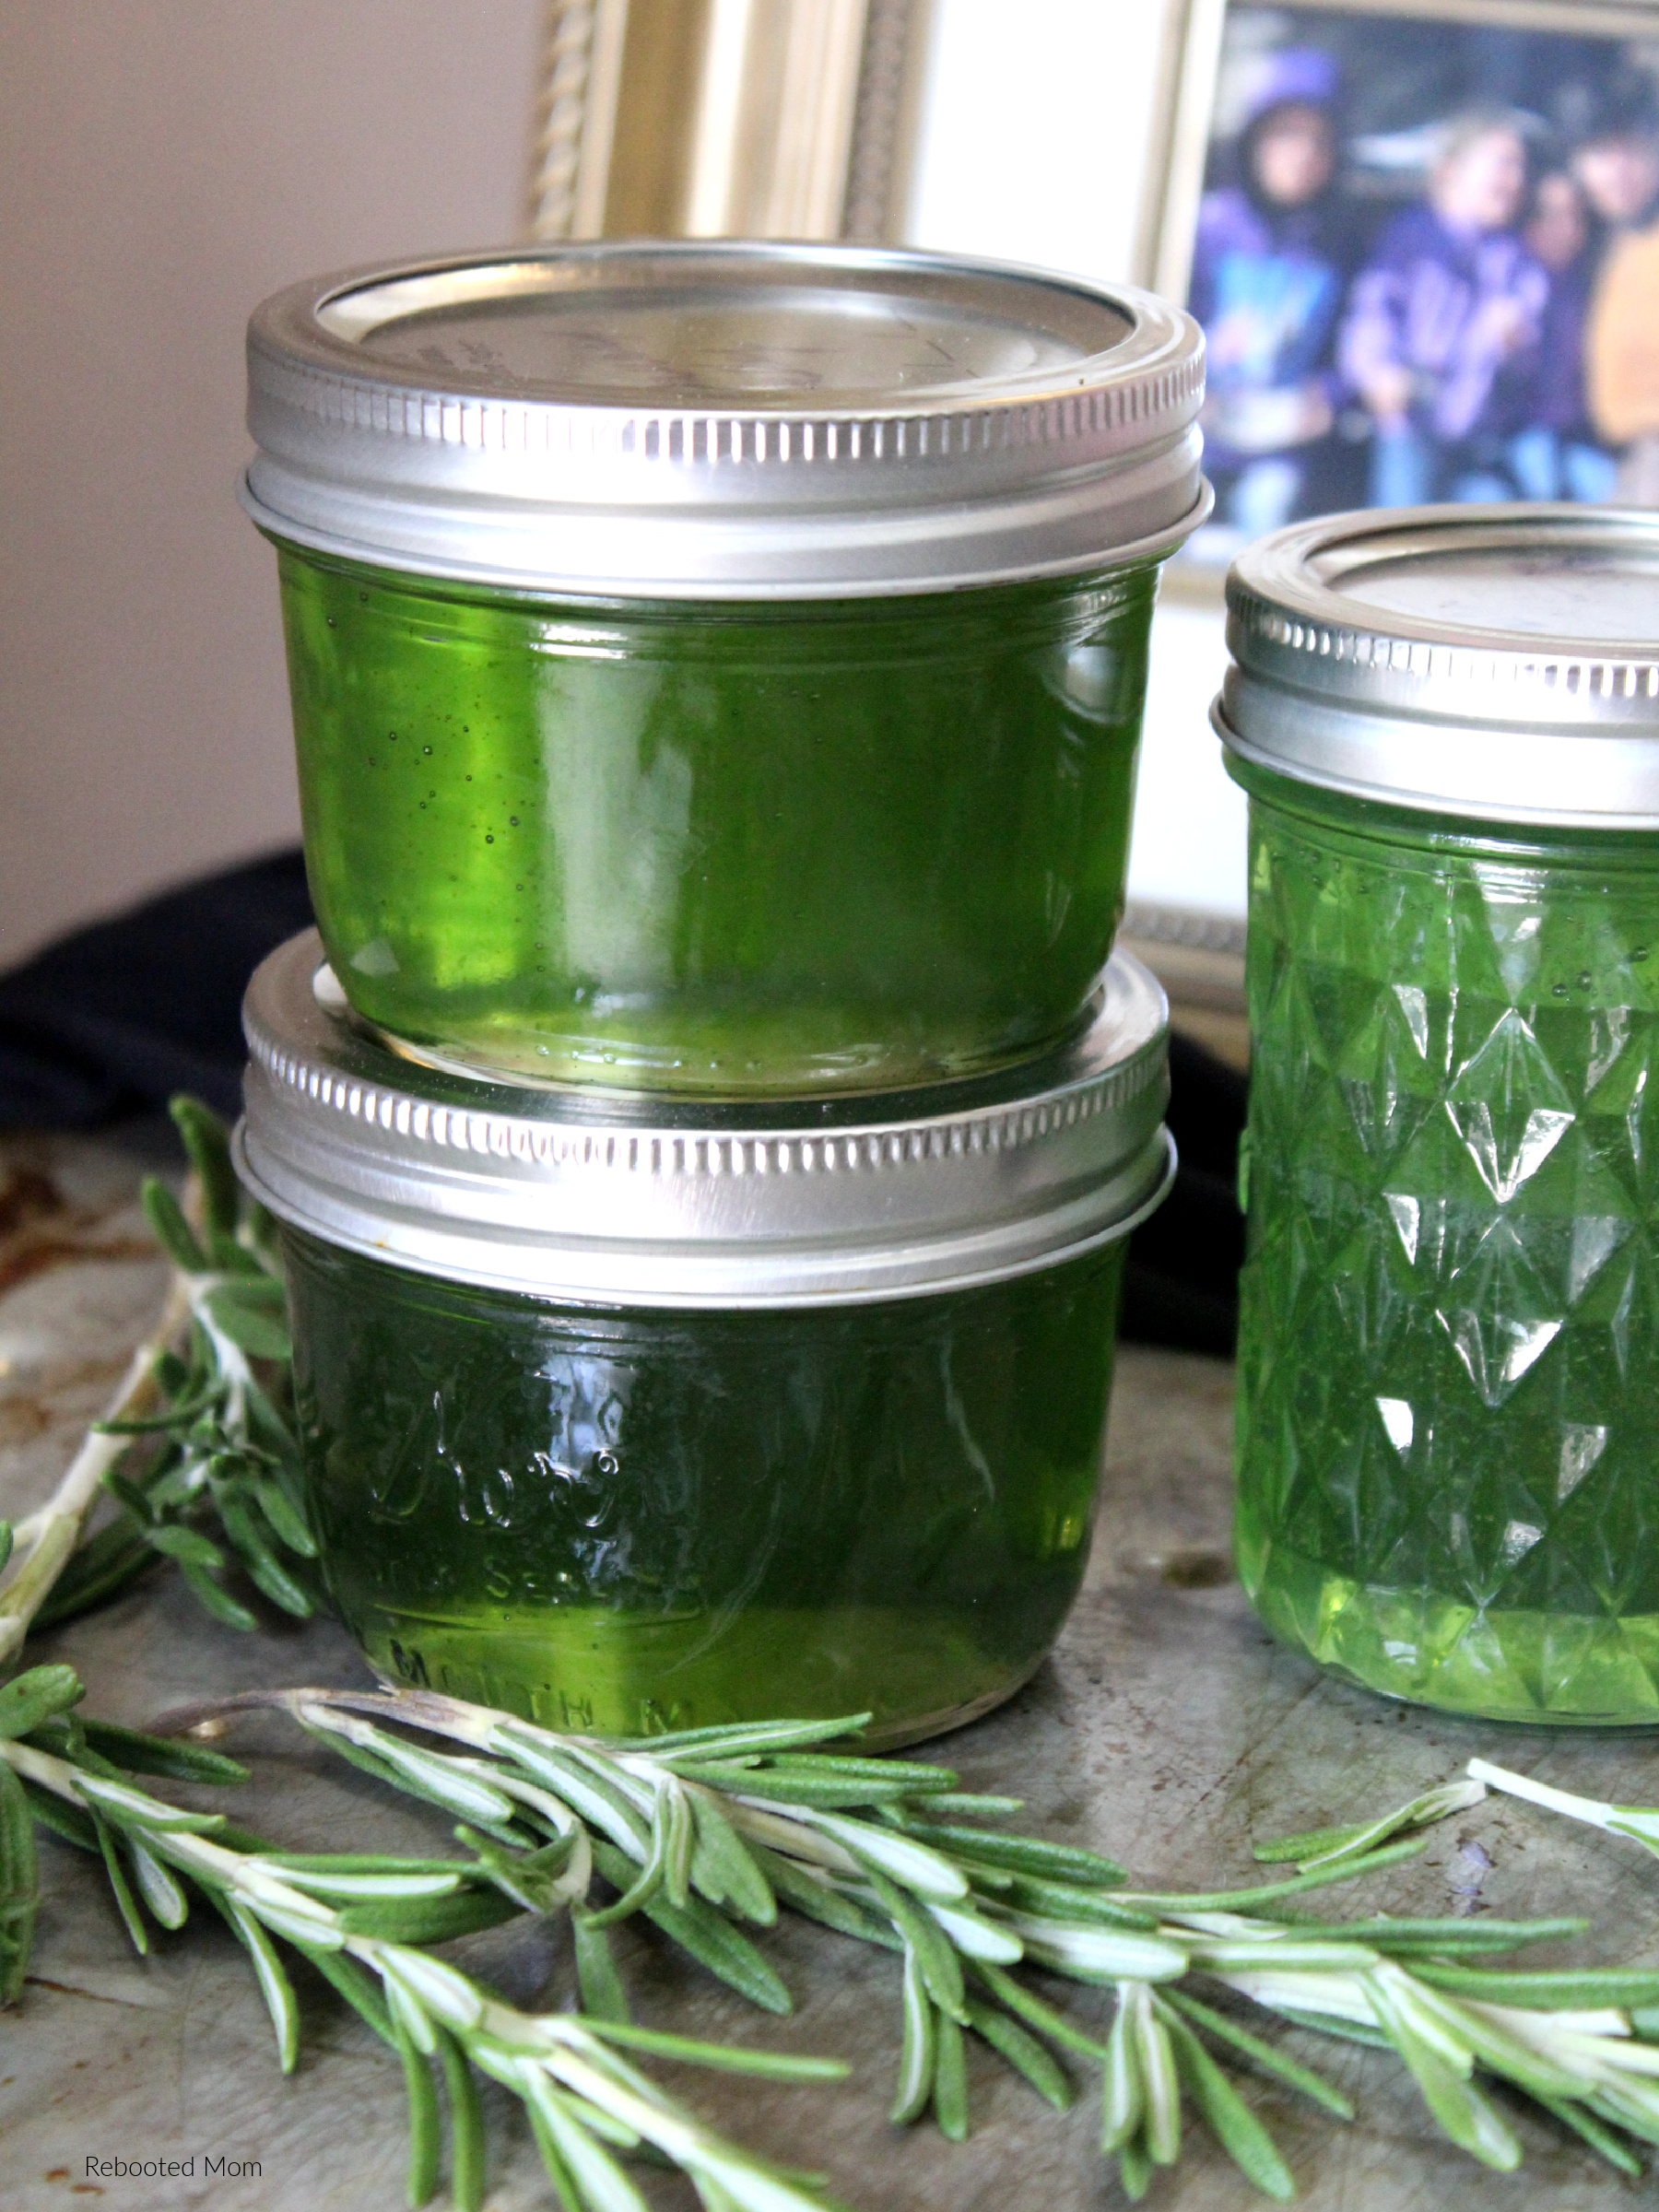
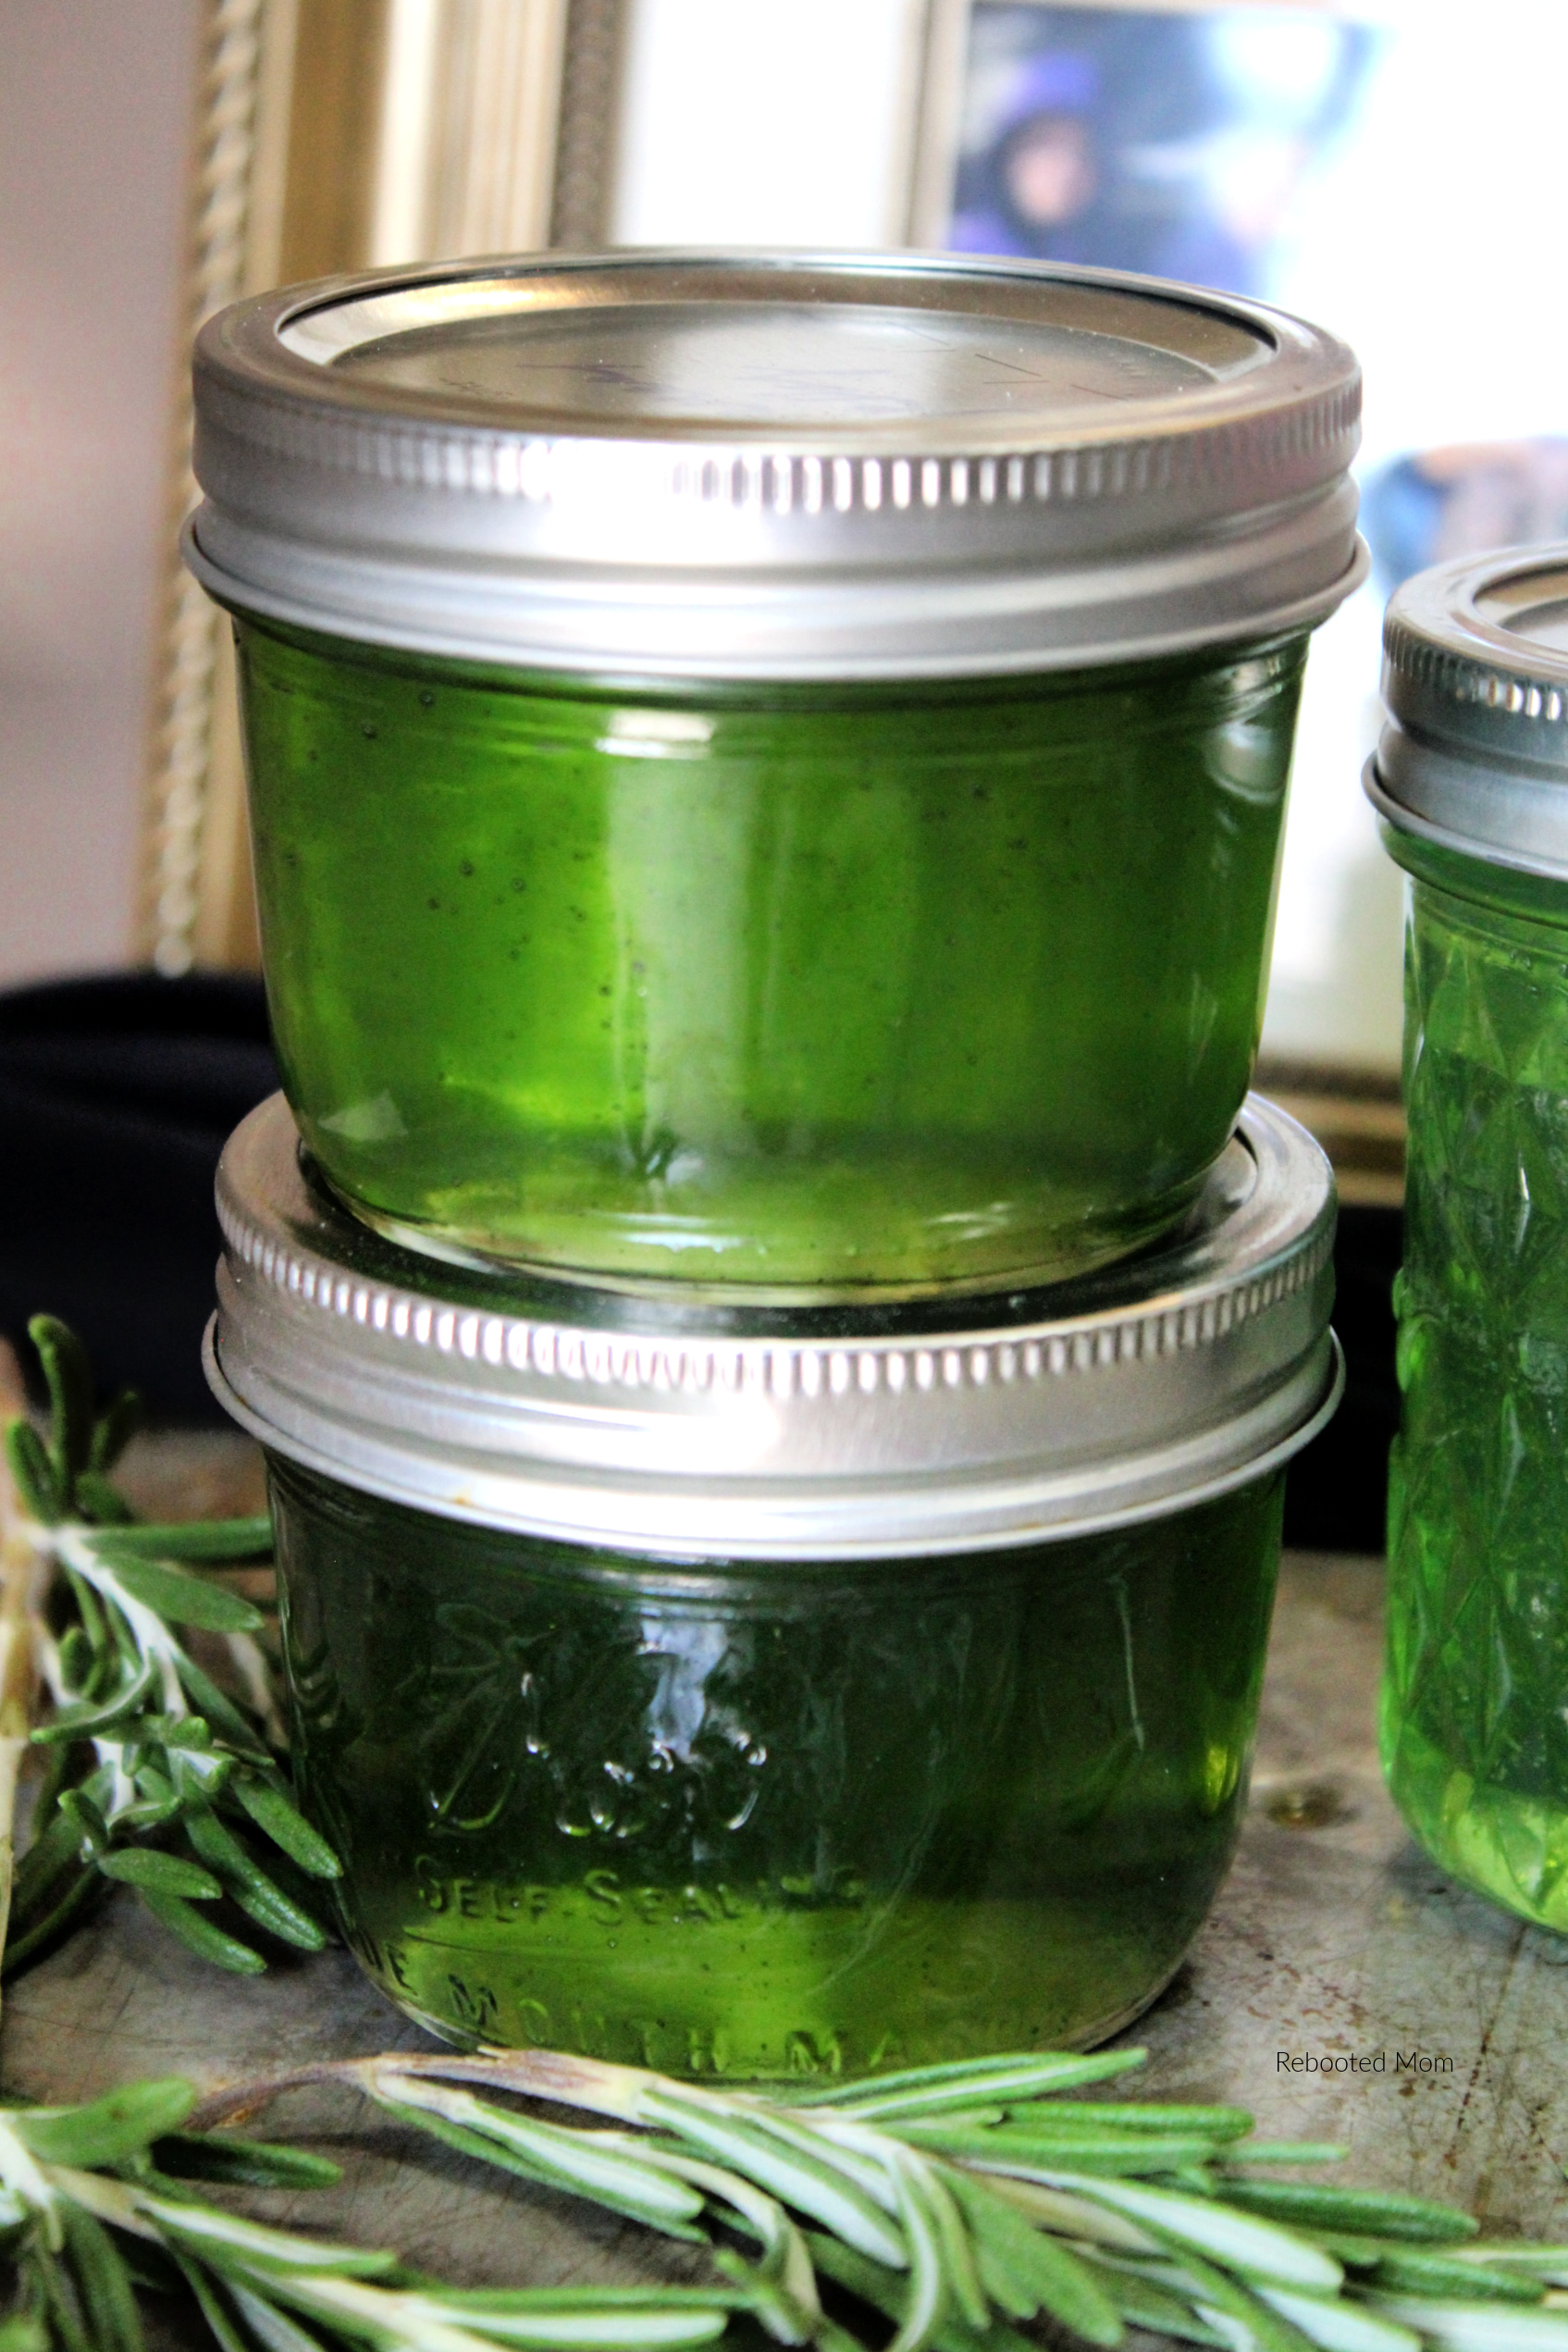
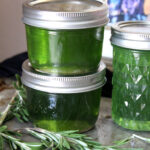
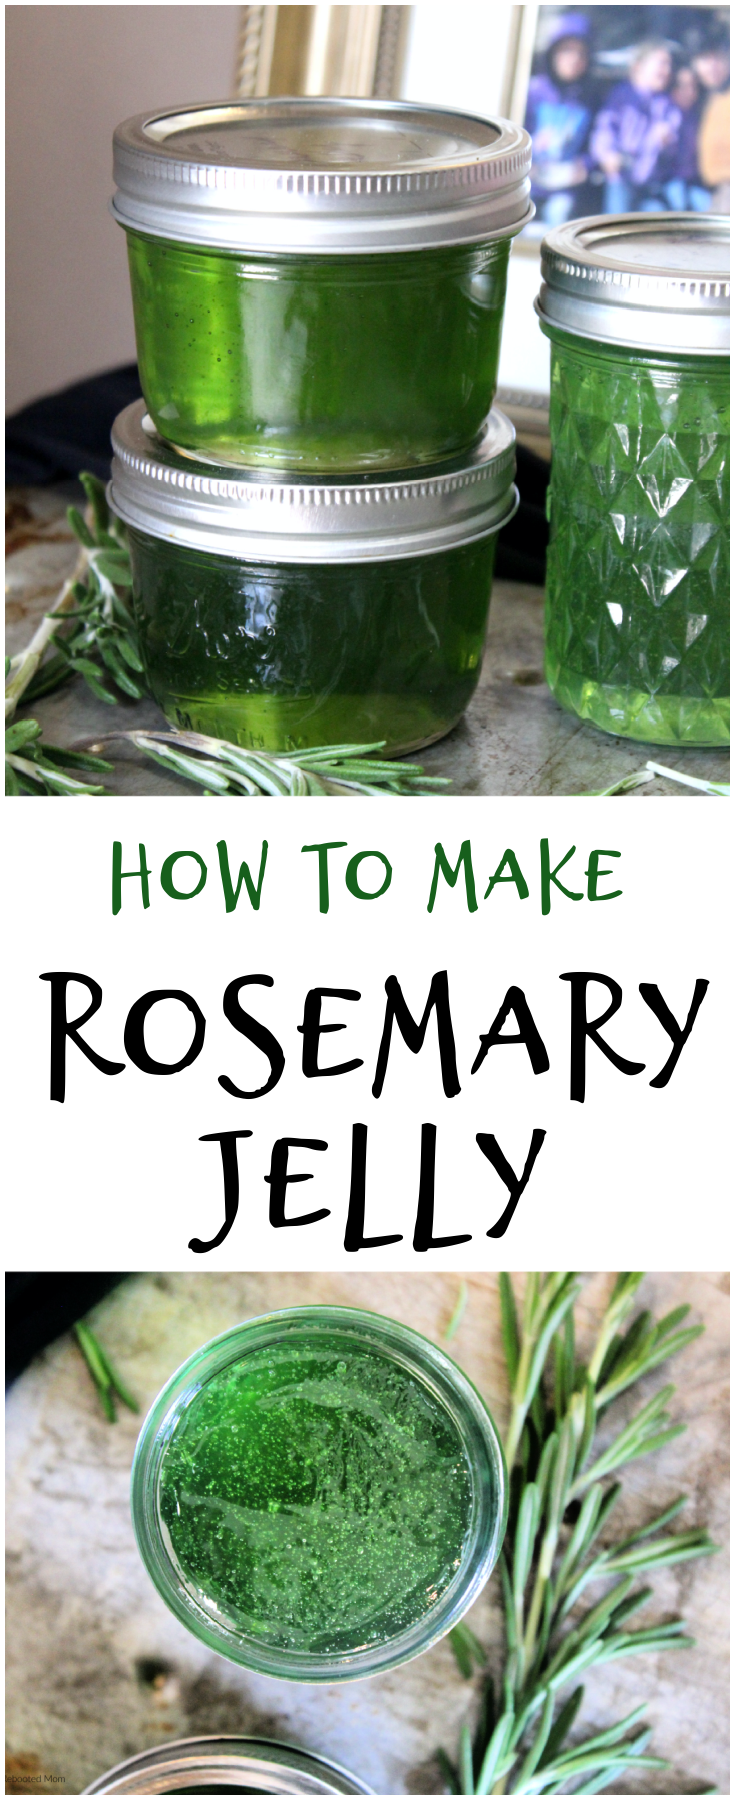
This savory Rosemary Jelly is a unique and delicious twist on traditional jelly recipes – serve with your next cheeseboard as an appetizer!
It was just a few nights ago that I had the sudden urge to make Rosemary Jelly. I’m not quite sure what prompted that urge; in all honesty, I was enjoying a movie in the living room when it struck me..
“I have rosemary in the fridge. I should make something with it!”
It wasn’t but seconds later, I was pulling out the pots and pans to whip up this jelly. It’s not everyday you hear of Rosemary getting placed in jelly – but the truth is, if you haven’t ever considered it, you are missing out on one of life’s greatest treasures. Rosemary is such a vibrant, aromatic herb – while it works perfect for making your own specialty seasoning/rub, it is also wonderful when tossed on your favorite flatbread.
Men: you can even use it to make your own beard balm!
Or, instead of doing all of those things, simply turn it into jelly. You’ll never go back to eating rosemary any other way!
Canning jam and jelly is one of my favorite ways to spend time in the kitchen. For me, canning is therapeutic – it helps feed the expanding stomachs of my growing kids, while at the same time affording me the opportunity to keep my hands busy in the kitchen.
How to Make Rosemary Jelly
Making this jelly couldn’t be easier. You’ll want to bring 2 cups of water to a rolling boil on the stove top. Remove from the heat and add the rosemary, and cover the pot with a plate or lid. Allow the rosemary to steep in the hot water for 20 minutes; then strain out the rosemary out and put the strained liquid back on the stovetop.
Add the apple cider vinegar and pectin and continue stirring until dissolved. Over high heat, bring the mixture to a boil – add sugar. When the jelly returns to a hard, rolling boil, let it boil for 2-4 minutes (see the suggestion below), stirring occasionally.
- 2 minutes for a soft gel
- 4 minutes for a medium gel
ADJUSTMENTS FOR ALTITUDE:
- 1,001 – 3,000 feet: 10 minutes
- 3,001 to 6,000 feet: additional 15 minutes
- 6,001 to 8,000 feet: additional 20 minutes
- 8,001 to 10,000 feet: 25 minutes
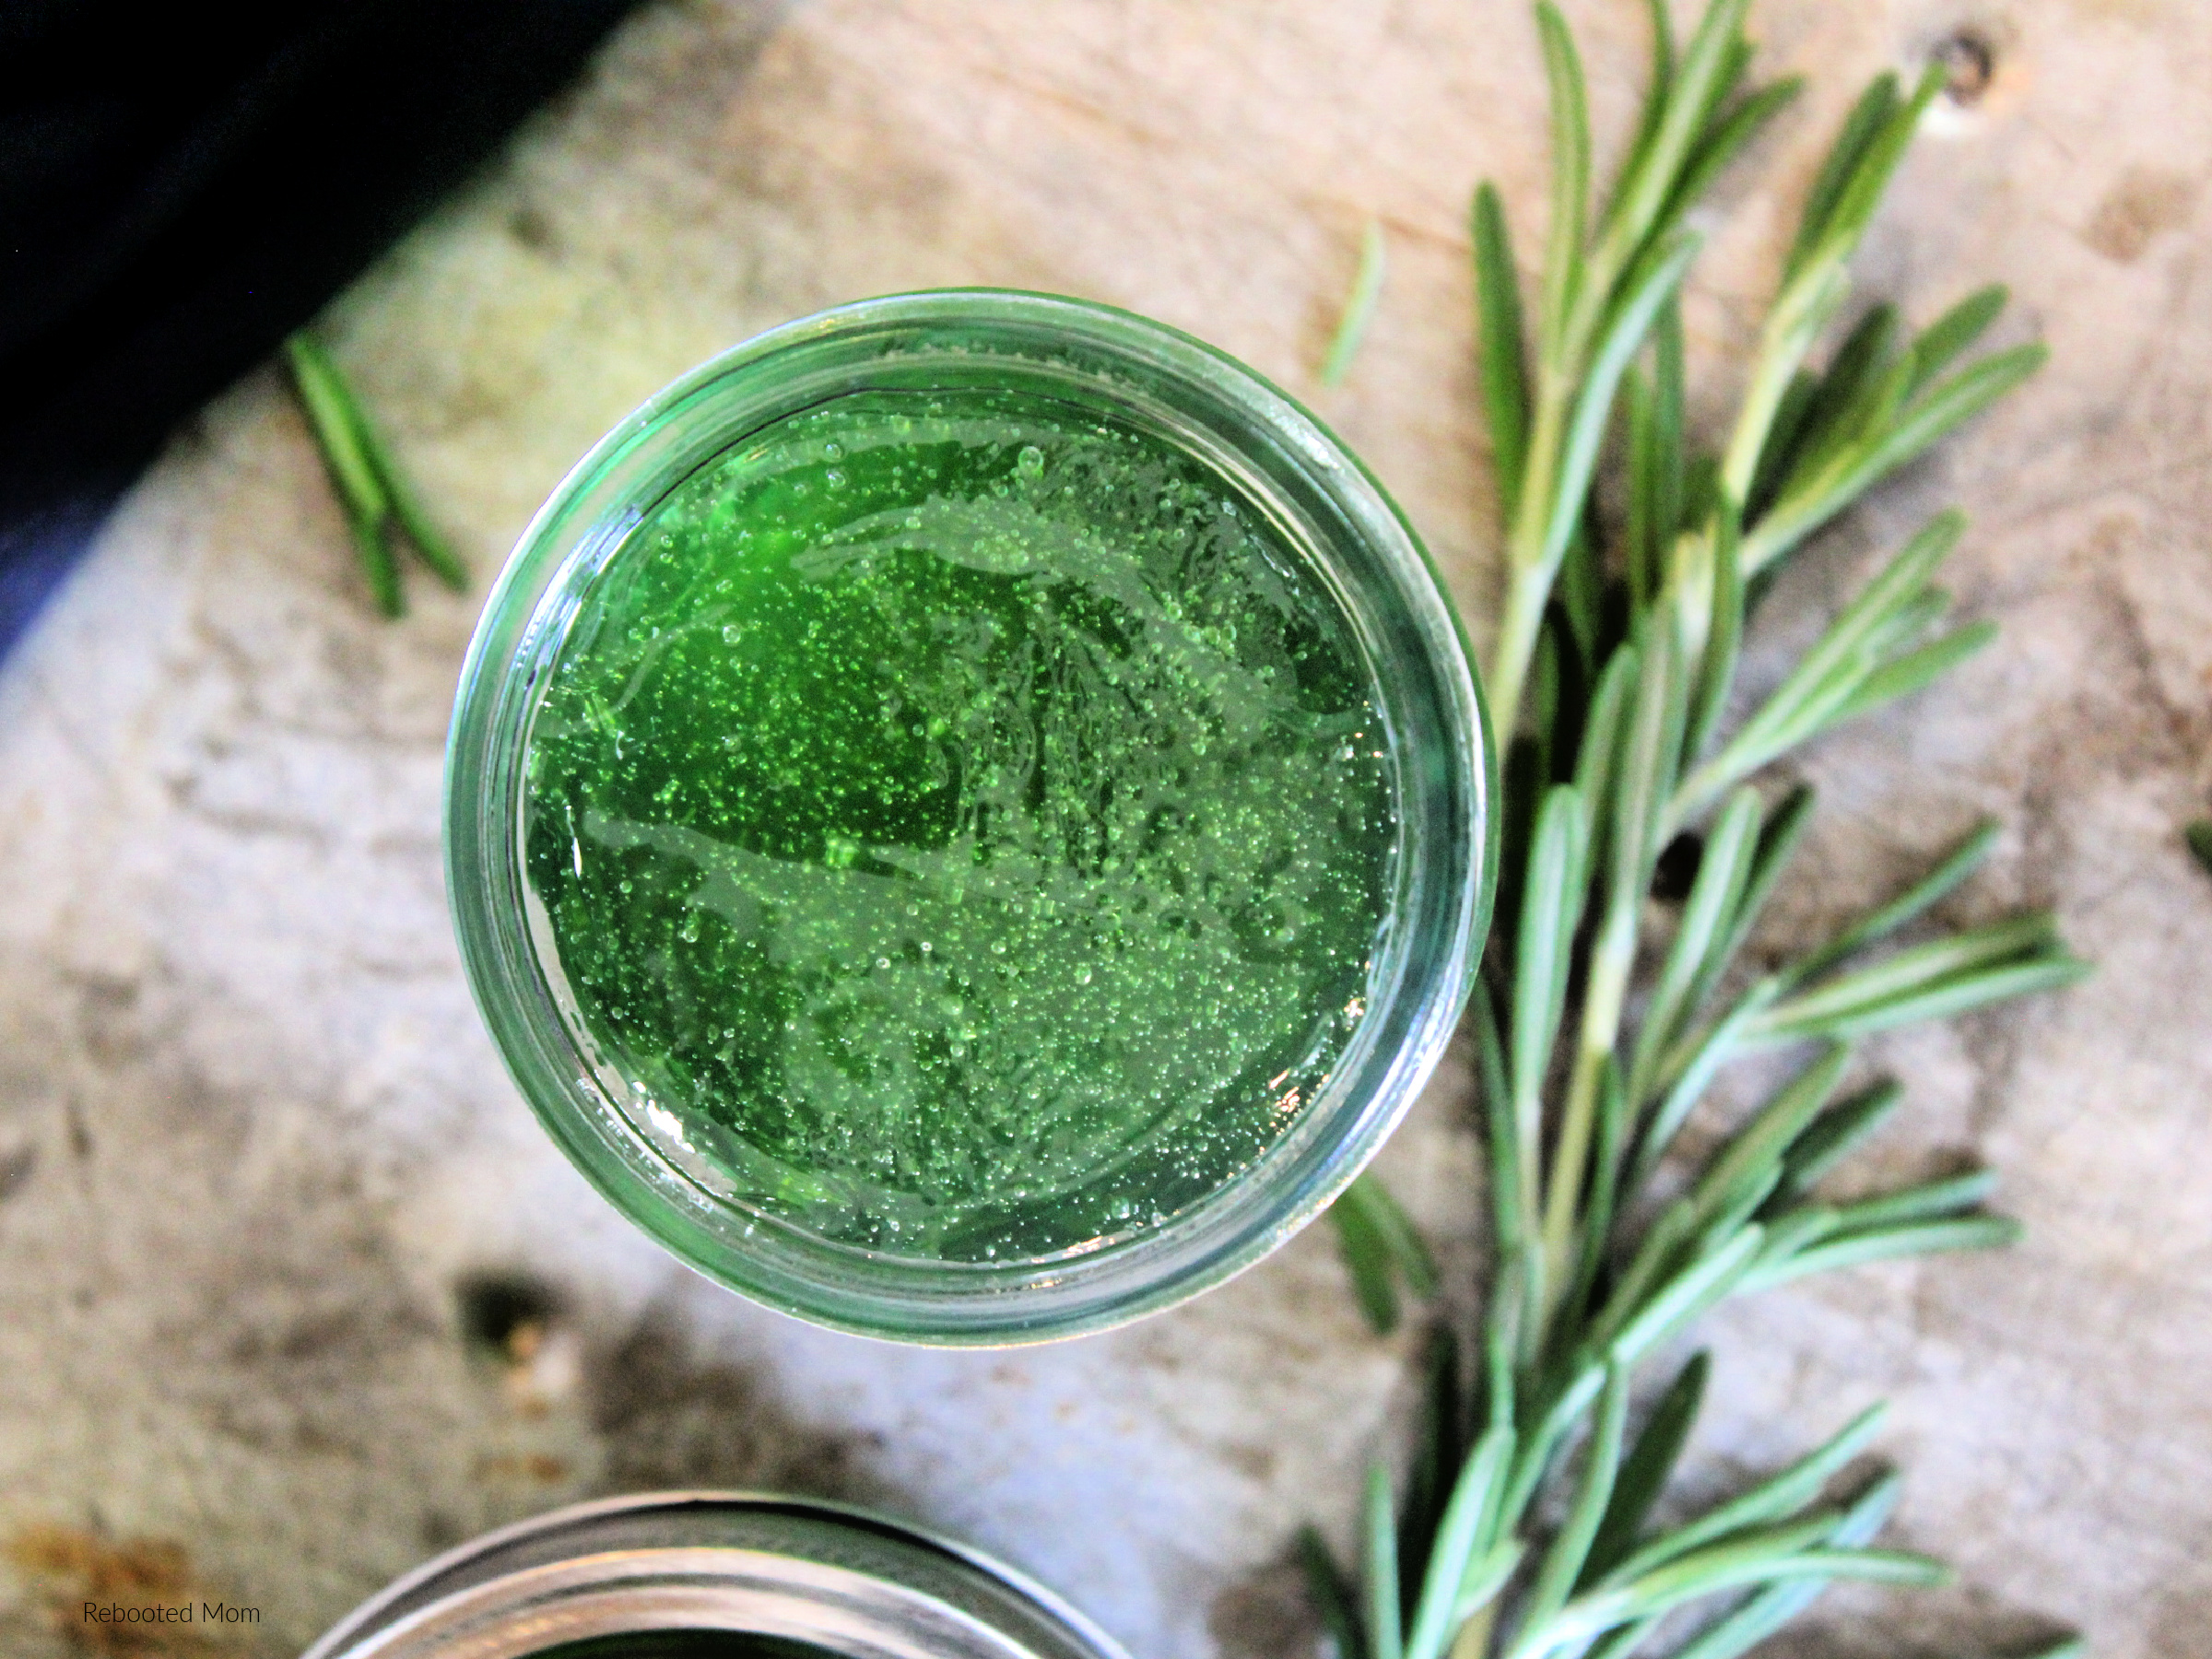
After the jars have processed, carefully remove them from the water bath canner and allow them to stand upright on a towel as they cool. Let the jars sit, undisturbed for up to 24 hours. The jars will seal as they cool (you will hear a “ping”) – avoid pushing the lid down on the center of the jar until the jars are completely cooled. The jelly may take up to 24 hours to set.
Once cooled, check the seal by pushing the middle of the lid with your finger – it should not bounce back. If it does, the jars are not sealed and will need to be reprocessed. If you don’t want to reprocess, you can refrigerate those jars and use them first.
Label your jars and store in a cool pantry for up to 12 months. Once opened, refrigerated jars may be used within 3 weeks.
Looking for more jelly or jam recipes?
Look no further – try any of these, below:
- Spicy Red Pepper Jam
- Brandied Apple Jam
- Old Fashioned Grape Jam
- Rose Hip Jelly
- Prickly Pear Jelly
- Palo Verde Flower Jelly
- Old Fashioned Corn Cob Jelly
- Pine Needle Jelly Recipe
- Candy Apple Jelly
- Lavender Jelly
Ready to make Rosemary Jelly? Let’s do this!
Rosemary Jelly
Equipment
- 3 half pint canning jars, lids and rings
- Water Bath Canner
- large stockpot
- ladle, thermometer, and large spoon for stirring
Ingredients
- 2.5 C water
- 5 Tbsp minced rosemary
- 3.5 C sugar
- 1/4 C cider vinegar
- 1 box low sugar pectin
Optional:
- 2 drops green food coloring
Instructions
- In a large saucepan, add water and bring to a boil. Turn off. Add rosemary to hot/boiled water; cover and let stand for 15 minutes. Strain, reserving liquid.
- If necessary, add water to measure 2.5 cups. Return liquid to pan; add pectin and vinegar. Bring to a full rolling boil over high heat, stirring constantly.
- Add sugar and food coloring (optional); return to a boil, stirring until continually. Once temperature reaches 220 degrees F, stir for 2 minutes for a softer set. Boil for 4 minutes for a harder set jelly.
- Recipe makes 3 half pints.
Notes
Jelly didn't set?
If your jelly didn't set, don't panic. Sometimes it can take up to 48 hours for the jelly to set. If, however, after that time it is still not set, follow the below instructions to reprocess:- Open each jar, empty jelly into large, clean stock pot.
- Empty jars, lids must be re-washed and prepped again for canning.
- To the stock pot, add 1/4 C. granulated sugar, 2 Tbsp lemon juice, 1/4 C. water and 3 tsp pectin.
- Stir well and bring the mixture to a hard rolling boil (a boil that cannot be stirred down) for 1-2 minutes.
- Ladle into jars, wipe the rims, and apply the lids and bands. Re-process in a water bath for 10 minutes.
- Allow up to 48 hours for the jelly to set.

I am considering making rosemary jelly to add to my holiday baskets for neighbors but was curious why the rosemary must be minced. I’m concerned about the jelly coming out gritty if the minced herb goes through the strainer. Have you encountered this or tried making it with full sprigs? Thanks for the awesome recipe!
I have done it my mincing and without mincing — I haven’t had any issues about the jelly being gritty at all when I did it through mincing. Mincing gave it more surface area. I use a very tight muslin so it kept the smaller pieces out without fail, but I guess that would depend on how well it’s strained. You definitely don’t have to mince! It’s a great gift, I have given this jelly as gifts and it was always so well received!