


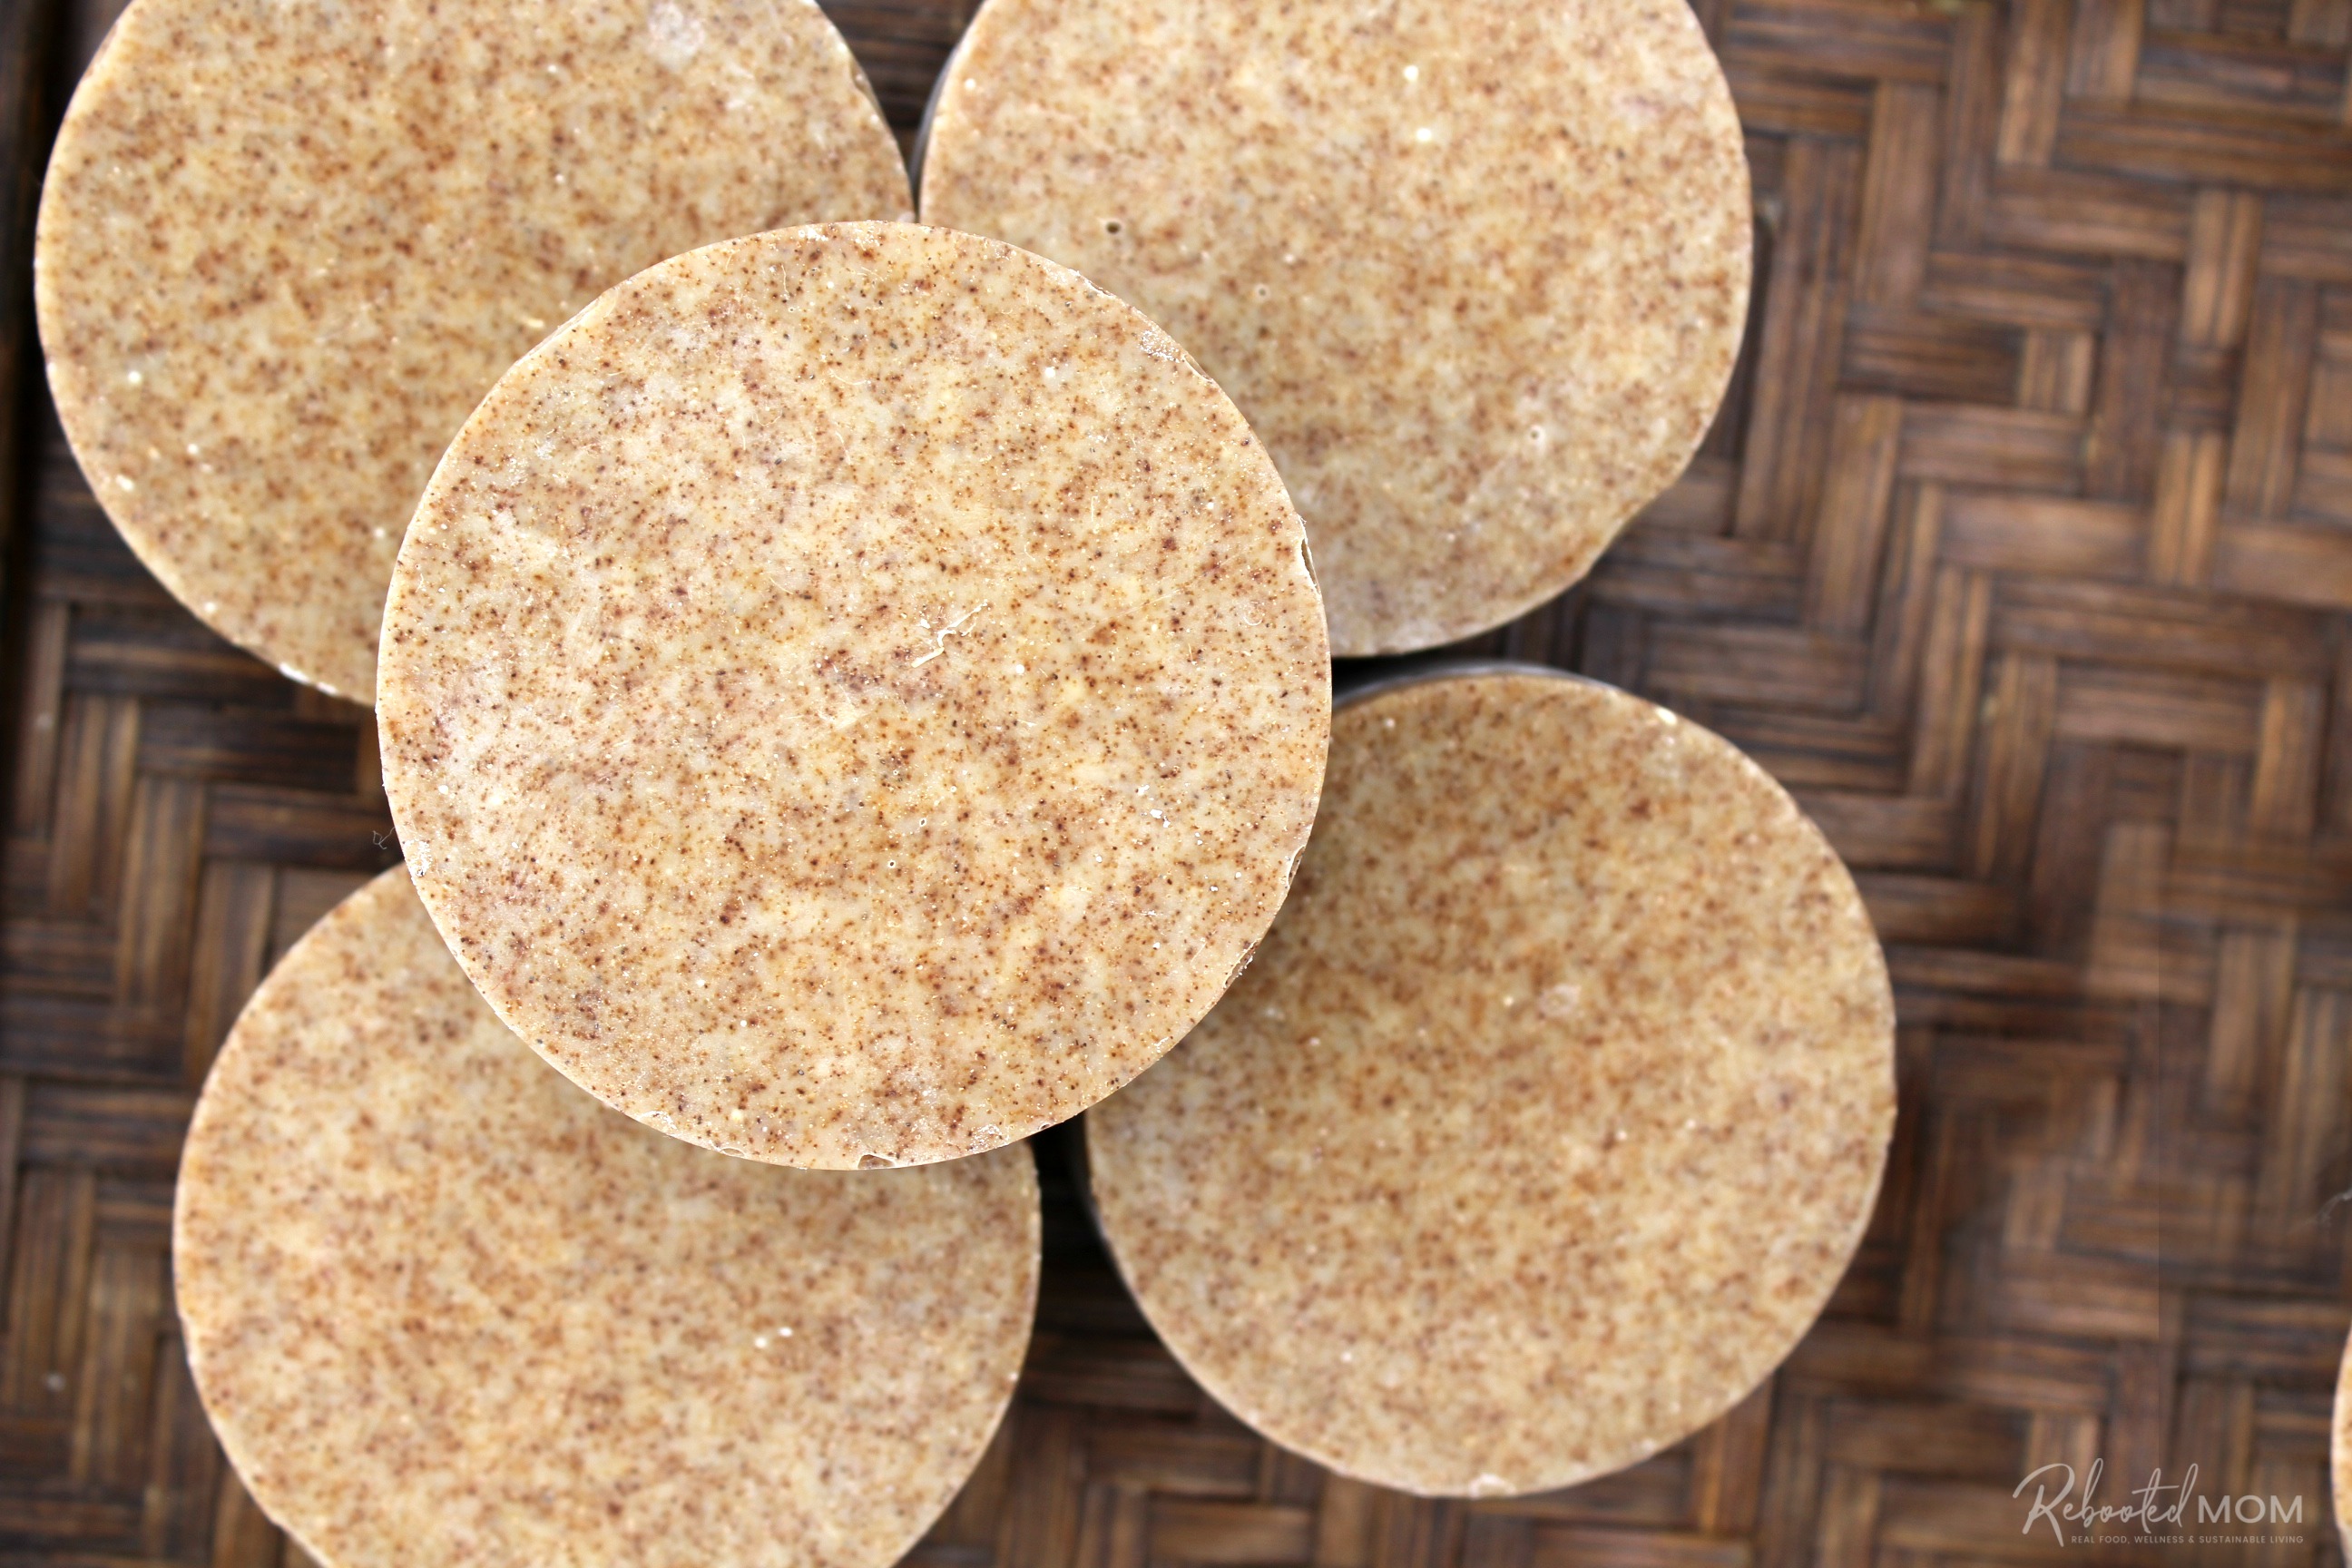
An effective mechanics cold process soap recipe that includes pumice powder and walnut shell powder as powerful exfoliants to help clean dirty hands!
I really love making new soaps – not only does it allow me to express my creative juices, it’s just so darn easy. Not to mention being able to make something that’s not only great to gift but also fun to use.
Over the last few years I’ve made a lot of soap (all you have to do is check that out here).. I’ve also given a lot as gifts and sold much of it at the farmers market and online. It’s great to be able to gift something to friends and family that serves a purpose and provides an avenue for zero waste at the same time.
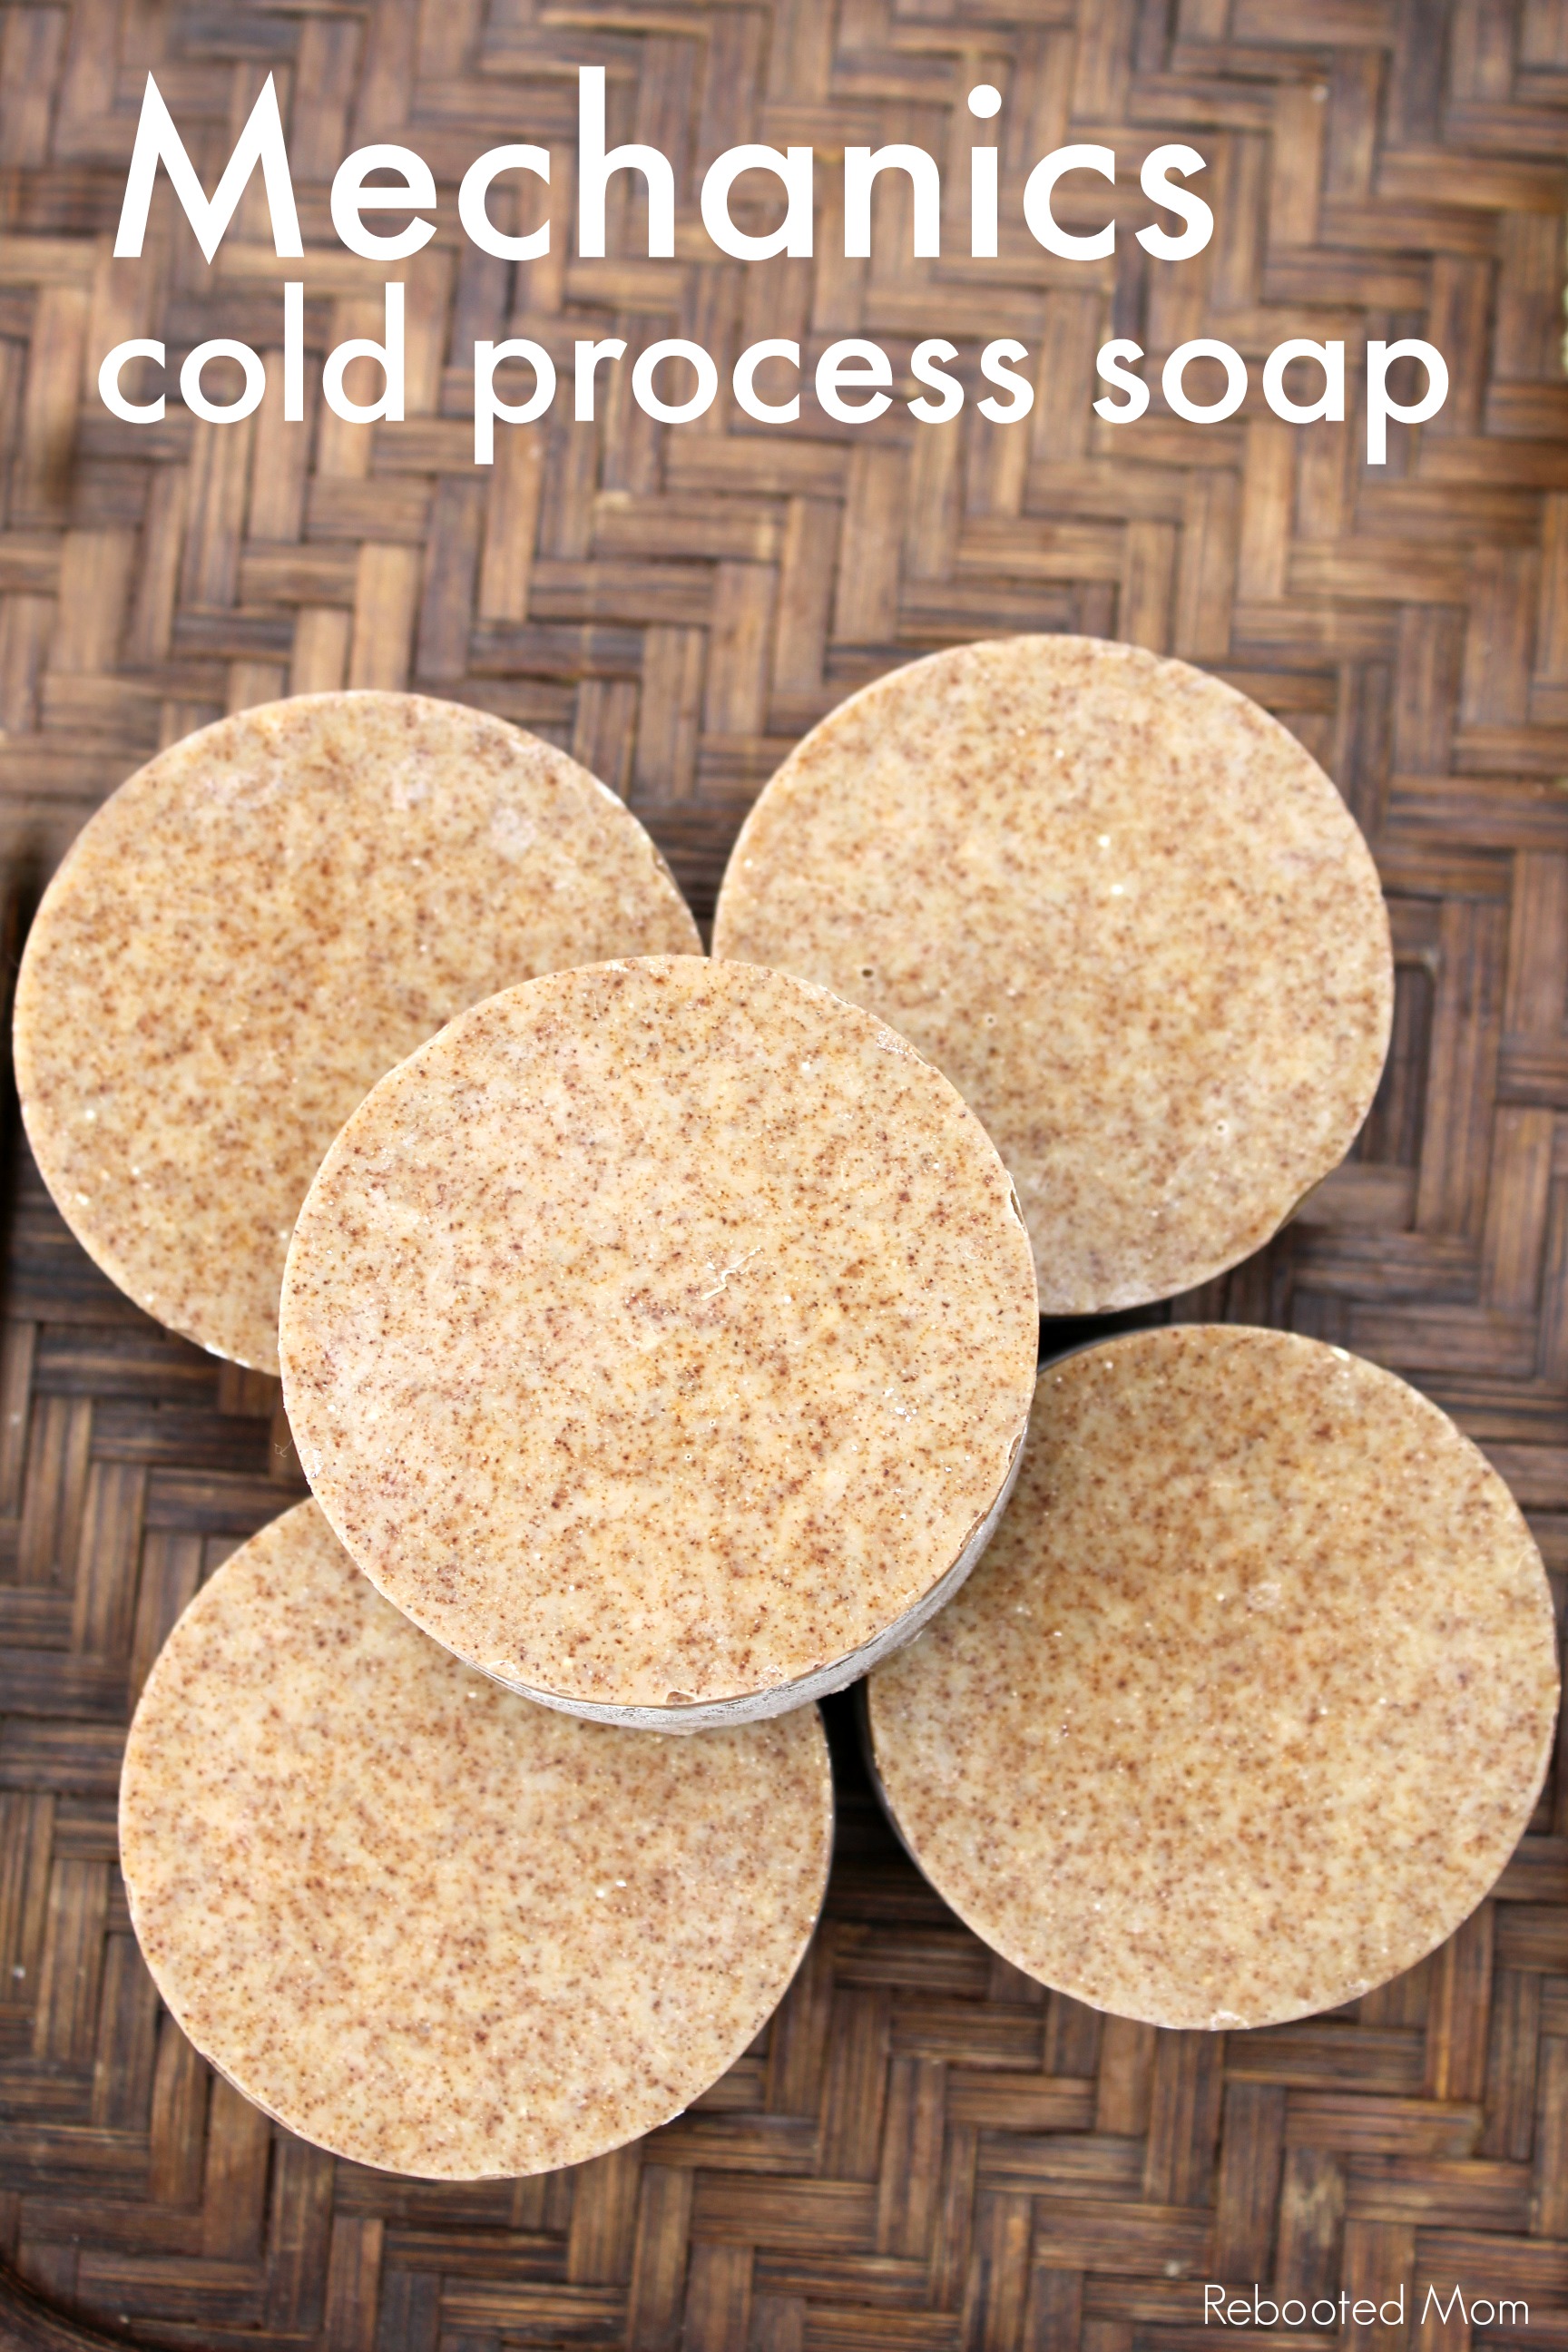
This Mechanics Soap is something that I’ve been eager to try now for quite a while and I finally whipped up a batch. Boy do I love it!
Not only is this soap great for a Mechanic, it’s also good for the gardener and crafter, too. Throw it next to the sink in a mud room or in a guest room. If you have someone in your family who spends a great deal of time working on cars, planting in the garden or painting, this soap is perfect for them.
Mechanics Cold Process Soap Recipe
Though I’m not a mechanic, I am a gardener and I use this soap regularly to remove dirt and grime from my hands. I’m often times walking around with dirt in my nails and on my hands. This pumice filled soap uses both pumice and walnut shell powder as exfoliants to pull grime and dirt away from skin. It uses Orange essential oil to give it an uplifting scent and help that grime detach quick and easy.
And, with a few simple ingredients, it can be made at home quite easily which is awesome for those of you who like to DIY.
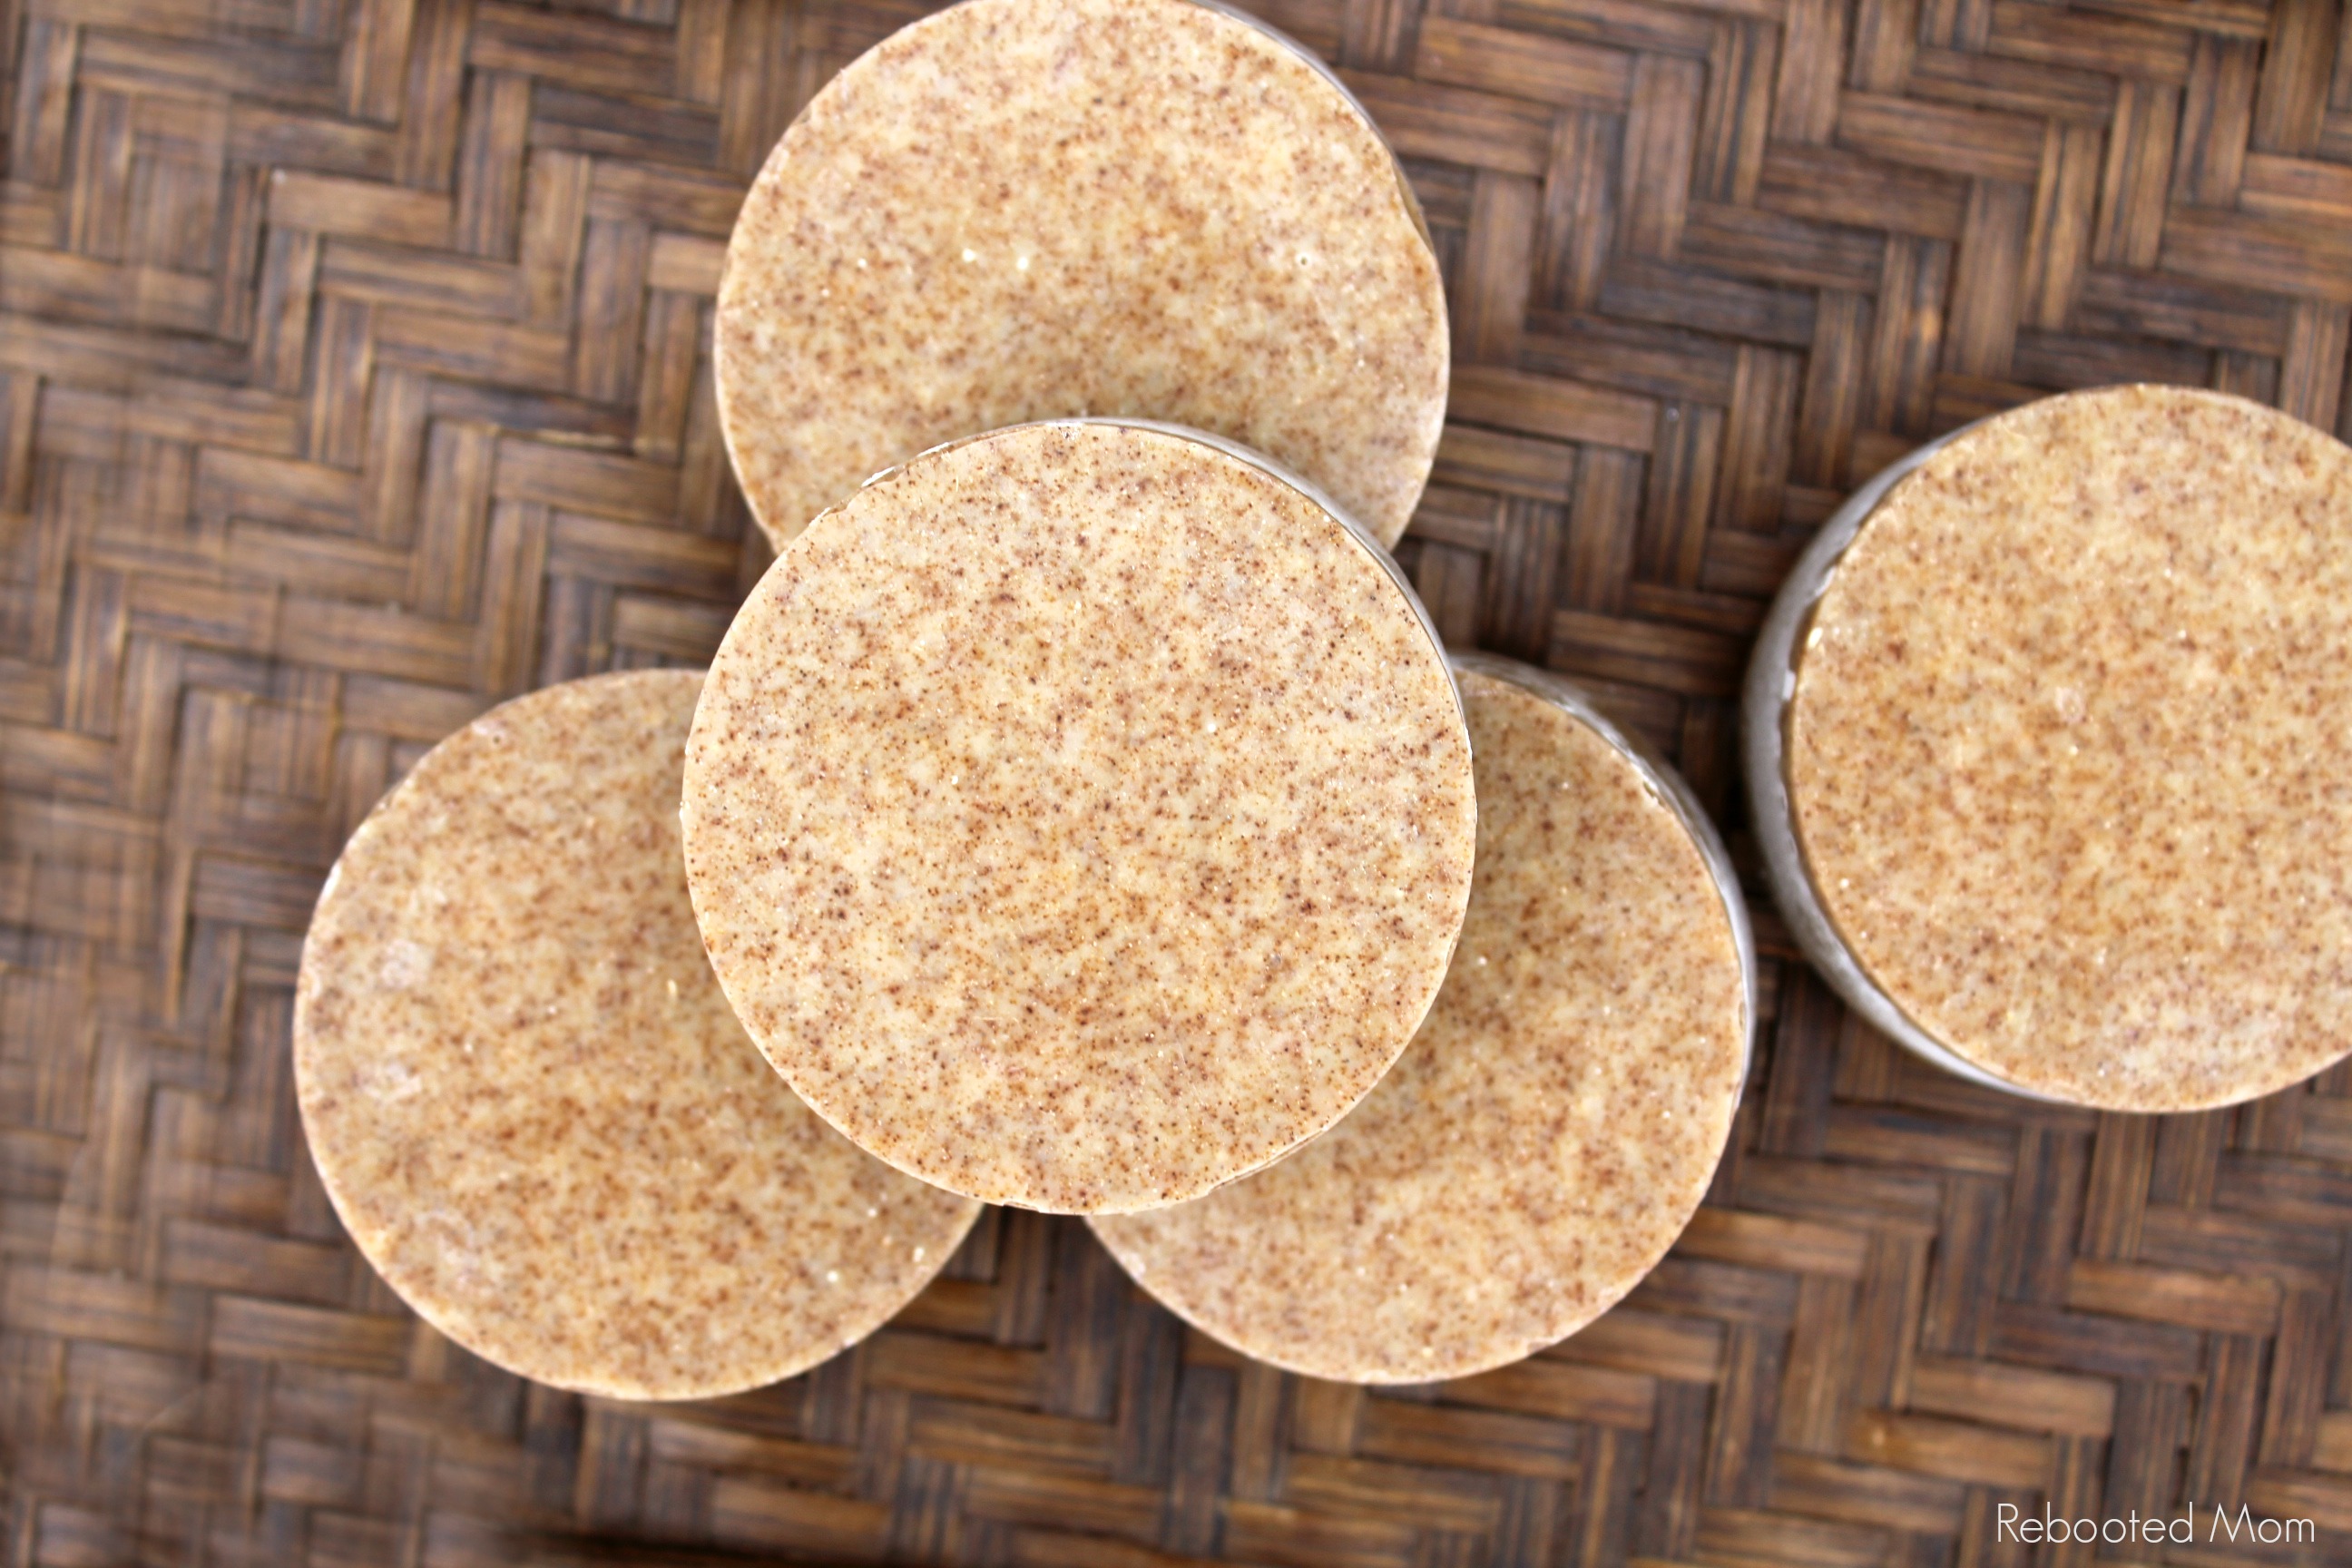
This soap makes 9 rounds of mechanics soap that weigh 4-5 oz. each.
Oils and Fats:
- 1.50 oz castor oil
- 8.10 oz extra virgin olive oil
- 7.5 oz coconut oil
- 7.5 oz pastured lard
- 1.50 oz unrefined shea butter
- 1.50 oz avocado oil
- 2.40 oz rice bran oil
Lye and Liquid:
- 4.21 oz lye (5% superfat)
- 11.40 oz distilled water* + 10% discount = 10.26 oz.
Additions:
- 5 Tbsp pumice powder
- 8 Tbsp walnut shell powder
- optional: Orange 10x essential oil (use the fragrance calculator to determine what amount)
First: Prep Work:
#1: Suit up for safety. Put on goggles, wear gloves and don clothes that have long sleeves. Go a step further and make sure all distractions are out of the room/house – kids, pets, etc. Use a well-ventilated area (I like to use my kitchen sink because I have a few windows behind it that provide ventilation).
#2: Weigh out the water/liquid you will be using in a plastic cup or pitcher and set aside.
Second: Mix up the Soap
#3: Prepare all of your ingredients – and have everything set aside to start:
- Thermometer (one that you don’t use for food)
- 2 empty Pringles cans – rinsed out
- Pyrex 8 cup measuring device – not required, but so handy to have!
- Immersion Blender – you don’t have to spend oodles but you will want something reliable with a metal stick, not plastic.
- Lye – this is the brand we use
- Digital Scale to measure your ingredients
A Pringles can holds 32 oz – if you are going to re-size the recipe, make sure you run it through the lye calculator to adjust the recipe!
#4: Sprinkle the lye into your water/liquid, a little at a time. Stir slowly as you continue to add little bits of lye until the lye is fully dissolved in the milk. Set the mixture aside to cool to a temp of 90-115 degrees F.
#5: Combine your oils that you have weighed out. You will want to make sure your oils are between 90-100 degrees F – if the oils are not 90-100 degrees, you can combine them in a pot on the stove and heat slowly.
#6: Pour the lye mixture into the oils. Use your immersion blender to stir mixture together, making sure to pulse the immersion and take 15-20 second breaks. Don’t overheat your stick blender.
#7: Add the pumice and walnut shell powder once the mixture starts to thicken. Blend with your stick blender until the mixture reaches a thick trace. It may take anywhere from 3-7 minutes if not more.
#8: Pour the batter into the Pringles cans. Tap the cans on the counter to make sure you eliminate any air bubbles. Use a paddle or long spoon to spoon out as much of the batter as you can. Set in a cool area away from little hands for 24 hours.
Third: Cut the Soap
After 24 hours use a serrated knife to carefully slice the cardboard on the top of the Pringles can, then unwrap the cardboard from around the soap log. Allow the soap to lay on its side or stand for a few hours, then slice into bars.
Allow those bars to cure for 4-6 weeks before using.
I love using Pringles cans to make round soap – but I’ll admit that it can be a challenge at times, too! If you are using milk or beer (liquids with sugars), then the soap has a tendency to heat up rather quickly in the mold.
If you find yourself using liquids aside from water, I recommend pouring the soap, placing the Pringles cap on the can and setting the soap in the freezer or fridge for 24 hours to avoid gel phase.
Remove the soap from the freezer the next day, and peel off the can from the sphere. Then allow the soap to come to room temperature before cutting it into bars (this is important!) If you do not wait, the soap will crack into pieces and won’t cut evenly.
How did your Mechanics Cold Process Soap turn out?
We’d love to know! Post your soap to IG and tag us at @RebootedMom, or share it on our Facebook page!
Looking for more cold process soap recipes? You might want to check these out below:

[…] soap uses a different kind of lye than bar soap. You’ll need to have Potassium Hydroxide for liquid soap (also known as Potash). You can […]