


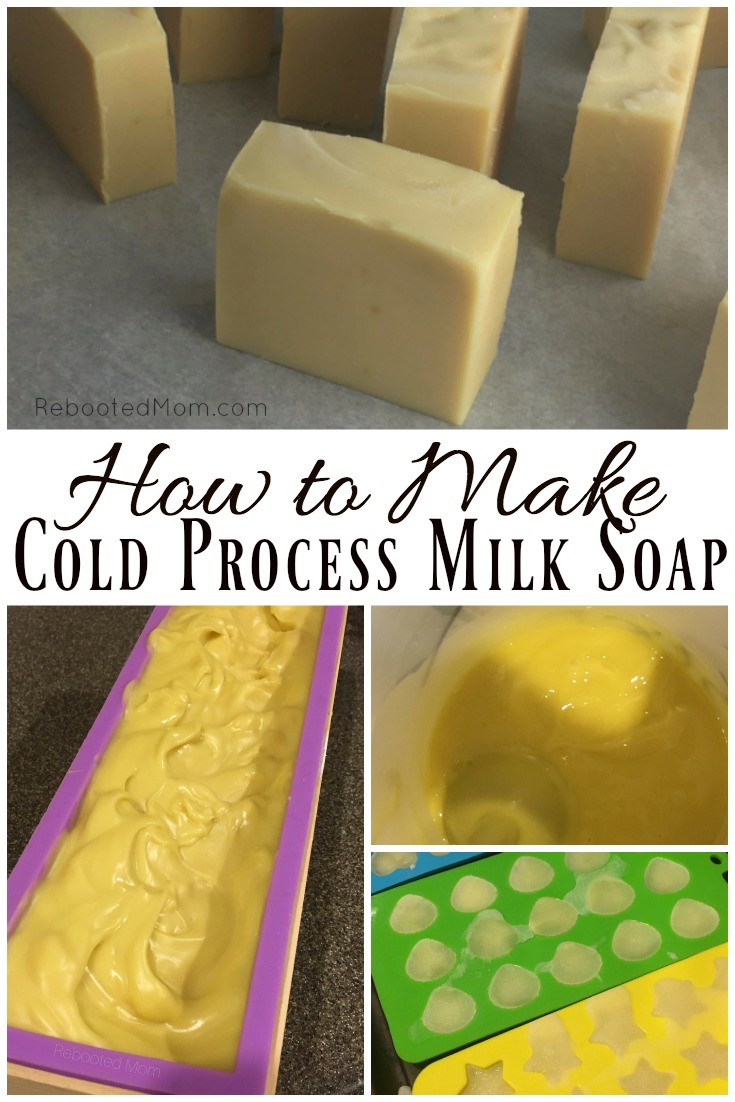
This tutorial is going to help you learn how to make your own milk/breastmilk soap. Not only is milk soap incredibly nourishing for your skin, it’s a great way to use up extra breastmilk you may have frozen after having your child(ren).
I love being able to make my own soap for my family – not only is it a great way for us to use up extra raw milk we have at home, it gives me a way to use up some of my extra breastmilk from baby 5. The hardest part is waiting for the soap to cure!
Making your own cold process soap is not incredibly difficult – but it does require many precautions and carefully executed steps. If you are patient enough to follow these steps, then you will have wonderful soap to use for yourself or your family in just a few weeks.
Any cold process soap recipe that uses water can be made with milk – whether breastmilk or regular milk (raw milk included). Making soap that uses milk instead of water requires a few extra steps though – because milk is high in sugar (breast milk included), you don’t want to scorch the soap when you add the lye or you risk discoloration in the soap.
Before you get started:
You’ll want to make sure you have the proper safety equipment – after all, you are working with lye. Put on goggles, wear gloves and don clothes that have long sleeves. Go a step further and make sure all distractions are out of the room/house – kids, pets, etc. Use a well ventilated area (I like to use my kitchen sink because I have a few windows behind it that provide ventilation). I would not recommend doing anything outside because you run the risk of tripping with the lye/bucket/dishes by going back and forth.
Not to mention, at least here in Phoenix, it’s rather hot in the summer.. and I don’t know about you, but wearing long sleeves and baking in 115 degree temps isn’t my idea of fun.
To make cold process soap, you must use lye – it can be dangerous, but no more dangerous than using other cleaning chemicals. If you are making cold process soap like we are in this tutorial, then you will want Sodium Hydroxide – this is the variety I purchase here. You may be able to find it in a store like Home Depot or Ace Hardware, but that may depend on your area.
When you first add lye to your liquid (milk in this case), it will give off strong fumes – avoid breathing them in – hence why a mask is required.
Use a high quality scale – you will want to measure your ingredients before you get started. Soap ingredients are measured in weight using a digital scale (this is what I use). Accuracy is necessary or the soap will not be successful.
An immersion blender is a must – don’t (please don’t!) try to make cold process soap stirring by hand. You don’t have to spend a great deal of money to get a good quality blender – an immersion blender usually runs $16 – $30. It’s nice to have one as a back up, just in case (I know from experience!)
You will not want to run the immersion constantly or you will burn out the motor – pulse, take breaks, pulse, and take breaks. It’s best to buy one that has a metal shaft versus plastic, and one that has a warranty.
Mark the dishes/containers you are using – keep them and use them only for soap making. That might require you to use a permanent marker and “X” on the front and back to make sure nobody uses those containers for drinking/eating. I have mine marked and I keep them on the top shelf in the pantry in a huge plastic bag.
24 hours before: I always freeze my milk in small silicone trays or an ice cube tray. I also like to stick my silicone mold in the freezer — I find that it helps keep the soap cold enough to avoid gel phase once it’s poured.
There are so many ways to make cold process soap – since any recipe for cold process can be made with milk/breast milk, you will never find two ways that are exact – that’s the fun in soap making.
Milk or Breast Milk Soap
This soap has two portions – the lye portion and the liquid portion. I always like to measure everything out before I start and have it on the counter together. Like mentioned above, do not leave your items unattended on the counter – especially if you have children or a spouse around.
The key to using milk in your cold process soap recipe is freezing the milk beforehand. First, you will want to measure out the milk and weigh on the scale – once weighed, pour into smaller silicone molds or ice cube trays and freeze overnight.
Milk can be raw, whole, breast milk, or even goat milk – preferably milk without additives. (In this case, I am using breast milk because I have so much of it).
Your oils can be picked up from a variety of places – you will want to make sure you get a good quality olive oil (or, extra virgin olive oil) that is pure, from a retailer that has a high turnover. I have heard that Costco’s brand of olive oil is wonderful for using in cold process soap and that is what we use. If you use materials that are from a store without a high turnover, your soap will go rancid faster.
Oils and Fats:
- 1.2 oz castor oil
- 22.3 oz extra virgin olive oil
- 8.0 oz coconut oil
Lye and Liquid:
- 4.35 oz lye
- 10.4 oz milk
When using olive oil in your soap, the soap will take a little longer to set/cure. Over time, the bar will go from soft to very hard – but will produce a soap that lathers well and is soft on your skin.
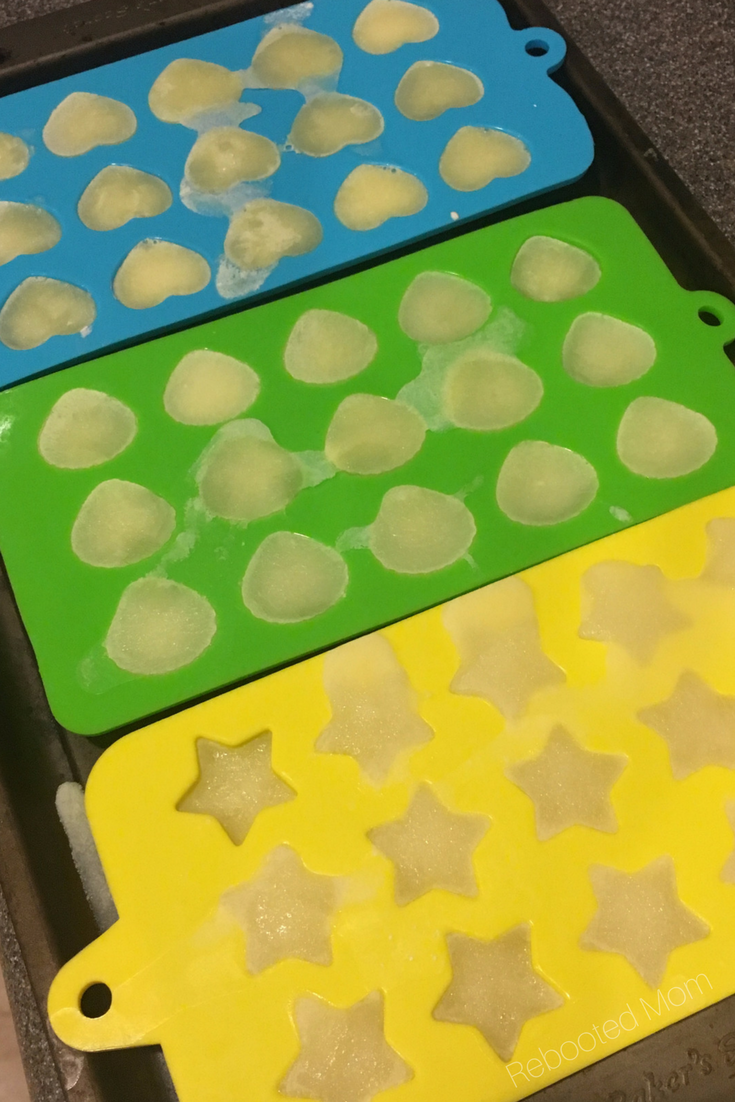
#1: Weigh out the milk you will be using into a plastic cup or pitcher and pour into ice cube trays the day or night before making soap. Milk needs to be frozen in order to prevent scorching.
#2: Prepare all of your ingredients – and have everything set aside to start:
- Thermometer (one that you don’t use for food)
- Silicone Column Mold, 31 oz – I LOVE this mold!
- Pyrex 8 cup measuring device – not required, but so handy to have!
- Immersion Blender – you don’t have to spend oodles but you will want something reliable with a metal stick, not plastic.
- Lye – this is the brand we use
- Digital Scale to measure your ingredients
#3: Pull out the milk you plan on using in your recipe. If you have it frozen into ice cubes, place the cubes in a heavy plastic measuring cup or bowl, and set that bowl in another dish filled with ice. This will keep the milk as cold as possible while the lye works to break it down.
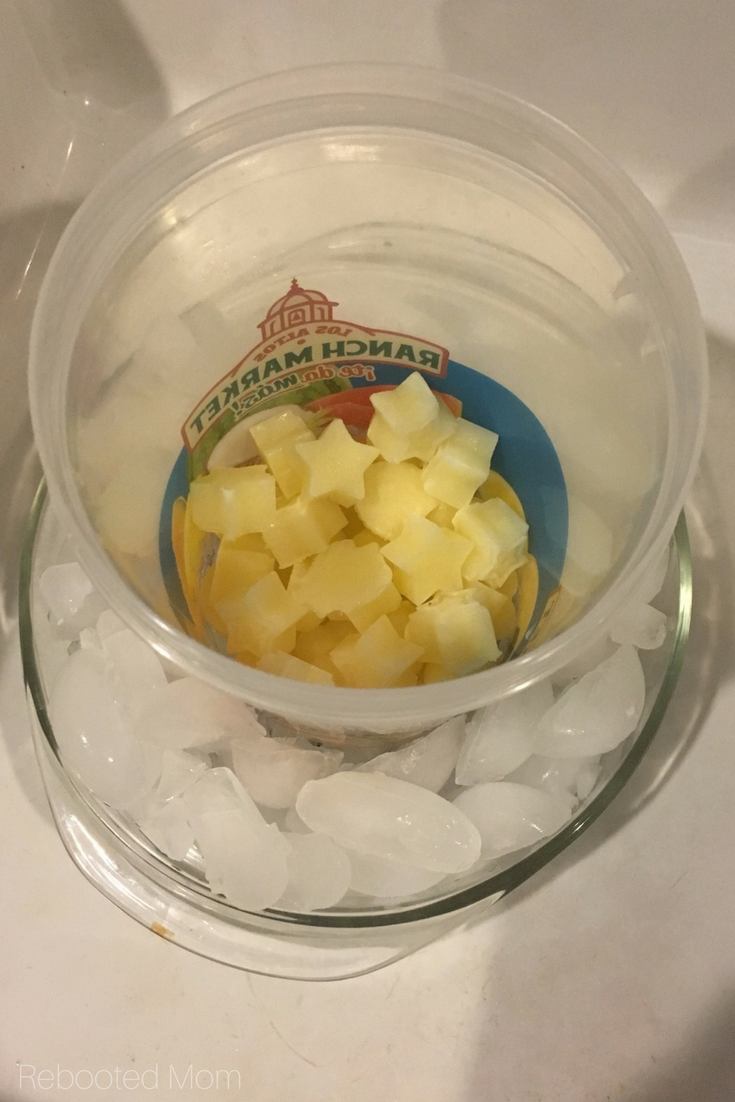
#4: Wearing your safety gear, sprinkle the lye into your milk ice cubes, a little at a time. At first there will be little to no reaction, but after 10-15 seconds, you will see the ice cubes start to melt. Stir slowly as you continue to add little bits of lye. Stir, but don’t rush the melting. You want to make sure everything is dissolved properly and that the lye is fully mixed in.
Once you have sprinkled all of your lye on the milk and stirred to combine, set the mixture aside towards the back of the counter.
#5: Combine your oils (coconut, castor and olive oil) that you have weighed out. You will want to make sure your oils are between 90-100 degrees F – so you may have to use a digital thermometer (one that you do not use for food). If the oils are not 90-100 degrees, you can combine them in a pot on the stove and heat slowly.
When using milk in your soap, I find that it’s best to have the temperature of the oils within 10-15 degrees of the lye/milk… so if you heated your oils on the stove, allow them time to cool down considerably until they are in that range.
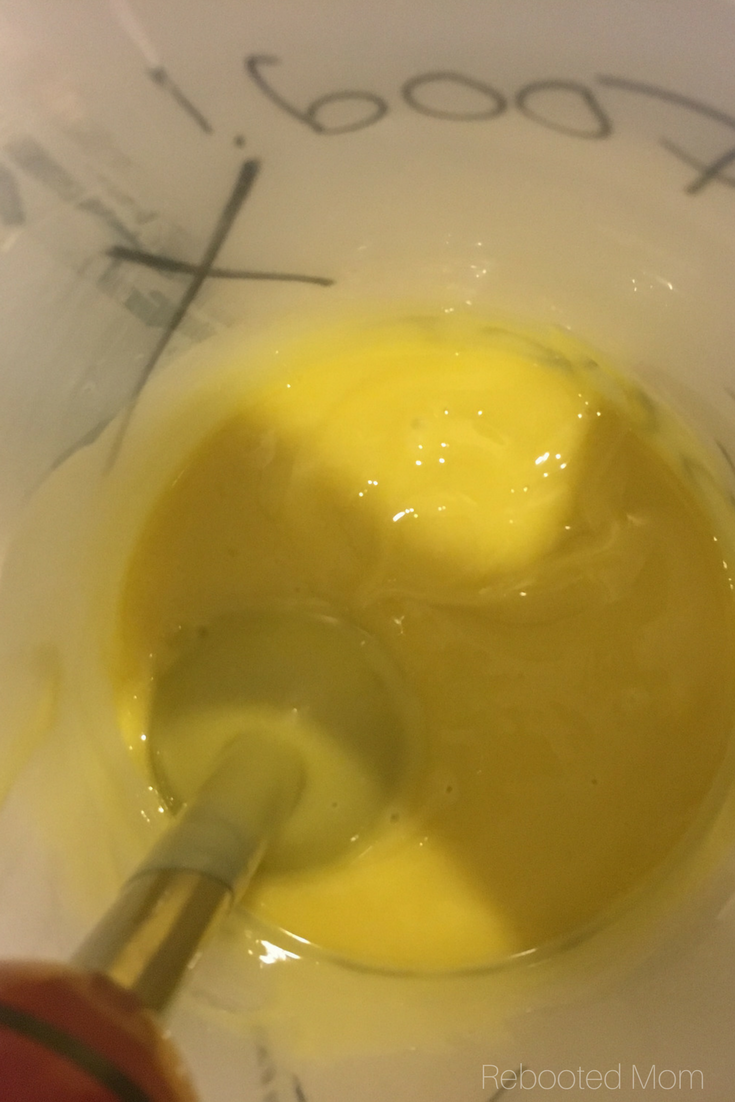
#6: Slowly pour the lye mixture into the oils – I combine my oils in a large, heat-proof plastic Rubbermaid pitcher that I only use for soaping. Use your immersion blender to stir the oil and lye together.
(I used permanent marker to write “No Food” on my pitcher as a precaution).
Do not run the immersion the entire time or the blender will get hot and you will burn out the motor. Use a pulse (off, then on) to combine the mixture until you reach a thick trace. Pulsing will make sure you don’t get any air bubbles in your soap. It will take you several minutes of pulsing for you to combine the oil with the lye to reach a thick trace.
(Trace means that your soaping batter will be thick and will hold an outline when you pull the immersion mixture out).
#7: If you are adding essential oils or fragrance to this soap, you will do it at this point and mix in just until combined. (Bramble Berry has a really handy fragrance calculator).
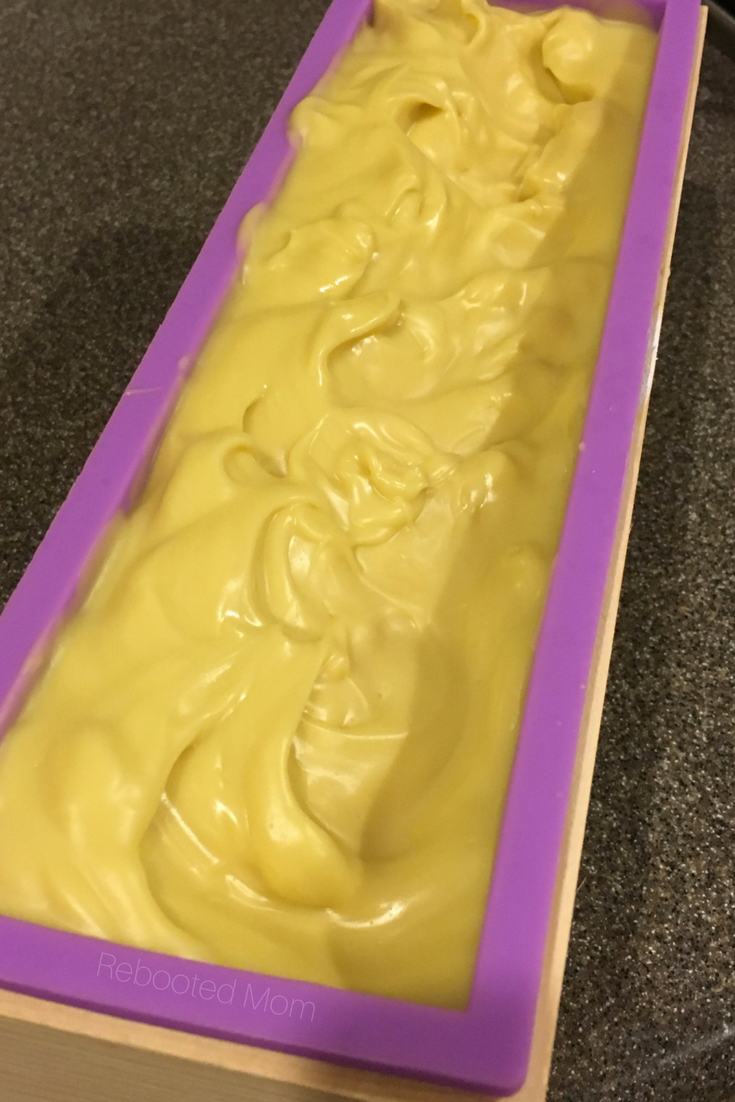
#8: If you are using milk in your soap, remove the mold from the freezer and quickly pour the batter into the mold evenly distributing from one side to another. Use a paddle or long spoon to spoon out as much of the batter as you can. Once you have poured, put immediately in the freezer for 24-48 hours.
After 30-45 minutes in the freezer, the soap batter will have thickened up enough to allow you to swirl the top – then place back in the freezer.
With cold process soap you have two options: Gel Phase and Non-Gel Phase.
Gel Phase essentially means molding at room temperature, while non-gel phase means that you are avoiding gel phase by placing in the freezer.
Using milk in your soap gives you options – when soap goes through gel phase, it will heat up and cause the milk in the soap to turn a dark brown. If you put in the freezer, you can avoid gel phase by keeping the soap cool and in turn, your bars will be lighter white/ivory in color.
If I wasn’t making milk soap, then I would be doing a traditional gel phase by insulating my soap after pouring into the mold, but since I am using milk I am using the freezer in hopes that I can bypass that and have a beautiful, ivory-colored soap.
Both still work wonderfully, it’s just a matter of cosmetics – if you prefer dark over white, feel free to keep the bars out to gel phase.
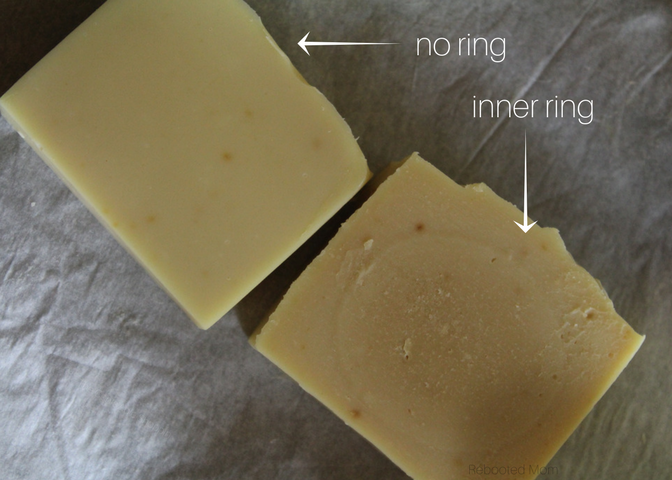
If you look closely you can see that despite putting my soap in the freezer, some of the bars did go through a partial gel phase because there are small rings in the center of the soap. Once again, this is purely cosmetic and the soap works just fine.
Soap Queen has some neat tips and tricks to read if you aren’t familiar with gel phase – if you are soaping for the first time or are new, the tips can be helpful.
I was in a hurry to remove from the freezer and should have left the soap in the mold another 24 hours in my freezer before removing. (I was eager to pull out because soap in the freezer makes my smaller kids very curious to poke and touch).
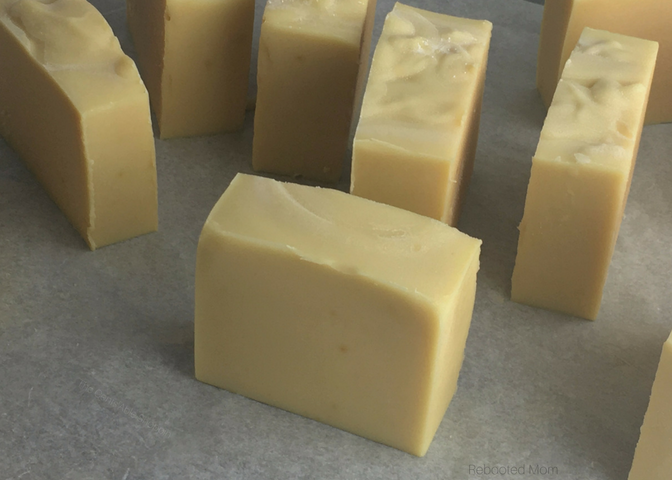
Once you remove your soap from the freezer, allow it to sit in the mold for an additional day, then remove from the mold and slice into bars. Set the bars on a piece of parchment paper for 4-6 weeks to cure. The soap will remain soft at first, but over time become harder (yet very gentle on the skin).
What do I do with the Dirty Dishes?
Soap making is fun… but washing up? Not so fun!
Use a spatula (dedicated only for soaping) to make sure you get as much of the soap into the mold as possible – use a grease-cutting dish soap to soak the containers/dishes you used. The immersion blender I have allows me to twist off the bottom to soak – you can even keep it attached and whiz it under water to loosen up the junk that’s stuck on.
Toss your gloves, and the dishes you plan on reusing are best kept together, marked with permanent marker and tied up in a plastic bag to put up high. Anything you wish to throw should be tied in a plastic bag and tossed so as to keep them out of the hands of any kids.
That’s it – use your soap for yourself – or, remember that milk soap makes a wonderful gift. (And for those of you who are wondering, I love my own breast milk soap but it’s not something I would gift… I just love to use it personally!)
Soaping Supplies
If you are looking for supplies to make your own natural, handcrafted soap, here is a list of some of our favorite suppliers.
Mountain Rose Herbs (Eugene, Oregon): Mountain Rose Herbs has many organic ingredients for making your own soap and DIY beauty products.
Bulk Apothecary (Ohio): On of my favorite places for soap materials – they offer a wide variety of high quality essential oils that are incredibly affordable.
Soapies Supplies (Scottsdale, AZ): Equipment, molds, and ingredients for making your own soap and DIY beauty items. You can also find eBooks, and classes to help you get started.
Bramble Berry (Bellingham, WA): One of the most known resources for soap making, and a wonderful site to reference for soap-making resources, from videos to calculators, and tutorials. Owner Anne-Marie Faiola has grown this company tremendously since it’s inception. You can find all sorts of materials to make soap and many other natural bath and body products.
Of course, Amazon has a great selection of soaping basics too – we linked many above. From a digital scale to lye, silicone molds to safety gear, and shipping is free for those of you who have Prime.
Do you have a favorite cold process soap recipe?

This looks easier than I thought. I will definately try it. Thanks for sharing, Sheryl.
It’s really not too hard, first few times it’s just a learning curve. The most important thing is taking your time (freezing the milk), then adding the lye very slowly. Make sure you wear gloves, lye can rip up your hands pretty good.
How much nutrients from the breast milk is still left in the soap after the lye is added?
I cannot tell you that — I have no way to “test” (if that makes sense). The milk is frozen though when it is added to the lye, and it avoids gel phase by finishing in the freezer. That is done to keep as many of the good properties in tact (that would otherwise be lost through heat).
Hi! How long did it take you to firm up the soap with the immersion blender? My soap isn’t “tracing” and I’ve been blending for about 5 minutes. Any suggestions how to thicken it up?
Lynlee, sometimes it takes quite a bit longer. I find that milk soap definitely takes longer to stick blend than regular soap (soap made without milk). I let the oils cool to 90-115 before combining with the milk/lye, and sometimes it takes quite a while. Today I actually made honey soap with milk and the honey made it come to trace much quicker than if I wouldn’t have used it. Just make sure that you don’t keep the stick blender on the entire time or the motor will burn out.
Should the immersion blender be used only for soap making? If I have a “traditional” blender/hand mixer, can I use that instead of an immersion blender?
Honestly, yes… if you are going to commit to making soap, just invest in a $15-$20 stick blender. I have had mine for about a year and it’s still going strong and I make a LOT of soap (3-4 + batches each week). I wouldn’t recommend using a regular blender or a hand mixer, those won’t be enough to mix the soap batter to bring it to trace. If you check out Amazon there are a few basic Immersion blenders that are right around $18/$20… I got one that has the detachable blender part, then I can detach, wash and then put back in the cabinet until next time.
I have frozen milk in a stash that is now tasting soapy, in 5 oz frozen bags do I need to thaw it, weight it amd refreeze it?
Hi Alex, I would do that, as it’ll be easier to measure out. You do want it frozen though when you add the lye, as it will prevent the soap from burning (the lye will turn the milk orange if the milk is not frozen). Good luck!
This looks easier than I thought
What if I wanted to add scents? Also what if milk is already frozen in bags labeled with ounces. Would I need to thaw and remeasure for accuracy? Can I use other oils and things like oats etc ?
How would I add honey?
You can add honey at trace – I try to add 1 tsp per lb of soap as I’m using the immersion blender. Too much and the soap will heat up or thicken too quickly leaving it hard to pour into the mold.
Yes to all of the above! I actually use frozen milk in cubes – what I do, is I put the dish on the scale, and add the frozen cubes, as many as I can get close to the weight… offsetting with water. For example: if I need 11 oz of liquid, I’ll add frozen milk cubes until I get as close to 11 oz as possible. If I’m at 10.44, then I’ll just forego adding more frozen milk and use a bit of distilled water for the remainder. That way, I don’t have to thaw, and measure, then refreeze (because that is just too much work!)
As for scents – you can! You can add them at trace. I use the Brambleberry Fragrance Calculator to calculate how much scent I need based on how much soap I am making. I always use the medium amount, and I pour it in slowly at trace. Some oils (like Cinnamon!) Will cause the soap to accelerate quickly so just be cautious. I always measure out the fragrance/scents before I pour them in.
Oats, Clays, etc – those can be added at trace, too. I stick with 1 tsp per lb of soap. Once you mix the lye/milk + oils/fats, give it a blend, then add in your extras. More or less depending!
If you have any questions feel free to let me know, I’m not always fast to respond, so you are welcome to email me as well – at rebootedmom@gmail.com
Good luck Tonia!
I am so excited to try this! I just recently started drinking Raw Milk and really do not want to waste it after it sours. Can you tell me if the Coconut Oil needs to be specific? I know there are several kinds, such as Virgin, or Refined/Unrefined…does it matter? Or do you use the refined Coconut Oil that pulls out the natural scent? Please and thanks!!
I buy it in a huge bucket on Amazon… unrefined is what I use. I’m so glad you just started drinking raw milk – it has literally been a game changer for my kids and I!