


Celebrating a new baby in the family is always an exciting time. I love babies in general – in fact… I have 5 of my own and I would gladly jump for joy if my husband said he wanted another.
Am I crazy or what?!
One of the best gifts you could give to family and friends that have had a new baby are personalized, handmade gifts. I love to give a nice beautiful homemade minky cuddle blanket, burp cloths and baby blocks – but sometimes I’ll even gift a homemade baby diaper and wipes holder because that’s something that I find myself using all. the. time.
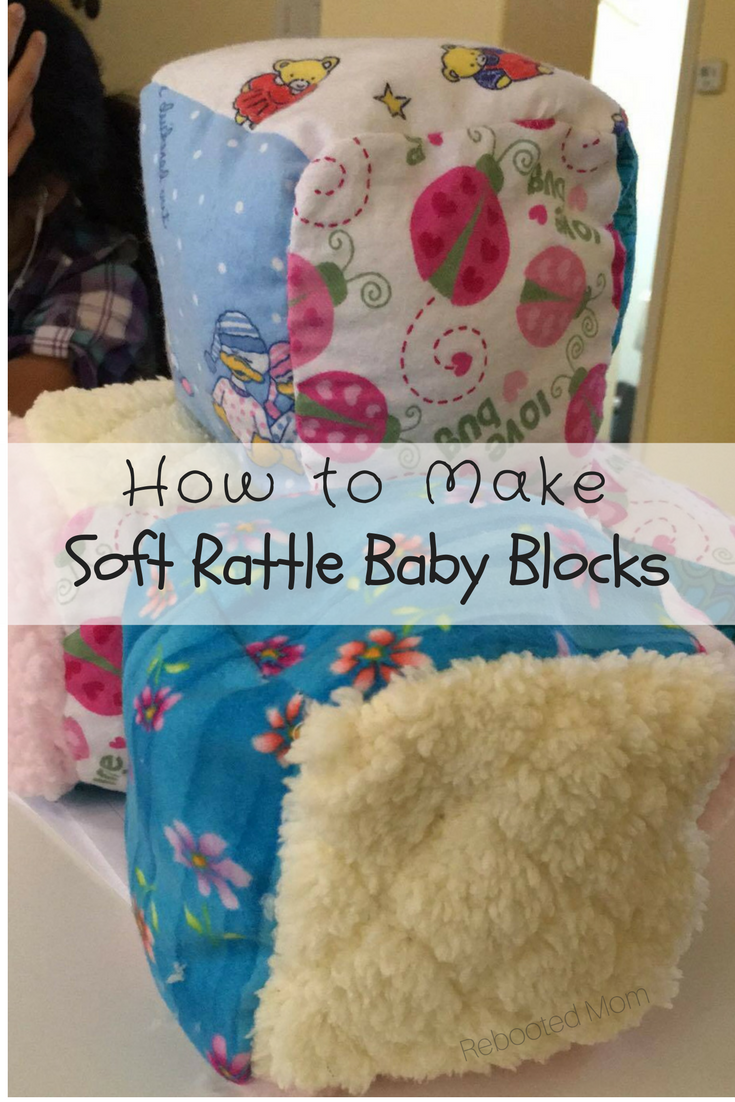
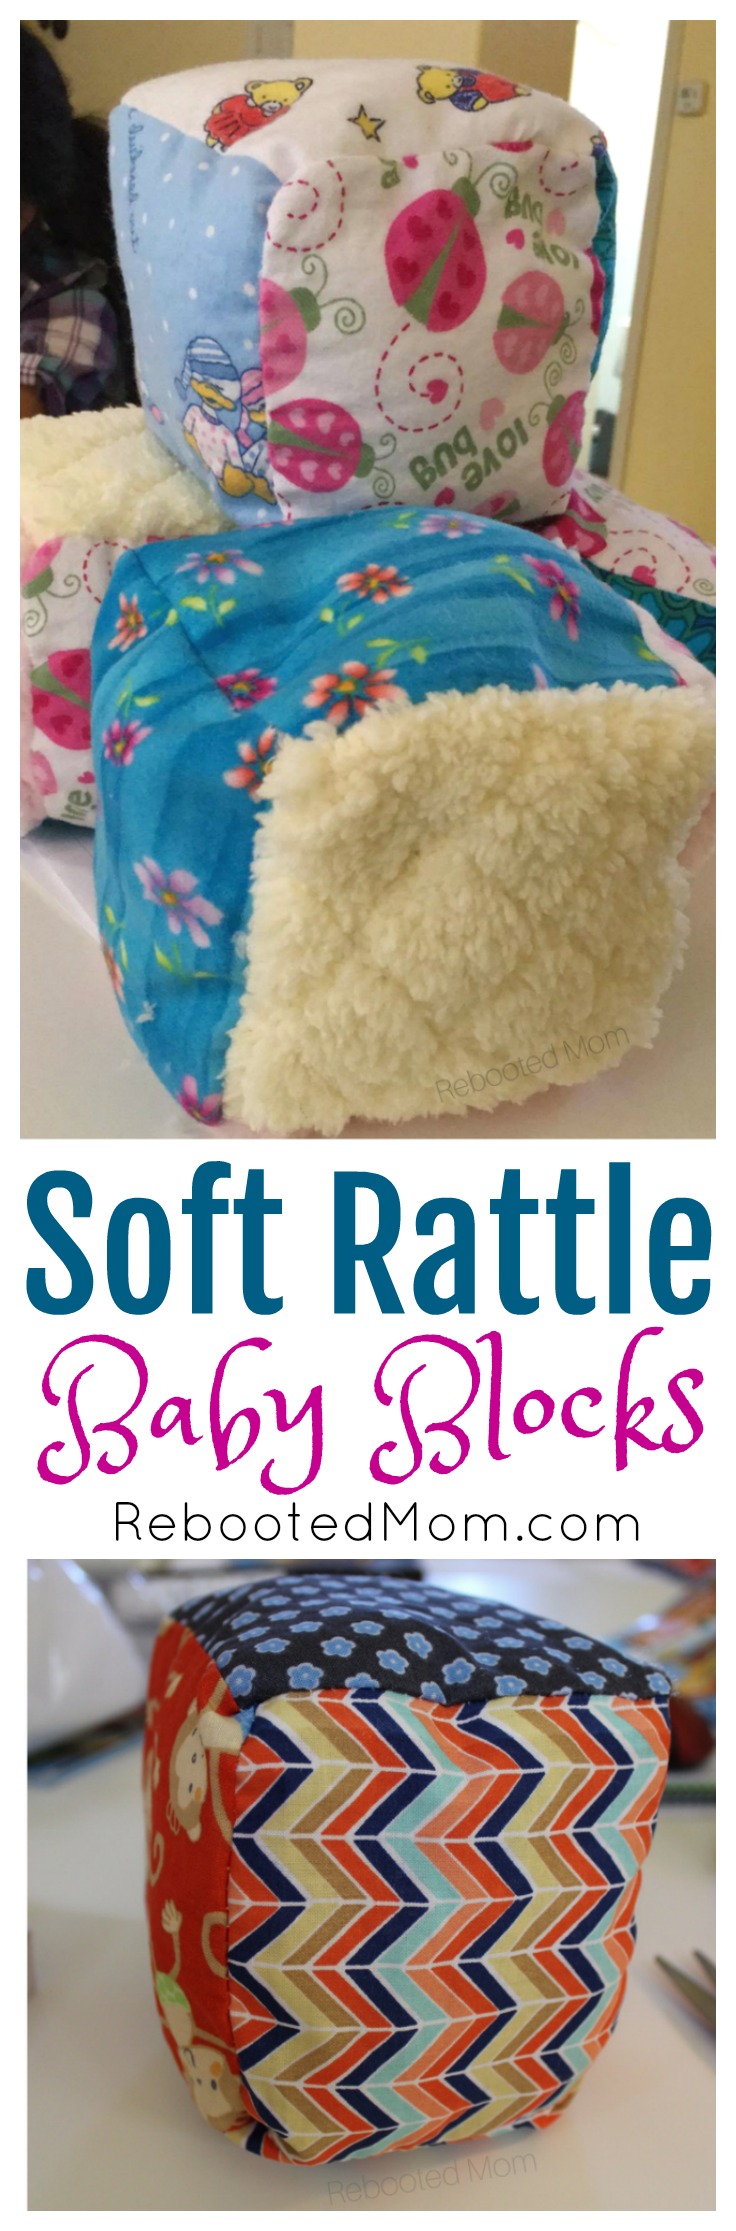
A set of 4 or 5 baby blocks is a project that anyone can do over the course of the afternoon – and such a great way to use up fabric scraps. You can make baby blocks with flannel, leftover minky (for some texture) or regular cotton fabric. Go a step further and add a rattle inside a few of the blocks or some texture for them to spark creativity.
If you have a sewing machine, and some scraps, and can sew a simple line then you can tackle this project.
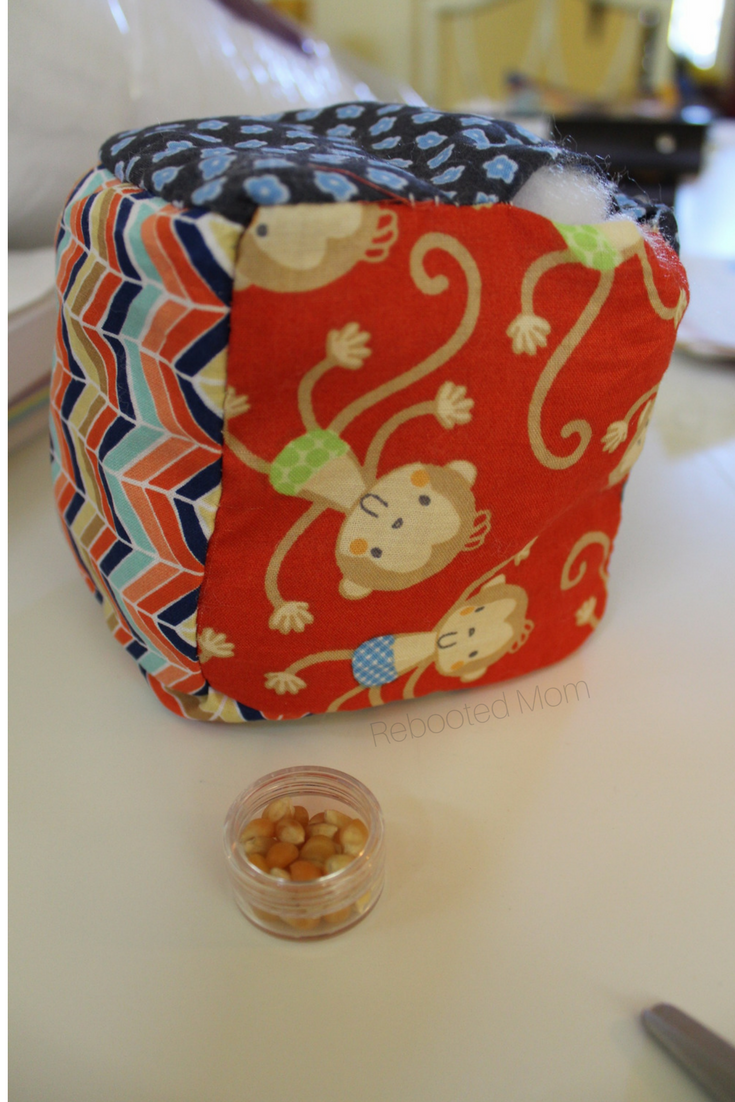
I had a box of lip gloss containers that I picked up on Amazon (20 for $5) some time back – the lids screw on tight and I thought they would be the perfect size.
The containers were rather small, so I opted to use popcorn kernels in them to serve as a rattle when you shake – since the container screws on tight, and the container would be sewed into the block, there isn’t any risk of mishap.
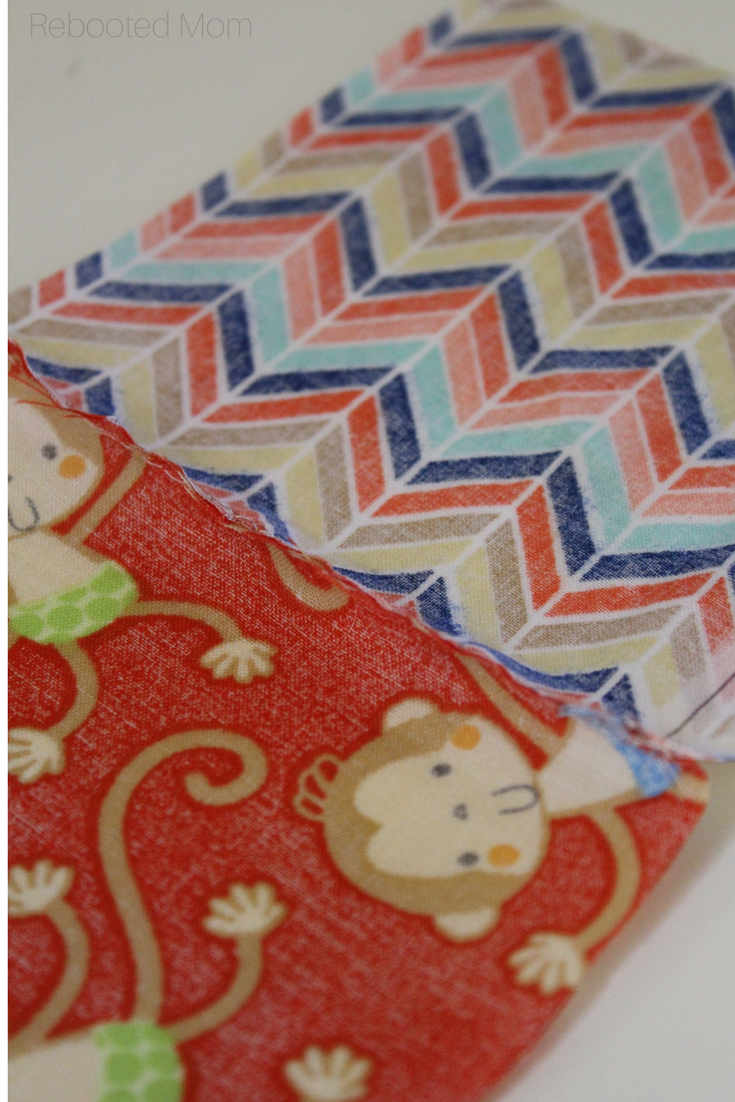
Choose fabrics that will go well together – I have made many sets of baby blocks and I always try to use what I have, but mix up the fabrics to provide a great sensory experience.
The blocks far above used a few different prints of quilters flannel along with cuddle fabric that was leftover from this homemade [easy] minky cudddle blanket.
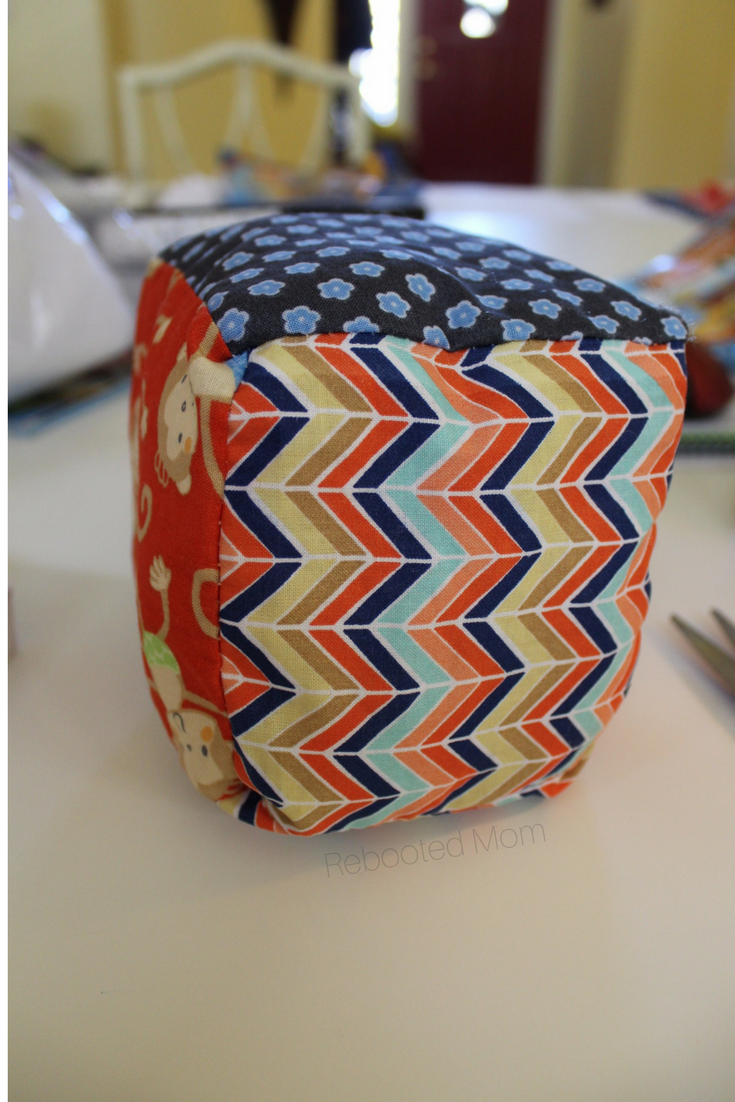
These blocks directly above were done with just basic fabric scraps in coordinating colors.
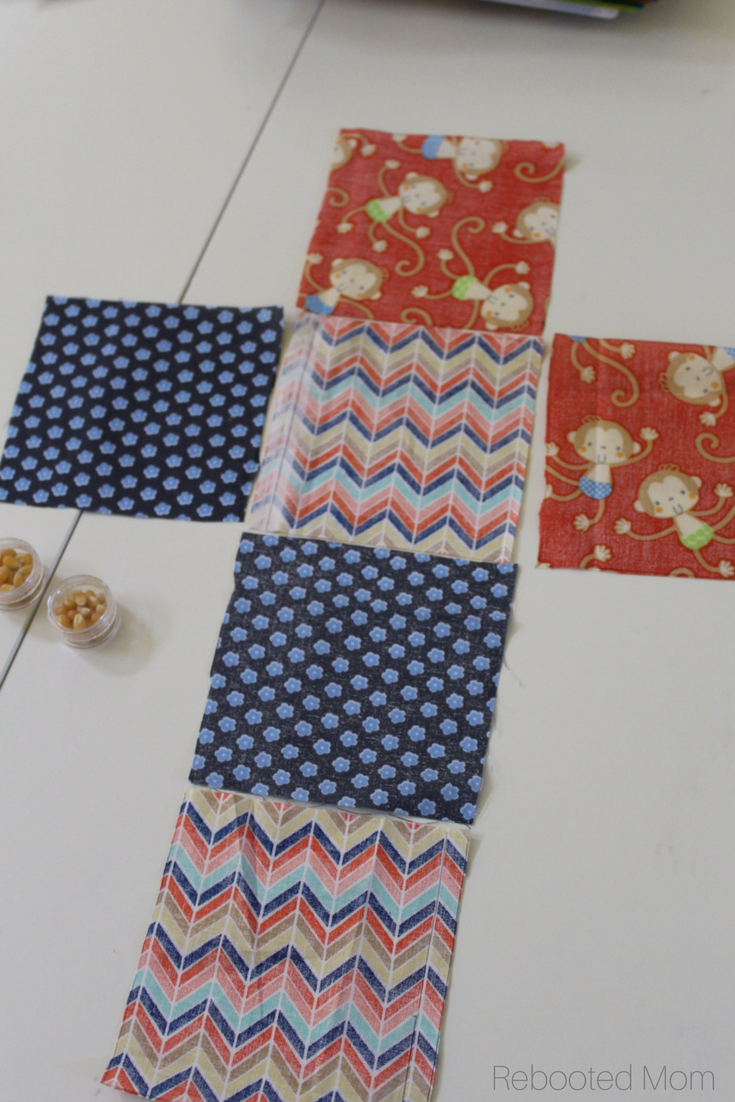
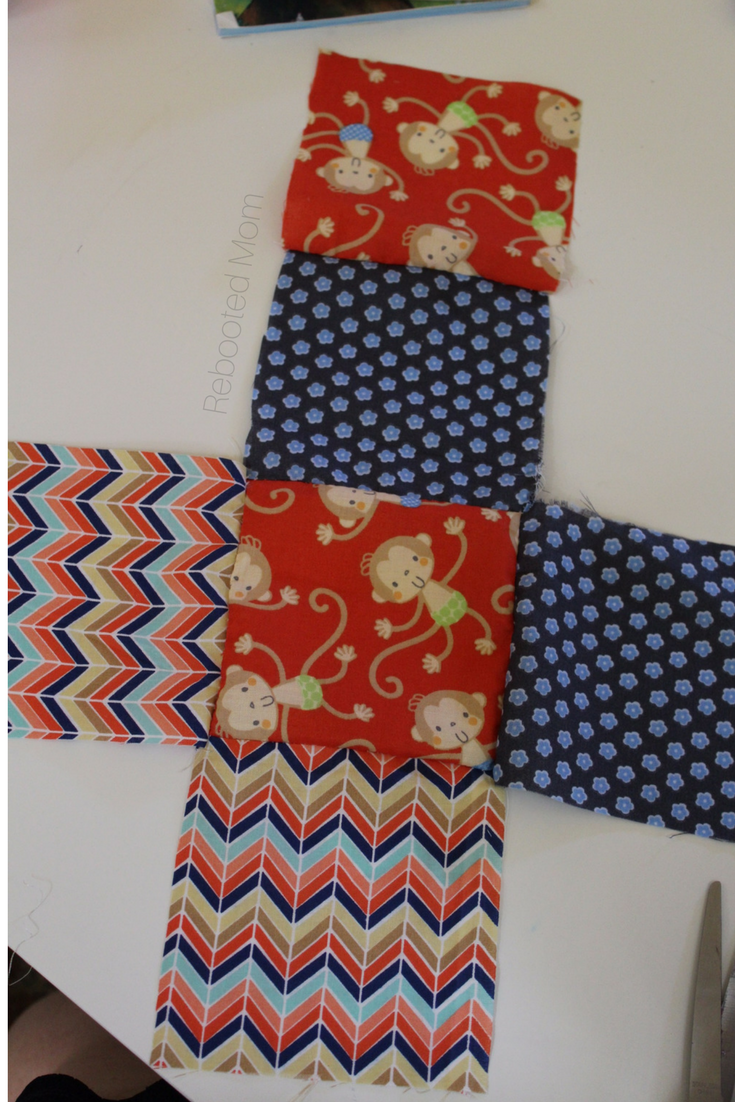
You’ll want to start by cutting six (6) 5 inch squares in a variety of prints (minky dot, quilters cotton, etc). Get a 5″ square template here.
Lay out one square, and to that square, place a square to each side. Then one last square will be sewn to one of them (so that it looks like the above picture).
Use a straight stitch (or whatever is easier for you) to sew right sides together using 1/4″ seam. If your fabric is slippery (minky dot or chenille), use lots of pins to prevent the fabric from slipping around while sewing the seams.
You’ll want to sew the four sides to the central square, then the last square will be sewn on the bottom.
Aren’t those monkeys super cute? I thought so too 😉
After you are done with all of the seam stitching, flip it over and admire your work. Now, you’ll want to bring up each of the 4 “center” squares to sew up that seam that will help shape it into a cube. Use the same straight stitch with 1/4″ seam that you used on the other squares.
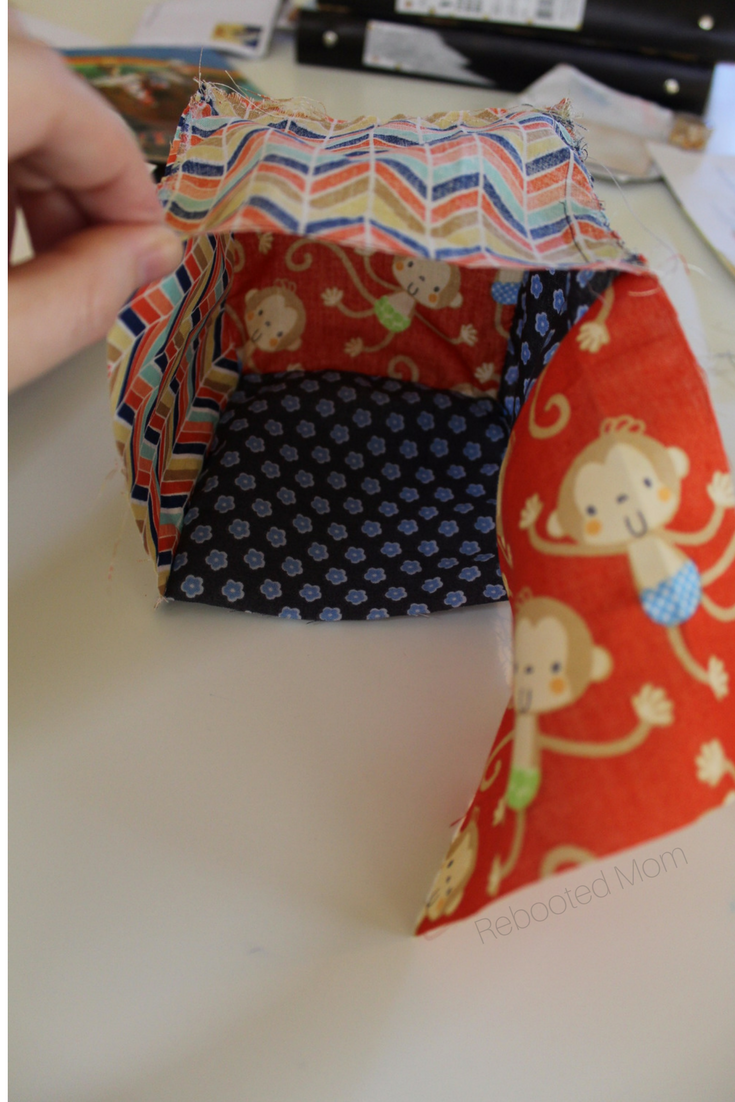
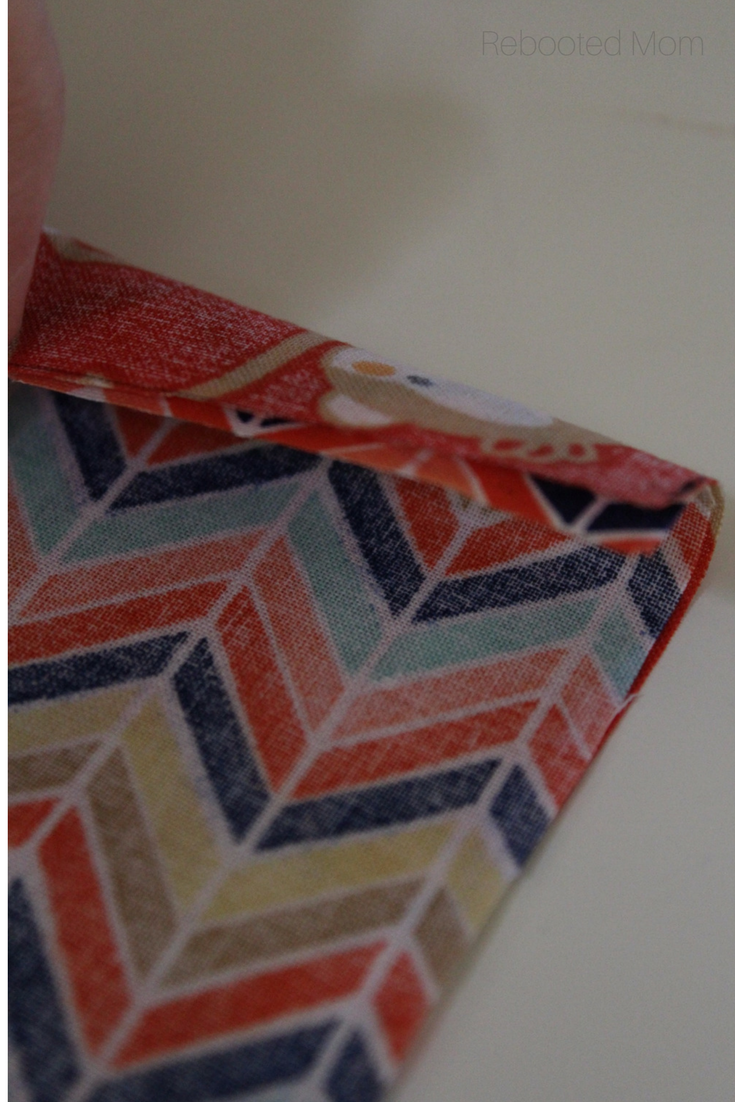
Once you are done sewing the central squares, you’ll have that one last flap to sew – sew that seam on each side, but leave a 2″ gap on the last side to allow yourself to pull right side out and stuff.
Around that 2″ gap, I like to reverse stitch to reinforce the hole.
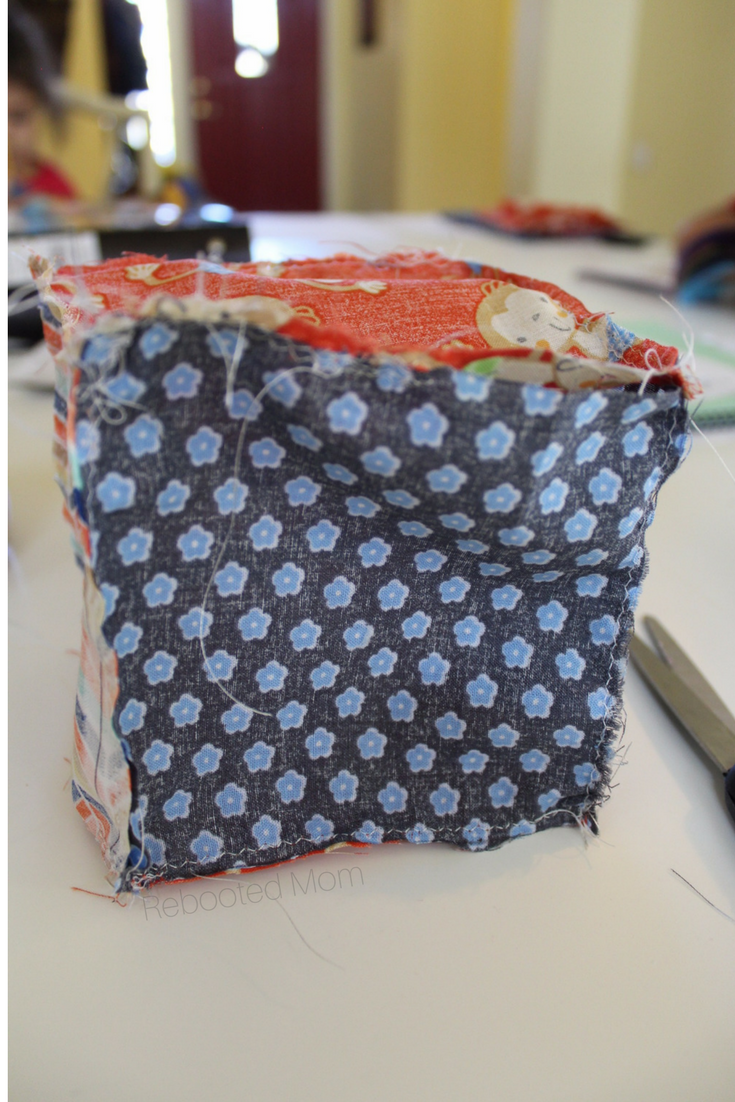
After you reinforce that 2″ hole, cut the threads that may be hanging around the edges of the cube (I didn’t do that yet for this picture, you can probably tell I had so many threads going on!)
Through that 2″ hole, pull the right side of the cube out so you can stuff. You’ll want to use a pencil to push the corners out to make it a nice looking cube.
Stuff with fiberfill stuffing – work diligently to make sure you push that stuffing into the corners. I like fiberfill because it’s washable, but you are free to use whatever works for you.
Once you have the cube stuffed, push that rattle piece into the center and nestle it in the middle of the cube. If you under stuff, that rattle will move around in the cube so make sure you have the cube as full of stuffing as you possibly can.
Finish stuffing as needed, then sew up the block with a simple ladder stitch.
(Rattle inserts are washable and can be tossed in the washer/dryer, as is fiberfill – I would recommend washing on gentle cycle. I have washed my own blocks with my DIY rattle insert without issues — I would though, recommend using gentle cycle and allow to air dry or tumble dry low.)
Make your DIY rattle blocks in a set of 4 or 5 to gift – and be creative!
- Use a rainbow of colors to make your blocks – some minky dot fabric, some quilters cotton and etc.
- Add a tag like ribbon loop to one or more sides for a sensory experience.
- Embroider a letter for the child’s name on each block (4 blocks for a 4-letter name, etc) before sewing and stuffing.
- Use a clean chip bag as stuffing for one of the blocks along with a little fiberfill for something different.
- Use fabric scraps or fat quarters that you can grab on sale for 75% OFF to save.
These blocks would be the perfect baby gift paired with a Minky Cuddle Baby Blanket!

These blocks are sweet! My neighbor is due in Sept. and I’m going to make some of these for a gift. Thank you so much for your post and pics.
That would be a sweet gift! You could also pair with a simple baby receiving blanket (I have that tutorial on here too! It’s SO (sew) easy!)
And many times, JoAnn has cotton flannel on sale for $2.49/yard… making it a really fun, personalized gift.