


Learn how to make a pillow bed (or pillow cushion) for kids using pillows and twin flat sheet along with this simple tutorial.
I remember receiving a pillow bed for my now 16 year old when she was born from the wife of an Army recruiter that I was friends with years back. She learned how to sew and was eager to gift to everyone who had recently had a baby.
It wasn’t long after that my 2nd child wanted what the 1st child had, and so I proceeded to make him a pillow bed just like his sister. For years, they used those beds – in the bedroom, living room, on the cold tile floor of my home, and even as a fort.
I recently found the beds packed in the back of my girls’s closet and my six year old suggested I make her one – for Christmas this year.
Functional Gift Giving
Instead of gifting toys and games to kids, I prefer gifting things they can actually use and carry with them for years.
A few years ago, I whipped up cuddle blankets for my kids – I hunkered down just days before Christmas and sewed a whopping 14. Fourteen! Obviously five were for my kids but the other 9 were for the PET SHELTER.
That’s right…. blankets for the dogs that would be in the shelter over the holidays, waiting for a home or someone to adopt them.
I still recall finishing that last blanket, feeling like I had crossed a marathon finish line.
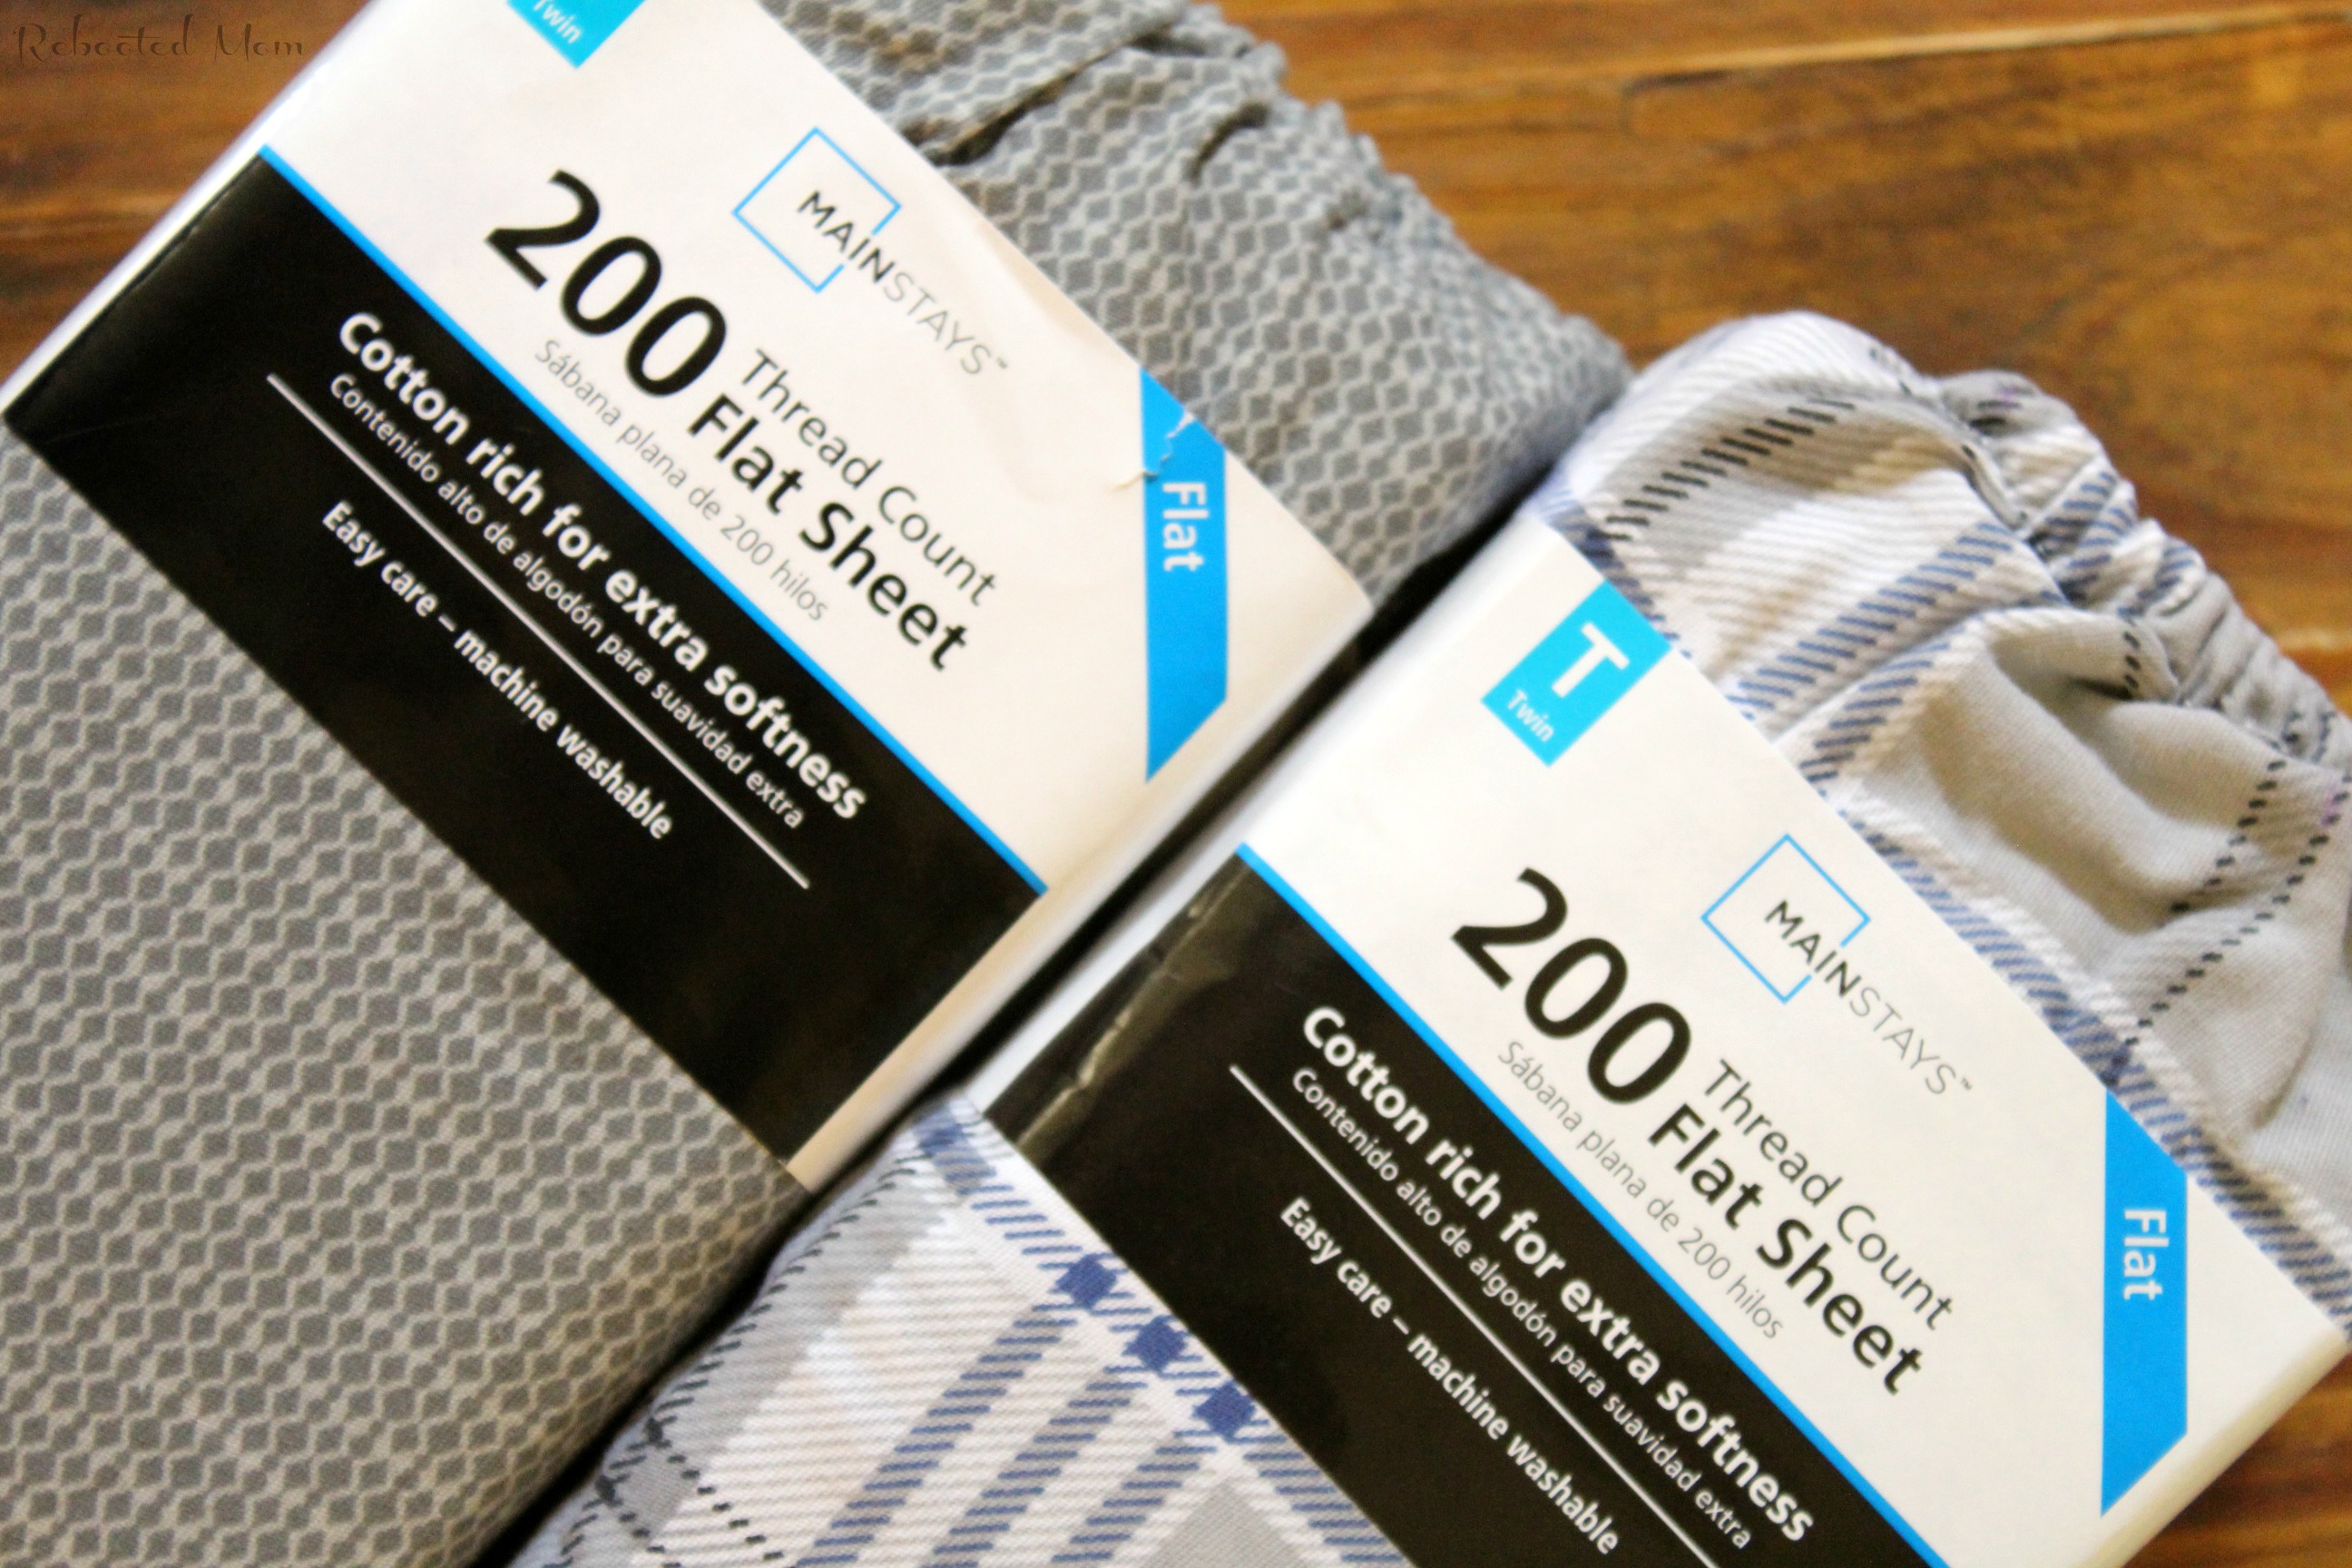
Pillow beds are so functional and fun that even the adults might ask for one. All in all, they are quick and easy to put together, requiring 5 standard economy pillows (roughly $2 each at Walmart) and a twin flat sheet.
If you can sew a straight line, you can tackle this project with ease. I promise! For under $17, you can create something that appears to have taken you all day (if not longer). The end result is a functional gift that can last the recipient years!
Pillow Bed Tutorial
You have probably seen tons of tutorials on Pinterest for pillow beds (or, cushions). Some of them require that you sew a bunch of pieces together, add velcro, etc. Most of them are complicated when indeed making one couldn’t be more simple.
After you make one, you’ll wonder why you haven’t made them sooner. Pretty soon, you’ll want to make one for everyone in the family – adults included.
Materials Required:
- Twin XL fitted sheet (66×96) – one with stripes works best for measuring
- fabric marker or chalk
- coordinating thread
- pins
- 5 standard pillows (basic pillows work best, they are just over $2 each at Walmart)
- ruler
Instructions:
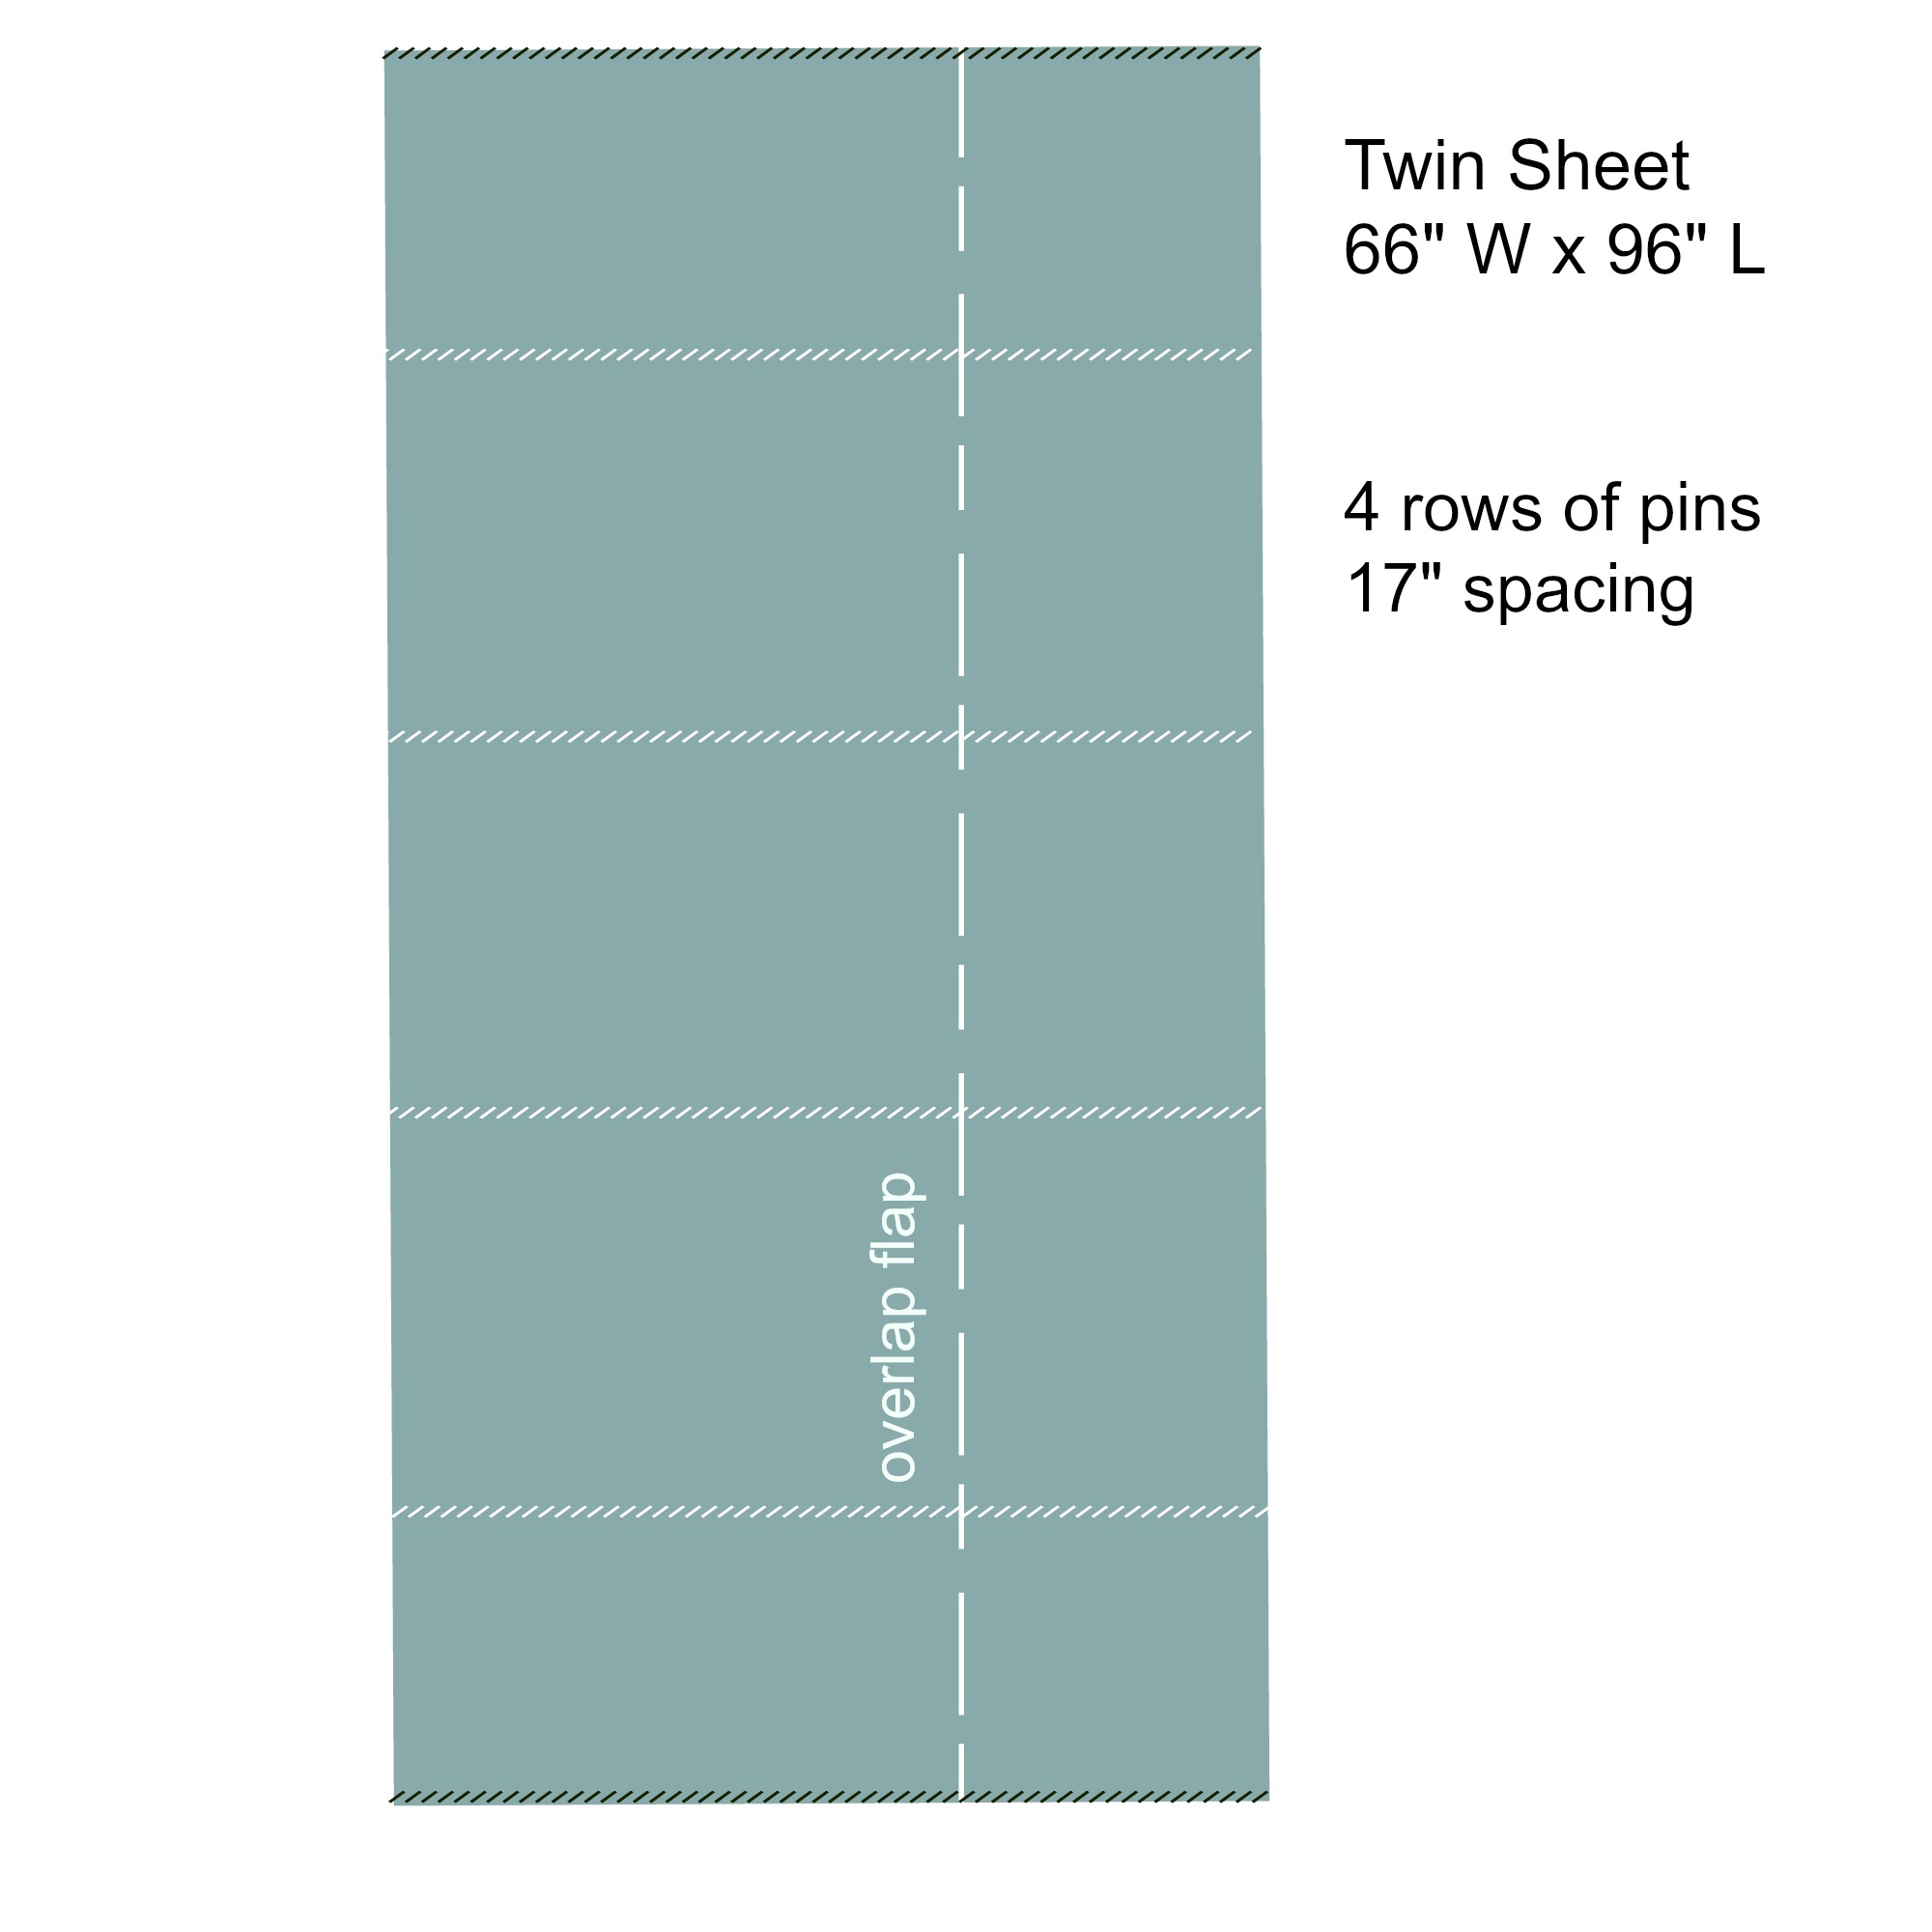
Start by laying out your twin flat sheet (66×96) on a flat surface (a floor is best), right side up. You will need to fold in each side just like the picture shows below.
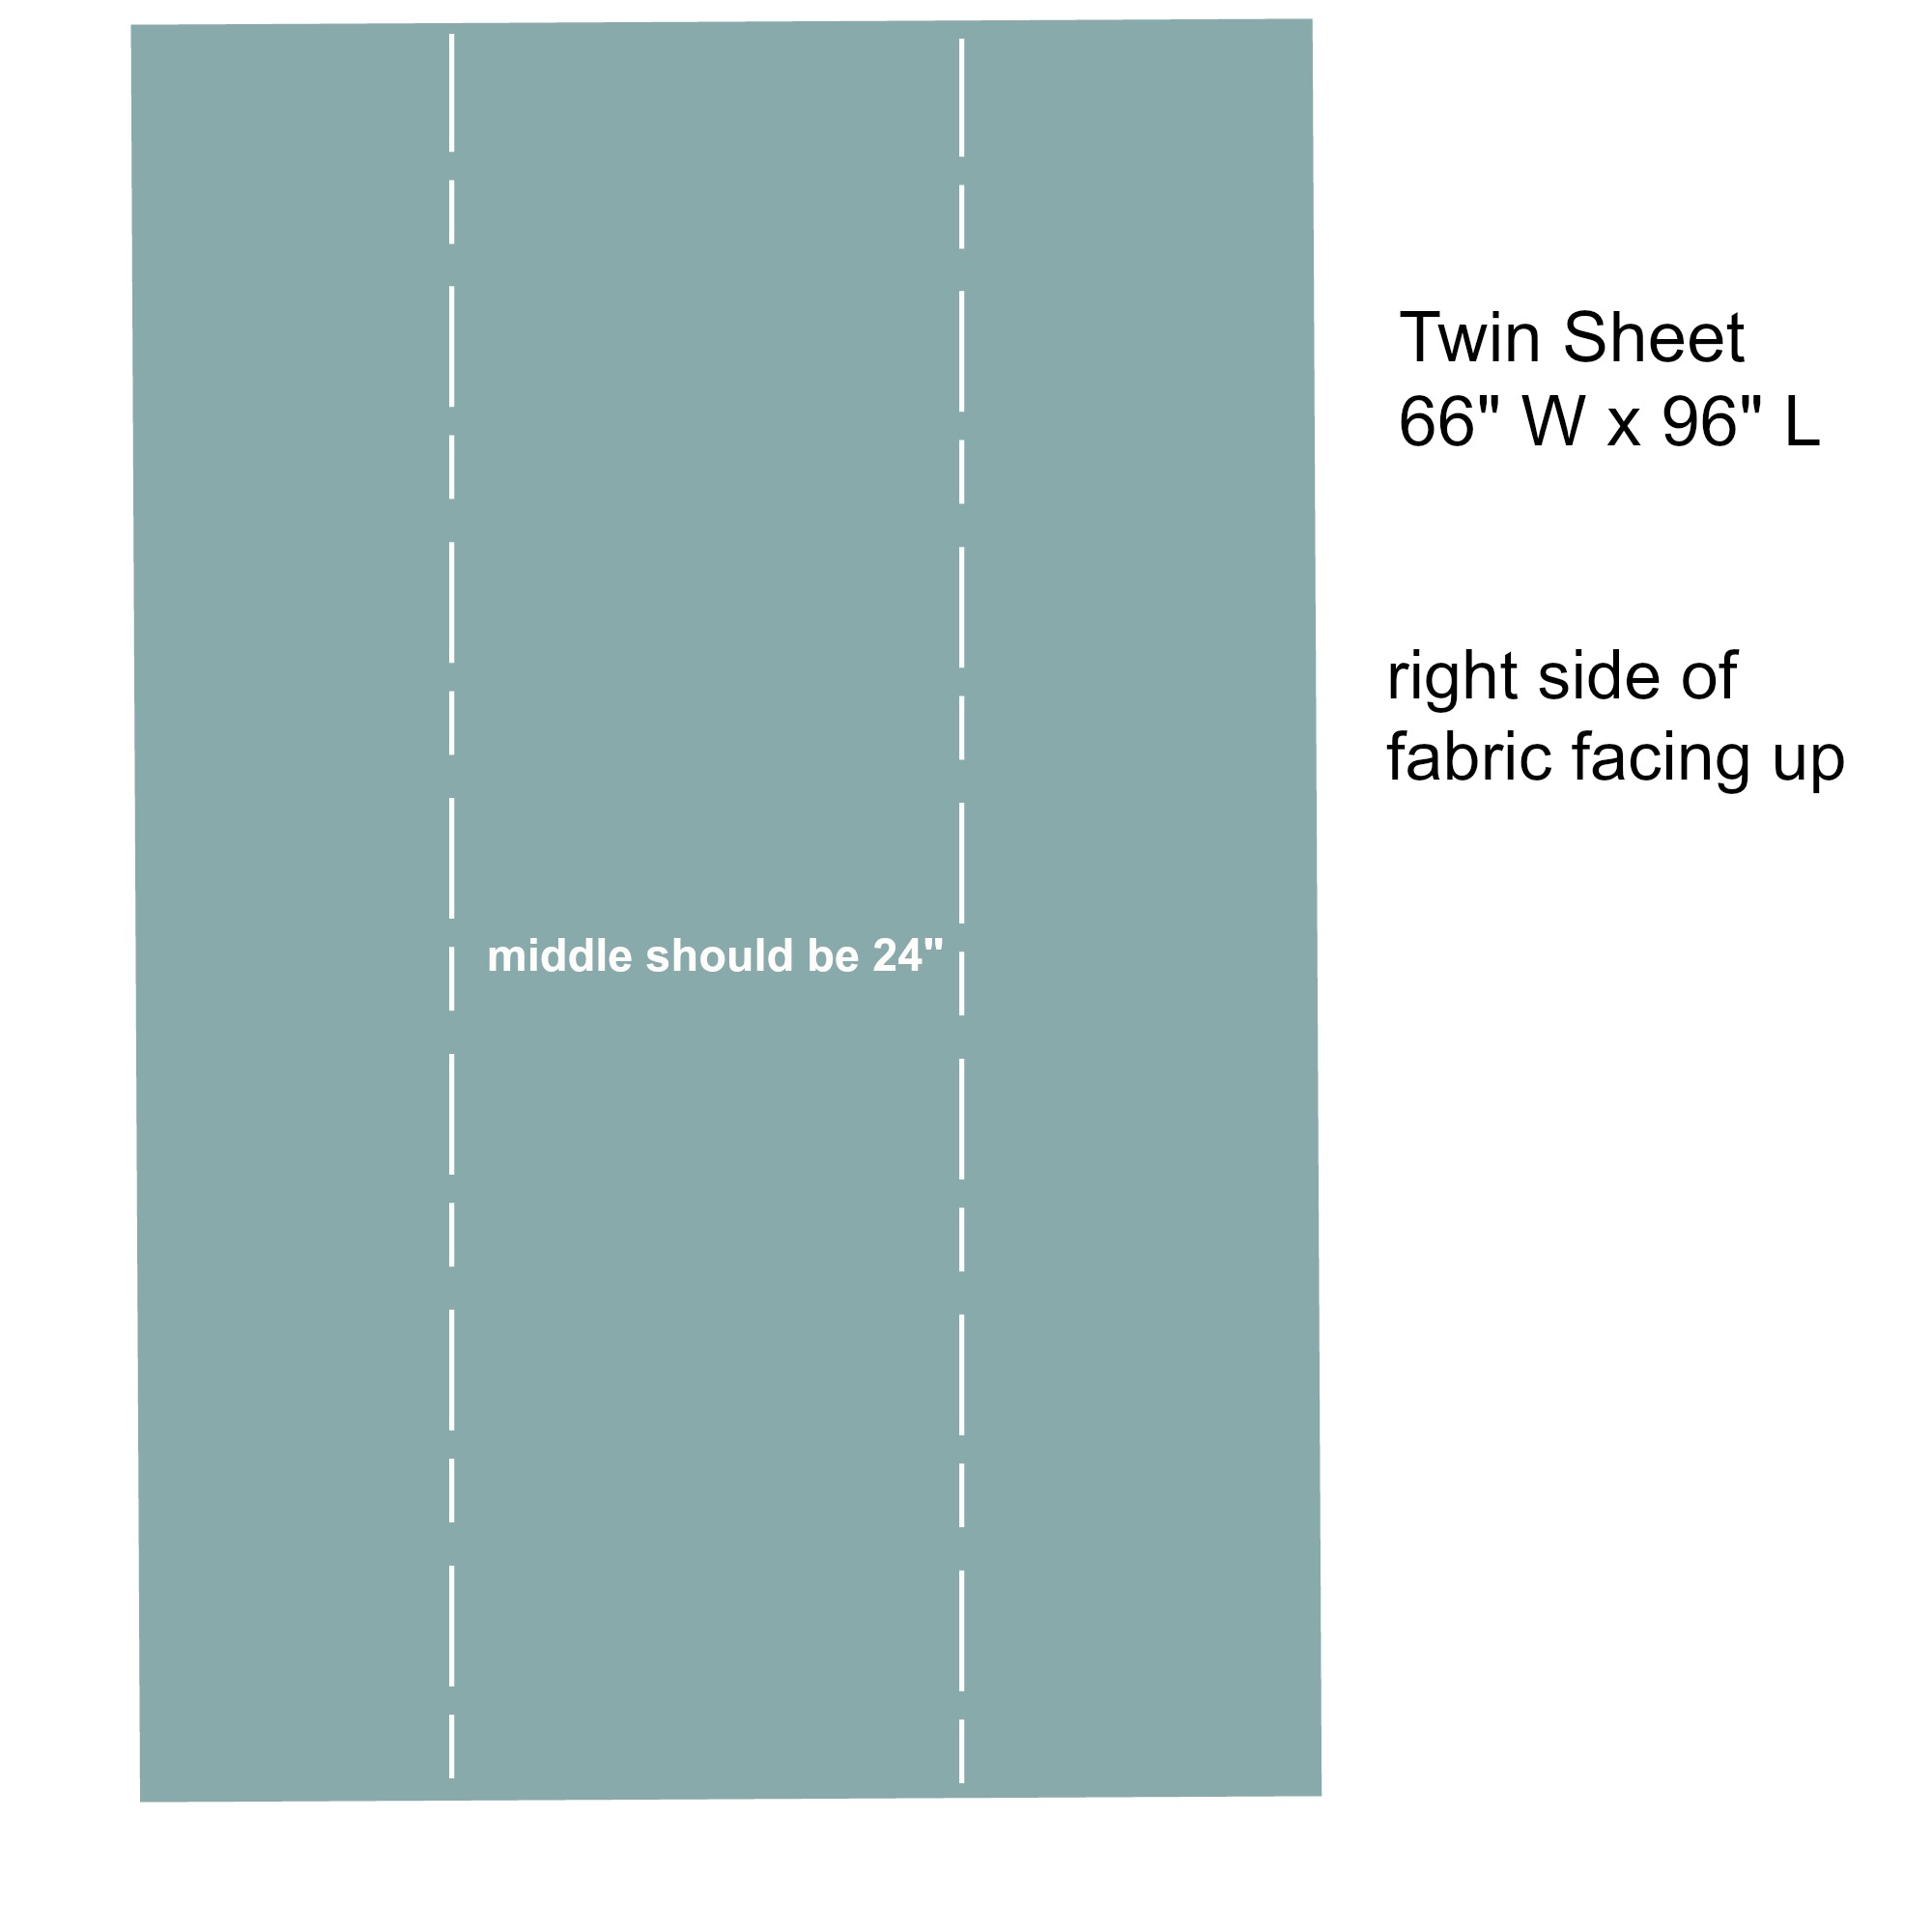
You will want the final width of the pillow bed to be 24″. That’s just two inches smaller than the width of a standard pillow (26″). I have found that, over time, standard pillows tend to get smushed out anyways, so by making it two inches shorter, you are giving it more plumpness.
However, you can adjust your measurements as you see fit.
If you make the middle section 24″, you’ll want to fold over one side 25″. Then, fold over the other side 17″. Double check that this is a snug fit for your pillow.
(Once you sew the ends, we’ll turn the case out and the longer side will be overlapping the smaller).
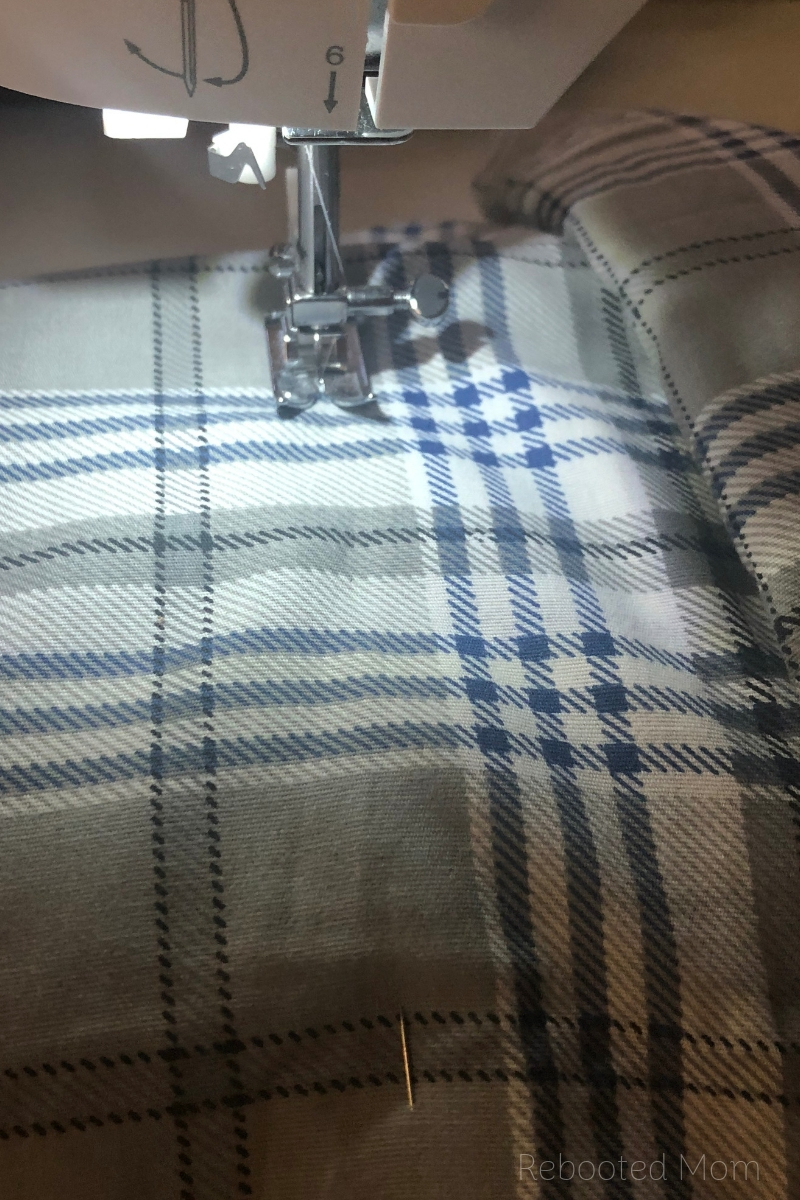
 Pin one of the short ends, and sew a straight stitch from left to right. Backstitch each side for reinforcement.
Measure 85″ inches from the seam you just made and sew a straight stitch on the other end, making sure you backstitch for reinforcement.
Turn the fabric inside out and push out the corners (this so you can’t see the end seam from the outside). Lay the fabric down on a flat surface once again, and measure a line every 17″. Mark with fabric marker or chalk. These will be pockets for your pillows.
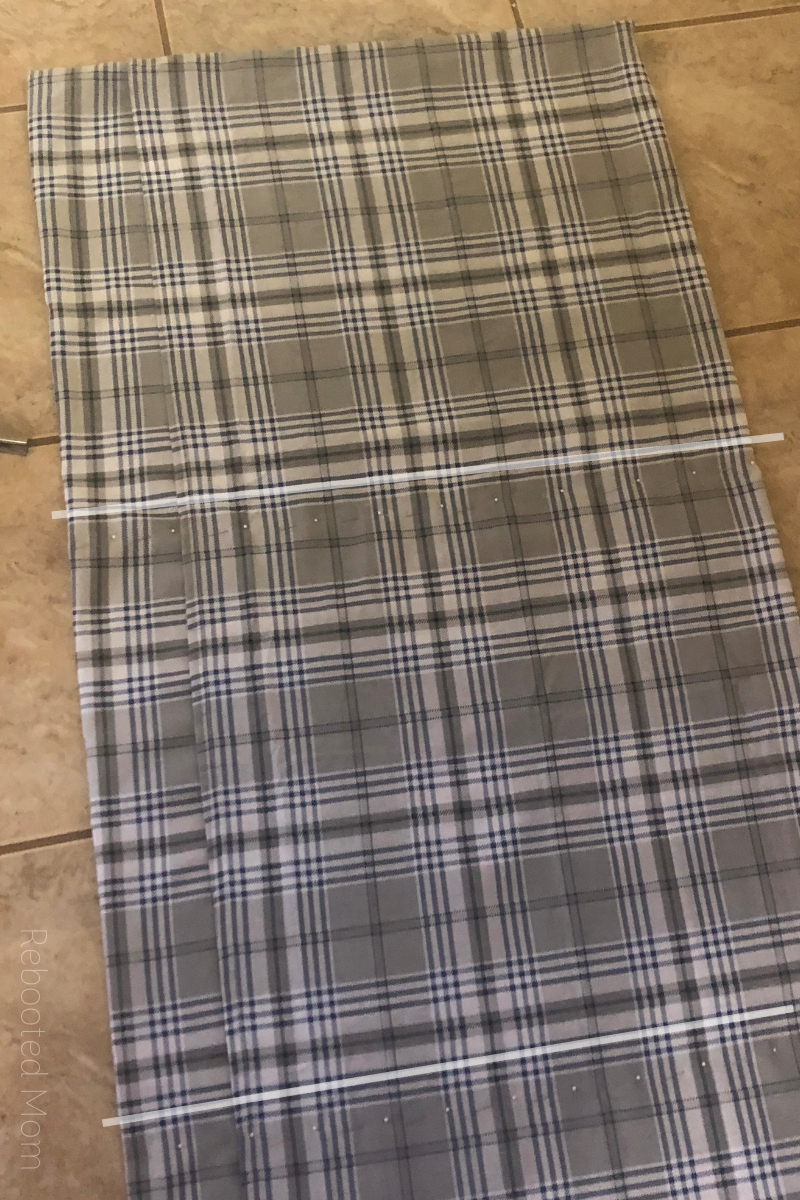
If you look hard enough above, you can see the pins for the first two rows — each spaced 17″ apart. (I have used lines to bring attention to the pins, directly under).
Sew each of those 4 horizontal lines with your machine taking care to backstitch at the start and end. To make it even easier, roll the blanket up and sew only one row.
Then unroll and proceed to the next. Rolling the blanket after pinning helps to keep the blanket easier to manage when you are finishing up and prevents the blanket from bunching on each line.
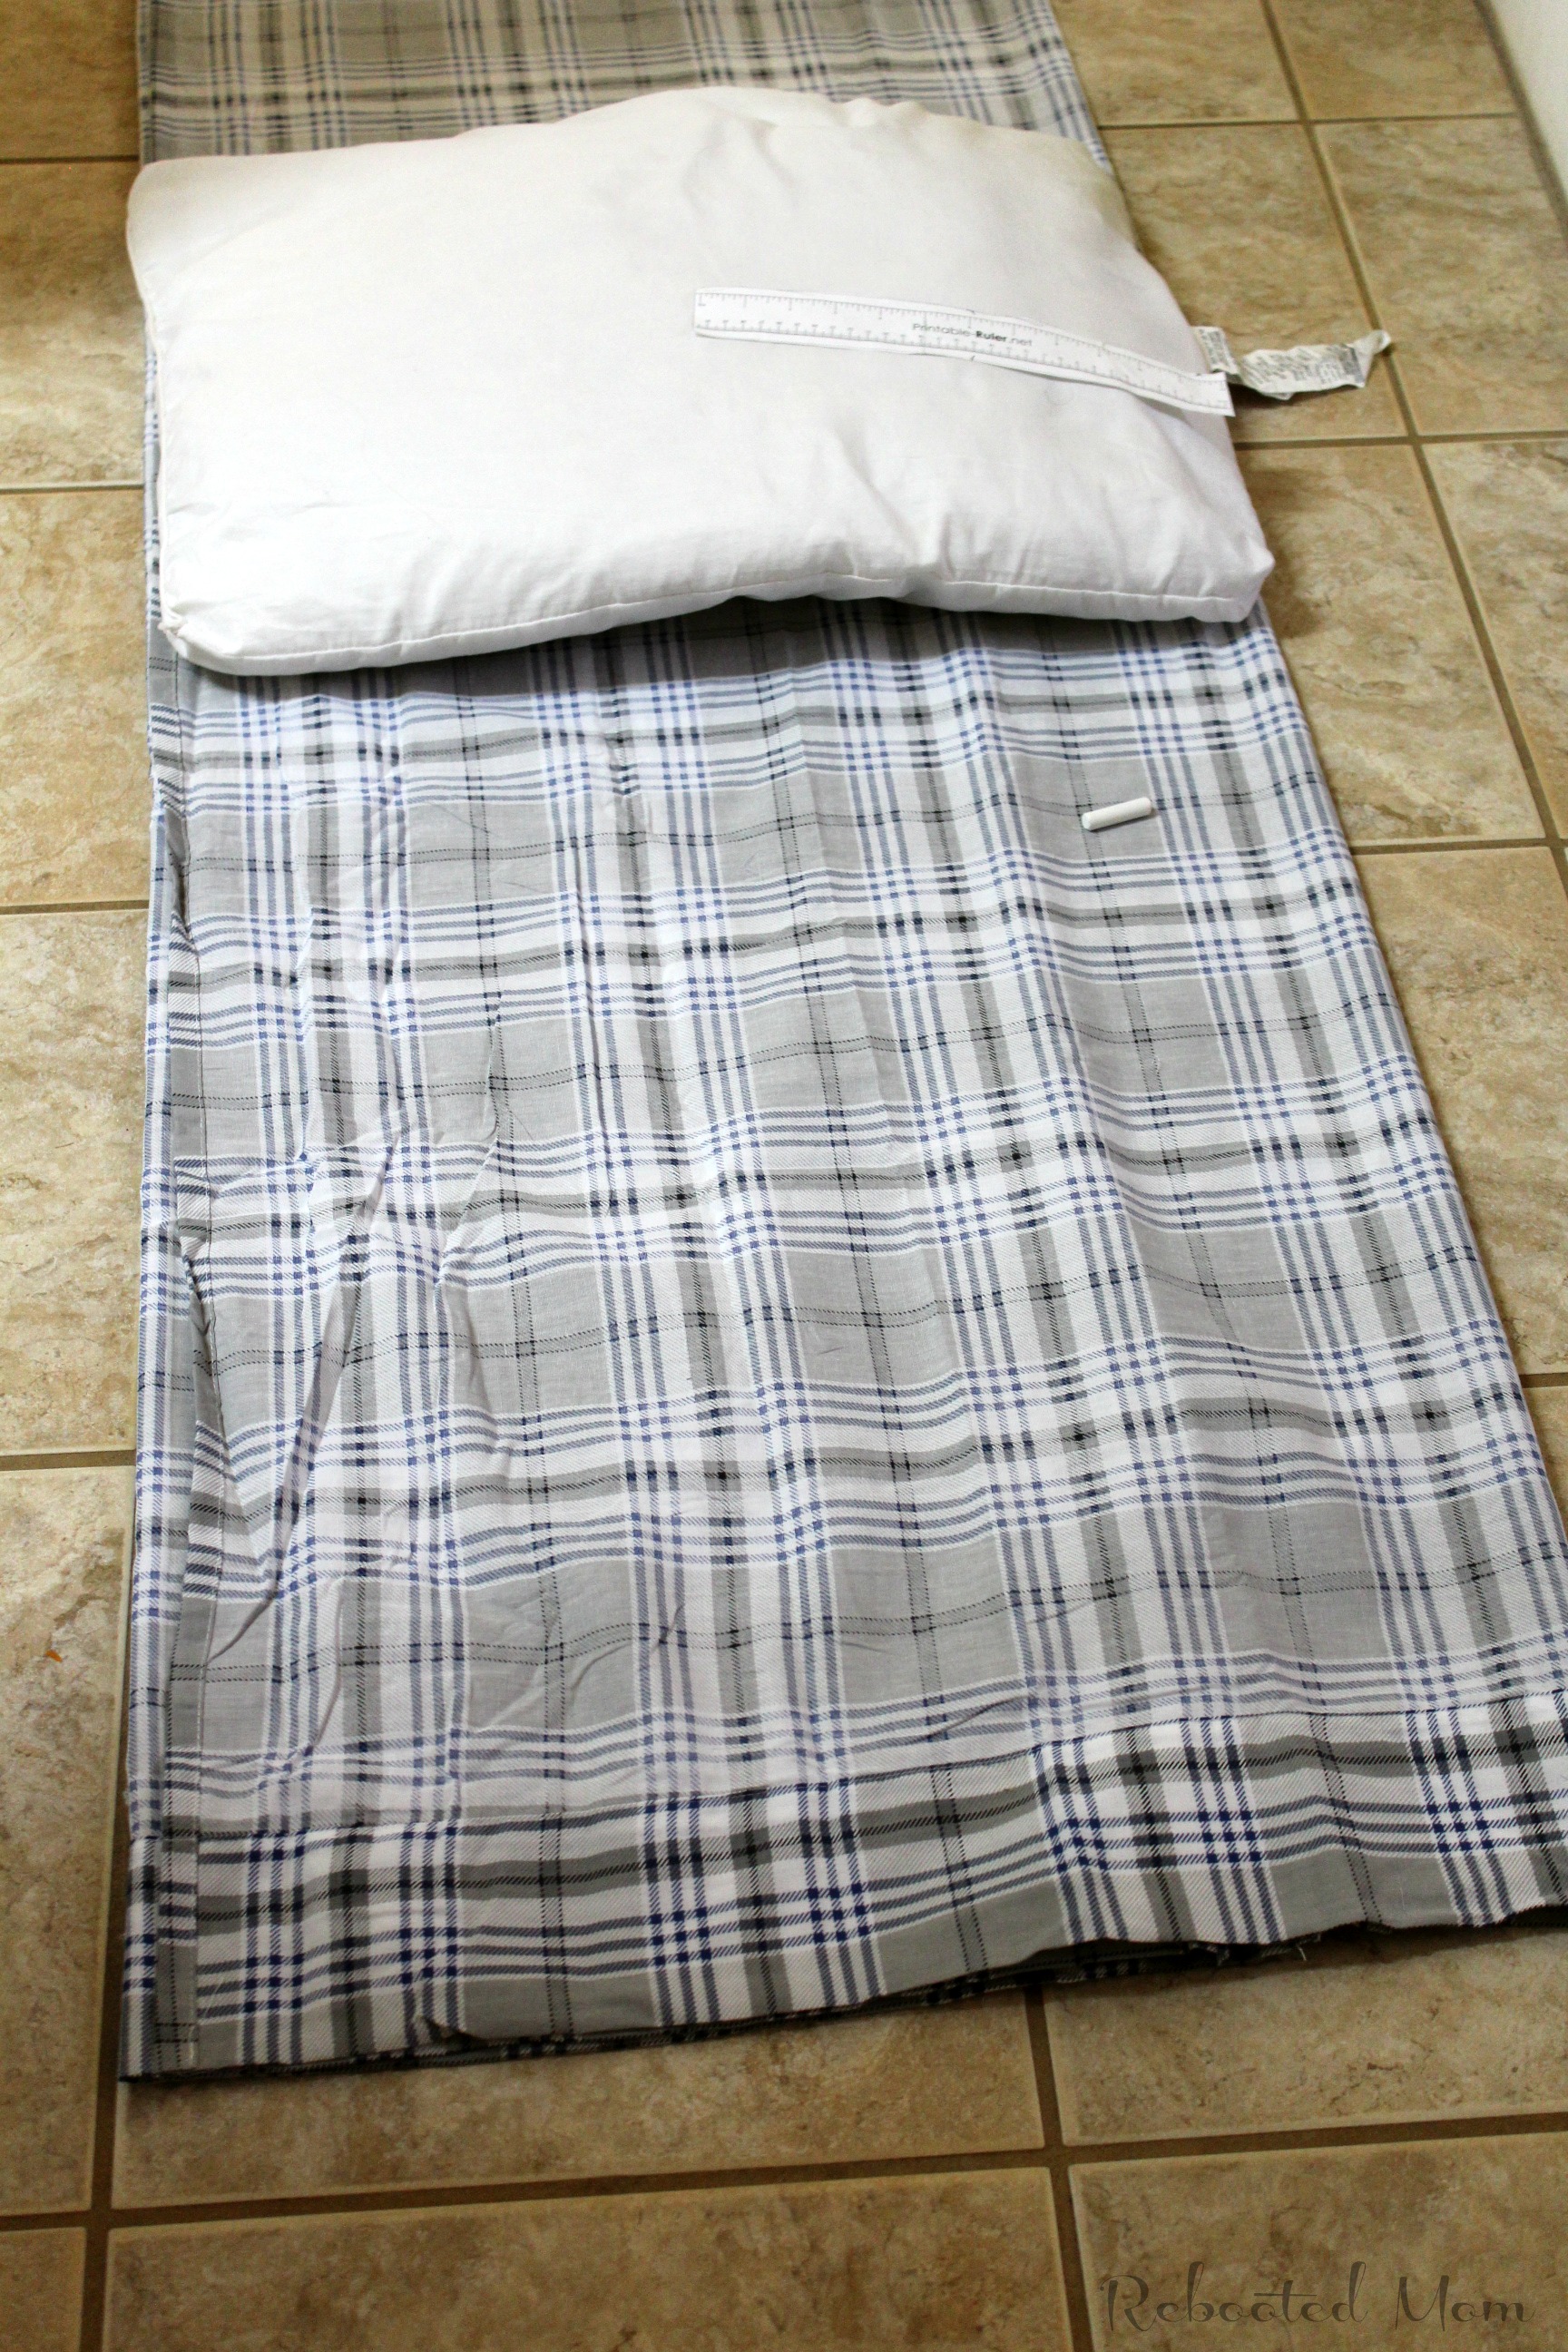
Once you have sewn the four seams, you have a simple pillow bed cover. The cover is similar to a pillow sham in that you stuff half the pillow in, then scrunch the other half in there.
Push it around to even it out and you are done. Before you stuff the case with pillows, it helps to go over the case with a hot iron to work out any wrinkles in the fabric.
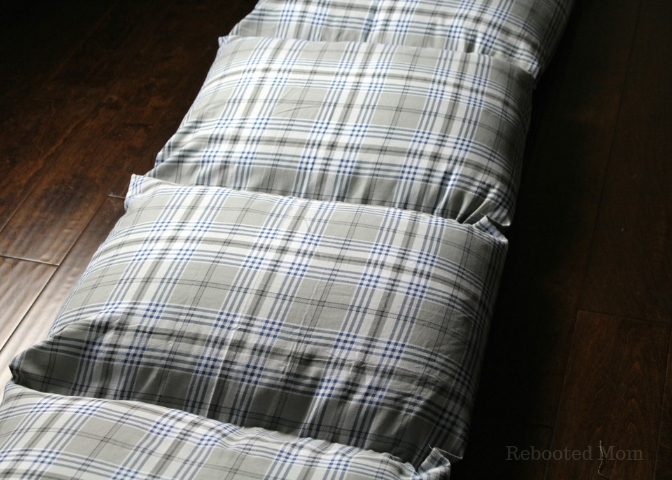
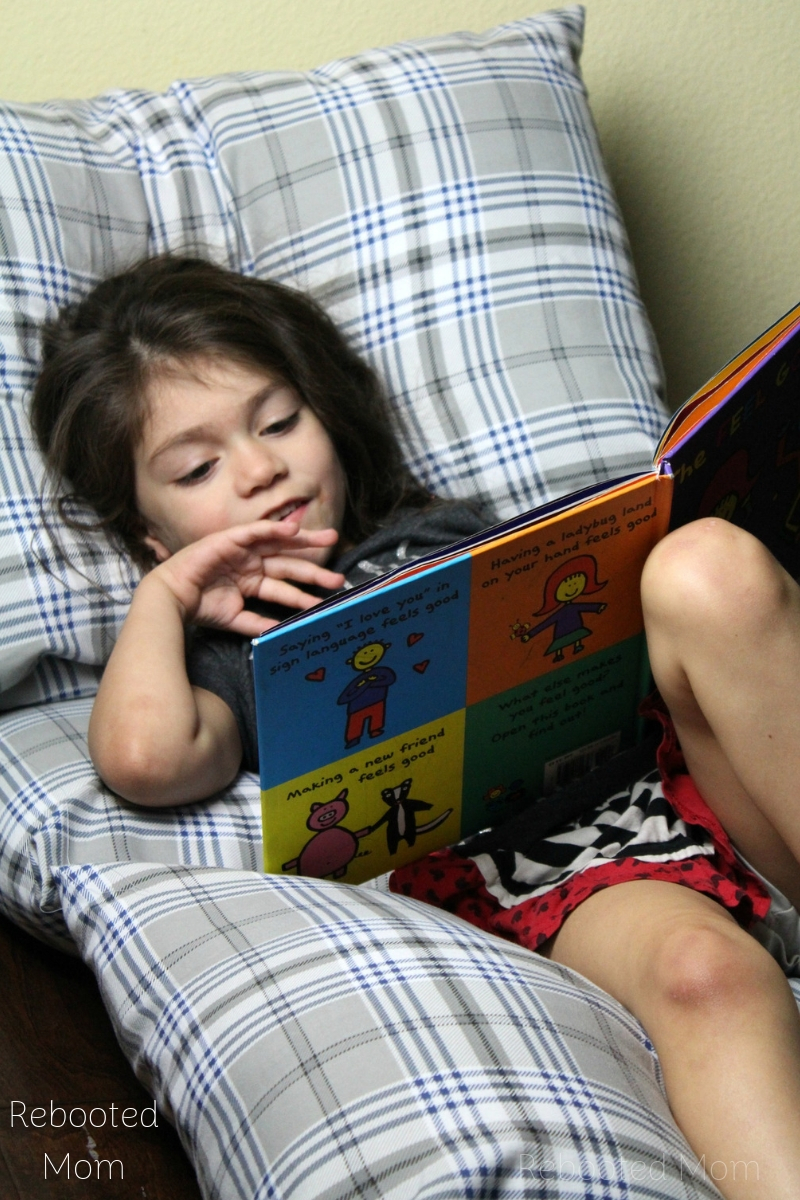
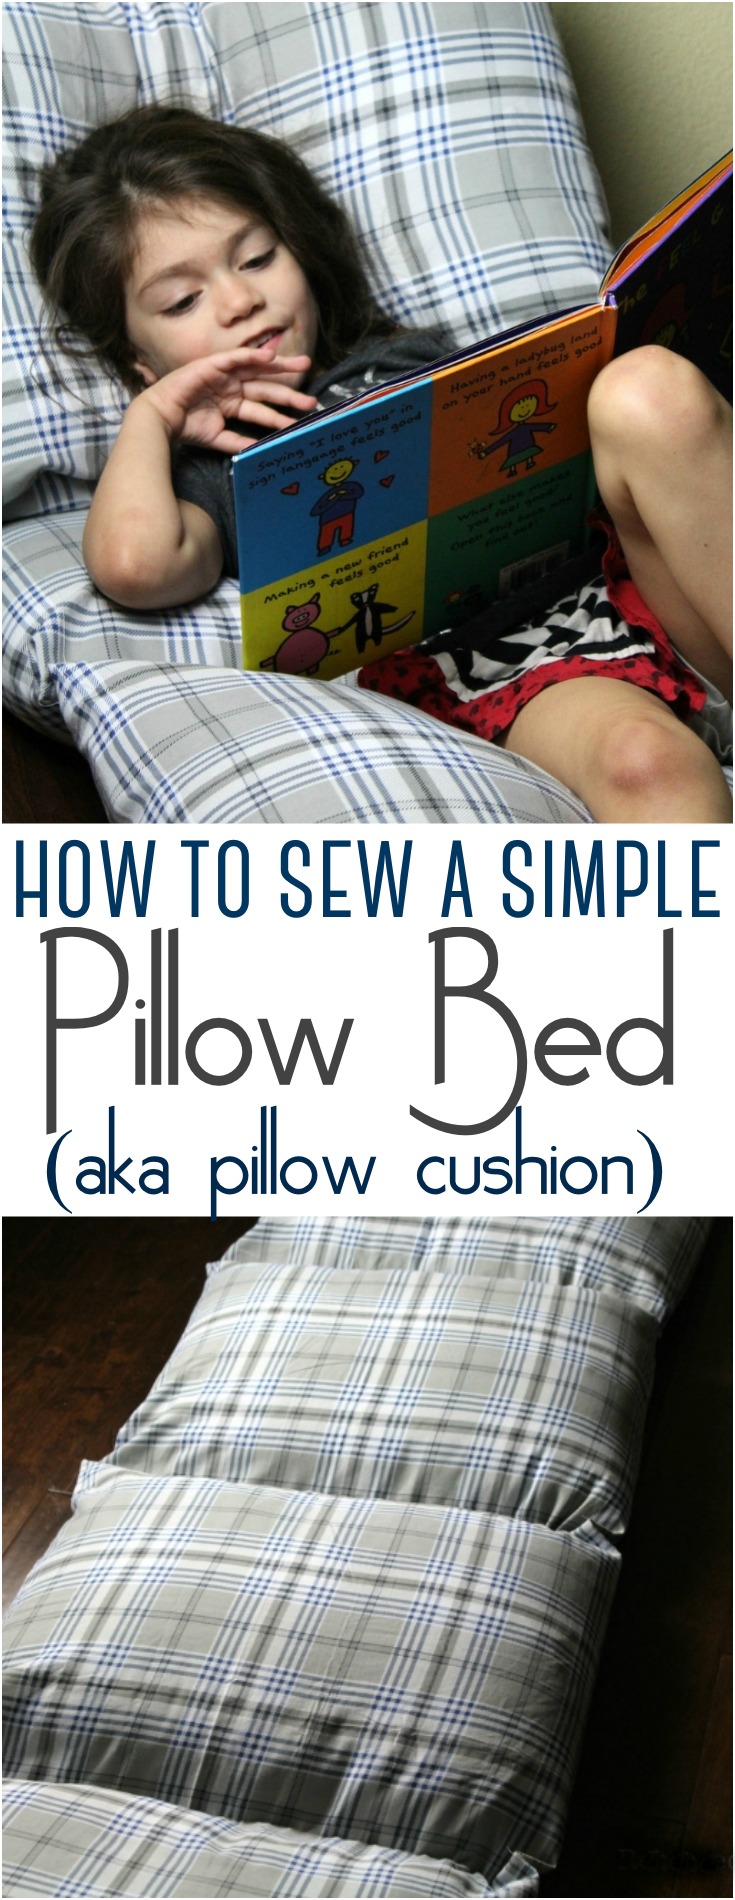
Your kids can lay the pillow bed down flat to lie on top of it for sleeping or reading.
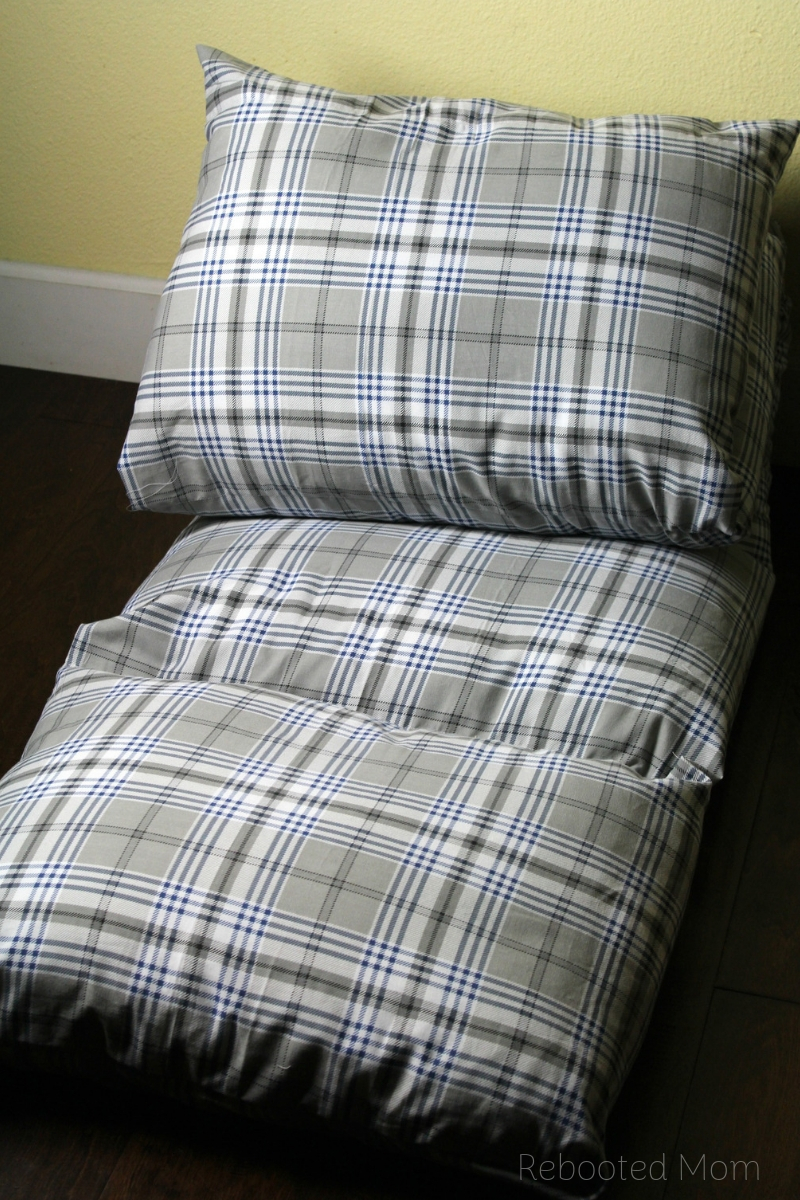
They can prop it up to serve as a floor or bed cushion also for reading or doing their work. It’s such a useful and practical gift they will definitely enjoy receiving!
Looking for more easy sewing projects? Try any of these:

Thank you for the GREAT INSTRUCTIONS!. Having never done this before, you made it so much easier for me and it came out great!
So glad! They make amazing gifts – people will think you spend oodles of time making!