


Learn how to sew a fabric bookmark – a super easy project for beginners that takes just five minutes! It’s a great way to use up fabric scraps!
Over the last few months, fabric scraps have piled up to significant amounts in our house. My oldest daughter started sewing zippered pouches as a homeschool home-ec course, in which she wanted to learn basic sewing.
Have Fabric Scraps?
The piles of fabric we had transformed into cute pouches, but left some odds and ends from those pouches that we needed to find a home for. We’ve done lots of lavender sachets (which are great for scraps, too!) – even fabric blocks for new babies.
While my daughter has been hogging the sewing machine, her motivation and interest has inspired my 7 and 9 year old boys to sew, too.
After knocking out a few pillowcases, my 16-year-old daughter thought that fabric bookmarks would be a wise idea. Not only was the idea perfect for all of the books they use daily, it was easy for the boys to do as beginners on the machine.
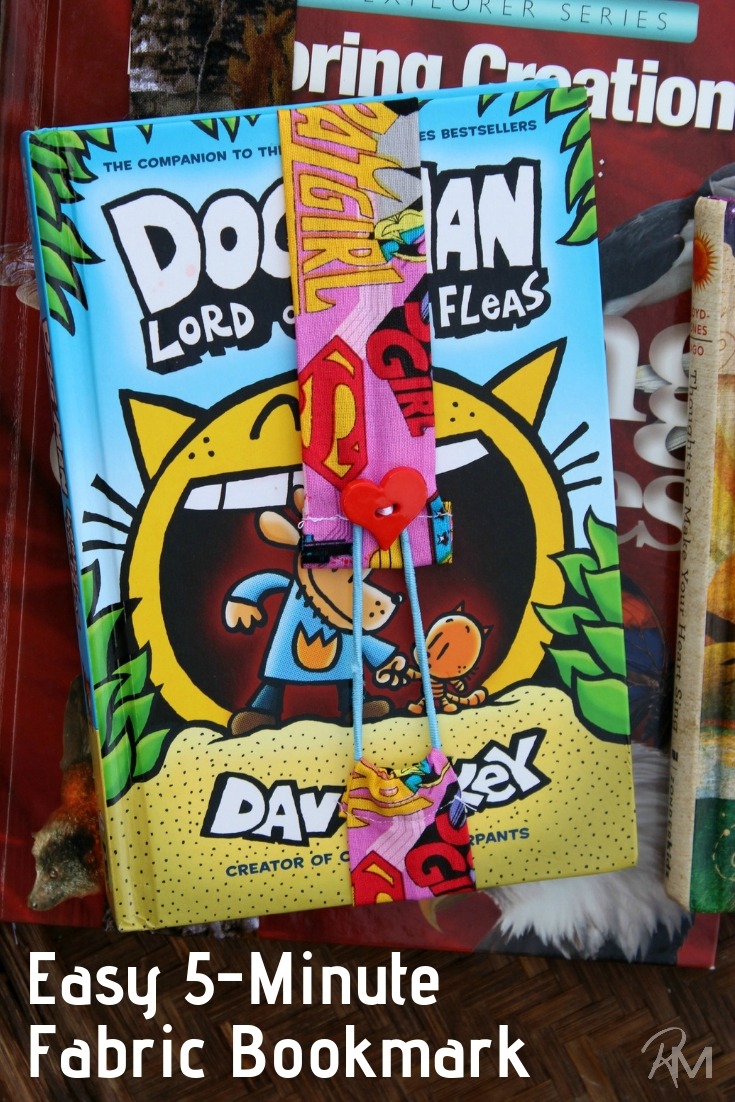
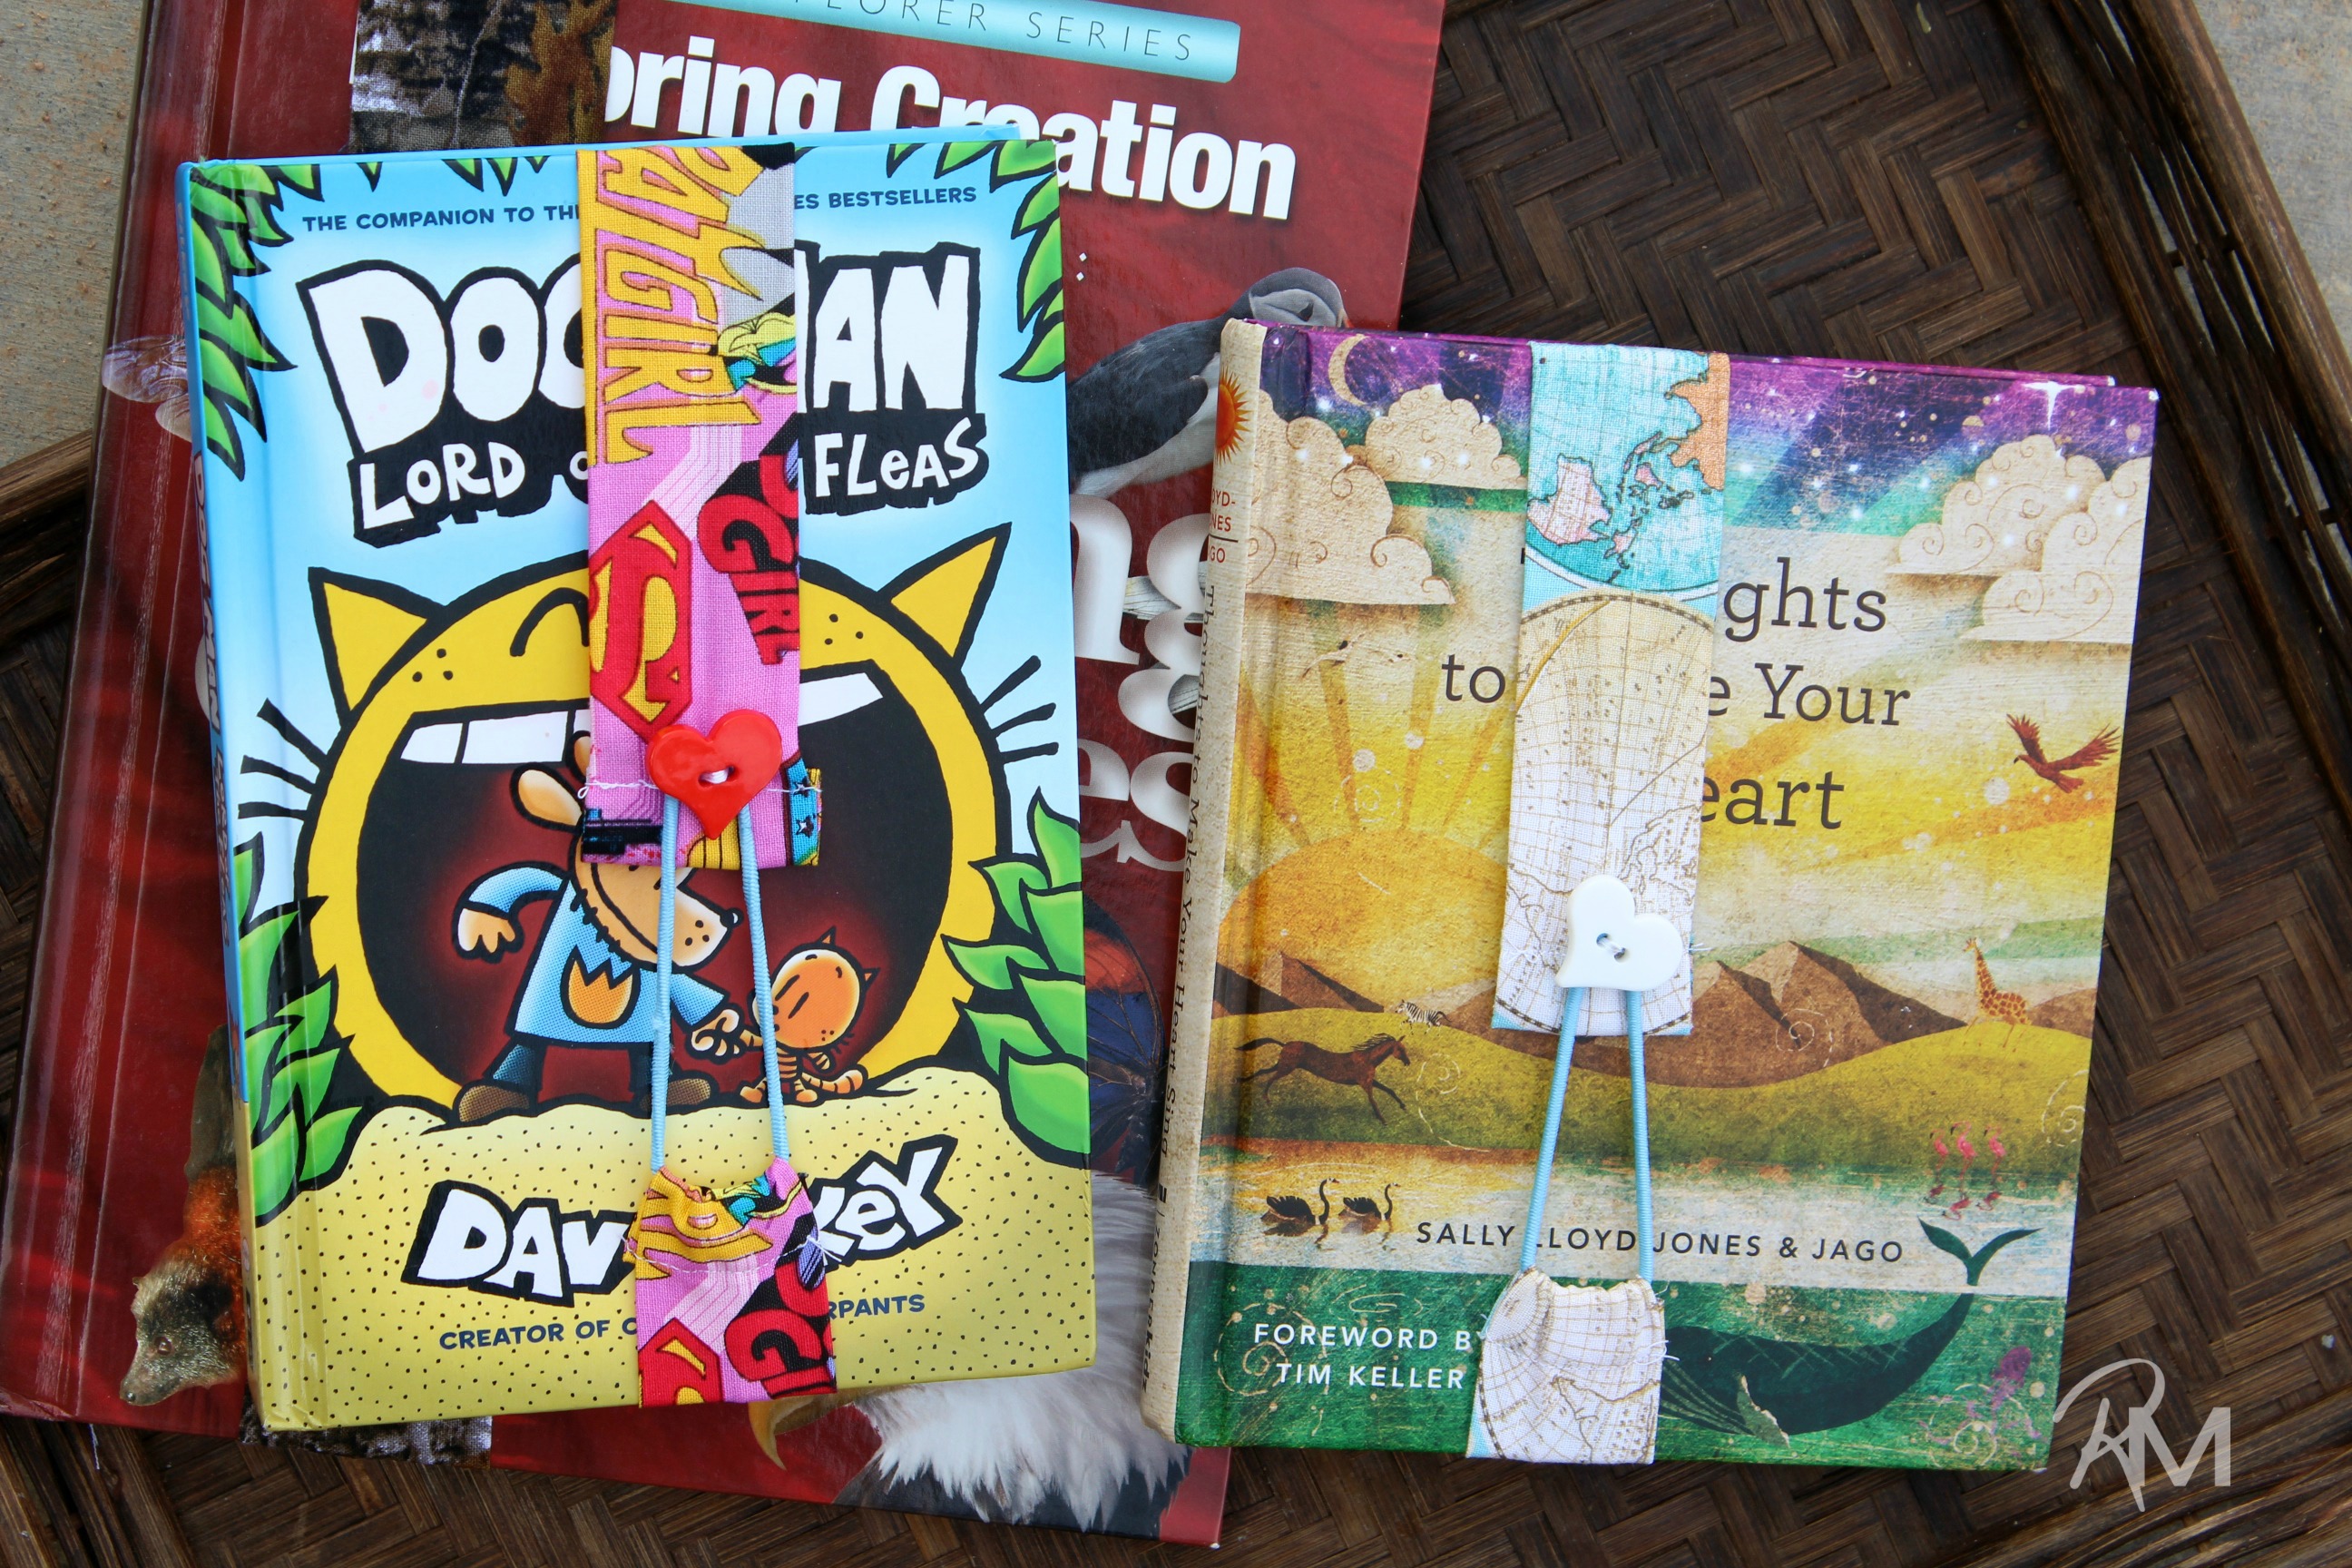
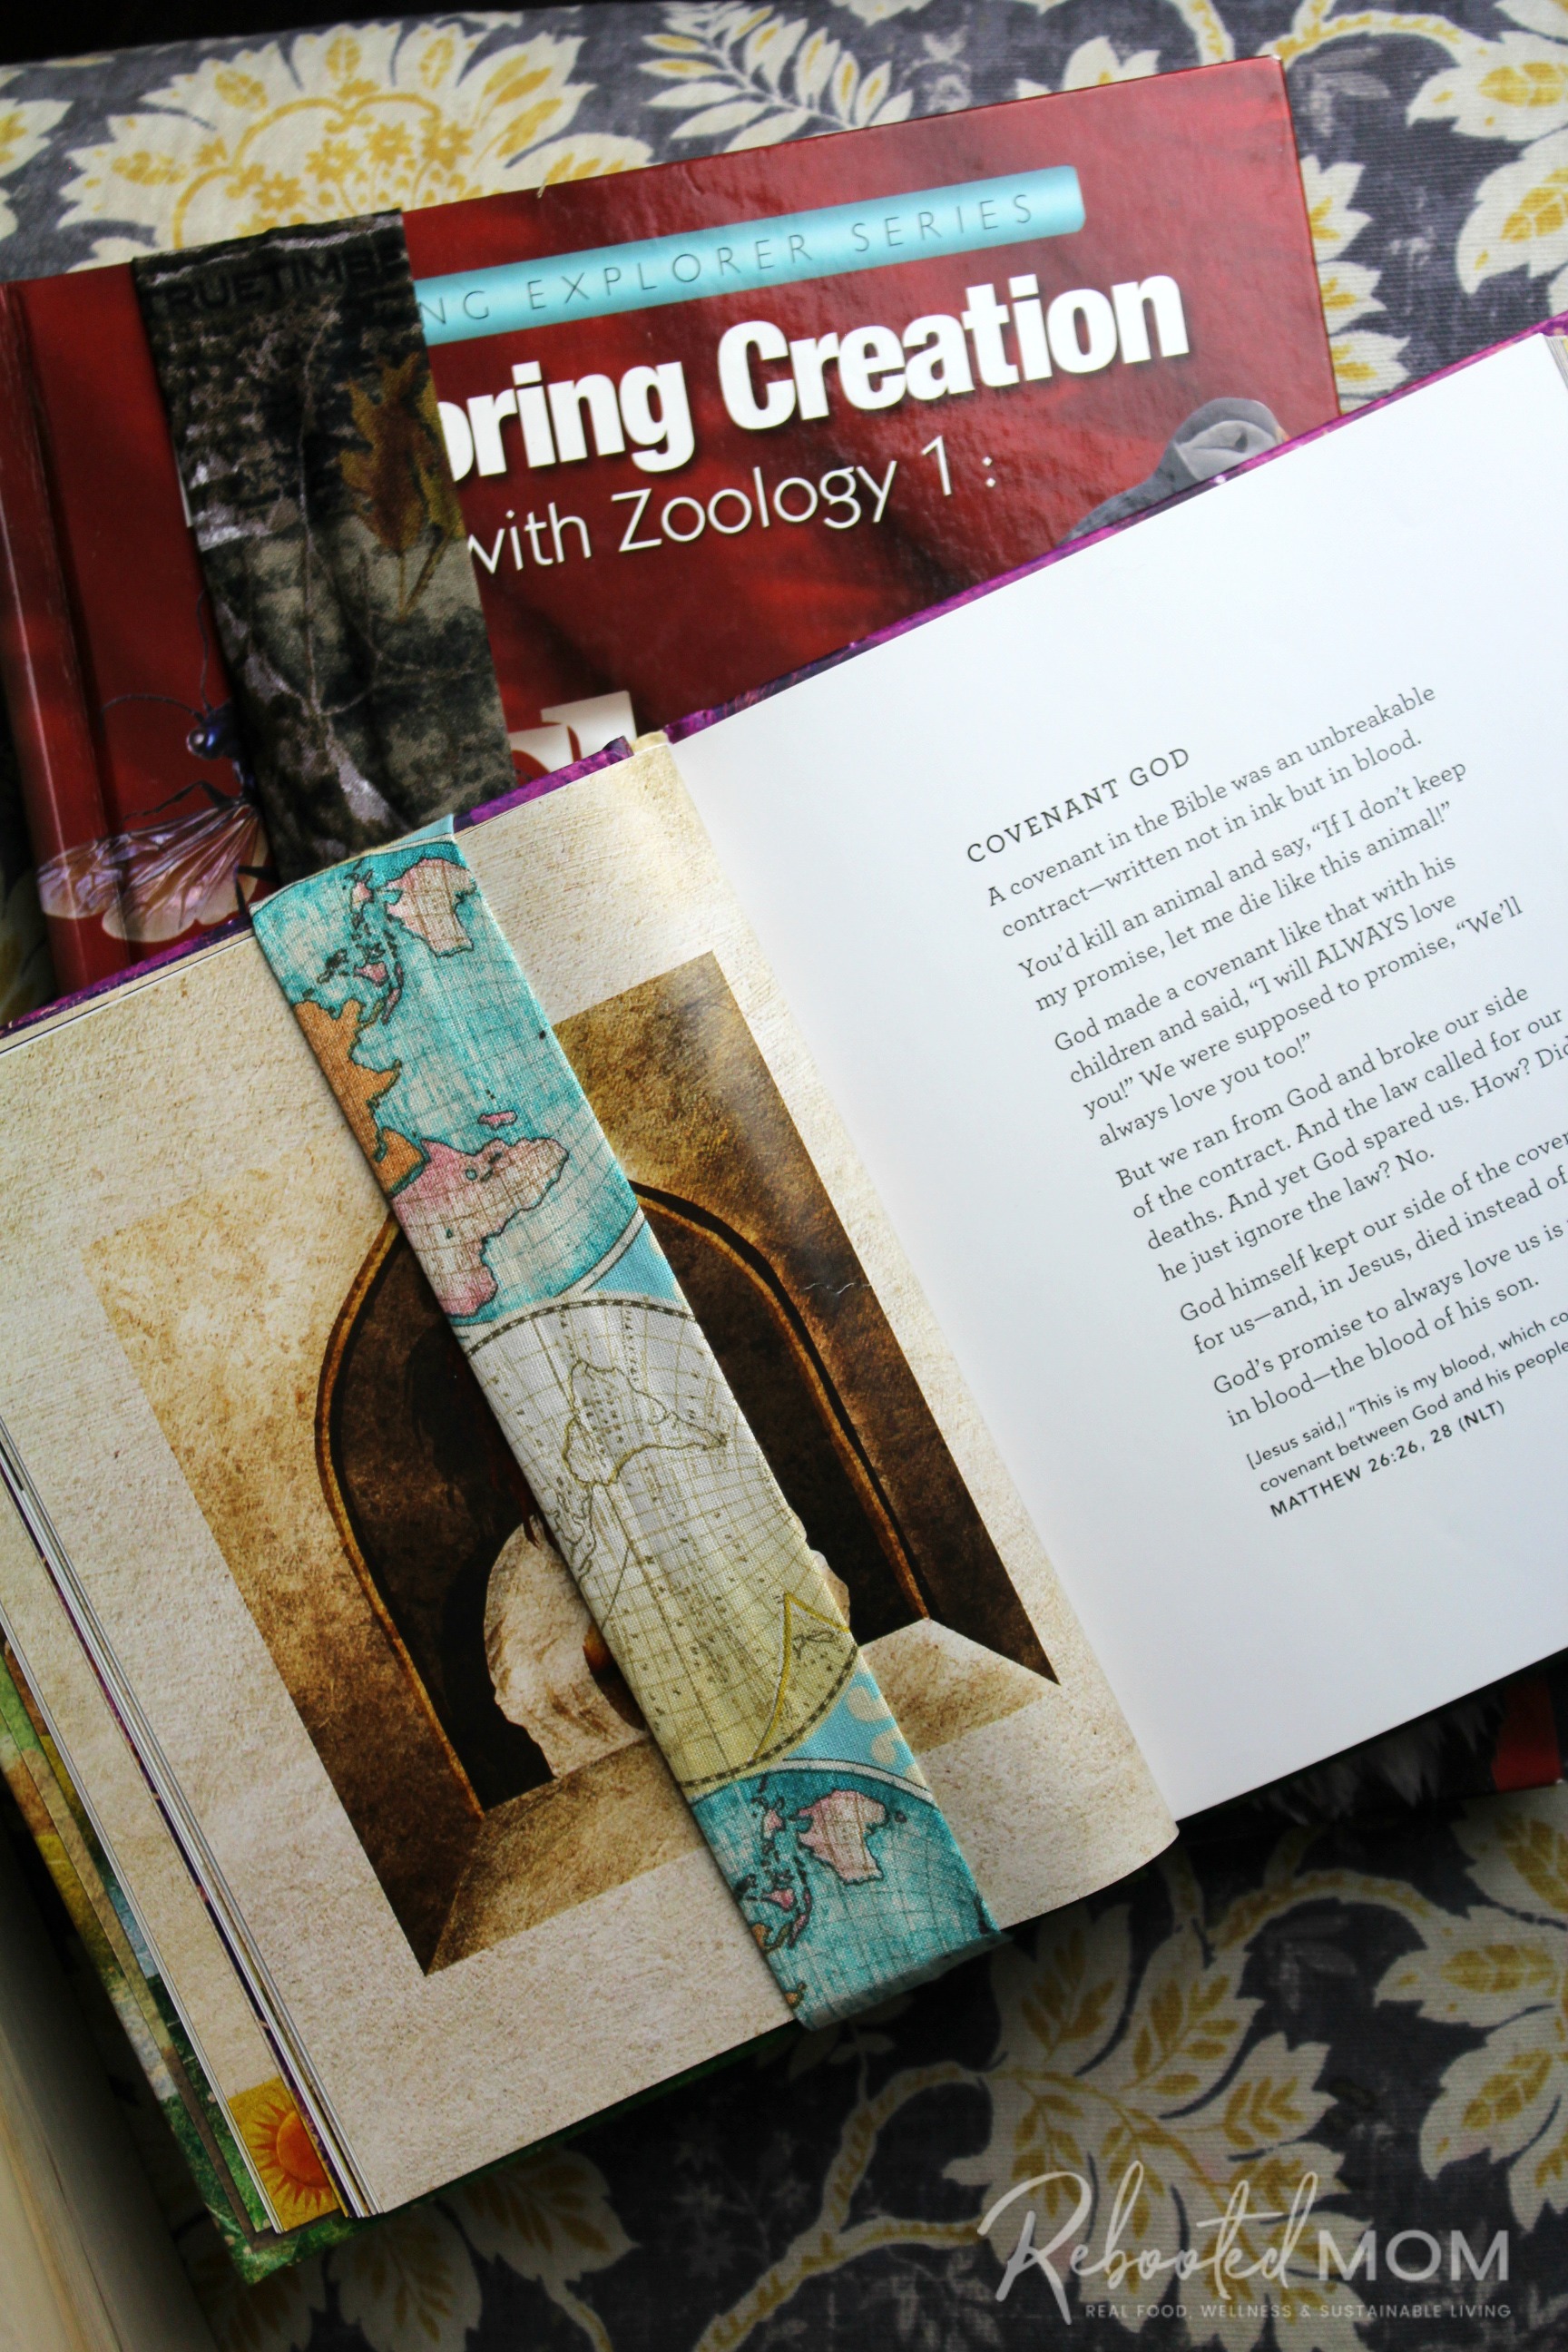
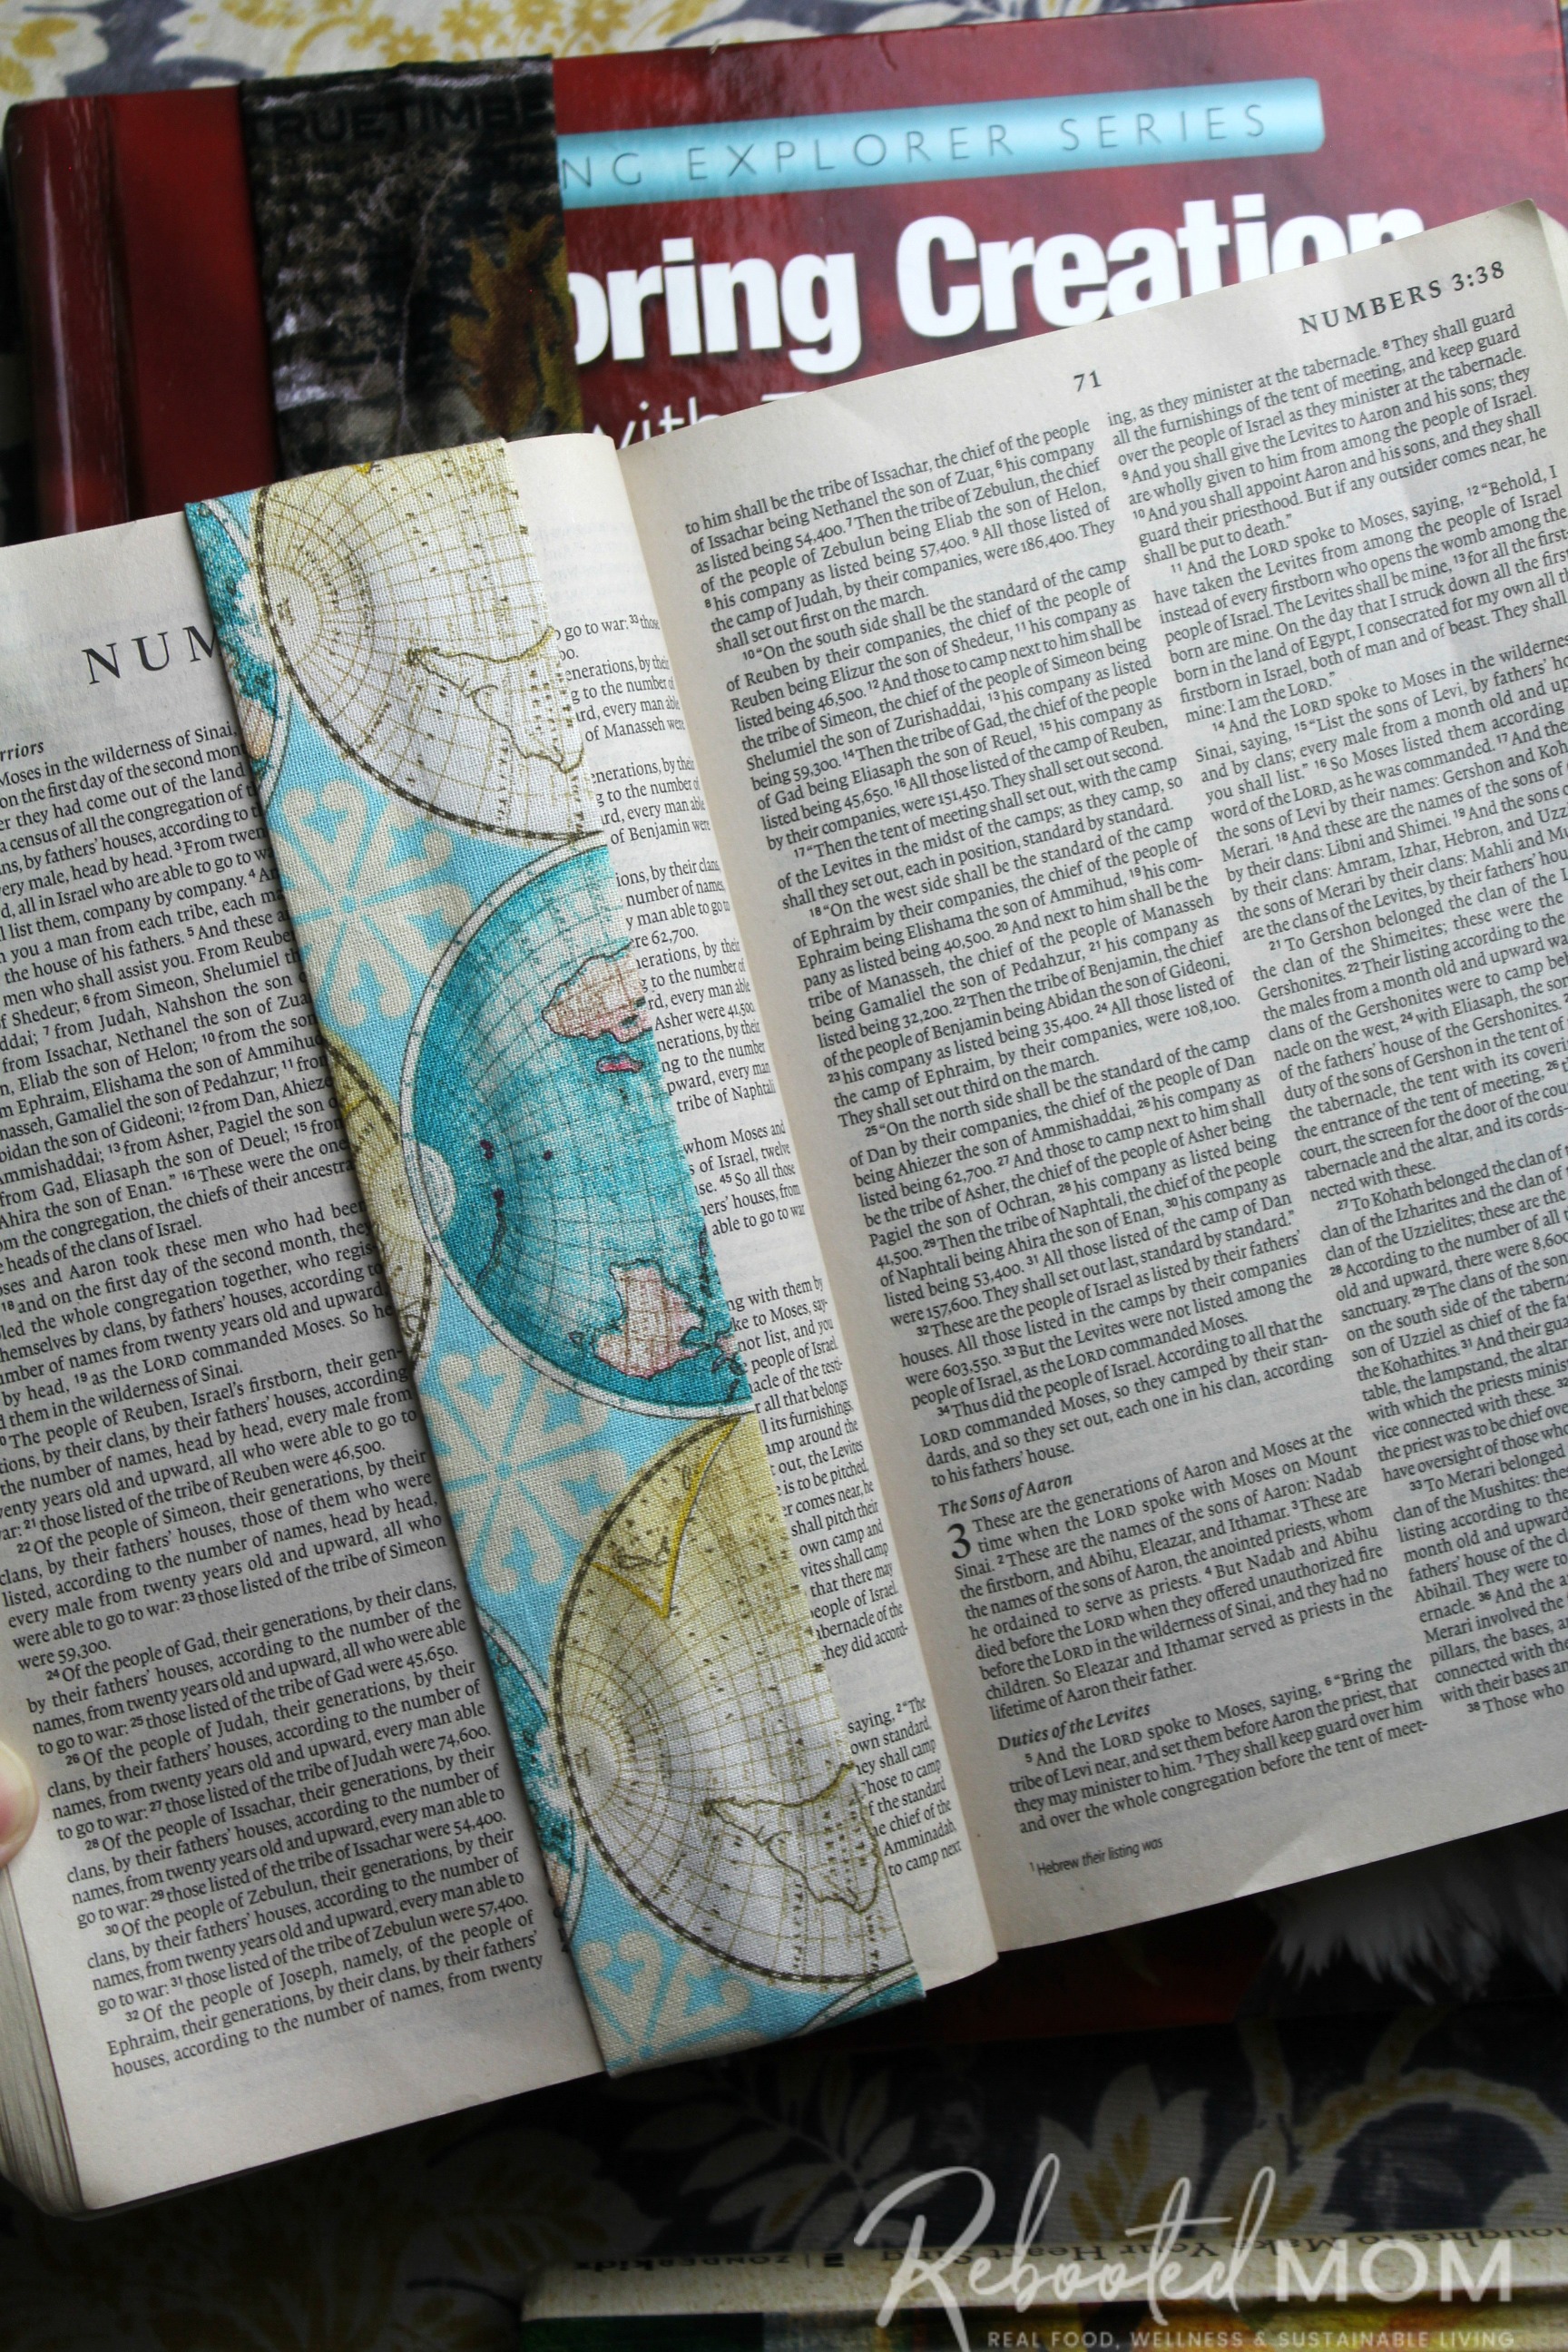
A fabric bookmark can be made in various sizes to fit different books you may have at home. By cutting the strip of fabric 14″ in length, you can use it for regular books (your Bible, or a regular paperback book). Our larger homeschool science book required a larger fabric strip that we cut to 18″ in length (but could have even gone a wee bit larger).
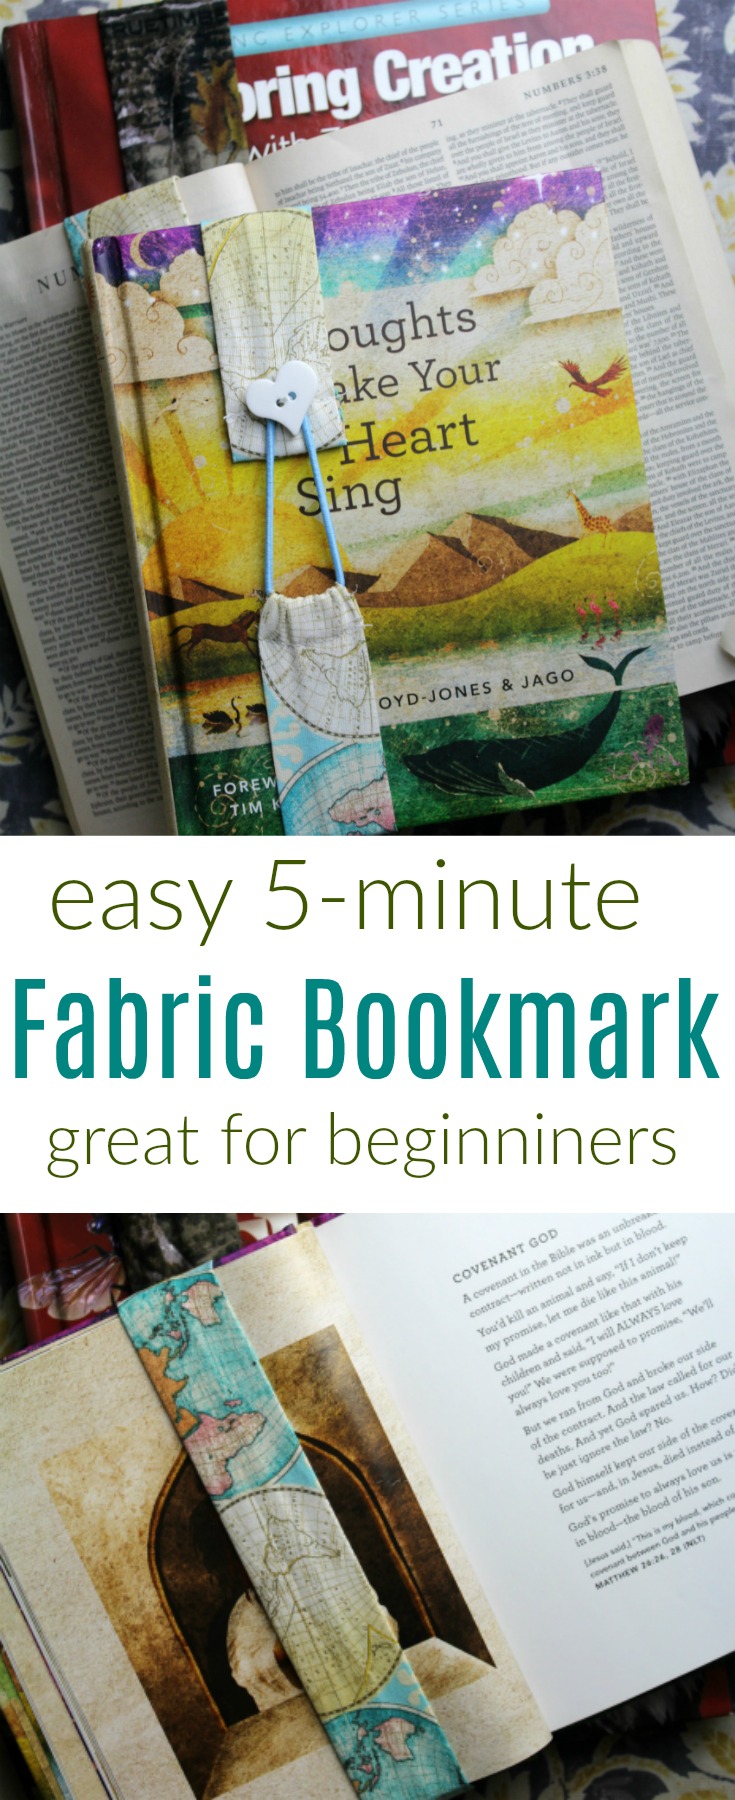
Easy 5-Minute Fabric Bookmarks
Whip up a fabric bookmark in just five minutes. As long as you can sew a straight line, you can pump out a few of these in a 30-minute time span. They’d be great for gifts for any reader – young or old.
They would also be a wise way to use fabric quarters (which are often times $1 at Walmart!)
Materials Needed:
- fabric scrap in any of these sizes:
- 4″ wide by 14″ long (medium books)
- 4″ wide by 18″ long (larger books)
- matching thread
- hair elastics (pick up at the dollar store)
- 1-2″ buttons
Instructions:
Cut your fabric to your desired size — 4″ wide by 14 or 18″ long. If you have a rotary cutter and mat, that works much better than doing it with a scissors — but it isn’t required.
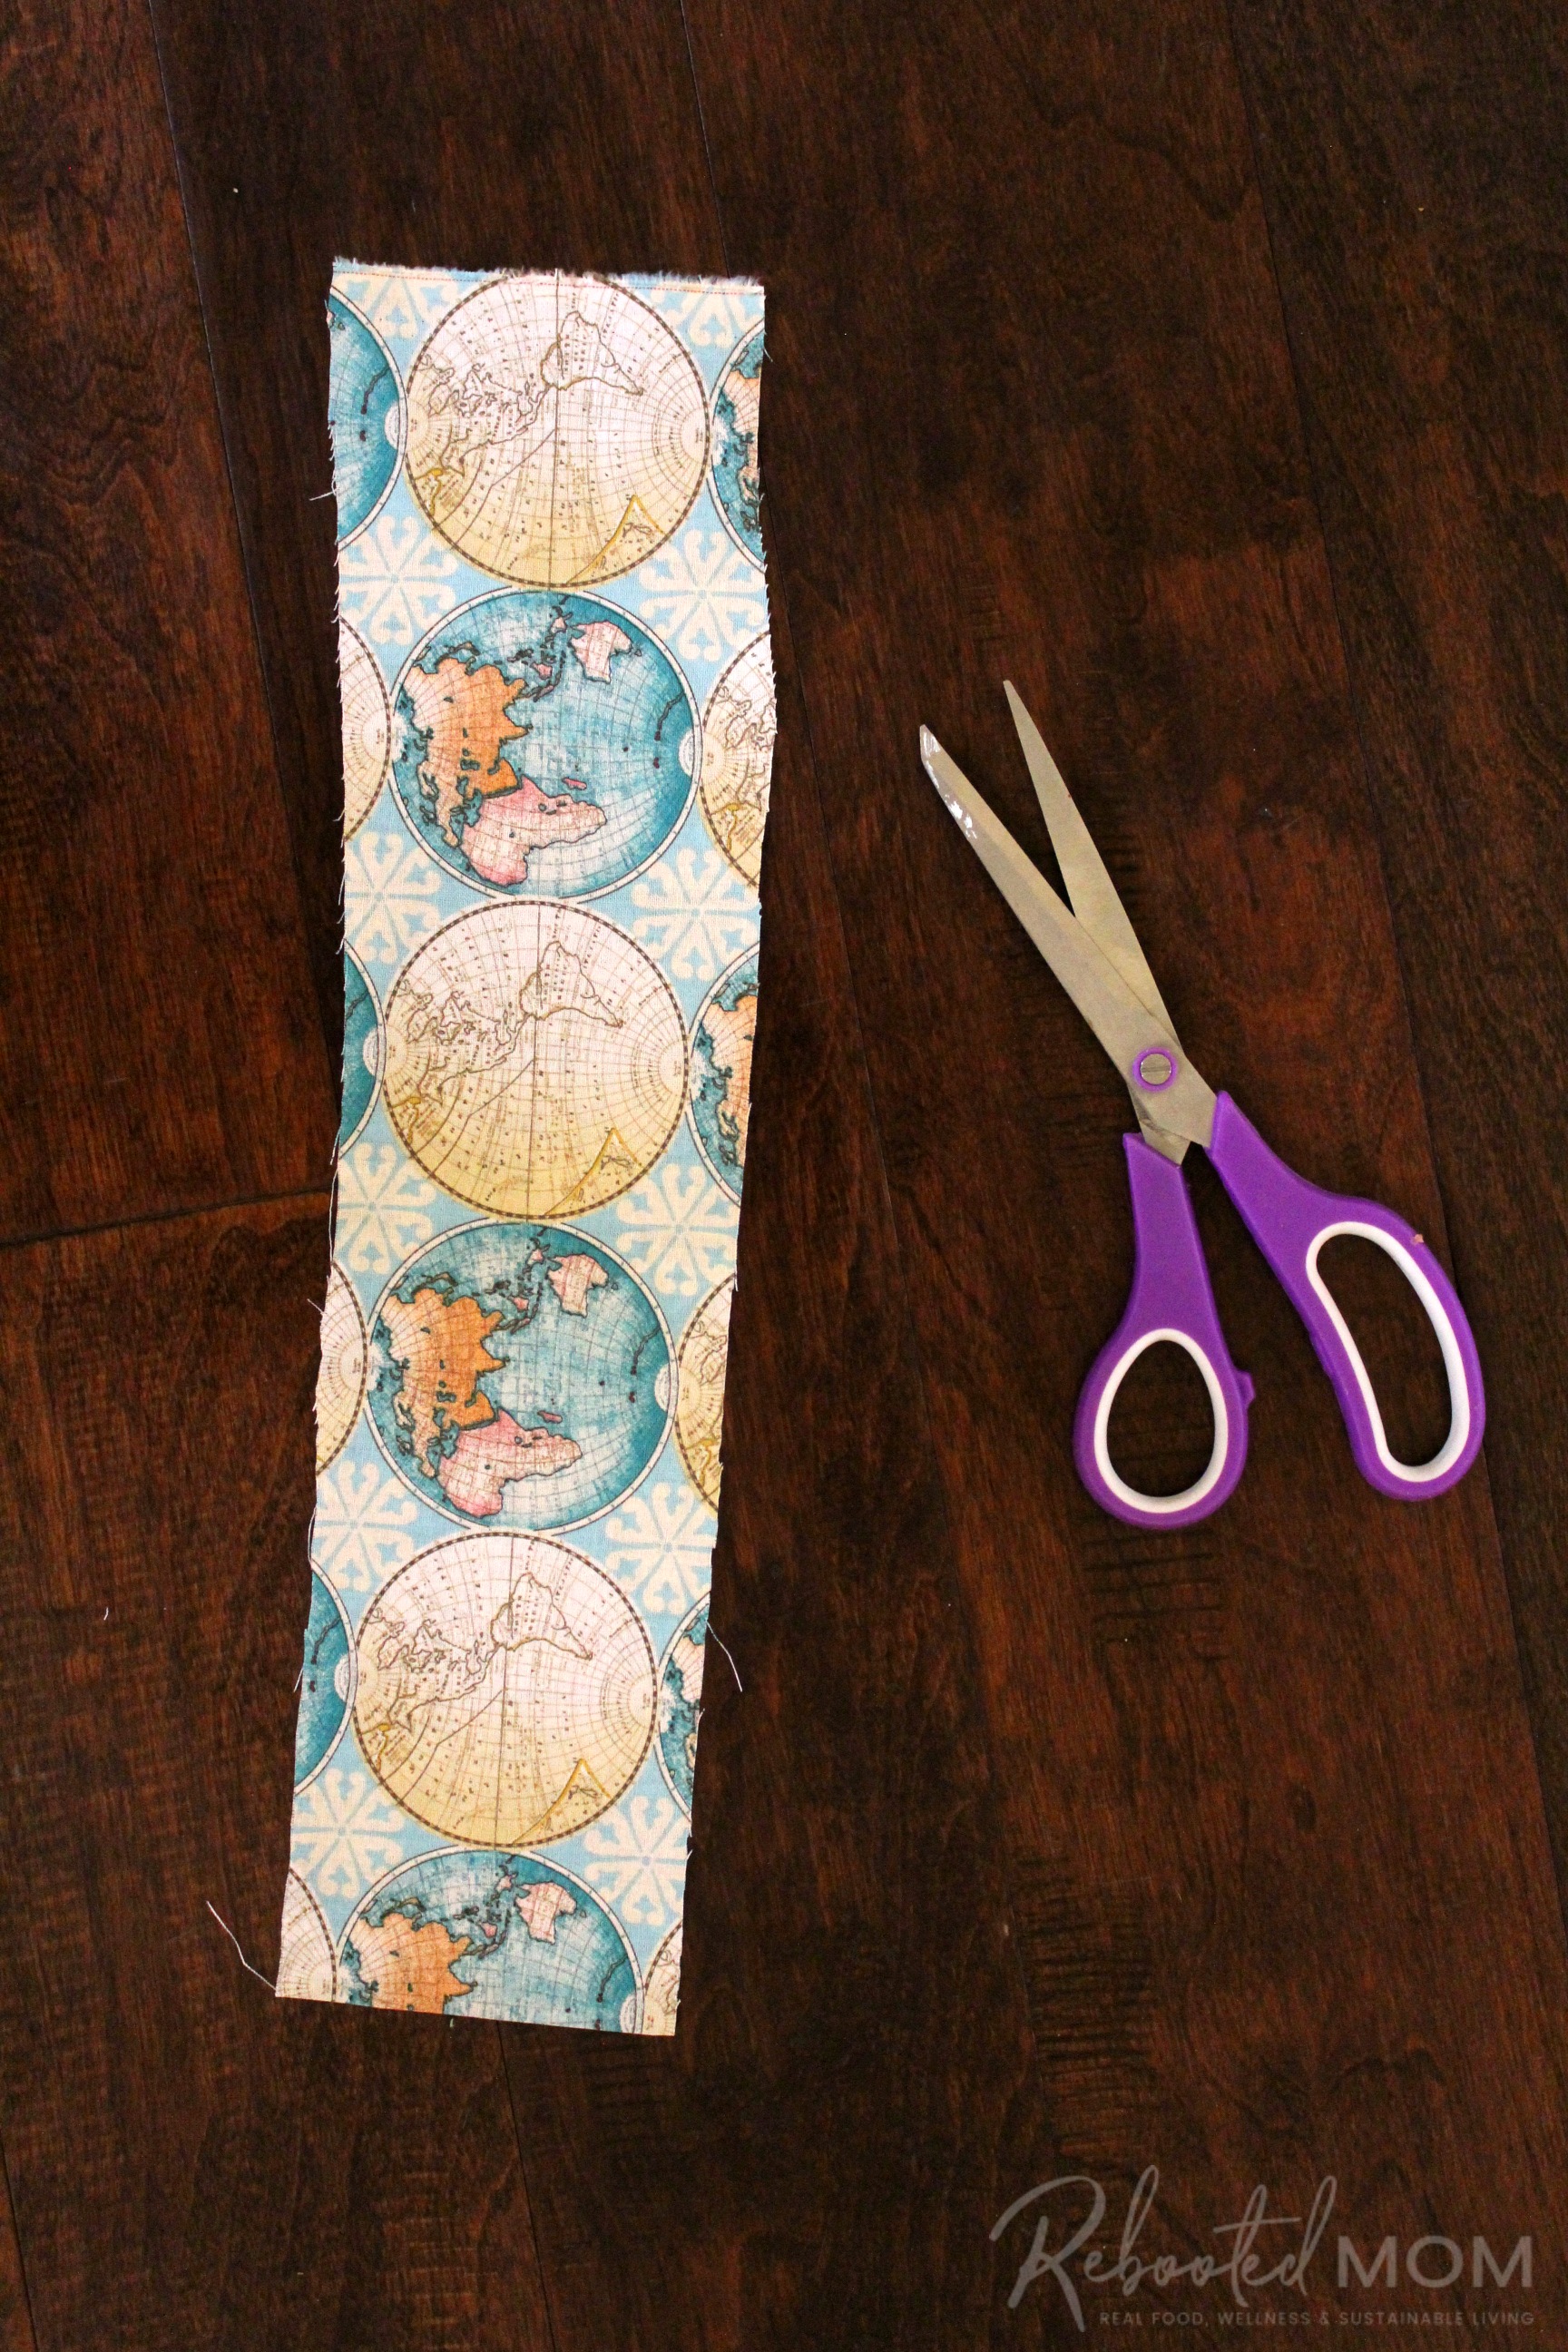
(Mine isn’t very straight — obviously I need cutting lessons!)
Once you cut your fabric, fold it in half lengthwise, with the right sides facing each other.
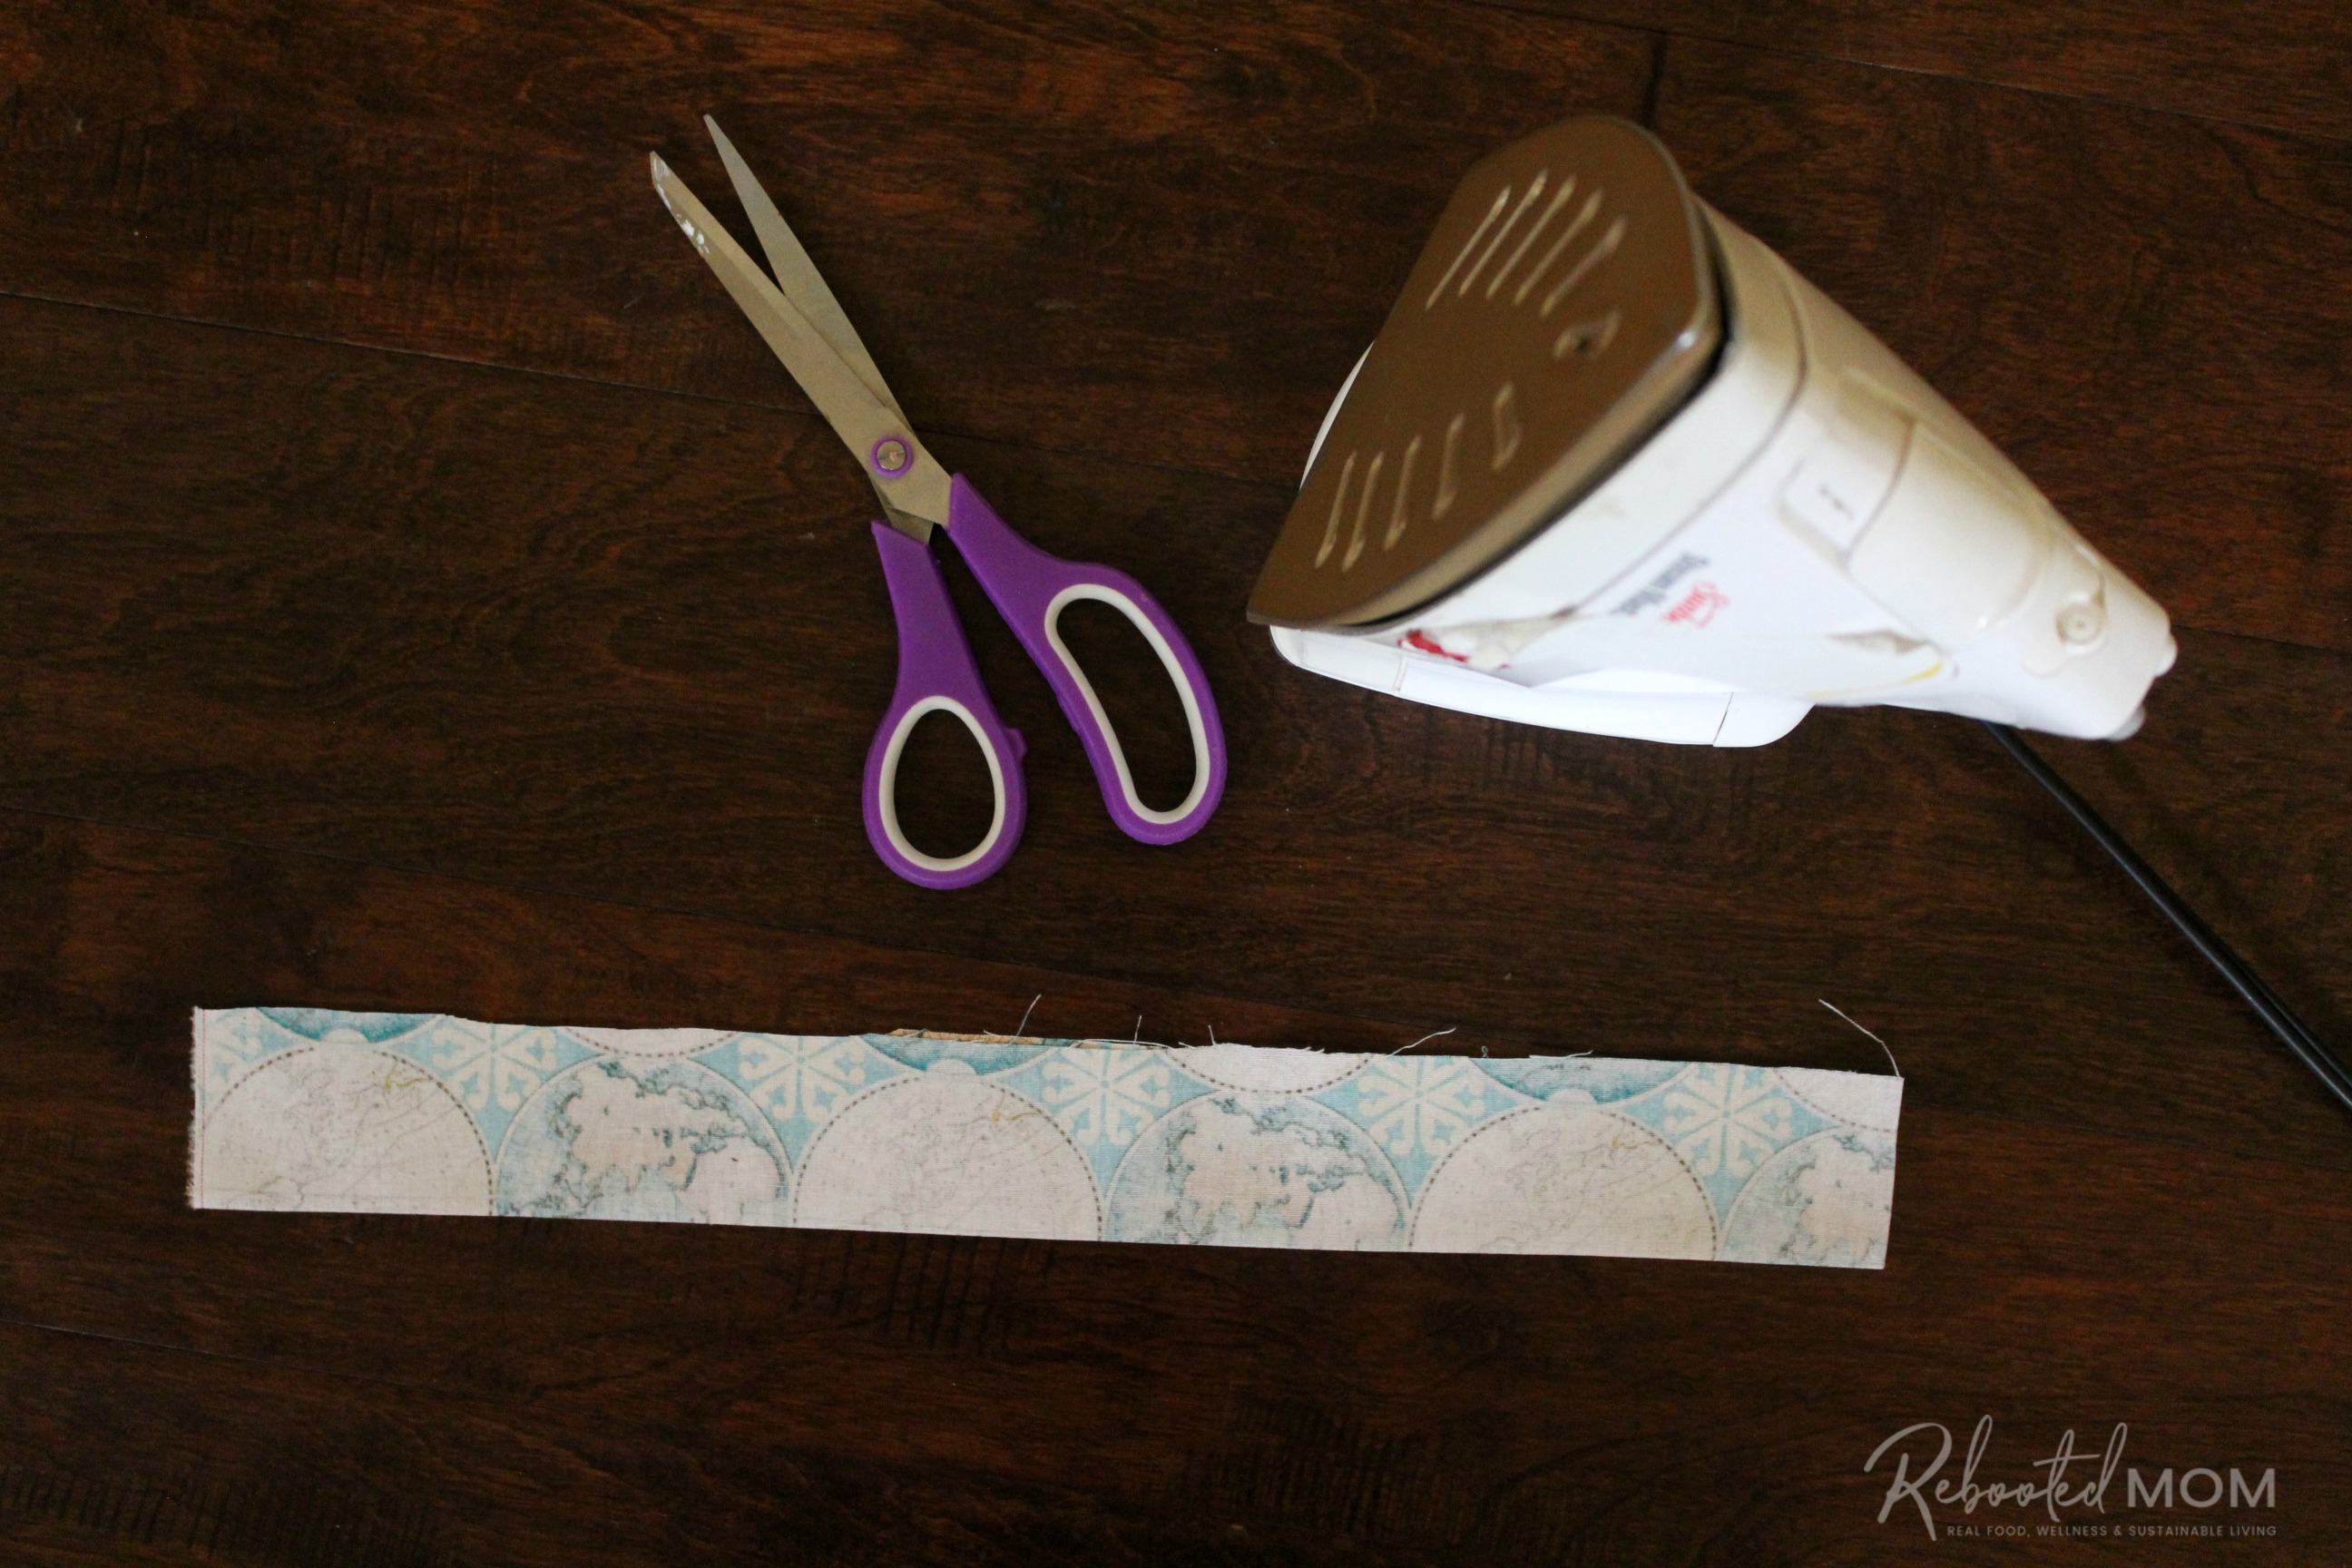
Iron that strip of fabric to form a nice crease.
Hop on your sewing machine, and sew down the long, open side of that strip of fabric with a straight stitch.
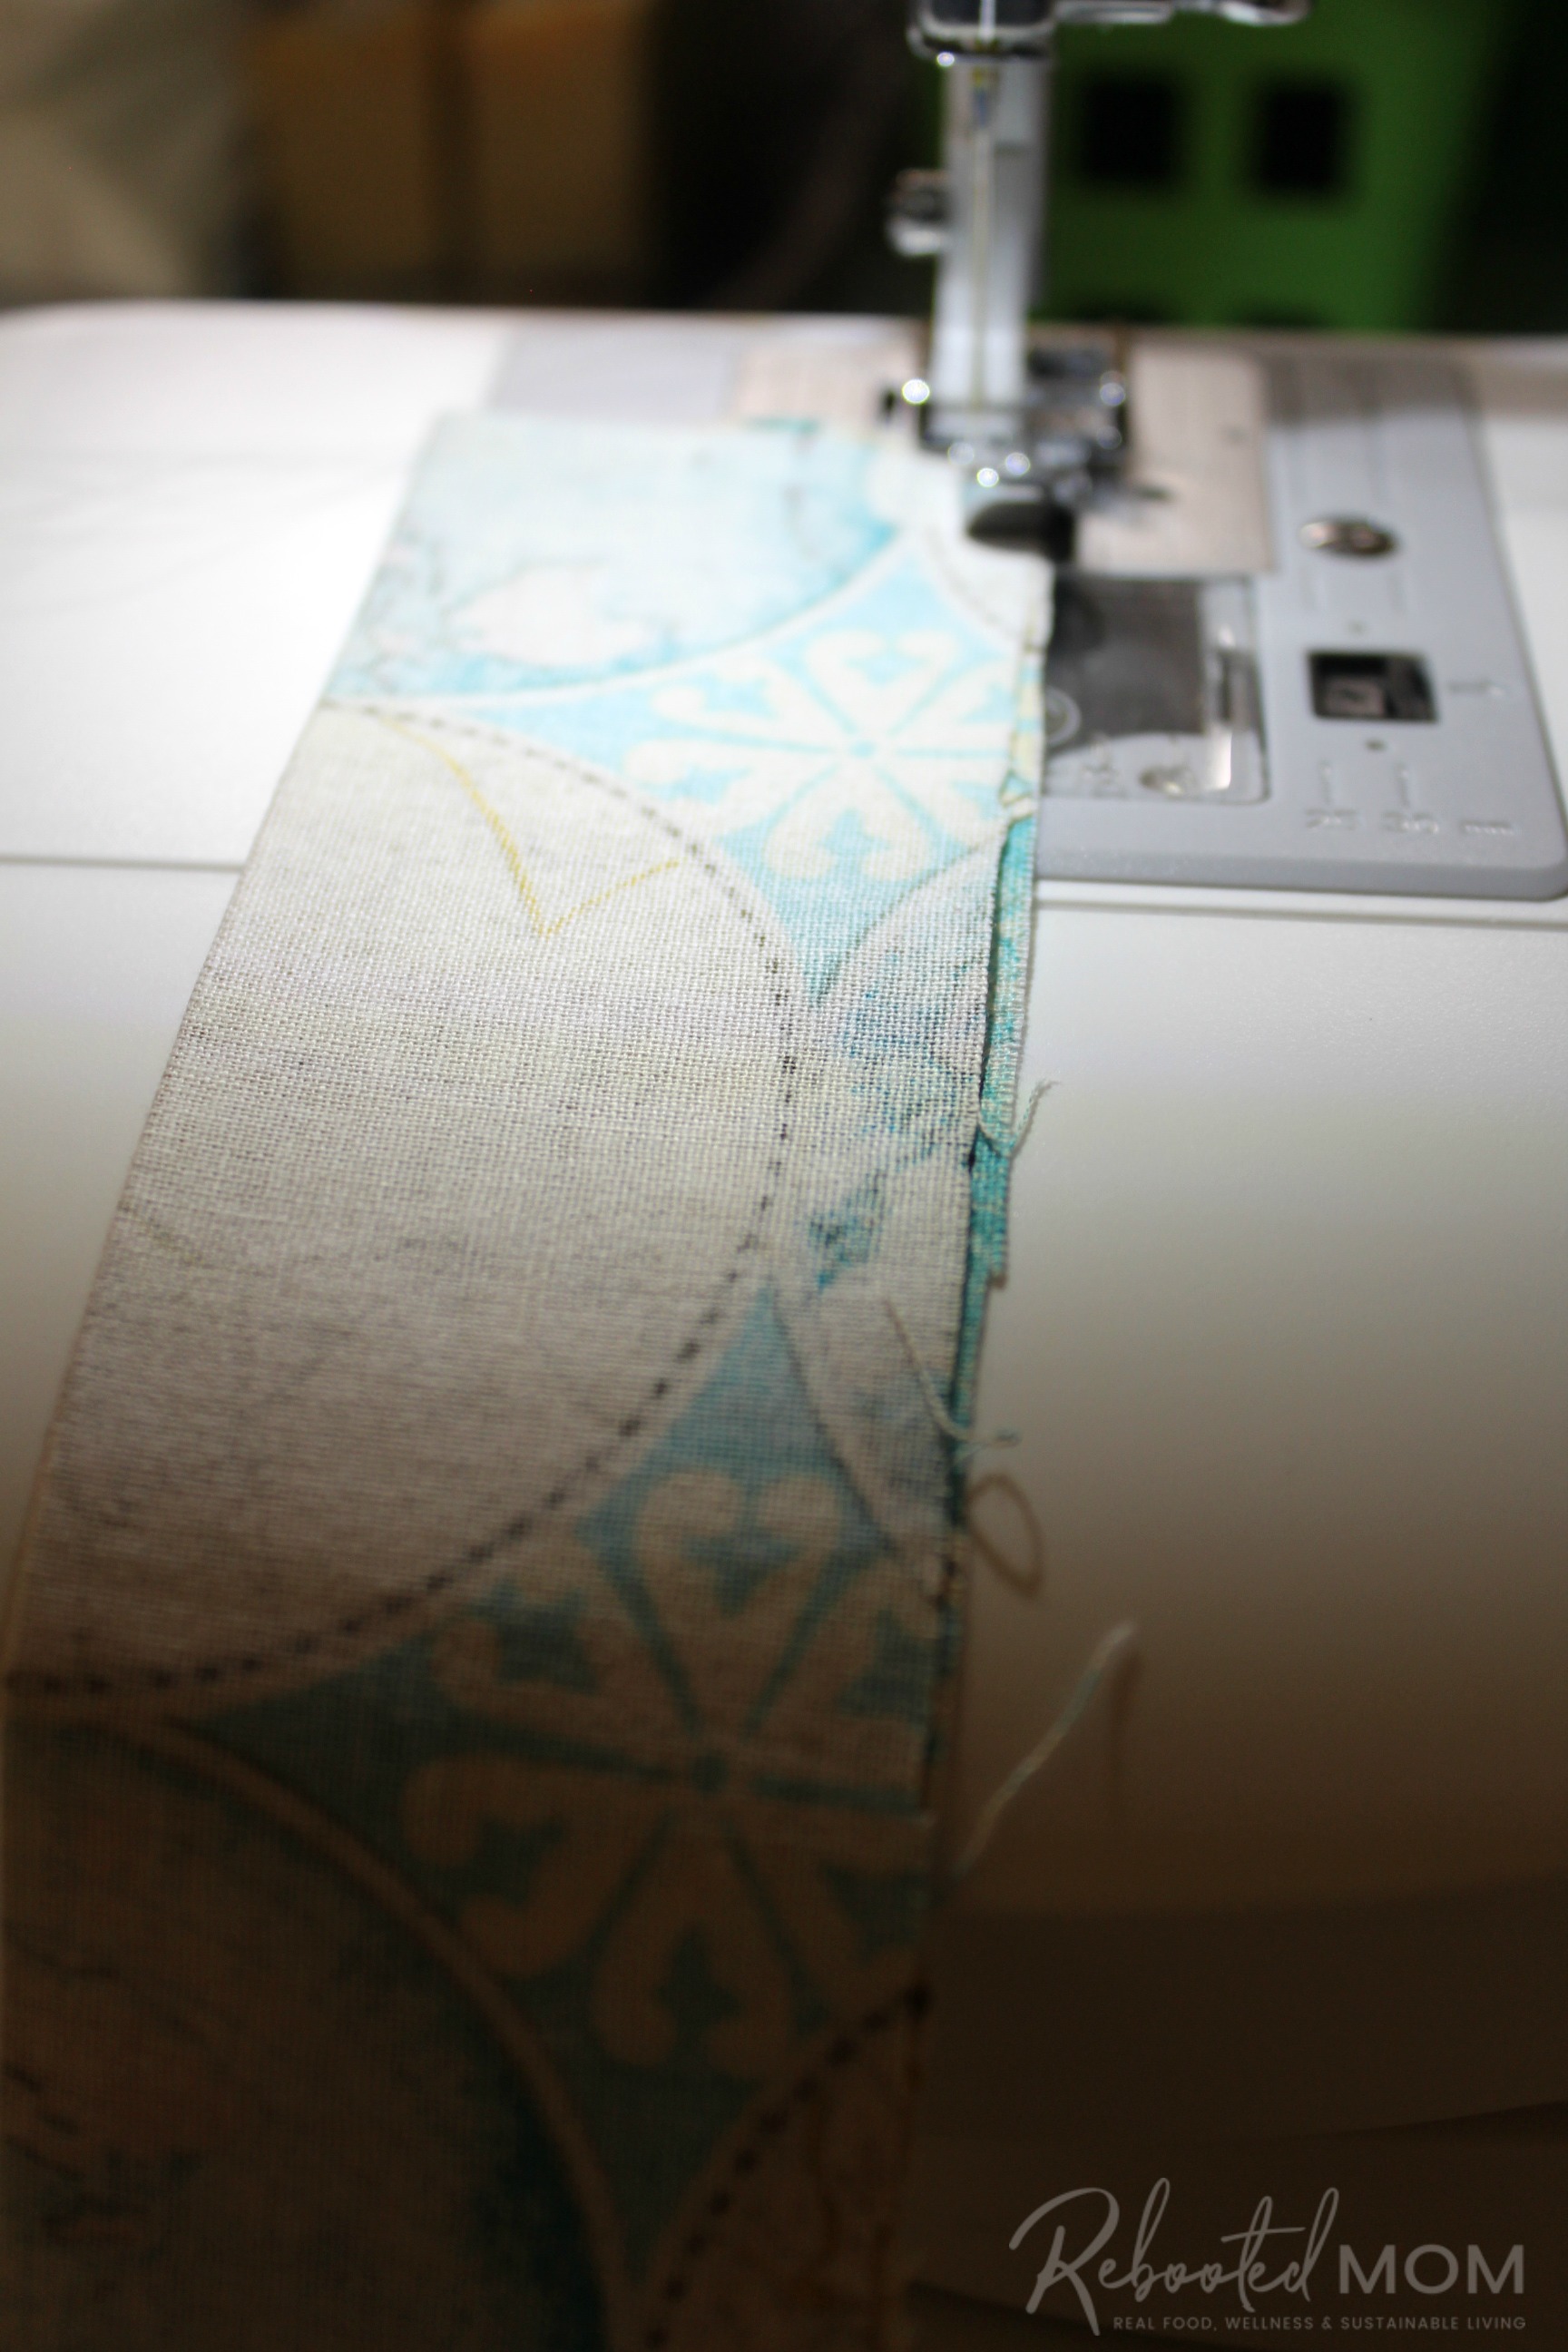
Use an 1/8 inch seam allowance, and reverse stitch at the top and the bottom for extra reinforcement.

Use a pencil or pen to turn the strip of fabric right side out. Arrange the strip so that the seam you sewed falls in the middle of the strip. Use the iron to press that strip flat.
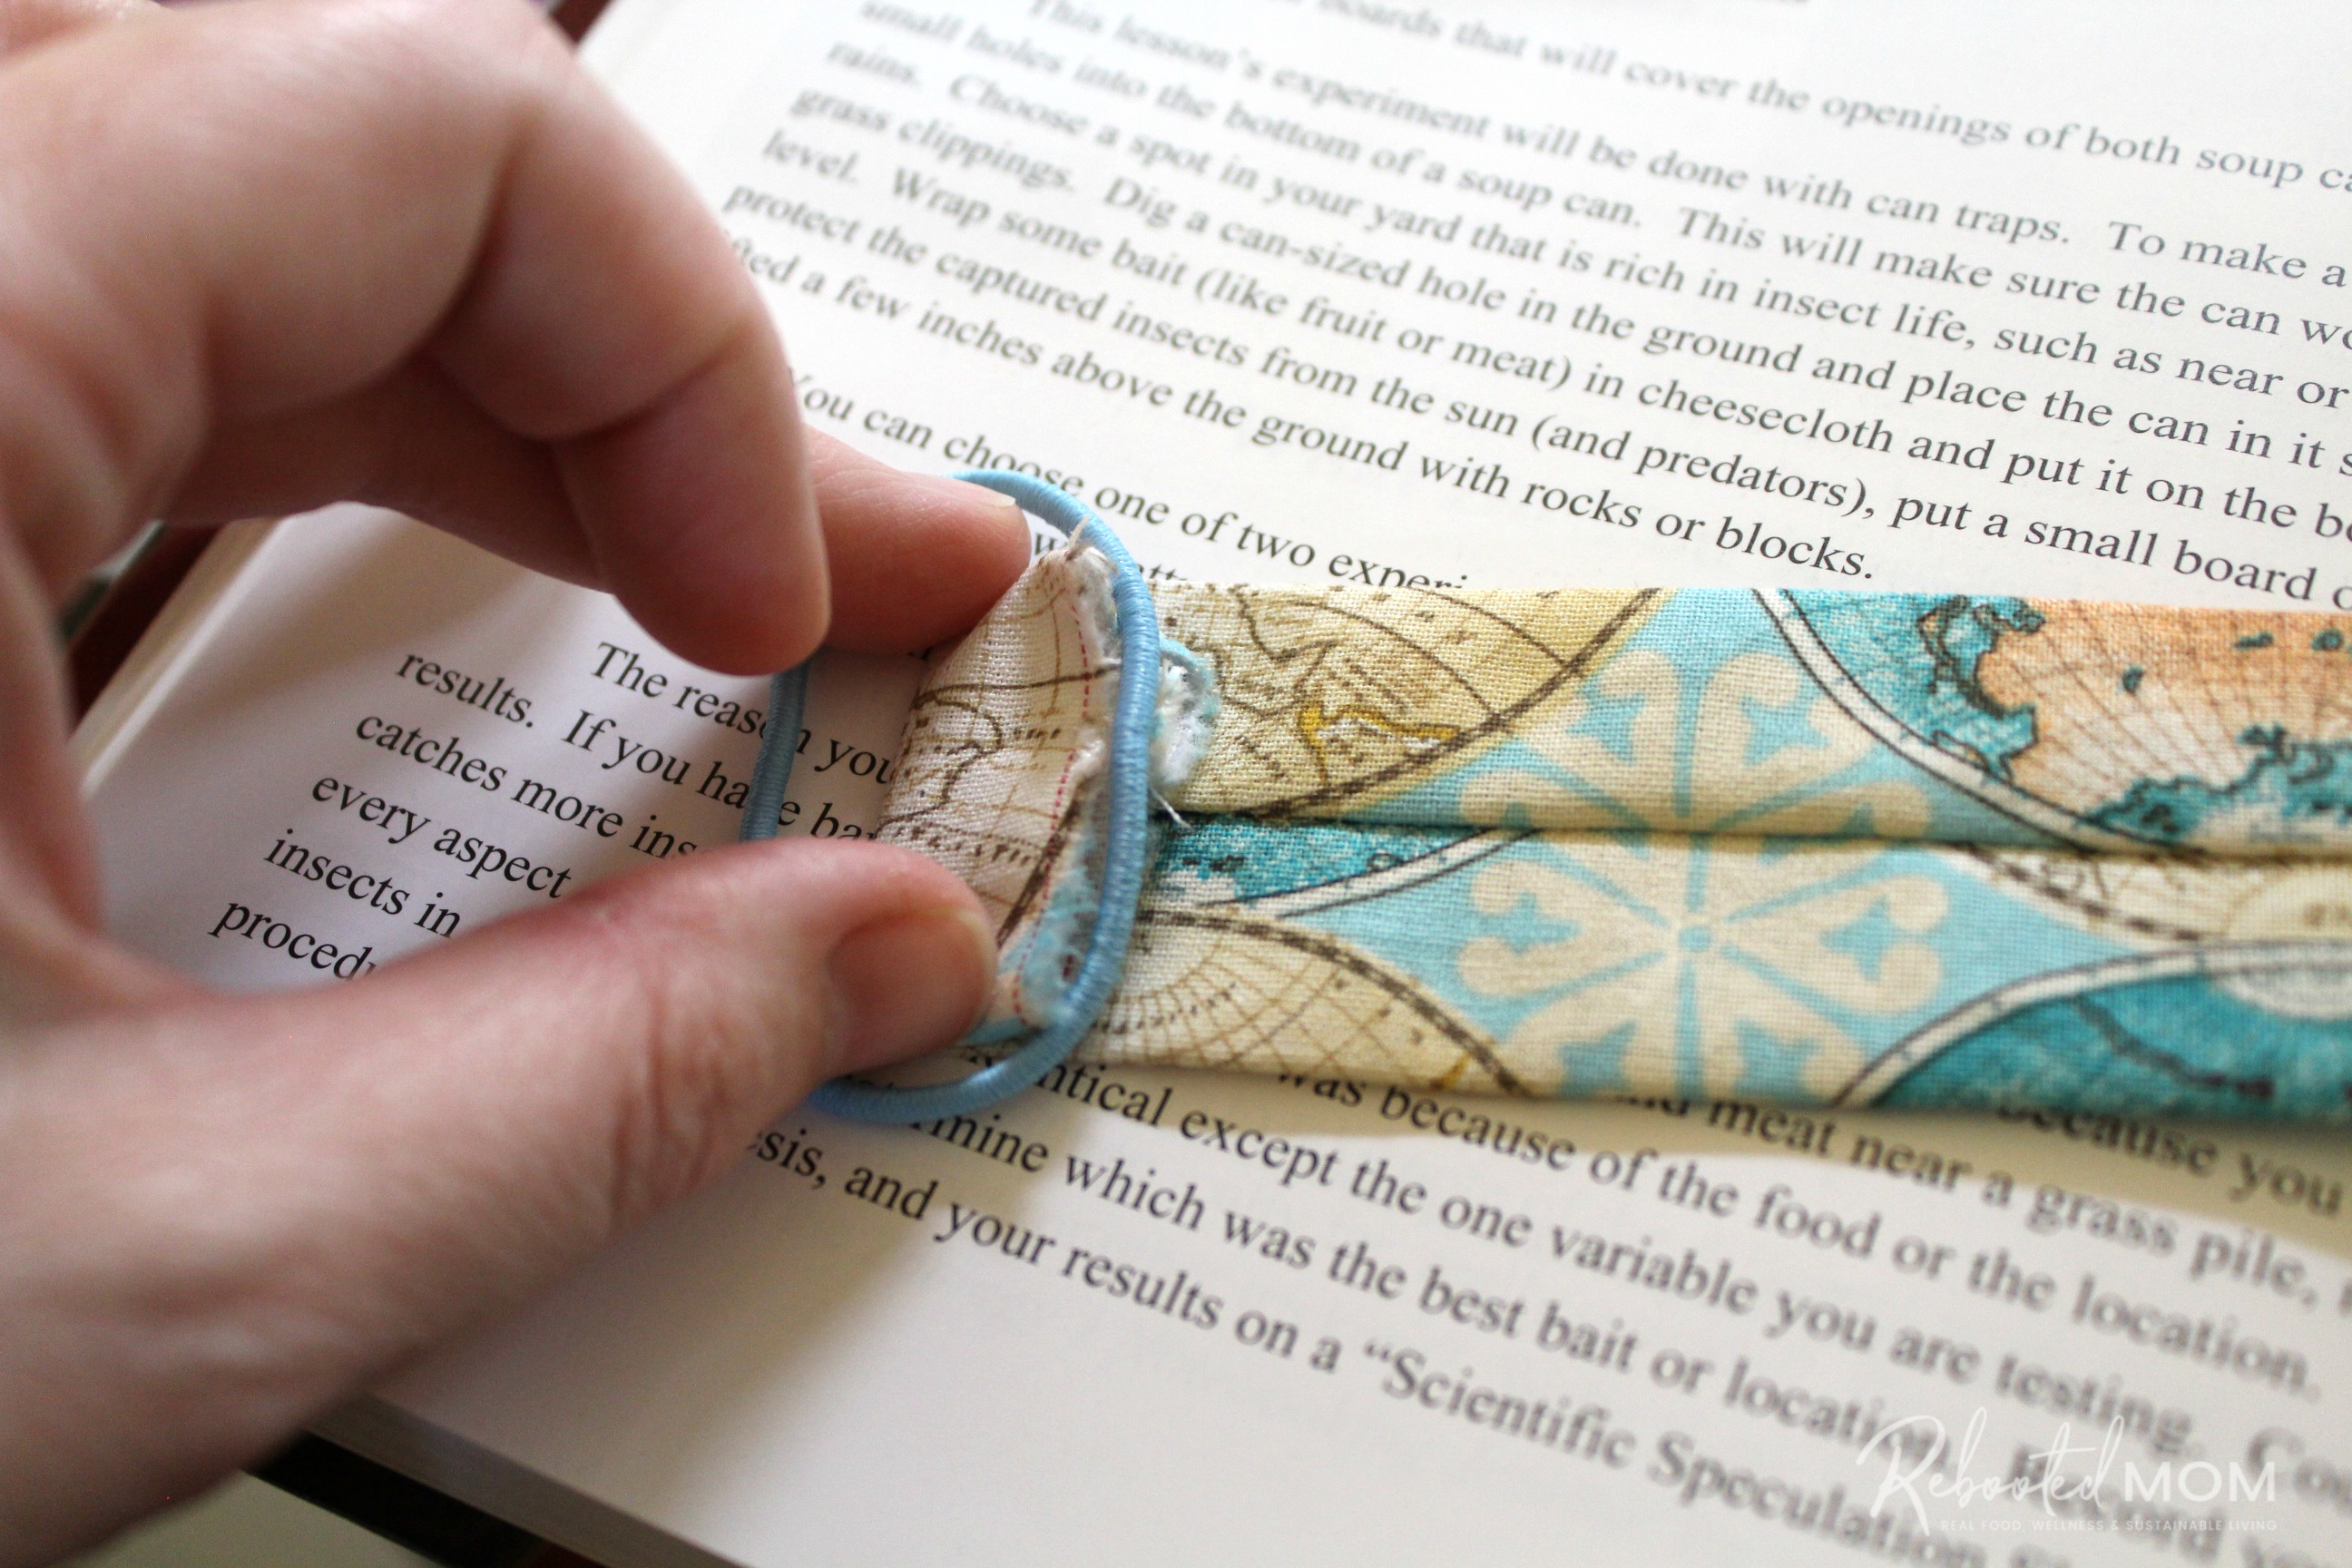
Fold one end over once, about 1/4 inch, then fold again — tucking the elastic under the second fold.
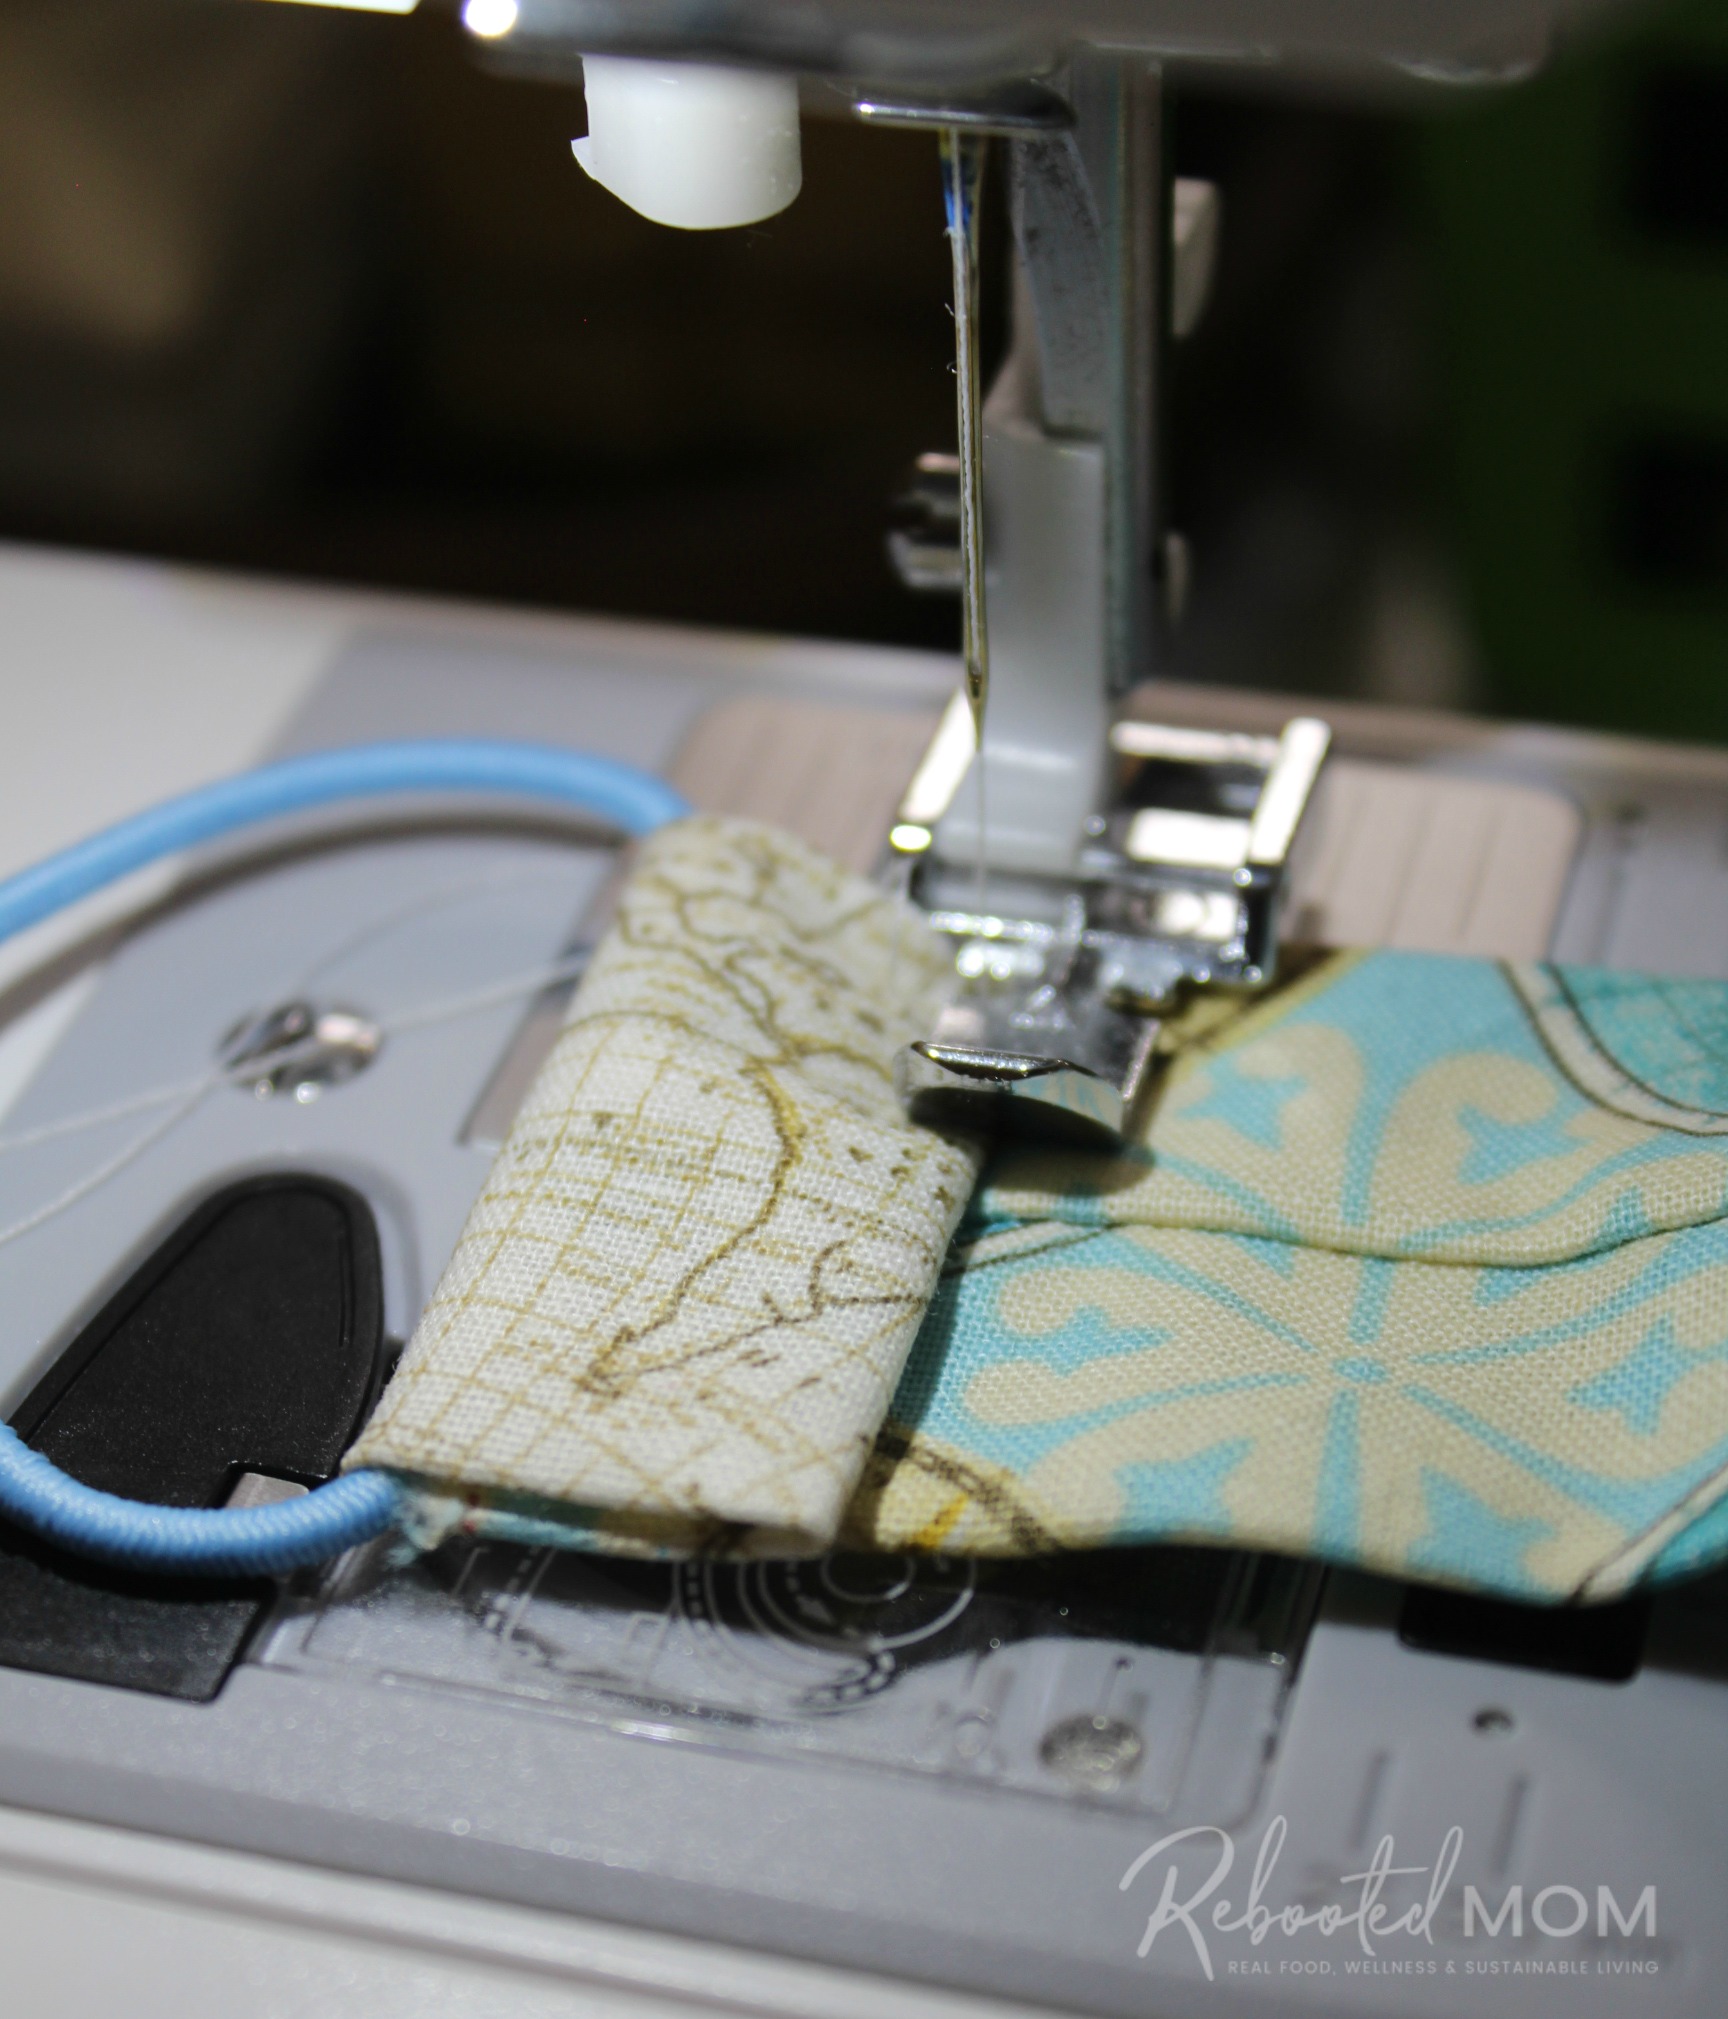
Sew that closed, making sure to reverse stitch at the start and at the end. That side is now done!
Repeat that on the other side except without the hair elastic. You’ll fold the end in 1/4 – 1/2″, then fold again, and sew that seam closed with a straight stitch.
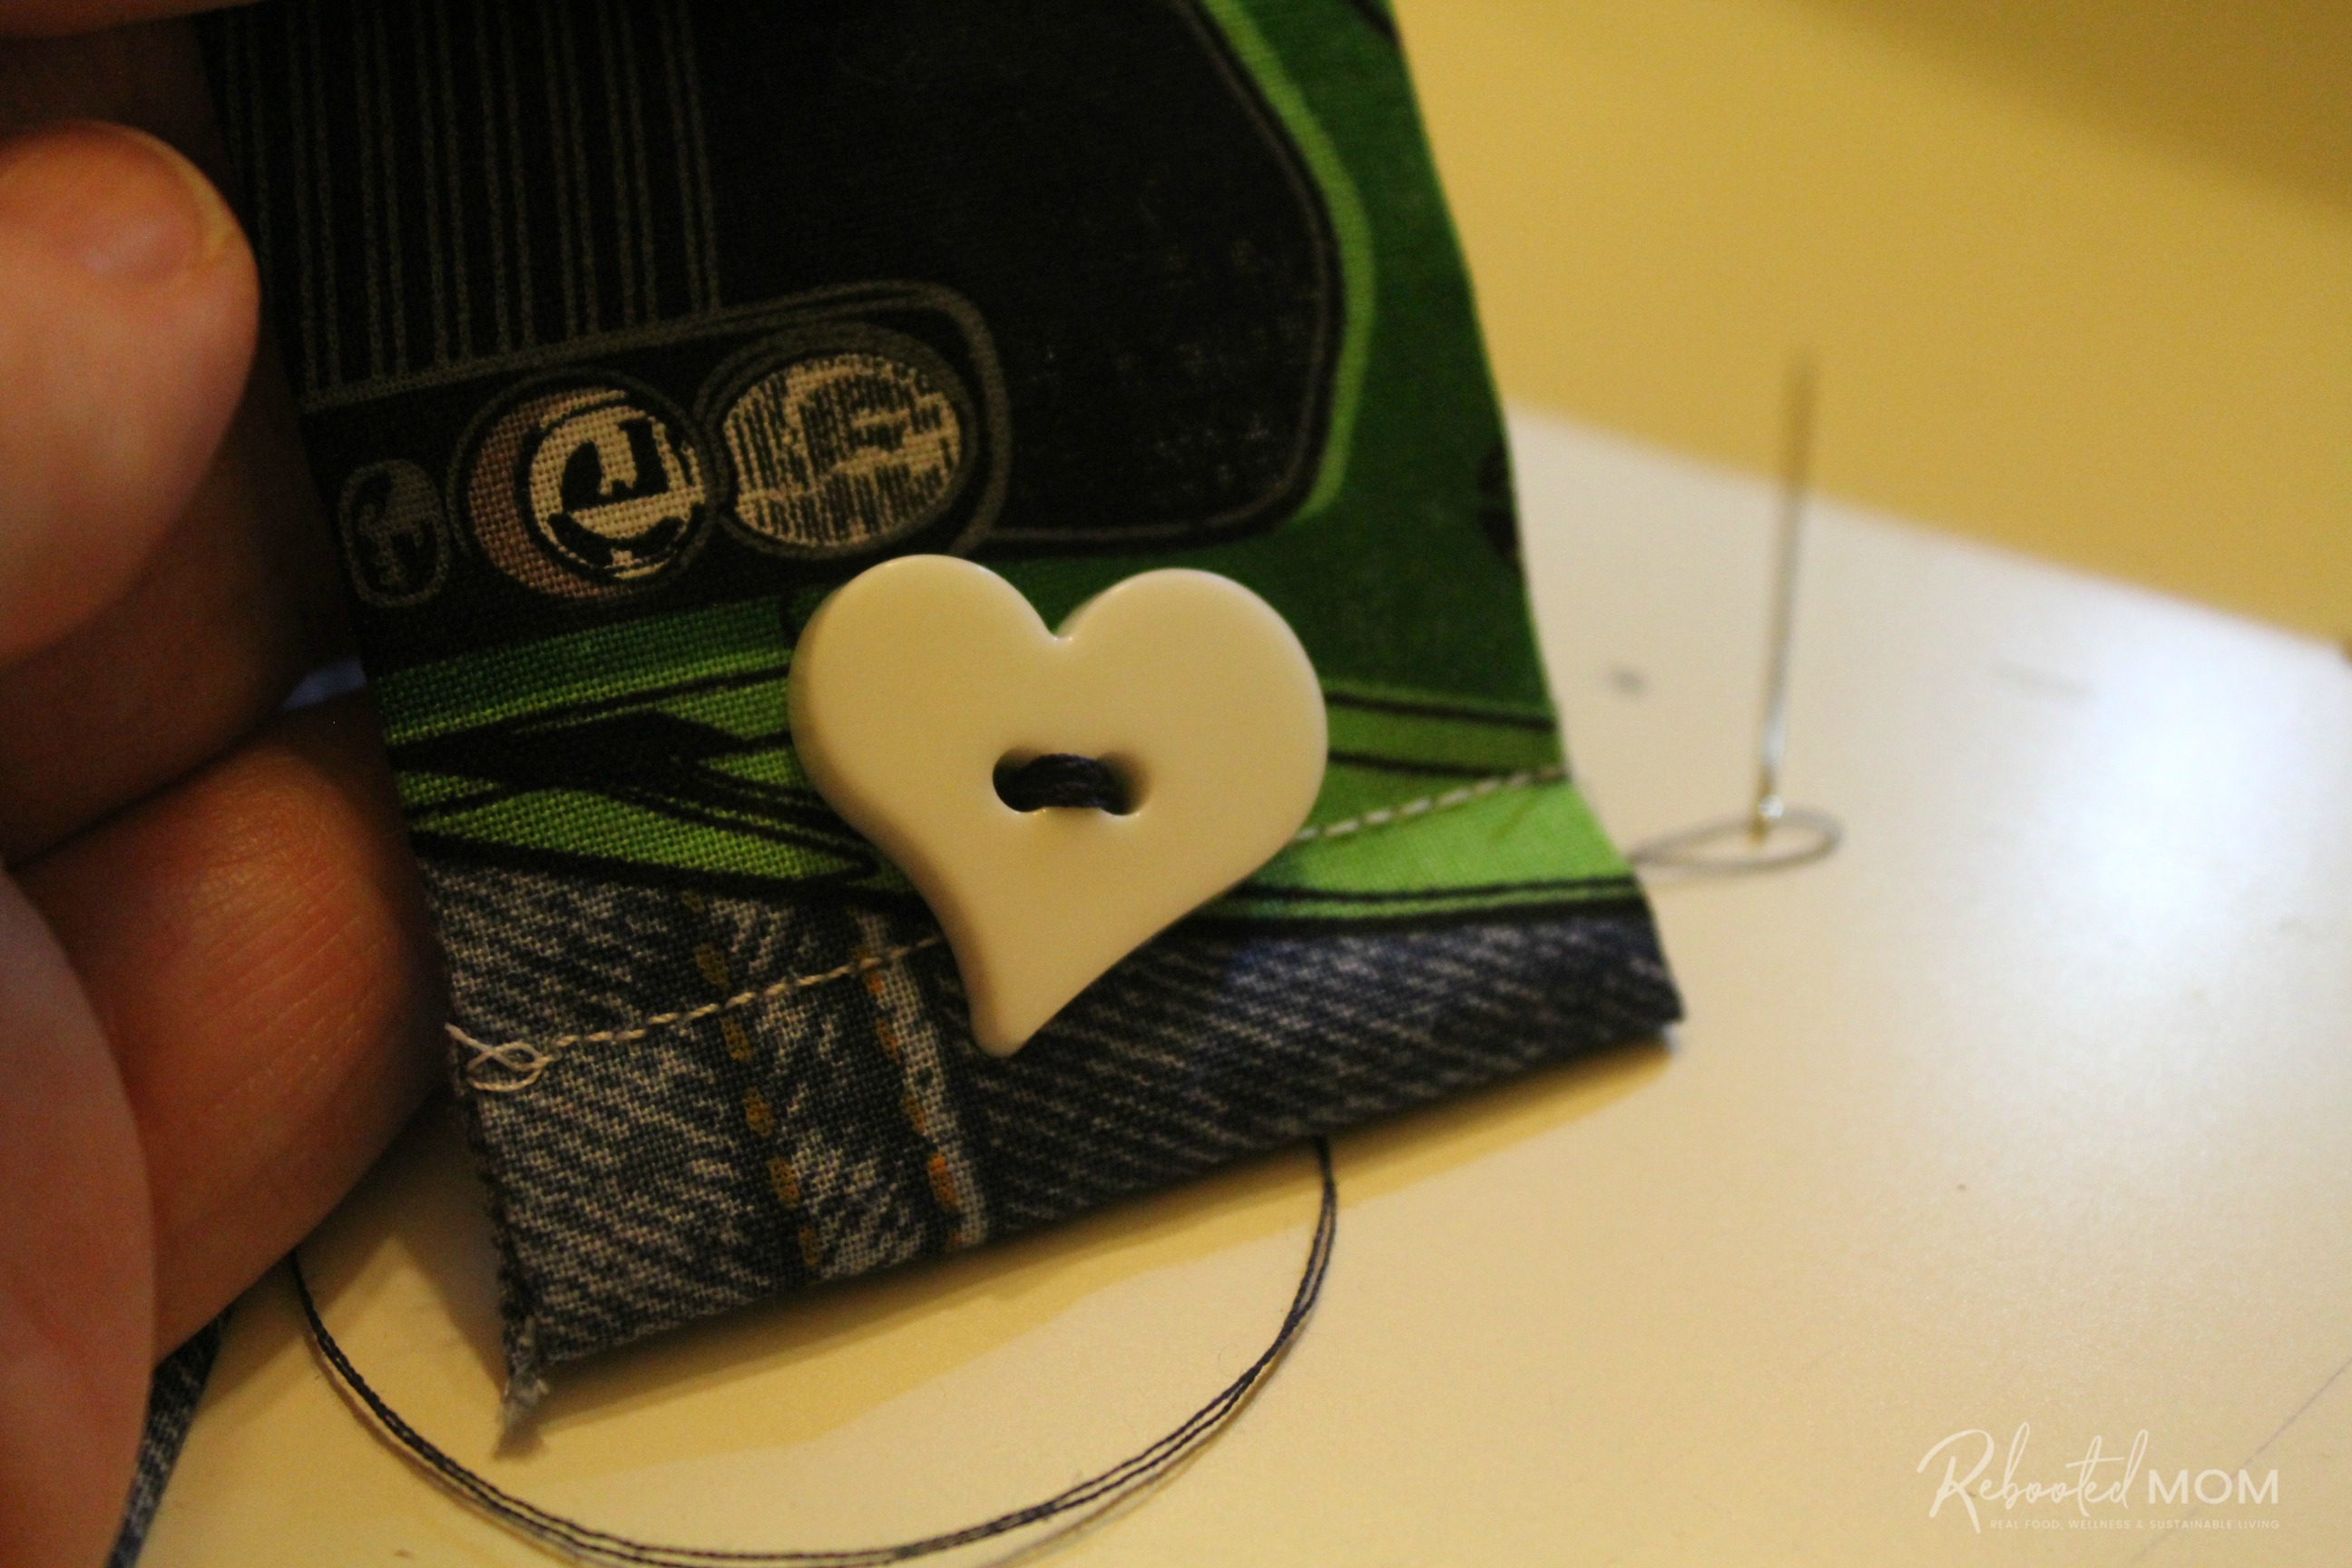
Trim the excess thread, and then flip the fabric bookmark over. The seam finished seams you just sewed should be facing the table now. Pull out your button and sew it 1/2 inch from the end — I like to sew 6-7 times through the hole so that it’s secure.
That’s it! Your fabric bookmark is done!
A fabric bookmark is a neat way to use up fabric scraps, and such an easy DIY for kids who are learning how to sew.
They also make wonderful gifts for teachers, or family members at the holidays, too!

I love these fabrics bookmarks! It has inspired me to teach my grand girls to sew. They can make them for any type of gift giving celebration. Thank you this great and easy idea!
You are so welcome!
Great idea and easy instructions.