


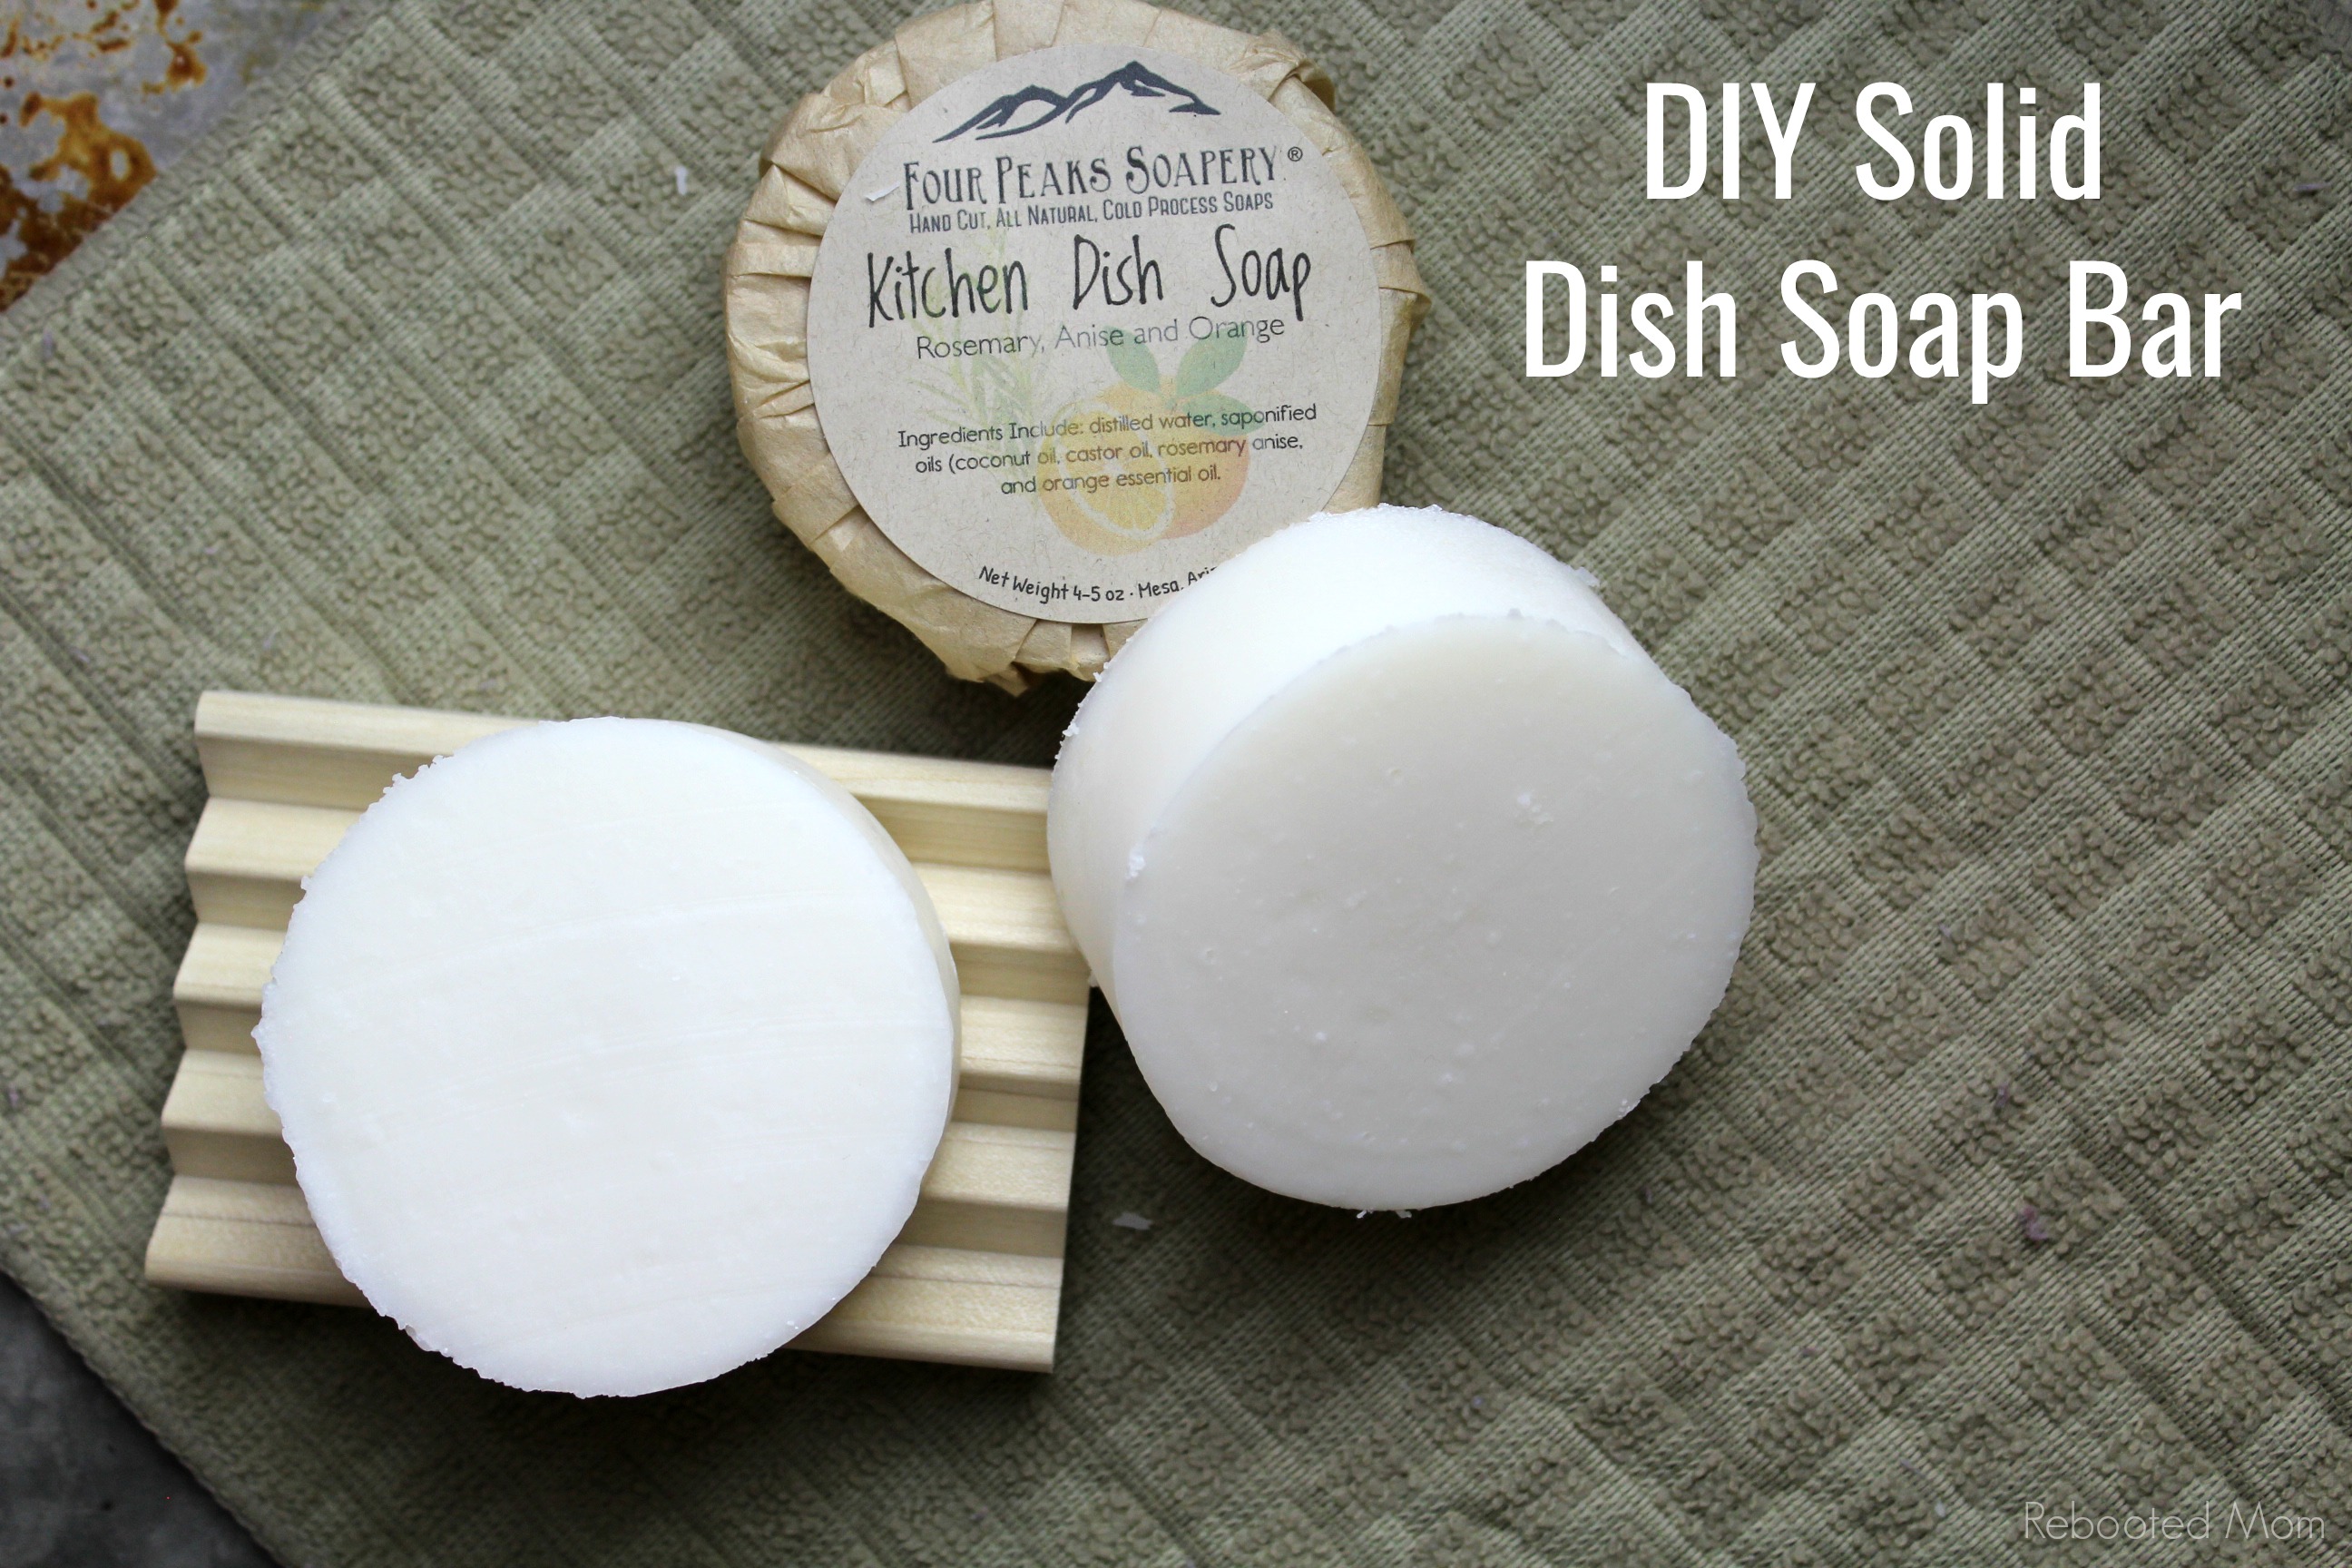
Ditch the dish liquid — make your own eco-friendly bar dish soap at home with just a few simple ingredients in less than one hour!
Ten years ago you would have been hard pressed to find me using a dishwasher at home. It’s not because I don’t like to make things easier… because I definitely do. When we were kids, having a dishwasher wasn’t too common.
Thus, once grew up and moved out, I found myself gravitating away from that appliance in favor of washing dishes.
Fast forward 15 years – while I have a dishwasher, I find myself washing more dishes by hand. While you wouldn’t normally think of dish soap in the form of a bar to conquer that sink full of dishes, it really does work incredibly well.
Set the bar of soap on a soap dish next to the kitchen sink and give it a few rubs with your scrub sponge. Then go to work on your dishes. I’ve formulated the bar so that it cuts grease and grime while being easy on the hands.
These Kitchen Dish Soap Bars make a wonderful gift for a new neighbor, family or even friends at the holidays, too!
If you haven’t ever made cold process soap, you’ll want to read through this DIY carefully to make sure you are fully prepared with all of the ingredients and steps.
Solid Dish Soap Bar
A solid kitchen dish soap measured in ounces with a superfat of 3%. This recipe makes 8-10 round bars of dish soap. Each bar should last several weeks (if not months) of use with your favorite kitchen dish brush or sponge.
Ingredients include:
- castor oil 1 oz
- coconut oil 29 oz
- liquid (distilled water) 11.49 oz
- lye (sodium hydroxide) 5.41 oz
- essential oils (use the fragrance calculator to determine how many oz of oil)
FIRST: PREPARE THE MATERIALS
#1: Suit up for safety. Put on goggles, wear gloves and don clothes that have long sleeves. Go a step further and make sure all distractions are out of the room/house – kids, pets, etc. Use a well-ventilated area (I like to use my kitchen sink because I have a few windows behind it that provide ventilation).
#2: Weigh out the water you will be using in a plastic cup or pitcher and set aside and allow to cool. You might want to stick the lye water in the freezer or fridge to allow it cool faster.
SECOND: MIX UP THE SOAP
#3: Prepare all of your ingredients – and have everything set aside to start:
- Thermometer (one that you don’t use for food)
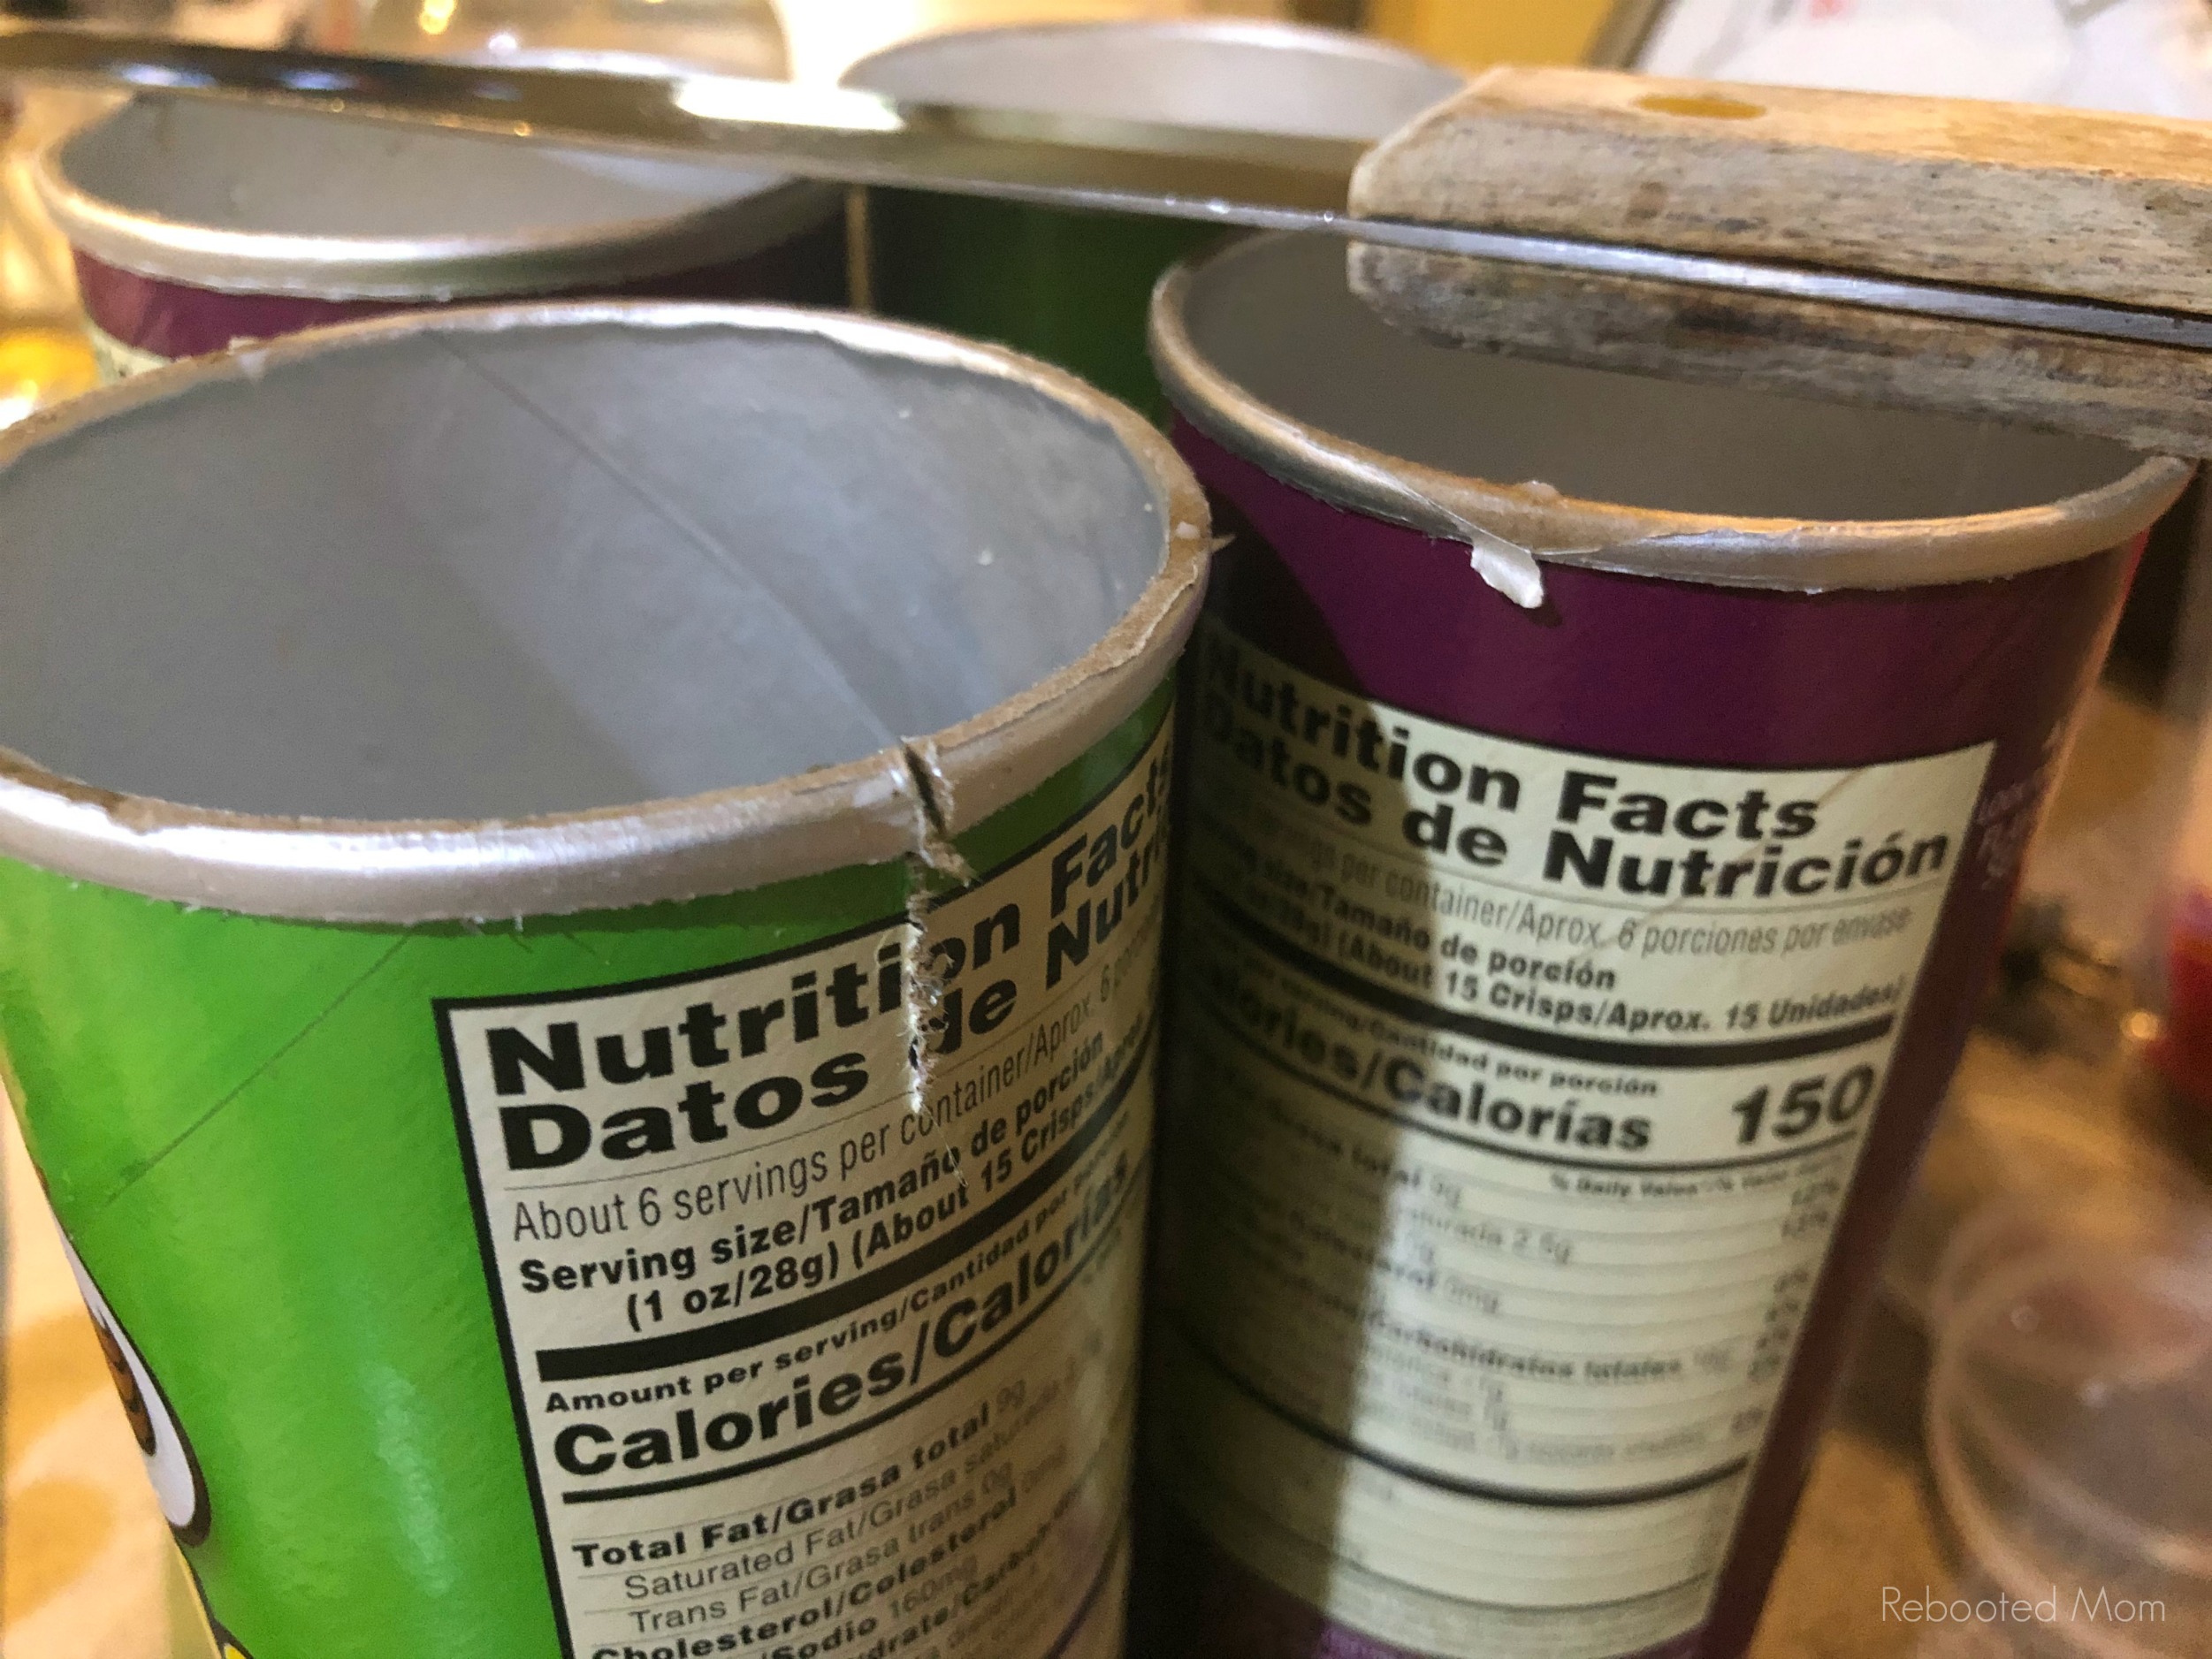
- 2 empty Pringles cans – rinsed out
- Pyrex 8 cup measuring device – not required, but so handy to have!
- Immersion Blender – you don’t have to spend oodles but you will want something reliable with a metal stick, not plastic.
- Lye – this is the brand we use
- Digital Scale to measure your ingredients
A Pringles can holds 32 oz – if you are going to re-size the recipe, make sure you run it through the lye calculator to adjust the recipe!
#4: Sprinkle the lye into your water, a little at a time. Stir slowly as you continue to add little bits of lye until the lye is fully dissolved. Set the mixture aside to cool to a temp of 90-115 degrees F.
#5: Combine your oils that you have weighed out. You will want to make sure your oils are between 90-100 degrees F – if the oils are not 90-100 degrees, you can combine them in a pot on the stove and heat slowly.
#6: Pour the lye mixture into the oils. Use your immersion blender to stir mixture together, making sure to pulse the immersion and take 15-20 second breaks. Don’t overheat your stick blender.
#7: Blend until the mixture starts to thicken. Blend with your stick blender until the mixture reaches a thick trace. It may take anywhere from 3-7 minutes if not more.
#8: Pour the batter into the Pringles cans. Tap the cans on the counter to make sure you eliminate any air bubbles. Use a paddle or long spoon to spoon out as much of the batter as you can.
#9: Refrigerate or freeze. The batter will heat up considerably in a Pringles can even though you soaped at a cooler temperature. You’ll want to place them upright in the freezer for at least 3-4 hours.
THIRD: CUT THE SOAP
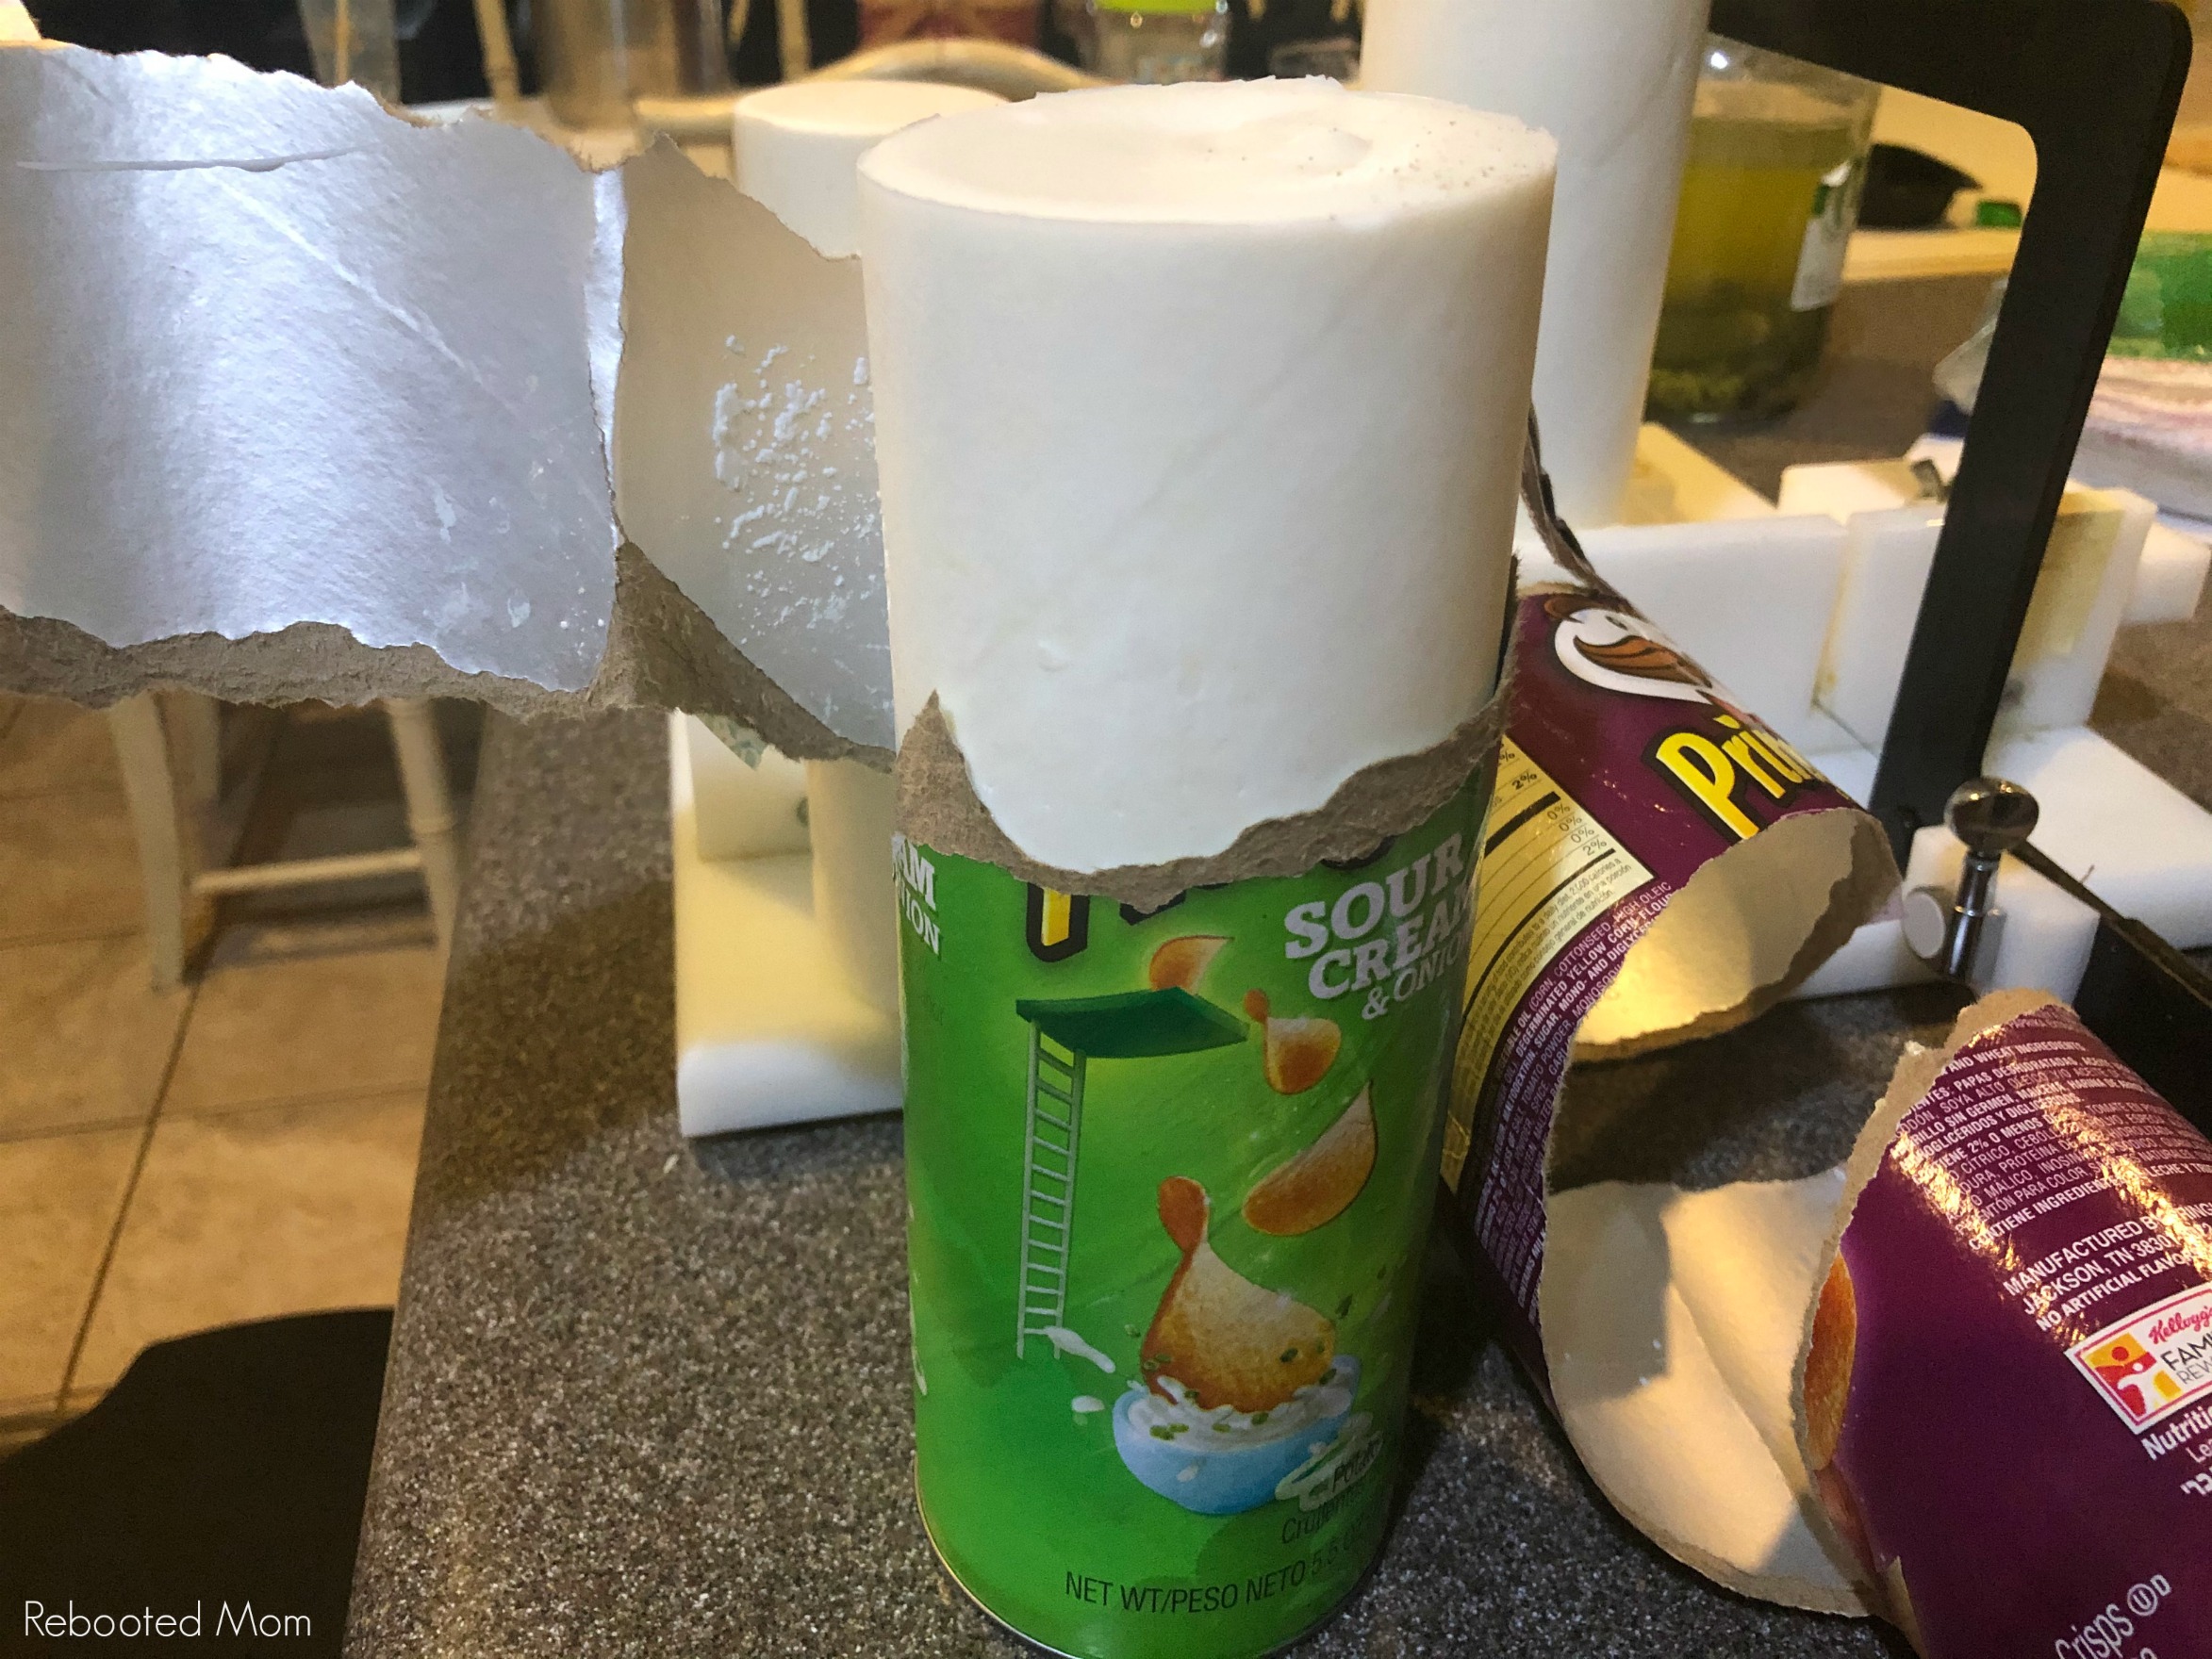
After 6-8 hours use a serrated knife to carefully slice the cardboard on the top of the Pringles can, then unwrap the cardboard from around the soap log. Allow the soap to lay on its side or stand for a few hours, then slice into bars.
Allow those bars to cure for 4-6 weeks before using.
I love using Pringles cans to make round soap – but I’ll admit that it can be a challenge at times, too! Soap in the Pringles can tends to heat up much quicker than soap in a regular spherical mold.
To avoid the soap volcano from the top of the can, I recommend pouring the soap in the can, then placing the Pringles cap on the can. Set the soap in the freezer or fridge to avoid gel phase.
Remove the soap from the freezer and peel off the can from the sphere. Then allow the soap to come to room temperature before cutting it into bars (this is important!) If you do not wait, the soap will crack into pieces and won’t cut evenly.
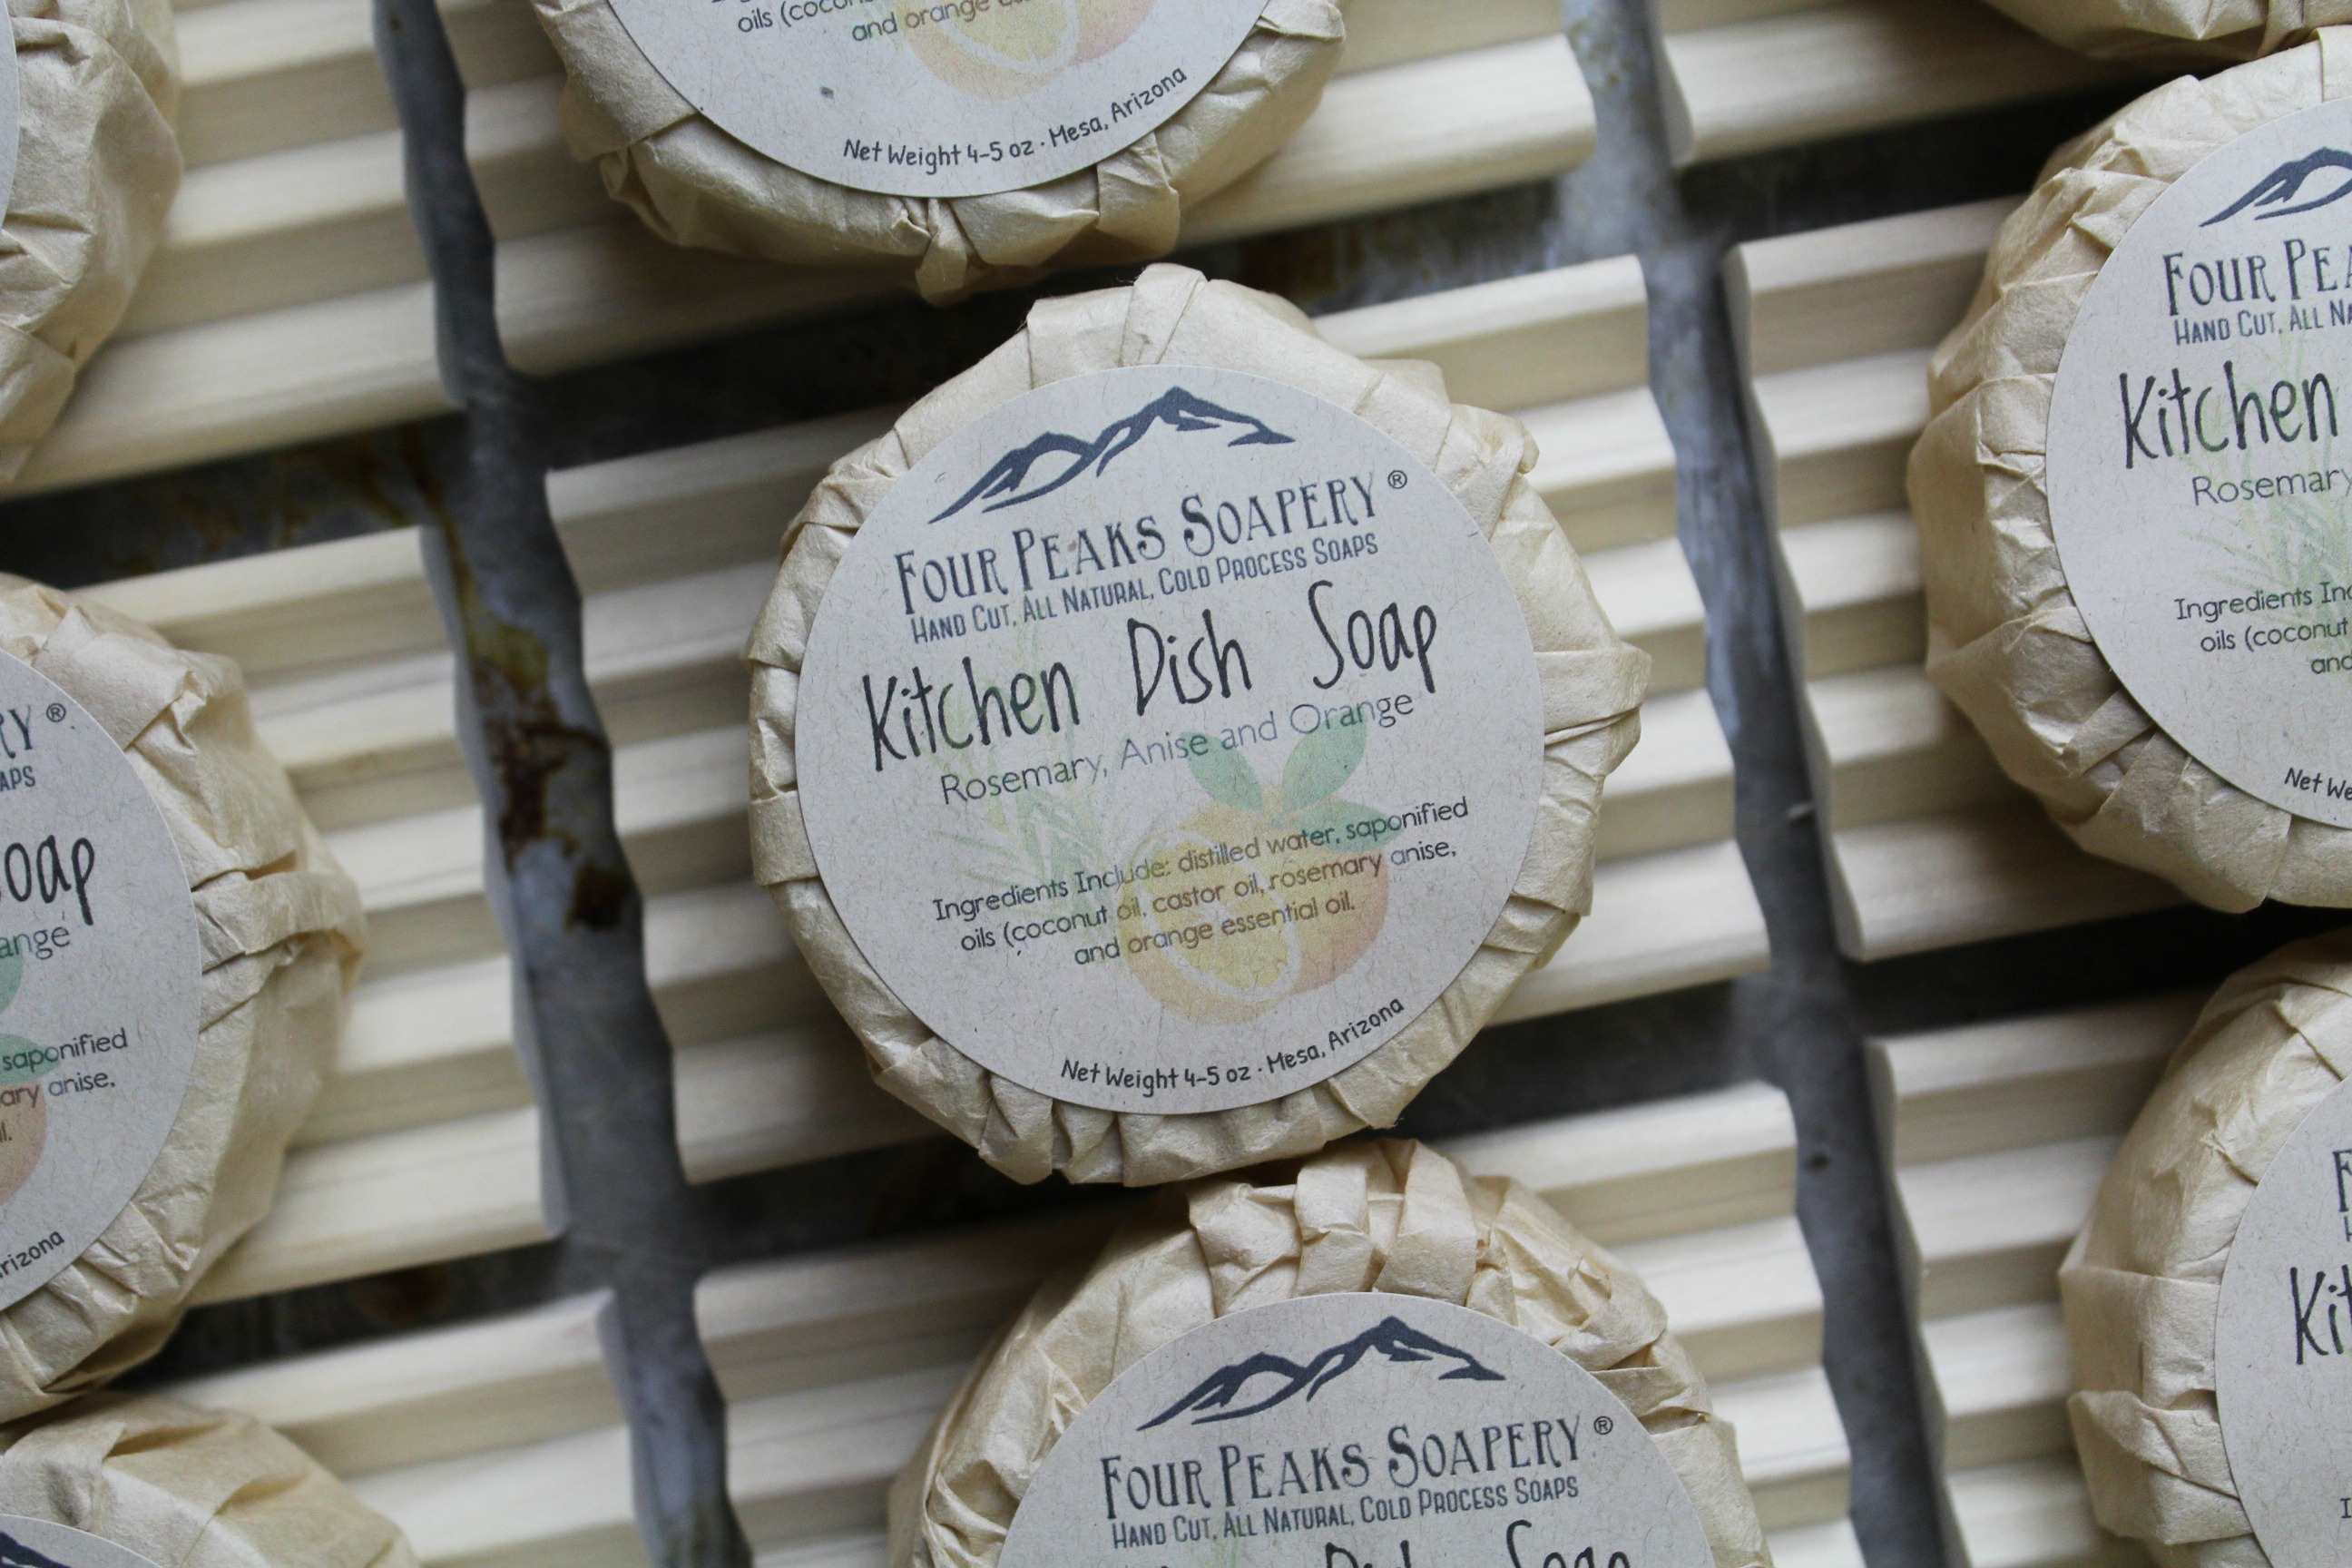
Don’t want to make your own solid bar kitchen dish soap?
You can find it in my soap shop paired with a cotton scrubby ready for purchase!
HOW DID YOUR COLD PROCESS KITCHEN SOAP TURN OUT?
I’d love to know! Leave a comment down below and tell me how the process went for you. Here are some more soaping recipes to try:

Hi! Some of your amazon links no longer work – just a heads up! I’d love a rec on which lye to purchase!
I’m so sorry — Amazon changes things quite often so it’s hard to ensure links always work. This is a great deal if you are picking up on Amazon: https://amzn.to/3pp1CXD
This soap is AMAZING! I half it and put it in silicon muffin moulds because when I buy Pringles I eat the entire tin within 30 mins. I’ve made this recipe 5 times now and am absolutely obsessed and will make it for life! I use it multiple times a day with a brush and it works phenomenally well and doesn’t dry out my hands. It’s also the best makeup brush cleaner ever too. This is one of the best things I’ve ever come across on the internet in all 20+ years I’ve been obsessed with it and figured it’s time to thank you. THANK YOU! 😀 Best recipe ever. Best soap ever. 1000000/10!
SO glad you love it 🙂 Thank you for your comment, truly made my entire day!