


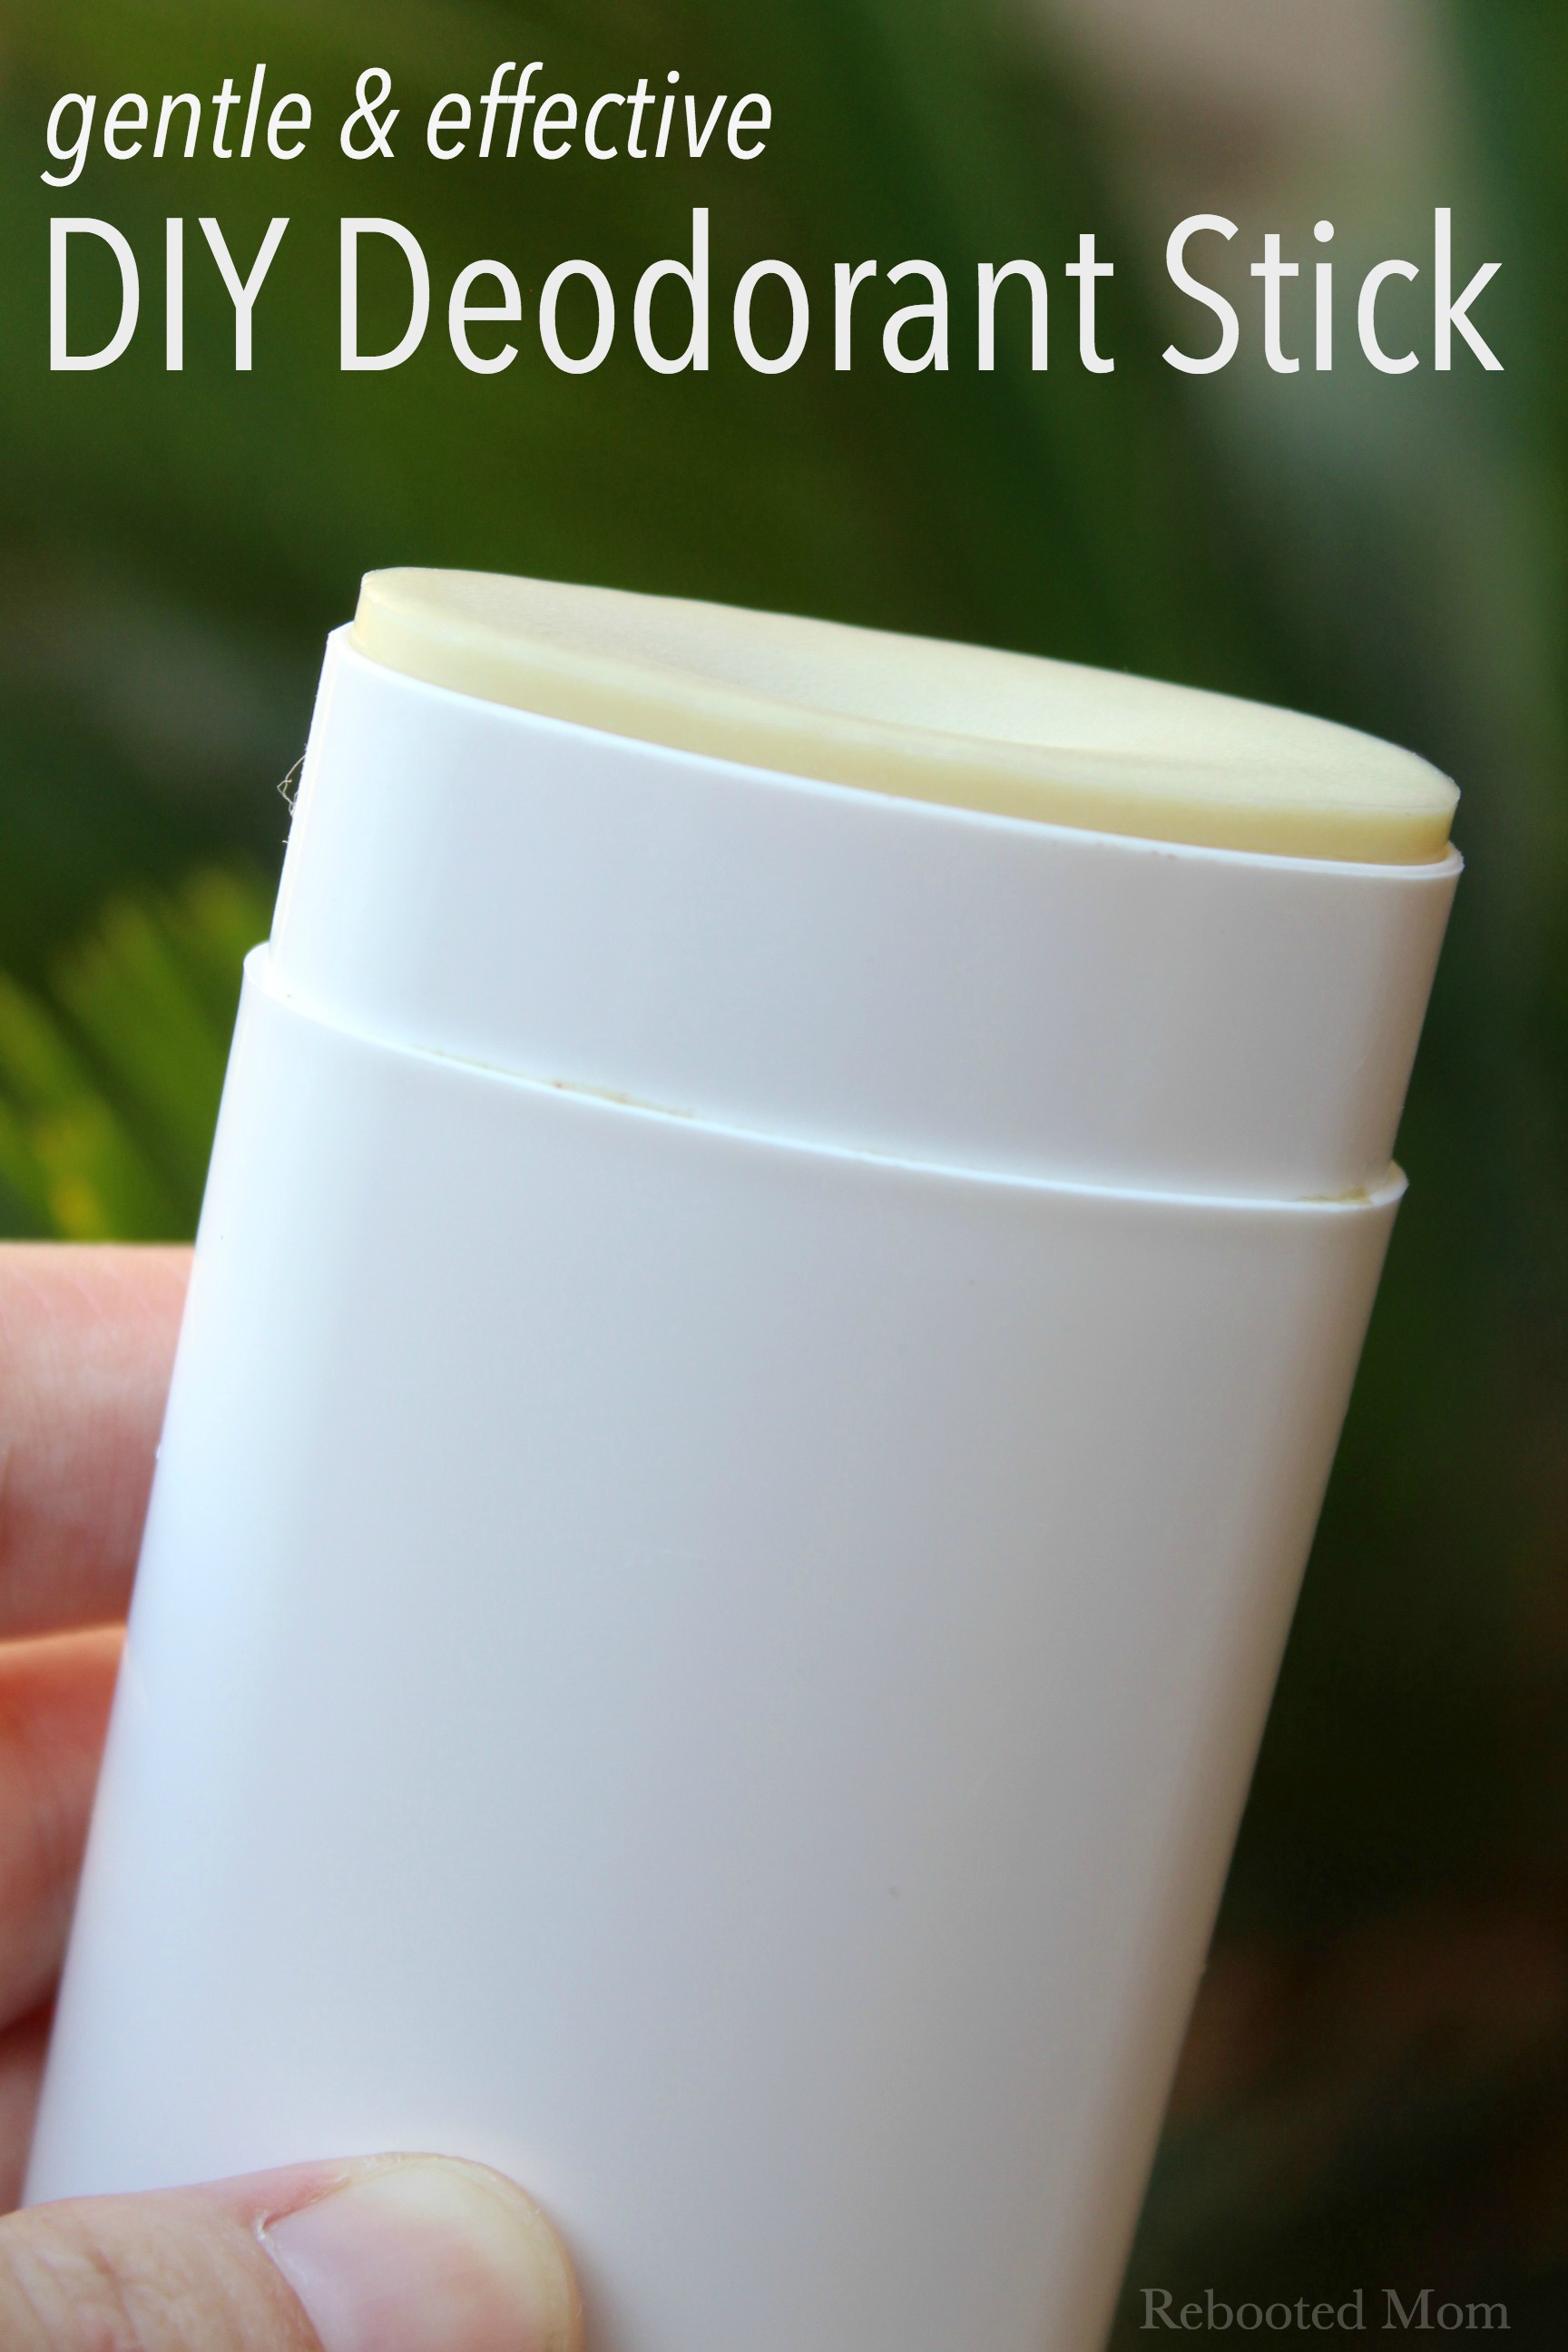
A fast and easy solid deodorant stick that’s gentle, effective, and really works! This recipe makes 2 DIY deodorant sticks.

Over the last few years, I have (literally) made what seems like a ton of deodorants. In fact, I think a “ton” might just be an understatement.
I started with this deodorant for sensitive skin.
Then, I moved onto deodorant paste.
And then tried even more varieties off of the basic recipe – experimenting with different essential oils, and in some cases, foregoing baking soda.
Making your own deodorant is typically one of the first rights of passage into the world of DIY. Once you find out that your commercial brand of deodorant is toxic, you start overhauling your beauty cabinet.
As you clear everything out, you start to DIY… before you know it, you have seriously overhauled your entire bathroom and are now the DIY “Queen”. So much in fact your friends and family look to you for inspiration.
Tell me that’s not true 🤓
Deodorant was one of the first things I did as a DIY in order to “ditch” the toxic store varieties. At first, it was worrisome – breaking up with your beautiful, commercial deodorant is hard to do!
So many things to DIY…
Then comes navingating the world of DIYs — from shampoo to deodorant, lip gloss, lip balm, and so much more. Even baby bottom balm. 👶🏻
This deodorant stick uses very basic ingredients (that can be used for many other DIYs) and can be made in minutes. The true test of homemade deodorant must withstand 110+ degree Arizona summers where I’m in and out of the house and car with 5 active children.
When it holds up through that, it’s definitely a keeper!
Using Baking Soda (or Not)
Should you use baking soda in your deodorant stick?
Or avoid it altogether? Will it be effective without?
I have always loved using baking soda in my deodorant recipes. Though it can cause irritation for some people with very sensitive skin, I haven’t found that to be true at all.
A simple paste of baking soda and water can work amazing as a deodorant on it’s own. That is because baking soda alters the pH under your arms, making it a very bad environment for bacteria to form. When you use baking soda, you alter the pH enough to help counter act body odor.
Definitely a win.
But.. it comes with a drawback! That simple paste can be such a mess! As you try to apply to your underarms, some of it will drip.. those drips will dry, and look like dried toothpaste. It’s such a headache to have to wipe up all the time, especially when I already have to wipe up after 5 kids.
What about Other Options?
I have tried using natural toothpaste varieties under my arms to keep things at bay. And while they have worked, sometimes they have caused redness and irritation.
After a while, that irritation is enough to make you look for additional options. Like this DIY Deodorant Stick.
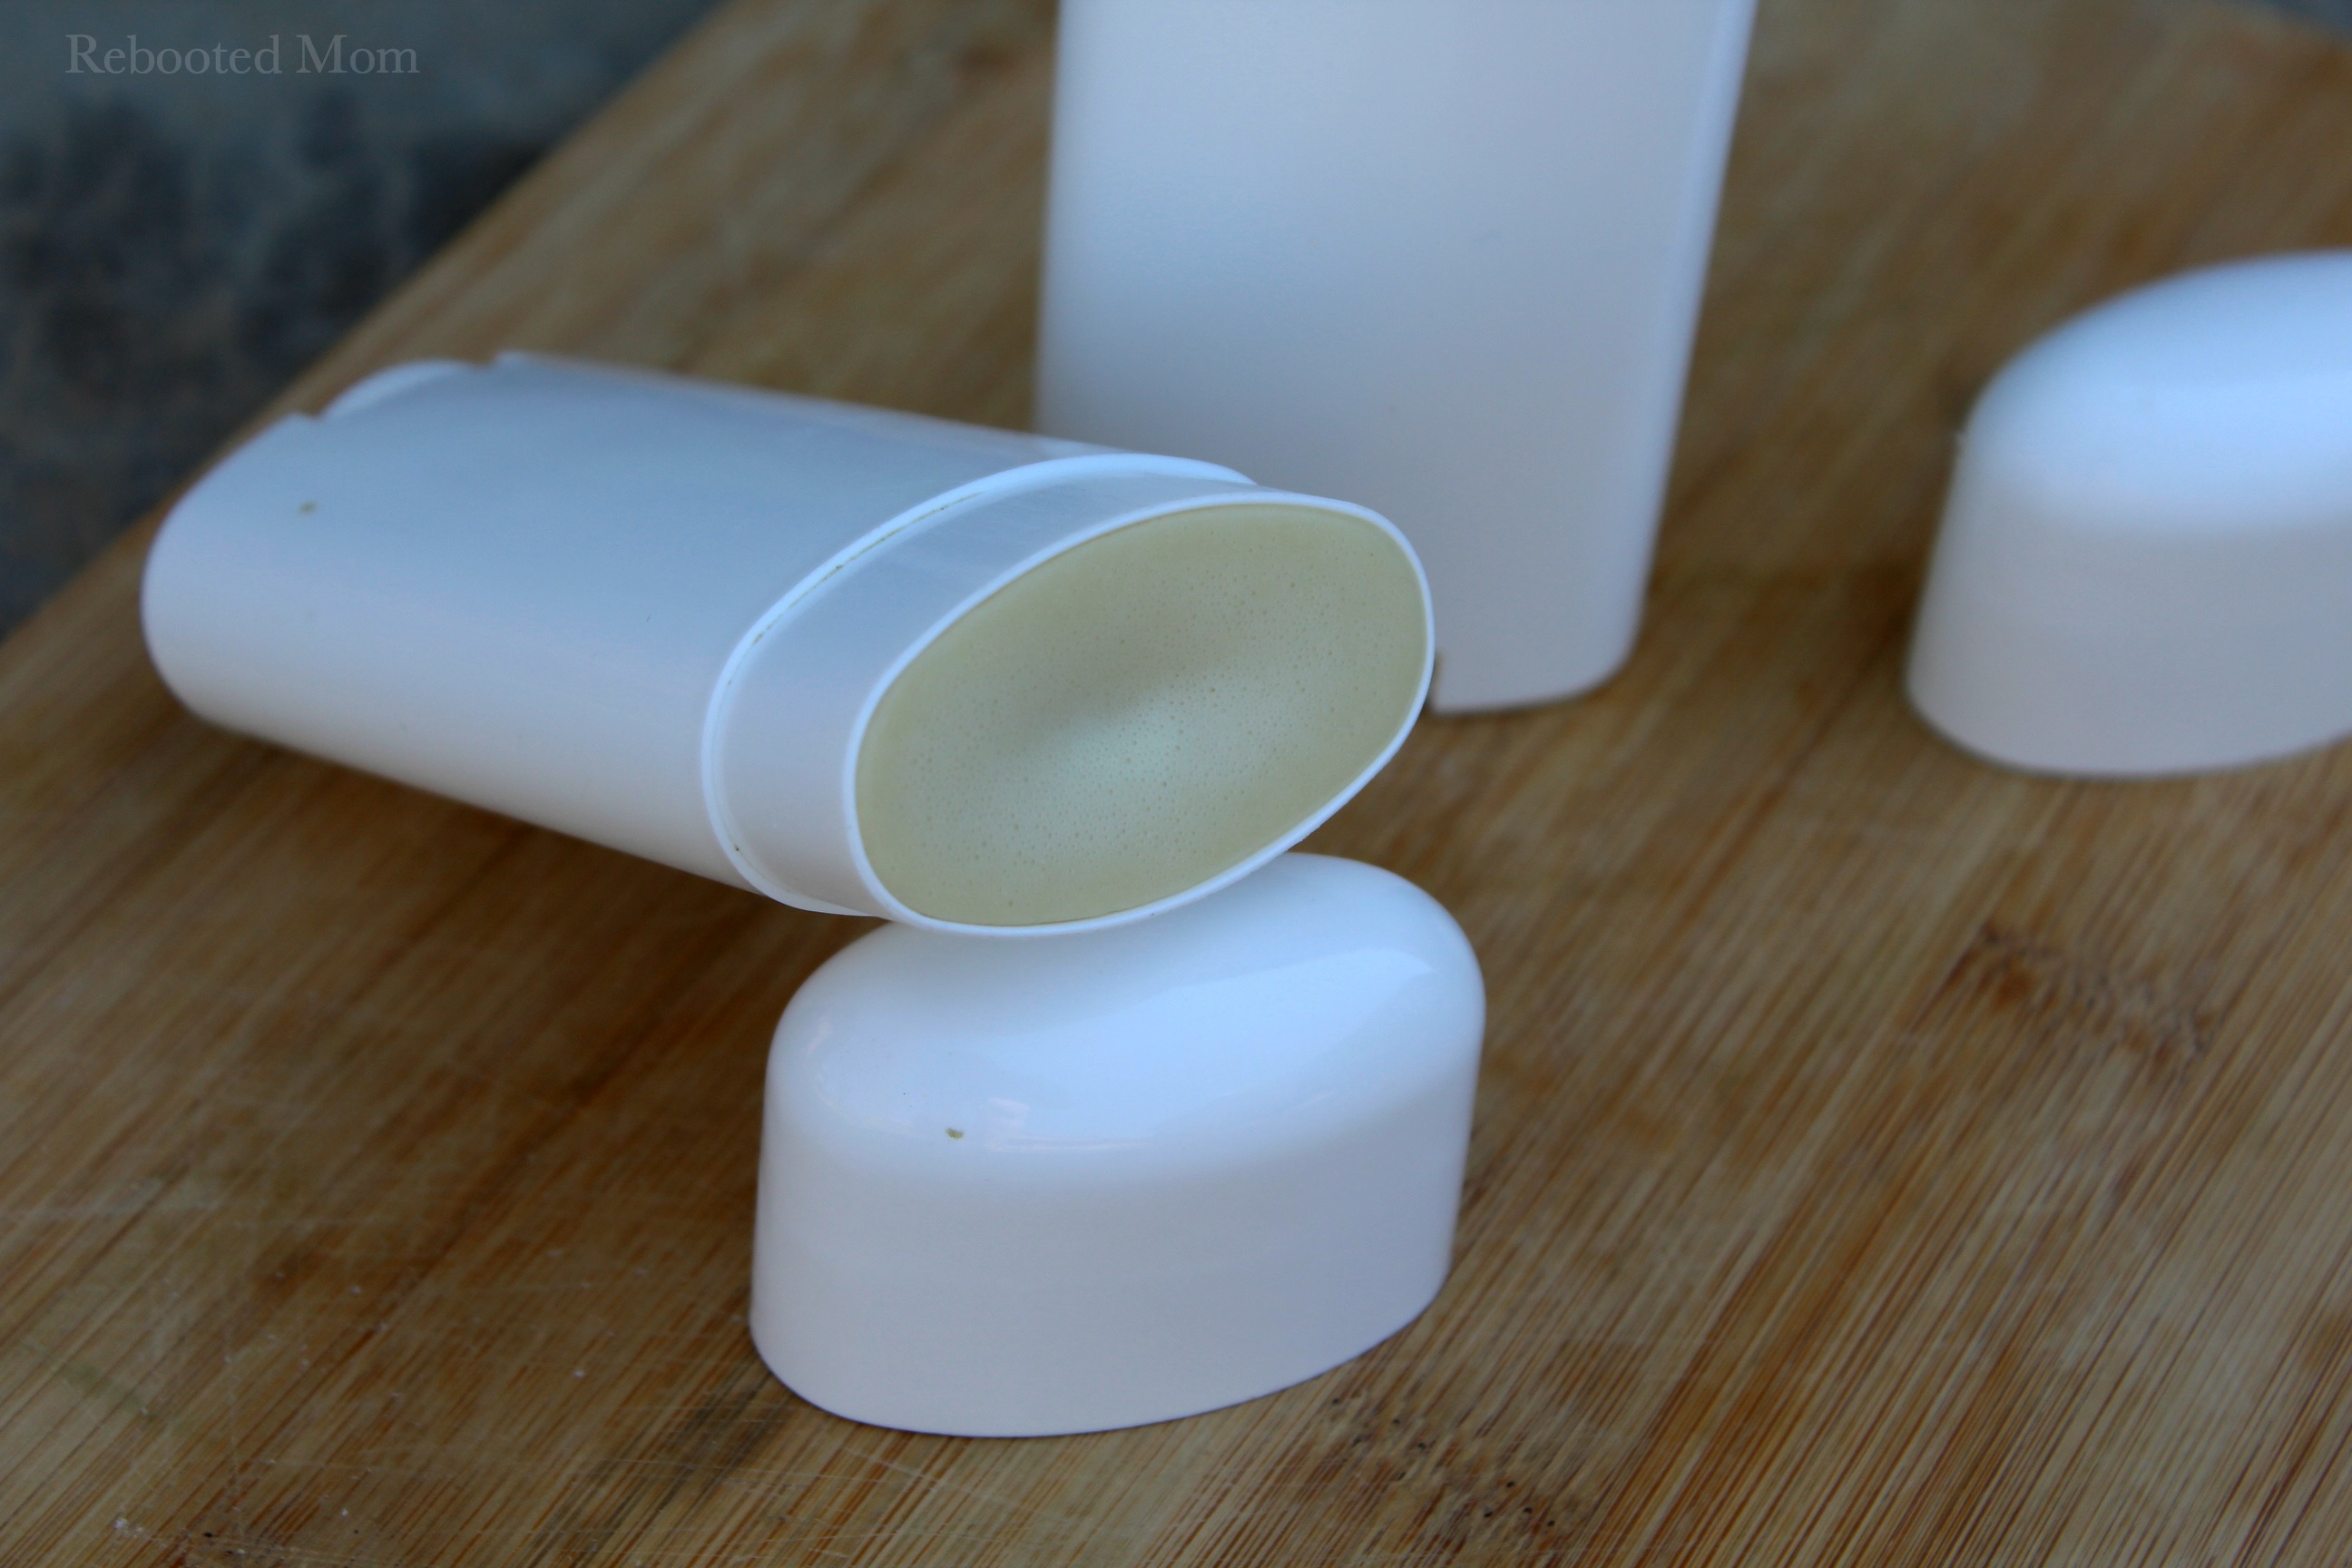
DIY Deodorant Stick
I prefer to measure the ingredients on a scale versus a measuring cup, as it’s much more reliable. If you don’t have a scale, it’s a cheap investment and one that you will rely on with many other DIYs.
This recipe makes (2) deodorant containers:
Ingredients:
- .75 oz. beeswax pellets
- .75 oz. shea butter
- 2 oz. coconut oil
- 2 Tbsp kaolin clay
- 1/4 C. arrowroot powder (or tapioca starch)
- 3 Tbsp baking soda
- Empty Deodorant Container
- Avery Labels 22806 (Optional)
To make:
In a glass measuring cup or double broiler, combine the shea butter, coconut oil, and beeswax Pellets.
You can do this on the stove or in the microwave.
If you use the stove, add shea butter, coconut oil and beeswax pellets and set the jar in a skillet that is filled with an inch or two of water. Heat on low until melted. If you are using the microwave, combine those three items in a glass jar or measuring cup and zap for 20 second spurts until melted.
Once ingredients are completely melted, stir in your kaolin clay, arrowroot powder, and baking soda until well mixed. Add 20 – 25 drops of your favorite essential oil (optional) – suggested oils include tea tree, lemongrass, lavender, cedarwood or even patchouli.
Pour into your containers, making sure to stop right at the top ridge. Repeat for the second container. Push to the rear of the counter, and allow to set – at least 2 hours (if not overnight). I like to mix and pour mine at night, so that the kids aren’t tempted to mess with them.
Once set, place the caps on each and affix with label.
Once the deodorant containers have been poured and have hardened up, place the top on each and print these labels (Avery Labels 22806) – affix to the front.
Or, opt to make your own Avery Labels – perhaps personalized with names of those who will use each one.
Additional Notes:
I remember my early DIY journey to remake my personal care items. I’ll admit .. there were times that I was indecisive simply because of all the ingredients required (that I may not have had).
These ingredients above are common in many DIY’s – arrowroot powder and kaolin clay make a wonderful body powder when combined with simple essential oils (Lavender, in fact). And beeswax is definitely a DIY “must have” for almost everything.
So while the idea of a particular DIY may not seem cost advantageous up front, over time, you’ll use these basic ingredients in many DIYs making them very affordable. 😉 I promise.


pense que no tenias que usar bicarbonato de sodio
How long do the deodorants last?
That will depend on how frequently you use. One stick can last me several months when applied daily.