


Homemade Kombucha is pretty easy to make at home – believe it or not, you can start making kombucha with just a few basic things:
- Scoby
- 2 C. starter (from a previous batch) or 2 C. distilled vinegar
- 8 tea bags
- 14 Cups of water
- 1 C. sugar
If you are just starting out, you can actually grow your own scoby from scratch – once your scoby is established, it’s easy to move forward and make your own kombucha every week or two weeks.
I’ve been brewing kombucha for over a year and while it is rather easy, there are mistakes that can easily be made along the way… those mistakes can cost you your entire brew.
With that in mind, I wanted to share some of the biggest mistakes I have made, to prevent you from making them too.
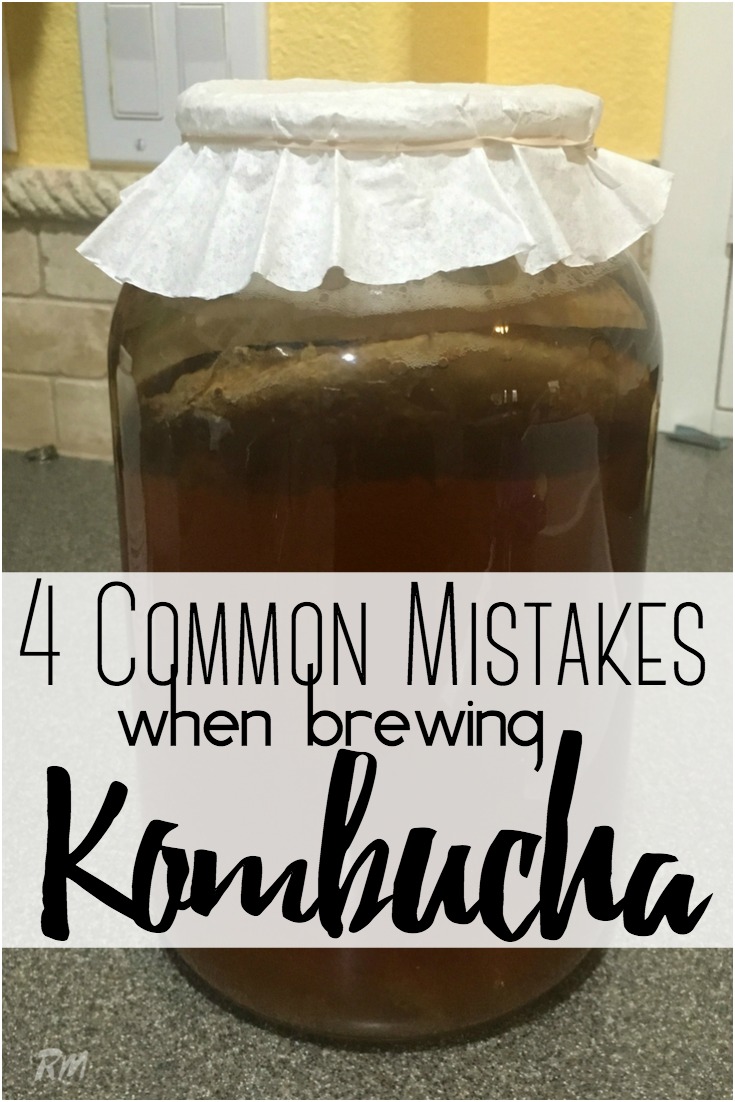
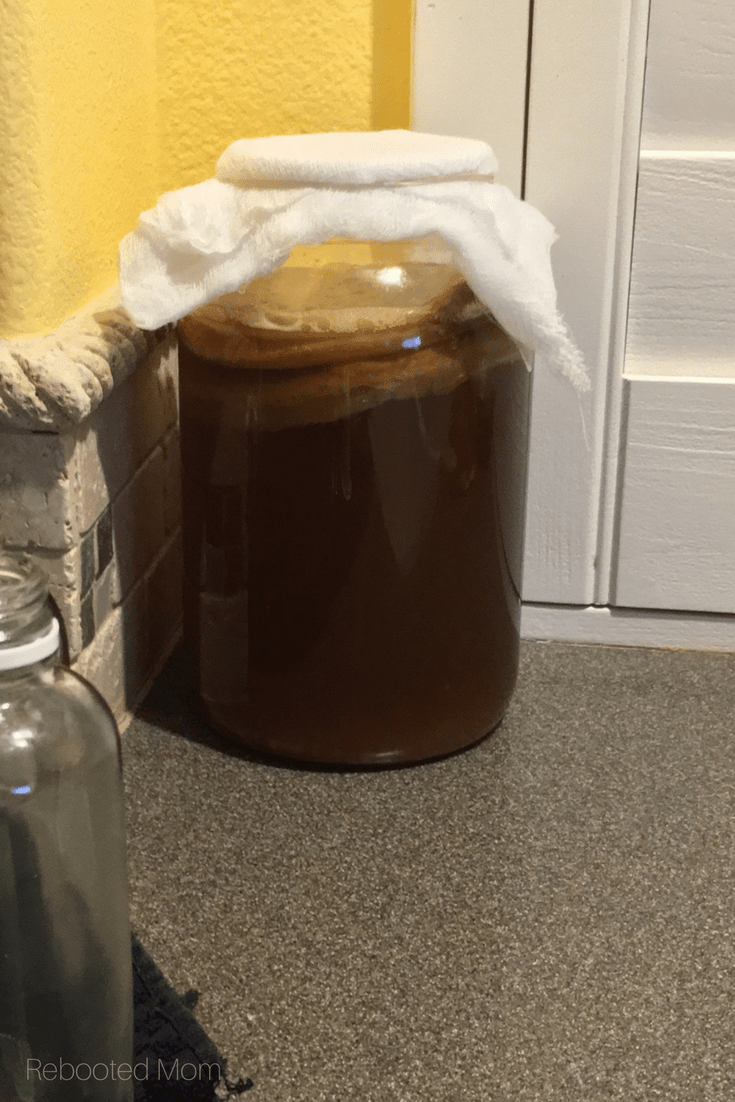
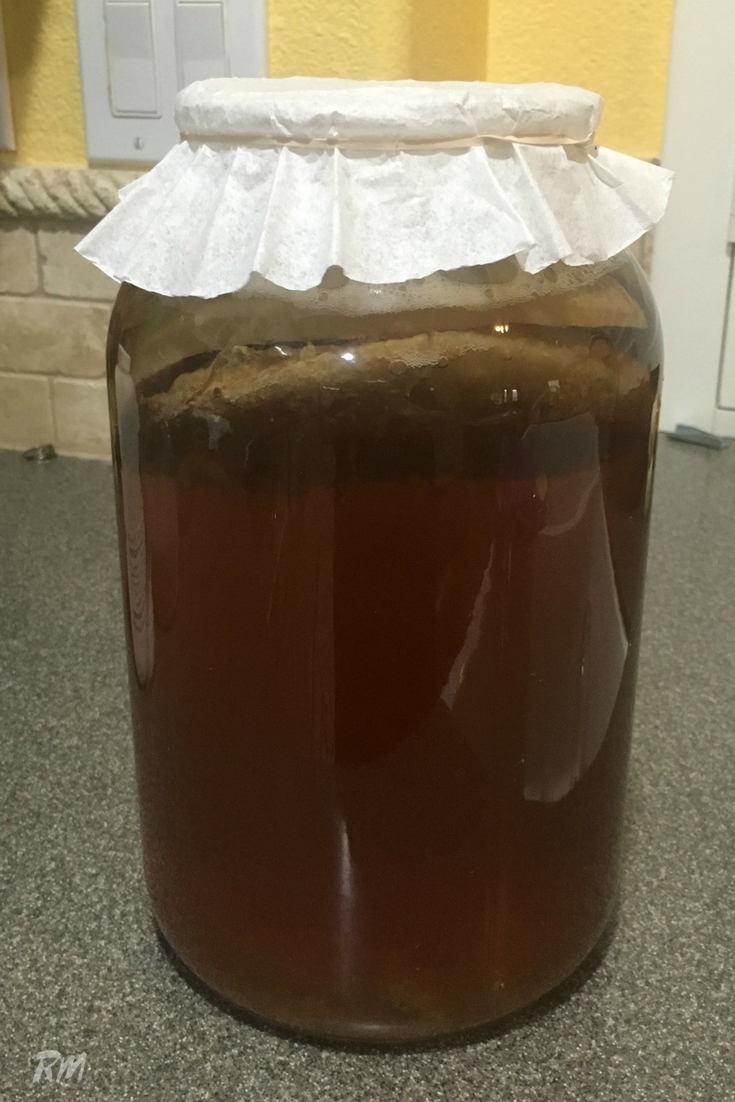
Mistake #1: Not covering properly
Kombucha should be covered with a square of cloth with edges held down to the side (preferably with a rubber band). The cloth allows the kombucha to breathe, while keeping fruit flies and airborne materials out of your brew.
Fruit flies in particular love kombucha because it’s very sweet – while you can definitely use a cheesecloth, it’s a smart idea to use several layers of cheesecloth because the holes are actually small enough for fruit flies to enter. If I’m using a cheesecloth, I usually fold it over several times to give it some extra protection.
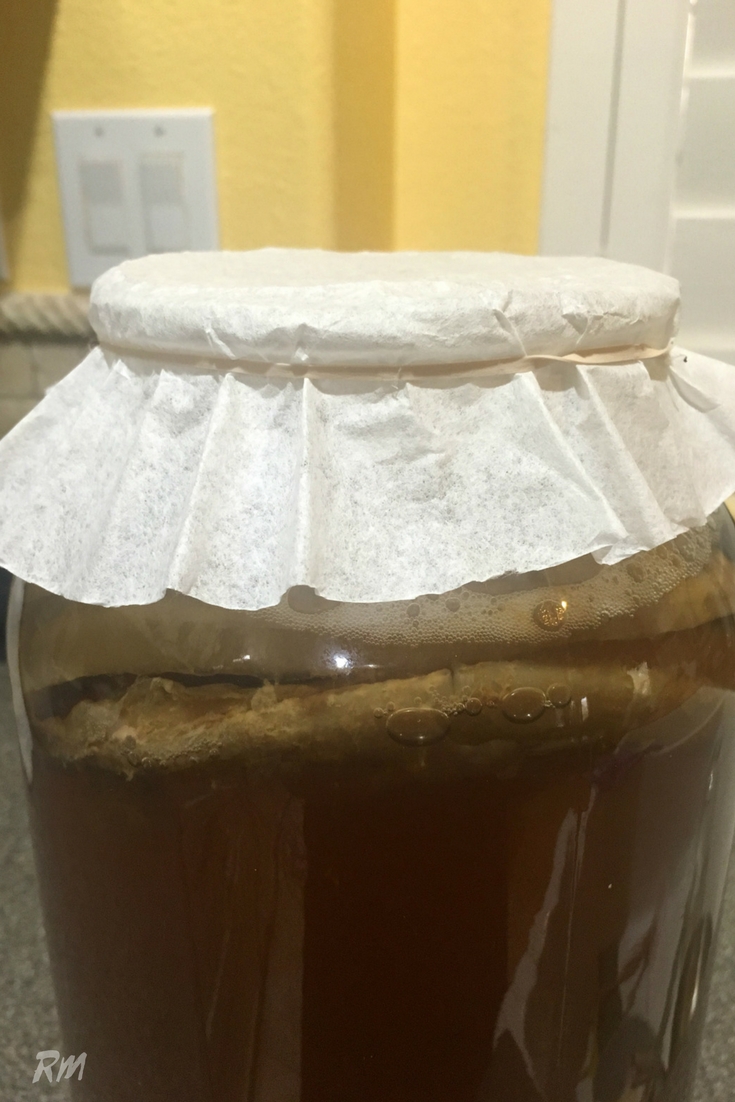
If you aren’t able to layer several layers of cheesecloth over your kombucha, think about using a coffee filter or a breathable cotton napkin to cover the brew. A coffee filter actually works amazing because filters are inexpensive and can easily be changed out if they get wet or dirty.
Just rubber band around the top of the jar to allow that filter or cloth to safeguard your brew.
Mistake #2: Brewing in an Environment that’s Too Cold
Kombucha brews best in an environment that’s between 72-80 degrees F. Here in Arizona, summers can get relatively warm – I find that when our temps outside are 110+ degrees F, our home struggles to keep cool, so we keep our thermostat at 82 degrees F.
While it’s not too warm, my kombucha tends to brew much faster when it’s slightly warmer than if we were to keep our house at 70 degrees F. In those cases, I usually brew in just under a week’s time (6 days) as opposed to 8 days +, otherwise our kombucha can taste a little too strong.
If you are in a cold-weather climate, or if you are brewing in a room that tends to be cooler than most of the other rooms in your home, move your kombucha to a pantry or a warmer closet so that the brew stays a consistent temperature.
You also want to make sure you keep it out of direct sunlight as that can affect the brew, too.
Mistake #3: Allowing the Scoby to go Dormant
Kombucha can take anywhere from 1-3 weeks to ferment – I prefer to let mine ferment for 7-8 days, but some people like to wait 2 weeks or longer.
Although I try to make kombucha every week, a few months ago, I actually got super busy and had a scoby brewing some tea on my countertop for over 8 weeks. The scoby sat there for what seemed like forever and I while I had every intention of making kombucha, I just couldn’t seem to get it together to find time.
When I pulled off the coffee filter, the scoby looked pretty healthy – the tea had a tangy smell and I didn’t see any sign of mold. I separated the newest scoby growth away from the older scoby culture, and decided to bring it back to life by doing smaller brews for a few scoby cycles.
Normally I would have made a gallon of kombucha at a time, but in this case, I decided to do a quart. I steeped 2 bags of black tea in 3 1/2 C of water, dissolved 1/4 C sugar, let it cool, removed the bags and then added the scoby along with 1/2 C vinegar. I let it brew for 7 days, then repeated the brew for a second week (keeping 1/2 C of the brew as a starter in lieu of the vinegar).
After two weeks, the scoby was resilient enough to bounce back, allowing me to keep back 2 C of the brew as a starter for a gallon of brew. The gallon batch that followed brewed for 10 days, and then I continued on where I had left off keeping 2 C. of my brew for the next gallon, with a batch that brewed in 7 days.
I thought this was a wonderful reminder of how resilient a scoby culture can be.
Mistake #4: Using the Wrong Tea
The variety of tea you use for kombucha can make a relatively huge impact on your finished brew.
When making kombucha at home, you should stick to regular black or green tea for the first 4 batches- at least until your scoby develops. Green tea, white tea, black tea and oolong tea are great choices.
For a one gallon brew, I typically use 4 organic green tea and 4 organic black tea – the black tea is enough to keep the scoby well fed and give the scoby the nutrients it needs. Avoid using flavored and herbal teas, at least from my experience, it hasn’t been enough to give the scoby the umph it needs to brew a successful batch. You can ruin your scoby by using flavored teas – and if you have taken great care to start your scoby from scratch and watch it grow week to week, that’s not something you want to happen.
While it’s normal for your scoby to float around in your kombucha, a scoby that doesn’t rise to the top after several batches can be a sign that your scoby isn’t getting the nutrients it needs to stay afloat.
When I let my scoby go dormant for several weeks and I started brewing again, it took a few brew cycles for my scoby to bounce back from its sinking position.
My method for making kombucha
I’ve been making kombucha for over a year, and over that time I have tried many methods – this is the method that works best for us.

[…] If you brew your own kombucha, don’t make these 4 common mistakes! […]