Learn how to grow a Kombucha SCOBY from scratch so you can brew your own delicious, gut-friendly kombucha at home and reap the health benefits!
Kombucha is a delicious drink that’s a combination of something sweet and tangy – it’s so easy to fall in love with. One of the biggest problems though is that once you do happen to fall in love with it, you realize that your habit can get pretty expensive.
A mere 6 bottles of Kombucha can run upwards of $13 if not a little more… and if you have kids that love kombucha as much as you might, then 6 bottles *might* last you a few hours. I say this because I have that very same problem.
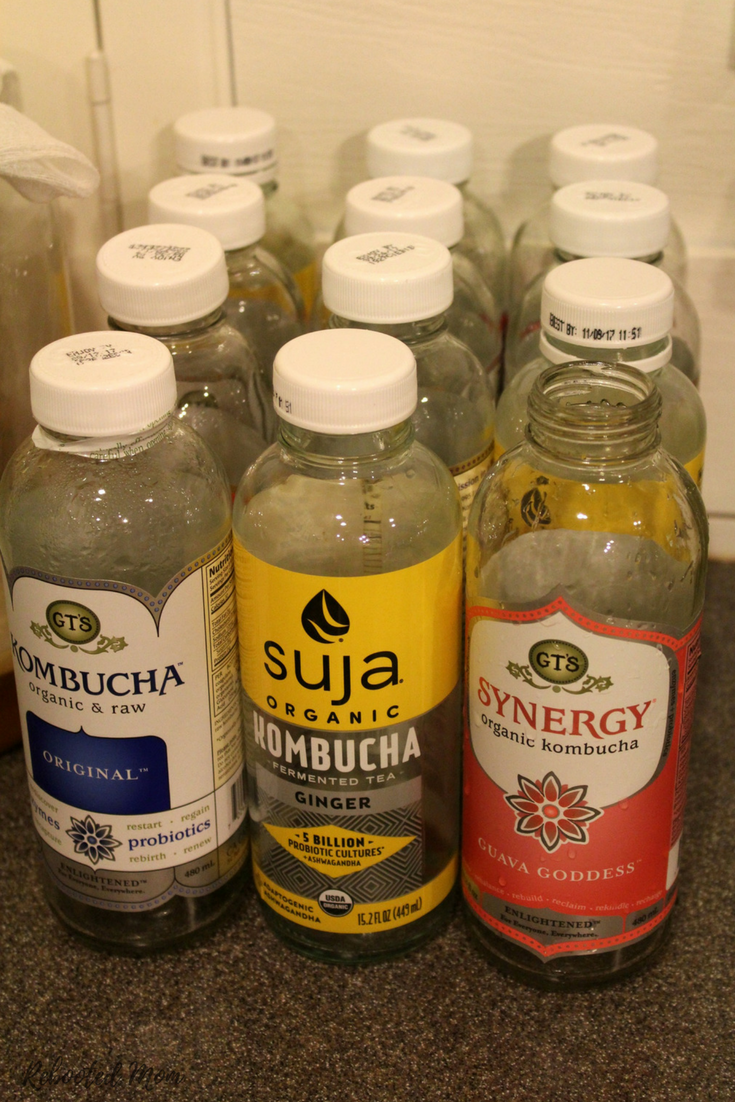
My kids go wild for kombucha and I can’t keep it readily available. If there is one bottle left, they all fight over who gets it and I have seen them actually pour one bottle into four cups just to ‘split’ the kombucha that’s left so everyone gets a fair amount.
Which is totally fair – right? ?
It’s a healthy habit that’s not so healthy for your wallet – thankfully it’s really easy to make at home..
To make kombucha you’ll need a few things, including a SCOBY.
What is a SCOBY?
Kombucha is a fermented drink – and there are two classes of fermentation. The first class of fermentation is done using the bacteria we have around us. Looking around, your vegetables and fruits are covered in bacteria, which can be manipulated to make ferments.
The second class of fermentation is done by using a culture or starter to whatever you wish to ferment.
The SCOBY (symbiotic colony of bacteria and yeast) is just that. It’s a culture that you use and add to in order to start the fermentation process in order to make kombucha. A SCOBY is a rubbery substance that floats on the surface of the kombucha.
It seals off the kombucha from the air and protects the kombucha while it’s fermenting.
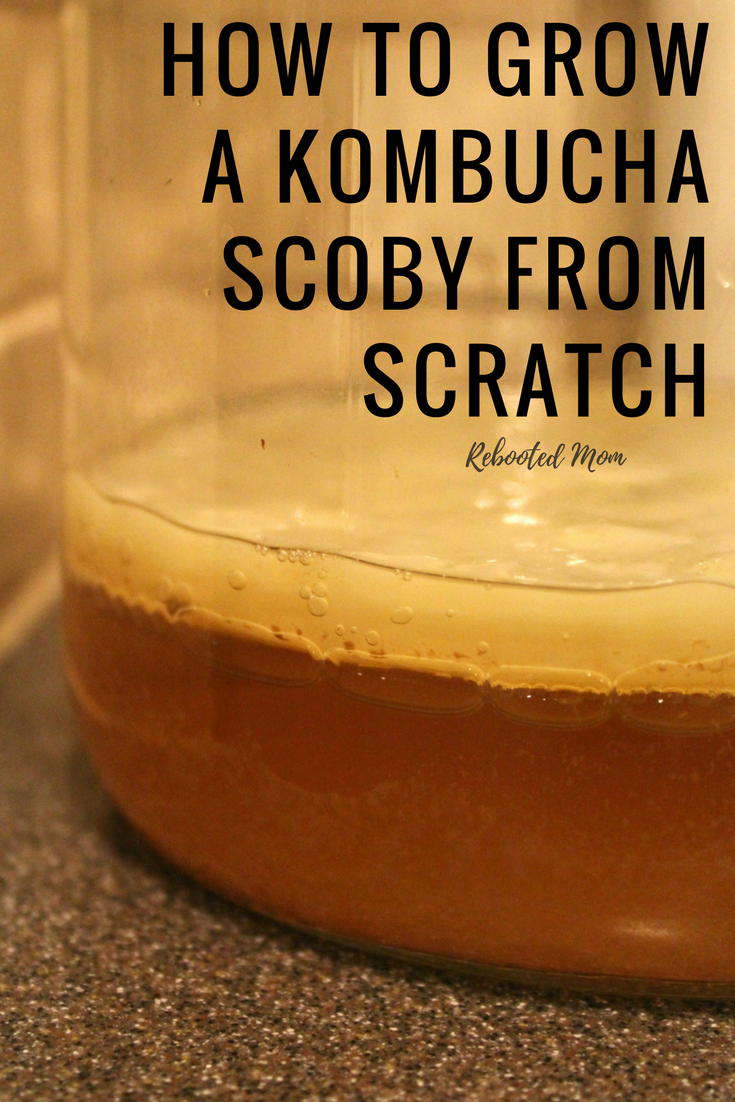
How Do You grow a a SCOBY from Scratch?
If you are thinking of making kombucha, you have several ways of getting a SCOBY –
- Find a friend or neighbor who brews kombucha regularly who is willing to share their SCOBY with you.
- Grow a SCOBY from nothing
- Pick up a SCOBY starter culture online
Depending on where you live, it might just be better and easier to start a Kombucha SCOBY from nothing.
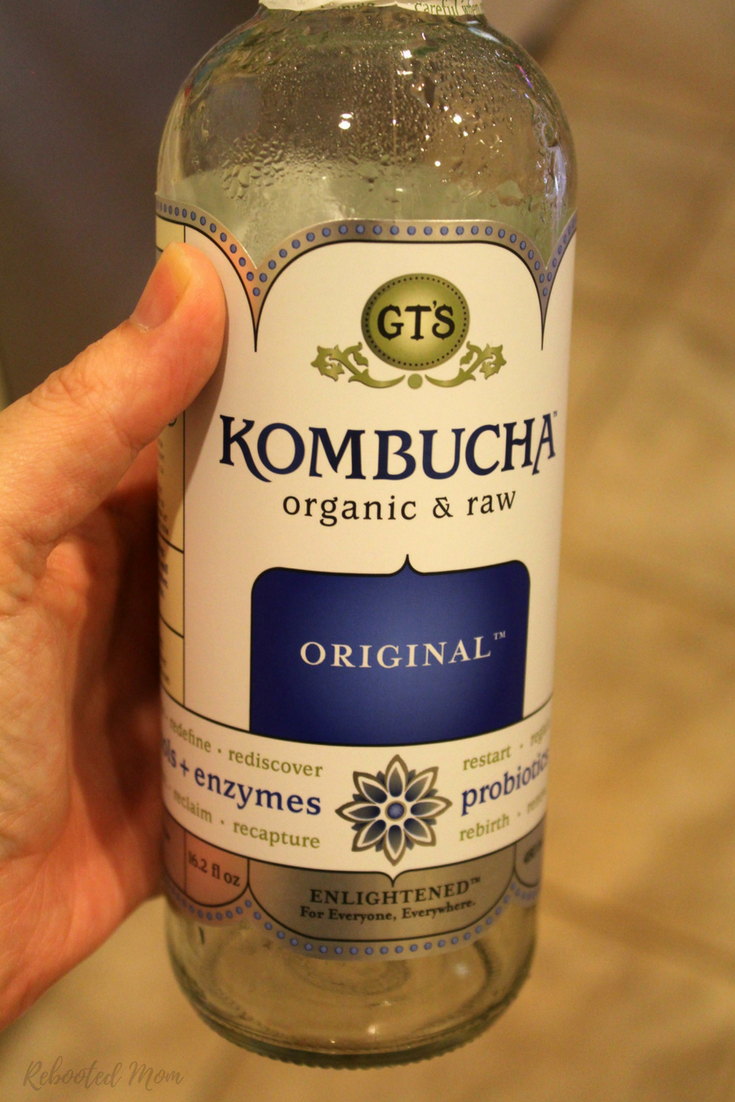
You can start a SCOBY from scratch by combining tea, sugar and pre-made, store bought organic kombucha. You’ll want to make sure it’s raw and unflavored, and if you can, try to get one that has a blobby thingi floating at the top or bottom of the bottle.
How long Does it Take to Grow a New SCOBY from Scratch?
Growing your new SCOBY from scratch is relatively easy and can take anywhere from 2-3 weeks. The ultimate time it takes will depend greatly on the temperature of your home. If your home is warm (78 or higher) it will take considerably less time than if your house has an average temp of 70 degrees.
Is it Safe to make your own Kombucha SCOBY?
The job of a SCOBY is to protect your kombucha as it ferments. If you have kombucha without a SCOBY, then you are opening the door to bacteria (both good and bad) that can make its way into the environment.
You can be more cautious by washing your jar and utensils well and making sure that you don’t have any soap residue. When you make your own kombucha SCOBY, keep the jar away from sunlight, and then keep it somewhere that it won’t be knocked around.
Always wash your hands before touching the SCOBY.
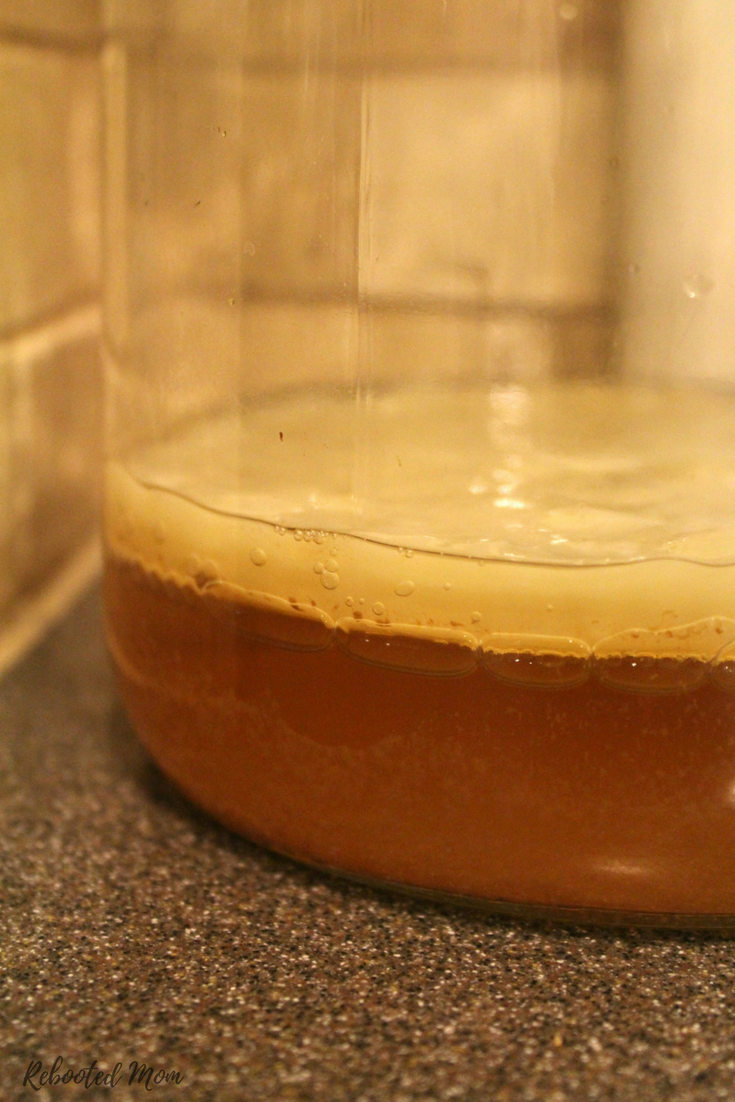
As it forms and grows, you’ll see bubbles, then the beginning of a mass, then a brown-colored residue. It will look like a spongy disc after a week or almost two weeks.
The liquid you have in the jar will smell very tart and vinegary. If smells “off” (like rancid) then you will know that you should dump it and start over.
If your SCOBY has a fuzzy green or black spot(s), then that may mean you have spots of mold and you will also want to dump that and start over.
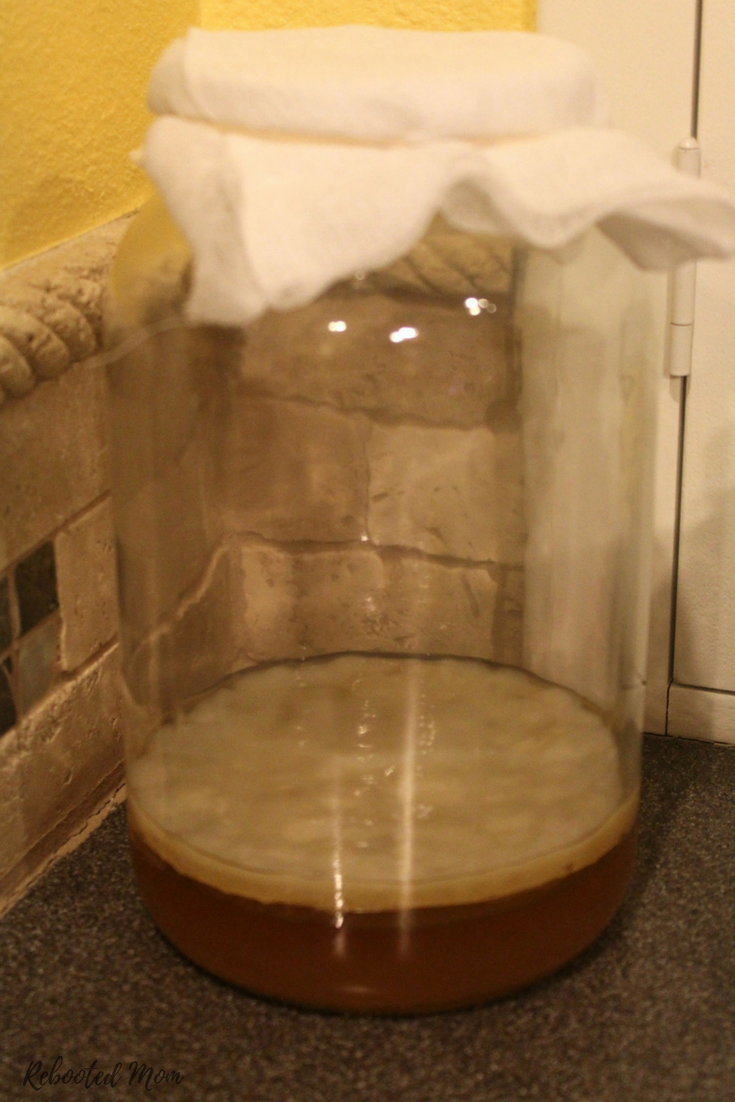
I have made a SCOBY and never had a problem .. just know though that it does look gross, but it doesn’t mean it’s necessarily bad. It’s just a little alien looking.
How to Make your Own Kombucha SCOBY
Making your own kombucha SCOBY is relatively inexpensive and very easy – it requires just a few simple things including a single bottle of raw, organic unflavored kombucha (which you can pick up at your grocery store). With the directions below, you can have your own kombucha SCOBY within 2-3 weeks, ready to make your first batch of kombucha tea.
The hardest part of making your own might be waiting for the SCOBY to develop – thankfully time passes quickly and before you know it, you will have this spongy, brown-colored alien substance that looks like foreign matter.
What you’ll need:
- black or green tea
- white sugar
- 1 bottle of raw organic kombucha, preferably unflavored
Equipment:
- tight weave dish towel, paper coffee filter or cheesecloth
- plastic or wood stirring utensil
- rubber band
- gallon glass kombucha jar
Instructions:
- Purchase a bottle of raw, unflavored kombucha in your local grocer, and allow that kombucha to sit on your counter, unopened, for a few hours to come to room temp.
- Make 1 C. of black or green tea, and while the water is hot, add 1-2 Tbsp white sugar. Stir until dissolved, then cool it to room temperature.
- Pour your raw kombucha and cooled tea into a clean glass gallon-size jar.
- Cover the jar with a paper coffee filter, dish cloth or cheesecloth and secure with a rubber band.
- Push the jar to the rear of the counter and allow to sit, undisturbed, for 2-3 weeks. You’ll want to choose a warm spot (68-85 degrees), that is out of direct sunlight.
- Over the next few weeks, you’ll see the SCOBY start to form. First, it will be small bubbles (which is a sign that the mixture is fermenting), followed by a clear film. Over time, that will turn into a thicker mass that is a brown/white in color that looks something like a thick, spongy jelly-like material.
- Wait until the SCOBY is 1/4 inch thick before you use it to make your first batch of kombucha tea. It may take up to 3 weeks to get to that stage. If after 3-4 weeks you do not see any development, then throw the mixture and start over. It’s rare that the mixture will not develop – provided you have the right conditions you will not fail.
Rest assured, that after 2-3 weeks, your SCOBY will be developed and you will be ready to brew your first batch of kombucha – it might look a little weird, but it’s a valuable starter culture to a terrific drink!
Keep that SCOBY and the kombucha tea to make your first batch of kombucha.
Have you ever made your own SCOBY from scratch?
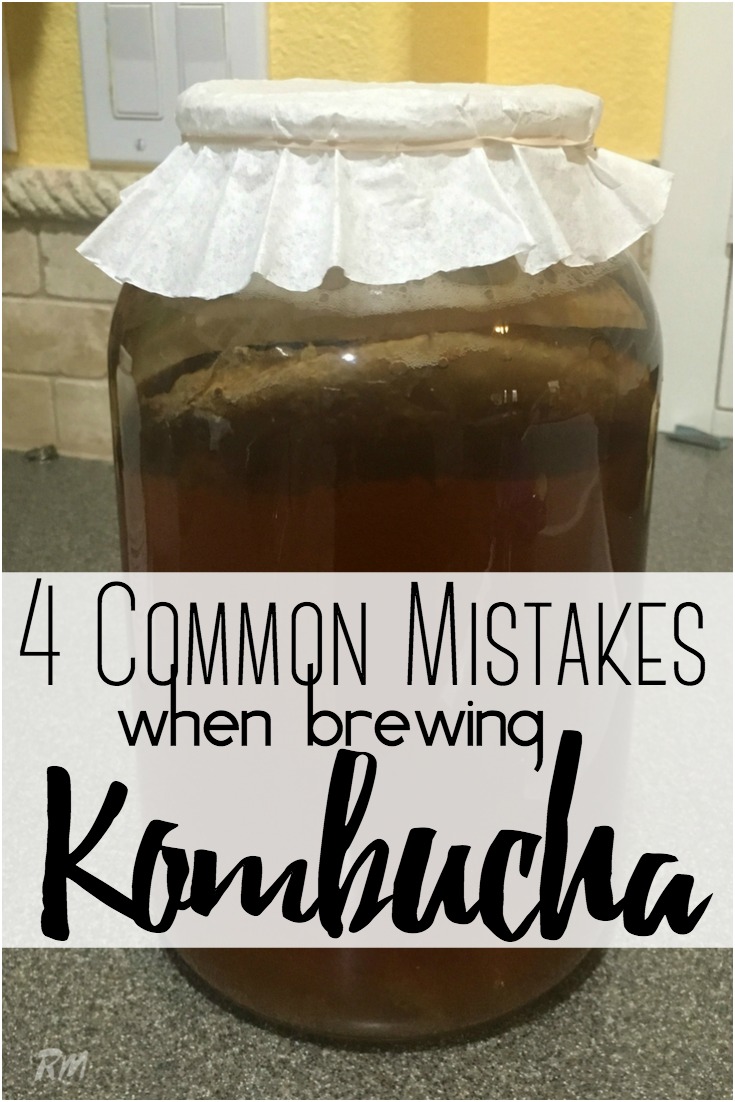
If you brew your own kombucha, don’t make these 4 common mistakes!


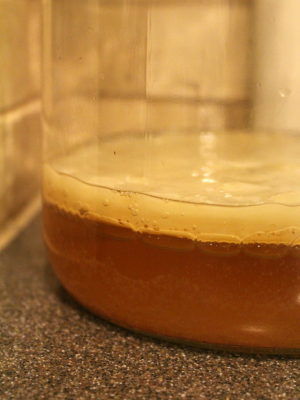

I am around 2 1/2 weeks of trying to grow a scoby, can they form on the bottom of a jar instead of the top?
It sure can. Mine has grown on the top and the bottom.. the SCOBY will be a round mass.
They generally form on top of the tea. Sometimes they will sink to the bottom after they have formed. If you see brown particles at the bottom of the jar,you are looking at what we call “yeasties” It is yeast that forms as part of the fermentation process and is a good sign that all is well. There is a clear film that will begin to form on the surface and from that you will see the small SCOBY begin to take shape and grow. You will also see strings of brown stuff hanging from the bottom of yor SCOBY. Again,this is yeast and is a perfectly wonderful thing. Keep it warm around 75-80° It will be quite happy 🙂
Can you use a story more then once?
Absolutely you can. You can use it over and over. My SCOBY now is about a year old or so… as it ‘ages’ it gets thicker with many SCOBY layers. If it gets too thick, just peel off a layer and use that as your new SCOBY. If you can separate your SCOBY layers, you can give a SCOBY to family and friends who might want to brew or keep them in a SCOBY hotel (which is what they call it) – a bunch of SCOBY’s in a jar, covered with extra kombucha. Just make sure to change out the kombucha regularly to keep them happy. Or just compost it. Whatever is easier.
if you are not ready to make your next batch of kombucha, will your scooby be all right just remaining in the jar with kombucha for a coulple of days?
It sure will
Going to try growing from scratch. Will it work out ok if I put the jar in a cupboard on the top shelf where it will not get disturbed or be in the way?
Yes, that should work fine!
Do I need to clean my bottles after I removed my Kombucha n when I want to make a new batch
I did but not every time. I did every 2-3 batches usually.
I was wondering if you can use the liquid from growing the scoby as the starter culture for the first fermentation? At the moment, my scoby has been growing for over 3 weeks so the liquid is quite vinegary.
You definitely can. It will mellow over time. The more your SCOBY ferments the more vinegary it will get. Here in Arizona, my Kombucha is usually ready after 4 – 5 days when the weather is hot (which is almost 8 mo out of the year). In our “winter” (if you can call it winter) it takes about 9-10 days to ferment.
What if the kombucha is flavored?? Is that ok??
I haven’t tried flavored, but I think it should work!