


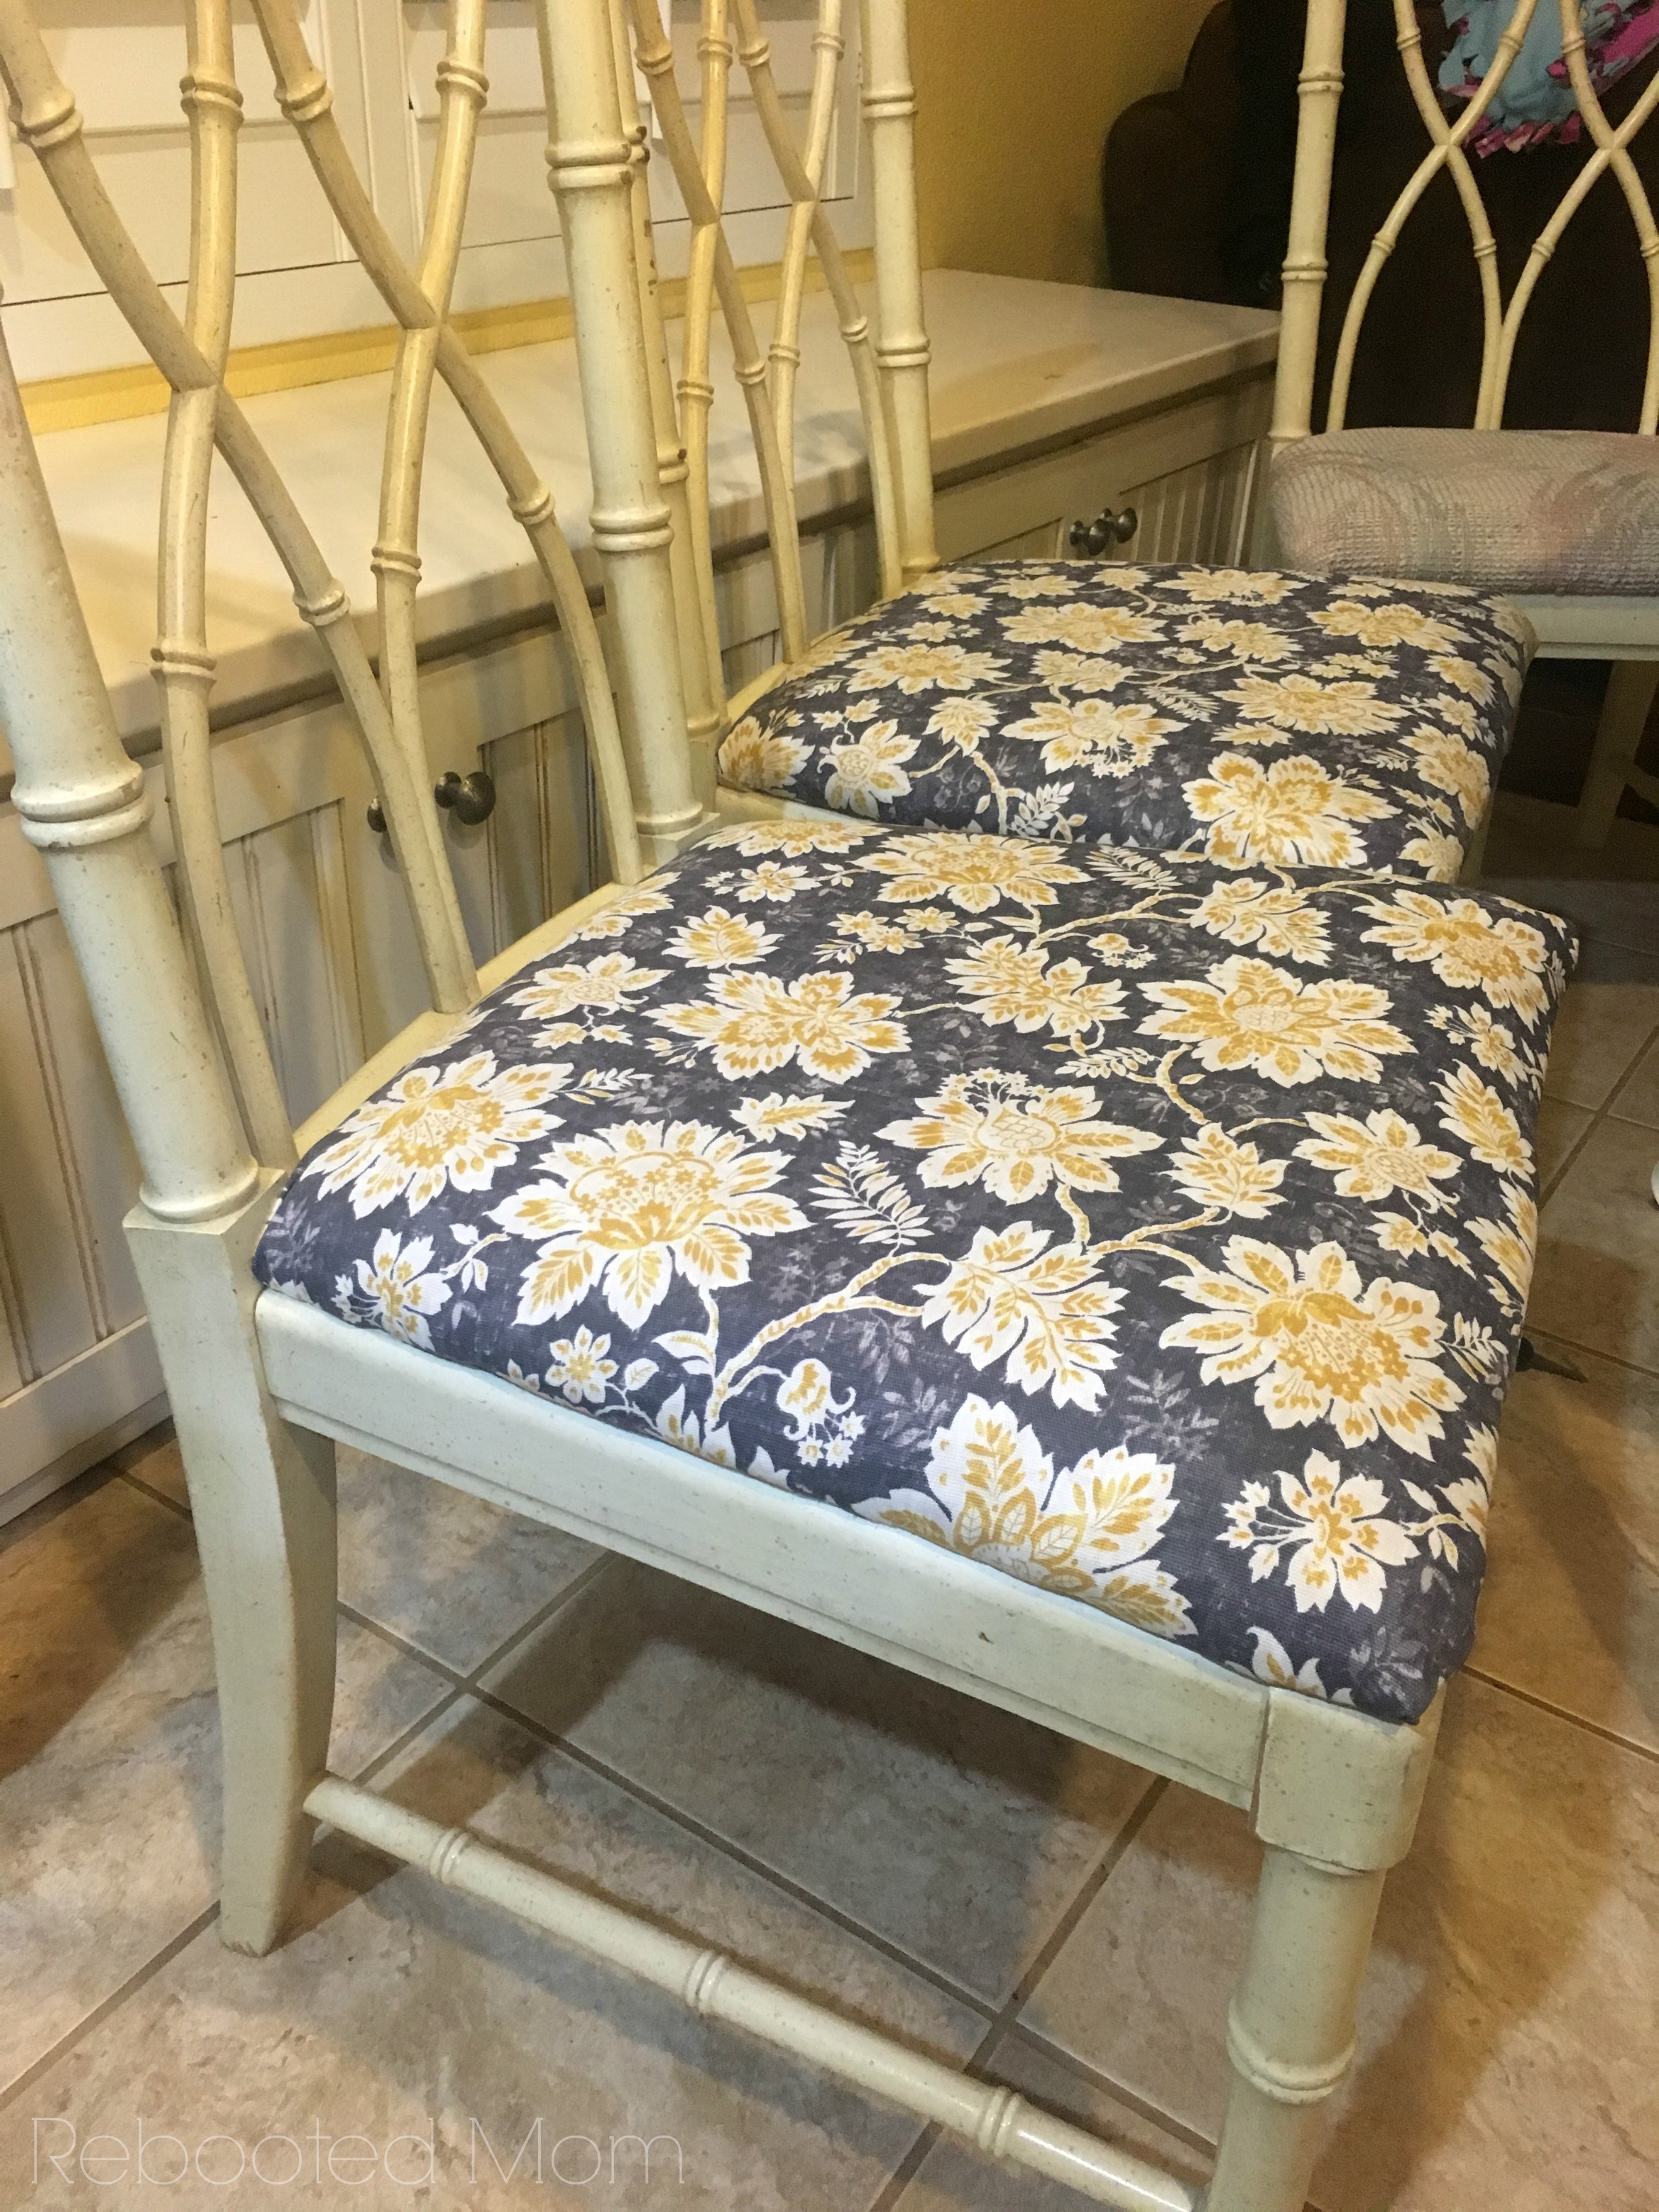
With a little DIY know-how, and a few simple supplies and tools, you can transform ugly dining chairs into beautiful pieces. Here’s how to recover chair seat cushions yourself.
Just a few short months ago, we were on the lookout for a new dining table and chairs for our kitchen. The problem was though was that we needed something that would seat 6-7, and preferably something that was off-white to match our kitchen.
We also wanted something that would be affordable, without costing an arm and a leg.
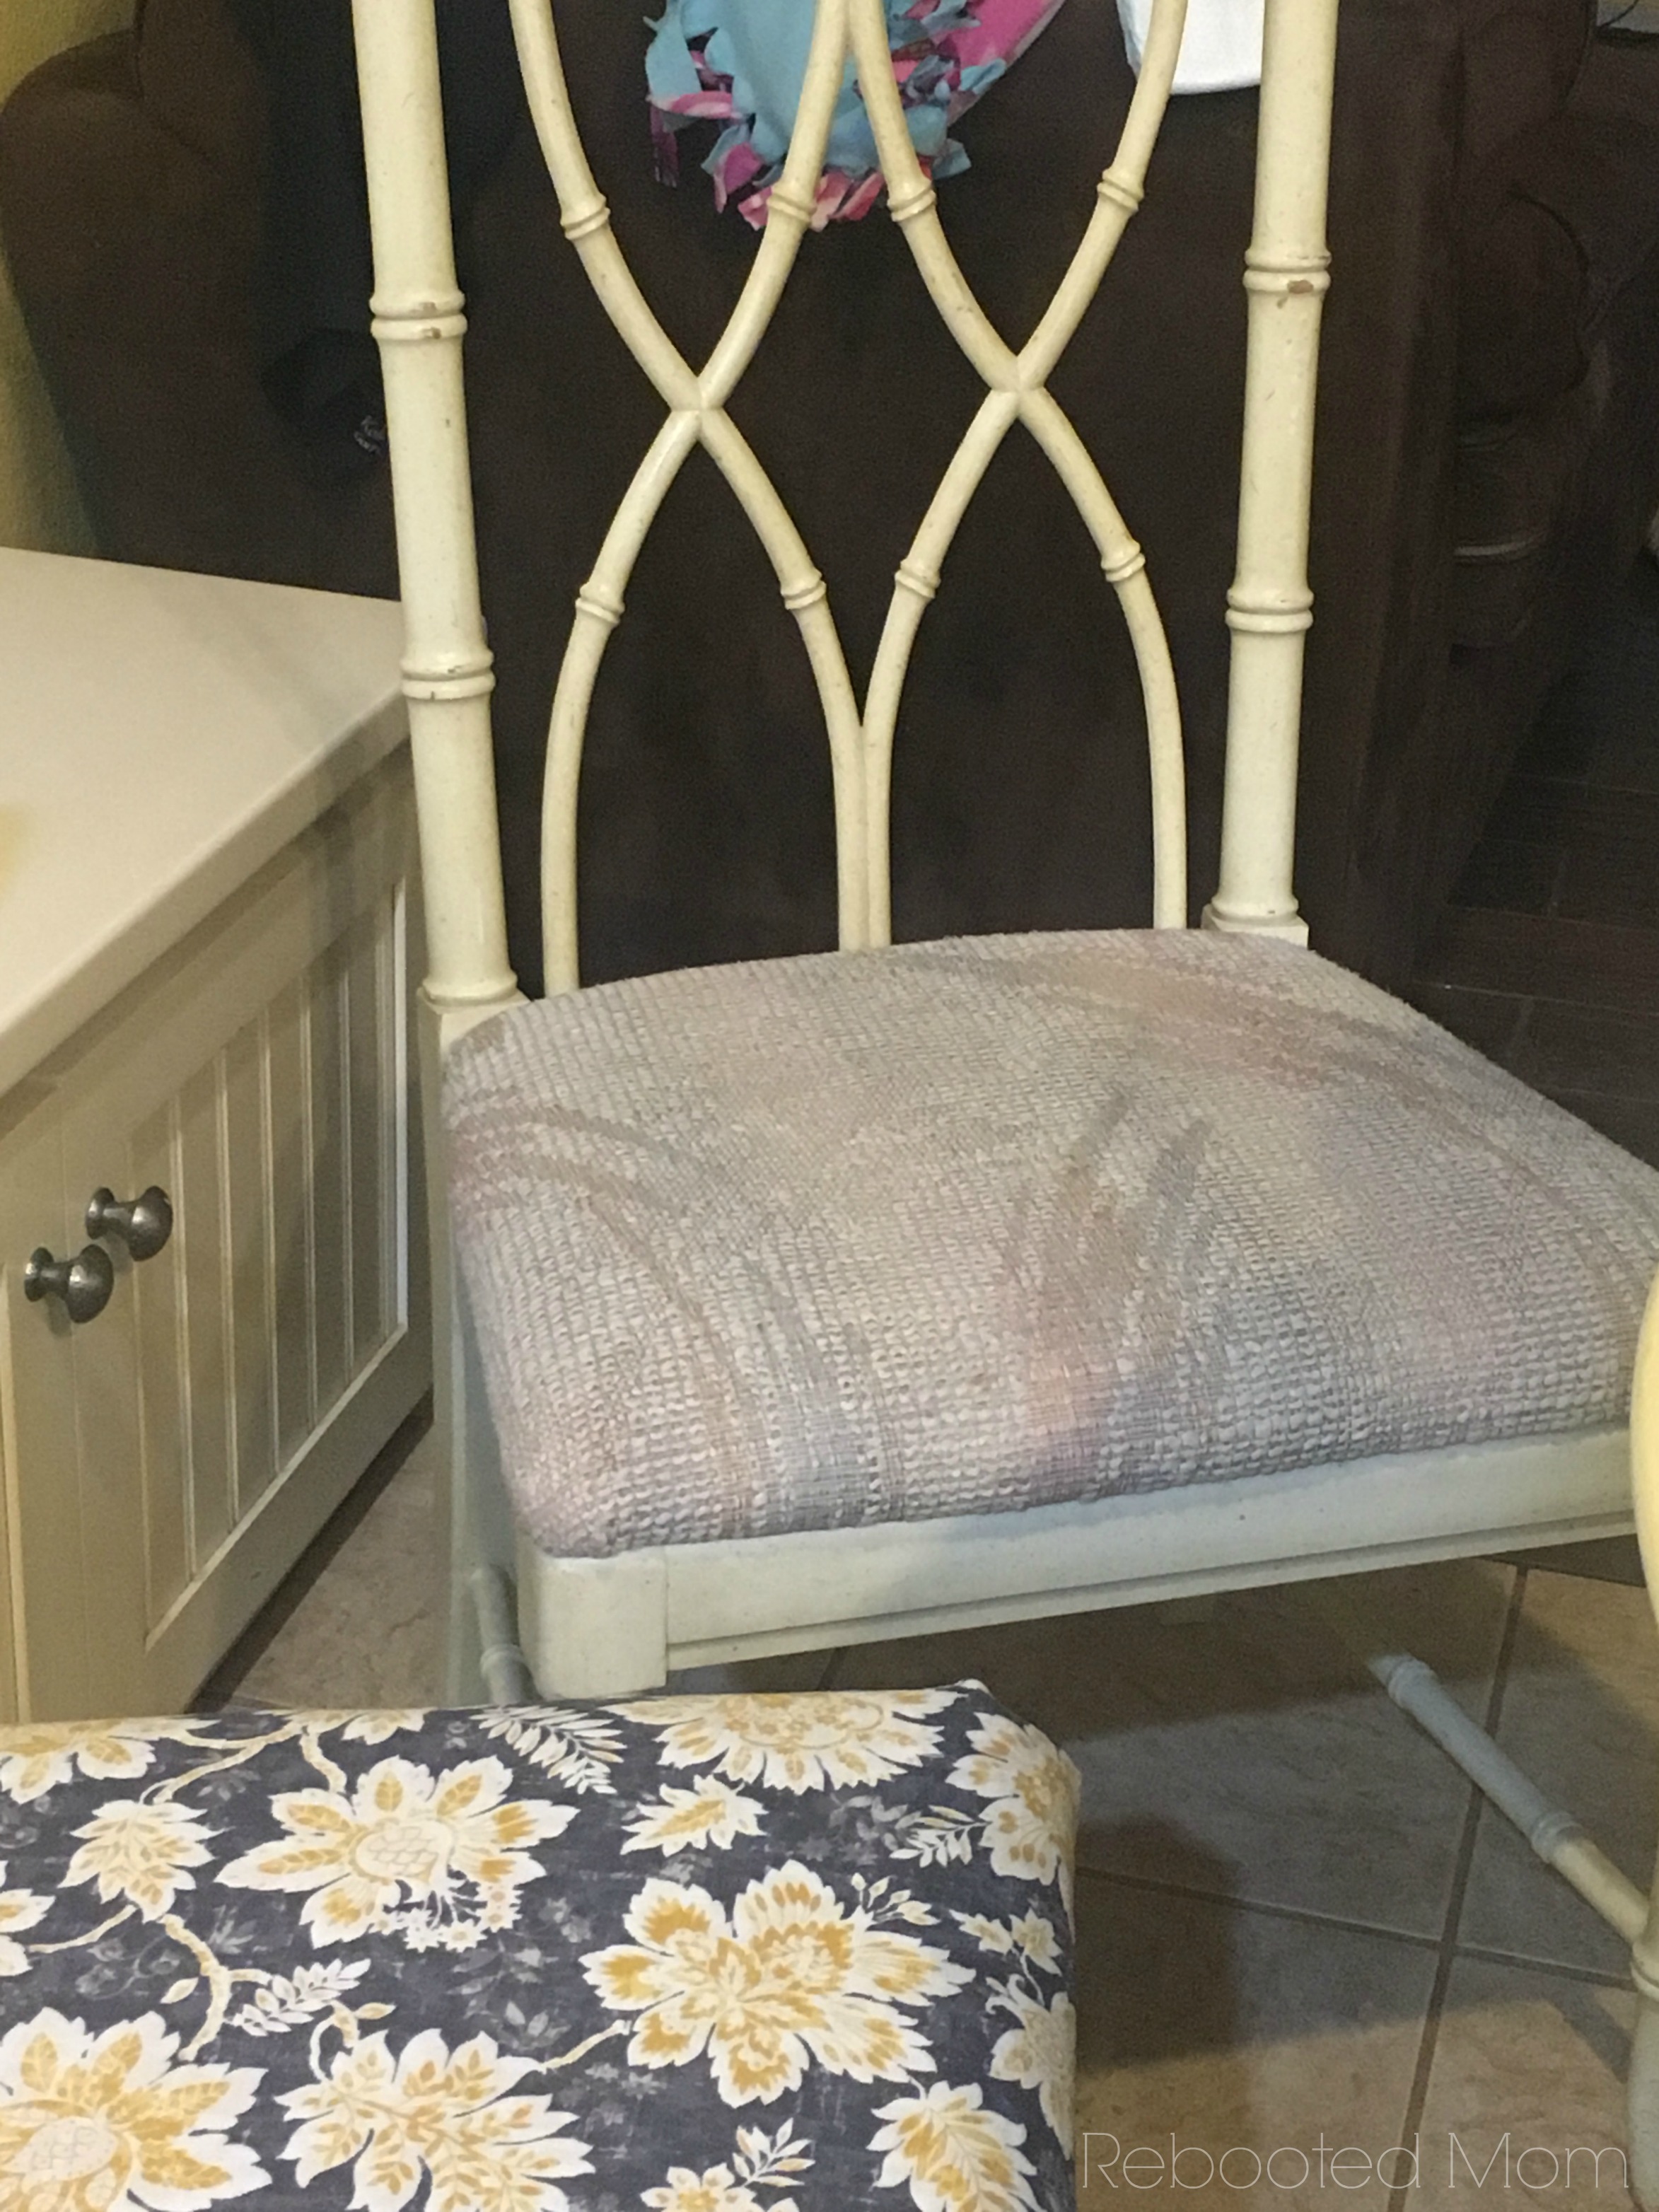
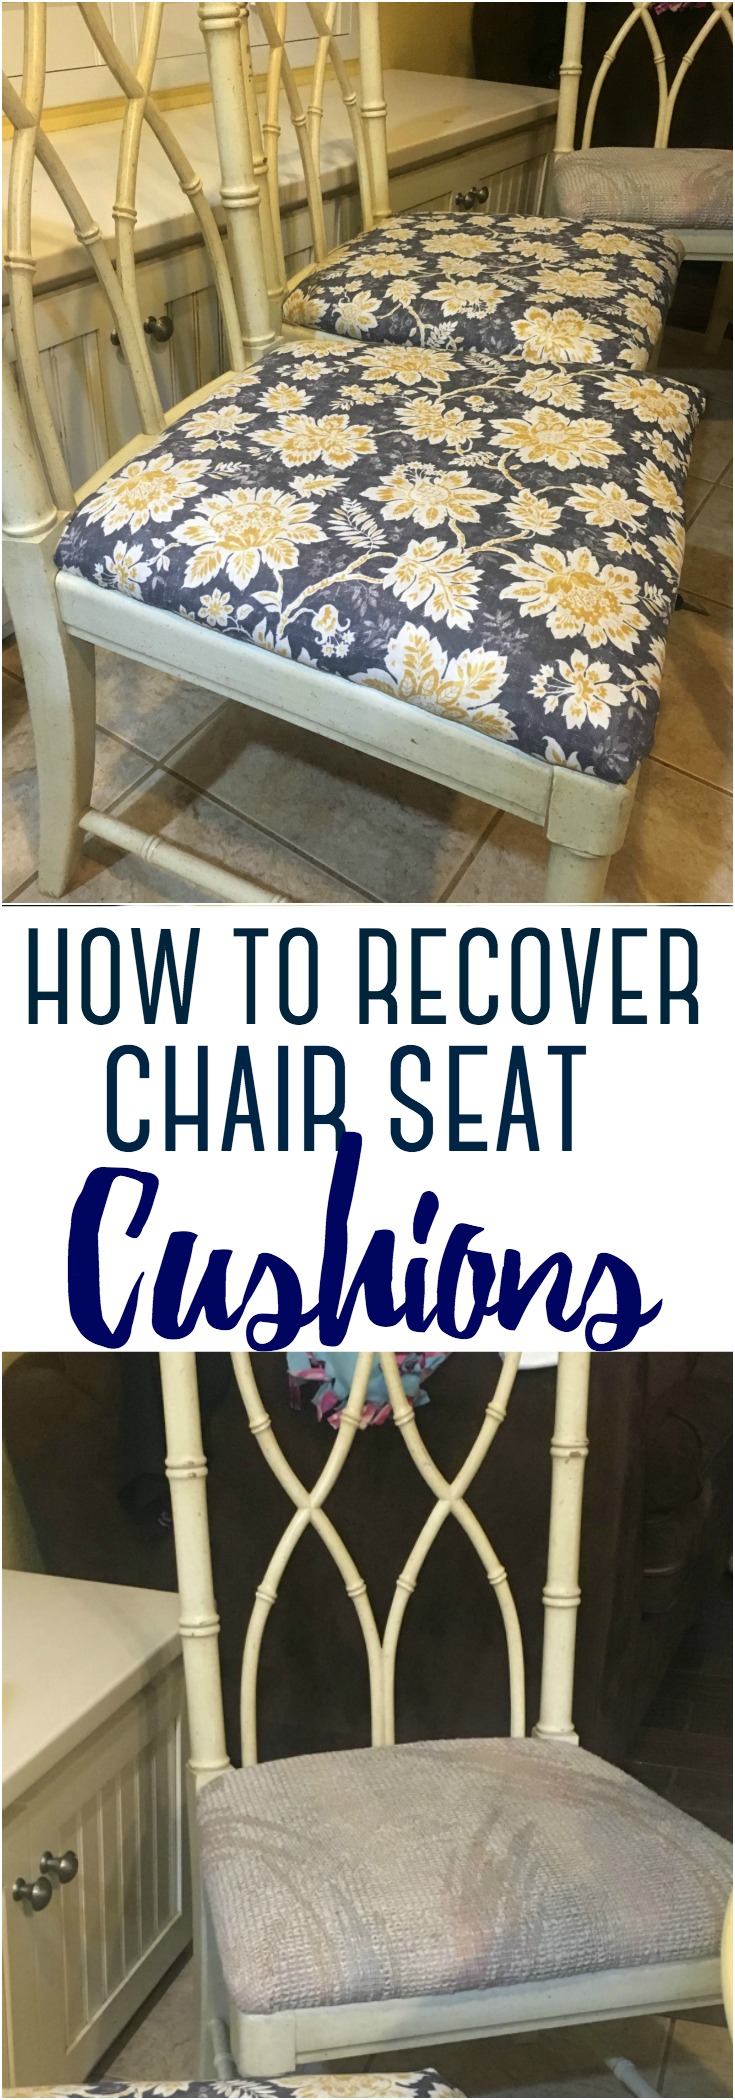
After several weeks of perusing the Facebook Marketplace and Craigslist offers, we realized it was going to be harder than we thought. Eventually, we found a beautiful table and 6-chair set. The table was an antique white shaker style, and the chairs matched wonderfully. As beautiful as it was, I knew I would have to recover chair seat cushions if I wanted to make the chairs look new.
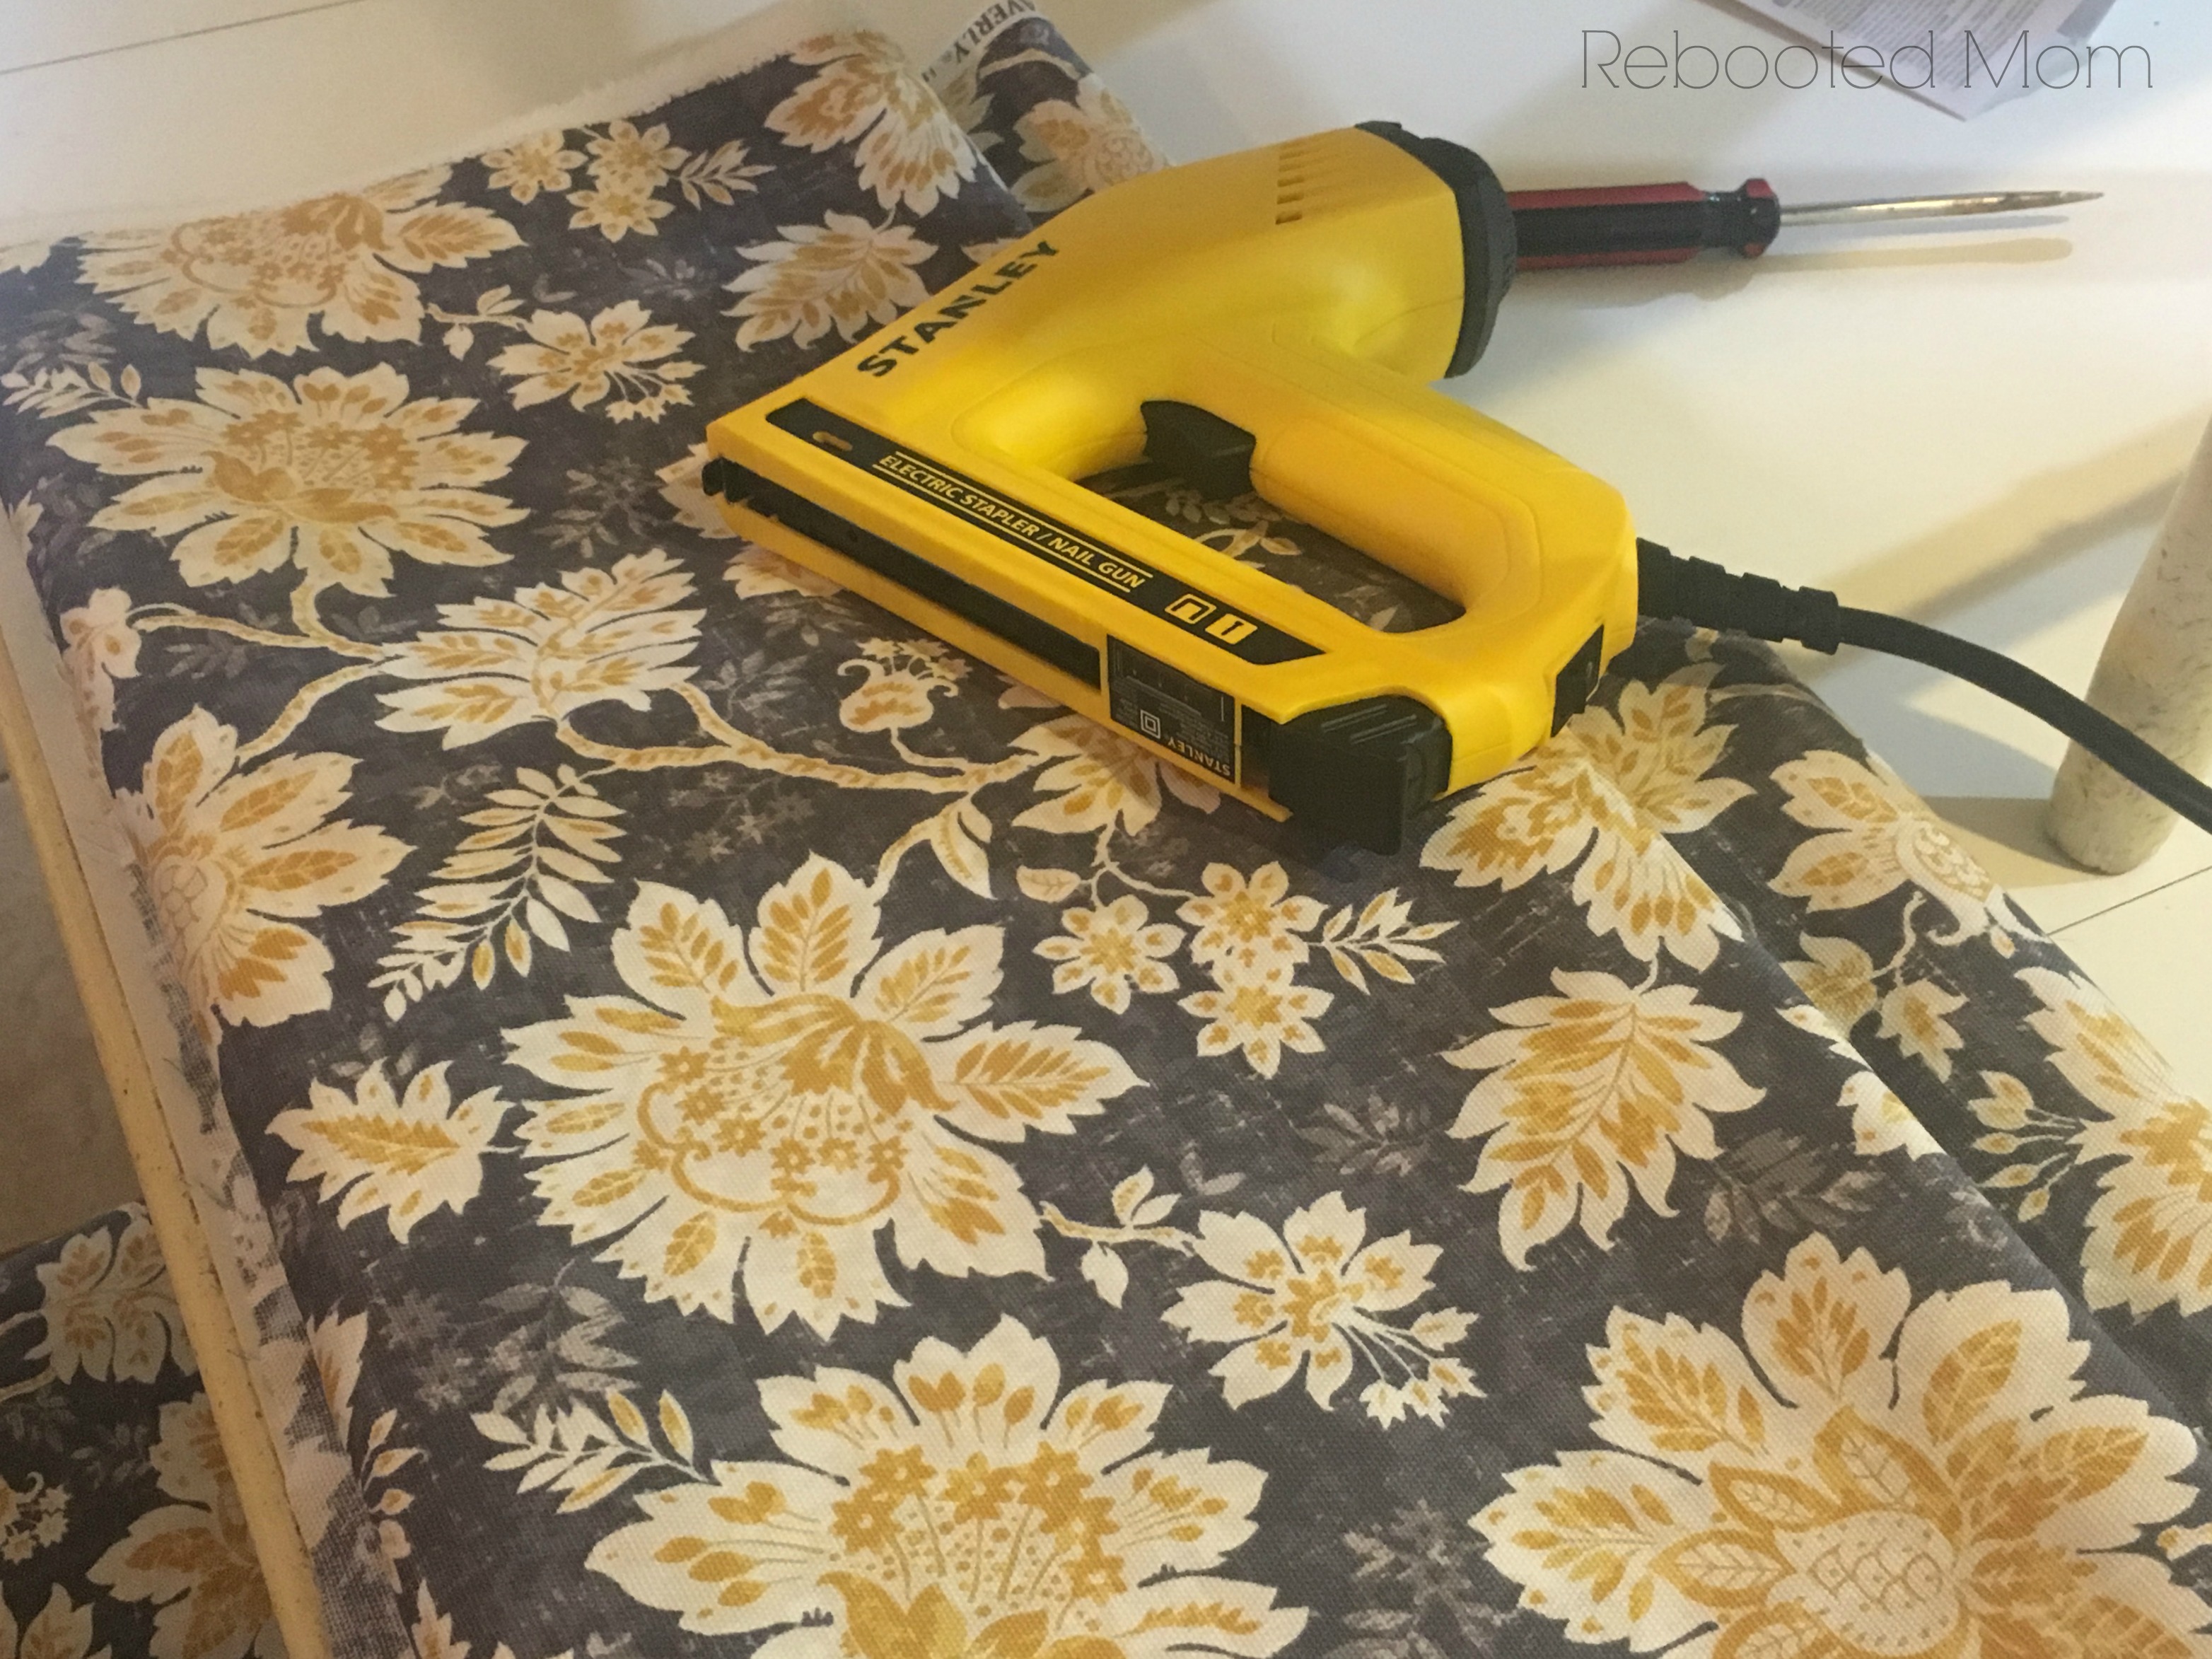
After several weeks, I picked up a Stanley Nail/Staple gun and scored a wonderful price on 6 yards of Waverly fabric at the local fabric store. I set out to recover chair cushions myself with my new fabric.
Recover Chair Seat Cushions
If your gut instinct is to toss your chairs, consider attempting to recover chair seat cushions yourself. It’s an easy to transform your kitchen or dining chairs and give them some life.
As a novice DIYer, recovering was incredibly easy and only took a few hours on a lazy Sunday afternoon.
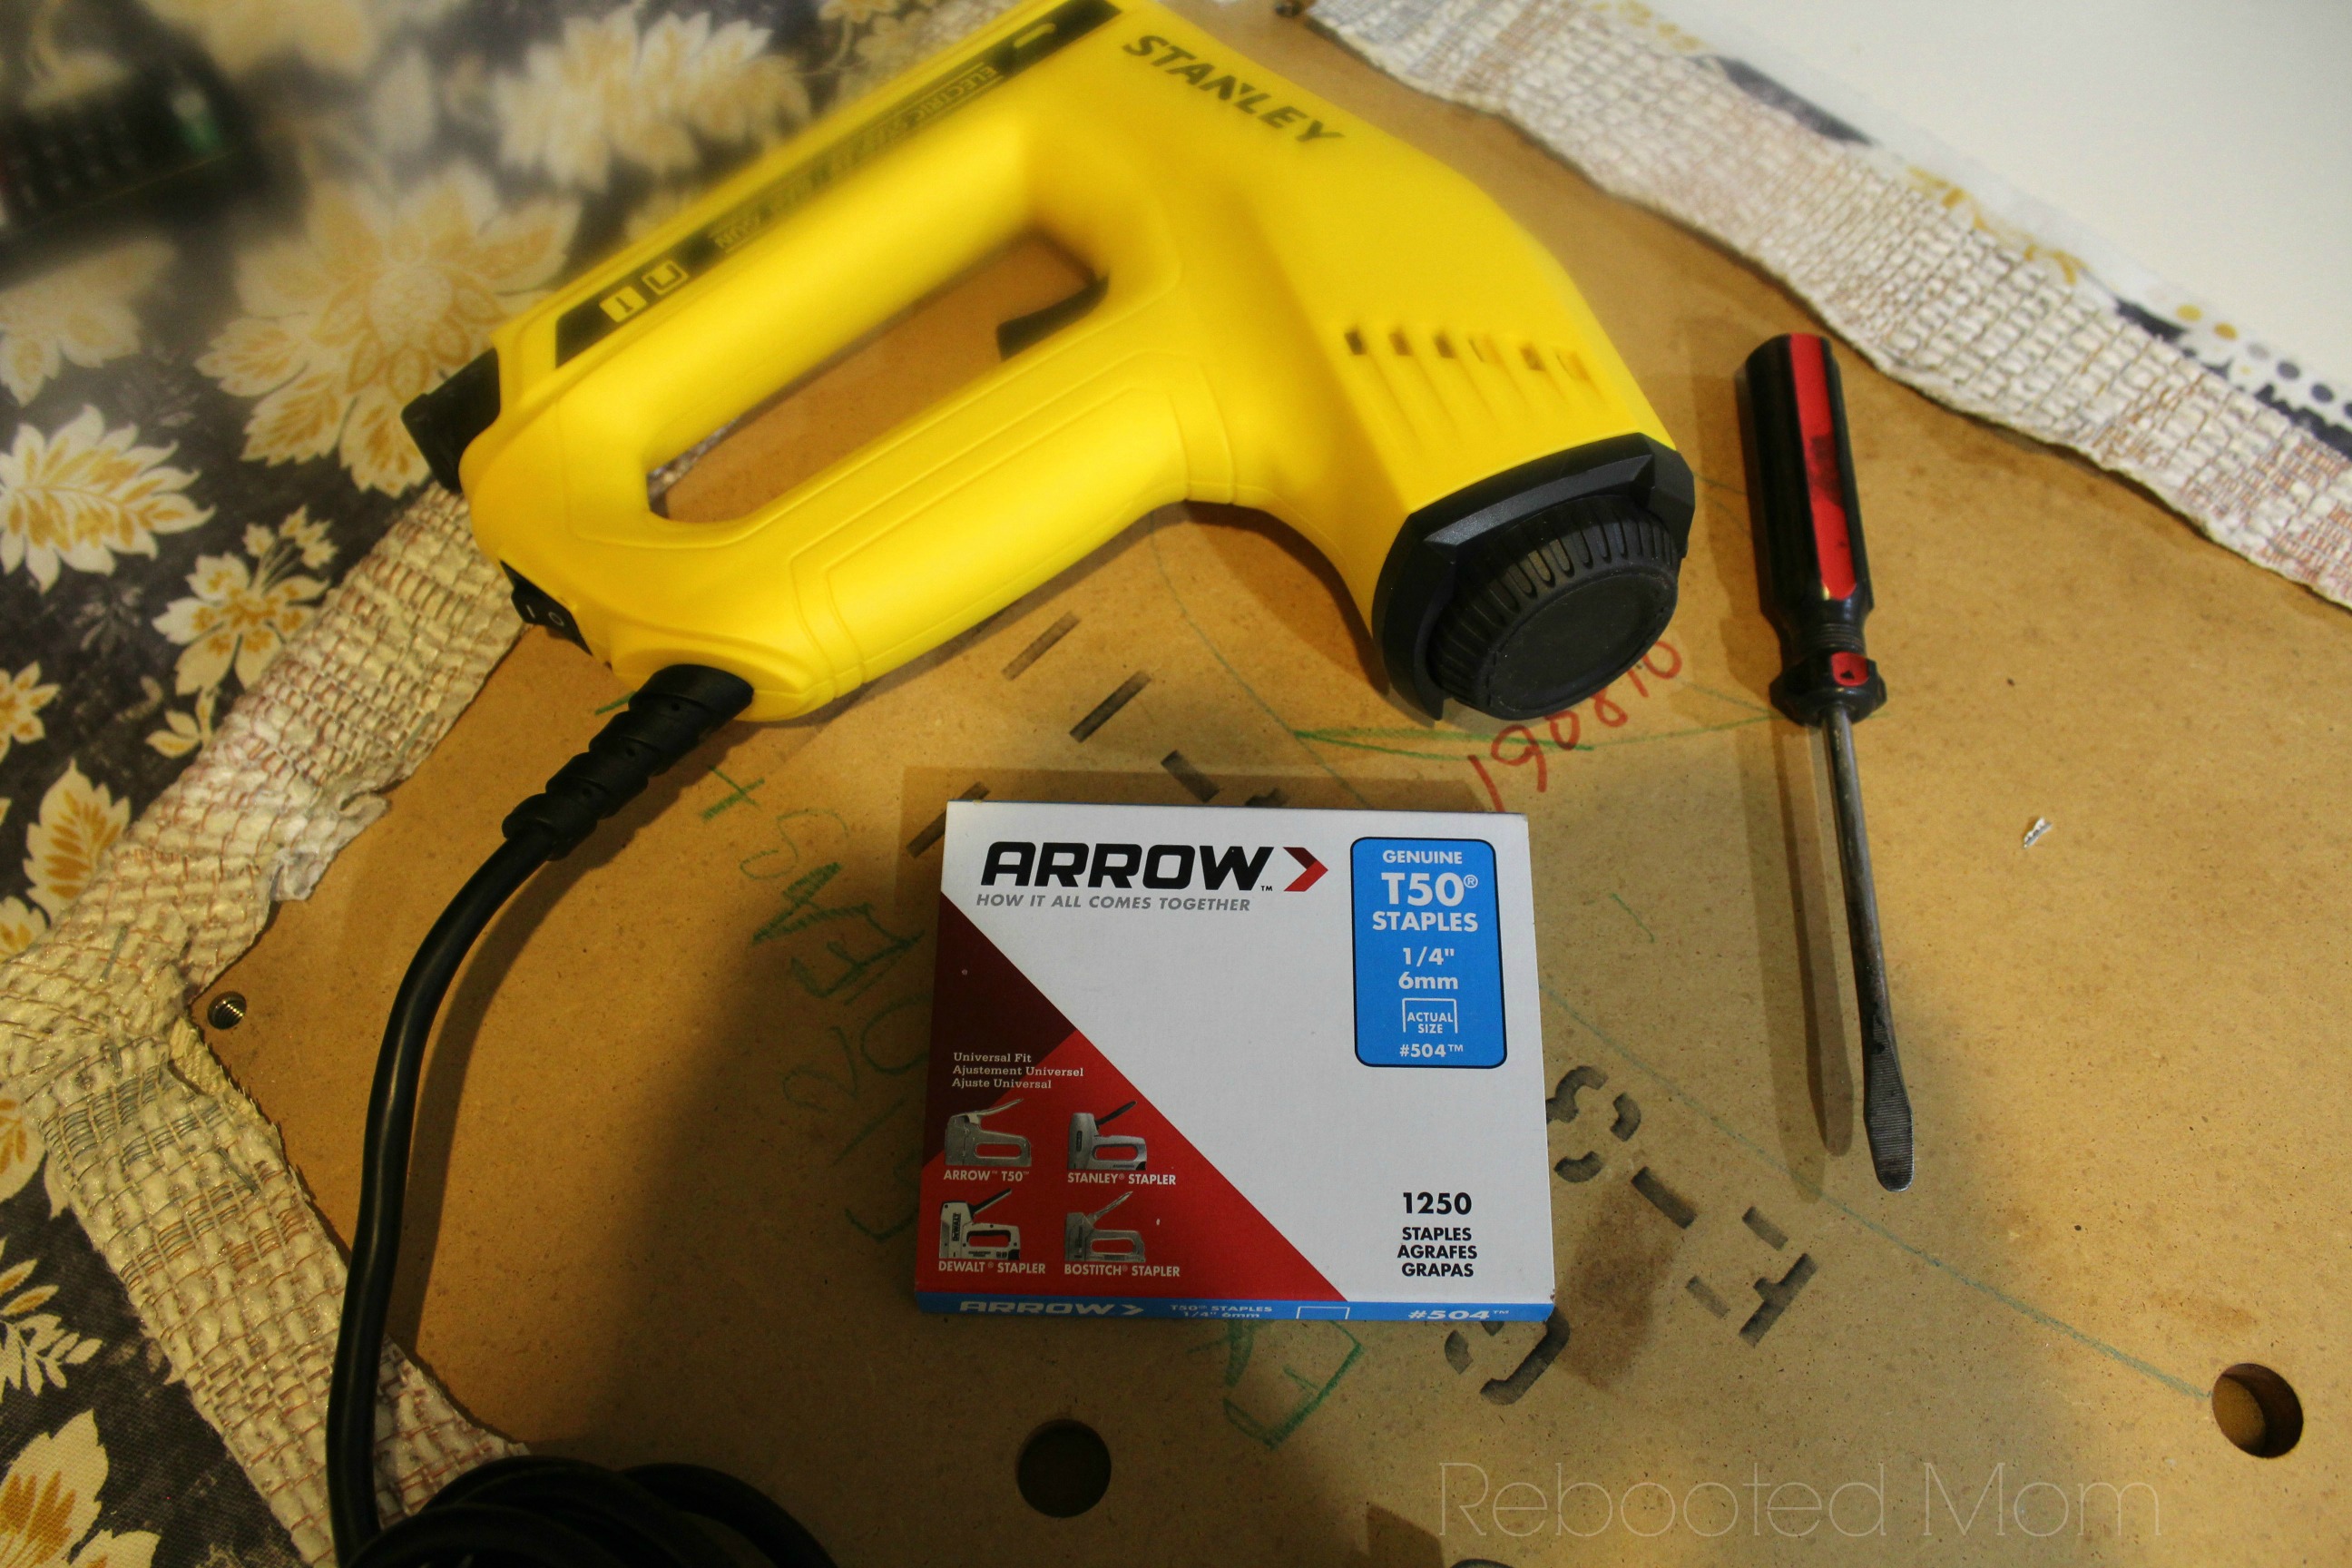
Materials and Tools
- Fabric (1/2 yard per chair)
- Scissors
- Staple Gun
- Staples
- Screwdriver
Step 1:
Before you start recovering your chairs, measure your seat cushions to determine how much fabric you will need. During the process, add a few extra inches of fabric on each side to make sure you have enough to fold over and staple down over the lip of the chair.
Step 2:
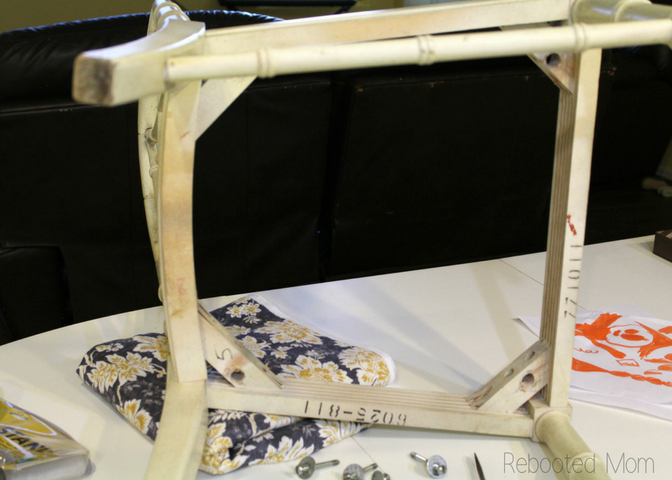
Pull out your screwdriver, and flip the chair upside down. Remove the existing cushion from the frame of the chair. If you have just one layer of fabric over the cushion, you can recover the chair without removing the existing cushion. If you have more than one layer of fabric, you’ll want to take off the most recent layer by removing the staples.
Set the screws aside so you don’t lose them while you are covering the chair cushion.
Step 3:
Lay the fabric out evenly on your table and cut the piece to the size of the cushion. Add an additional 3-4 inches per side. Be careful to place the fabric as you wish to have it display.
Step 4:
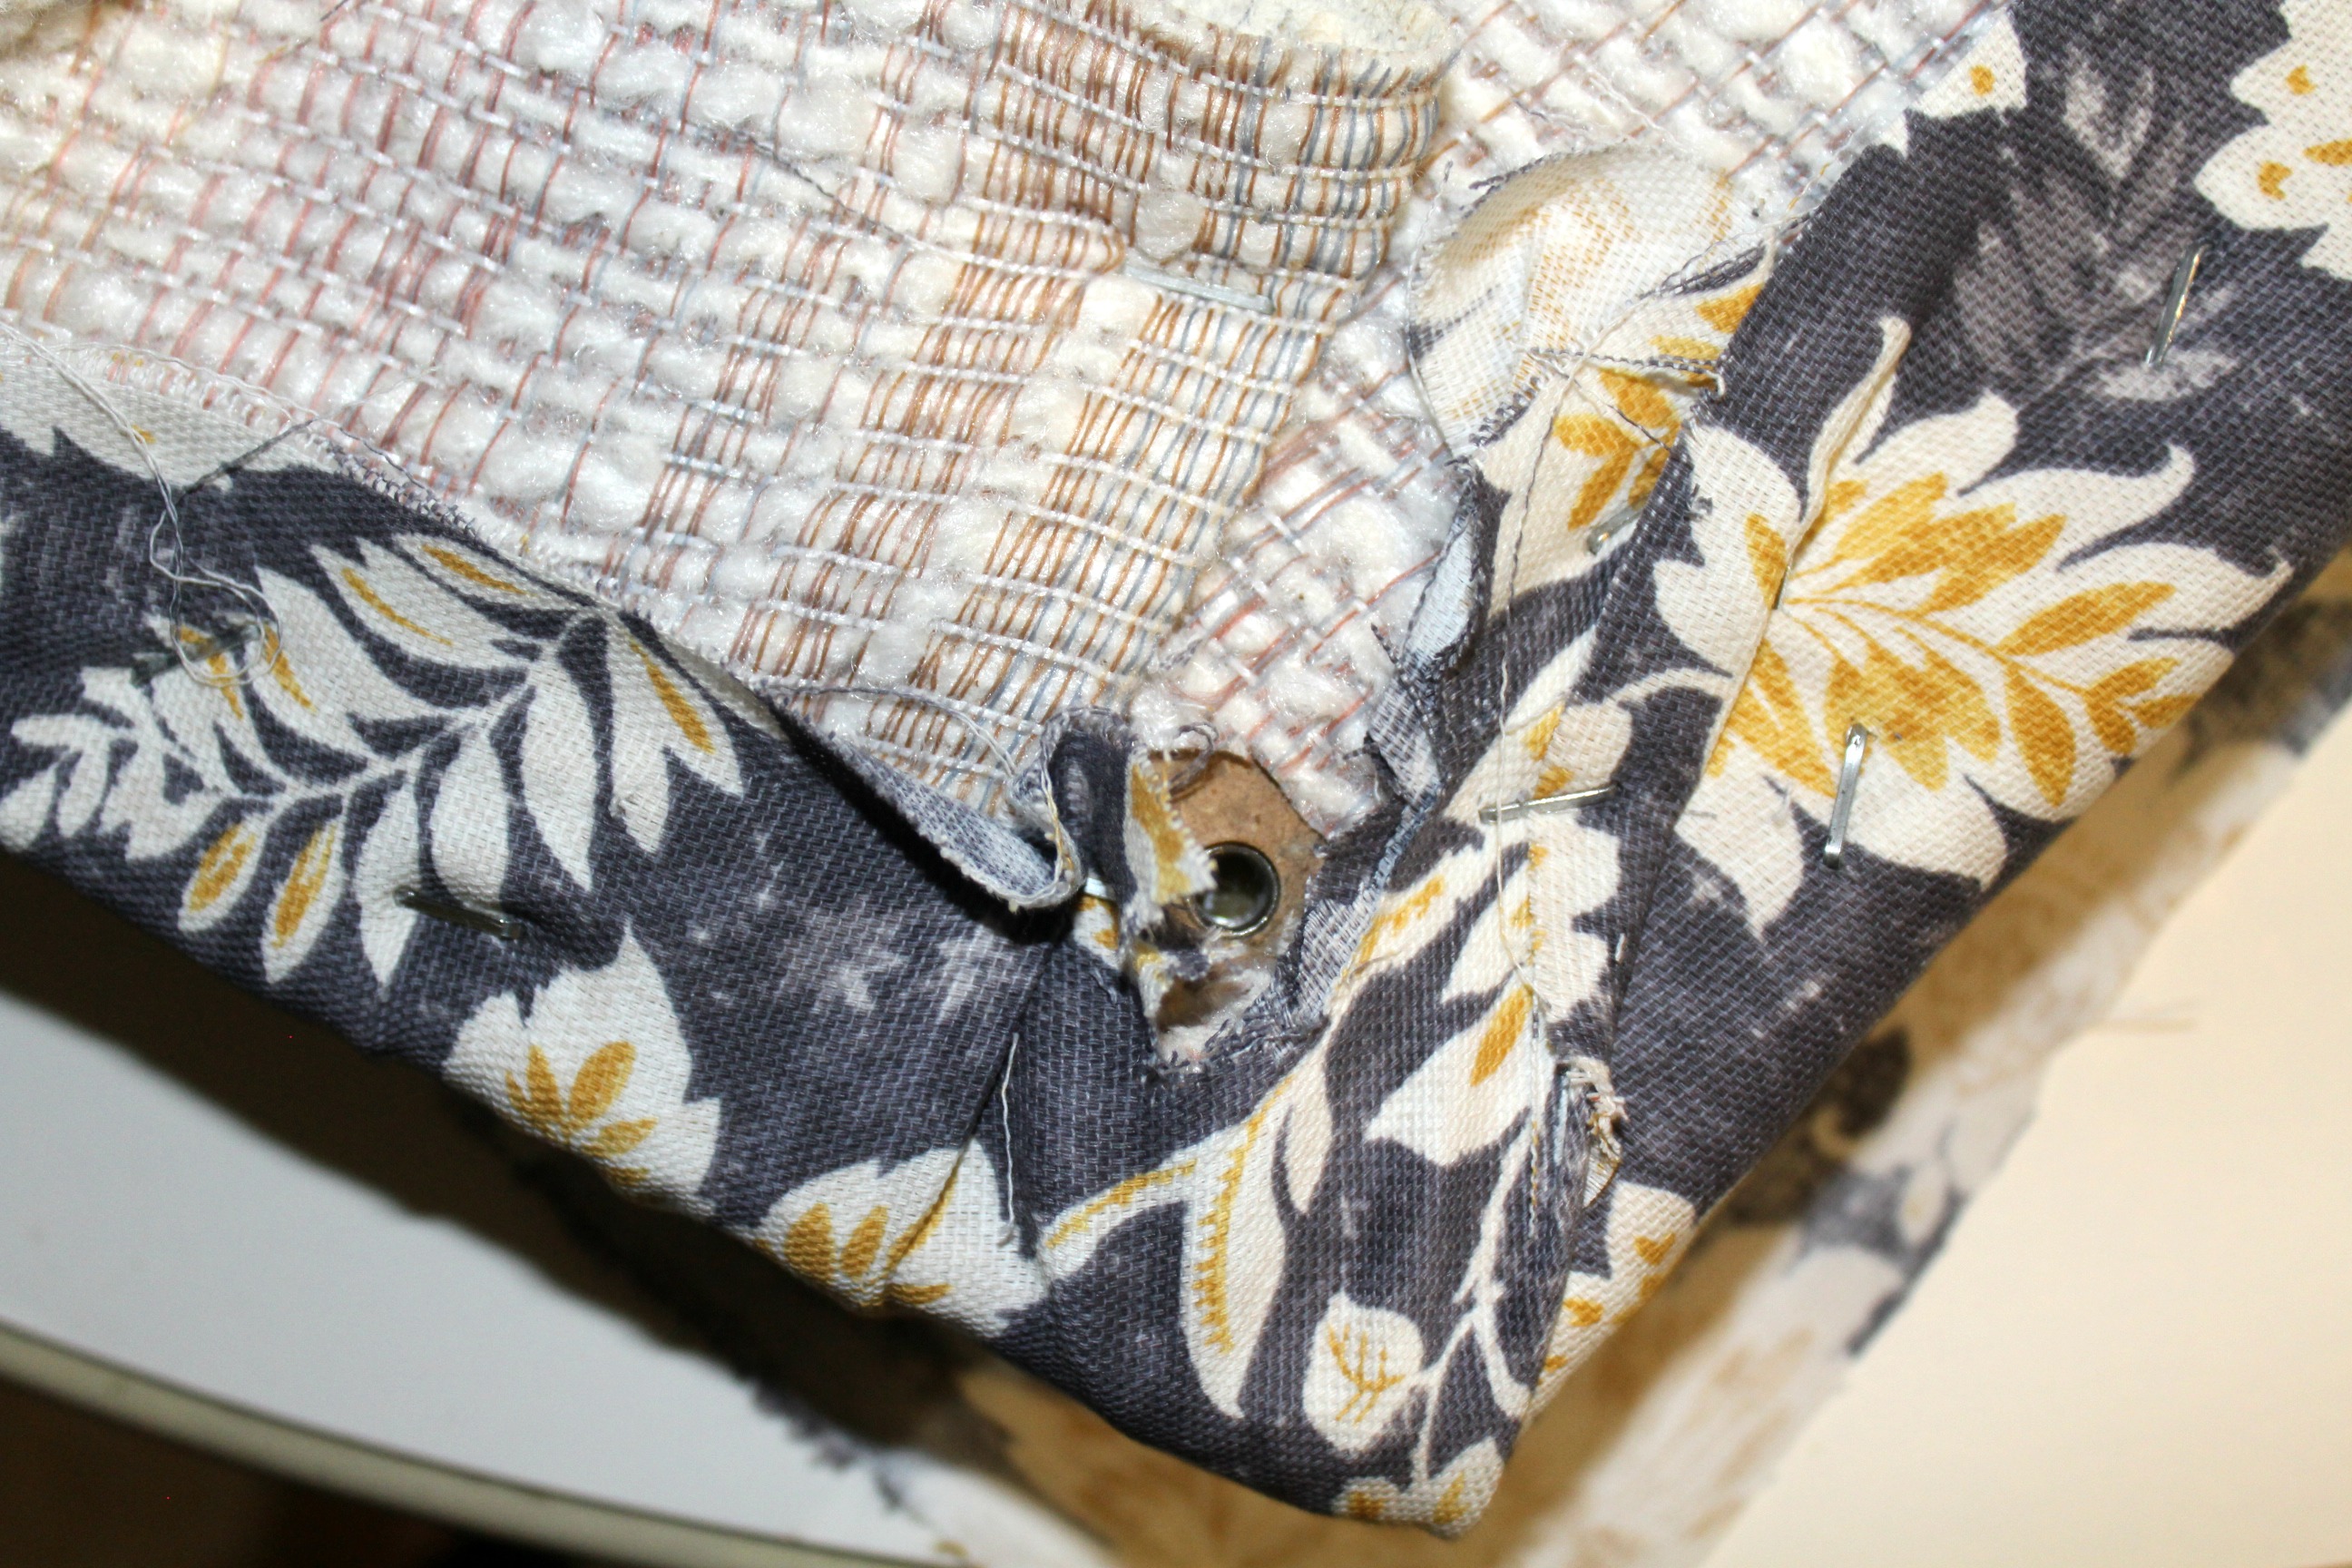
Attach the new cover by folding one edge of the fabric over the seat, then stapling the fabric to the underside of the cushion. Staple just an inch or two from the edge. Then stretch the fabric across the set and then fold the opposite side down before stapling that side as well.
Flip the cushion over to make sure the fabric is aligning properly. Then, flip back over and continue to staple along the sides. You want to make sure you pull as tight as possible. You may need another person to stretch and pull the fabric while you staple.
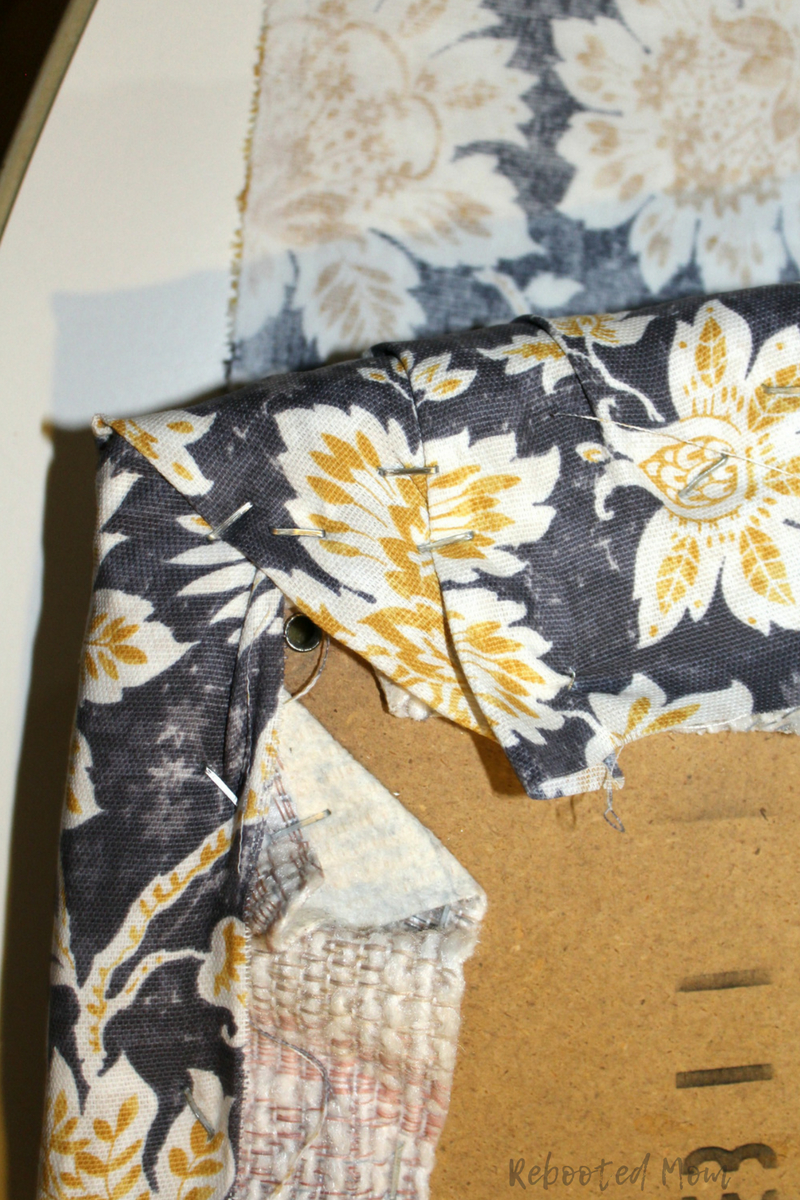
Once you get to the corners, stretch and angle the fabric as you staple. Remember: if you have a screw hole for the underside of the chair, you will want to make sure you angle and staple around that hole.
Step 5:
Repeat for each chair – then use your scissors to trim up any excess fabric you may not want in the way of the chair cushion screw holes. The underside of the chair cushion does not need to be perfect, because it won’t be visible.
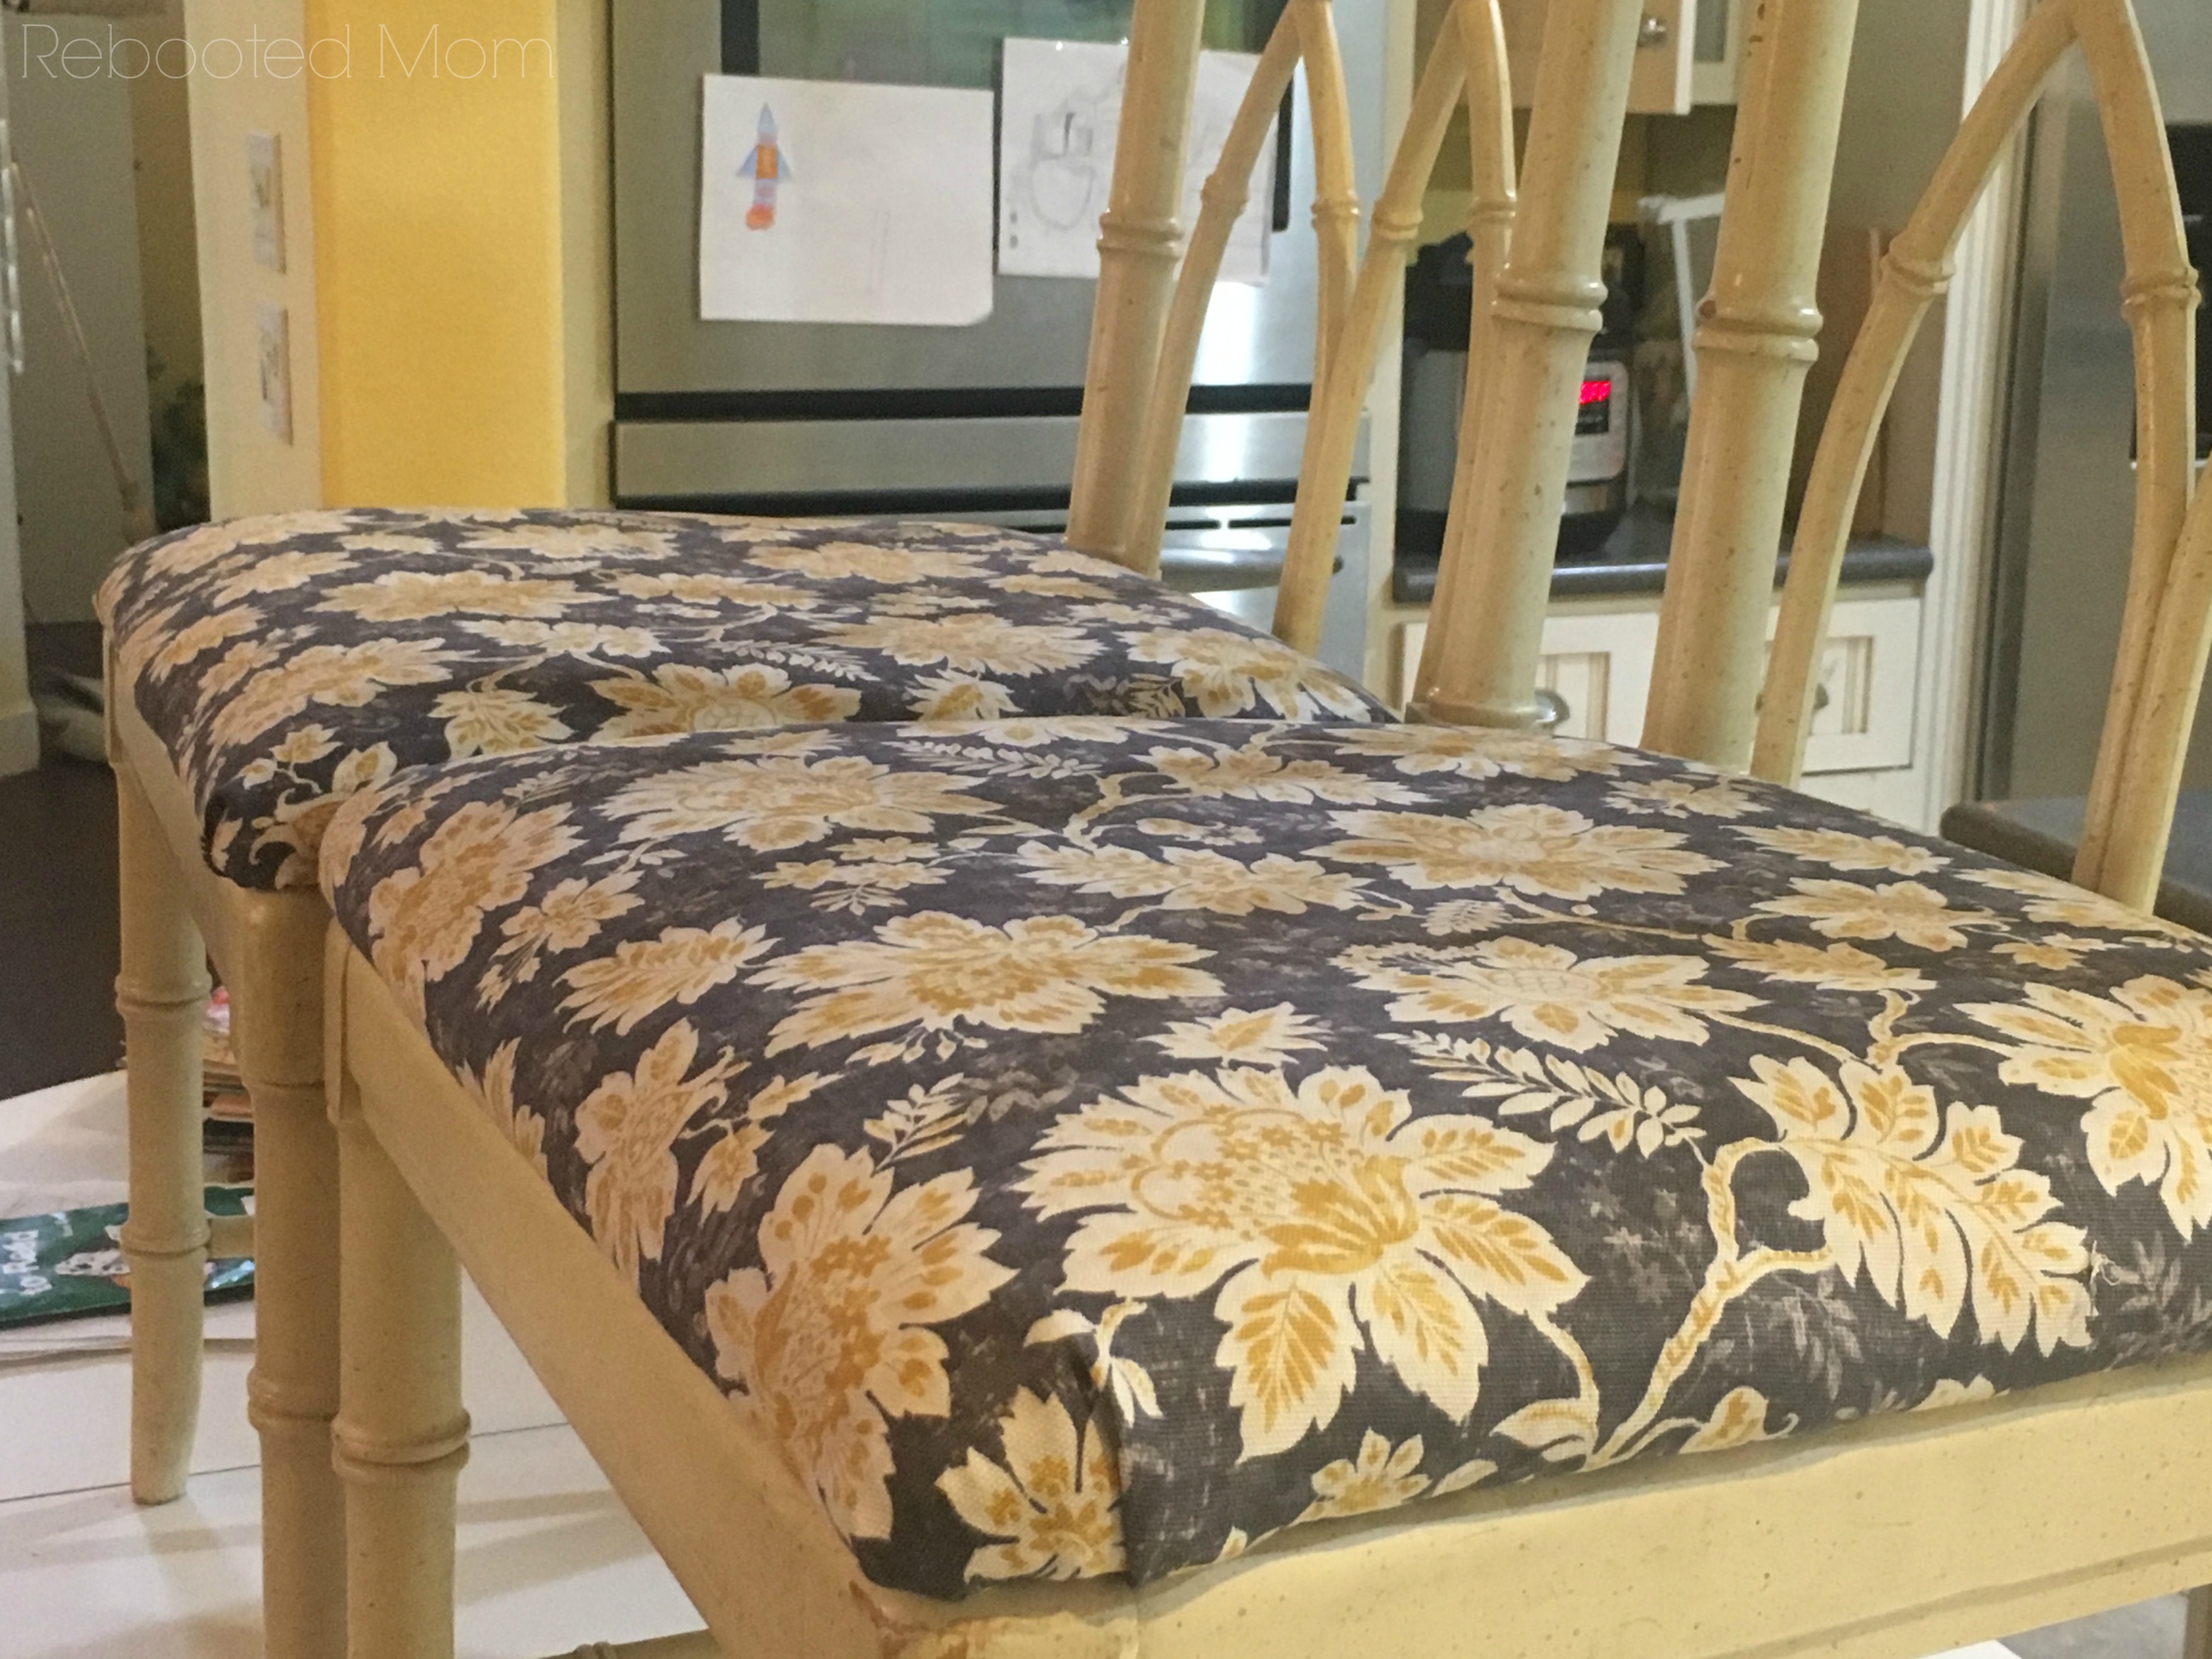
Reattach the cushion to the chair using the screws. Tighten them as well as you can before flipping the chair back over to admire your work.
When you recover your chair cushions yourself, you get the joy of picking out your own fun fabric. Not to mention the encouragement of taking on your own DIY.
Have you ever recovered your own chair cushions?

[…] you follow me on Instagram, sometimes I post these cute projects I make with scraps – seat cushions, minky cuddle blankets, even cute tote bags. I don’t think I’ve ever taken a picture of […]