


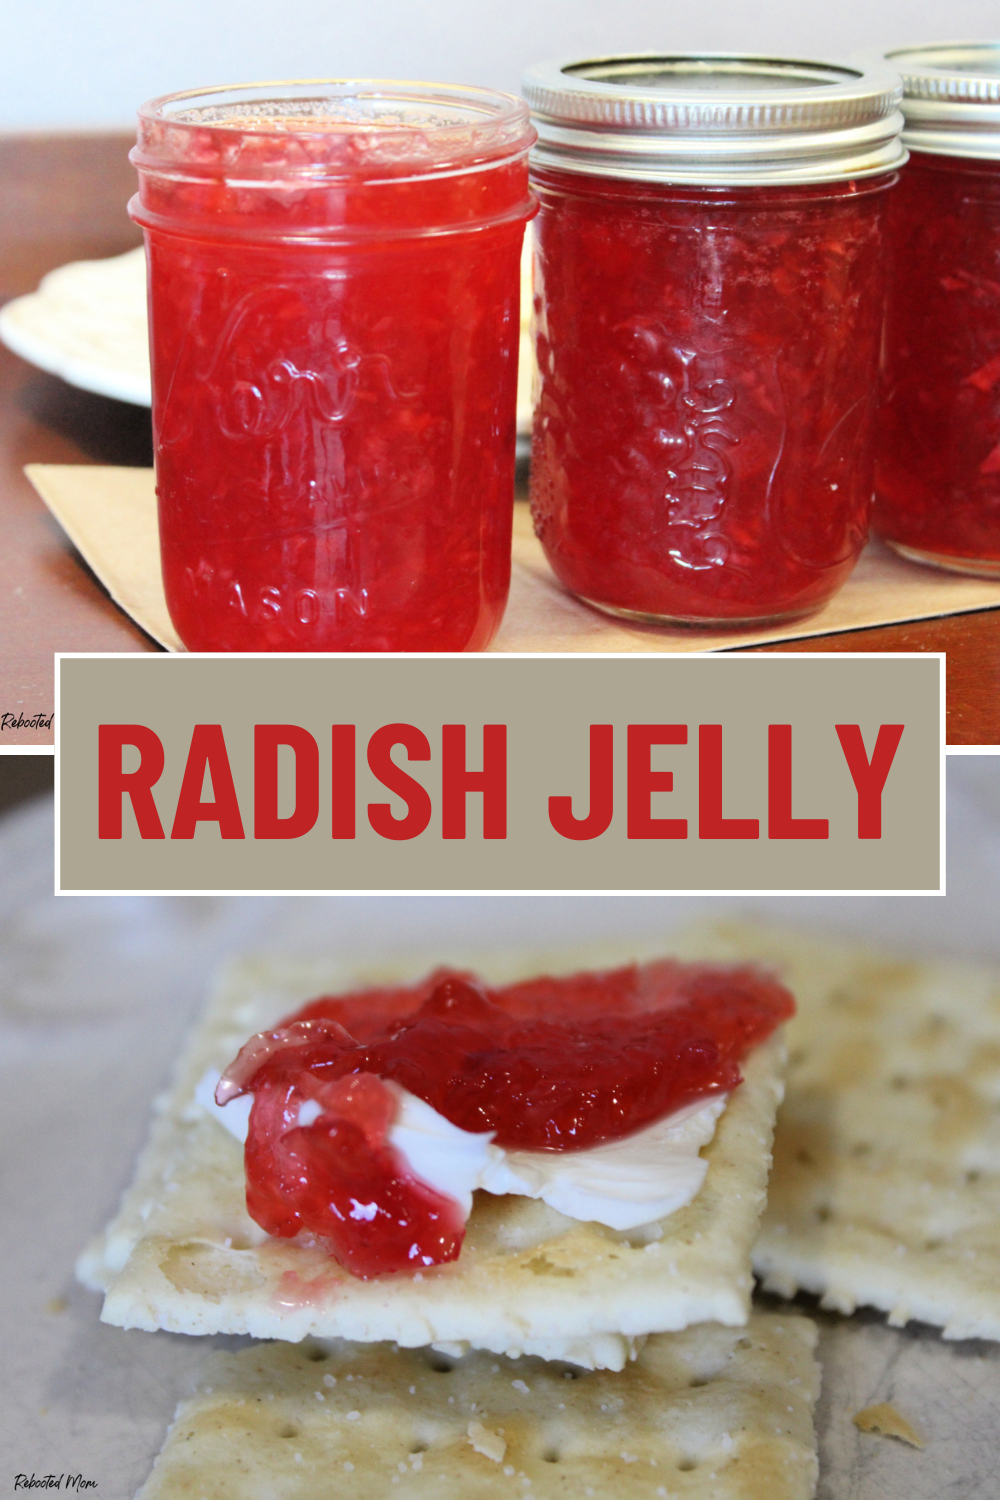
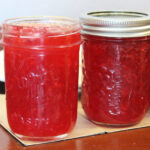
A very unusual twist on traditional jellies, this radish jelly combines finely chopped radishes with prepared horseradish for a jelly that’s great on cream cheese or meat.
When you think about jelly, I will fully admit: RADISH jelly probably does not come to mind.
But hold on a bit here — I was the same way. I literally thought the same thing. But I found myself drowning in radishes just a few weeks ago and I knew that there had to be a way to use them.
Obviously I have used up a ton of radishes before…
- Sweet and Spicy Pickled Radishes
- Rosy Radish Relish (which is absolutely AMAZING!)
- Rosemary Radish Veggie Salt Recipe
And even Fermented Radishes.
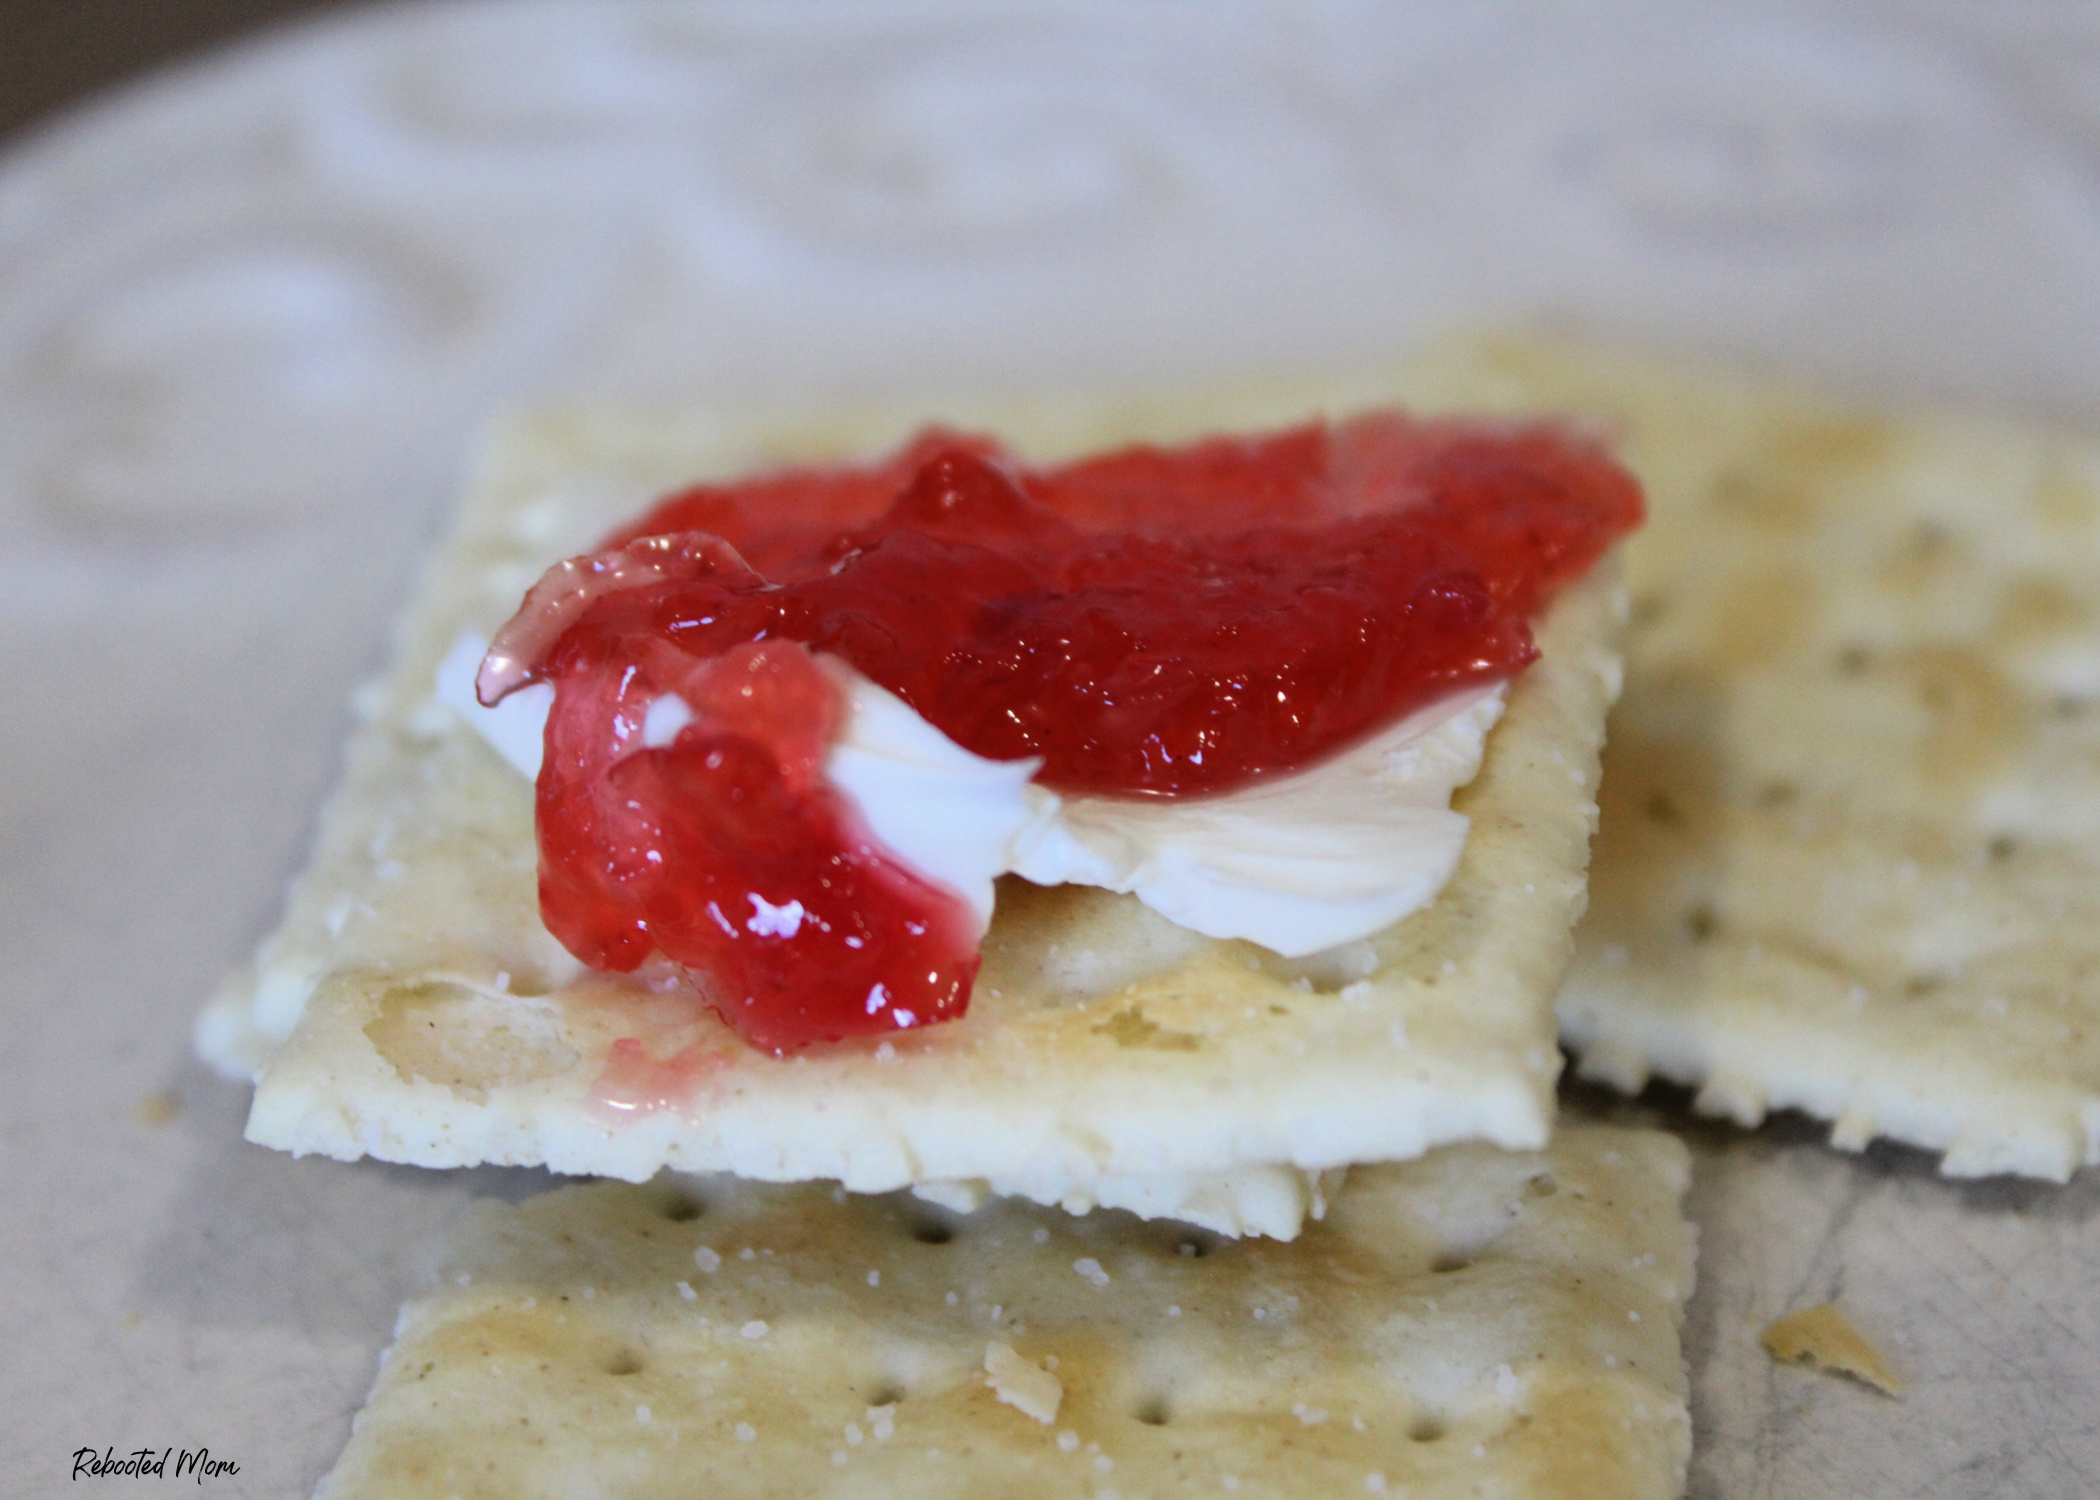
But I had never ever, ever assumed that I could make Radish Jelly. Know what though? You can. And it’s great when served on top of cream cheese on top of crackers. I promise.
Radish Jelly
Start this recipe by finely chopping radishes – you want enough chopped radishes to reach 2 full cups. Combine the chopped radishes, sugar and water in a large stock pot on the stovetop.
A tall stock pot is a necessity when making jam or jelly. The jam will boil up and a deep pot ensures that it doesn’t boil over and burn your stove top range.
Crank that heat and bring the mixture to heat on medium until the sugar is combined. Then gently bring the pot to a boil. Add the pectin and stir until dissolved.
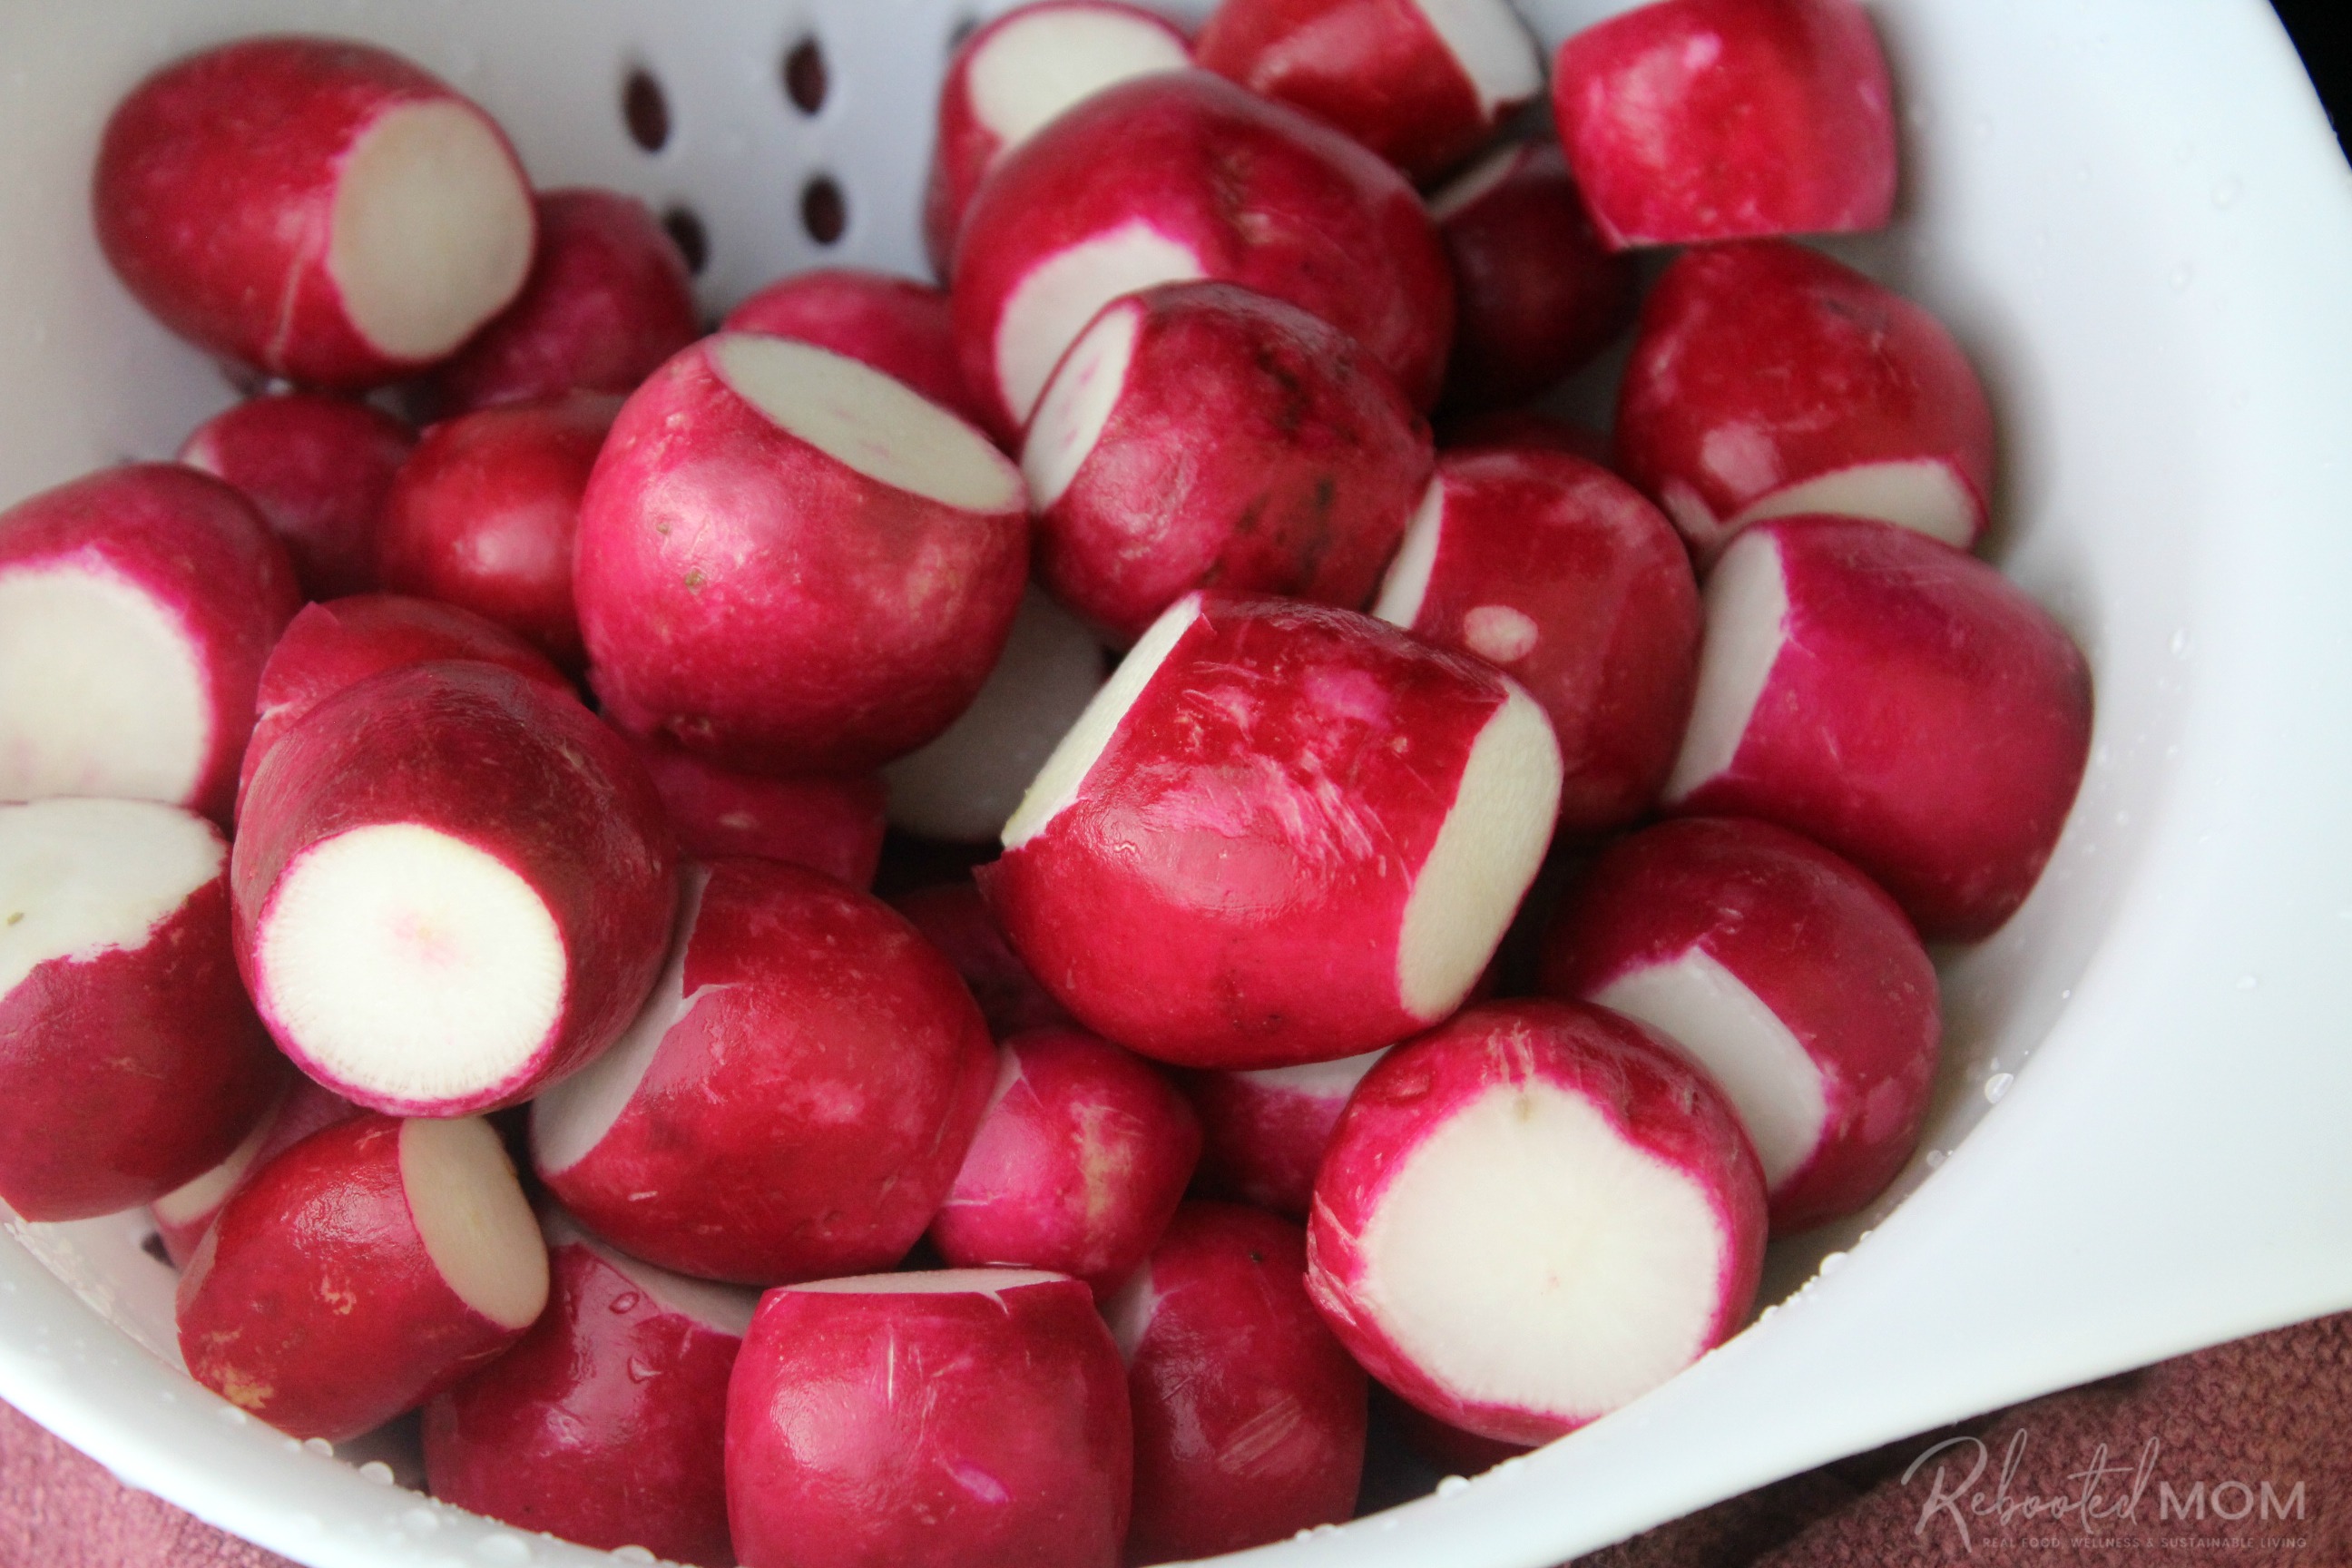
Start by washing your radishes, then chop them into fine pieces. You want 2 Cups of chopped radishes to start.
You want to bring that mixture to a boil once again, until it reaches 220 degrees F – that’s the temperature to ensure a good “set”.
While you are working on the jelly, take the time to toss the water bath canner on the stove and heat that water to boiling so that’s ready to go when your jam is done. Then wash your jars and place the jars, lids and bands in a 200 degree F oven to sterilize. Pull them out just before you are ready to fill.
Water Bath Canner
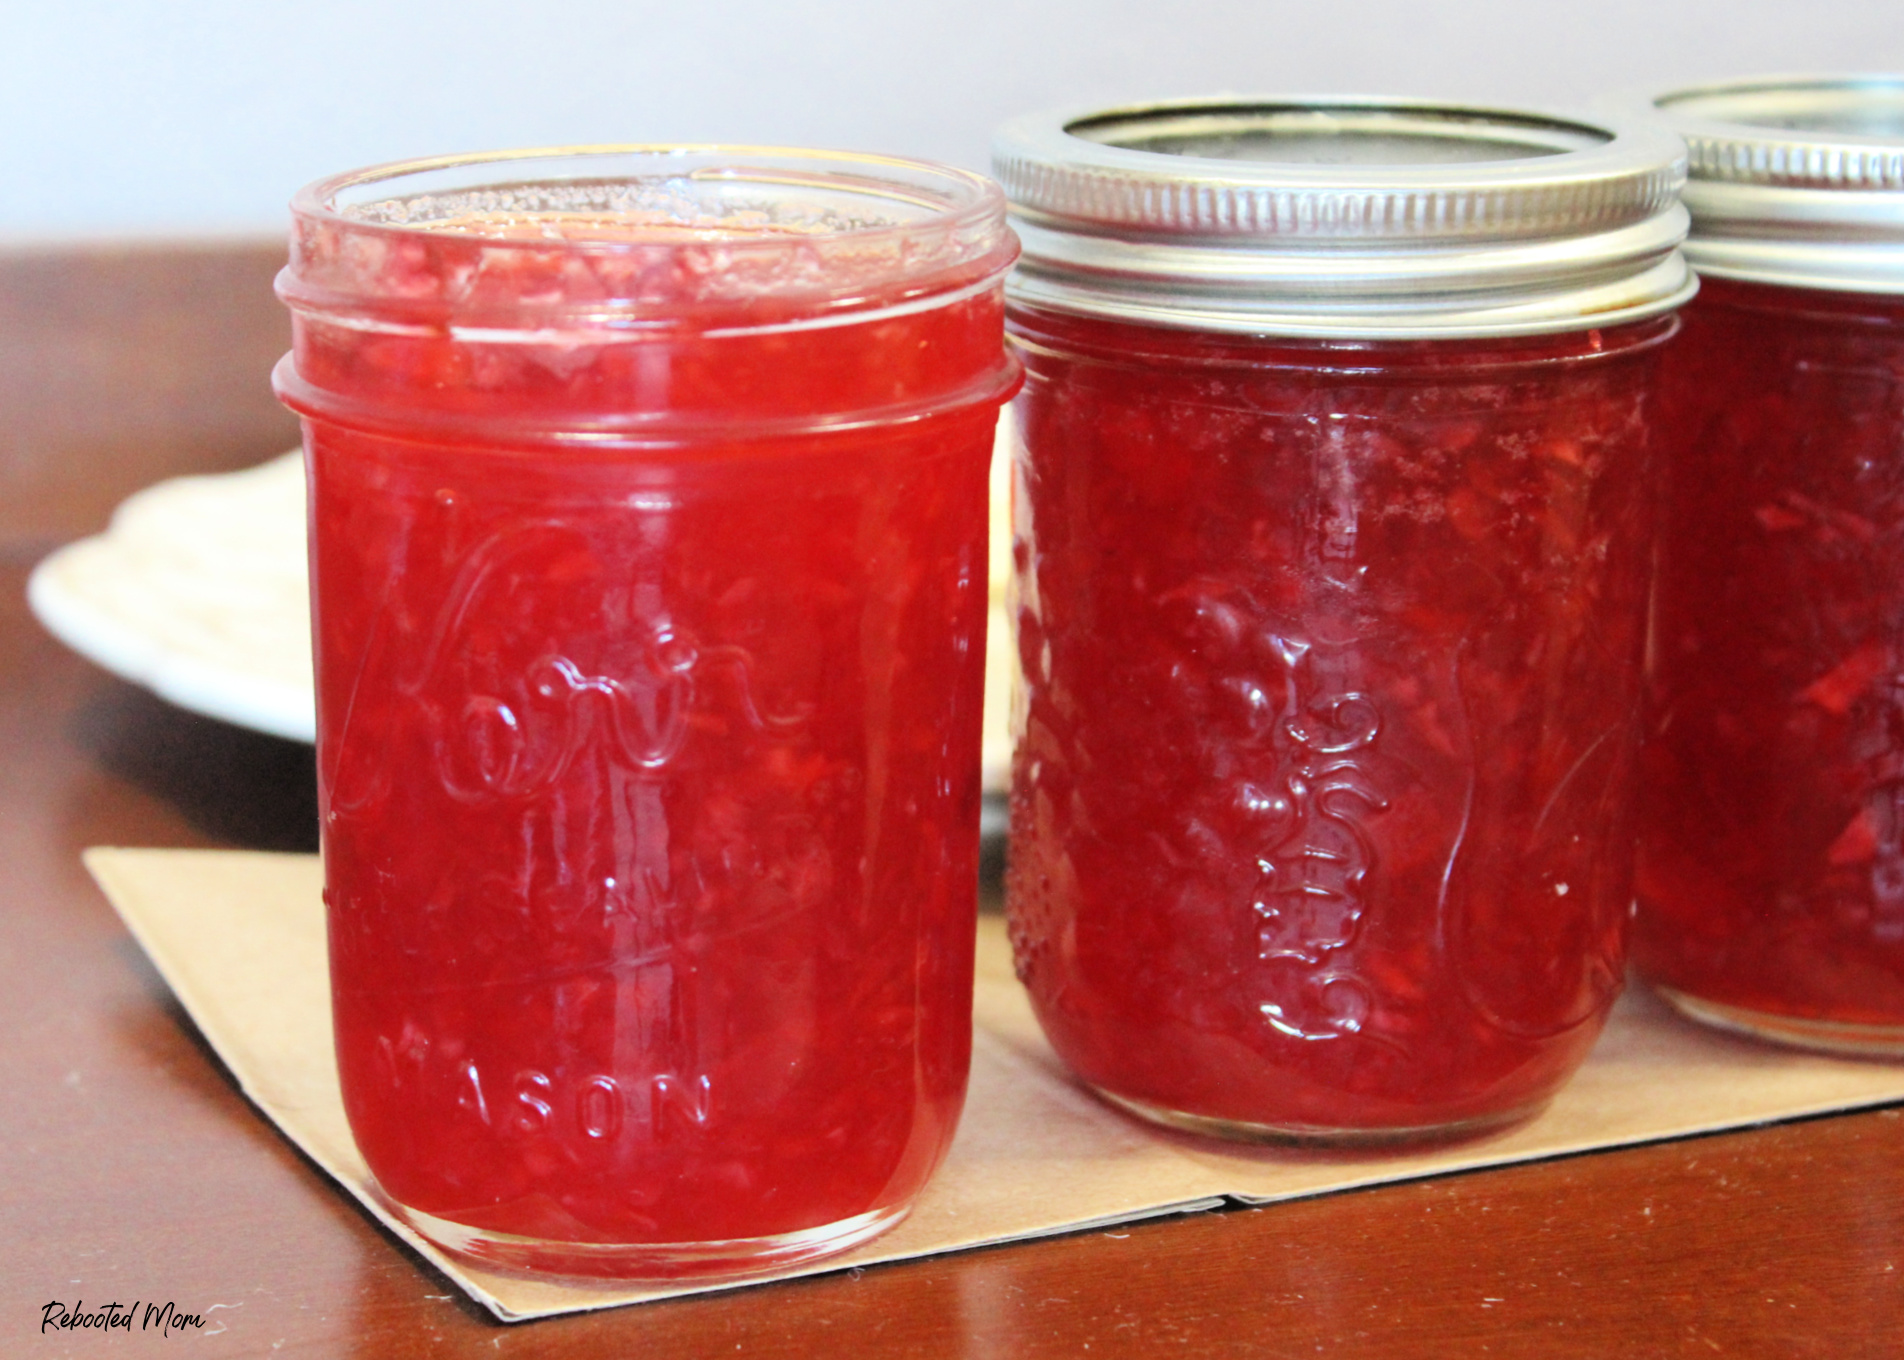
Once the jelly has reached the setting point (220 degrees F), carefully remove from heat and ladle into sterilized canning jars, leaving 1/2 inch headspace. Wipe rims thoroughly and then apply lids and bands (finger tight).
Lower the filled jars into a hot water bath, cover with 2 inches of water. Carefully place the lid on the water bath canner, and bring water to a steady boil.
Process the jars for 10 minutes (half pints), adjusting for altitude. Turn off the heat, remove the lid and allow the jars to rest for 5 minutes. Then remove the jars entirely and allow to cool. Check lids for a good seal after 24 hours. Lids should not flex up and down when center is pressed.
Store jars in a cool place for up to one year.
To ensure a good set
This recipe uses a full box of pectin a specific amount of sugar. Should you choose to double the recipe, or lessen the sugar, you’ll want to adjust the pectin accordingly to ensure the jelly sets.
Jelly can take up to 24 hours to properly set. Please don’t panic if you see that your jelly isn’t starting to set – as the jars cool, the pectin will kick in and the transformation will happen.
Once the jelly is set, store in a dark, cool cabinet. Once opened, refrigerate when not in use.
How to serve this radish jelly
- Serve with cream cheese on top of your favorite crackers (check out these sourdough crackers!)
- Serve it next to your favorite meat recipe – whether that be chicken or beef, etc.
- Add it to your next serving platter or cheese tray (check out my homemade cheese recipes!)
This jelly makes a beautiful holiday Christmas gift as well!
Note: This recipe makes 4 half pints (or 2 full pints!)
Radish Jelly
Equipment
- 2 pint canning jars, lids and rings
- 1 Water Bath Canner
- 1 large stockpot
Ingredients
- 2 C radishes finely chopped
- 2.5 C granulated sugar
- 3/4 C water
- 1 box pectin (1 3/4 oz)
- 2 tsp prepared horseradish
Instructions
- Sterilize your jars, lids and rings. This can be done by placing them on a tray in a warm oven (200 degrees F) for 5-10 minutes while you prepare the jelly. Or, you can place them in the water bath canner and bring the canner to a boil and allow the water to sterilize the jars as you prepare the jelly.
- In a tall stockpot, combine the chopped radishes, granulated sugar and water over medium heat. Stir constantly until sugar dissolves.
- Bring to a rolling boil. Add pectin and stir until dissolved.
- Bring to a rolling boil for 1 minute longer (until the temp reaches 220 degrees F - the setting point for jelly).
- Remove from heat and skim off foam. Stir in horseradish.
- Prepare a hot water bath, and process (pint jars process for 10 minutes, but see notes below). The time starts once the water starts a hard boil. Once the jars have processed for 10 minutes, remove from the water bath; allow them to rest on the counter - jars will seal with a "pop" over the next 12-24 hours.
- Or, opt to forego the hot water bath and store in the fridge for short term use.
DID YOU MAKE THIS JELLY?
If you did, please take a second to leave a comment as I’d love to know how it turned out.
I’d ask you to tag me on social media but I gave up social media several years ago and I don’t have it at all. I still love to read comments and get questions though – so don’t be afraid to leave comments on this post as I do take the time to read and respond when I can.

[…] Servings 4 half pints […]