


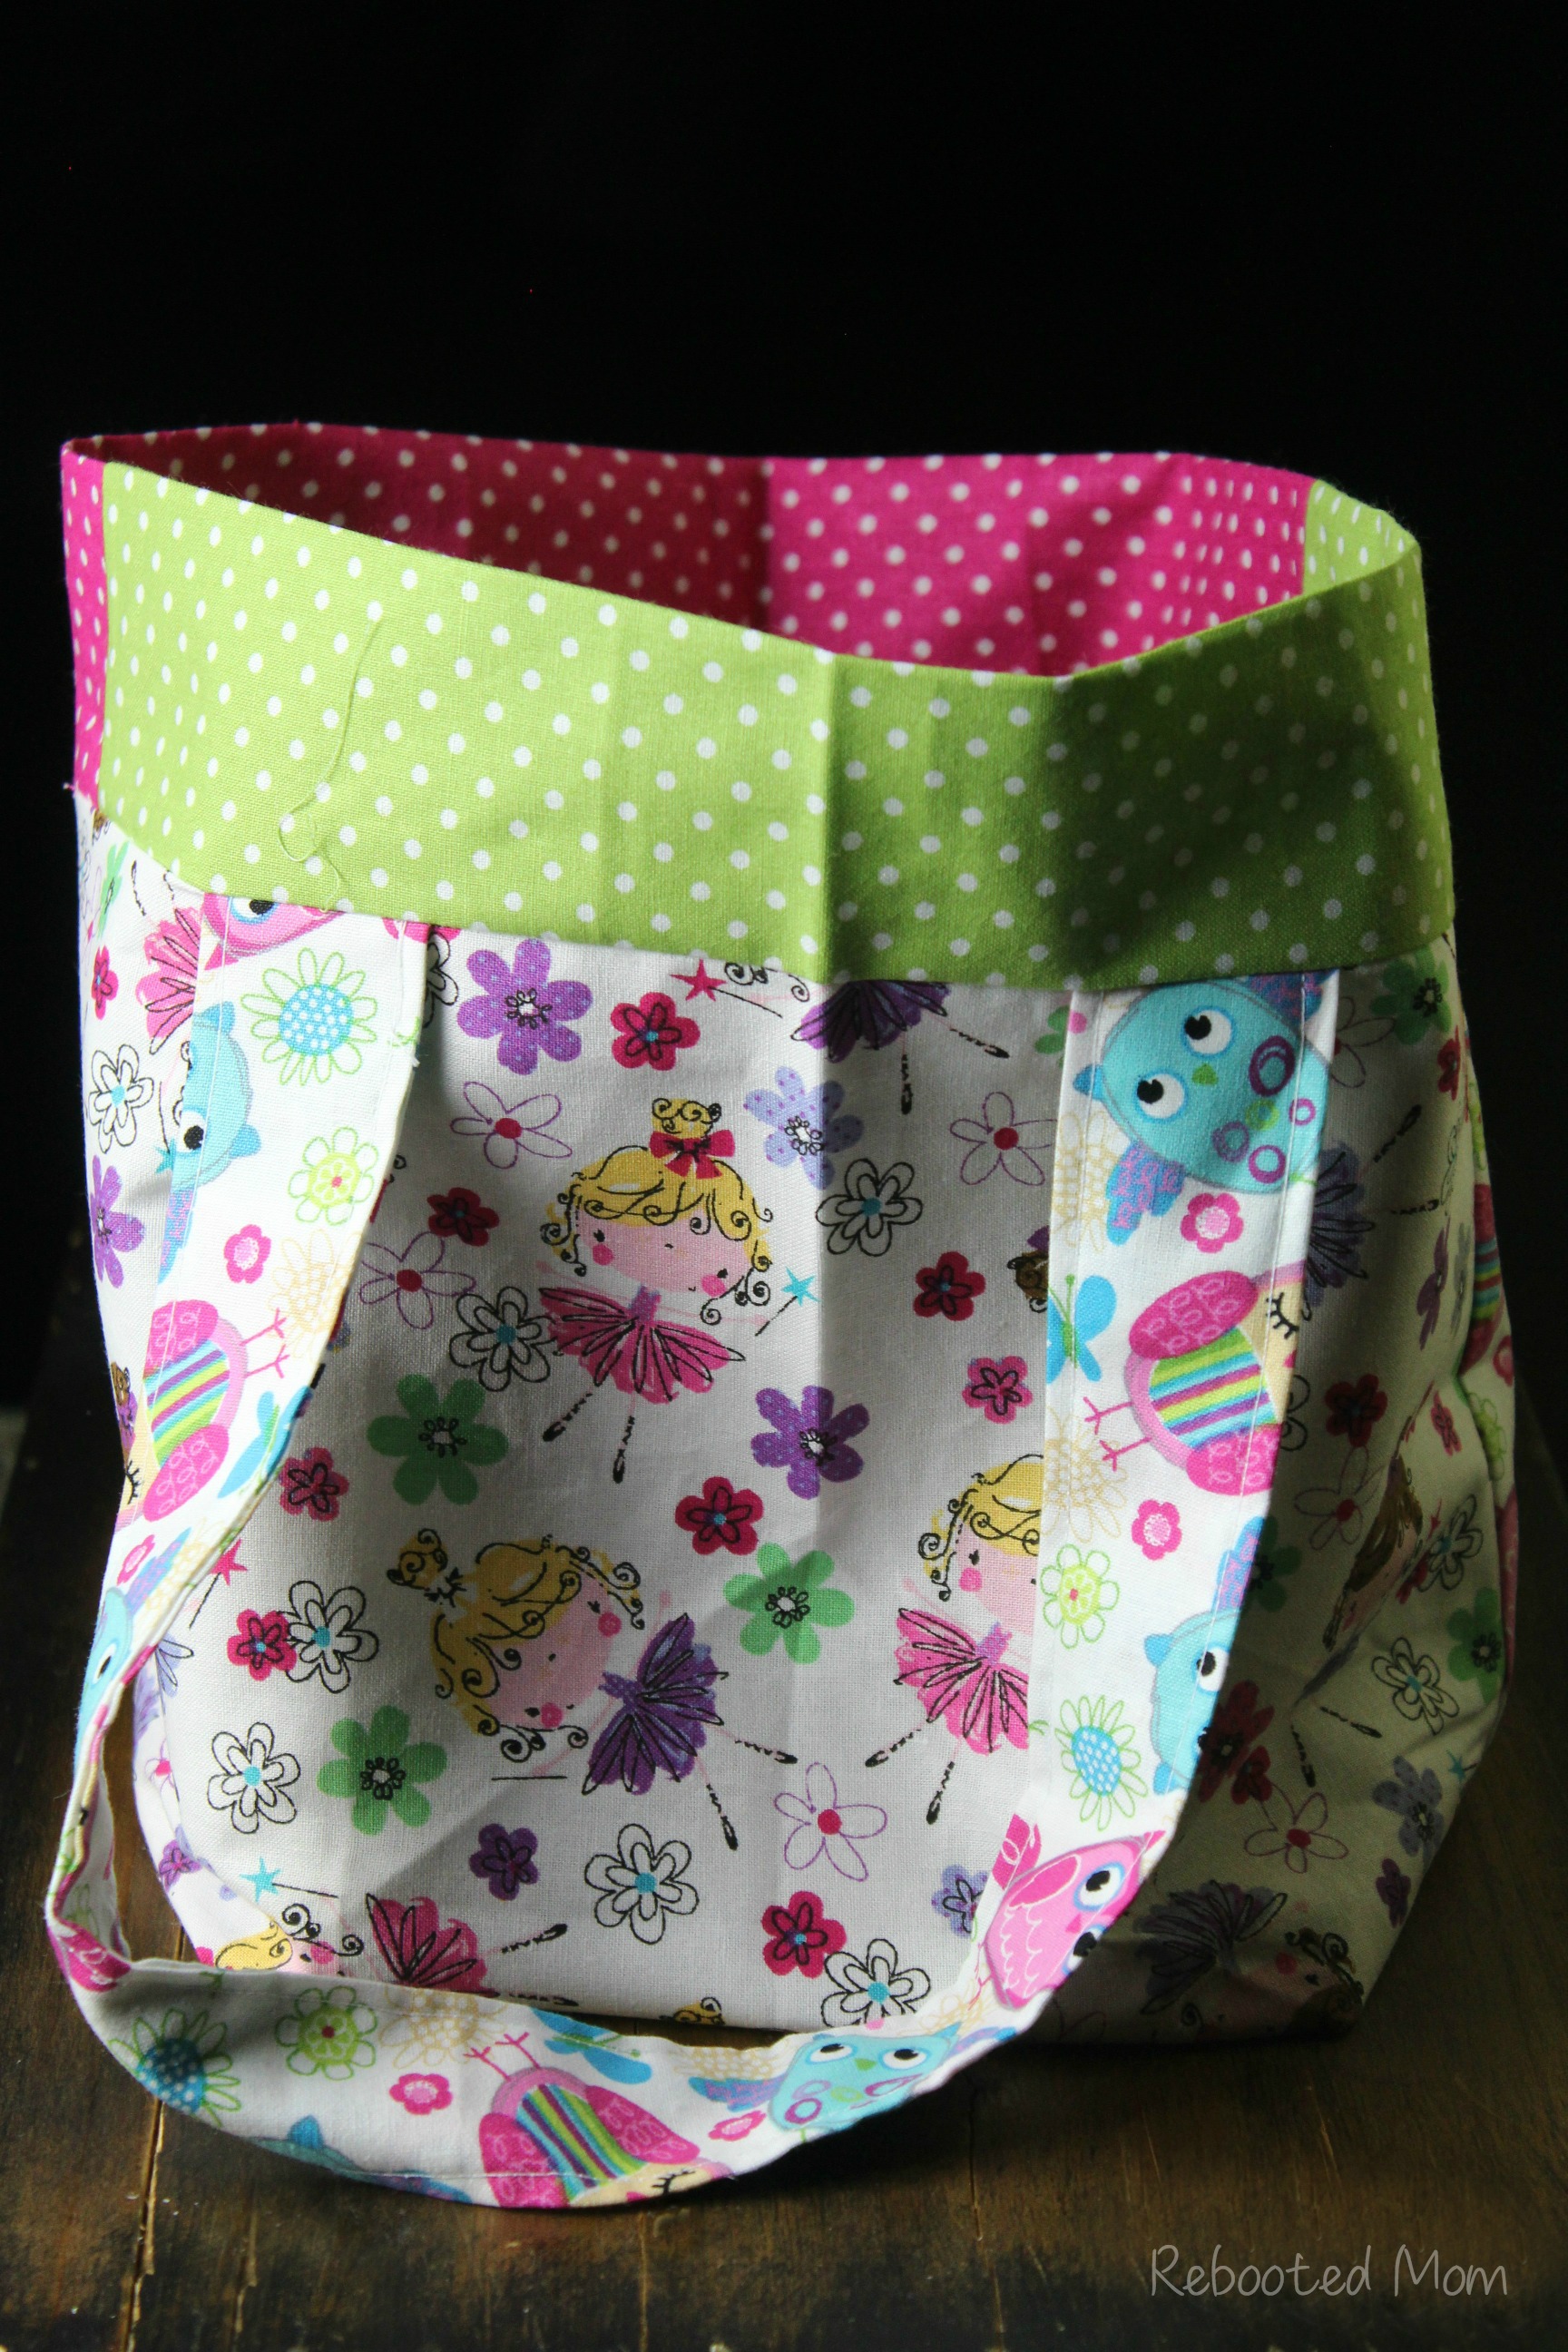
This Easy Sew Kids Tote Bag is a great tote for any child and a beautiful way to use up an abundance of fabric scraps or fat quarters.
After sewing up a myriad of fabric projects over the last few months, it’s easy to hoard fabric scraps. Even piles of fat quarters I’ve picked up on sale and accumulated in my fabric bin.
Fat quarters seem easier to work with than scraps, just because the fabric is already cut and has straight lines. Scraps require ironing and cutting, both of which I always try to avoid.
What little girl doesn’t love a cute purse? With three girls, there isn’t a shortage of wants and needs – each of my girls has gone through that stage where they want to take a purse everywhere. So I pulled out a few random fat quarters to sew this up
You could even make this a holiday-themed purse if you find cotton fabric on sale at your fabric store. Think Christmas, Valentine’s, Halloween, or even Easter. The best part is, the purse can be used year after year and then passed down to a smaller sibling as they get older.
This tote bag would be perfect for books, stuffed animals, maybe crayons and a small notepad, or even candy (if you are near the Halloween holiday).
Easy Sew Kids Tote Bag
Materials needed:
- Inner layers (need 2): 15 1/2 long x 13 wide
- Outer layers (need 2): 10 1/2 long x 13 wide
- Straps (need 2): 15 1/2 long x 6 wide
- Fusible interfacing (nice to have, but not required)
If you are using fat quarters, three fat quarters is sufficient to make this. You can opt to get 3 different prints (like I did here) or, 2 prints (2 fat quarters for the 2 outer layers).
If you are using fusible interfacing, you will want to iron that on each piece before starting. If you don’t have interfacing, don’t worry – I have sewn bags with and without. The bags without will not be quite as structured without interfacing but they still make a cute tote.
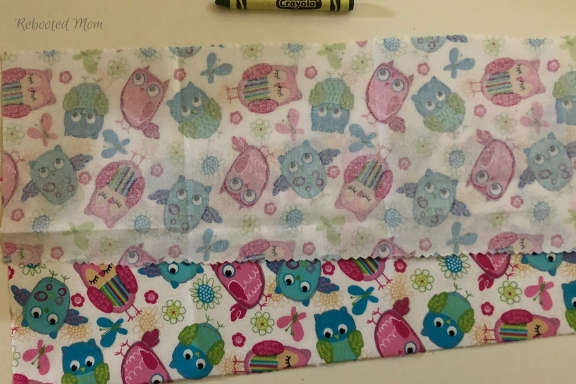
For reference: the smaller piece are the outer layers. The larger pieces are the inner layer.
Start by sewing the outer layer (the smaller rectangular pieces you have). You’ll place right sides together. Sew down one side, across the bottom and up the next side, using a 1/2 inch inseam.
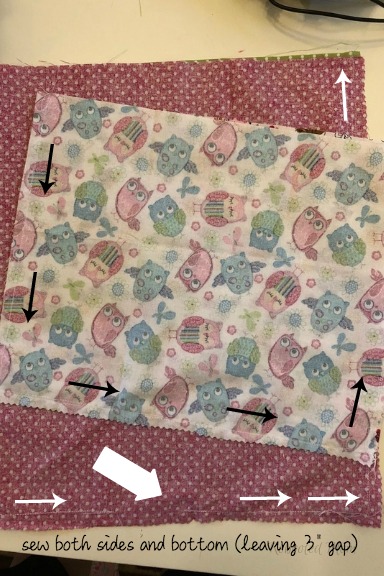
3″ gap in the inner layer (larger piece)
Then, sew the inner layer (the larger pieces). You’ll place right sides together. Sew down one side, across the bottom (leaving a 3″ gap, backstitch to reinforce), then up the next side. Set aside.
For your straps: fold each in lengthwise and press. Unfold, then fold each length into the middle and press.
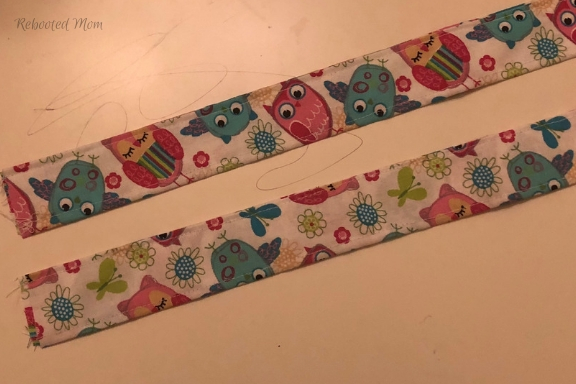
Fold each strap in half again, press well, then sew with a mere 1/4 inch inseam.
Now you need to make the base of the bag – it’s a bit tricky!
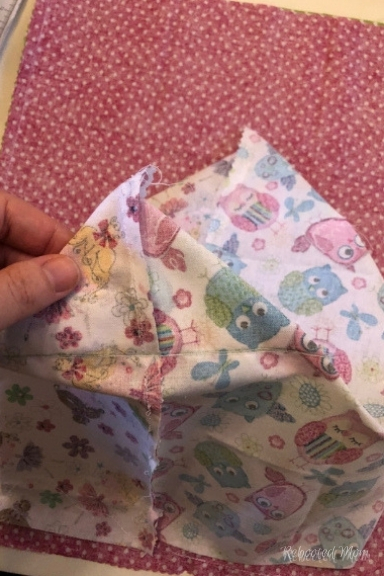
Make a dog ears with your bag — put your hands in the bag, with each of your hands on each of the side seams. Move each of the side seams to the middle of the bag, making a floppy ears.
Your side seam should match your bottom seam (make sure they line up). You should have two floppy ears.. looking at this picture below, there are two – one in front ,and one directly behind it.
You are now making the “boxy” part of your tote.
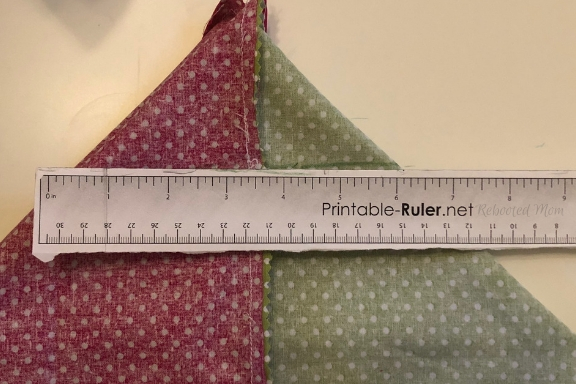
Using a ruler, measure where the triangle runs 6″ across and draw a line. Flip your fabric over and repeat that on the other side. Sew along that marked line (you’ll do this twice, once on each side), then cut off the excess.

Repeat this on the outer layer (smaller fabric), marking where the triangle runs 6″, sewing across the line and then cutting off the excess.
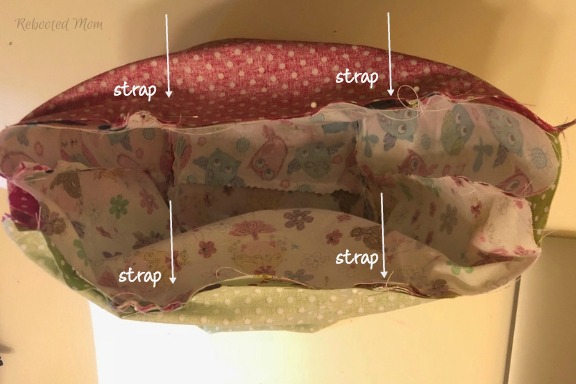
To do the straps: Turn the outer layer (smaller piece) inside out. Now measure 3 1/2 inches from each side and mark with a pencil.
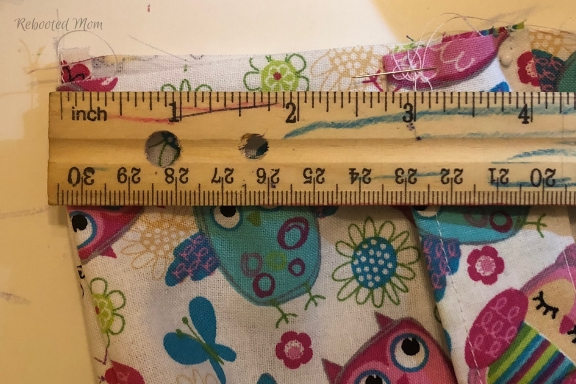
Place your straps on the outside of that layer, centering each on the 3 1/2 inch tick mark you made. Now pin them gently in place, you’ll be taking the pins out momentarily when you sew the inner layer on.
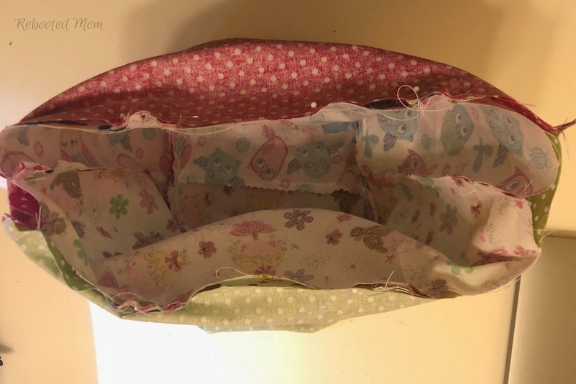
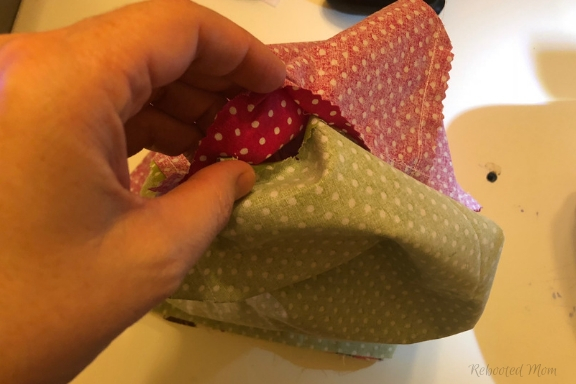
Now it’s time to put the bag together! Take the outer layer (smaller piece) and flip it right side out.
Then flip the inner layer (larger piece) and flip it inside out. Put the outer (smaller) into the inner (larger). Make sure that your straps are down in between the layers and that the seams match up. Carefully pin around the rim.
(I like to gently remove the pins I put in place for the straps and instead pin one pin through all 3 layers – outer layer, strap and then inner). Carefully sew around that top, leaving 1/2 inch seam and removing the pins as you go.
If desired, stitch over a second time for additional reinforcement.

Pull it right side out through that 3″ gap you left open.
Once stitched, flip the bag over – put your hand in the 3″ gap you left open, and pull the bag right side out through that opening.
Finish your Tote Bag
Now push the inner inside of the bag until the bottom lines up. The inner should stick up a few inches above the outer, just a few inches past the handle.
You can press the tote bag with your iron on all 4 sides. Then press again to emphasize the corners. You’ll want to pin the 3″ gap (in the inner bottom of the tote) and sew that closed with a simple straight stitch and 1/8 inch seam.
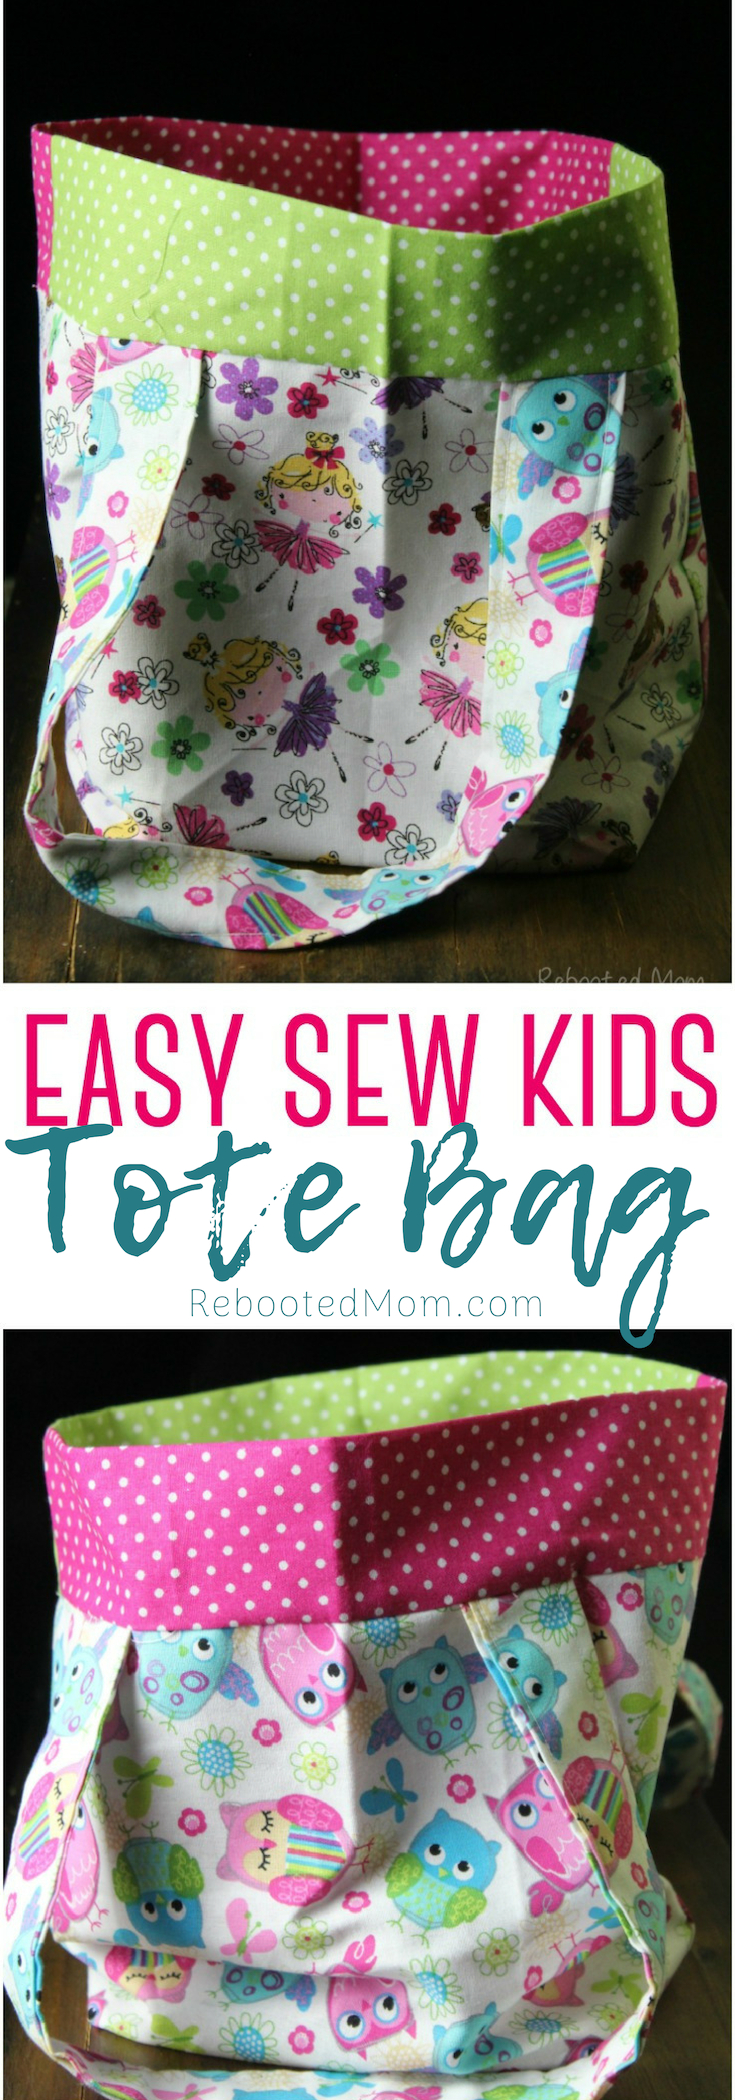
There you go! A new tote bag perfect for any child to carry around their valuables – toys, candy, small dolls or etc.
Looking for more sewing projects? Some of these are a wonderful way to use up extra fabric!

[…] Easy Sew Kids Tote Bag […]