


Learn how to sew a zipper pouch easily with this step-by-step picture tutorial and your favorite fabric – they make a perfect gift!
Last fall, my oldest daughter accompanied me to a holiday bazaar, where we set up a table with our handmade soaps. It was such a wonderful event.. we met some fabulous people and were able to shop small for holiday and birthday gifts.
During the eight hours we spent there, we chatted with the folks next to us – a married couple in their 70’s. She started to learn how to sew a few years ago via YouTube… which gave my 12 year old encouragement to try for herself.
It wasn’t long after that bazaar that my oldest asked me to teach her how to sew – she wanted to make zippered pouches. Over the next few weeks we sewed one after the other.. learning how to manipulate zippers, create items without a pattern and work with broken needles.
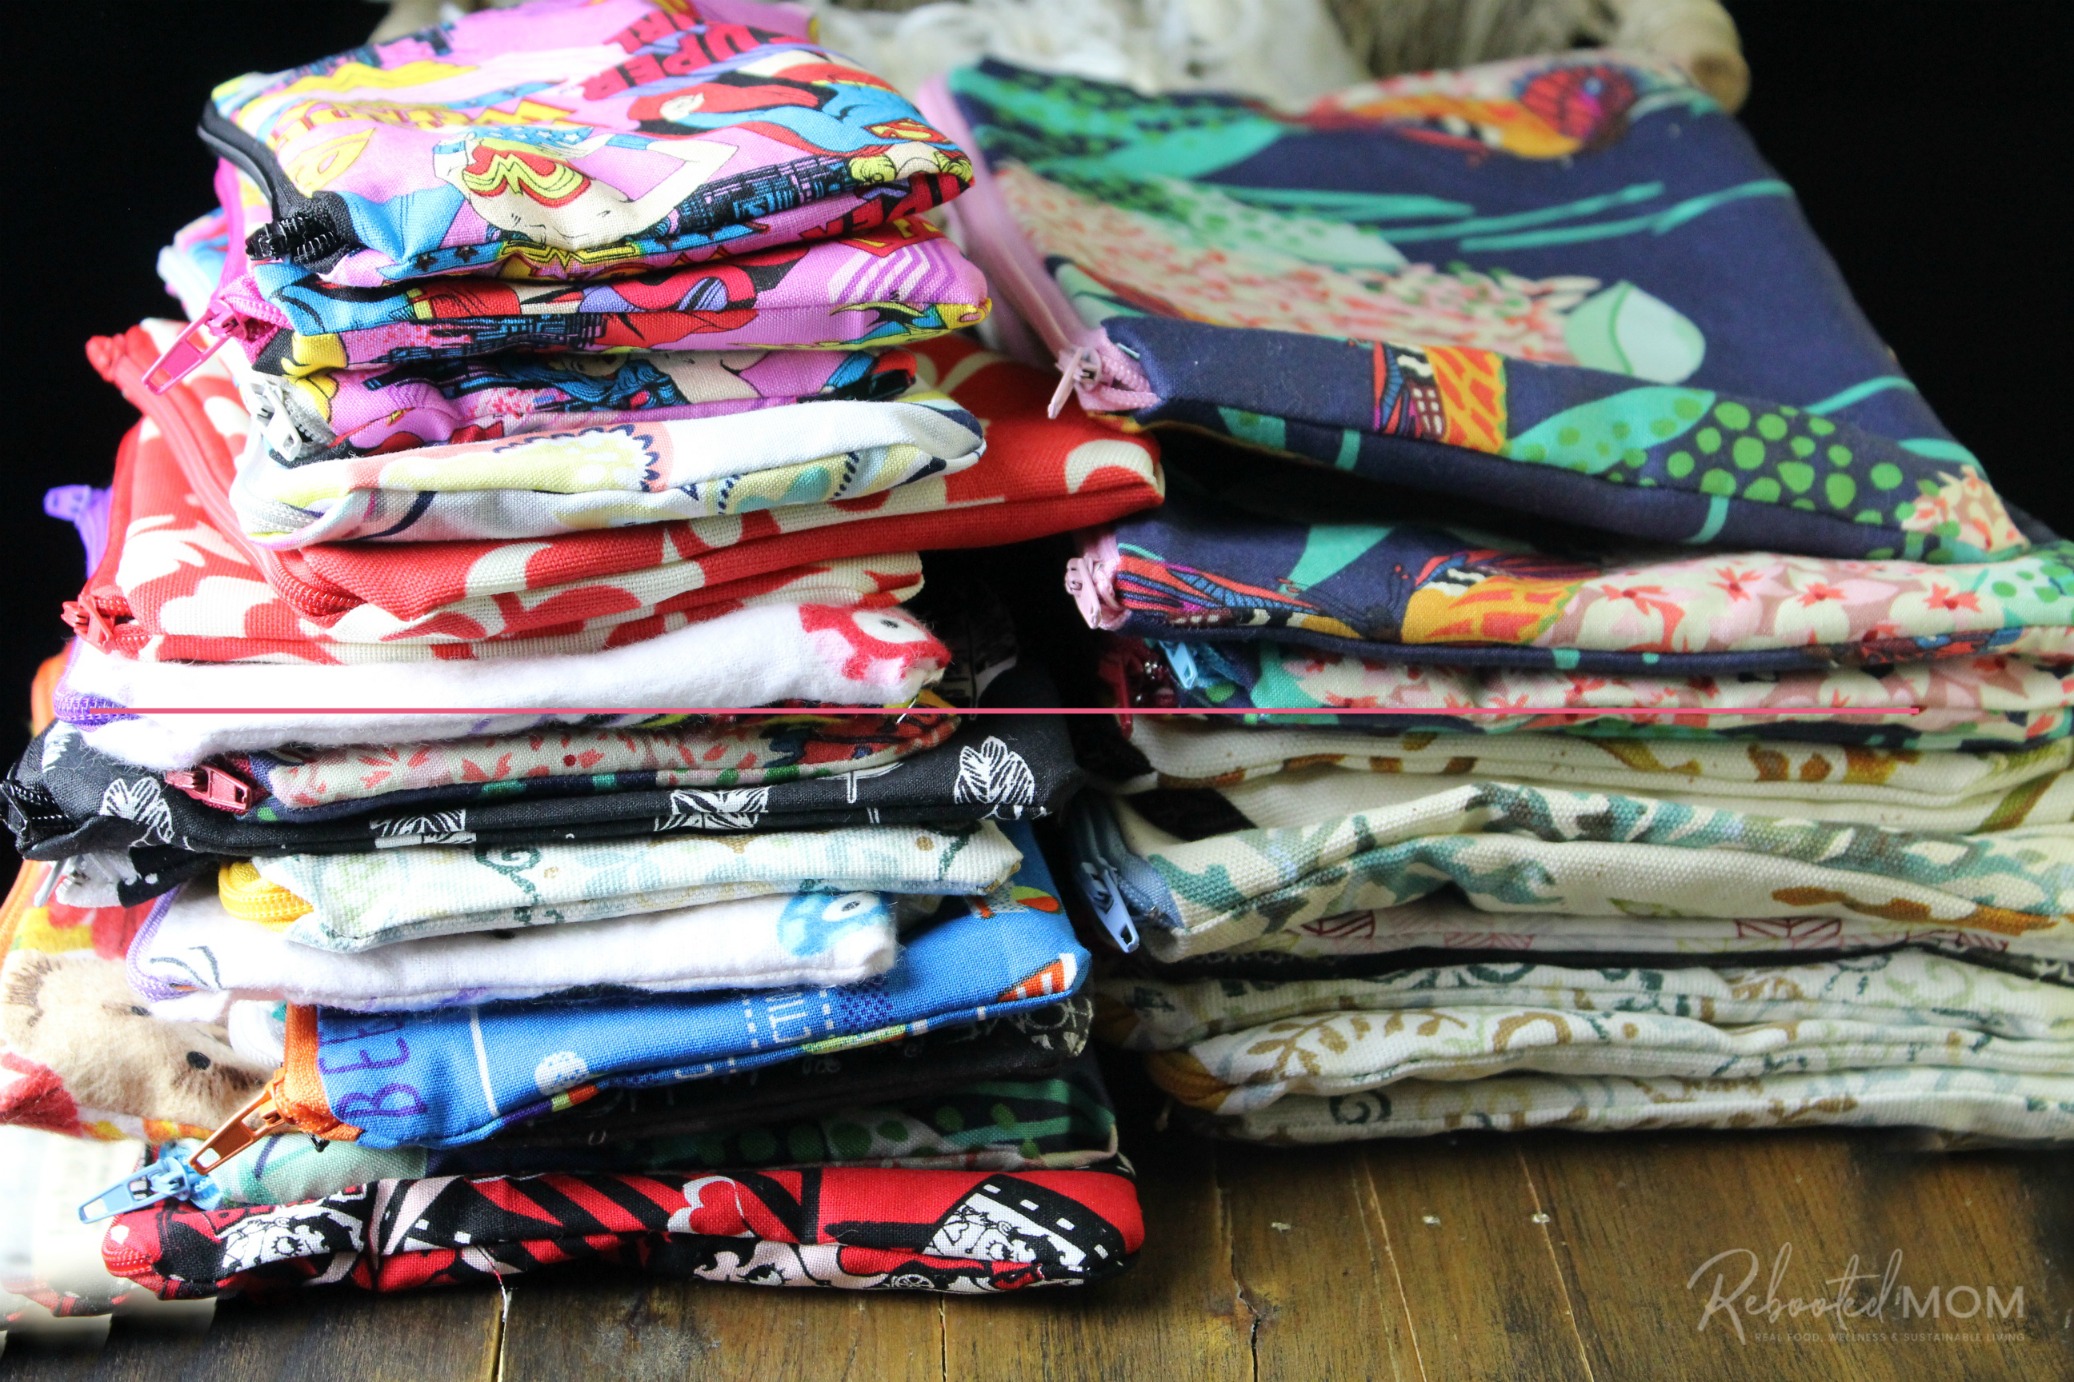
It was, in a sense, our homeschool “home-ec” – and she had a blast. She started sewing pouches she could sell for a market that next April. Between December and April, she had whipped up over 130 pouches in various sizes.
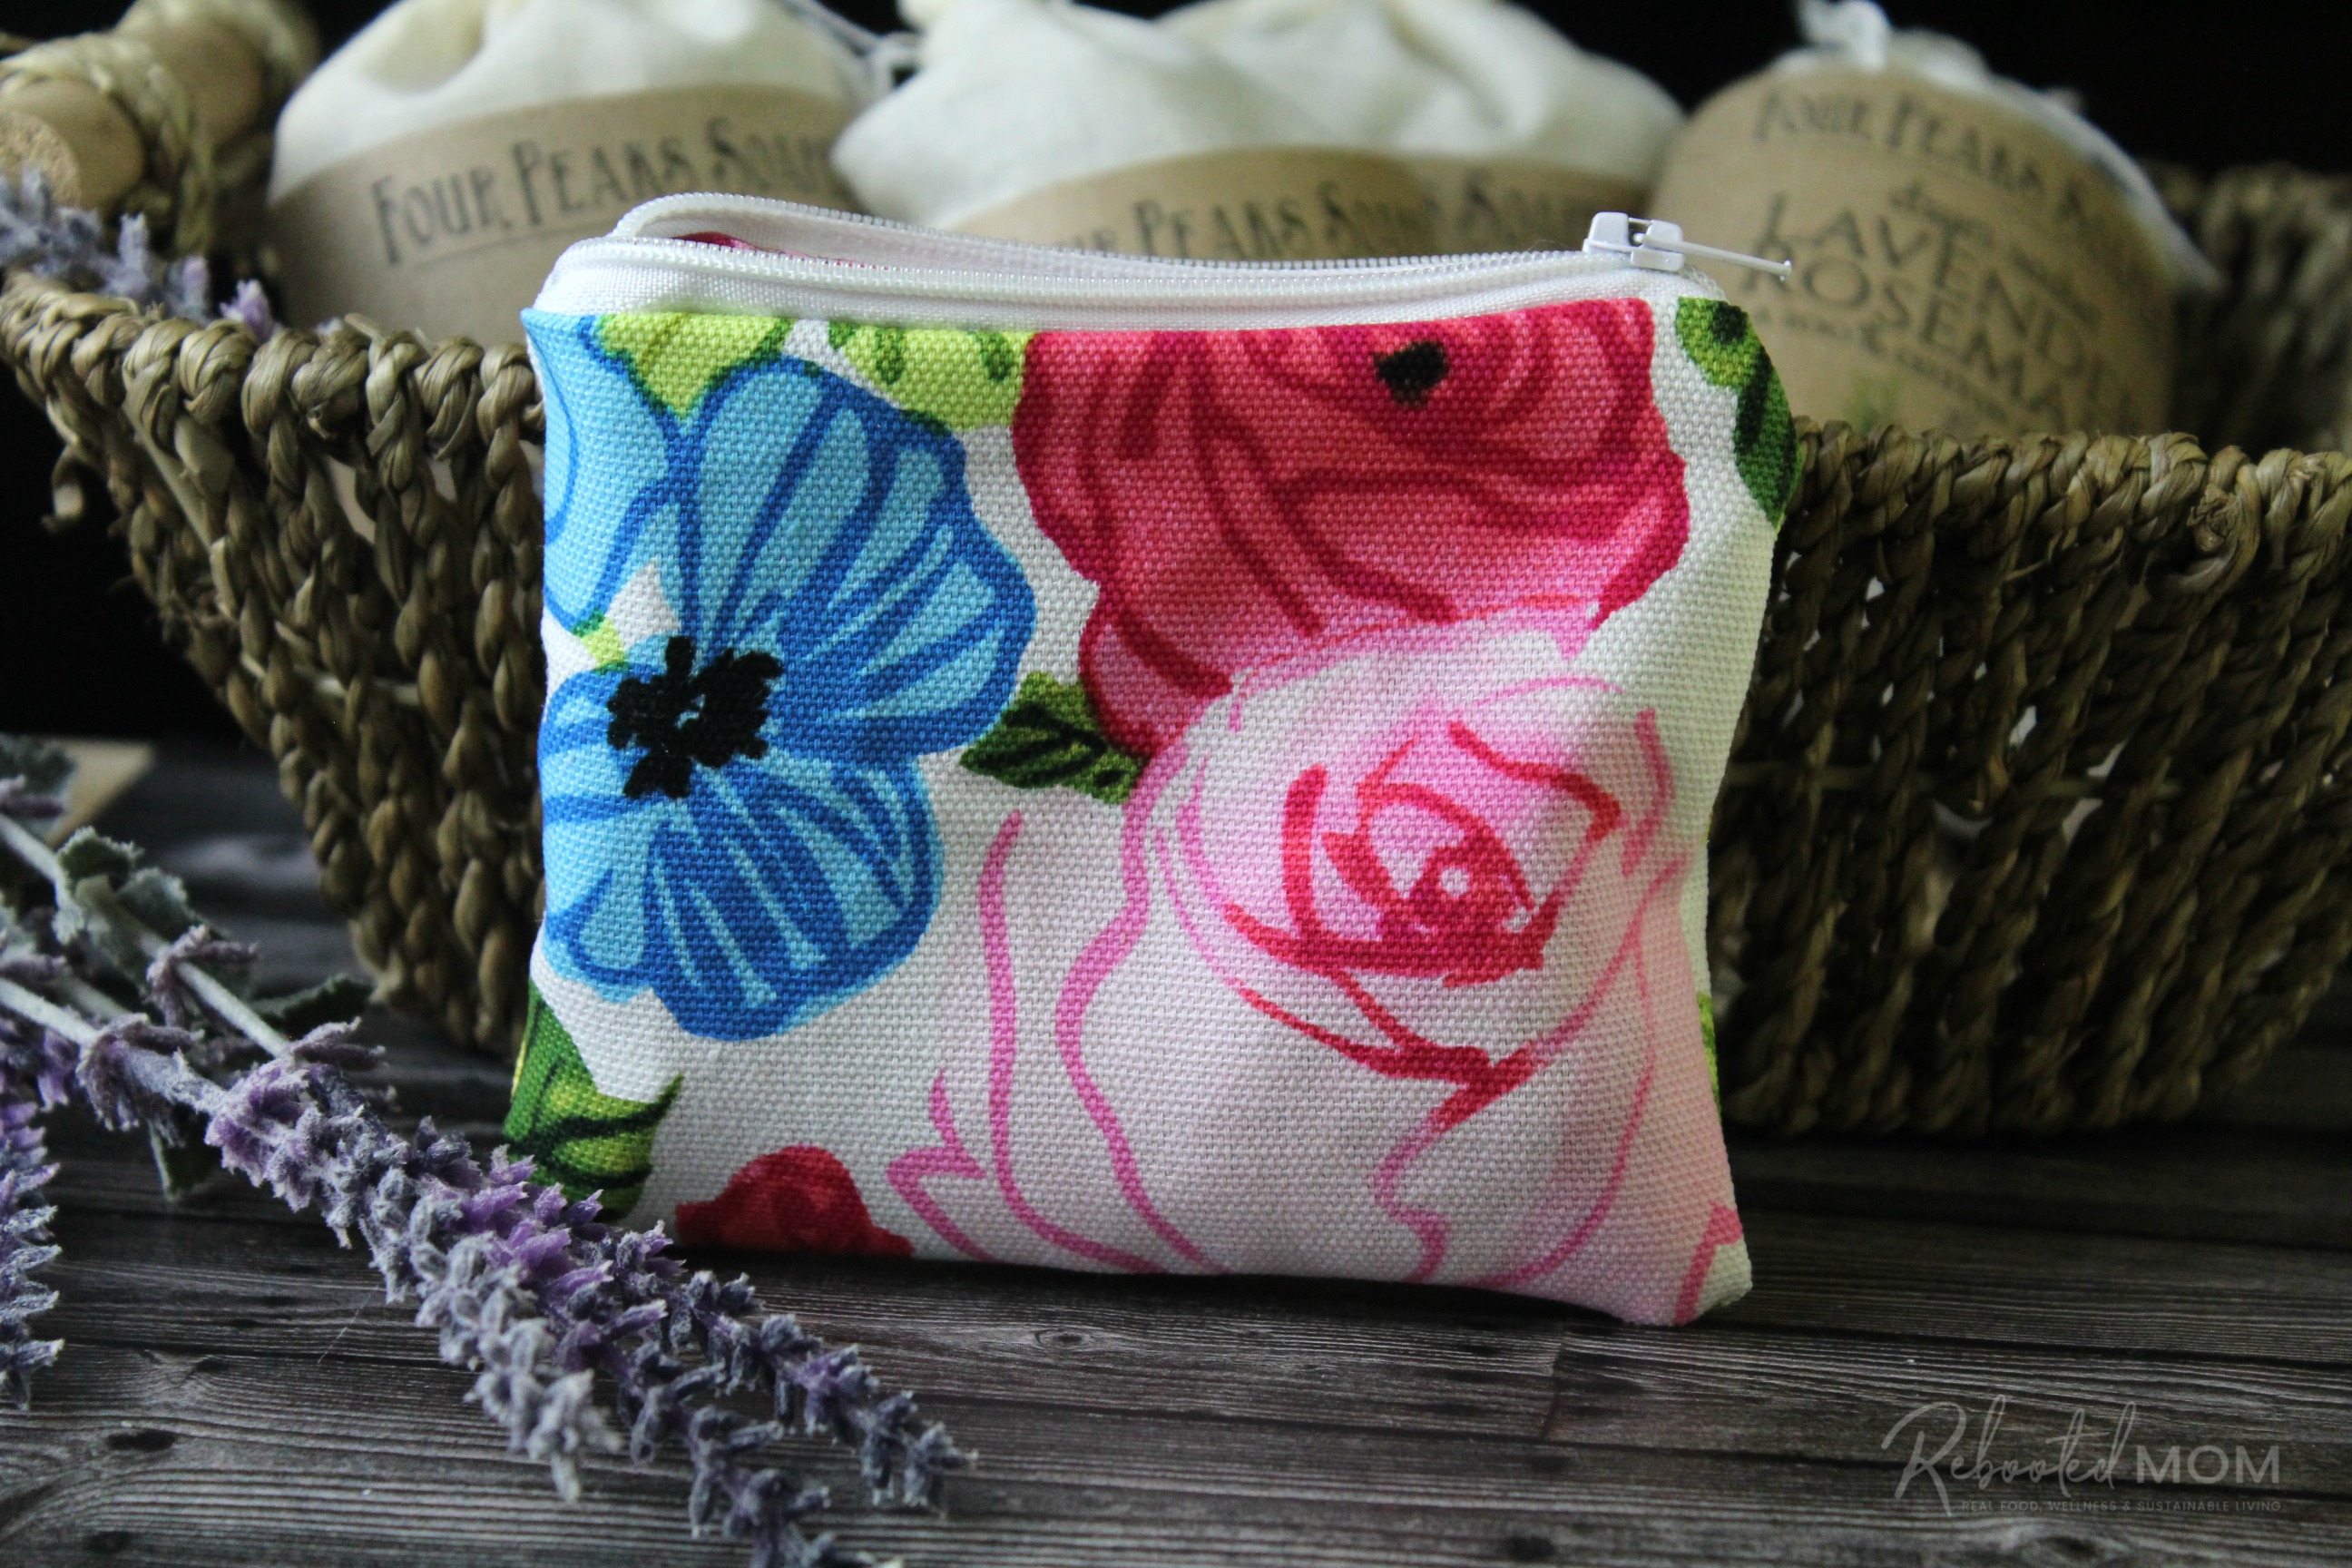
Zippered pouches are so much fun to create.. and even more fun to gift. You can whip one up in a matter of minutes, and personalize with your own choice of fabric.
Both my daughter and I always peruse the remnant bin at the local fabric store. Sometimes Walmart has remnants you can pick up for cheap as well. You can choose a contrasting solid for the inner liner, or repeat the same print as the outside – the choice is up to you!
Do you need a pattern?
Zipper pouches can be made in any size – small, medium or even large. A 9 inch zipper is perfect for small or medium pouches. But if you plan on making many pouches for gifts, it’s best to get a 12 inch zipper because you can always cut a zipper down.
You’ll be happy to know that you really don’t need a pattern at all. Use a 8.5×11 piece of paper for a pattern (large pouch), or simply fold that paper in half to make a medium size pouch. It’s truly that easy.
Sew a Zippered Pouch
Items needed for a medium pouch:
- 2 pieces of fabric 9″ x 7″ (outer layer)
- 2 piece of fabric 9″ x 7″ (inner layer)
- 9 or 12 inch zipper
- matching thread
- sewing machine
- pins
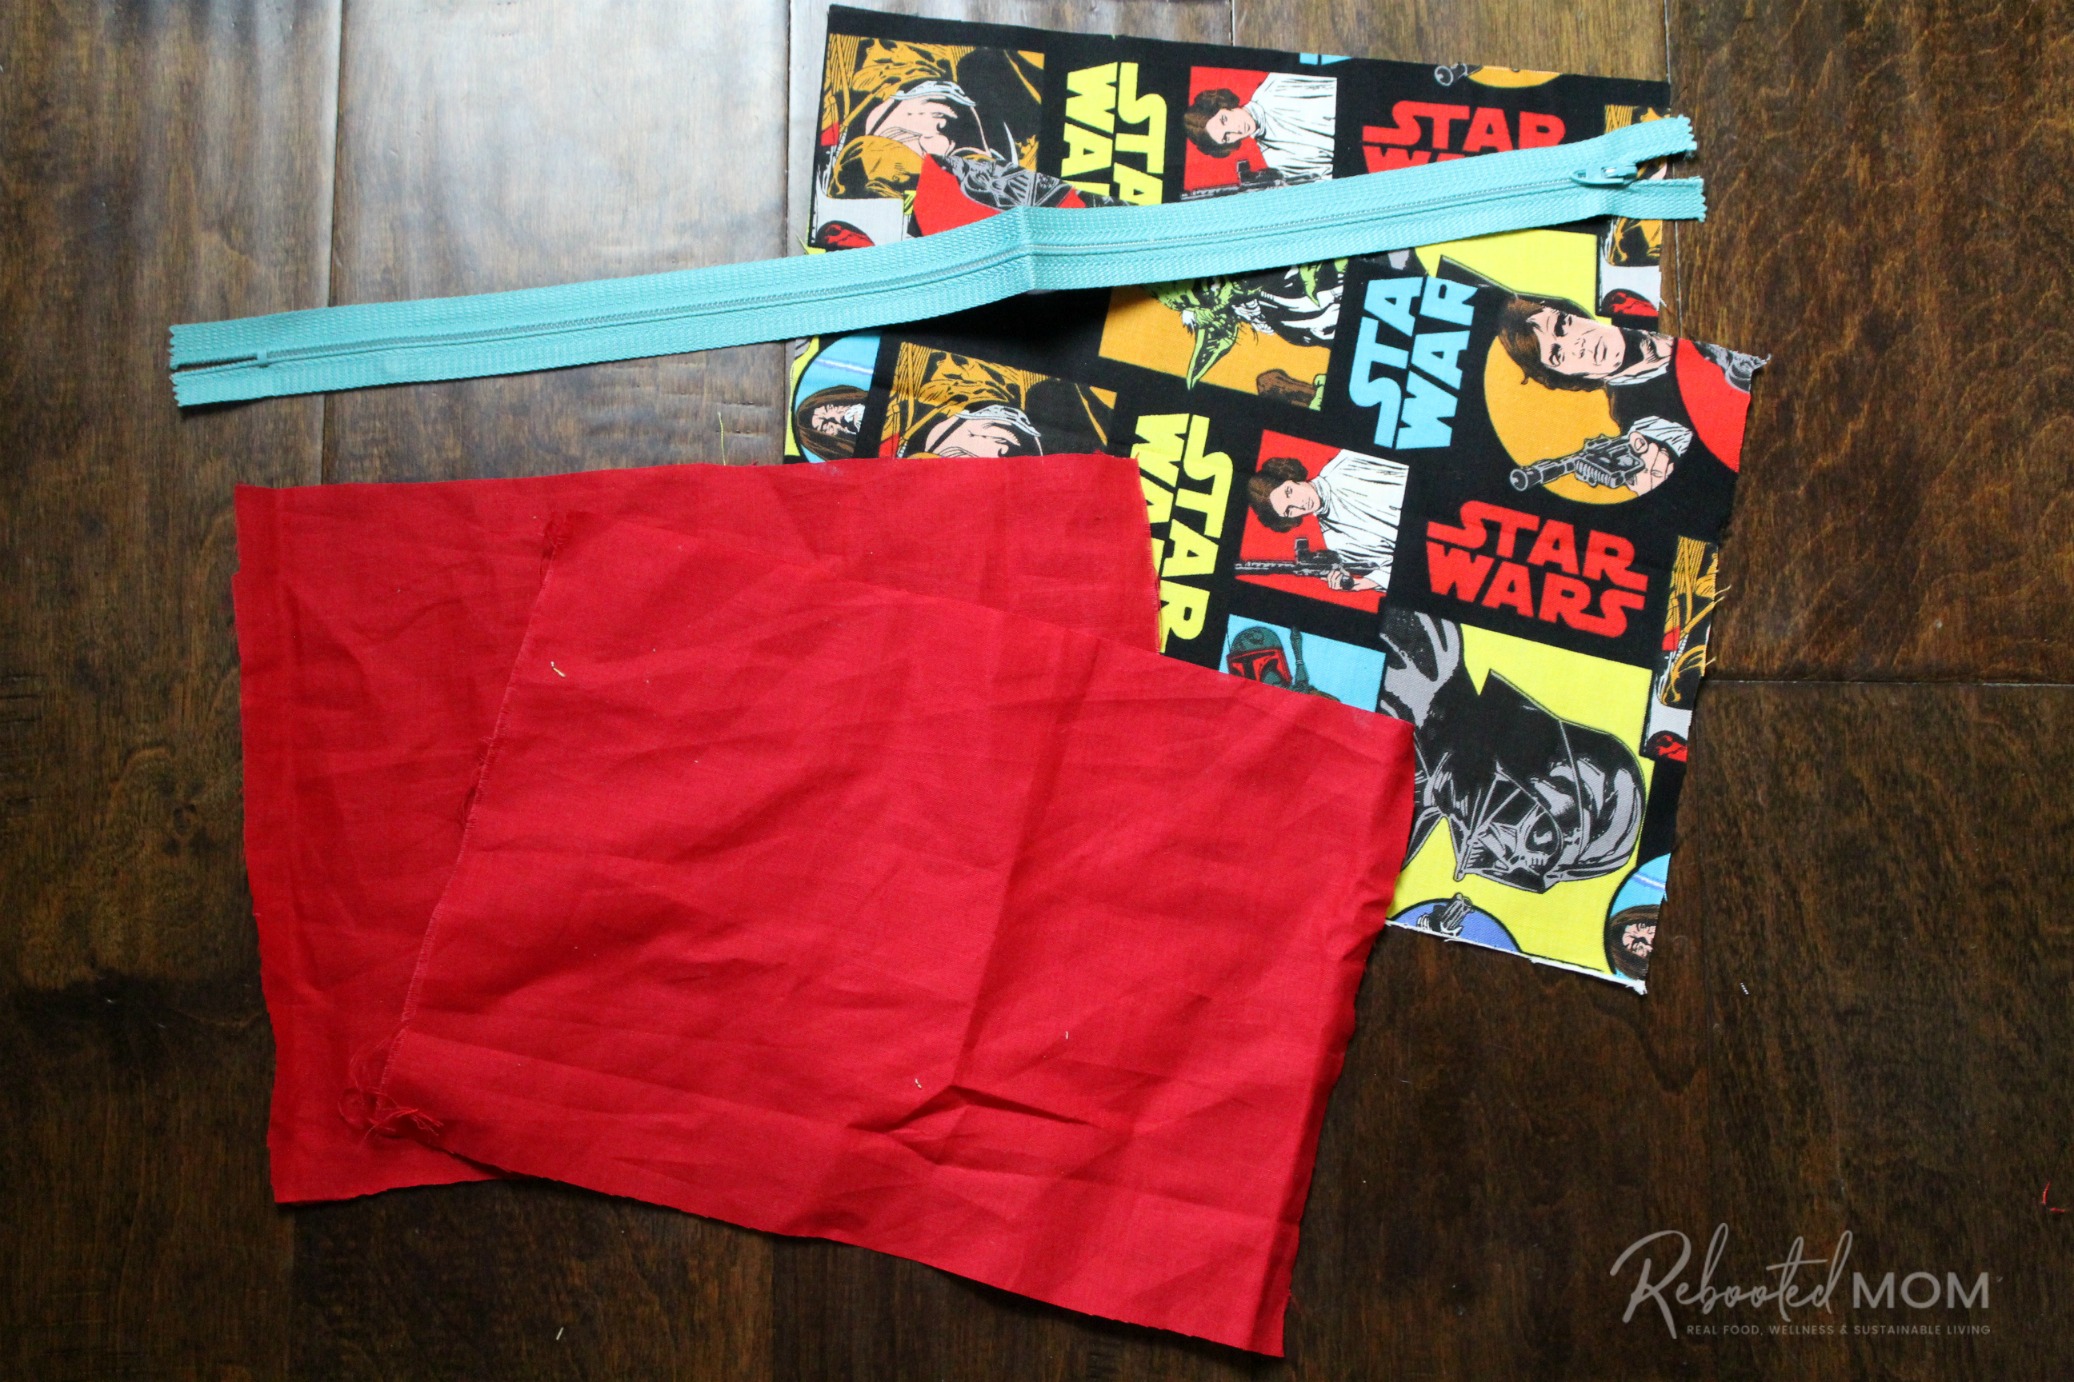
Start by cutting four pieces of fabric the same size (9″ x 7″ is a great size for medium pouches). The solid will be your inside layer, the print will be the outer fabric.
Assemble to Sew
It’s time to assemble the pieces to prepare to sew.
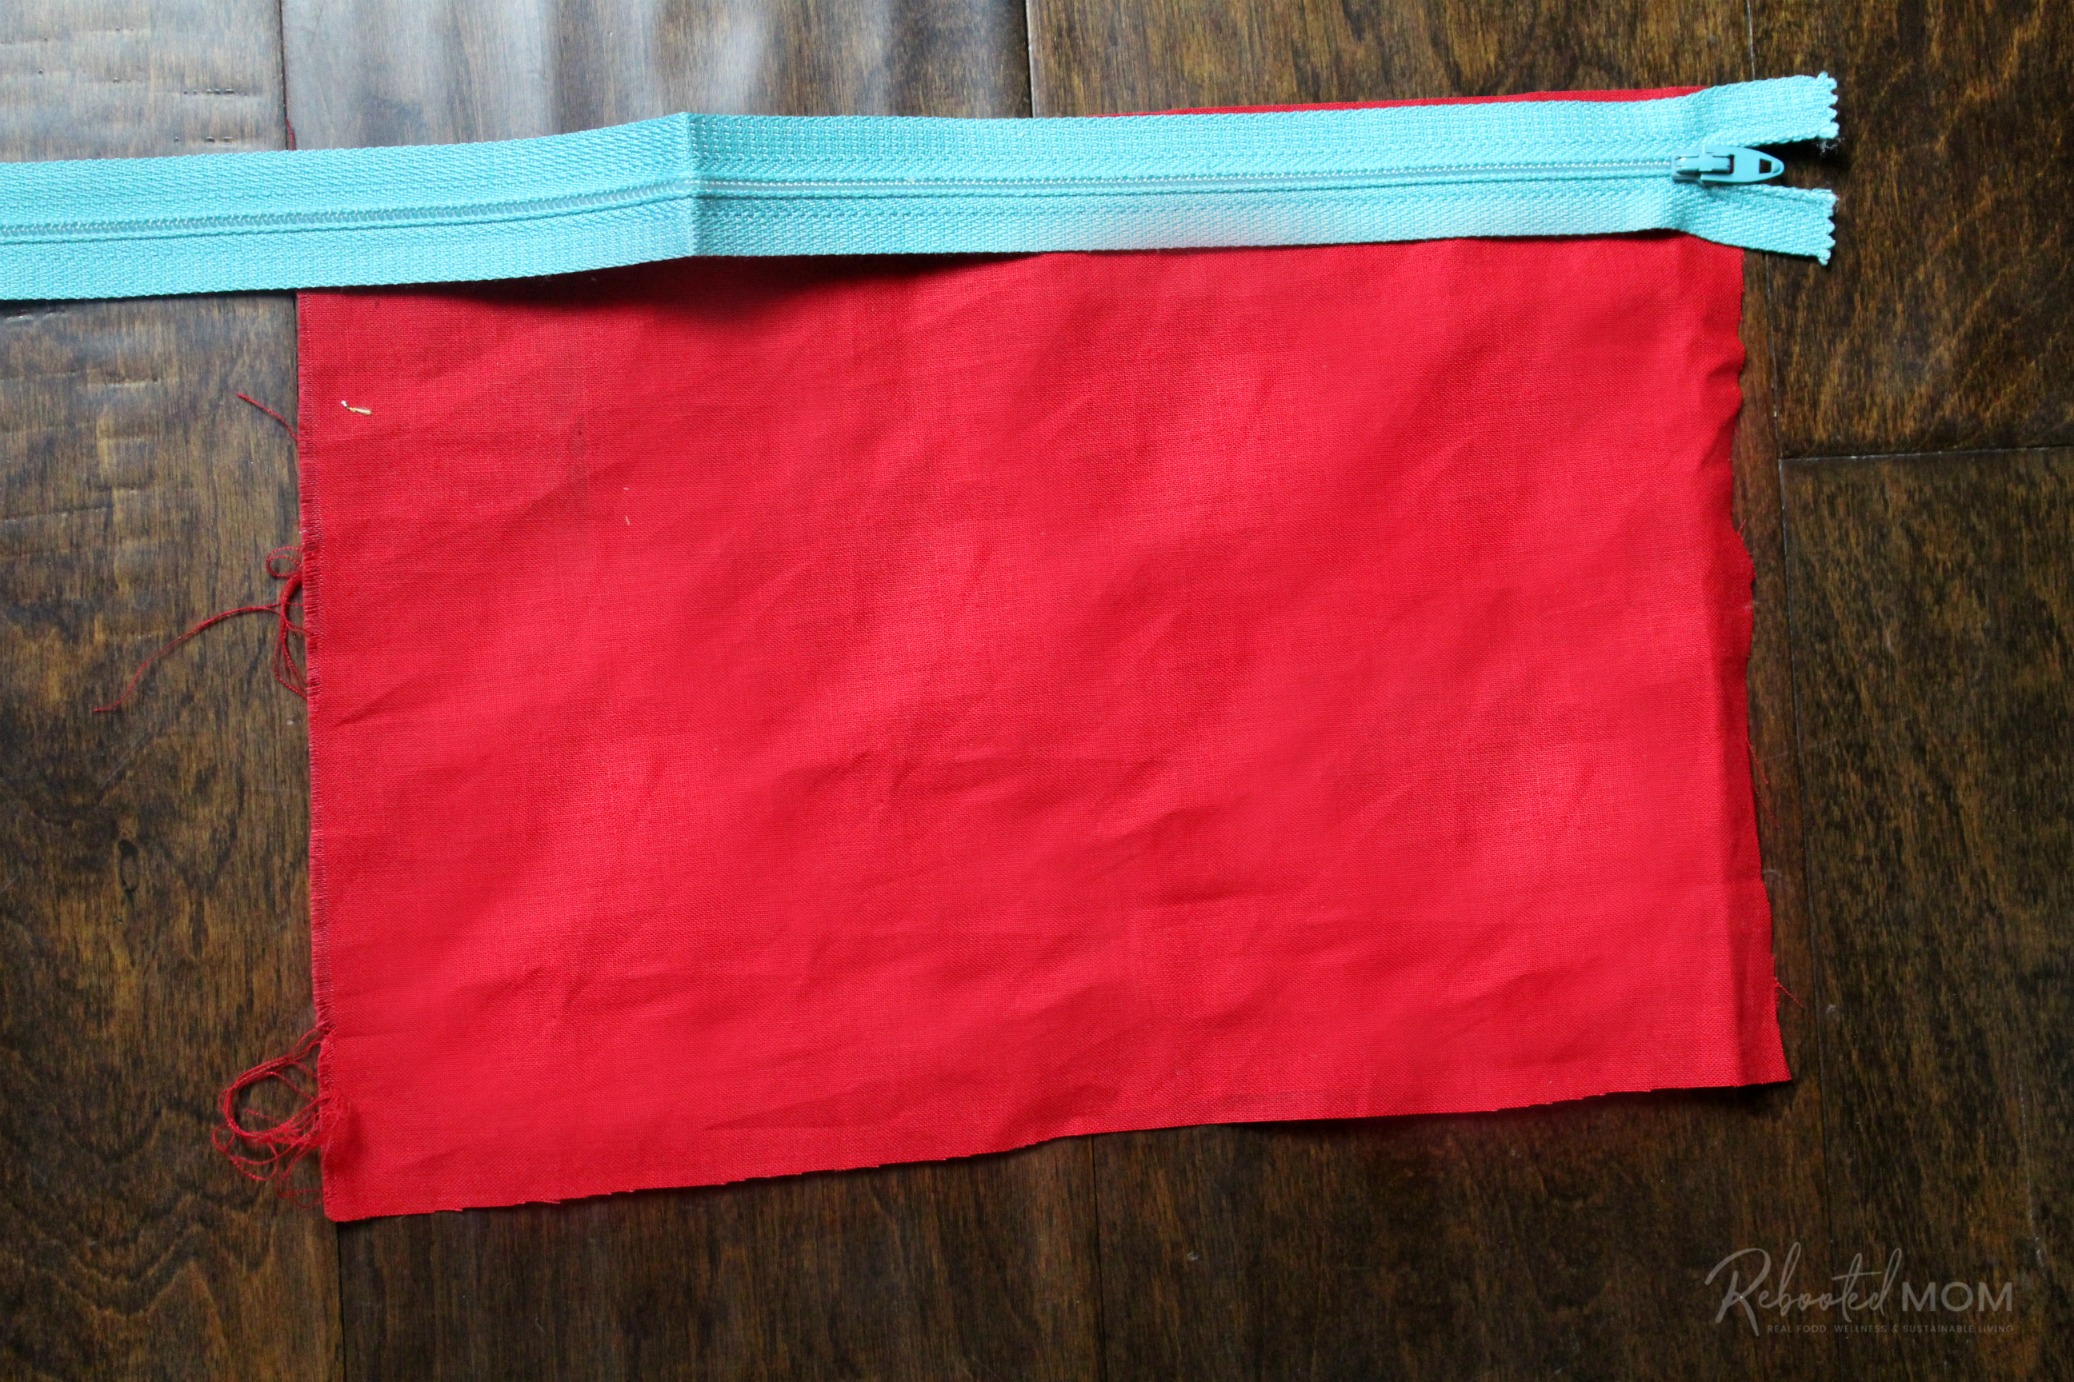
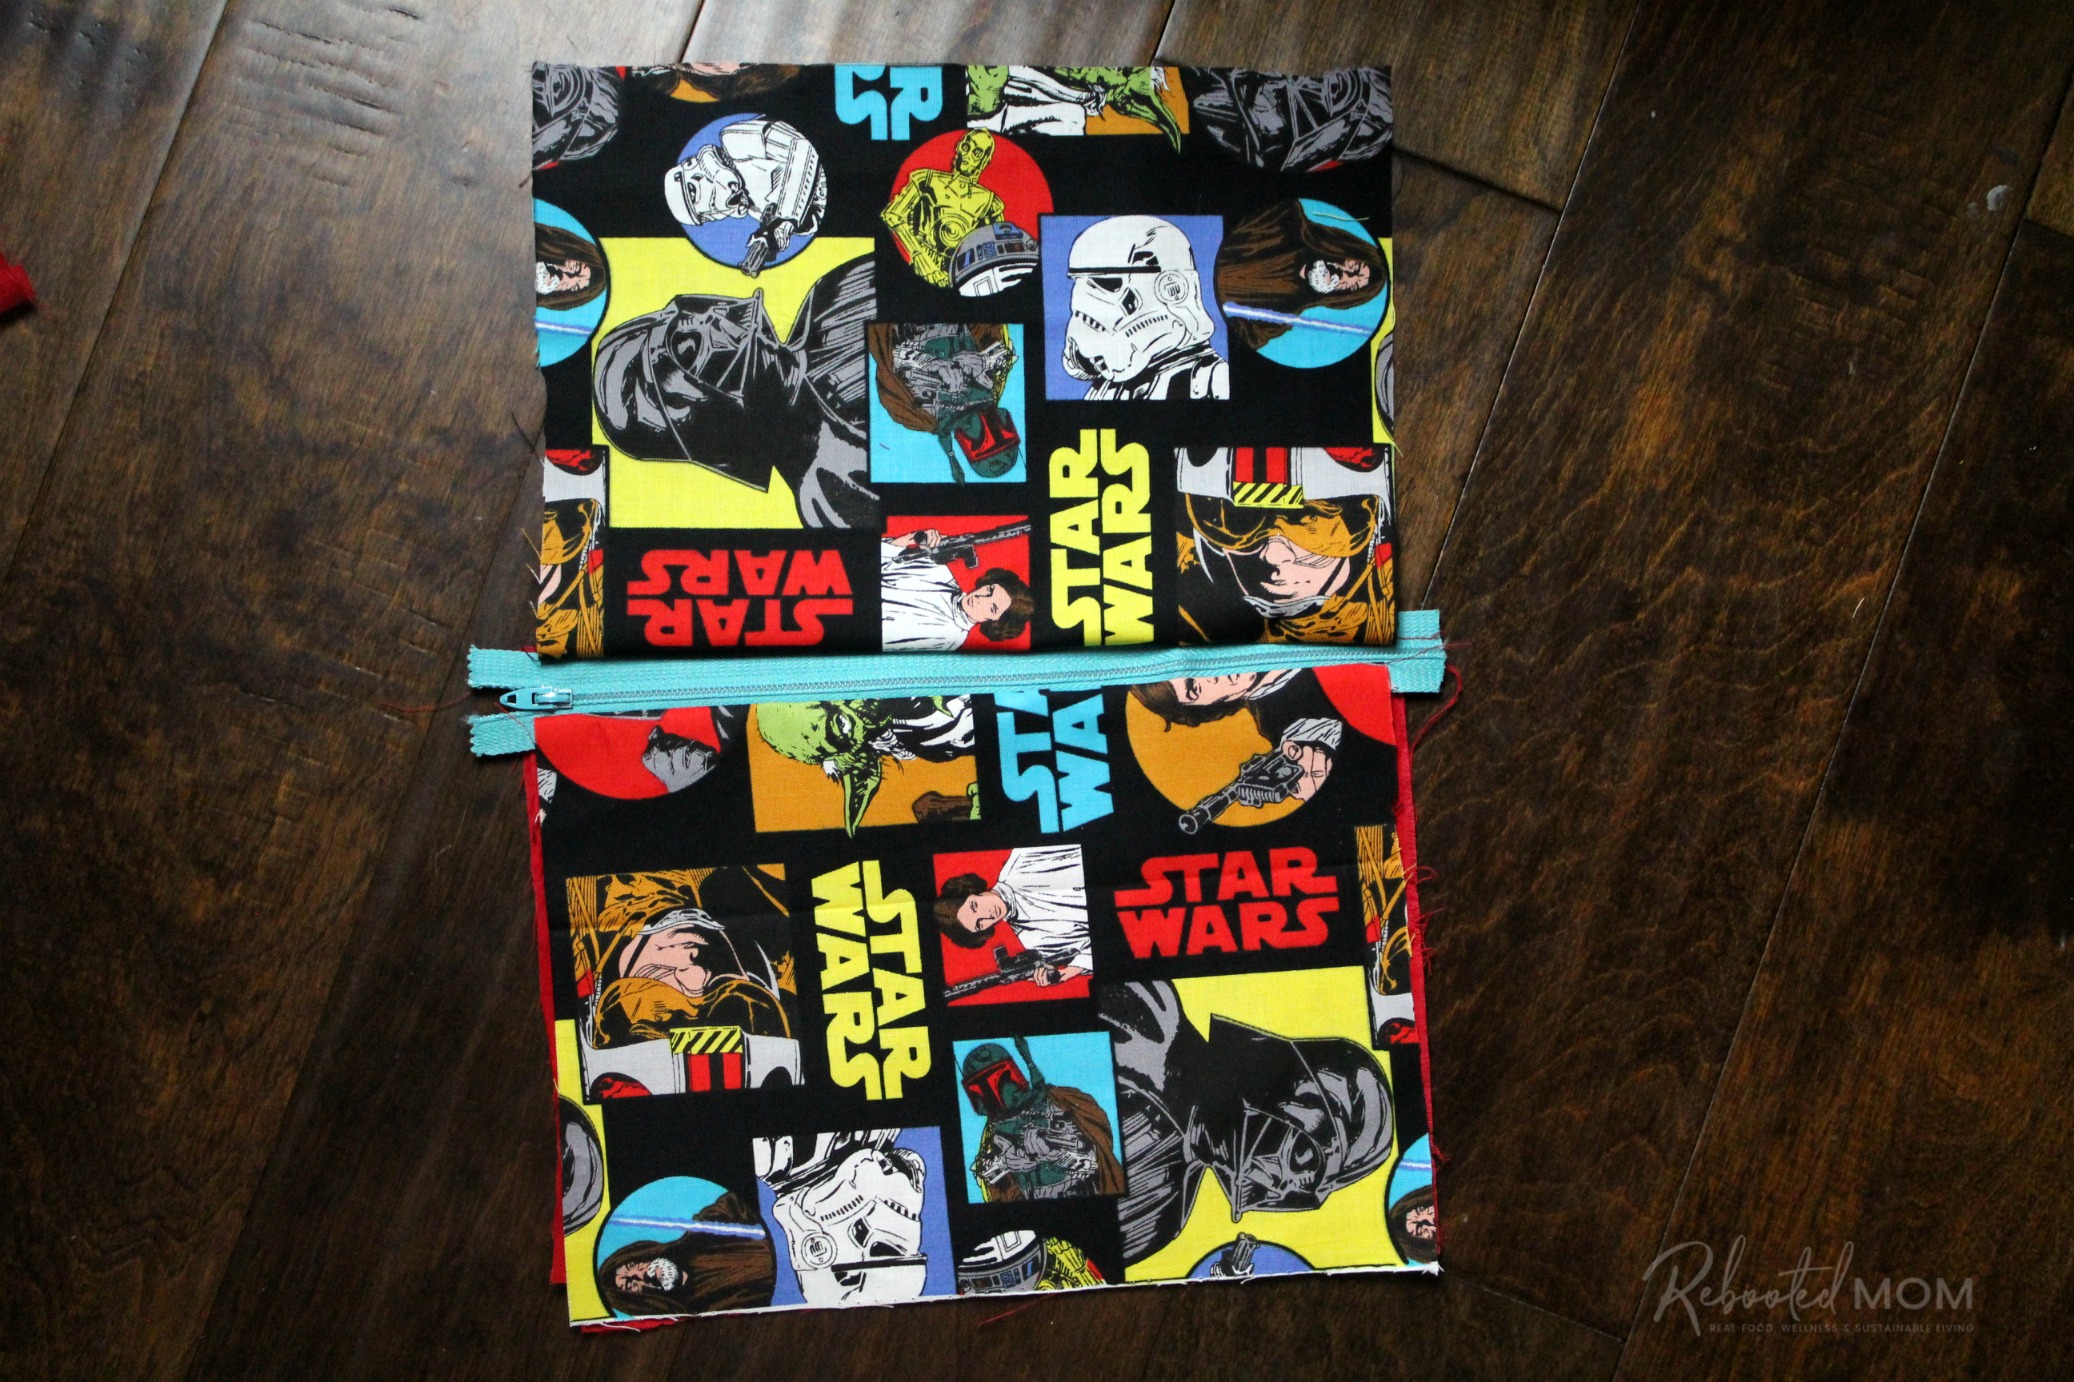
Lay one solid piece down, good side up. Place the zipper on top, with the top of the zipper aligned with the seam of the fabric, with the pull to the right. The pull should be on the edge or just inside of the fabric sandwich.
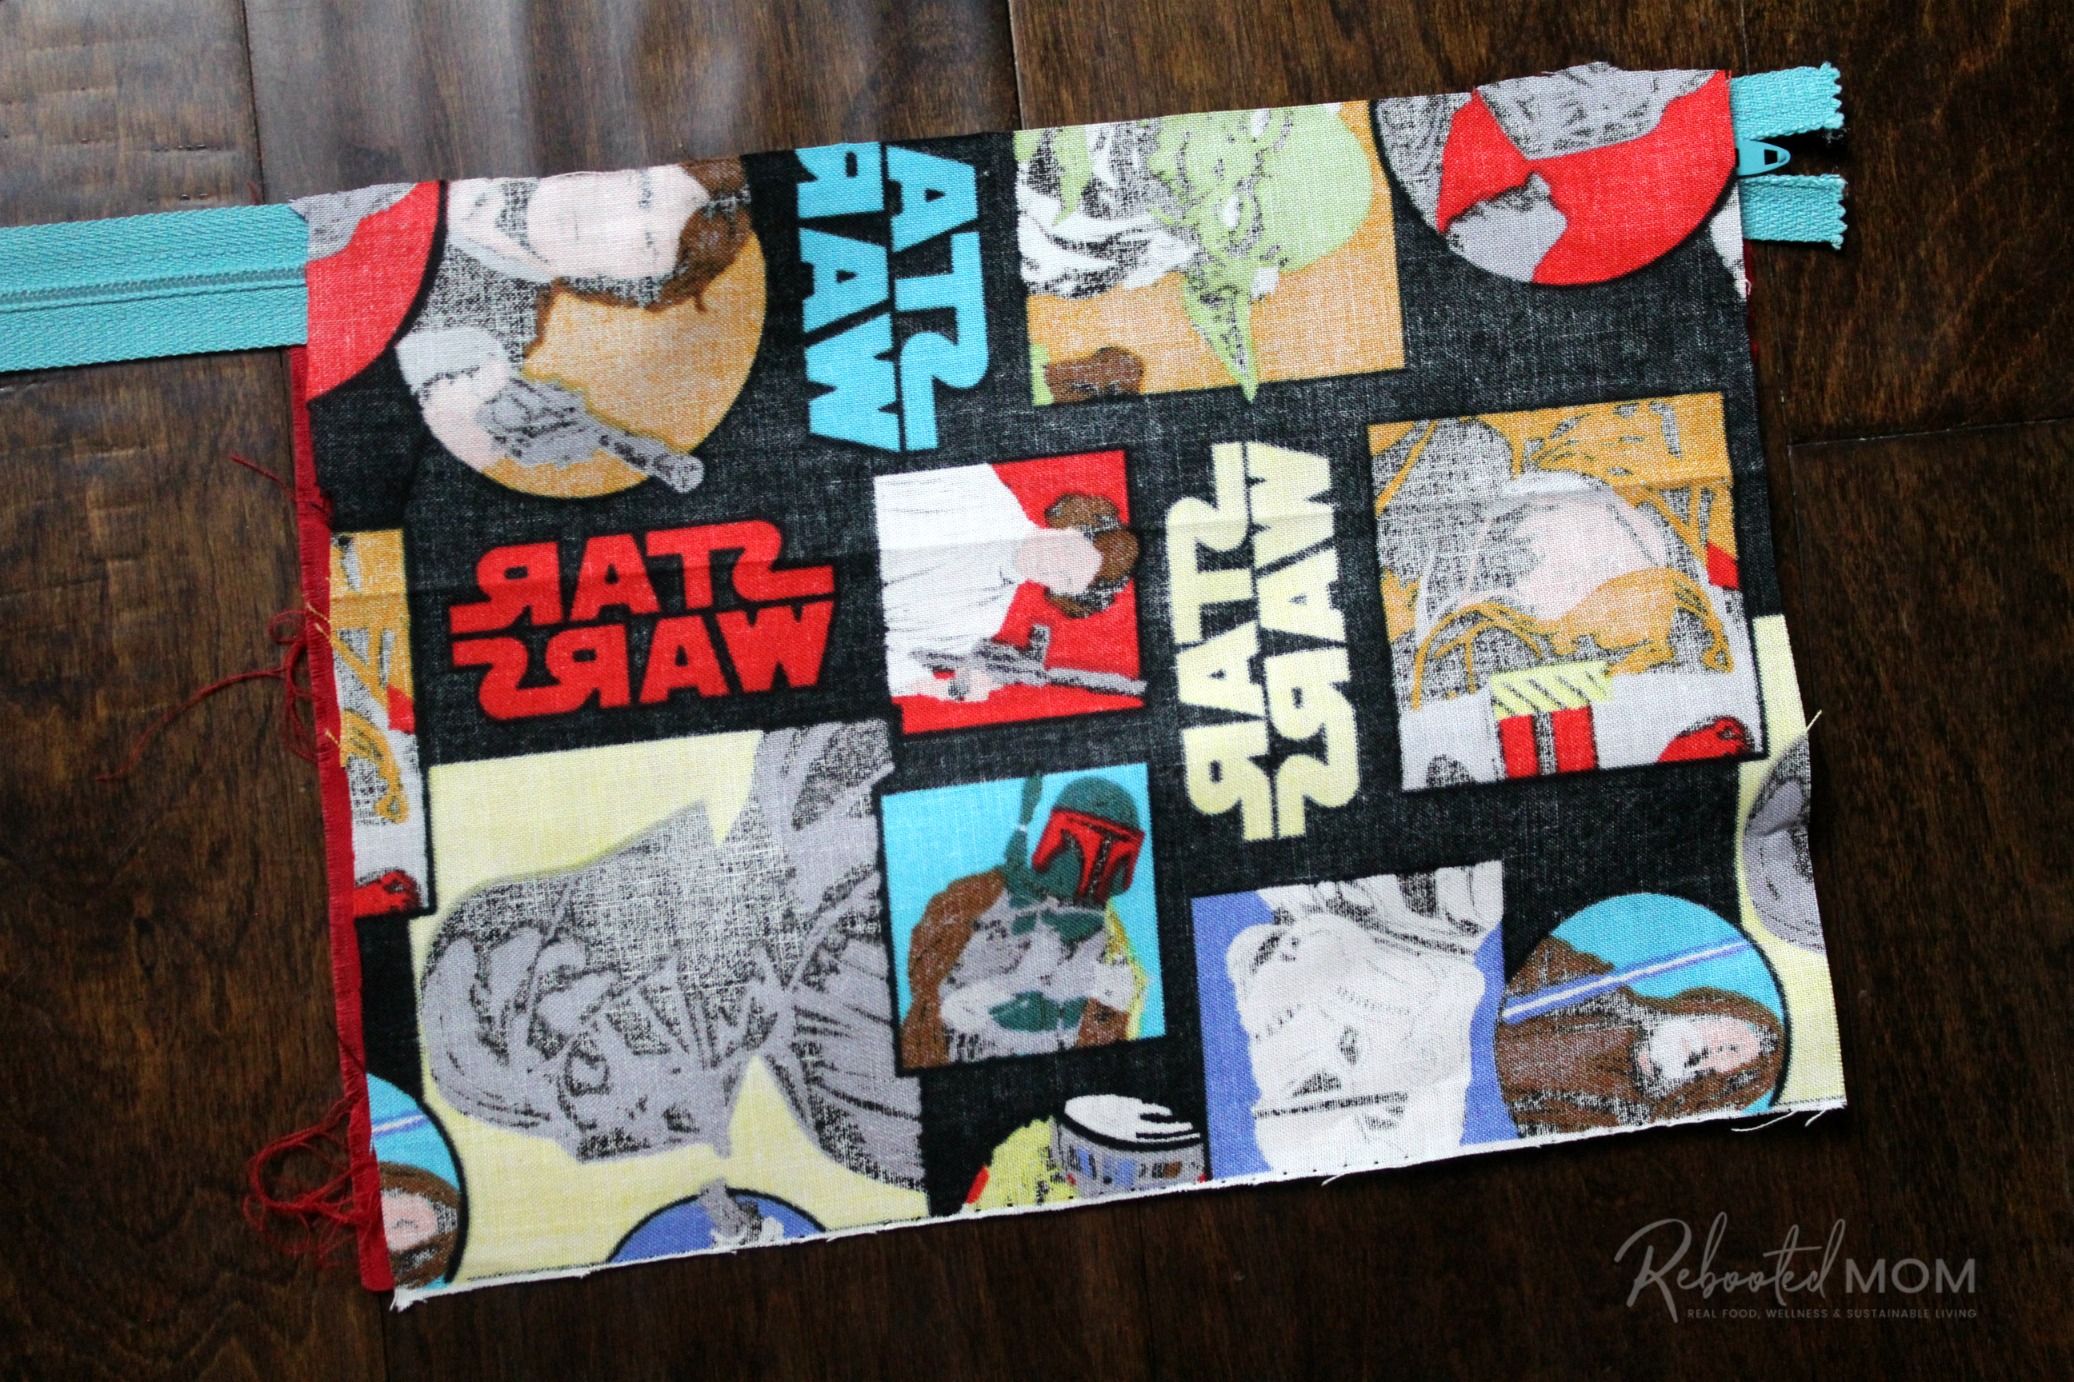
Place the outer print fabric on top of the fabric sandwich, right side down. Then pin along the top.
Sew along the top seam, leaving 1/8 – 1/4″ seam allowance. If you are working with a larger zipper, after you sew the layers together, cut the zipper to the size of the pouch.
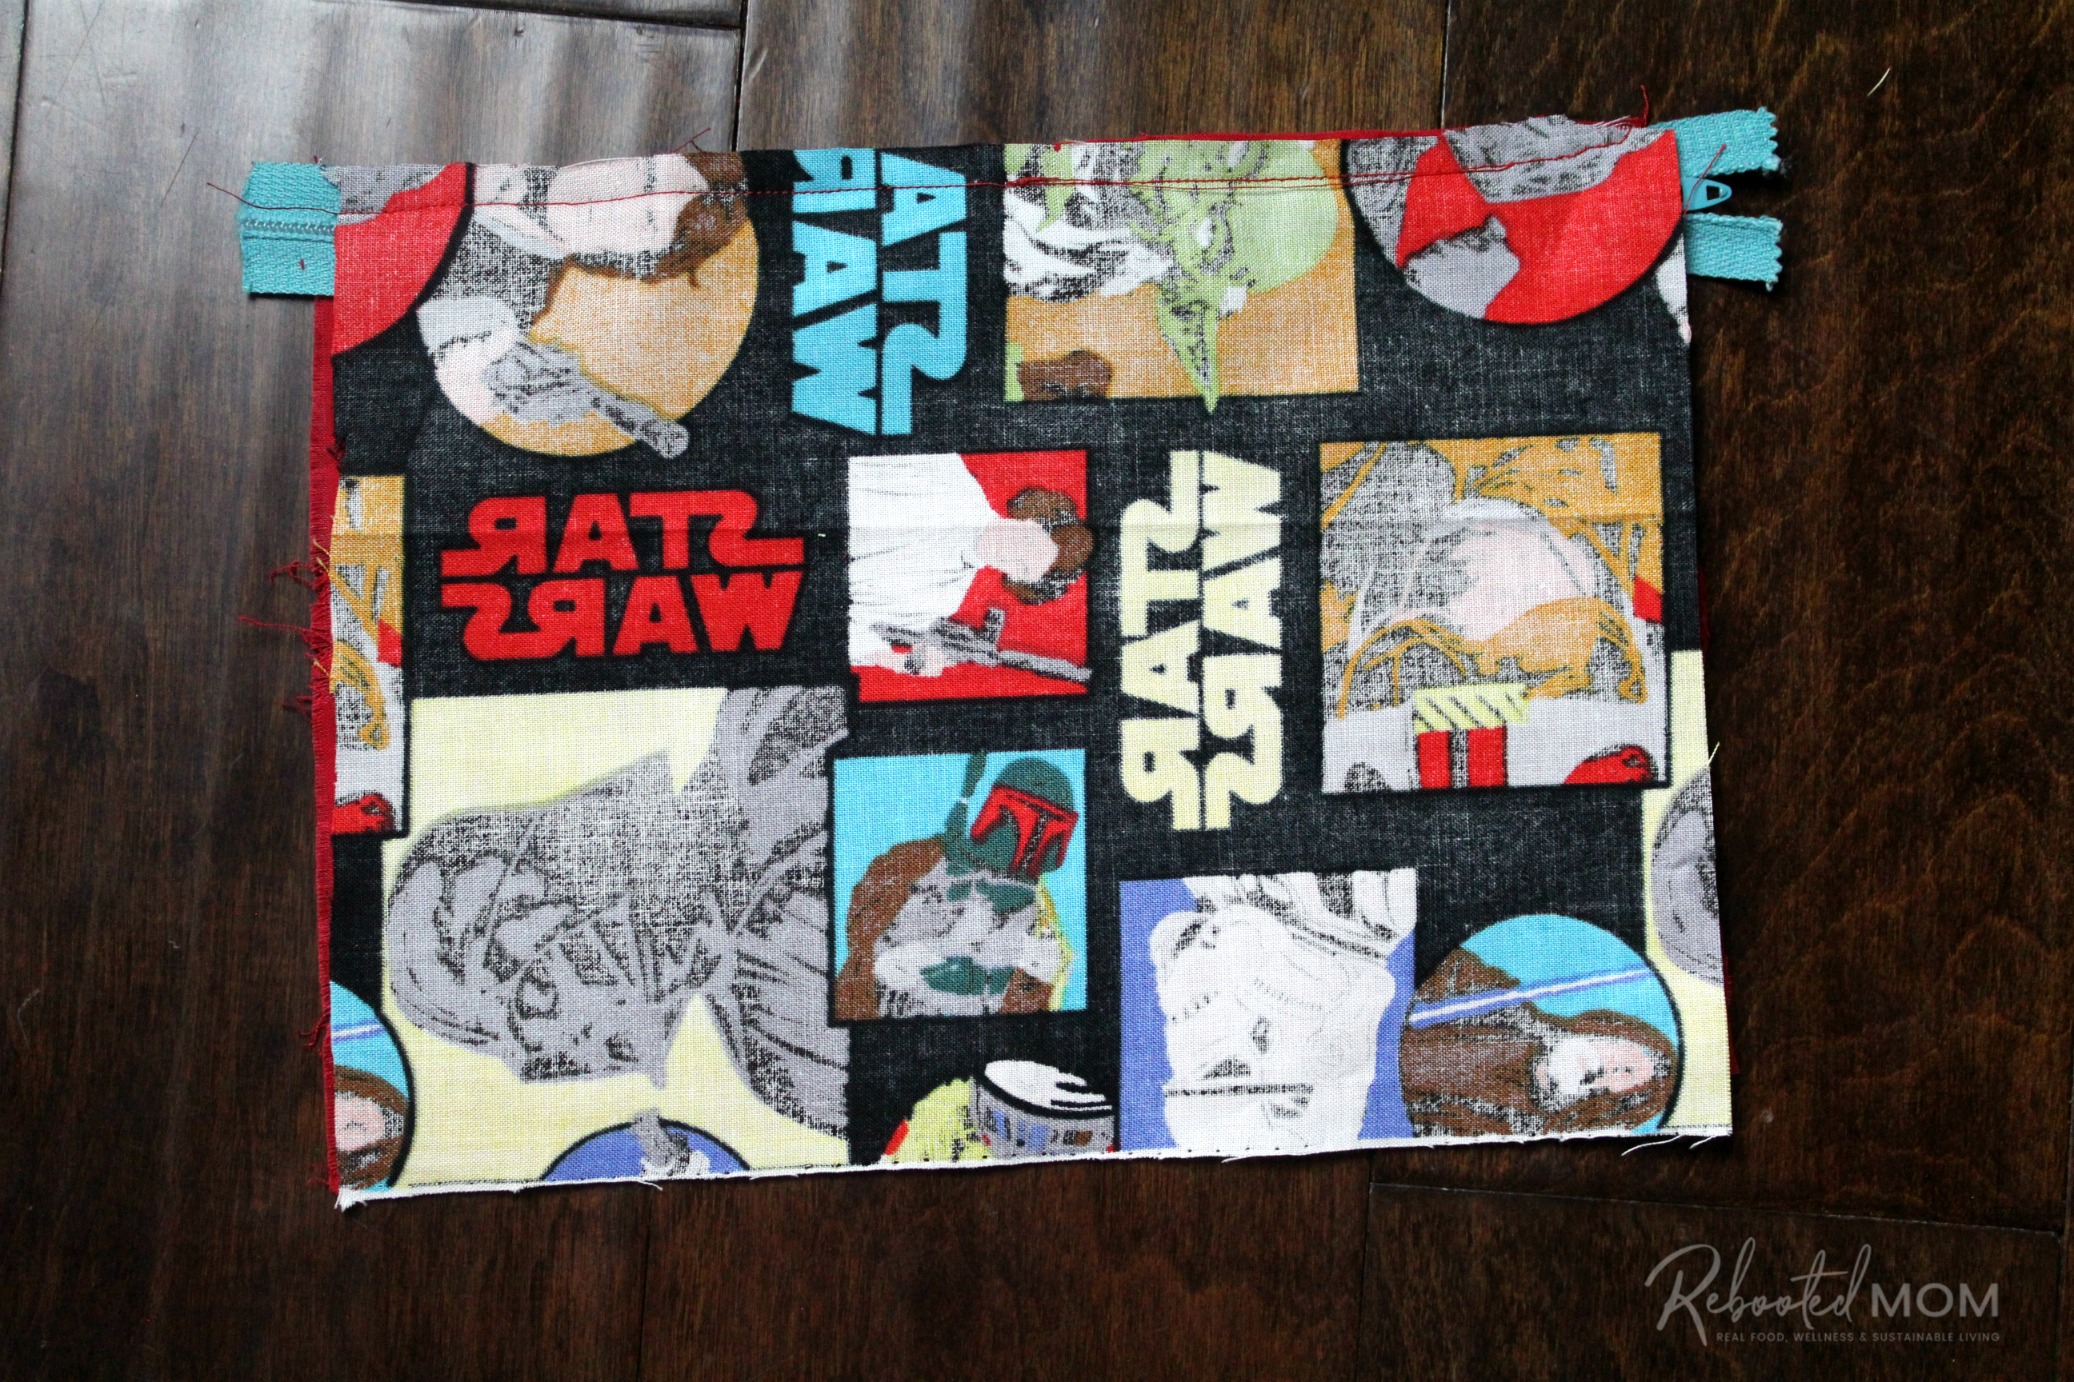
Gently flip the outer layer (that’s face down) up to reveal the zipper. Hello zipper! Then pick up the project by the zipper and flip it so that the zipper is on the top, with the pull to the left. Print is facing you, and the liner is on the bottom (floor).

Finish the Pouch
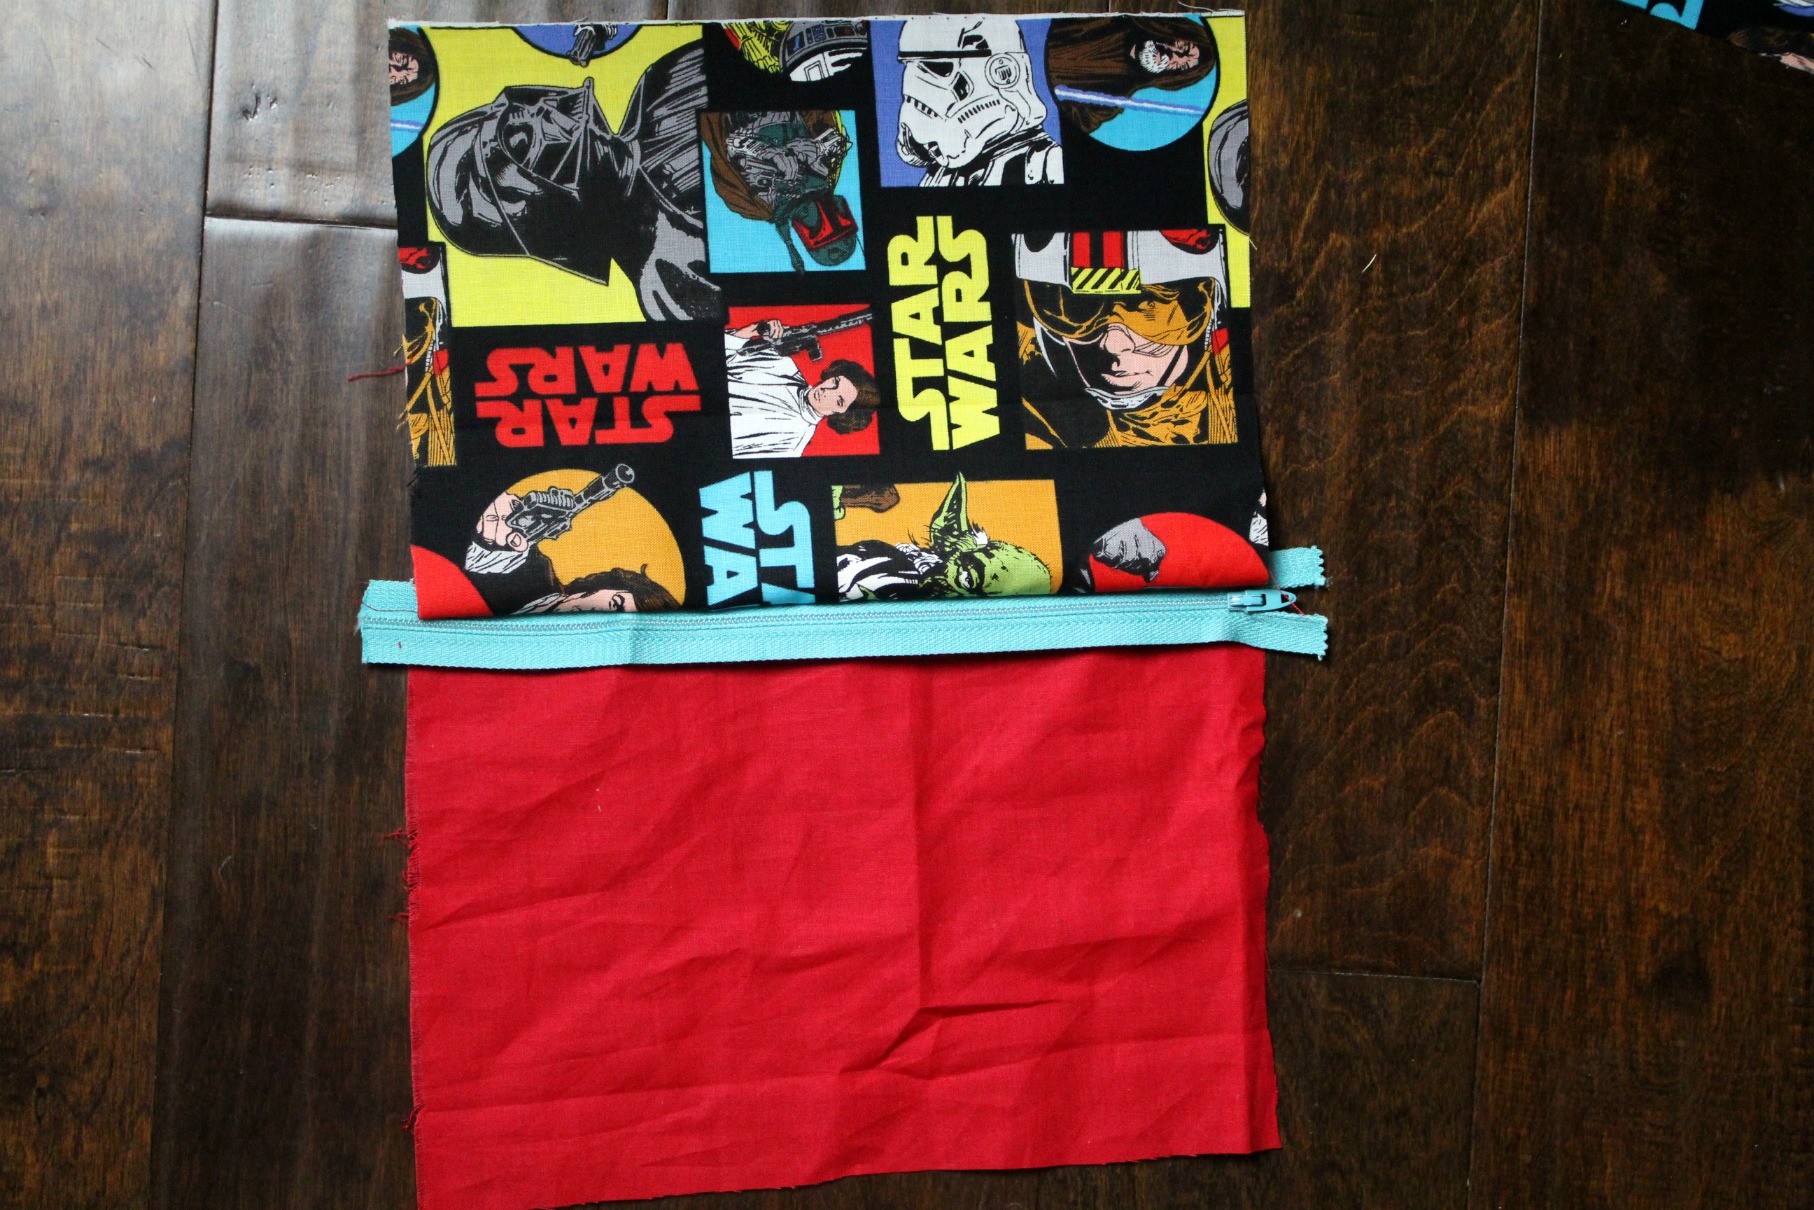
Time to make another fabric sandwich with the remaining 2 pieces. Place the solid color on the bottom, right side up. Take this fabric sandwich (above), and place it directly on top (print up). Then take the remaining print piece and place it print side down on the top.
Sew along the top with a 1/4 inch inseam, starting at the zipper pull and ending at the edge of the fabric.
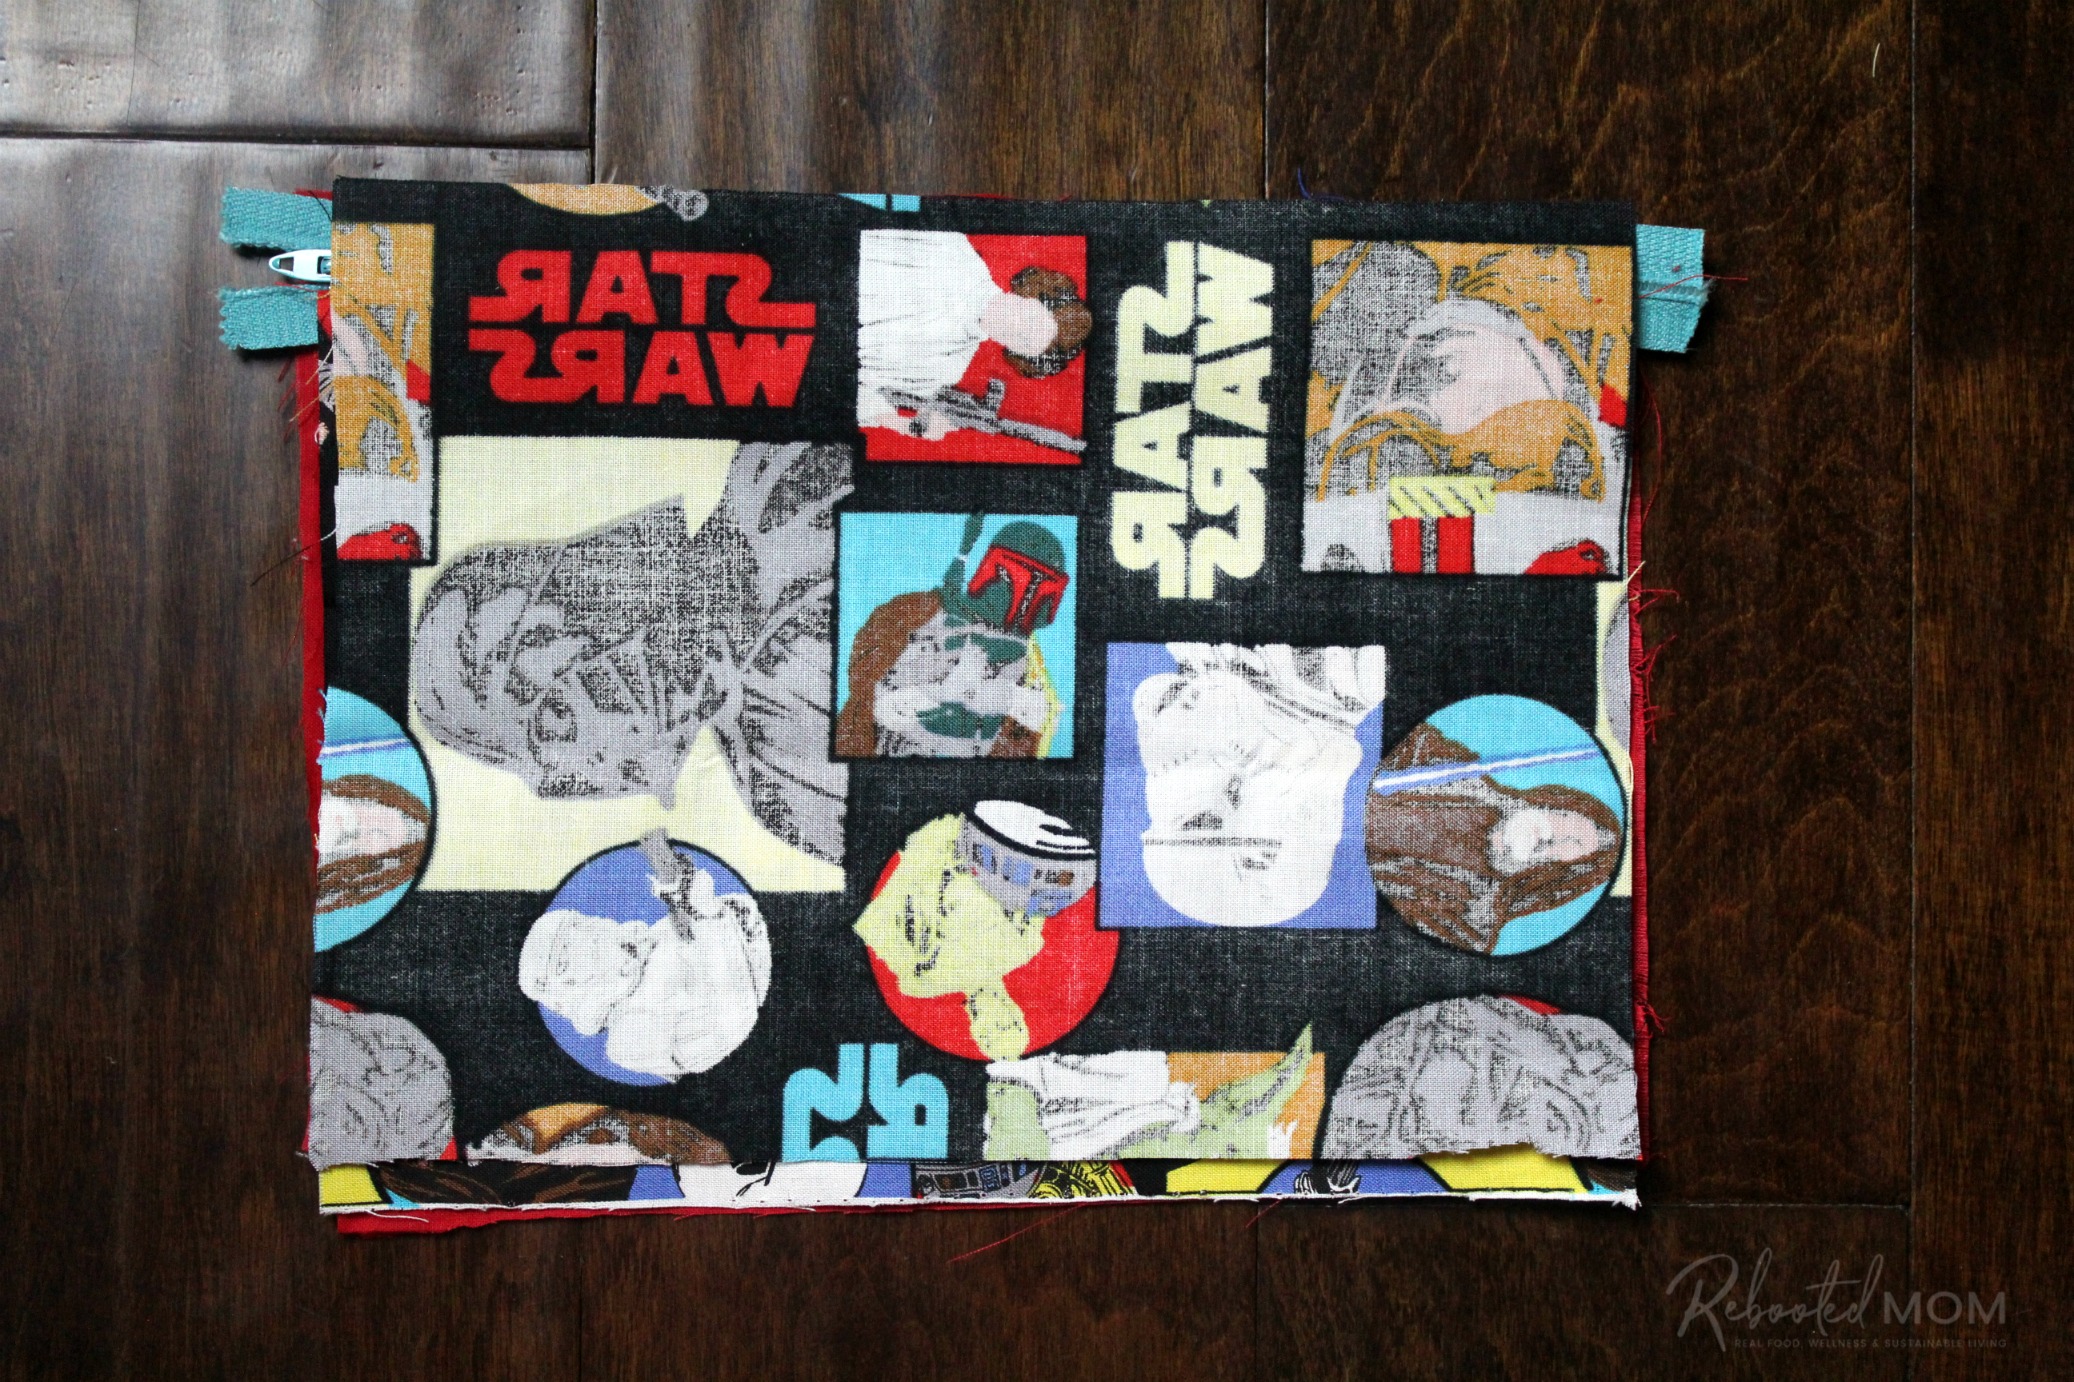
Once you are done sewing the top, you should be able to open it up — zipper in the middle, and two pieces on each side (print and solid).
Open the zipper at least halfway (this part is critical!)
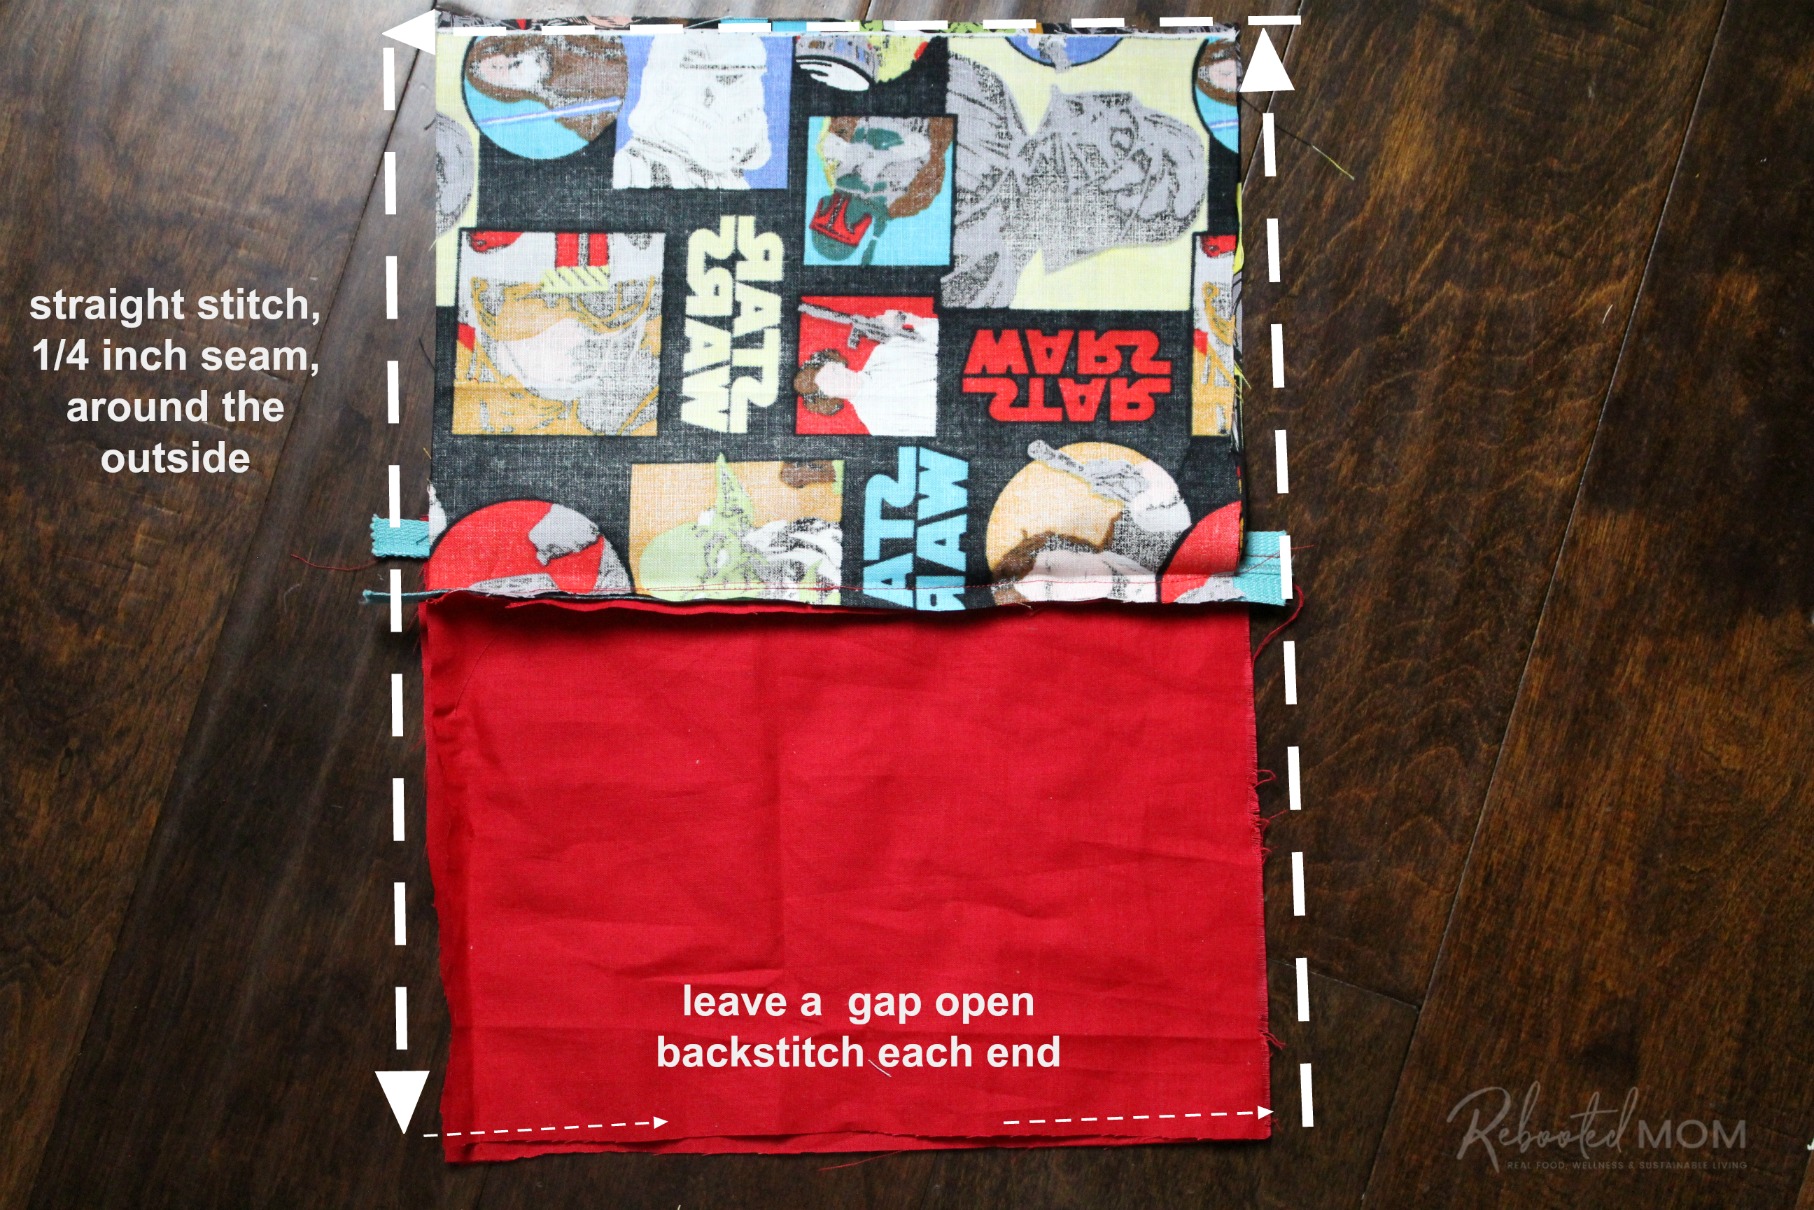
Match up the print layers and pin around the edge. Then, match up the solid layer and pin around the edges too (1/4″ seam).
Sew around the entire pouch, making sure to leave a gap open on the layer. Backstitch at each end of the opening.
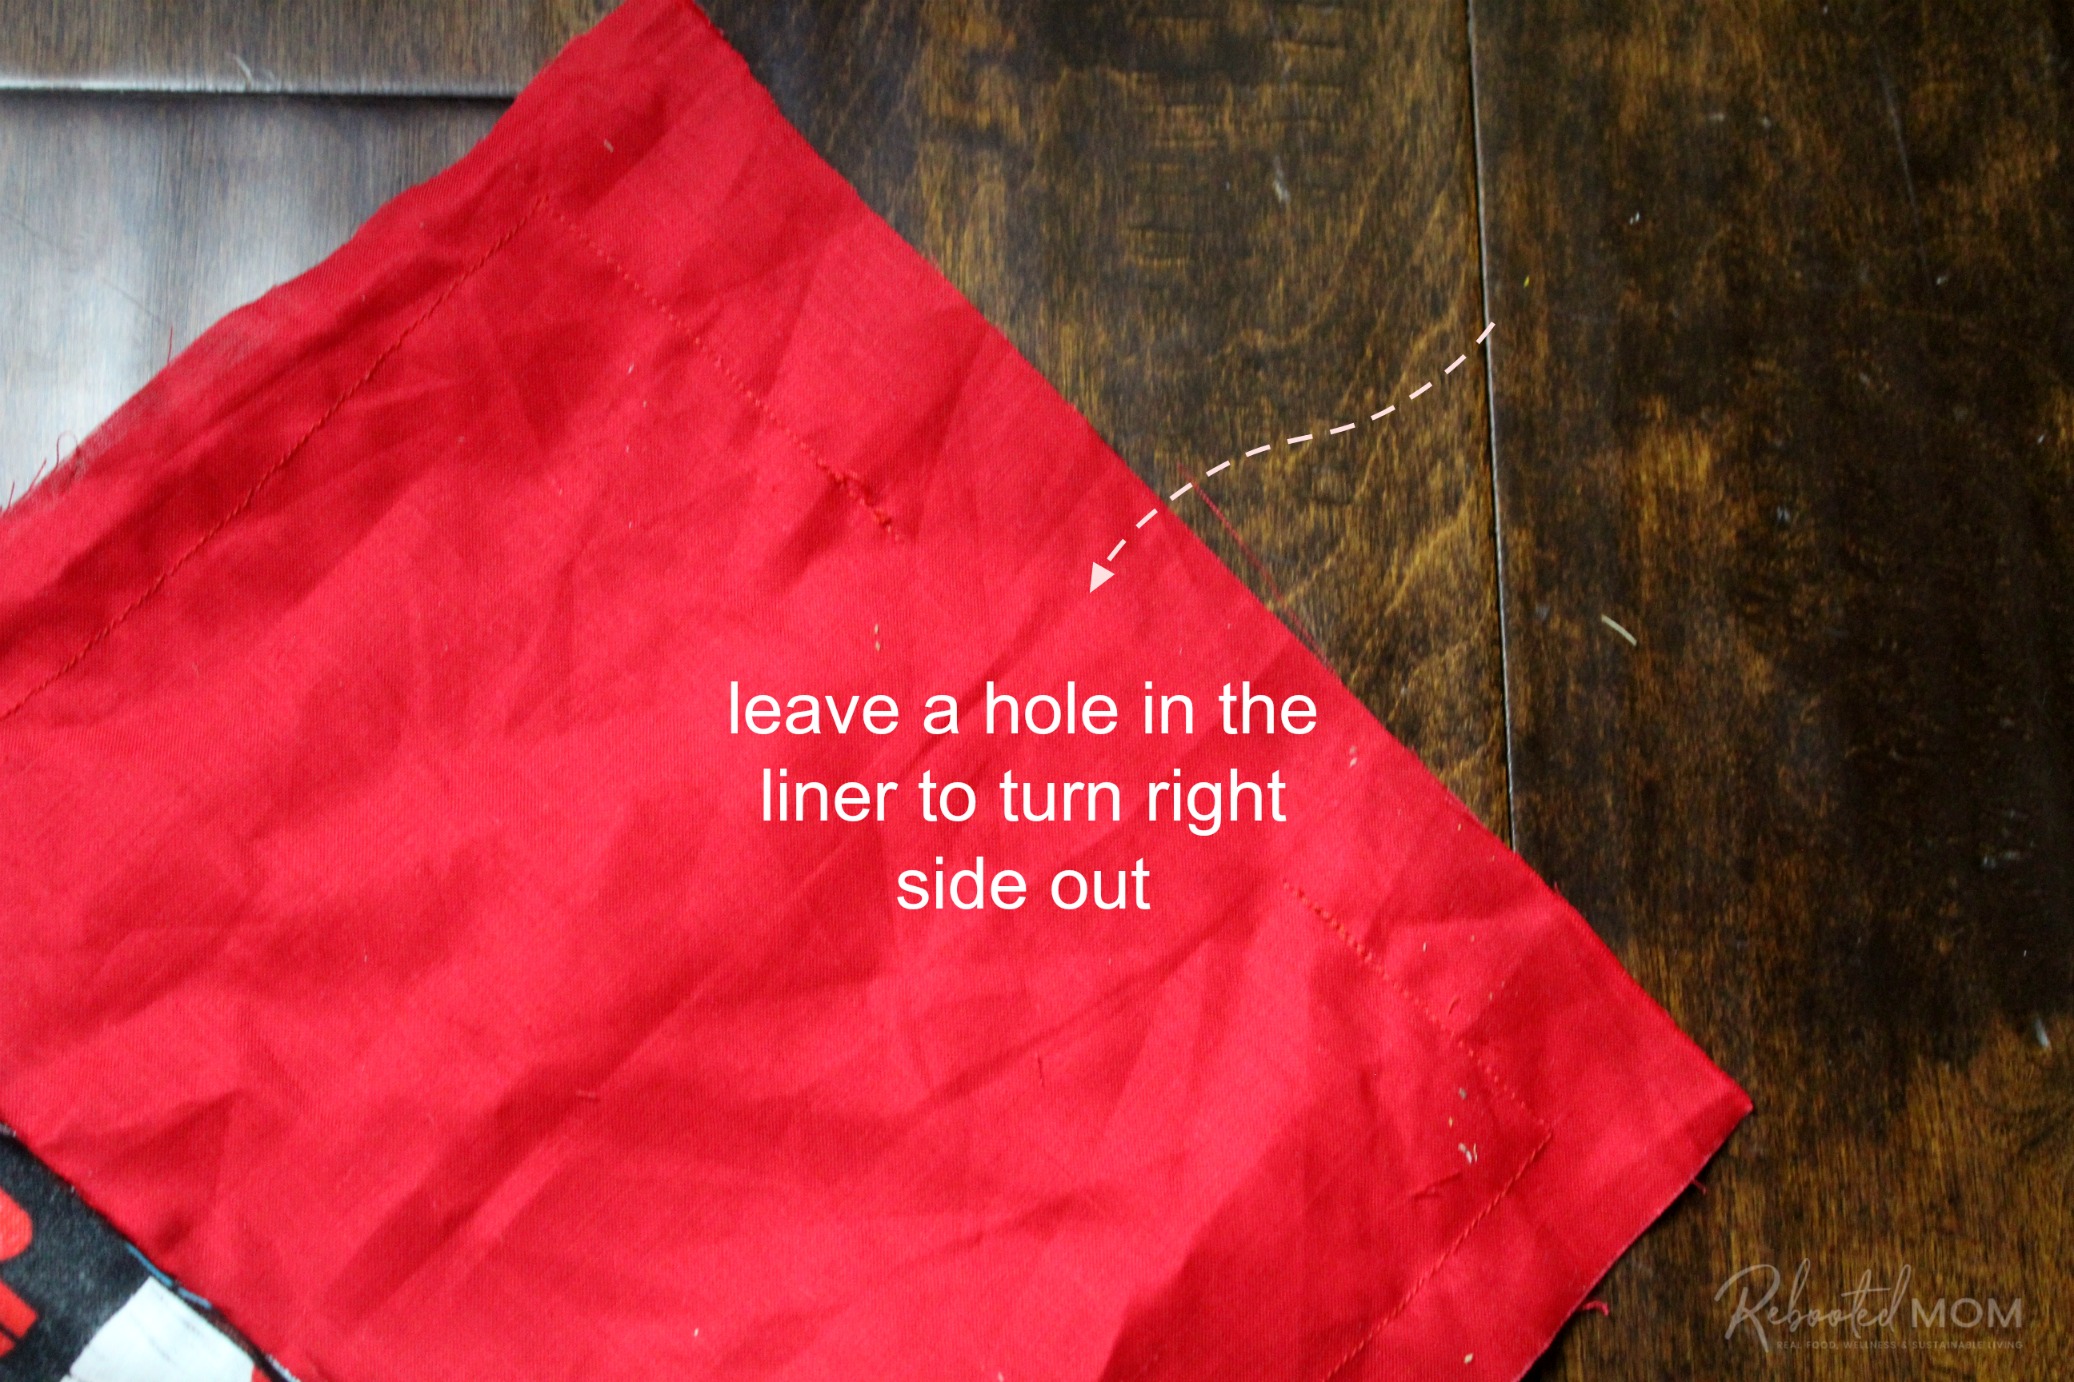
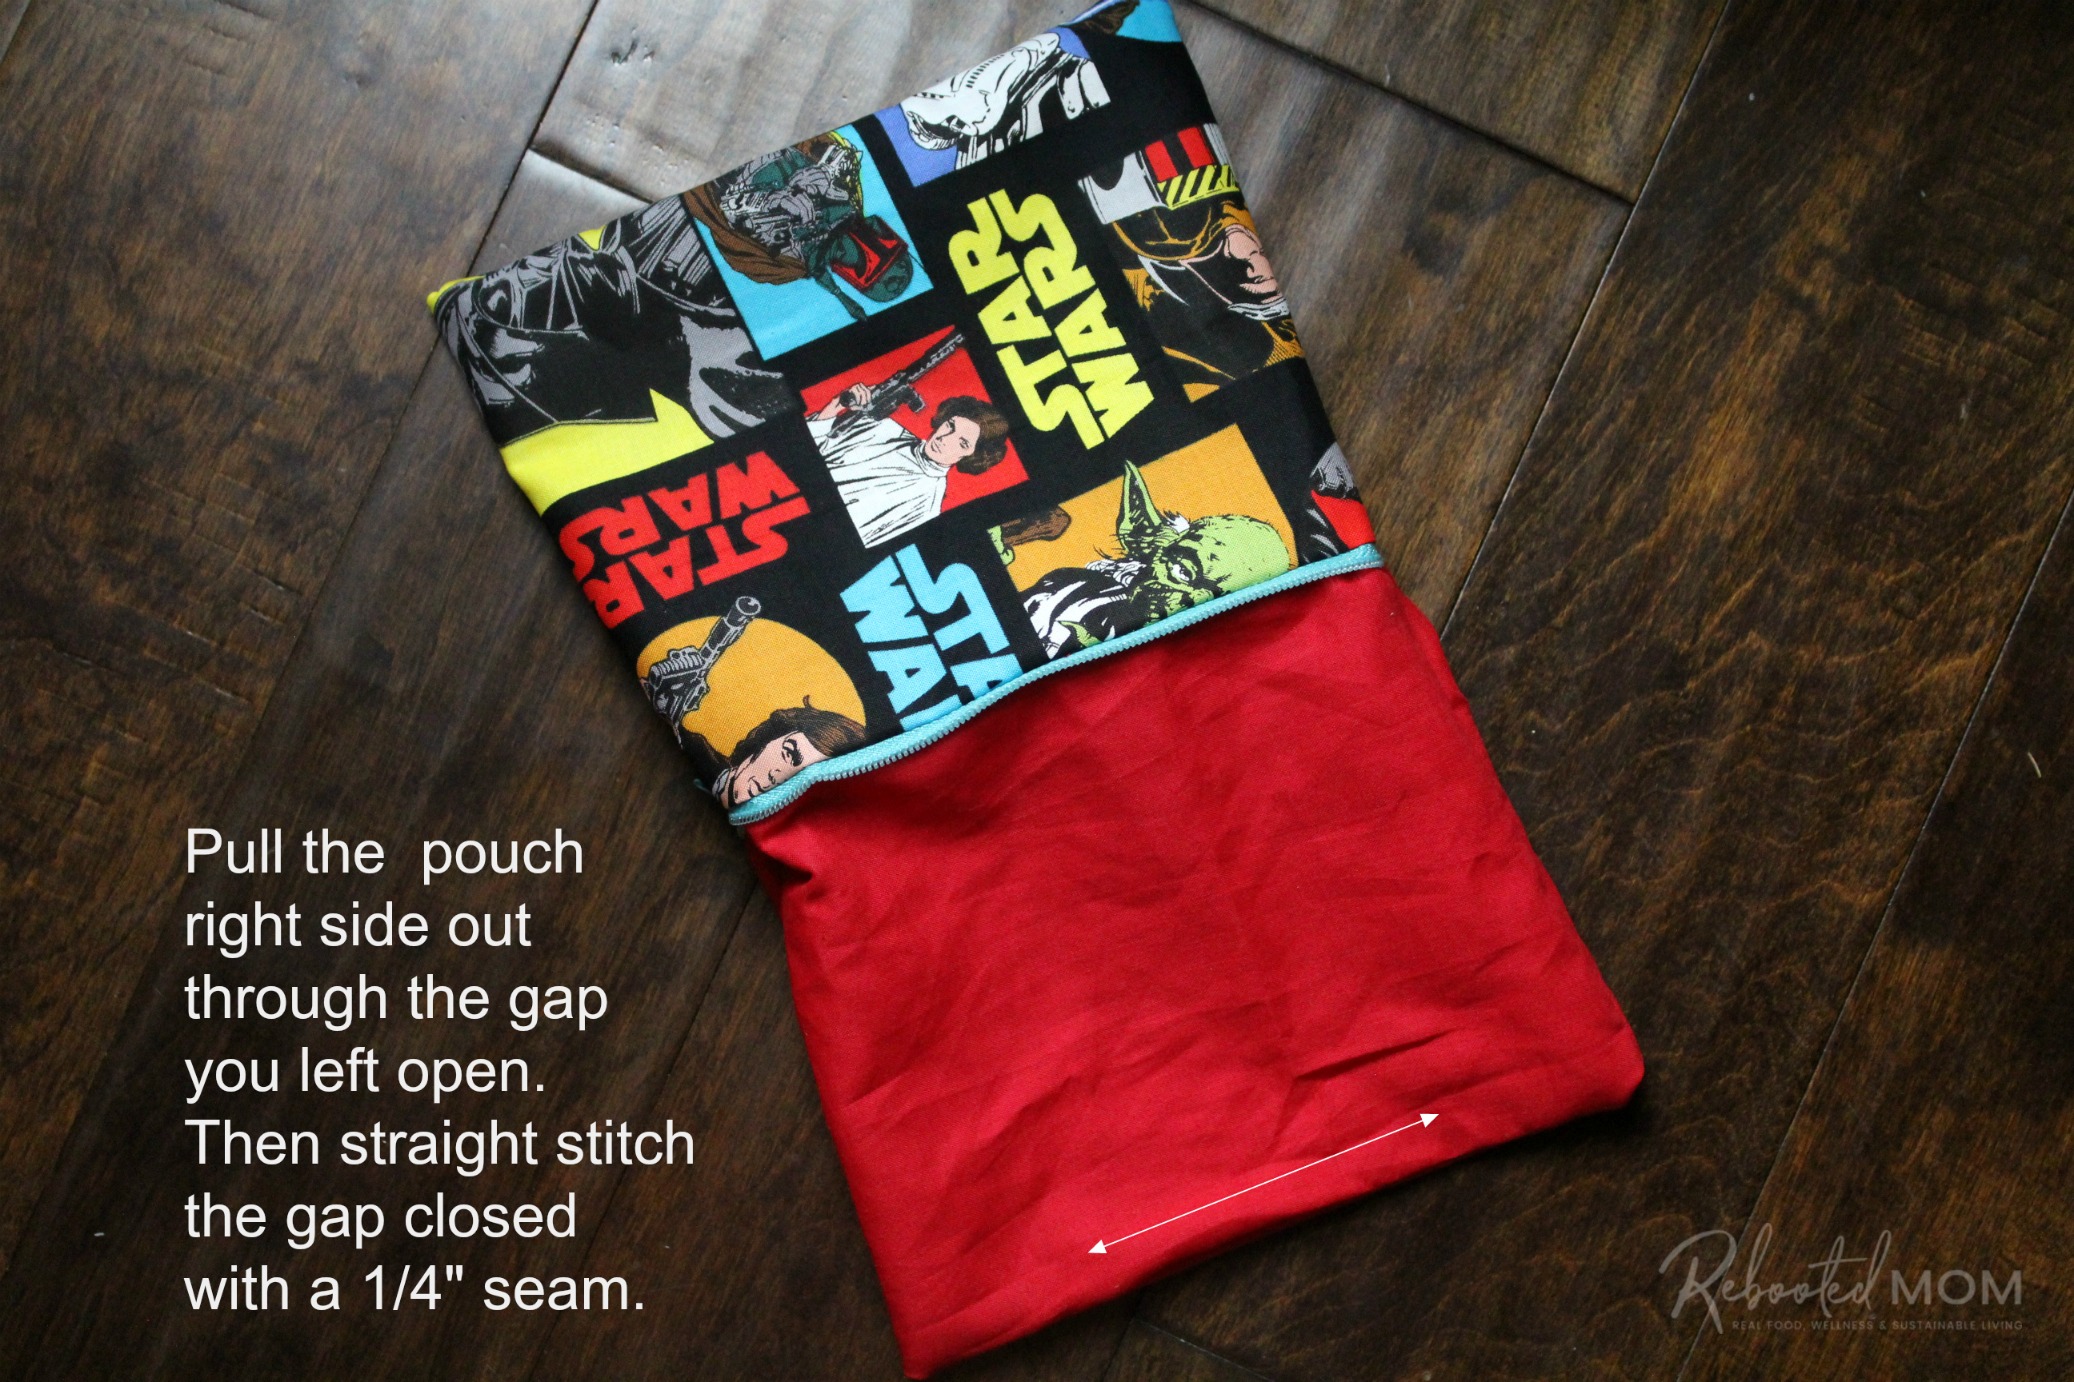
Pull the pouch right side out through the gap you left open. Push the corners out as well, because once it’s sewn shut you can’t go back and push the corners out.
Now straight stitch the gap closed with a 1/8″ – 1/4″ seam. Push the solid into the pouch, it’s time for the solid to serve as the liner.
Now open up your zipper and make any adjustments to your pouch. Then zipper shut — and you have yourself a medium zipper pouch!
Looking for more easy sewing projects?
Easy Pillow Bed Cushion Tutorial

[…] December, my oldest daughter zipped through a whirlwind of sewing projects. She started with zippered pouches, then made a few pillowcases, and eventually expanded her horizons to these cute cosmetic […]