


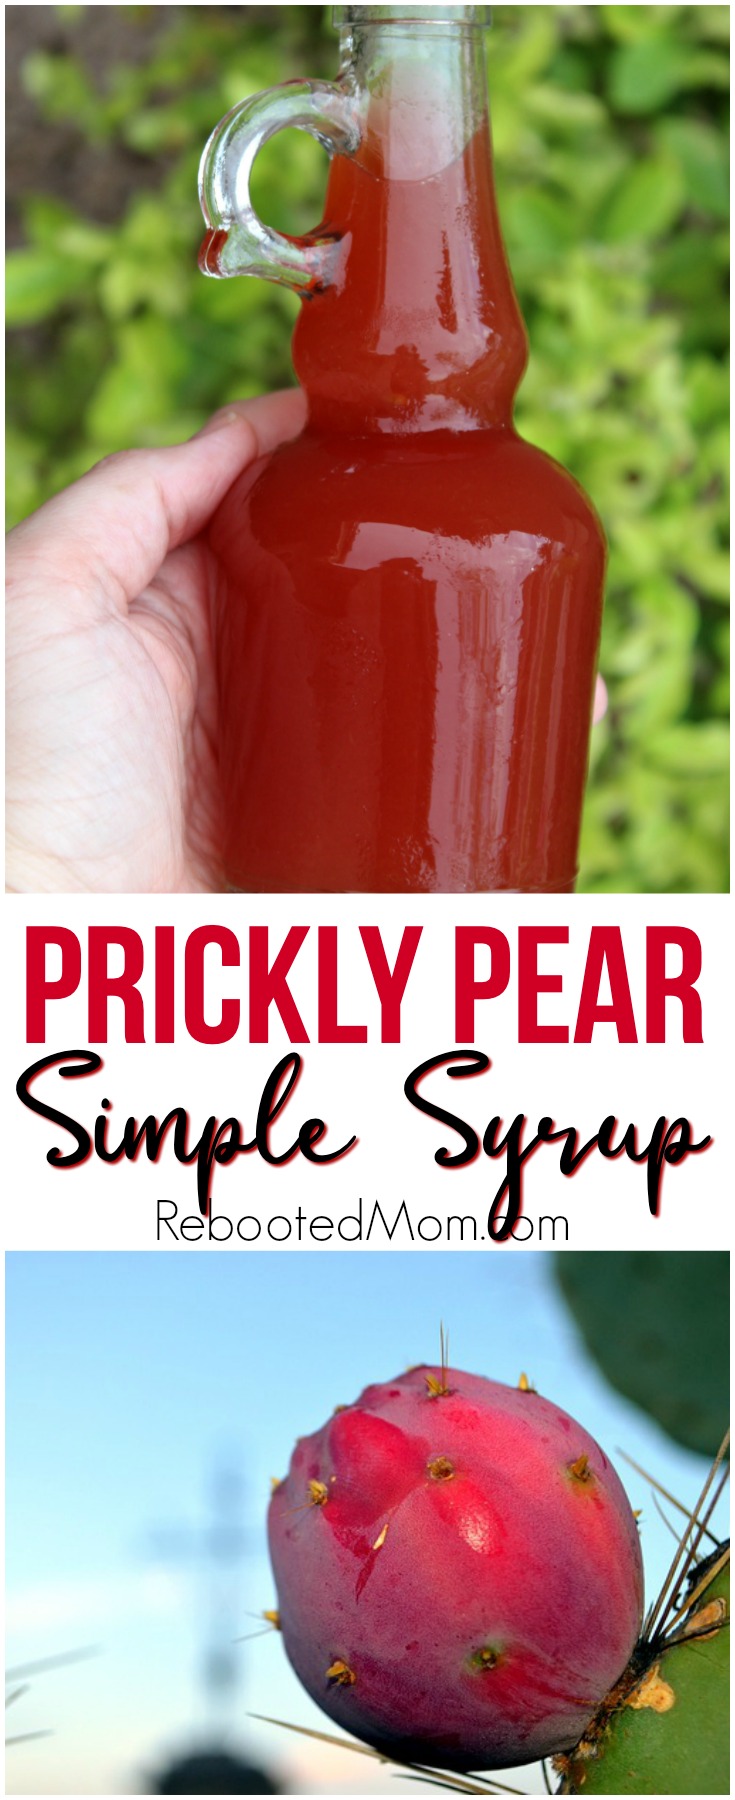
Learn how to make beautiful and delicious prickly pear syrup from prickly pear cactus fruit. The result is a syrup that’s sweet, colorful and packed with vitamins.
I’ve known about prickly pears for quite a few years now. Living in Arizona since 1998, prickly pears are a way of life up in the Phoenix area – something that you find in syrup, jam, even chocolate bars and handmade soap.
Not only are they everywhere, their little spikes on the skin will make sure that you never forget about them. 😆😉 Ask me how I know that… from my own personal experience.
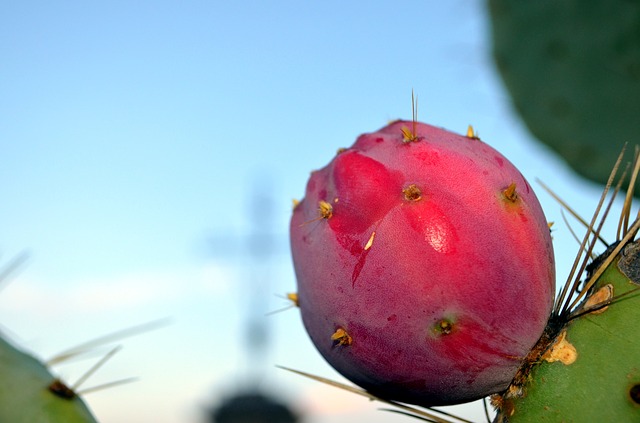
Prickly pears are a common plant that you find in the desert as well as many yards in the central area of Arizona. The fruits are often called tunas, and they come in a variety of shapes and colors. They can be deep purple and large, or smaller and more green in color. They can be eaten as a fruit or used to make a variety of foods:
- used as prickly pear syrup
- smoothies
- prickly pear iced tea
- syrup can be used to make margaritas
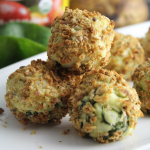
- handmade soap with prickly pear puree
- even bars of chocolate – which I’ve spotted out at Tortilla Flats just outside of Phoenix
- Or… to make jelly – Prickly Pear Jelly
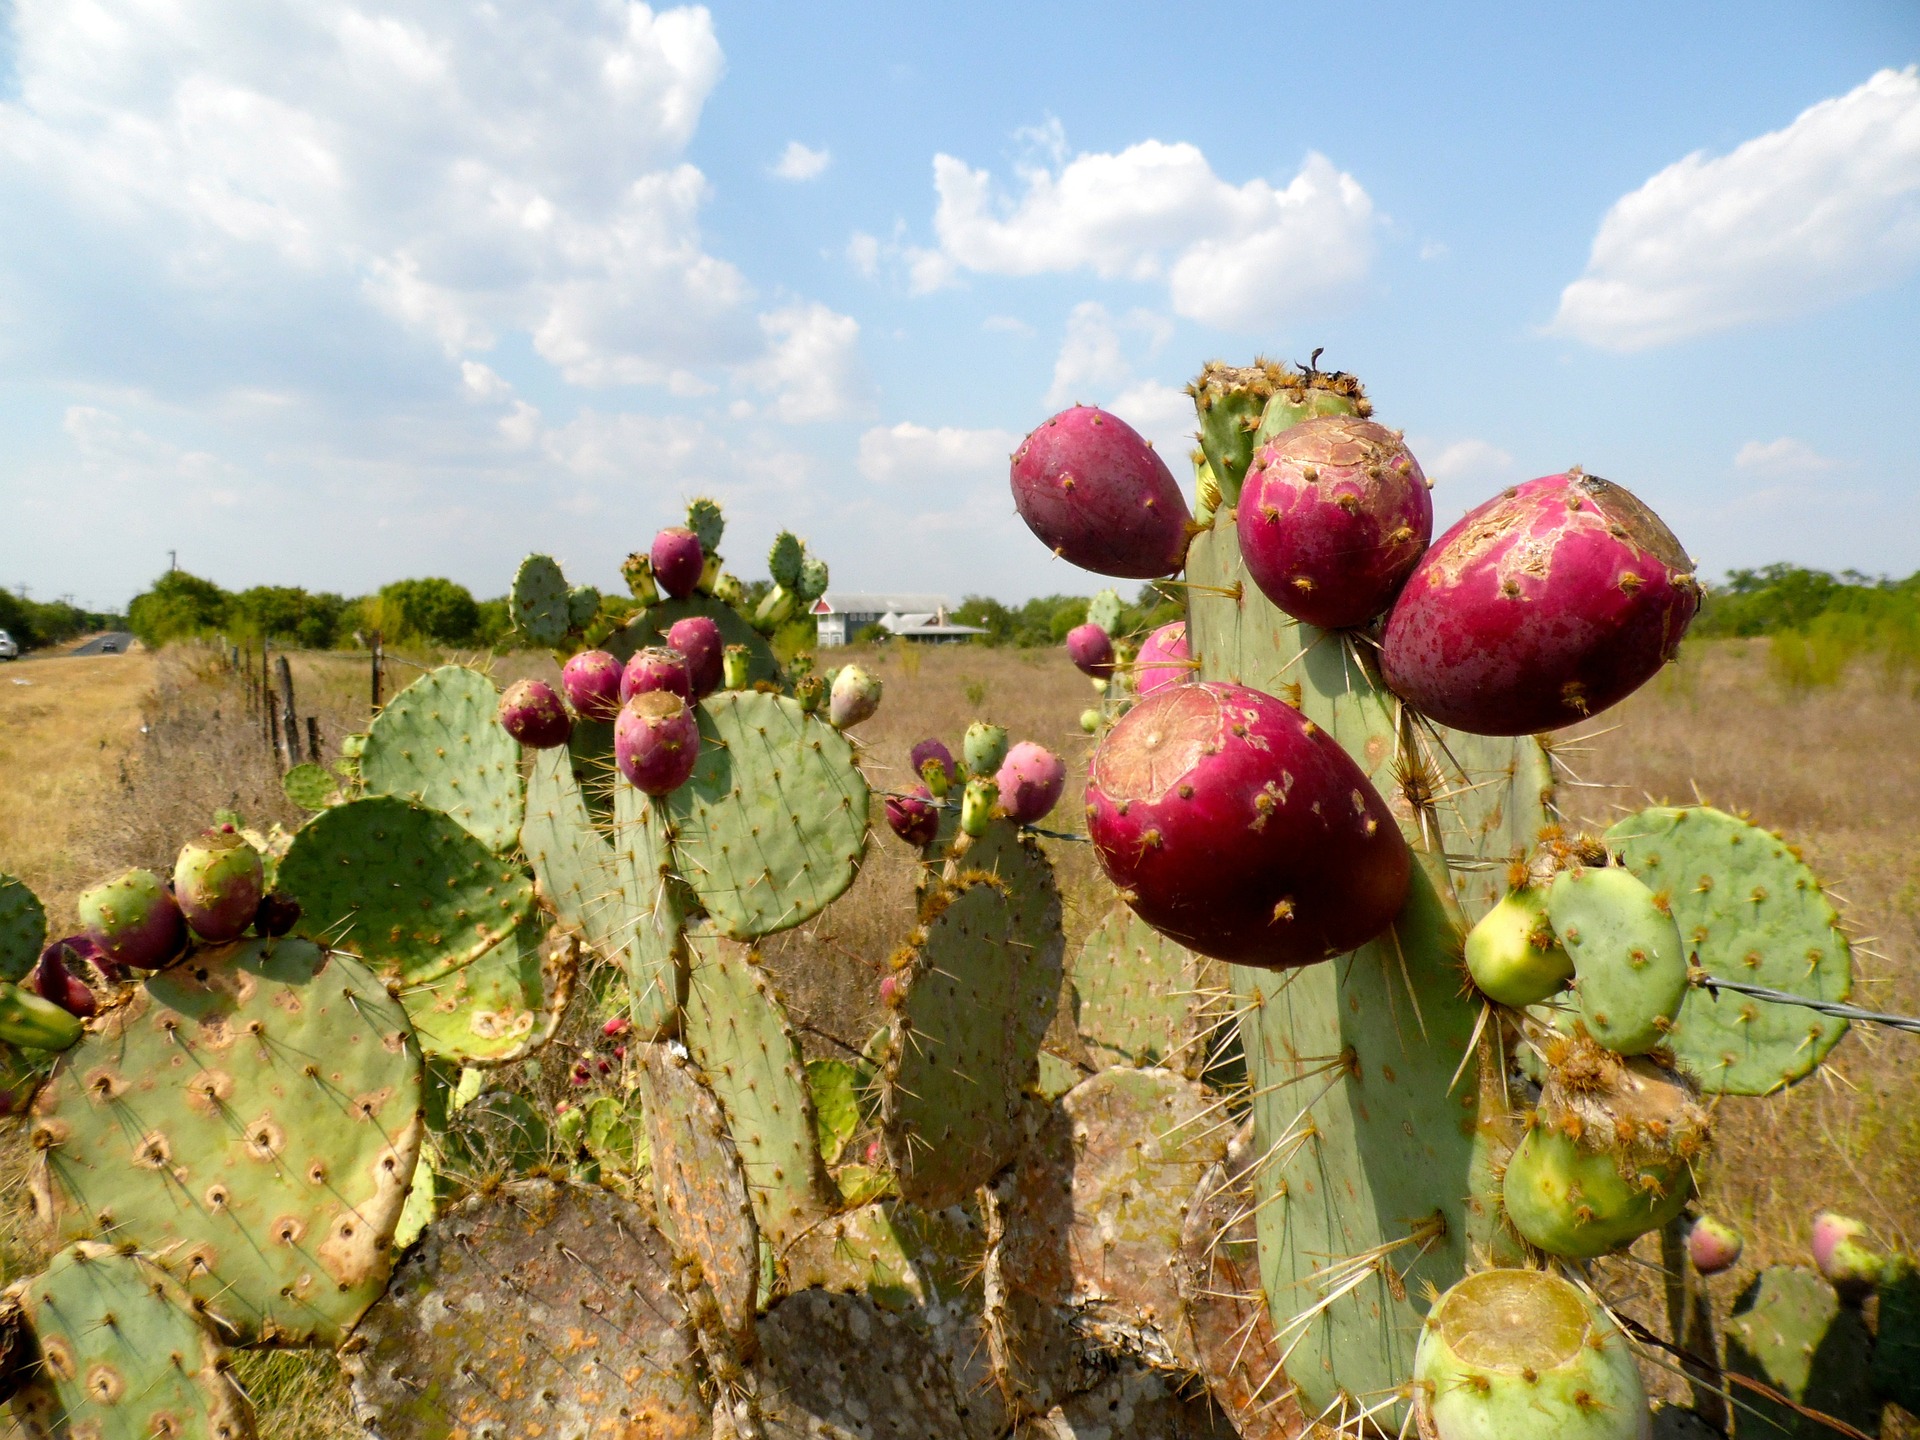
It wasn’t until the Boyce Thompson Arboretum had a homeschool class a few years ago that we got really “into” Prickly Pears. Not only did they teach us how to forage for them, they gave us tips on cleaning them up before consuming them.
Removing the glochids
If you want to eat the fruit, you have to remove the glochids out of the hard, callous skin. While they might seem harmless at first, those glochids can be pure hell if they stick in your skin. Problem is, they are hard to spot. Underneath that callous prickly pear skin is a soft, juicy tuna fruit full of black seeds.
But first.. removing the glochids. It might sound complicated but there are several different approaches to tackling this task:
- you can torch the pears briefly, which burns off the glochids
- dump the bucket of prickly pears out on a gravel drive, and roll them around with a rake to get the glochids loose from the skin
- soak the prickly pears in ice water (a cooler works well for this) for several hours to loosen up the glochids and separate them from the skin
Once you have the glochids removed, you’ll want to slice down the skin from top to bottom and peel the outside layer of the prickly pear off. Remove that outer jacket, and then you’re ready to rock and roll.

Prickly Pear Syrup
Prickly pear syrup is easy – simply cover the fruits with water, bring to a boil, cover and let steep for 30-40 minutes. Pour the mixture into your high powered blender and blend like crazy. Then run the mixture through several layers of cheesecloth or a fine mesh sieve to remove the seeds and any remaining pulp.
After that, add an equal volume of sugar and bring it to a simmer. When the sugar is dissolved, turn off the heat and add some citric acid. This will help give the syrup some tang, while preserving the color. If you don’t have citric acid, lemon juice will also work – it just won’t give the impartial flavor you might be looking for.
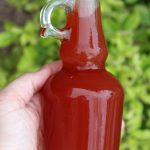
Once the syrup is done, bottle it up and use it in your favorite recipes. I love using ours for pancakes and waffles as well as prickly pear lemonade. But don’t stop there …
- mix it with tequila or fancy margaritas
- use it to make a delicious sorbet
- drizzle on your baked chicken
- or use as part of a vinaigrette for your summer salad
Be creative with prickly pear syrup – it’s delicious on so many things! It also makes a wonderful gift for out-of-town friends and family members at the holidays.
Prickly Pear Syrup
Equipment
- wide mouth pint canning jars
- canning lids and rings
- Water Bath Canner
Ingredients
- 2 lbs prickly pears
- 2 C sugar
- 2 tsp citric acid or the juice of one lemon
- water to cover
Instructions
- Prepare the prickly pear fruit by removing the glochids. Slice down the prickly pear from the top to bottom and peel the skin off. Put the fruits in a pot and add enough water to cover.
- Bring to a boil. Turn off the heat and allow to steep for 30 minutes.
- Mash the fruit with a potato masher or, pour the contents of the pot in your high-powered blender. Blend until pureed.
- Push through several layers of cheesecloth or a fine mesh strainer to remove the seeds.
- Measure the strained juice - pour into an empty pot. Add an equal parts of sugar. Bring to a simmer over medium heat for 5 minutes.
- Turn off the heat. Let it cool for 15 minutes. Add the citric acid (or lemon juice) - 1/4 tsp per pint, and 1/2 tsp for a quart. Add your lids and screw bands to the jars and tighten.
- Process the jars in a water bath. Cover with an inch of water and boil for 15 minutes (pint) or 20 minutes (quart). Lift the jars out of the water with tongs and set them aside in a safe place to cool down.
A note about canning this syrup:
Citric acid is a natural preservative used as a food additive and an essential ingredient in home canning. It helps maintain a safe pH level when canning.
Although many fruits do contain a certain level of acid, it may not be enough to ward off harmful bacteria. Using citric acid will prevent the formation of bacteria that can cause food poisoning. It can also help retain color and vibrancy in the food being preserved.
Before canning: fill up your water bath canner and place the jars in boiling water for 5 minutes. Add the lids to the boiling water and allow to sit for another 5 minutes. Boiling will work to sanitize them and decrease any risk of contamination.
Remove the jars and lids and set aside. Pour your prepared fruit/syrup into sanitized jars allowing an extra inch of space at the top. I like to use a jar funnel to eliminate spills. Add the lids and bands to the jar and tighten. Process in a water bath for 15 minutes (pints) and 20 minutes (quarts).
It’s always a wise idea to use new lids and bands with each batch. The process time starts once the water starts boiling. Once the cans are done processing, carefully lift them out of the water bath and set on a towel on the counter. Check the lids – once the jars have cooled, the lids should not move up and down.
Did you try this recipe?
If you did, please take a second to rate the recipe and leave a comment as I’d love to know how it turned out.
I’d ask you to tag me on social media but I gave up social media several years ago (Crazy – right??!!) It was the best thing I ever did. I still love to read comments and hear from you though – so don’t be afraid to leave comments on this post as I do take the time to read and respond when I can
For more great recipes, follow me on Pinterest!

I have the ears juice so how much juice equals the 4-5 count in recipes?
Donna, I had about 3.5 C of juice after I processed them all. You can use the juice, without diluting, or if you can’t quite get that much juice from your prickly pears you can add a smidge of water (I have sometimes done this but I don’t like diluting it too much or it takes away from the flavor!)
Looks beautiful! Can’t wait to try it! Made from prickly pears picked from our front yard. Found you last year & made the prickly pear jelly…and again this year. Had some leftover pears & decided to give this a try!
Stephanie, I’m so glad 🙂 I am envious that you have Prickly Pears in your front yard! I made a ton of jelly last year, and boy was it a lot of work to clean and prep those prickly pears. My kids were excited… and then ten minutes in, they had all disappeared (LOL). Let me know how your syrup turns out! I hope you have a beautiful week and enjoy your prickly pears!