


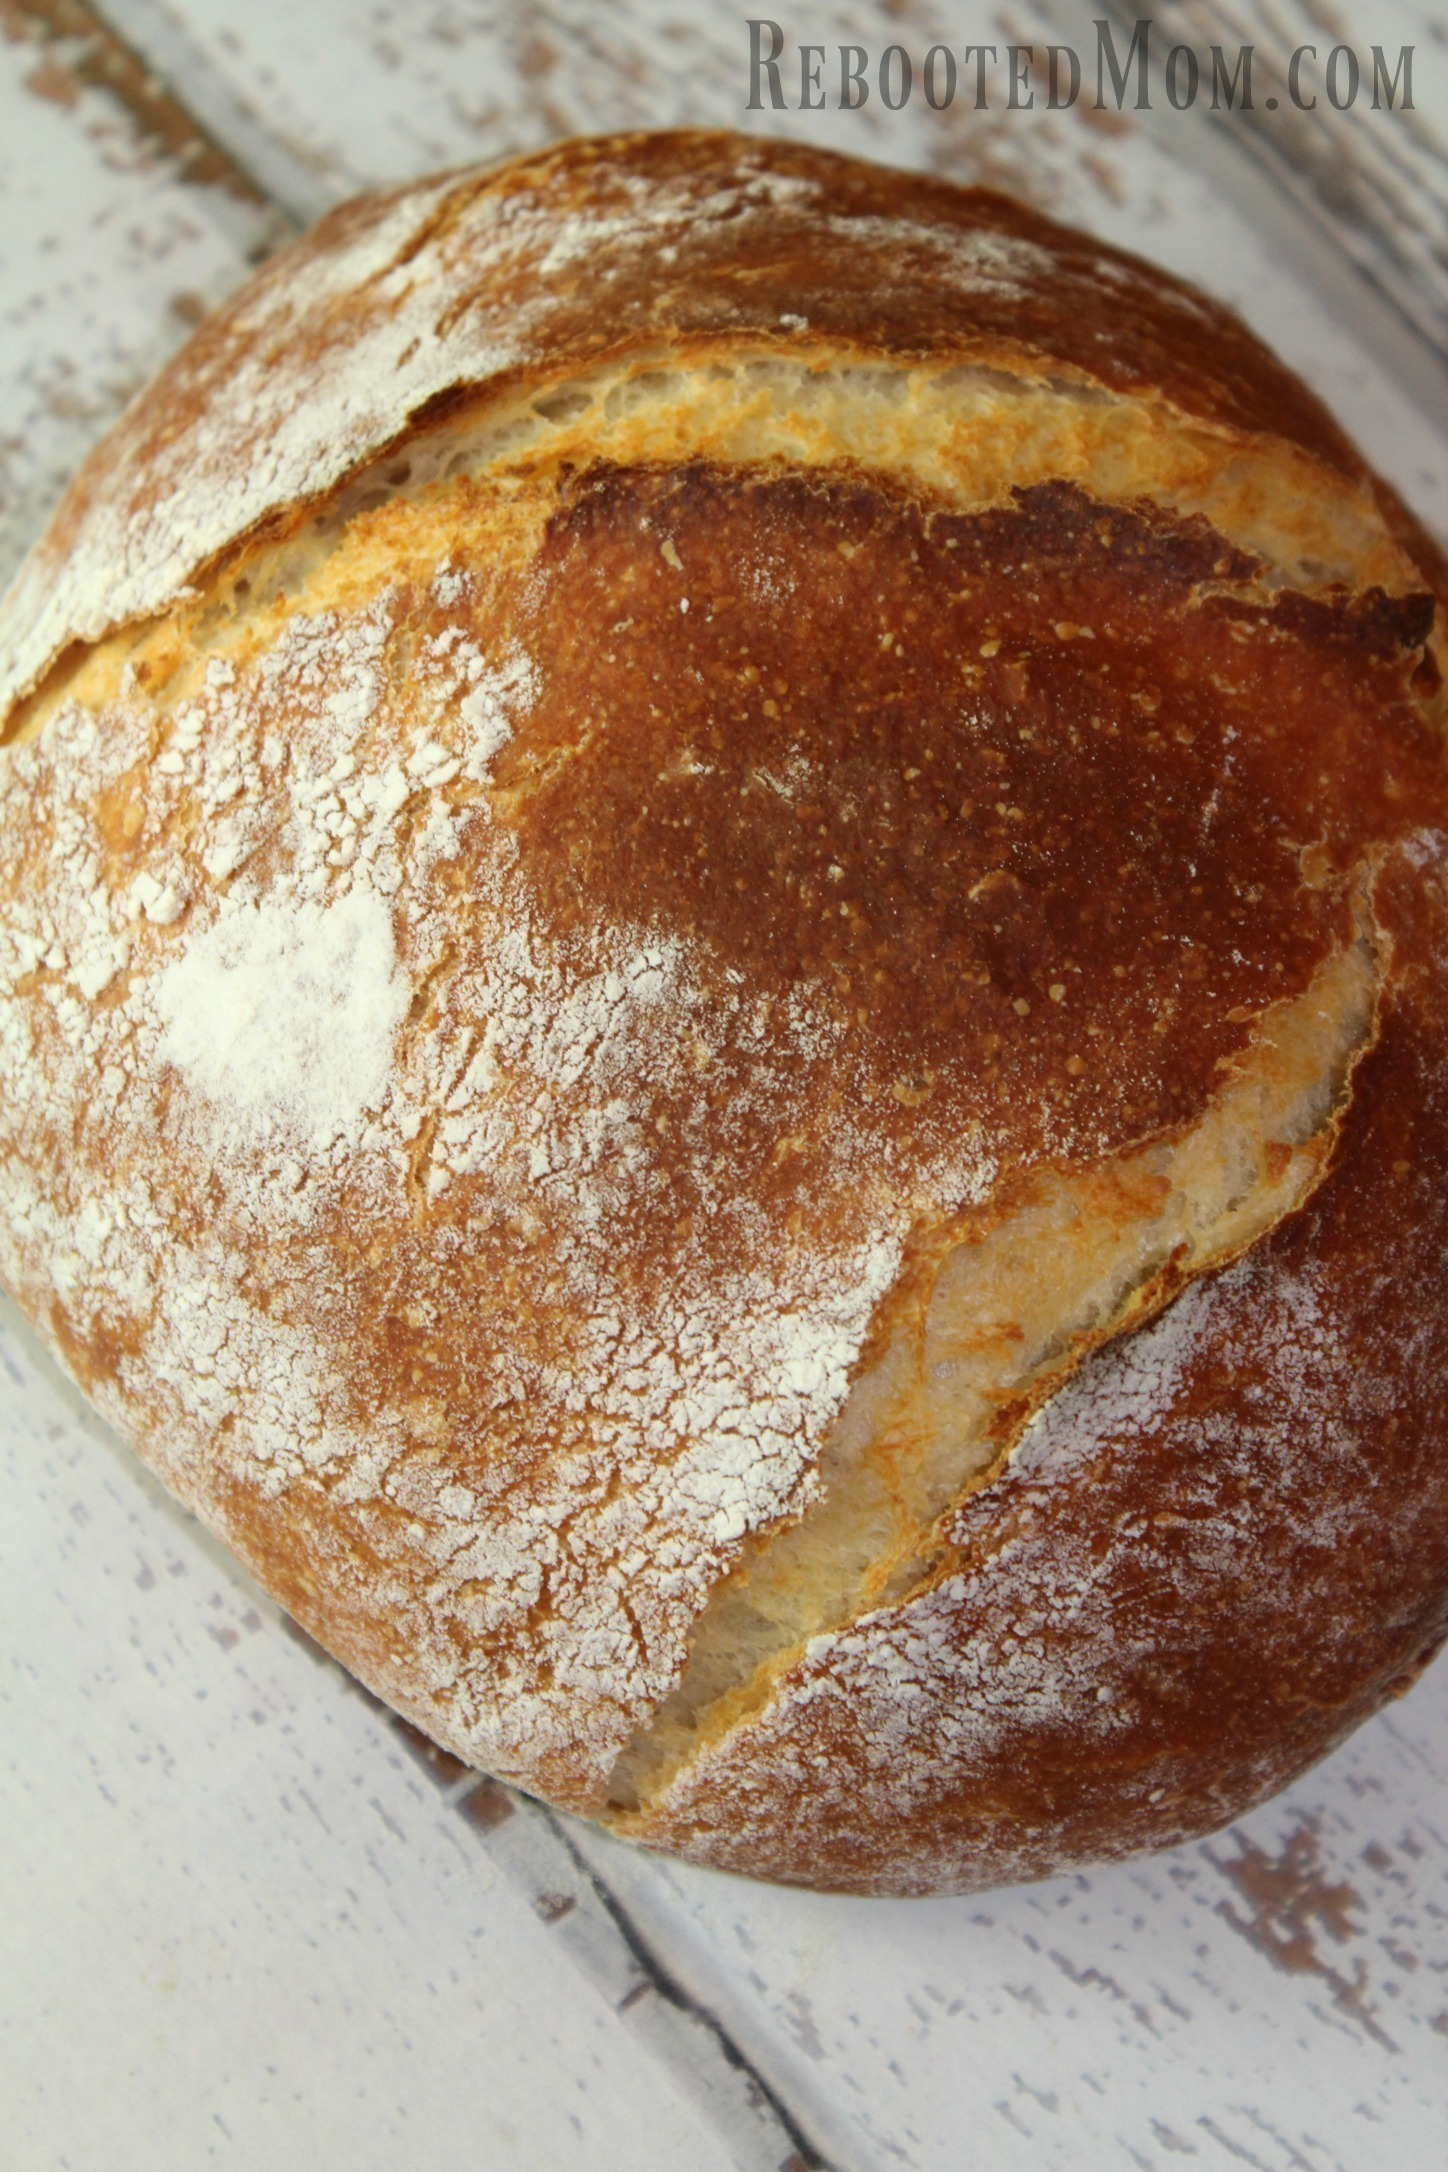
Don’t have sourdough starter? That’s ok! A few simple ingredients is all you need to whip up this easy, cheater sourdough bread that looks and tastes just like authentic sourdough!
 Regular people might just go and buy bread at the store – after all, it’s easy, and it doesn’t require time to rise. With jobs, kids and houses that need constant attention, who has the time to be slaving away in the kitchen these days?
Before my bread-making addiction.. I was one of those people too… I swear, I really was.
But one day, about two years ago, I passed by the Red Star Yeast in bulk at Costco and heard that big package call my name – and I threw it in the cart and haven’t looked back yet.
I confess: I love making bread.
I love everything about making bread, especially the smells. Who doesn’t love the smell of freshly made sourdough bread straight out of the oven?
After my love affair with making bread kicked off, I discovered that I really LOVED making sourdough. But sourdough is a bit different to make.. it’s a labor of love – it requires so much time and effort. Put that dry yeast aside, because you need sourdough starter.
And sourdough starter is not made instantly… but over the course of a few days.
And if you have the urge for sourdough that day, you can’t just whip it up. Because you don’t have a sourdough starter on the counter that’s ready to go.
This cheater sourdough bread is a bit different from the typical sourdough-starter sourdough bread. In this recipe, we use yogurt – and we never have a shortage of yogurt in our house. You’ll want to make sure the yogurt is VERY tangy – plain is best too. We make Yogurt in our Instant Pot from our raw milk we pick up at the farm. That yogurt gets tangier by the day, so we wait a few days and then use it to put together this bread.
Bonus: if your Instant Pot yogurt doesn’t turn out quite as well as you hoped it would, it’s perfect for this cheater sourdough bread.
How to Make Cheater Sourdough Bread
This cheater sourdough bread starts with a cup and a half of your plain yogurt with live, active cultures. Combine that yogurt with flour, dry yeast, and a little maple syrup or organic cane sugar.
Using your dough hook, bring the ingredients together in your KitchenAid until it is a nice ball of dough. If you feel that you need an extra spoon or two of yogurt use your best judgement.
Once mixed, allow that dough to remain in your mixer bowl and cover the bowl tightly with plastic wrap. You’ll want to let this bread dough ferment – anywhere from 6 to 18 hours. I have done it for 18 hours and 6 hours, and I love the final taste of the bread at the 12-14 hour mark.
Here’s a tip: Mix up the ingredients the evening before. That gives the dough a chance to rise overnight as you rest, and into the next day so it’ll be ready for dinner.
- 3 C. organic all purpose unbleached flour
- 1 1/2 C. plain, unsweetened yogurt, with live, active cultures
- 1 1/2 tsp Salt
- 2 Tbsp organic cane sugar or maple syrup
- 1/4 tsp Instant Dry Yeast (if you ferment for 18 hours)
- OR... 3/4 tsp Instant Dry Yeast (if you ferment for 6 hours)
- In a stand mixer, using the dough hook attachment, mix the flour, yeast, salt, sugar or syrup and plain yogurt on low speed for 2-3 minutes until it forms a sticky dough.
- If the dough is too dry.. add 1-2 Tbsp of additional plain yogurt.
- Keep mixing on medium-low for 3-4 minutes until springy. The dough will be sticky but it should be able to retain shapes.
- Dump the dough out onto a lightly floured surface and knead lightly for 1-2 minutes. Then place in an oiled bowl and cover lightly with plastic wrap (optional) and let it sit at room temperature for 6 to 18 hours.
- The dough should be almost double when finished.
- After the dough has fermented for 6-18 hours, dust the counter with more flour and transfer the dough - use enough flour to be able to handle the dough without it being too sticky.
- Fold the dough gently without crushing the air bubbles inside - I try to fold up and over like a letter; then turn 90 degrees and do that again - each time folding the seams to the center.
- After you are done folding the dough, flip it so the seams are side down, then shape it into a ball.
- Preheat your oven to 450 degrees F.
- Grab your dutch oven, and lightly flour the inner bottom; then gently transfer the ball of dough into the dutch oven without ruining your fold or crushing it. Take a knife and cut several deep slits in the top of the dough to allow the bread room to expand.
- Place the lid for the dutch oven on top, and place the entire dutch oven in the oven for 25 minutes.
- After 25 minutes, carefully reach in and take the lid off and place back on the kitchen counter (away from little hands). Then, drop the temperature to 400 degrees F, and cook for 15 additional minutes or until golden brown.
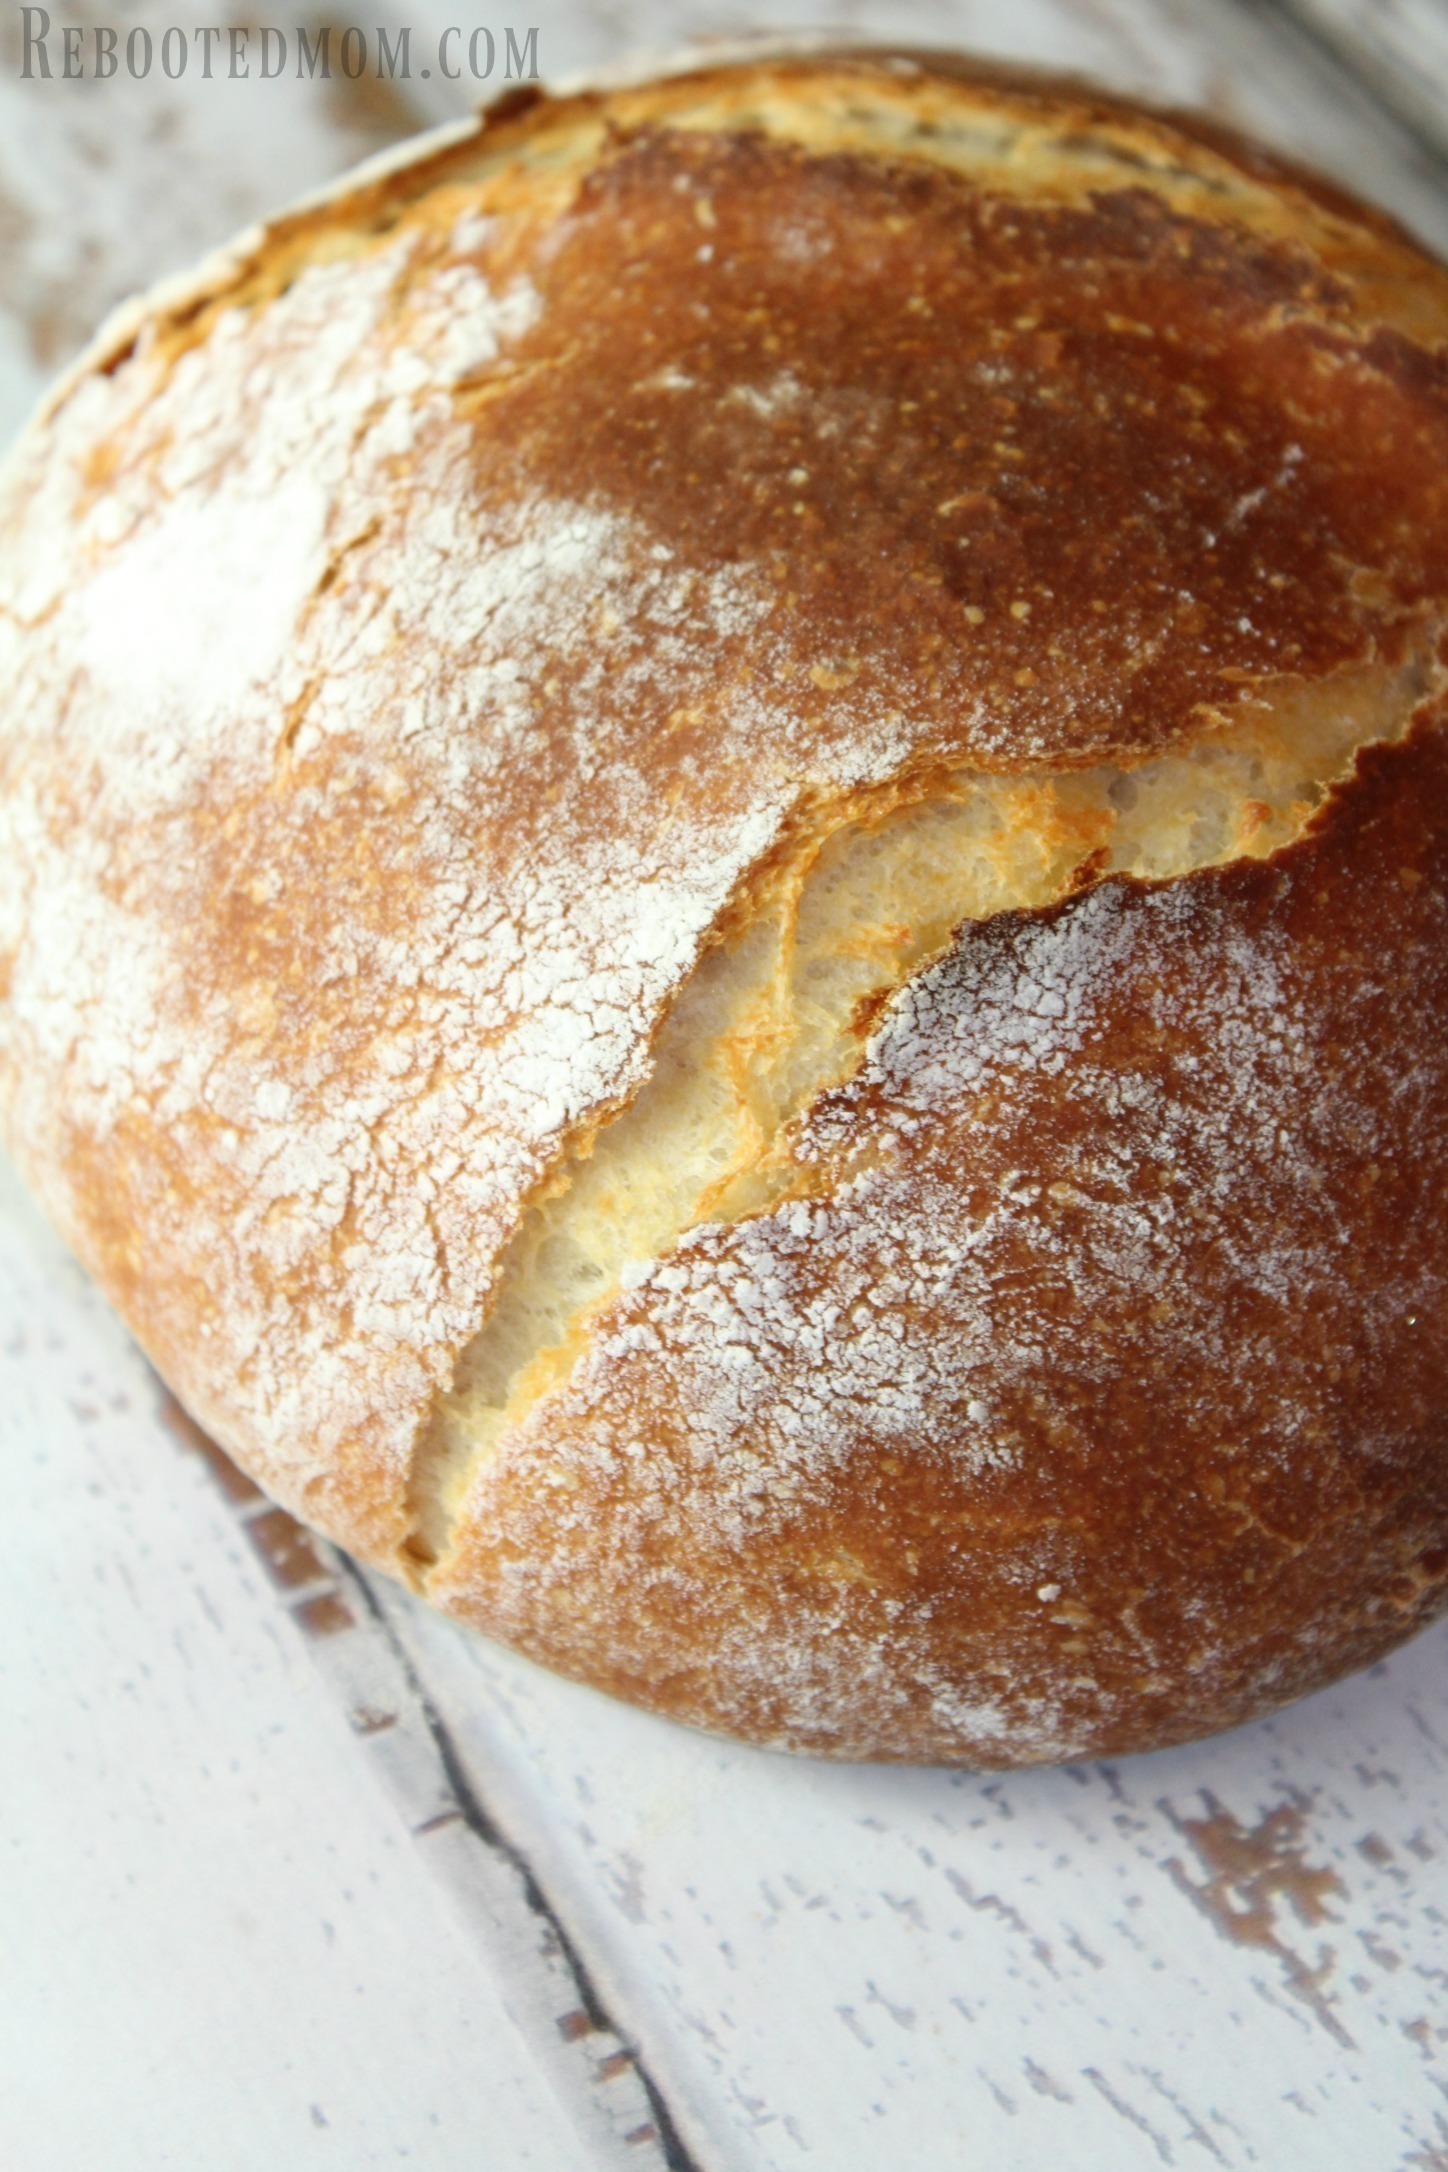
- Remove the dutch oven (it will be HOT) and let it cool, then take the bread out and cut on a cutting board with a serrated knife.
- Wrap tightly between servings.

I followed the recipe and my dough was really dry so I added extra yogurts and still very dry, not at all sticky and the dough was very dense… it didn’t rise very much over night either so I was wondering if you could help me a little? I’m 24 and love sourdough bread with the passion of a thousand waterfalls so if I can figure this out that would be amazing! Thank you!
Hi Val 🙂 I love sourdough too. A little too much! If your dough was too dry, I suggest adding a little extra yogurt. It should be sticky once it comes together. The type of yogurt you use matters as well, you’ll want to use something that has live, active cultures, as that will be what helps propel it into a sourdough “loaf” and give it it’s tang. Let the bread sit out for 8-10 hours to ensure you give it ample time to do it’s thing before baking. Obviously altitude may play a part too, I’m in Phoenix and we are at zero elevation. So if you are elsewhere with a diff elevation then certainly make a few adjustments. Don’t give up though.. it took me a long time to get to the point where I was great at making sourdough (even cheater sourdough!)