


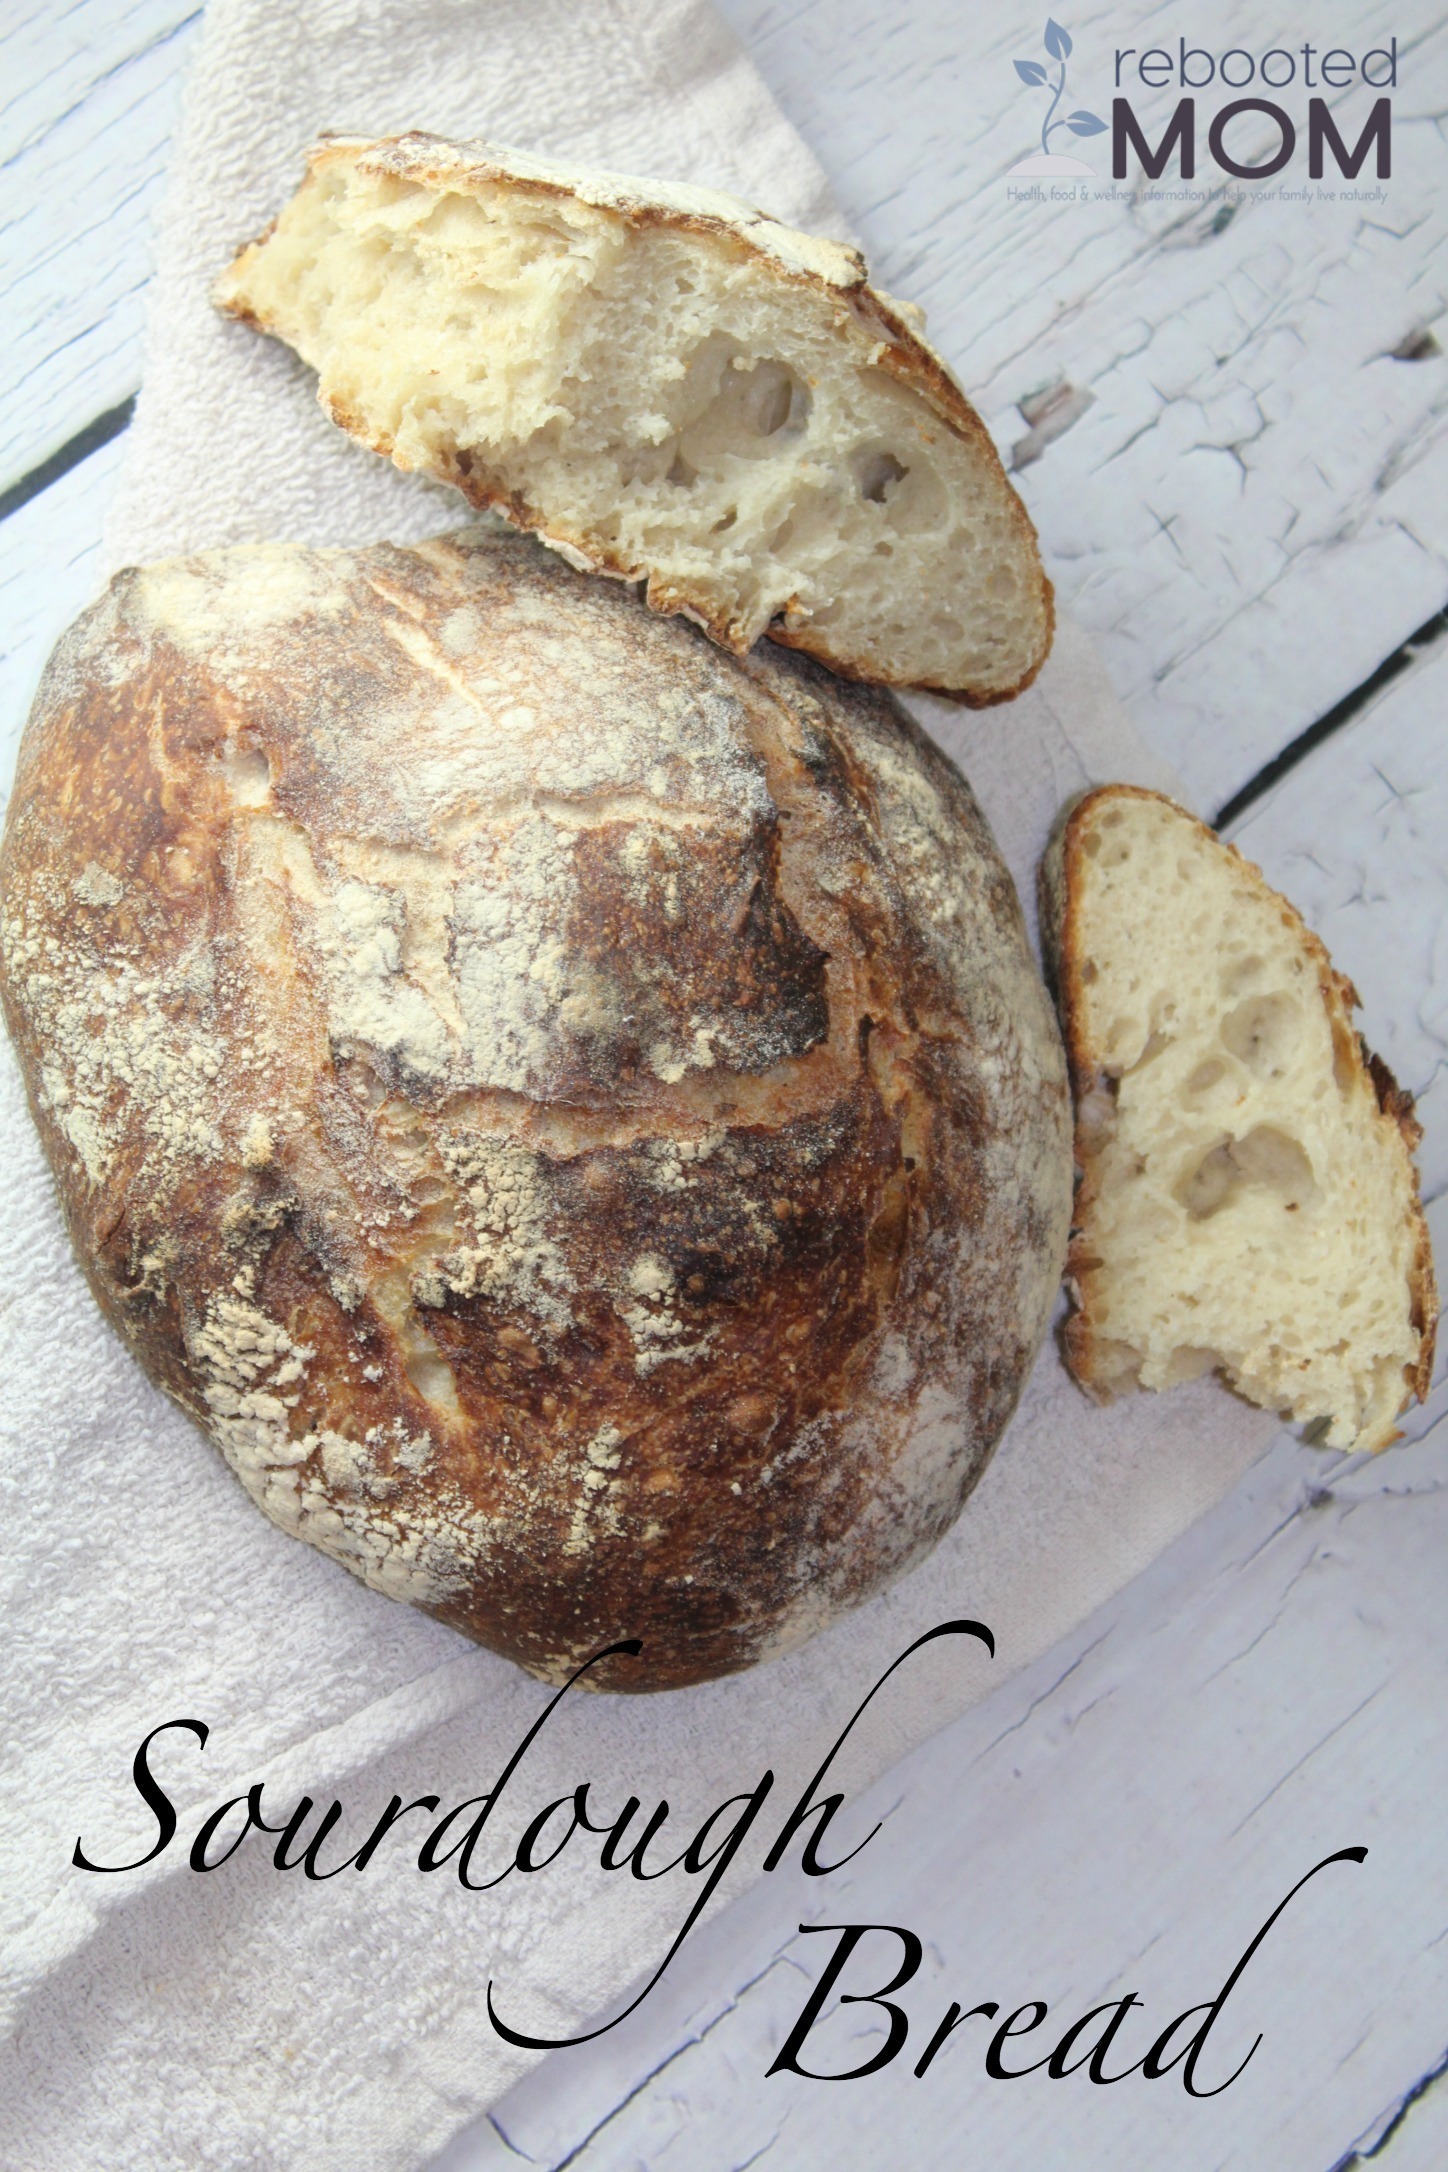
Who doesn’t love a great loaf of sourdough? It’s amazingly good… incredible with a little butter, and perfect to dunk in a nice big bowl of soup.
Making your own sourdough isn’t quite as hard as it is time consuming – if anything, it’s a good challenge. As a person who loves to bake at home, it’s one of the greatest achievements. It takes some serious commitment.
Sourdough Bread isn’t actually always sour though – depending on how you make your starter and bread, it can be everything from sour to earthy, to yeasty to sweet – wholesome even too.
The bread is made using wild yeast – which is created by combining several things over the course of 5 days to create a strong, active starter that works alongside friendly bacteria (Lactobacillus and Acetobacillus) … both of which work together with the wild yeast to ferment and culture the sugars in the dough.
Prior to making sourdough bread, you will need to make the sourdough starter – a culture of flour and water that will help grow the wild yeast (which grows those two bacterias). Your starter needs to be a good one to ensure a good rise and flavor in your bread.
Read our last post HERE for directions on how to make your own starter.
You will feed that starter daily for a period of 5 days – once you have it made, you won’t have to make it again. You can keep it in the fridge and feed it once a week… if you are going to be making bread, remove it from the fridge overnight and feed it to strengthen it.
Making Sourdough Bread
Making this Sourdough Bread requires a battery of steps – not only do you have to have the starter you will also need the Leaven.
The leaven is what gets mixed into the dough – you will need to use a Tablespoon of active starter, along with specific amounts of flour & water. Let that leaven sit overnight on your counter and it should be bubbly in the morning.
(A great way to determine if it’s ready is to take a SMALL spoon of leaven and put it in a cup of water. If your leaven floats then you are ready to use it!)
You’ll then take the leaven, and mix it with flour and water – a period of which can be anywhere from 30 minutes to 4 hours. The longer the better – as the flour will take in all that water, and hydrate… which will help form the gluten.
The enzymes in the flour will then break down the starches into simple sugars, which will feed the yeast and bacteria in the leaven to give the sourdough bread it’s flavor.
After that four hours has passed, you will want to fold the dough to develop the gluten – don’t knead and try to avoid using a stand mixer. You’ll then want to fold the dough by grabbing it from each side stretching it up and then folding it over – you’ll do this 5-6 times around the bowl. After each period of folding (5-6 times), let the dough rest 30 minutes, and do it again – for a period of 3 hours.
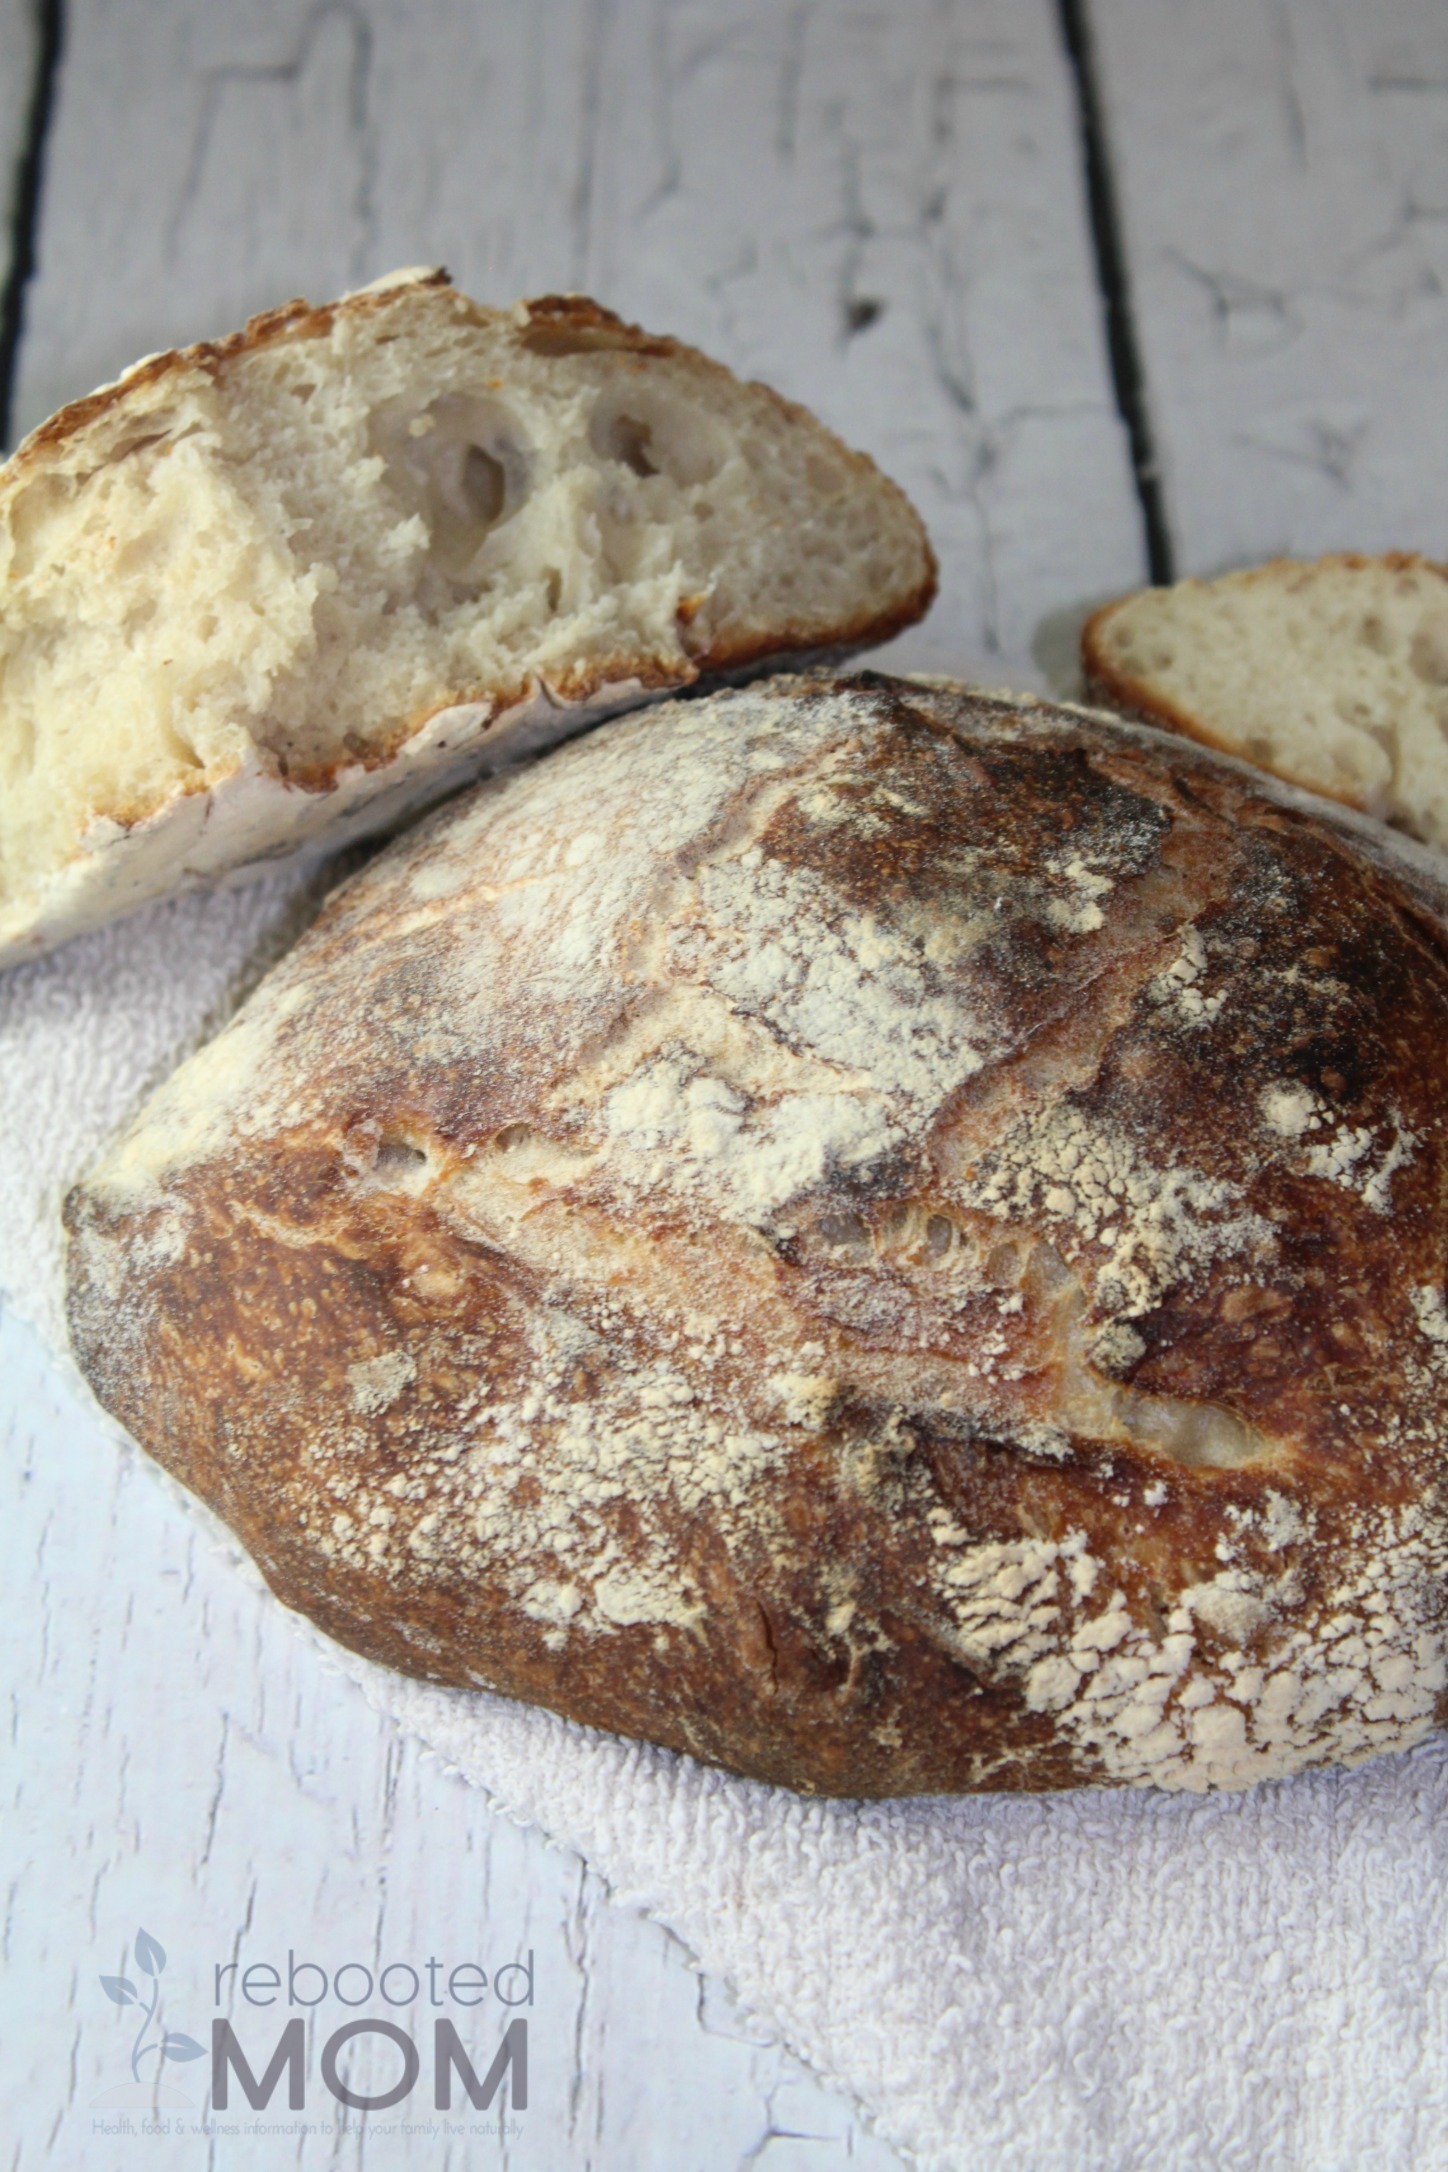
Your dough will start rather shaggy but finish off rather smooth.
After the folding of the dough, grab your biggest colander or bowls (avoid metal) or, baskets – and line them with a clean dishtowel. You’ll also want to coat it really heavily with flour — don’t be light on the flour, because the flour is what keeps the dough from sticking so you’ll want a heavy dusting.
To bake your dough, you’ll want to ensure you have a dutch oven (or, two..) — the dutch oven will give that bread a moist and humid space to develop as it starts baking so it can have a great opportunity to rise. The dutch oven will trap the moisture that evaporates from the bread & will allow the bread a nice and steamy environment to expand.
Although a dutch oven is not a necessity, you can use a heavy pot with a lid, you will just want to make sure that it is oven safe up to 450 degrees
- 1 Tbsp Active Sourdough Starter
- 1/2 C. All Purpose Organic Unbleached Flour
- 1/3 C. Water
- 1 Tbsp Salt
- 2 1/2 C. Water
- 5 1/2 C. All Purpose Organic Unbleached Flour
- Using active sourdough culture, make the leaven overnight: combine 1 Tbsp of active sourdough culture with the flour and water. Mix it well - it'll be very thick. Cover it loosely and let it sit on your counter overnight for 12 hours.
- Check your leaven: The surface should be bubbly. Drop a small spoon in a cup of water and if it floats, then you are ready to use it.
- Combine the leaven and 2 C. of water in a large bowl. Break the leven to dissolve into the water - it might not dissolve completely and that is O.K.
- Add the flour to the water and leaven and mix with your hands until it forms a rather rough, shaggy dough. It will NOT be smooth.
- In a separate bowl, dissolve the salt and 1/2 C. of the water and stir well to ensure that it dissolves completely.
- Pour that salt/water mixture over the dough - work it into the dough by hand - it'll be a very sticky, wet dough .. keep mixing until it's all worked in.
- Now, you will begin the process of folding the dough. Every 30 minutes, fold the dough by grabbing it at one side, stretching it up and over on top of itself - you will fold it every 30 minutes for a 3 hour period - it works best to start clockwise and fold 5-6 times each session.
- Rest the dough for 1 hour - it won't double, but it will appear slightly larger.
- Once that hour passes, sprinkle flour on your countertop and divide the dough into 2 loose rounds (a pastry scraper is very handy for this!) You will need to dust your pastry scraper with flour occasionally to prevent it from sticking to the dough.
- Once you have formed 2 loose rounds, rest the dough another 30 minutes.
- Prepare the colanders or bread baskets you are going to use (2 of them) by placing a clean dishtowel in each, and giving them a heavy dusting of flour. Don't be light on the flour - it'll help prevent the dough from sticking!
- Shape your loaves once again with a pastry scraper, giving them each a light dusting with more flour -- you'll want to grab the dough from the bottom and pull it towards the center. Repeat on all sides - your goal is to make it round and taught.
- Transfer the loaves to the proofing baskets trying to retain the shape you just worked hard to establish - the seams should be facing UP (not down!)
- Let the dough rise for up to 4 hours - or, you can do it in the fridge if you have space. You will want to cover the baskets loosely with plastic. After 4 hours the loaves should have a rather large rise and be nice and poofy.
- Preheat the oven to 500 - put the dutch ovens in the oven with their lids ON while you preheat - be careful you don't burn yourself.
- Once the oven is ready, carefully remove each dutch oven one by one, and transfer the loaves from the proofing baskets by gently flipping them into the dutch oven (since the seam was side up in the basket, you will flip it so it's seam down in the dutch oven). Then score the top of the loaf with a sharp knife - at an angle to the surface. Repeat with the second loaf.
- Put the lid on the dutch oven(s) and place in the oven at 500 degrees for 20 minutes. Then, reduce the temperature to 450 and bake for an additional 10 minutes. Do not take off the lid - it's tempting, but don't do it!
- Open the oven at this point, and remove the lid - bake an additional 15 -20 minutes at 450 or until the loaves are dark brown - the darker the better.
- Remove the loaves one at a time and place on the counter away from little hands or anywhere someone could burn themselves, as the dutch ovens will be very very hot.
- Remove the loaves with a spatula and let cool on the counter completely before slicing. Slice with a serrated knife.

This was my first successful sourdough! Came out with a beautiful structure inside and a really nice crust. So glad I found this recipe–it’s about to become a favorite. 🙂
So glad! I love sourdough and I make it every other day.. it’s great to have a successful recipe that always results in a nice loaf every time.