↑
  • DIY
  • Essential Oils
  • Gardening
  • Health & Wellness
  • Recipe Index

Rebooted Mom

Health, Food & Wellness Information to help your family live naturally.

Home About Contact
  • DIY
  • Essential Oils
  • Gardening
  • Health & Wellness
  • Recipe Index

Main Dishes

This Slow Cooker Honey Sesame Chicken is sweet, savory, and easy to throw together in the slow cooker for a dinner that is perfect for family night!

Slow Cooker Honey Sesame Chicken

Air Fryer Steak Bites

Lemon Chicken Cloud Bread Tacos

Chinese Salt & Pepper Shrimp

Chinese Salt and Pepper Shrimp

More This Way

Breads & Desserts

Moist and delicious Creamed Corn Cornbread Muffins that come together SO easily with a can of creamed corn and easy pantry ingredients - a must for any cornbread lover!

Creamed Corn Cornbread Muffins

Mango Coconut Lime Popsicles

Mango Coconut Lime Popsicles

Sourdough Irish Soda Bread

Homemade Sourdough Bagels

More This Way

Sides & Soups

With just a few ripe peaches you can whip up this naturally sweet and delicious Peach Butter - perfect for spreading on bread, pancakes or ice cream!

Sweet and Spicy Pickled Mini Peppers

Candied Jalapeños (Cowboy Candy)

Pumpkin Patch Biscuits

Pumpkin Patch Biscuits

Korean Cucumber Salad

Korean Style Cucumber Salad

More This Way

Vegetable

Pickled Asparagus

Pickled Asparagus Spears

Creamy Arugula Spread

Sweet and Spicy Pickled Cucumbers

Potato Spinach Balls Appetizer

More This Way

Get the best posts here...

Pickled Hatch Chile Peppers

Pickled Hatch Chiles

August 14, 2024

Use up an abundance of Hatch chiles to cook up this spicy Hatch Chile relish with just a few simple ingredients. It's great on burgers, steak and chicken!

Hatch Chile Relish

July 30, 2024

How to make your own sourdough starter, at home, with just a few simple ingredients, no special equipment and 5-8 days time!

How to Make Sourdough Starter

January 22, 2024

Sourdough English Muffins

October 13, 2023

Hatch Chile Roasted Garlic Artisan Bread

Hatch Chile Roasted Garlic Artisan Bread

August 17, 2023

Corn Cob Jelly

Old Fashioned Corn Cob Jelly

February 12, 2022

Subscribe to the weekly newsletter

Success! Now check your email to confirm your subscription.

There was an error submitting your subscription. Please try again.

Simple Canning Jar Breast Pump

Wellness

Simple Canning Jar Breast Pump

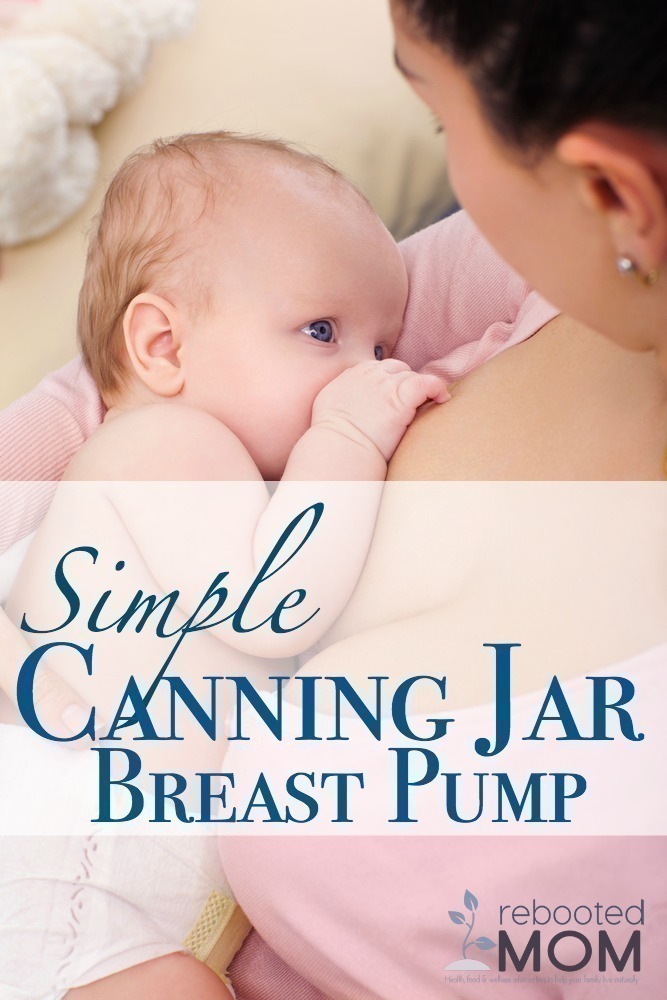
Chances are.. if you are a nursing Mamma, you have felt the pain when your milk finally comes in after giving birth.

For me, that happens 3-4 days after the baby is born, and it lasts usually 24-48 hours. As much as I try to nurse, I always seem to feel this pain of engorgement and it can be a very stressful time for both mom and baby if you don’t try to find some way to relieve that pressure.

I invested in a pump with baby 1, and although I no longer work outside of the home to pump exclusively, I always found that pump helpful with each child when my milk came in…    The pediatrician at the hospital always told me that it wasn’t wise to pump until the baby was 4 weeks old, but I found it helpful to relieve the pressure when my milk came in 3-4 days after giving birth.

And since I breastfed all of my children {successfully}, I felt like I needed to stick with what worked for me the best.

A breast pump can be a helpful way to alleviate pressure .. but if you are without a breast pump you can make your own form of breast pump by using a ball canning jar. If you are like me and seem to put away your breast pump after each child it may take a few days to remember “where” you put it…  this time I can’t seem to remember where I put the parts for it (hoses, bottles.. ) and haven’t had the energy to tear the house apart to find those parts. 

This method is not a replacement for pumping regularly – in fact, it would probably be too time consuming to do this all the time. But if you are looking for a way to help release that pressure in the first few days this is definitely that.

Canning Jar  Breast Pump

You will want an empty canning jar with an opening of at least 5-6 cm – a Ball or Kerr Canning Jar will usually wor.

  1. Fill the glass jar nearly full with water and pop it in the microwave for 2 minutes.
  2. After the 2 minutes is up, carefully remove the jar – you may need to hold the jar with a towel as the glass is VERY hot!
  3. Pour the water out of the jar, and then use a cool washcloth to cool the rim of the jar – you will be placing that rim against your breast so it can’t be “too” hot.
  4. Place your breast into the mouth of the jar so it makes an airtight suction – you might find it more helpful to lean over and do this, or simply lean forward.
  5. The air will slowly cool in the jar and create a pressure vacuum with a suction that will help express milk from your breast – you don’t want the jar to cool too fast though, or you may damage your breast tissue.
  6. Over the next 10-13 minutes, the jar will help express milk out of your breast to loosen up your encouragement in the breast and bring out the nipple a little easier for the baby to be able to nurse.

Repeat for the other breast – heating up a jar and cooling the rim.


Shared by Sheryl

Leave a Reply Cancel reply

Your email address will not be published. Required fields are marked *

Recipe Rating


This site uses Akismet to reduce spam. Learn how your comment data is processed.

Hi, I'm Sheryl!

Hi there, I'm Sheryl!

Rebooted Mom was created out of my own journey to live and think differently about the food I eat. I share everything from gardening to DIY, recipes, and sustainable living.

categories

archives

Copyright ©2026, Rebooted Mom. All Rights Reserved. Privacy Policy.
Design by Pixel Me Designs