


These no-sew fabric bookmarks are a great way to use up fabric scraps and can be made easily in minutes and make a wonderful gift!
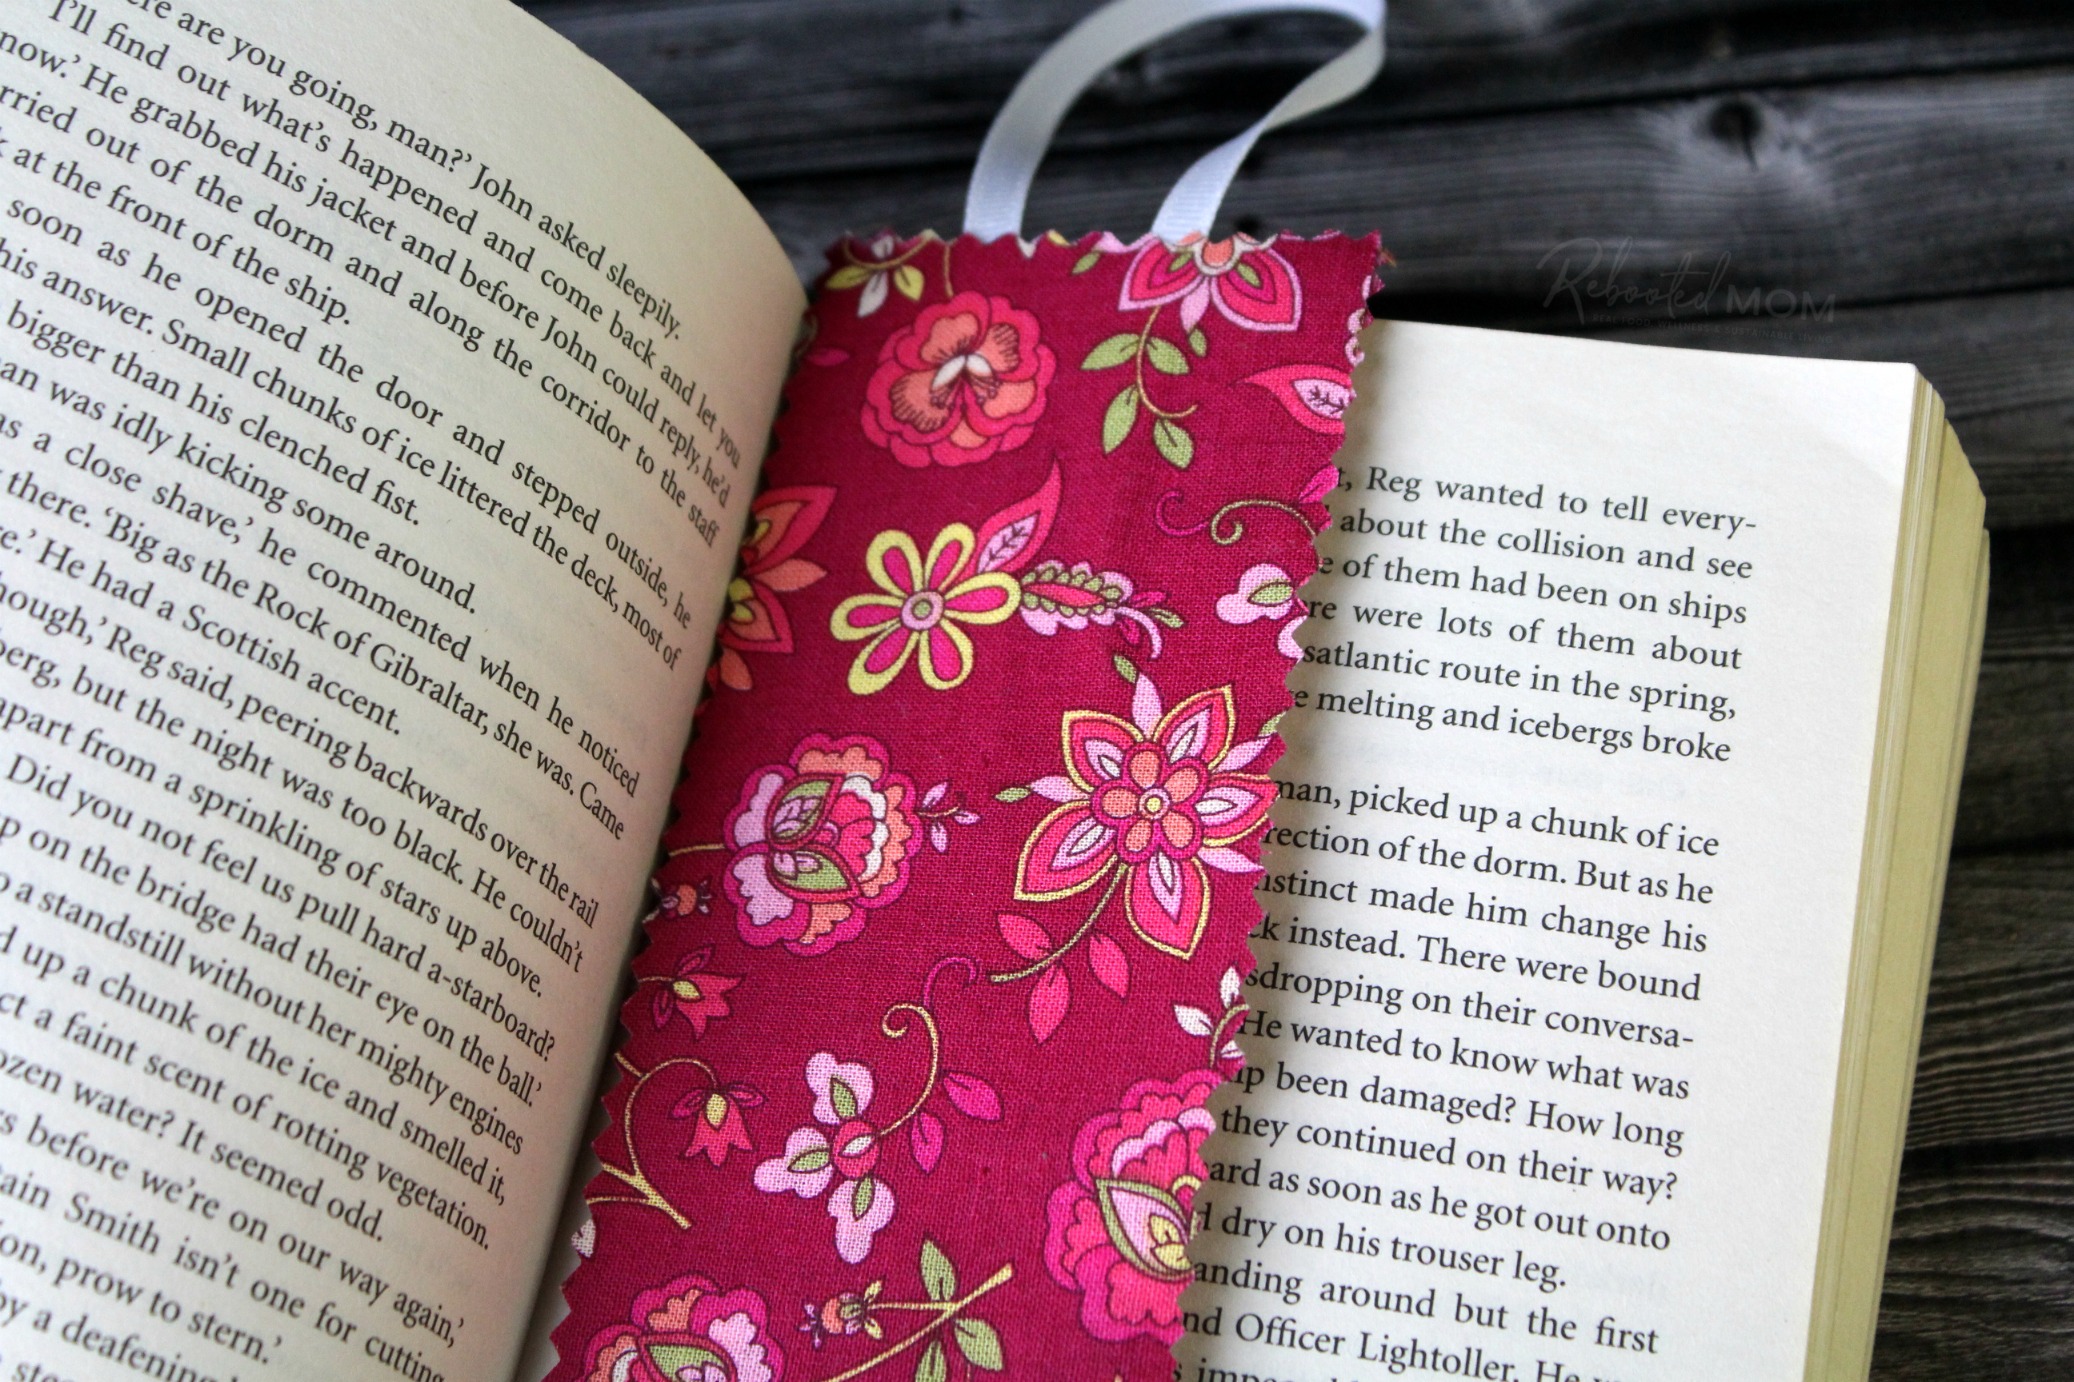
These no-sew fabric bookmarks are a great way to use up fabric scraps and take just minutes to throw together. They are perfect for kids who love to read, as well as teenagers looking for a hands-on craft project that takes just minutes.
My oldest enjoyed making these on a lazy Saturday night. She actually made a few for herself. Then she turned around and decided to make 3 for her piano teacher as an end-of-year gift.
If you have some fabric scraps laying around, these bookmarks really are a neat way to use those scraps up. You can do the same fabric or go wild and do coordinating fabrics on the front and back. The size isn’t set in stone – you can cut shorter, longer, wider.. whatever works for your situation.
As long as you have similar size pieces that’s all it takes to pump these out in no time.
No Sew Fabric Bookmarks
These no-sew fabric bookmarks require just a few simple materials.
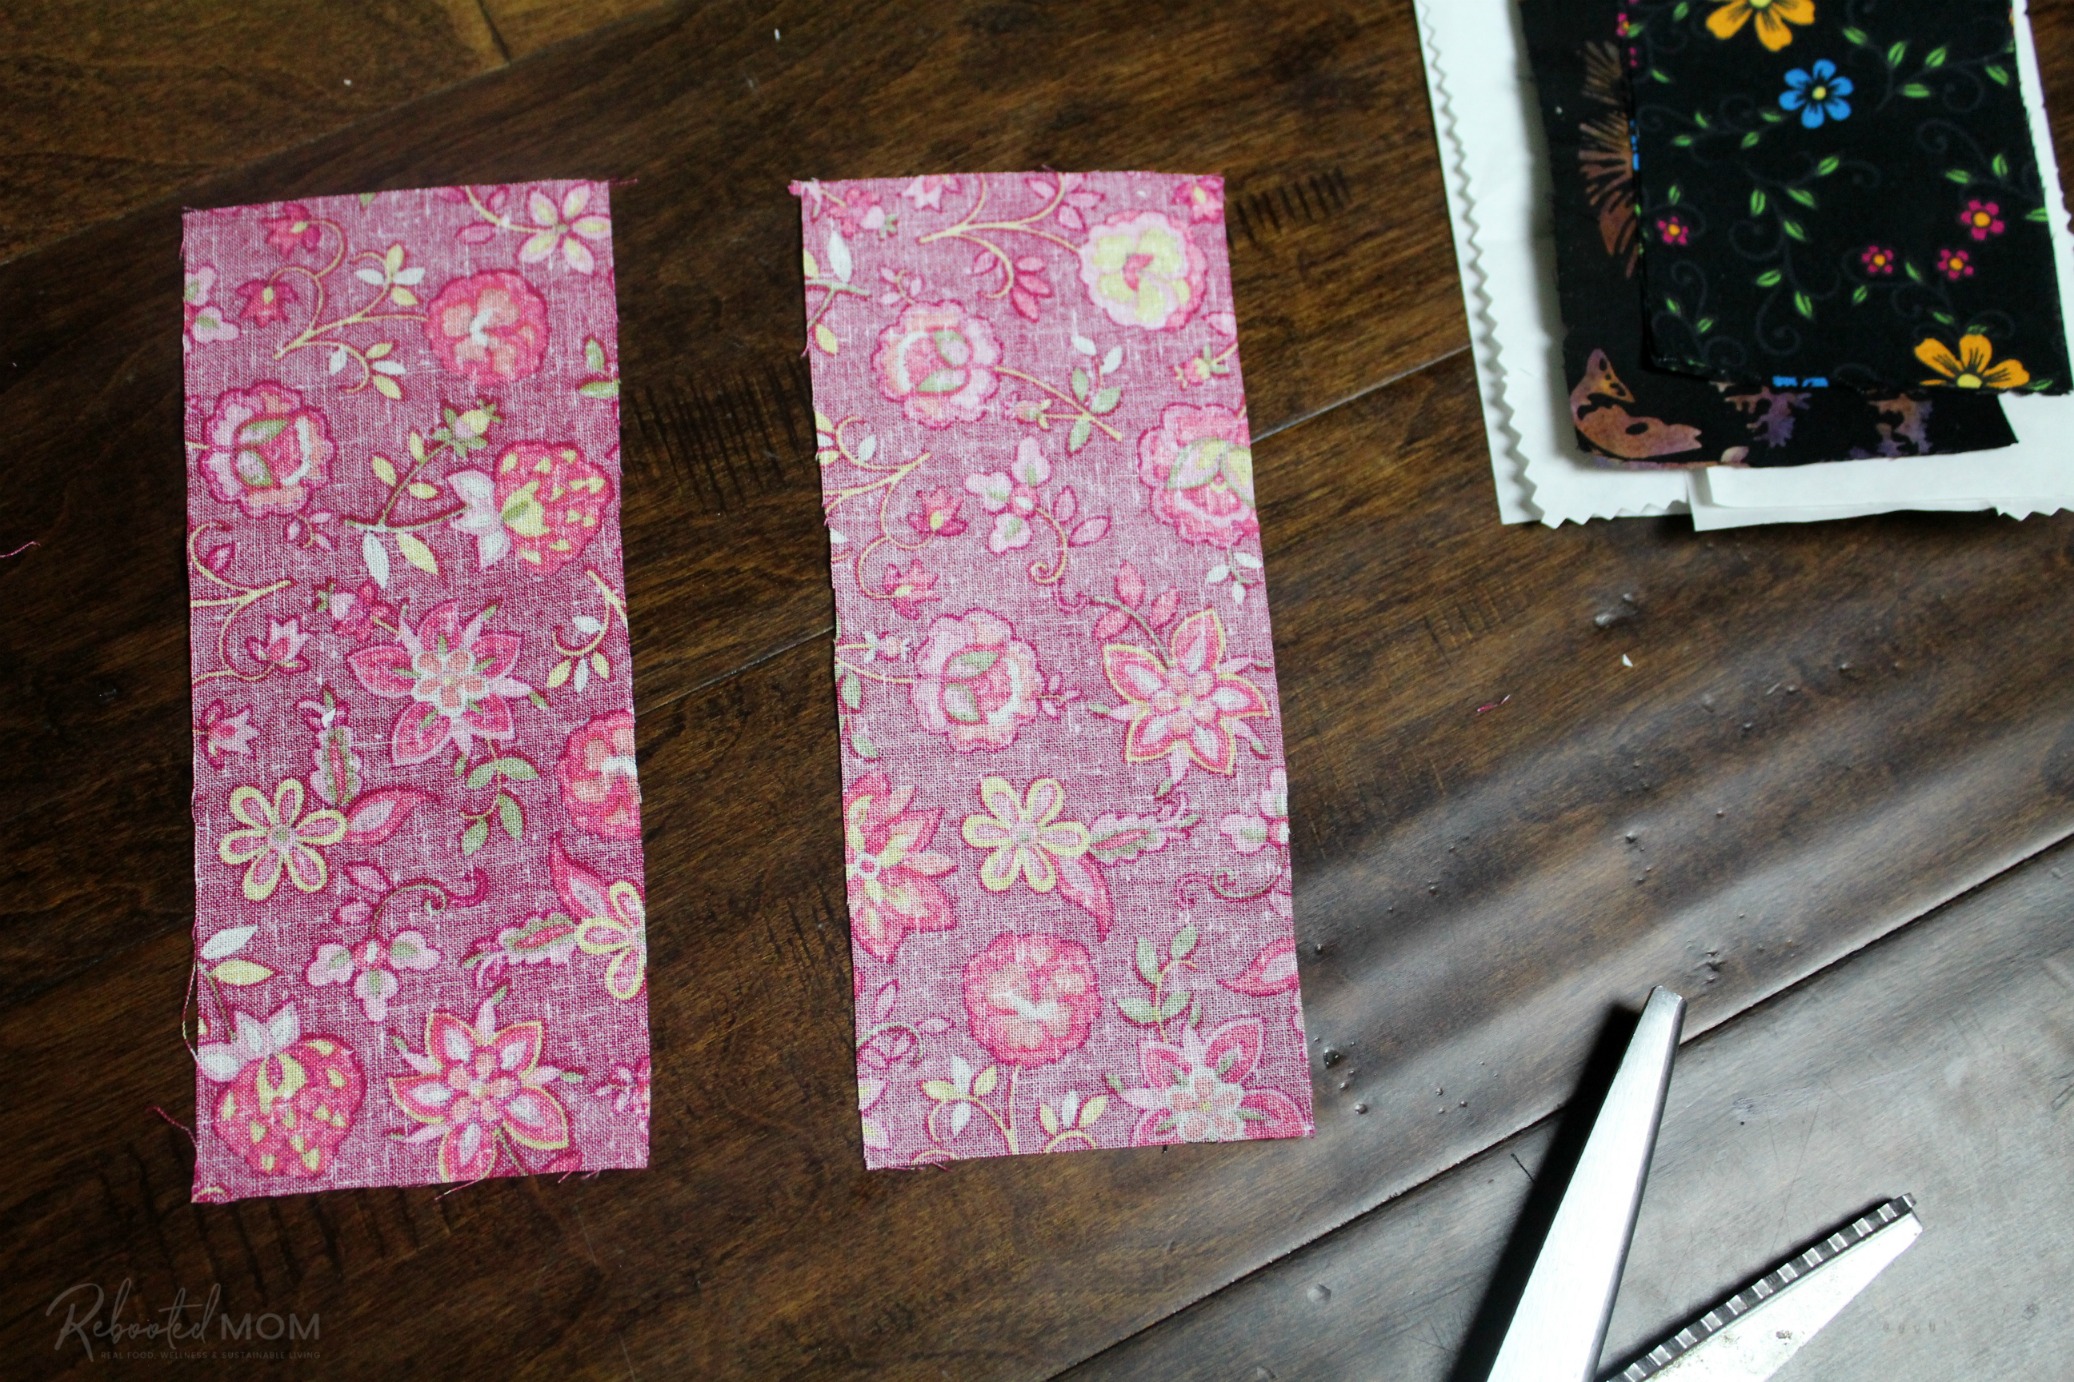
- Two fabric scraps of equal size (these bookmarks were 3″ x 7″)
- Two pieces of heat and bond, cut the same size as the fabric bookmarks (3″ x 7″)
- 1/4 – 1/2″ ribbon to match the fabric
- Iron
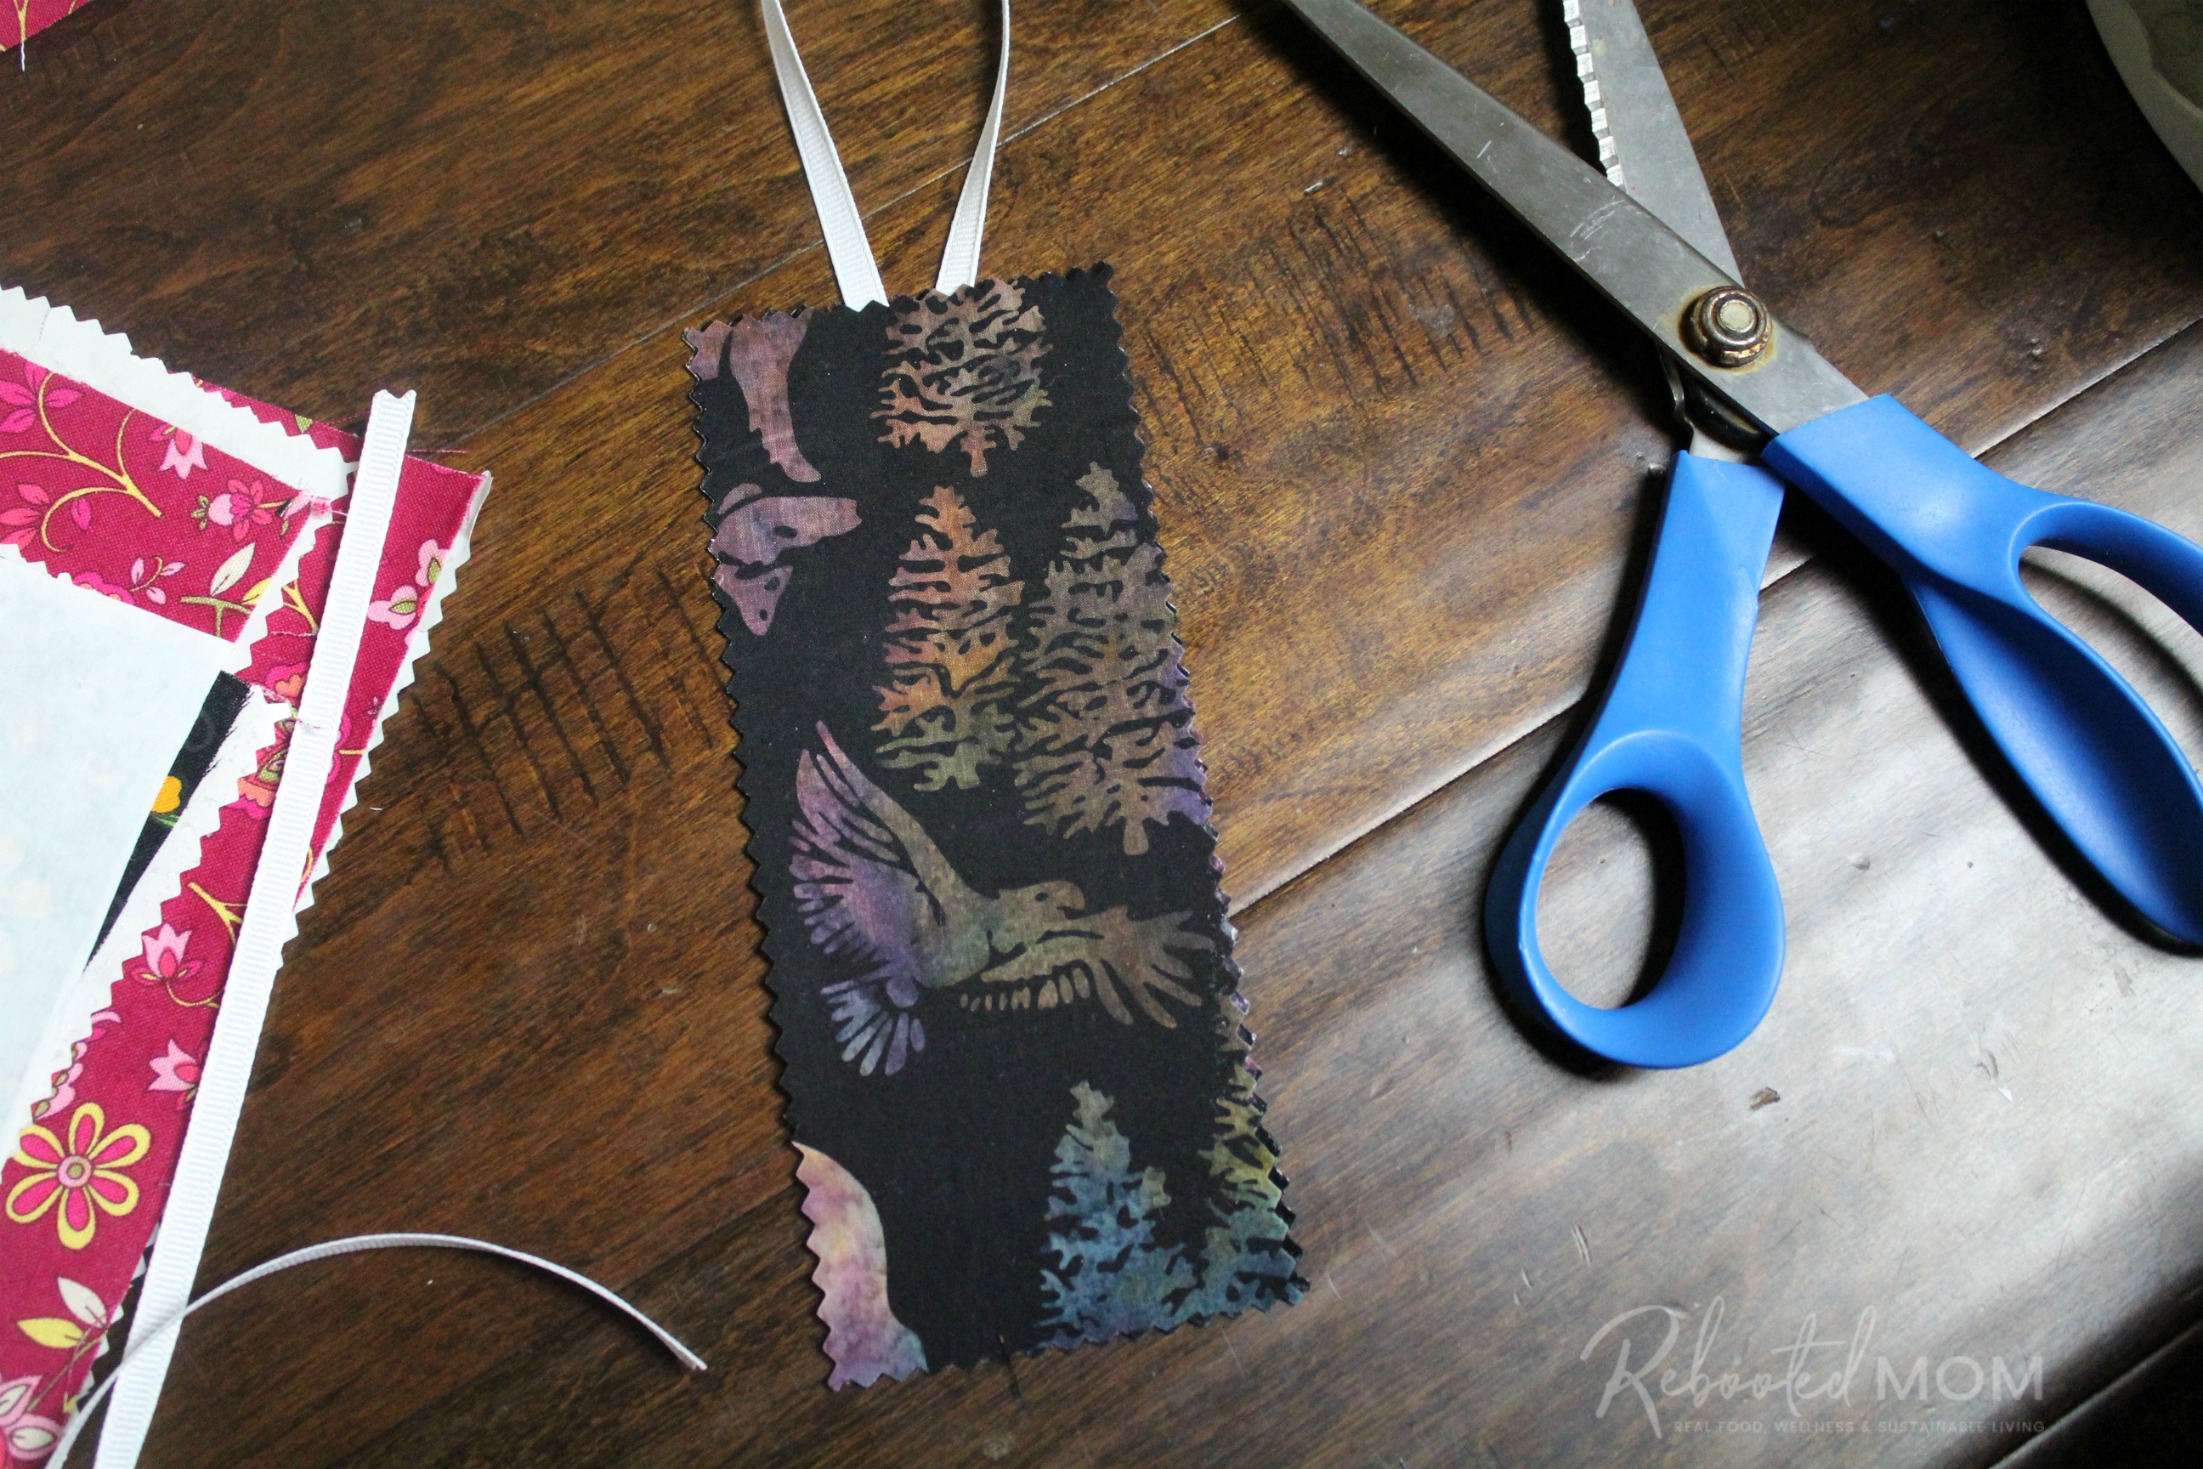
- Pinking shears
You can find heat and bond on Amazon as an add-on item. Or, even easier, grab a single pack at Walmart for the same price. It’s in the sewing section next to the bows and ribbon. Mine was 17″ by 1 yard in size – which is large enough to make many bookmarks.
To make:
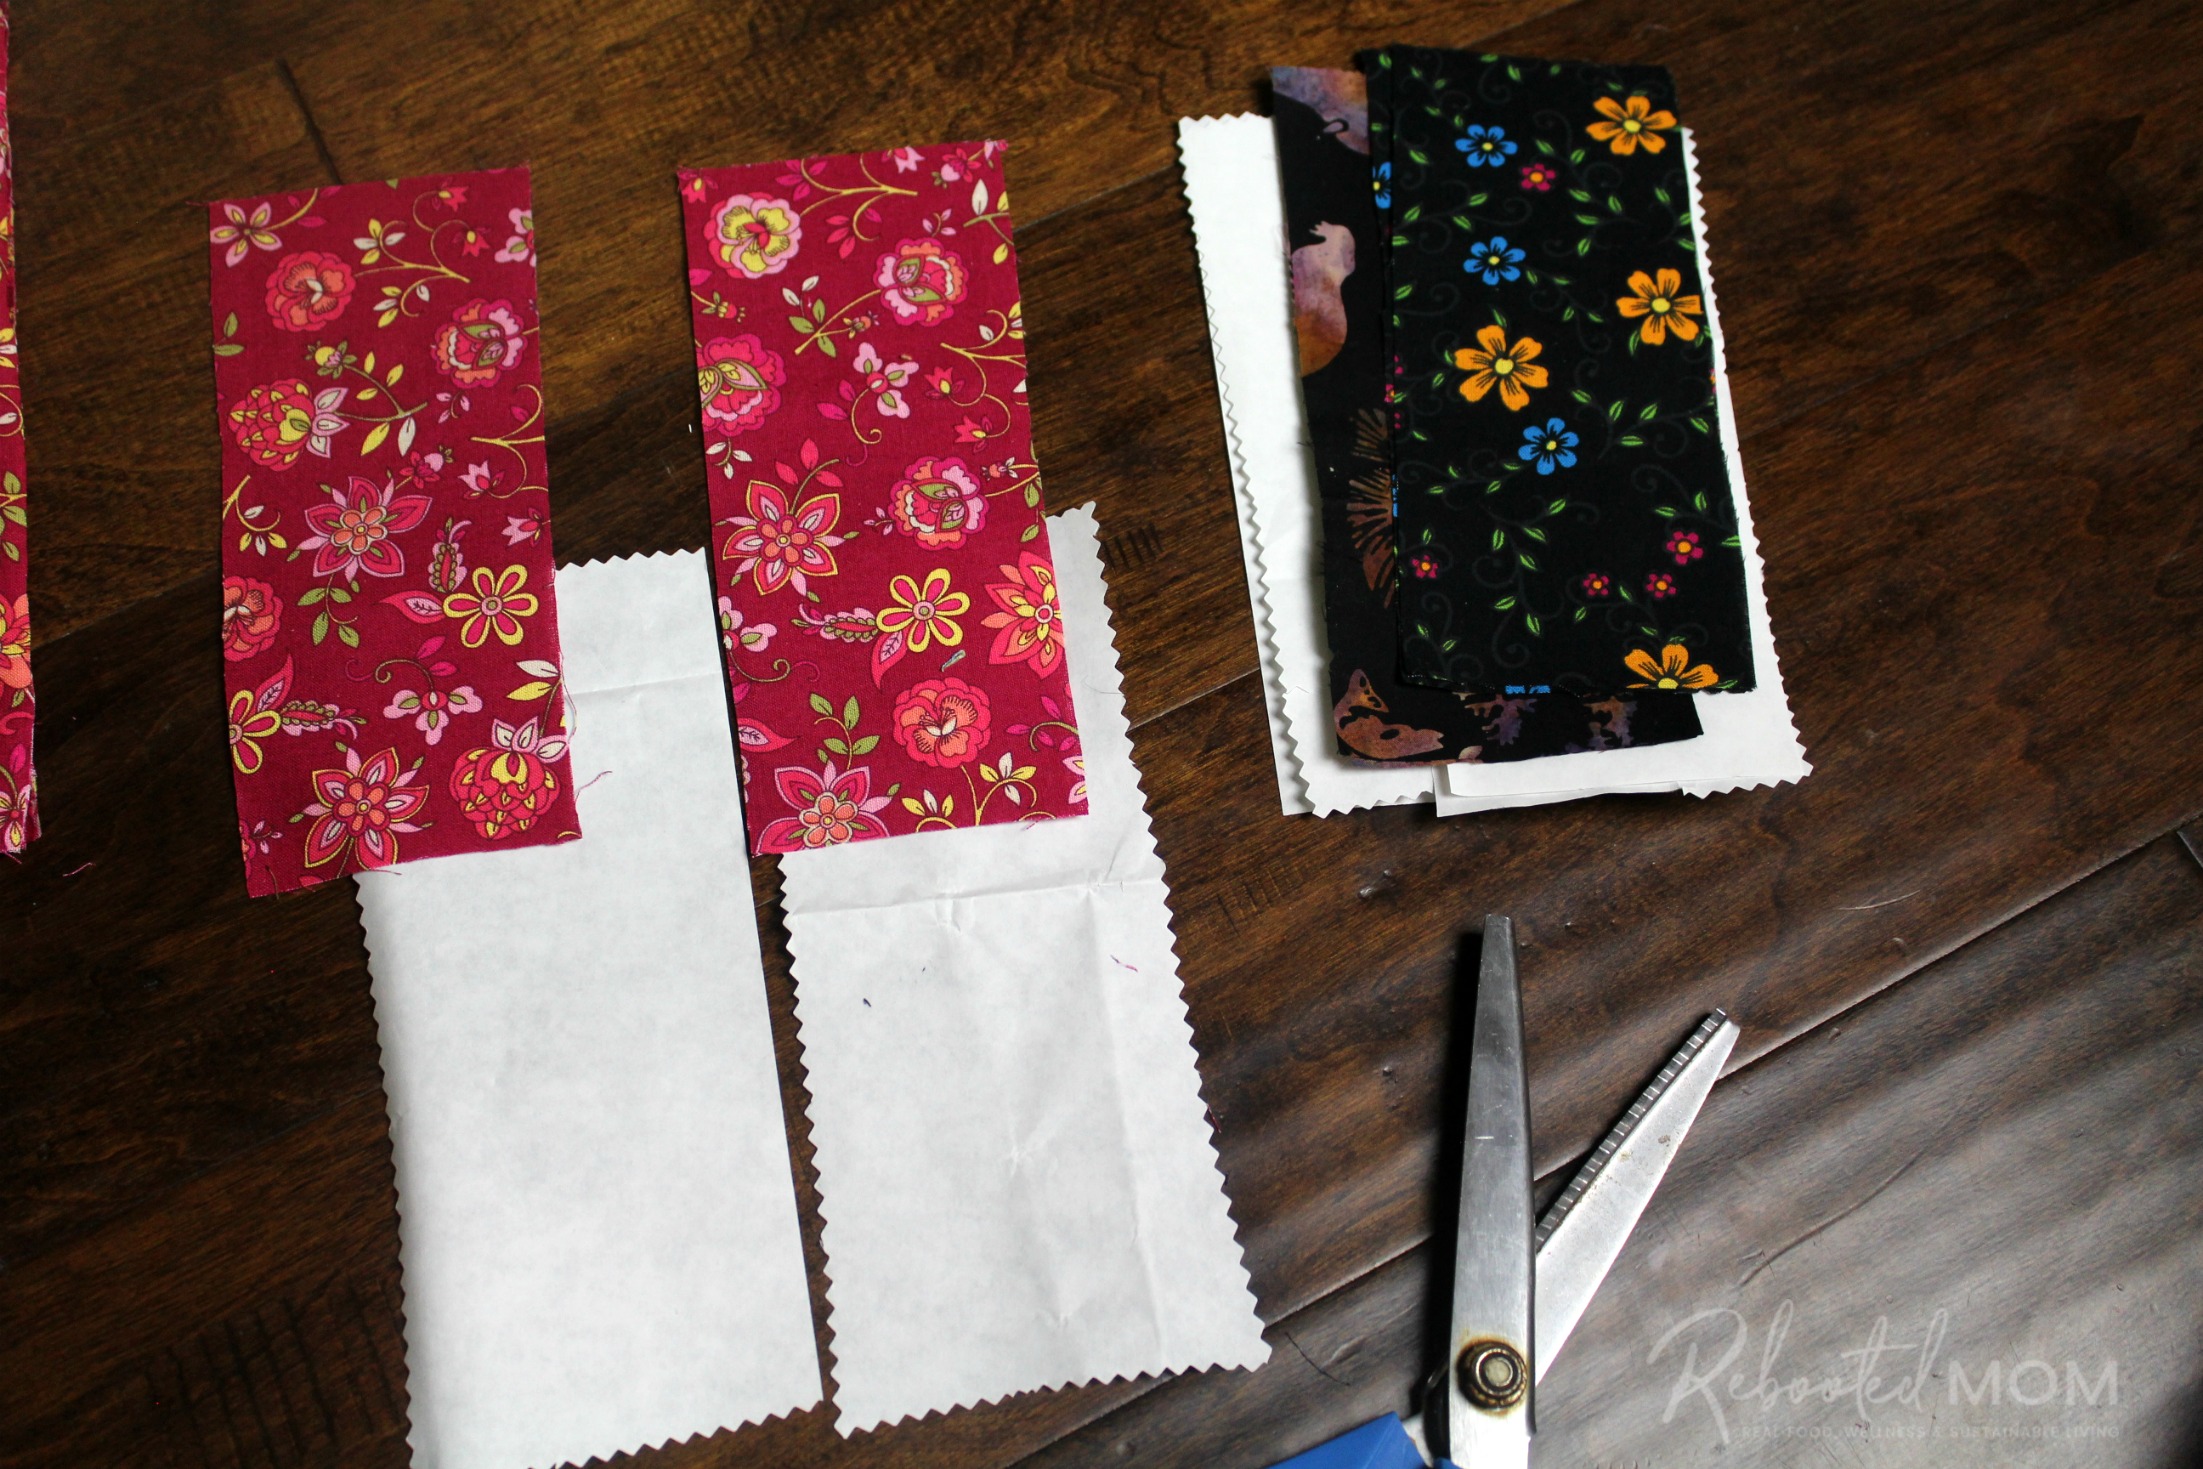
To start, you should have 2 equal-sized fabric scraps (3″ x 7″) and 2 pieces of heat and bond (also 3″ x 7″).
Lay the fabric scraps with the print side down (wrong side up) on a flat surface. Grab your heat and bond pieces that are the same size, and lay 1 on top of each fabric scrap, with the “paper” side up.
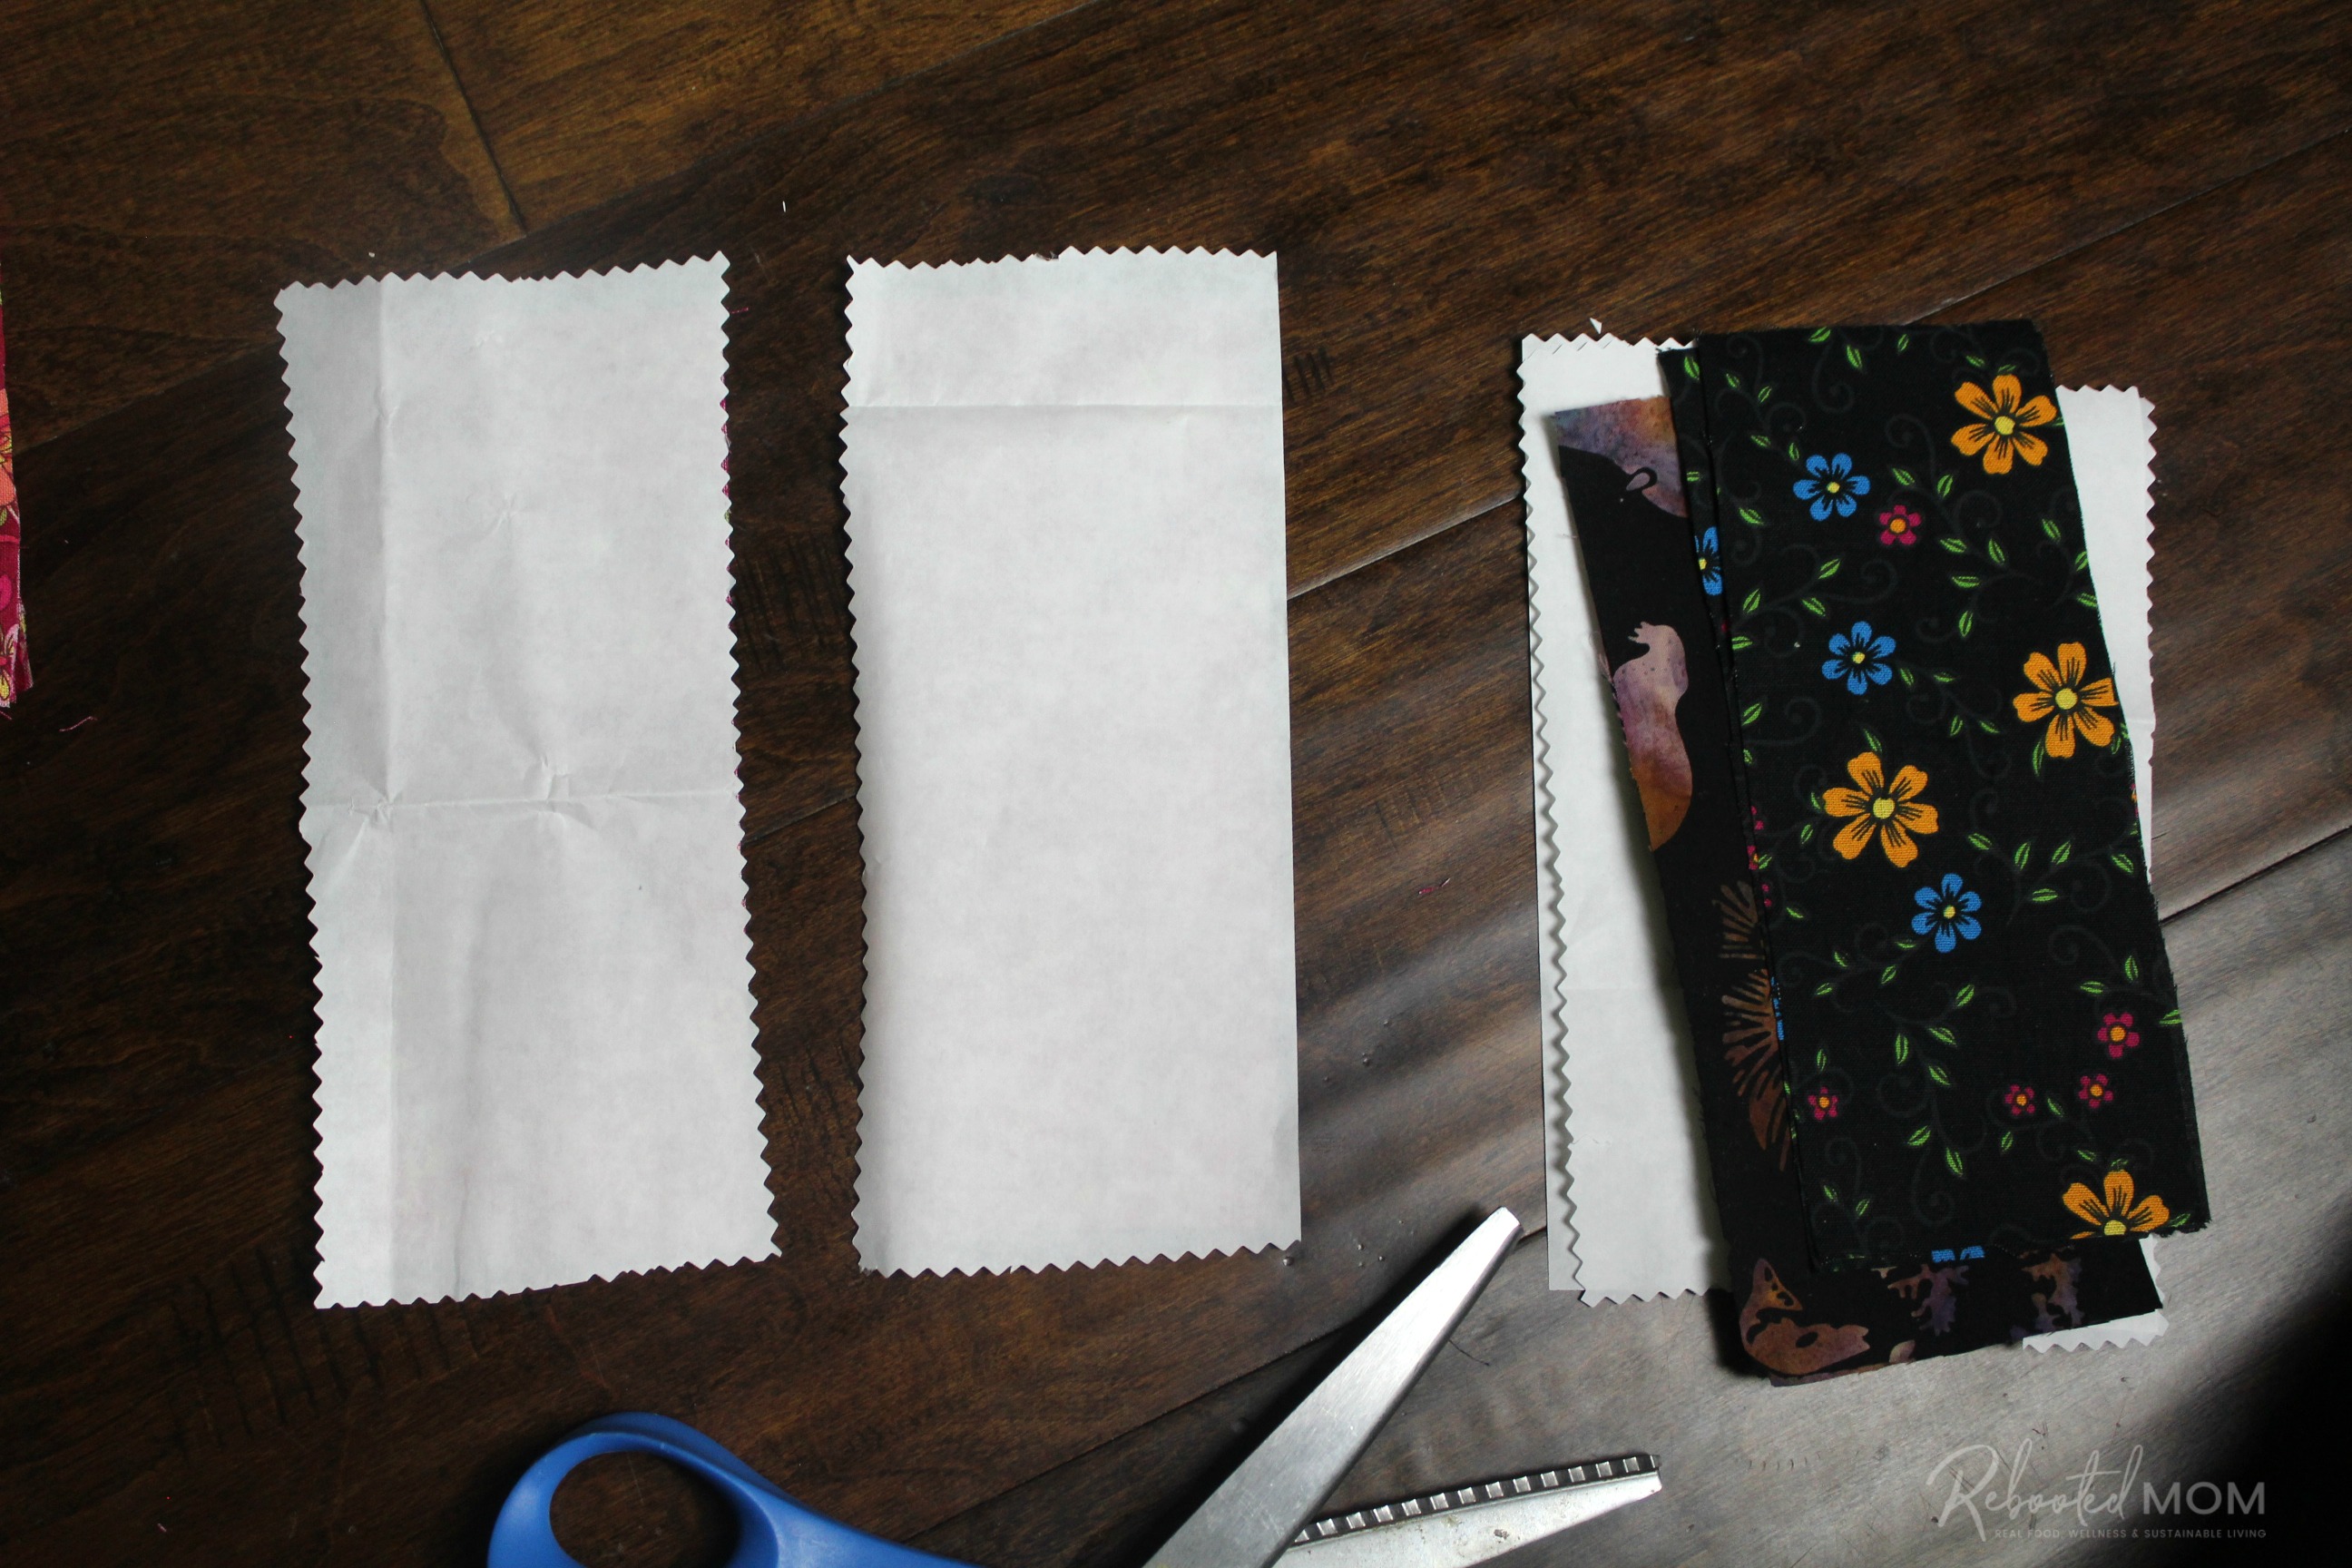
This picture will show you that the fabric scraps (which are under the heat and bond) are print side down (wrong side up). The heat and bond has been placed on top, with the paper facing upwards.
Grab your iron, and iron each piece. Make sure you use a towel or an ironing board – I would suggest using an old shirt to cover an ironing board.
Place the iron on the top of the “paper” (that’s facing up).. and on medium heat, no steam, iron gently for 10-12 seconds. Repeat with the second piece.
Now each fabric piece should have the design print on one side, and heat and bond paper on the other side, bonded together.
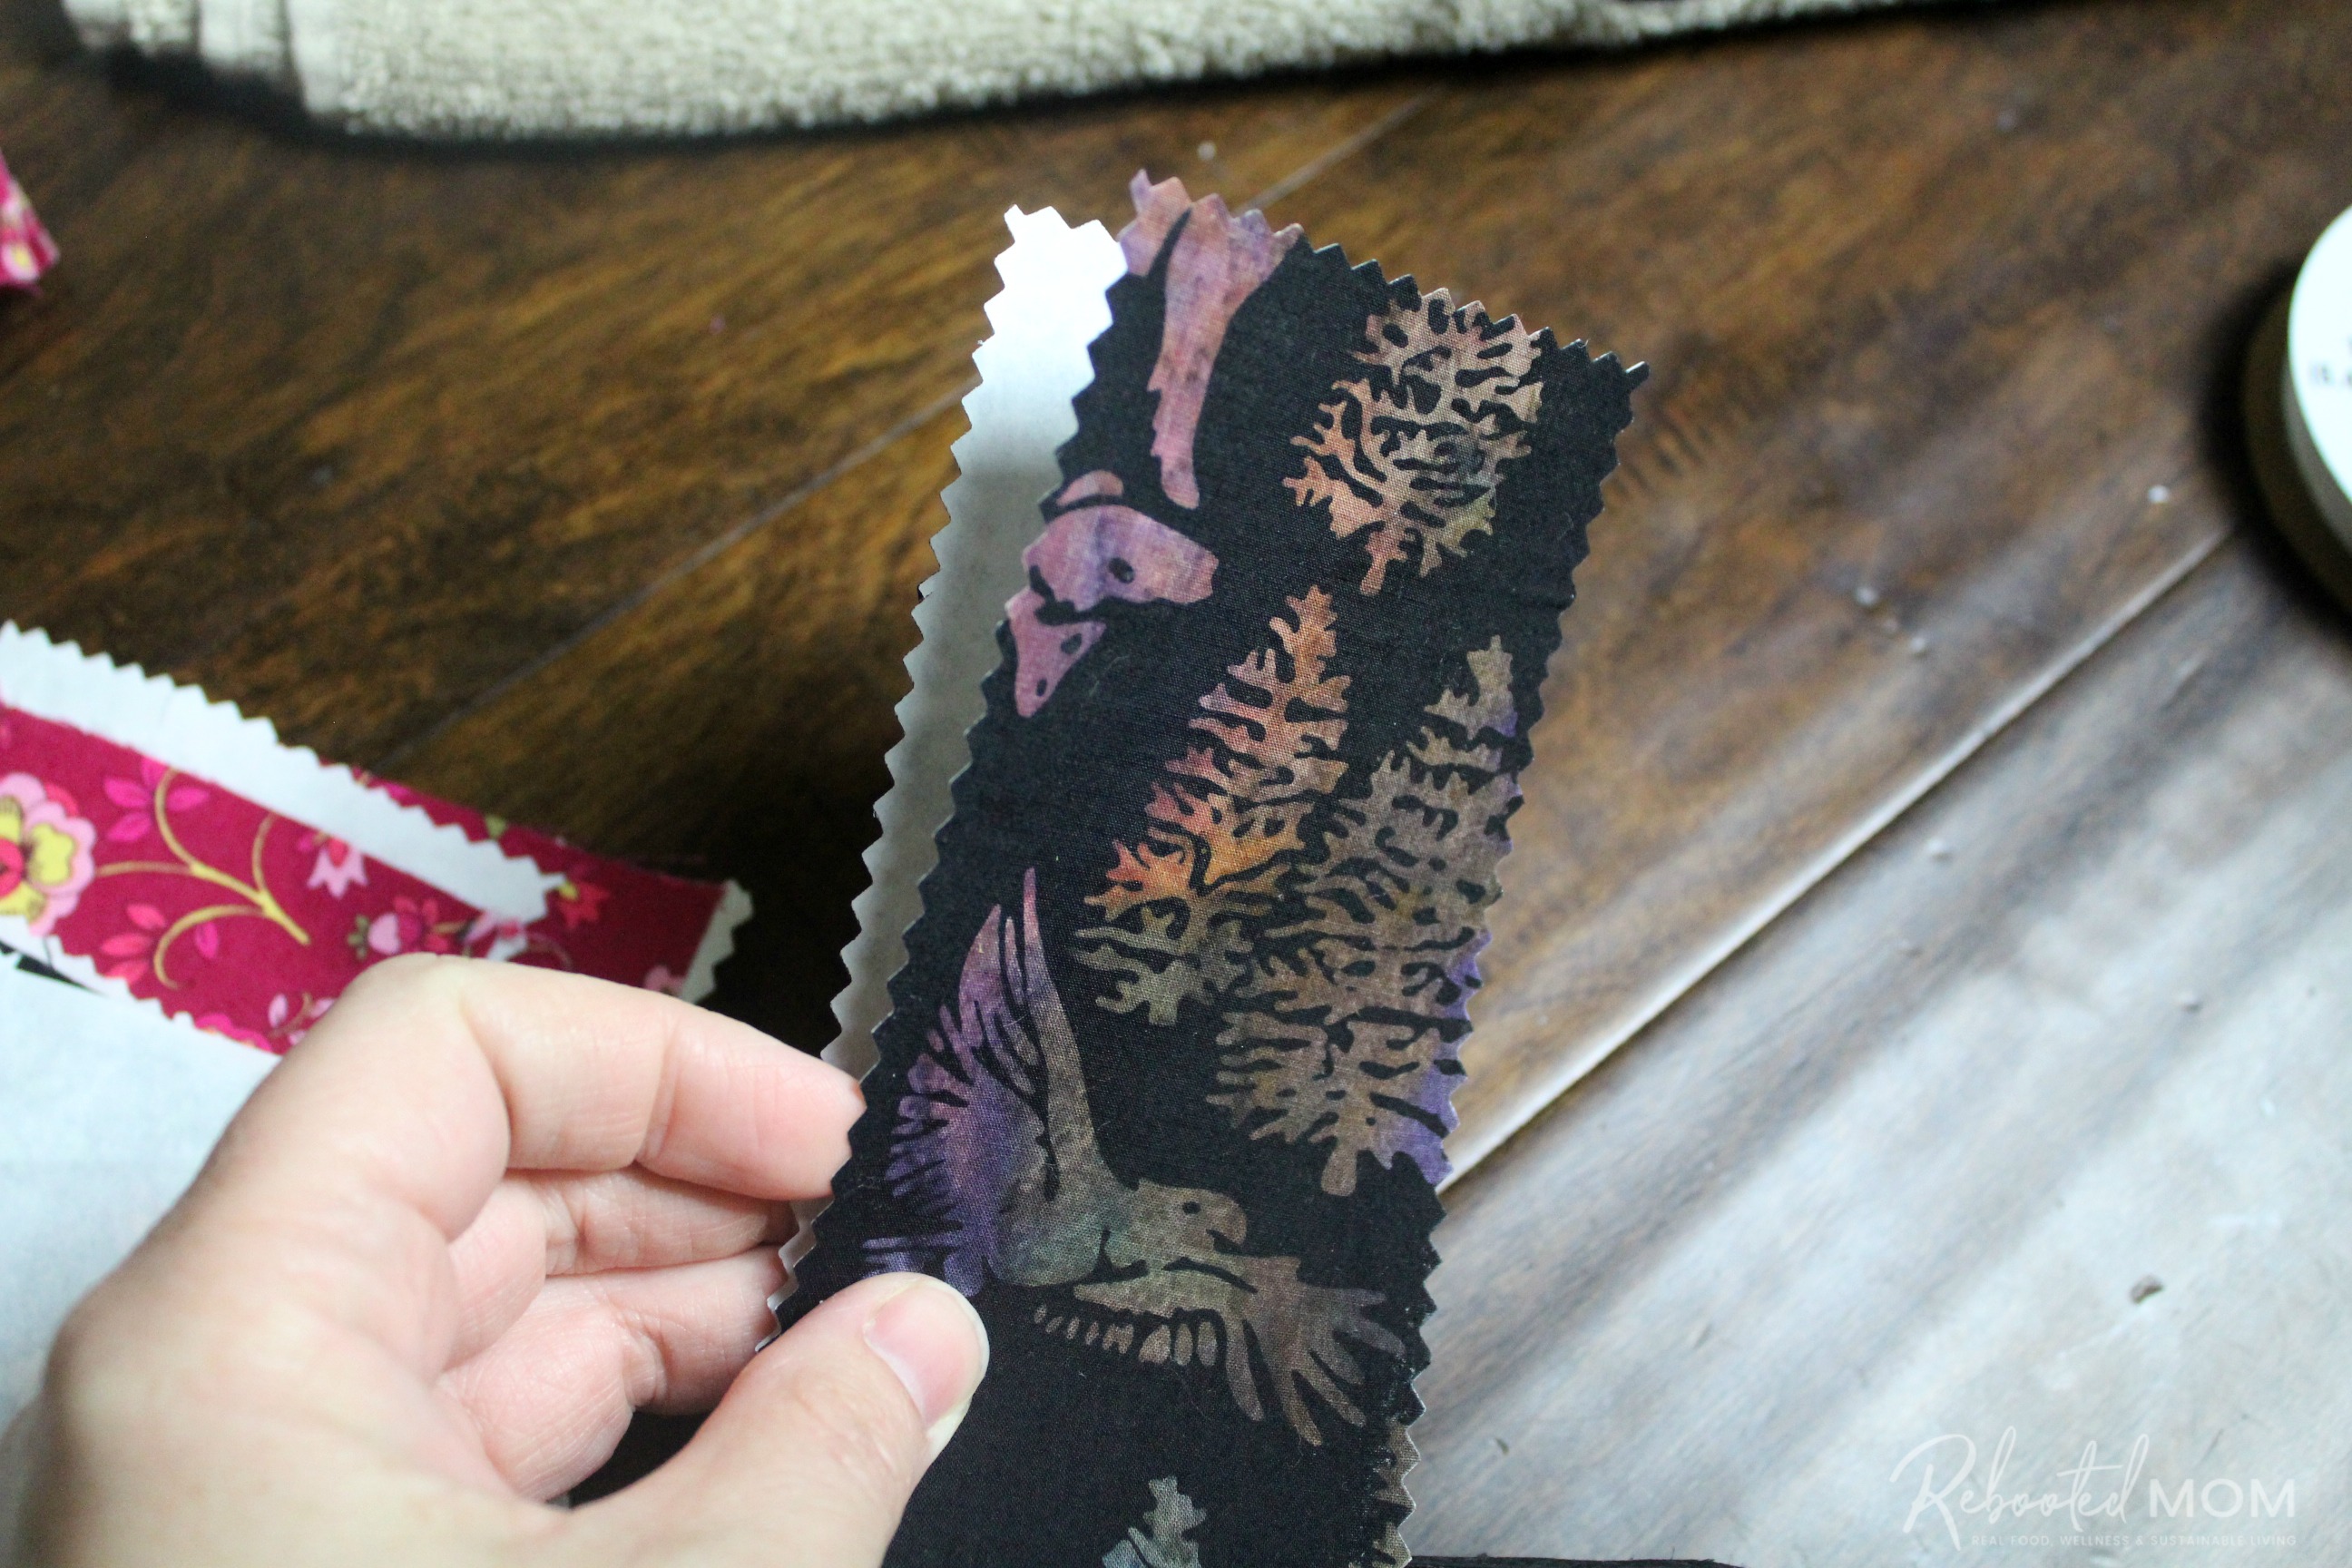
Carefully pull off the paper on each piece, leaving you with 2 fabric pieces with the clear under layer of heat and bond. Using your pinking shears, trim around each side of the bookmark so that there is no excess.
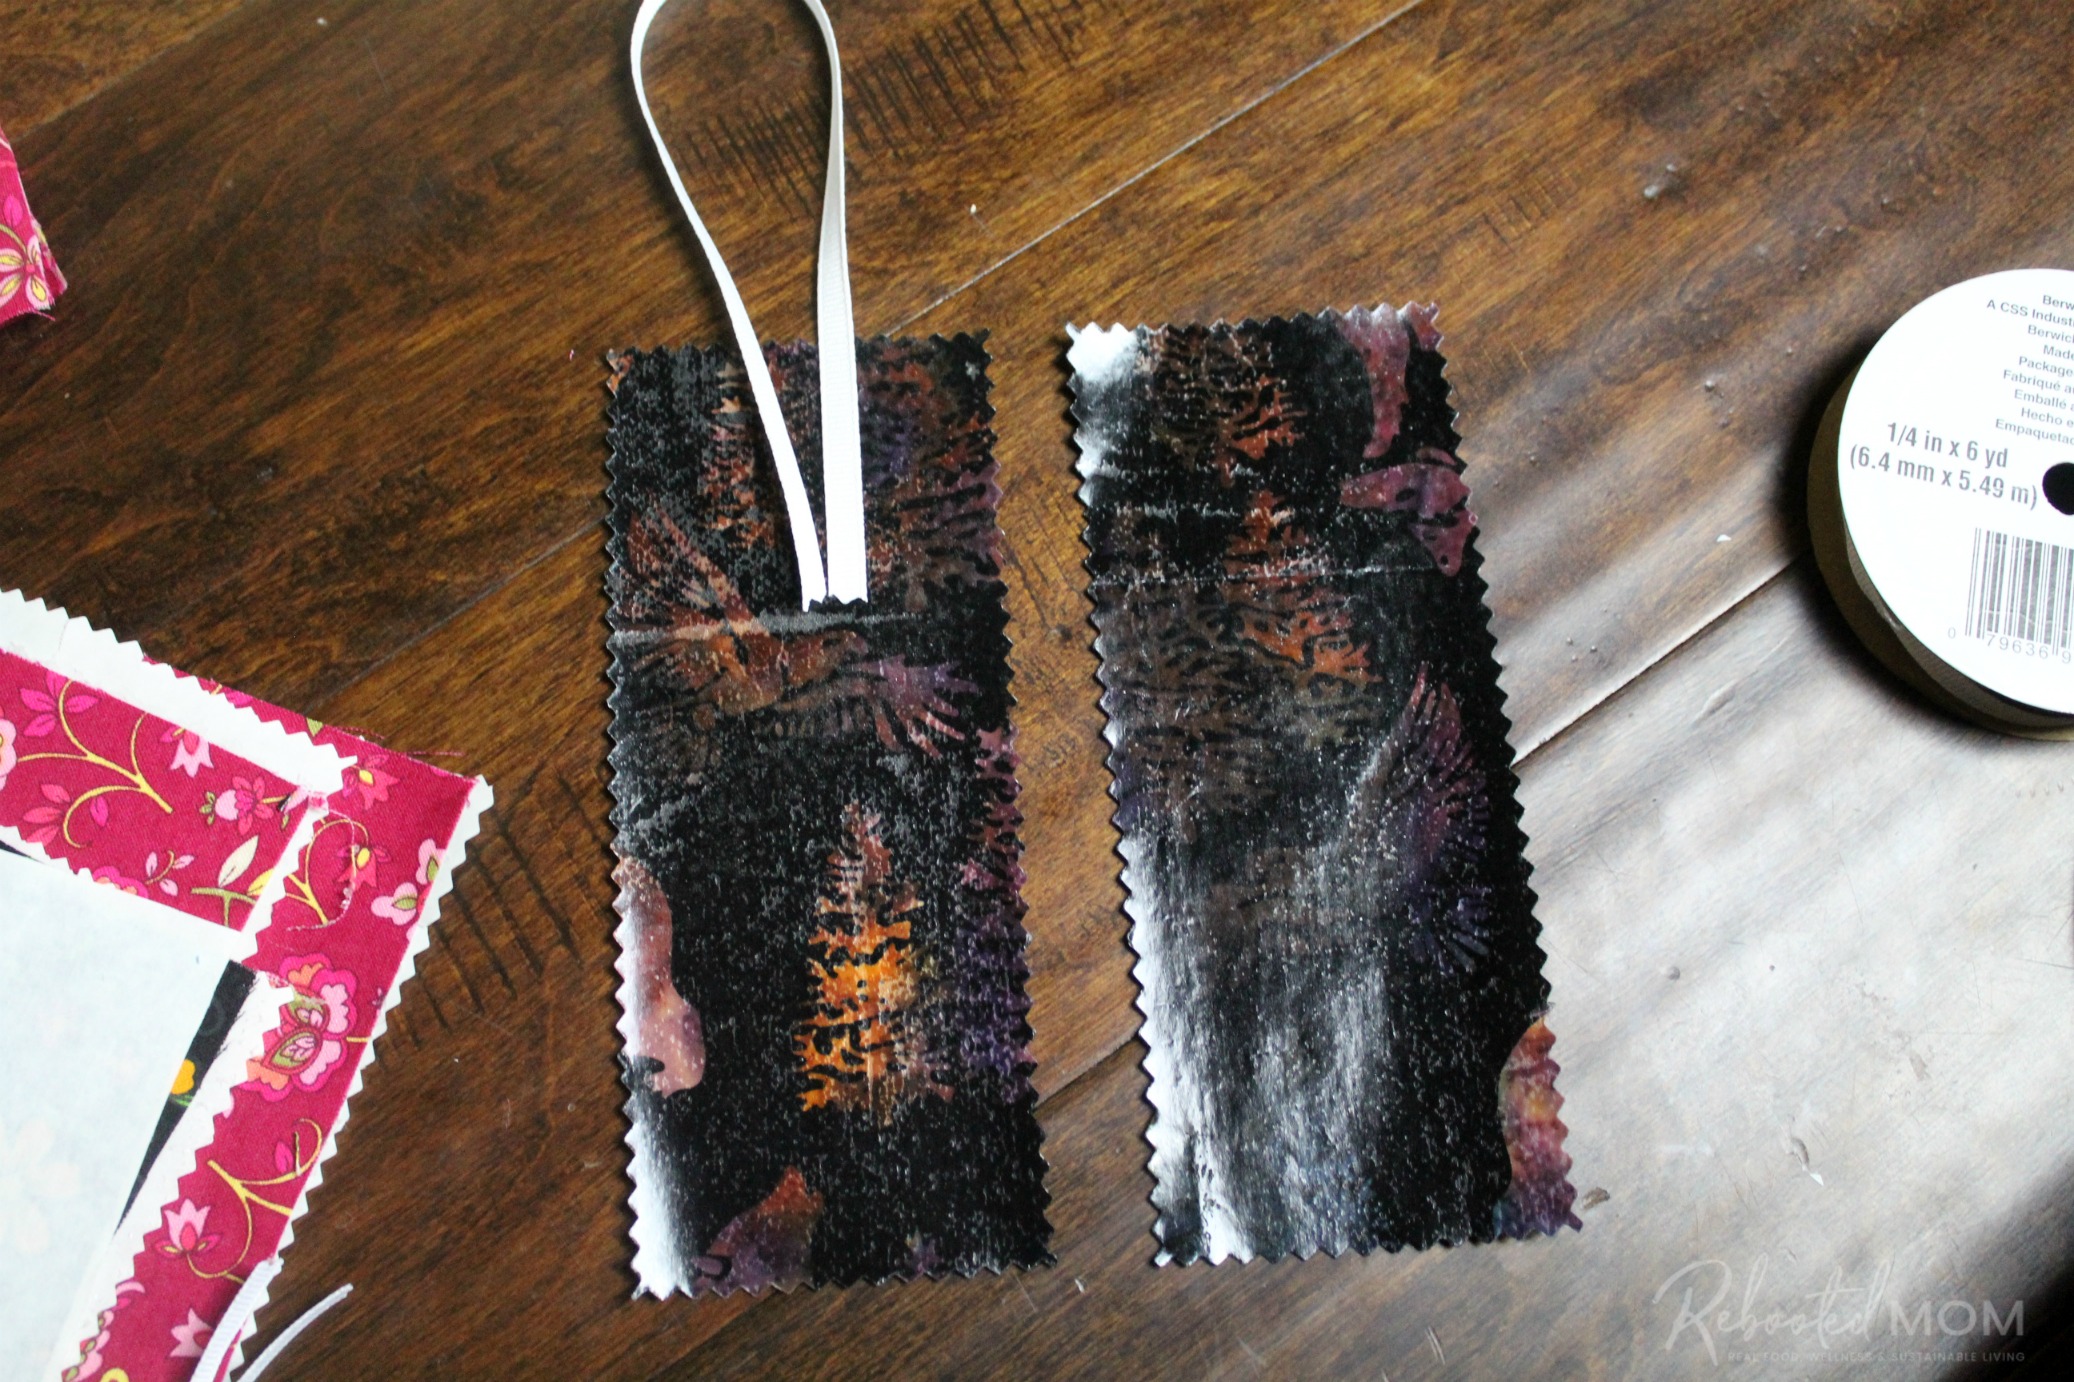
Cut a piece of ribbon, 6-7″ in length. Place it on the top of one piece, being careful to keep it still so it doesn’t move around.
Put the two pieces together, with the clear sides in the middle. It’s best to just lay the non-ribbon piece on top of the other, with the clear side face down.
Place your bookmark on your ironing board, and gently iron for 10-12 seconds. The fabric will get hot – be careful! During that time, the heat and bond will activate. Within seconds, the pieces will “bond” to each other without the need to sew.
That’s it!
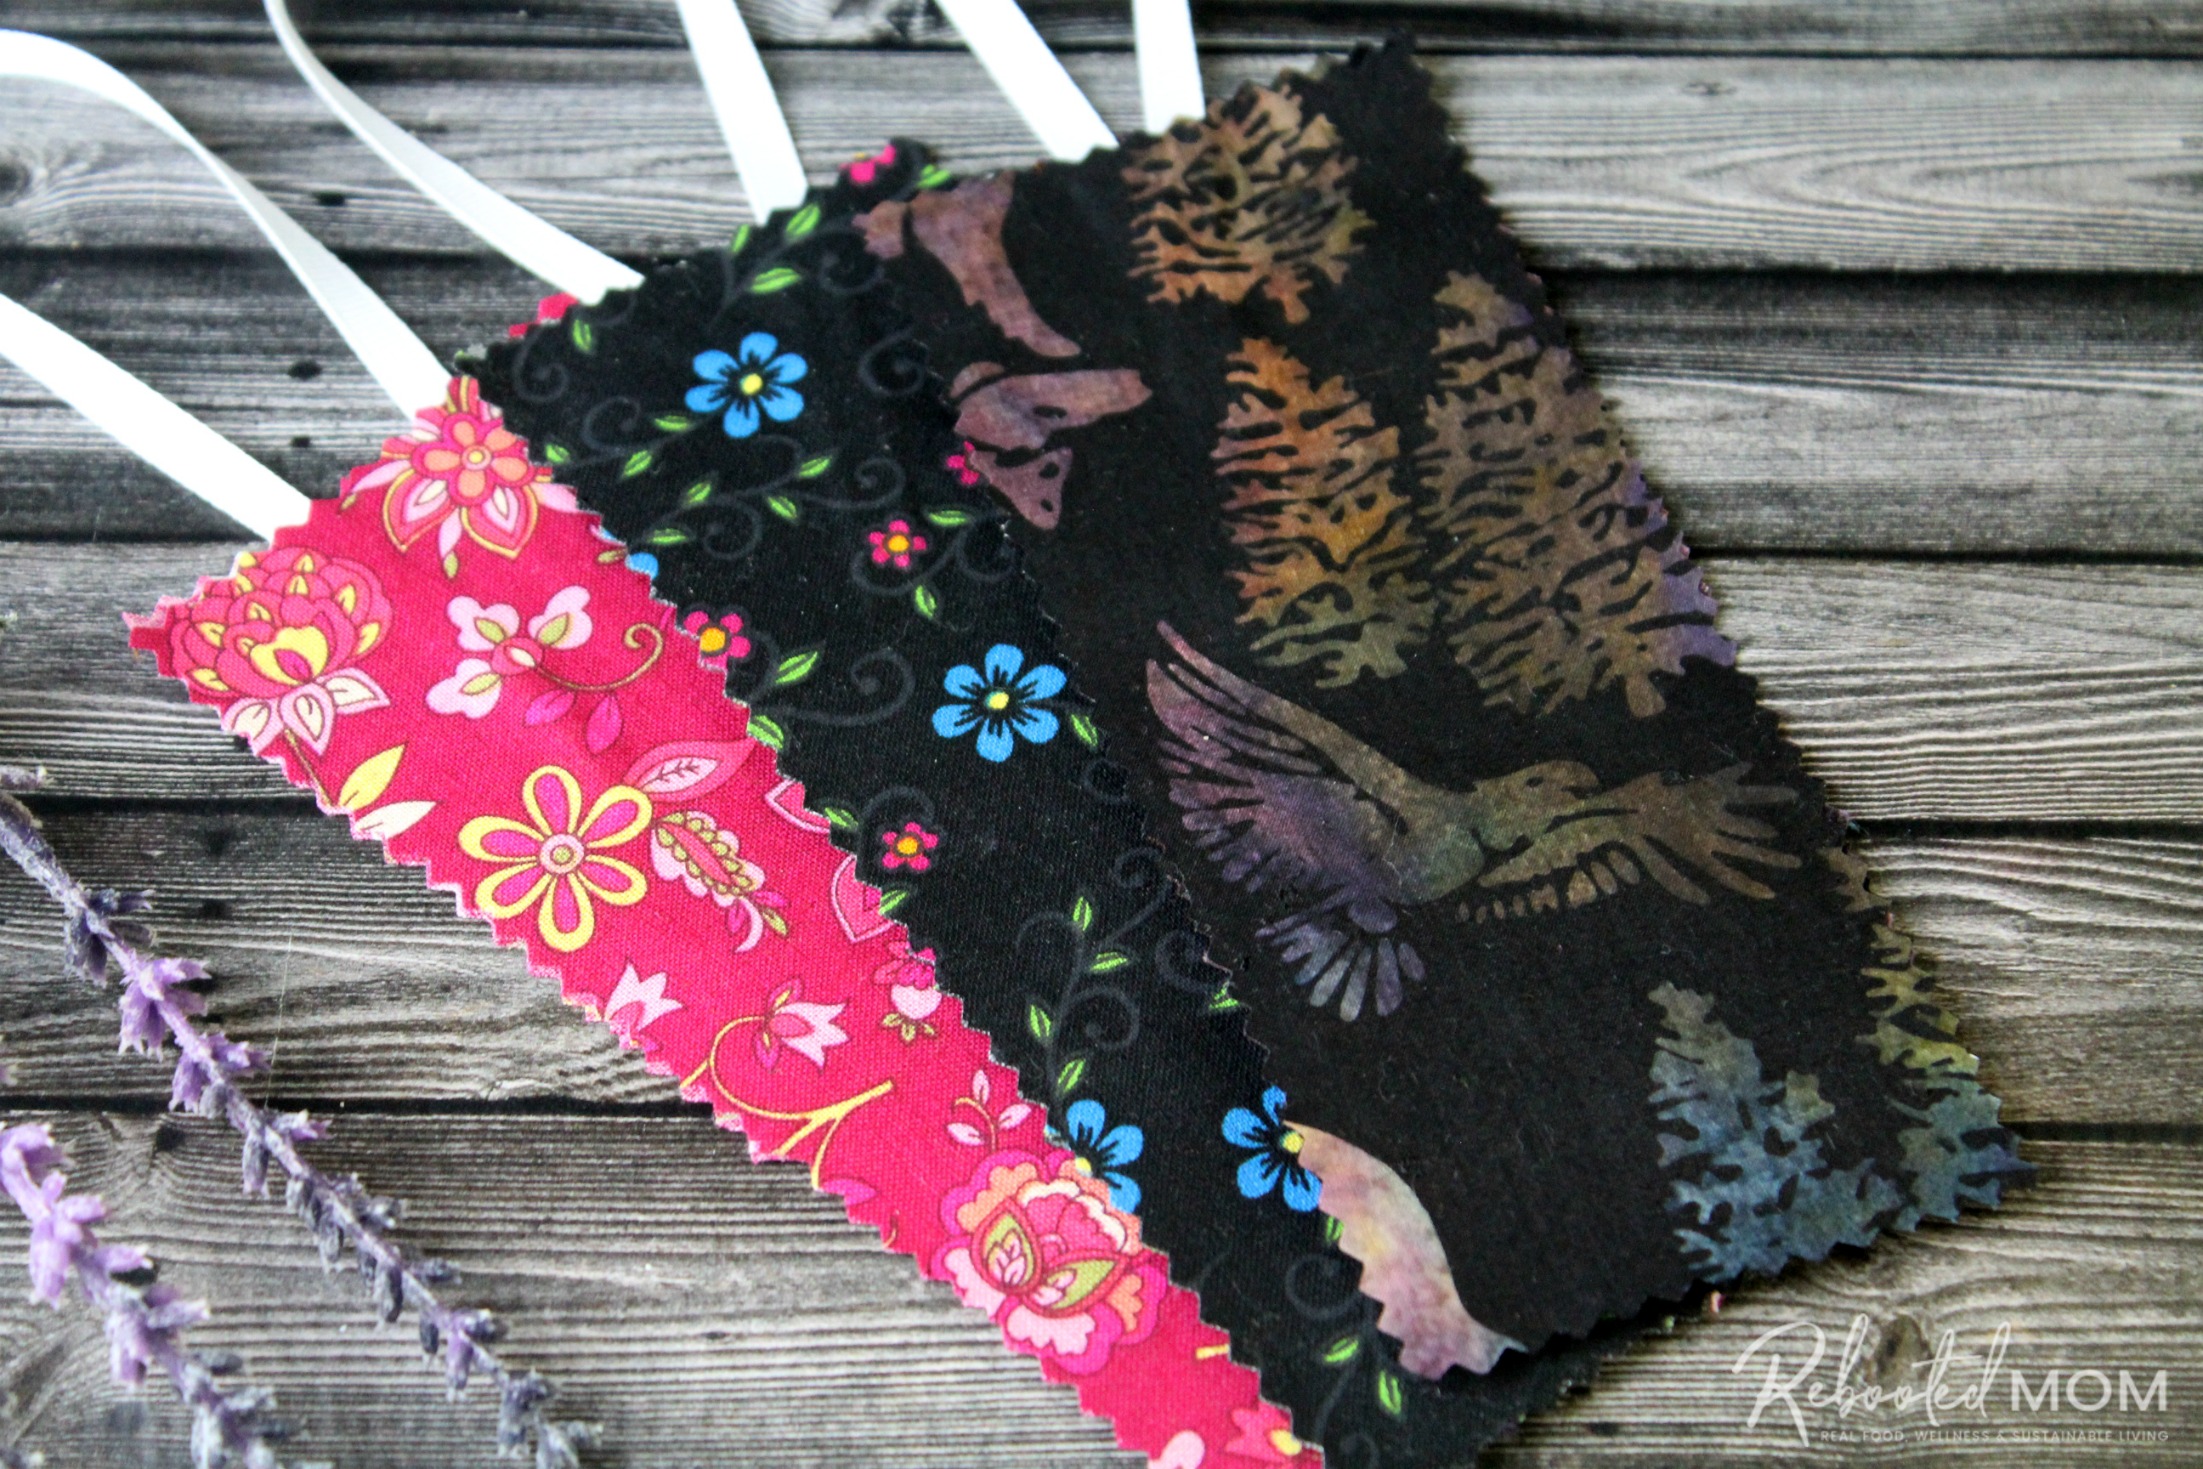
Repeat that with each piece until you have finished your bookmarks. We had so many fabric scraps to use up so we chose a variety of random fabrics (light and dark colors). You can do anything that works for you.
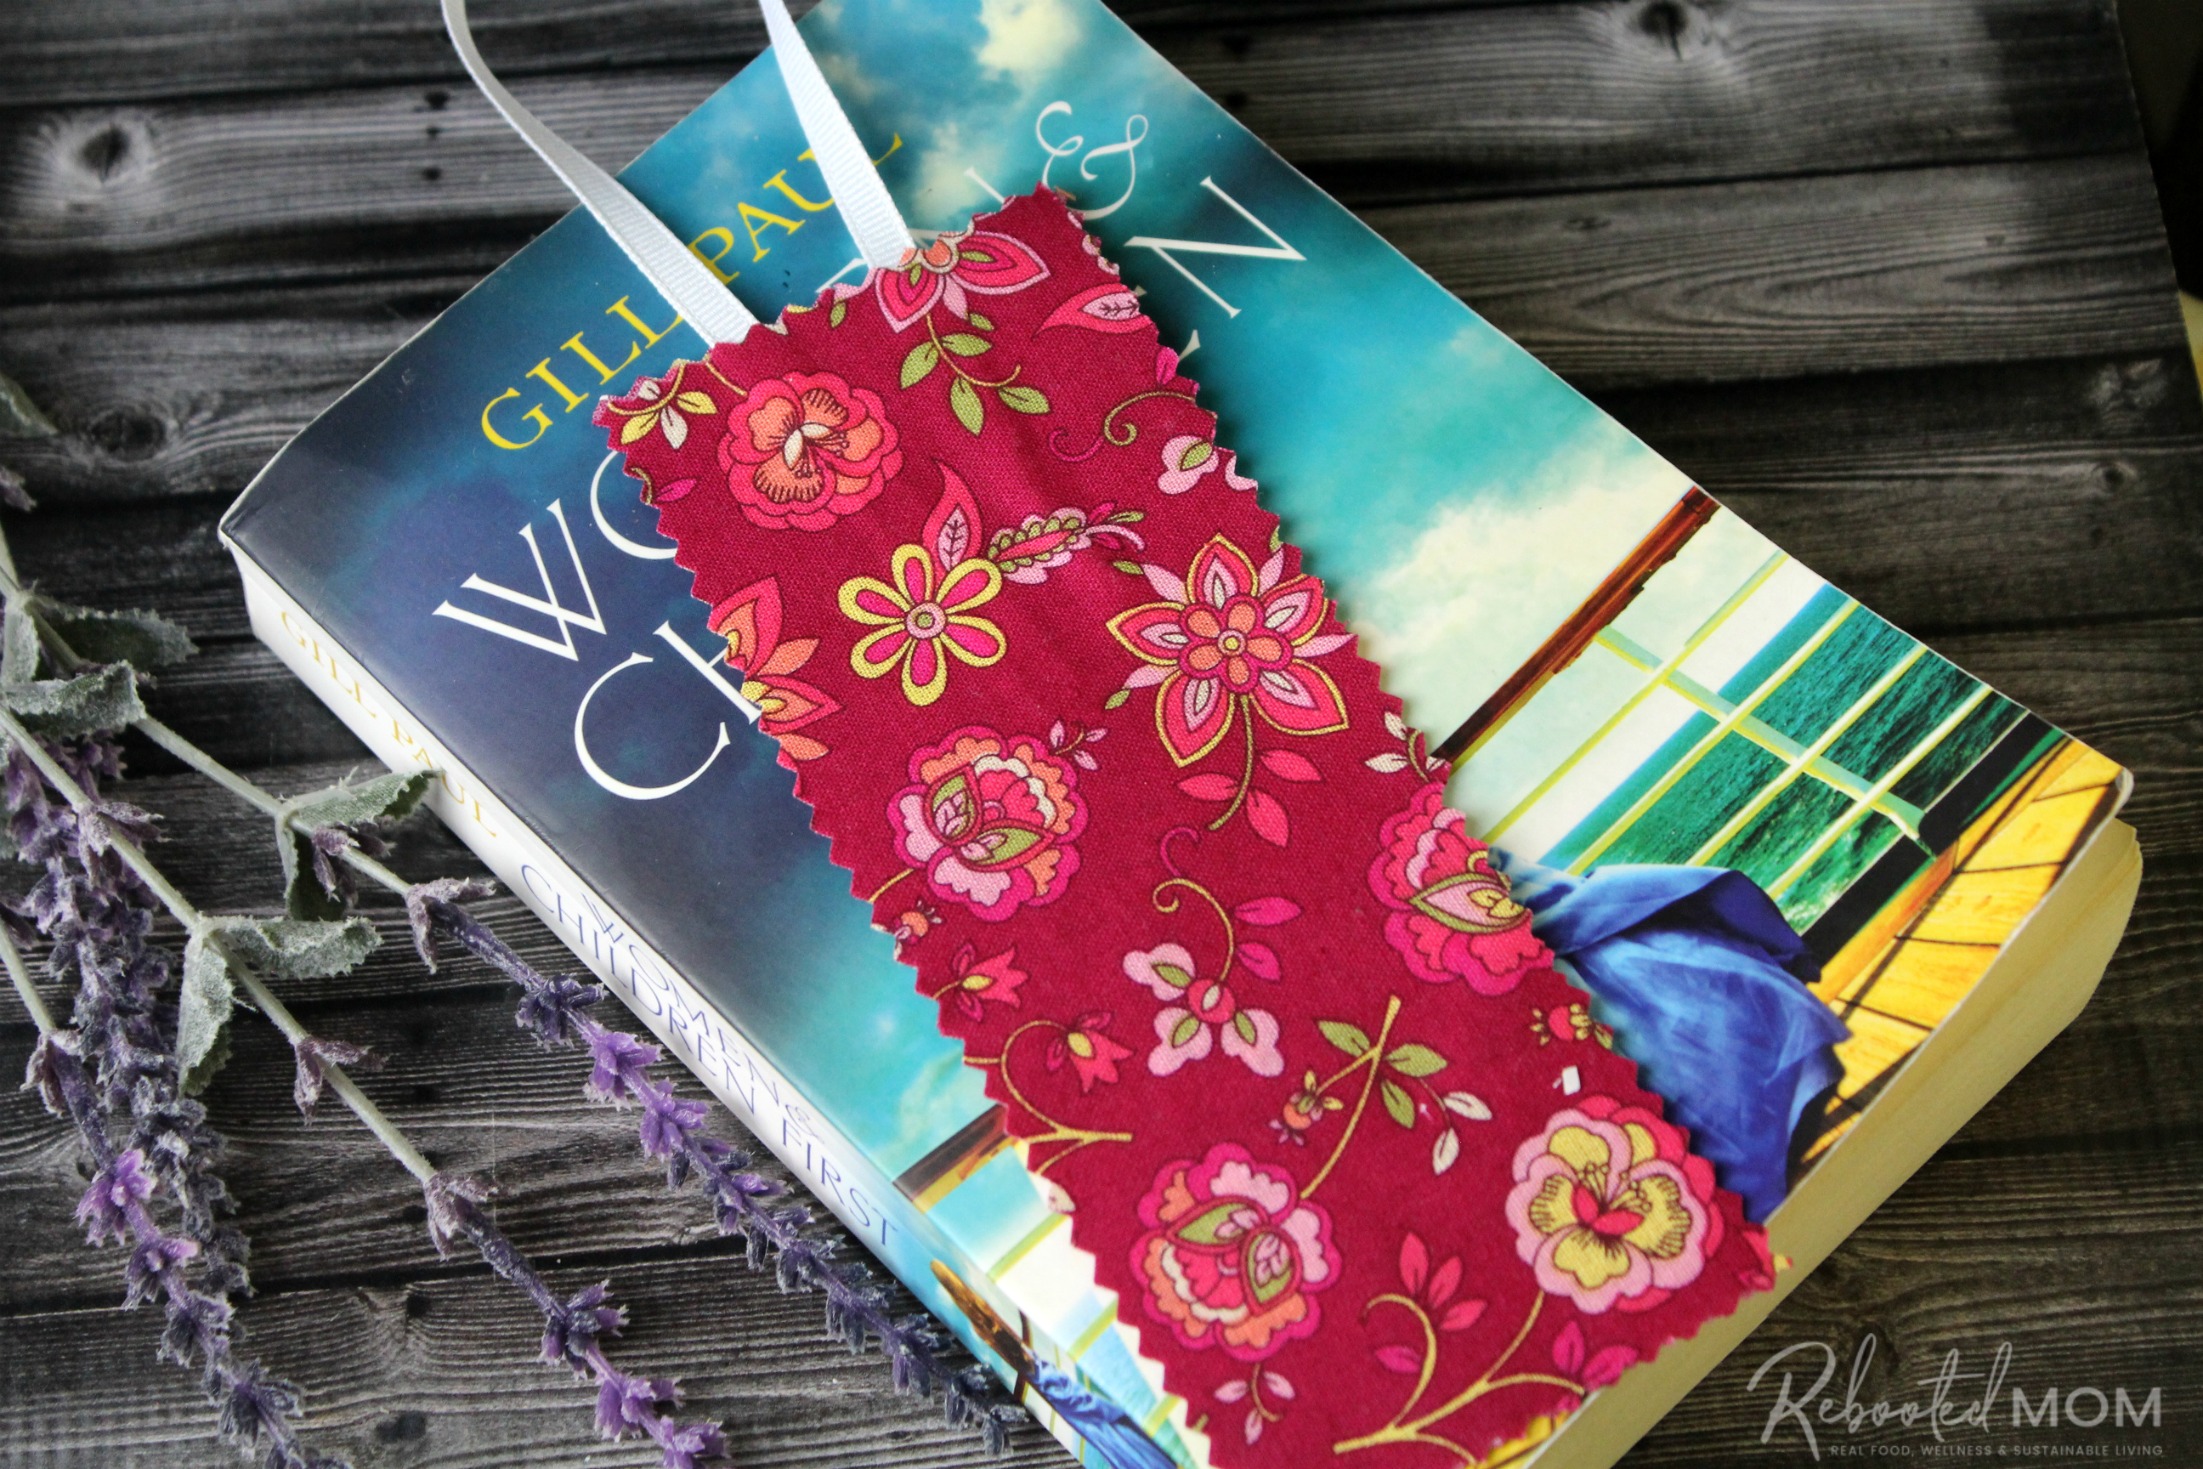
These no-sew fabric bookmarks are a really fun and simple project for young teens. They make great teacher gifts – pair with these simple Lavender Sachets, and a Starbucks Gift Card and they make a beautiful handmade gift.

[…] really are the perfect summer craft ~ bright, cherry, and totally customizable (allow them to pick their own bead color for […]