


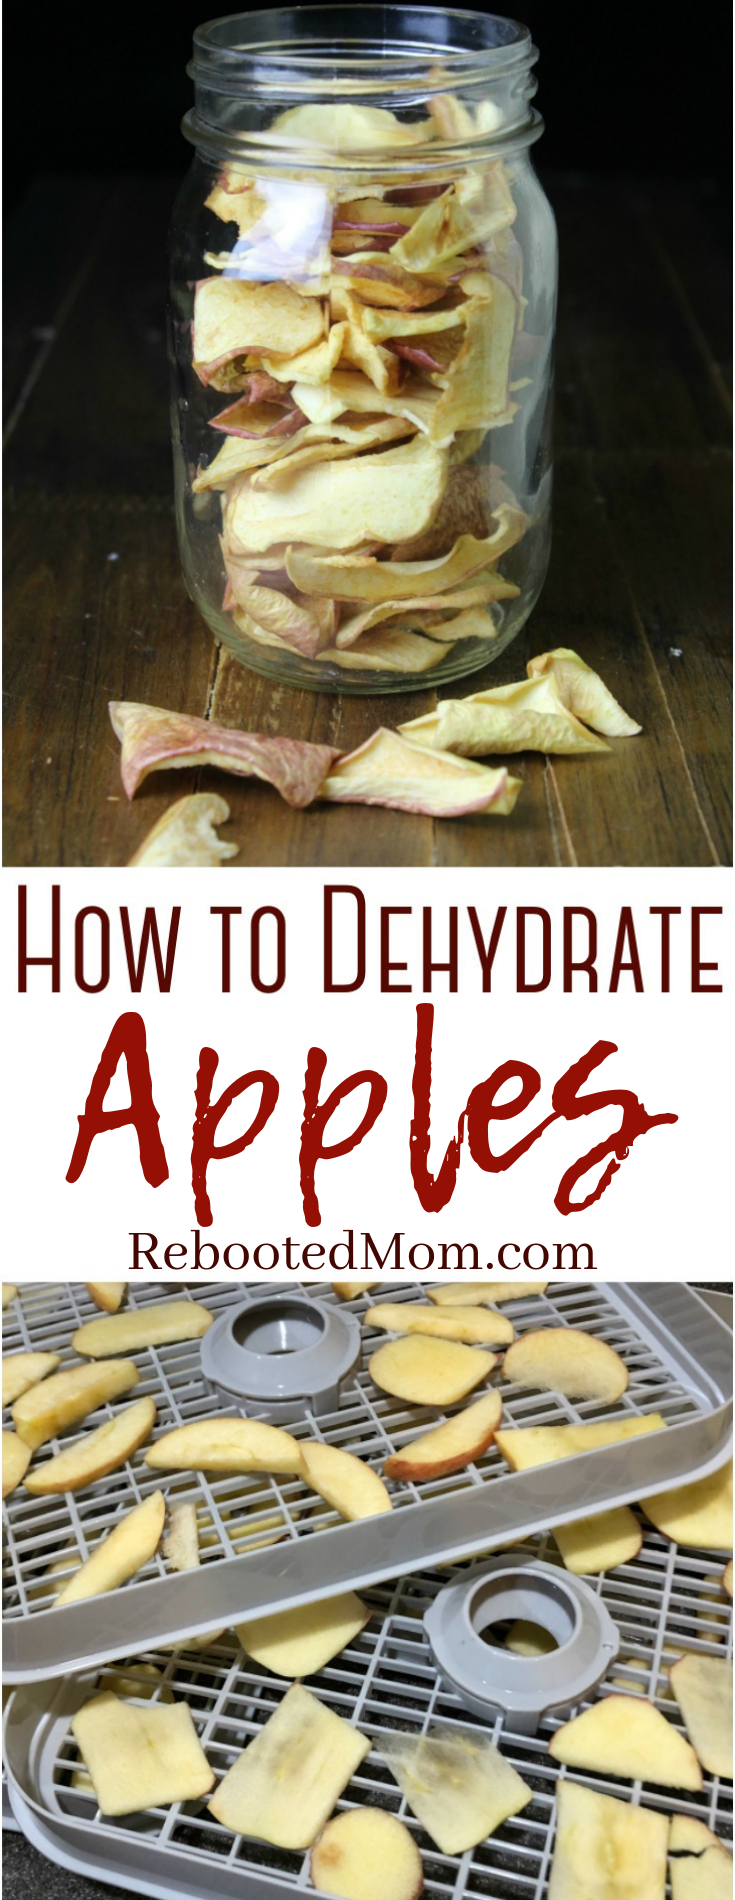
Learn the best way to make dehydrated apples in the dehydrator so you can make dehydrated apples as a healthy snack for your family.
Every few weeks I make a huge batch of homemade dehydrated apples using our dehydrator.
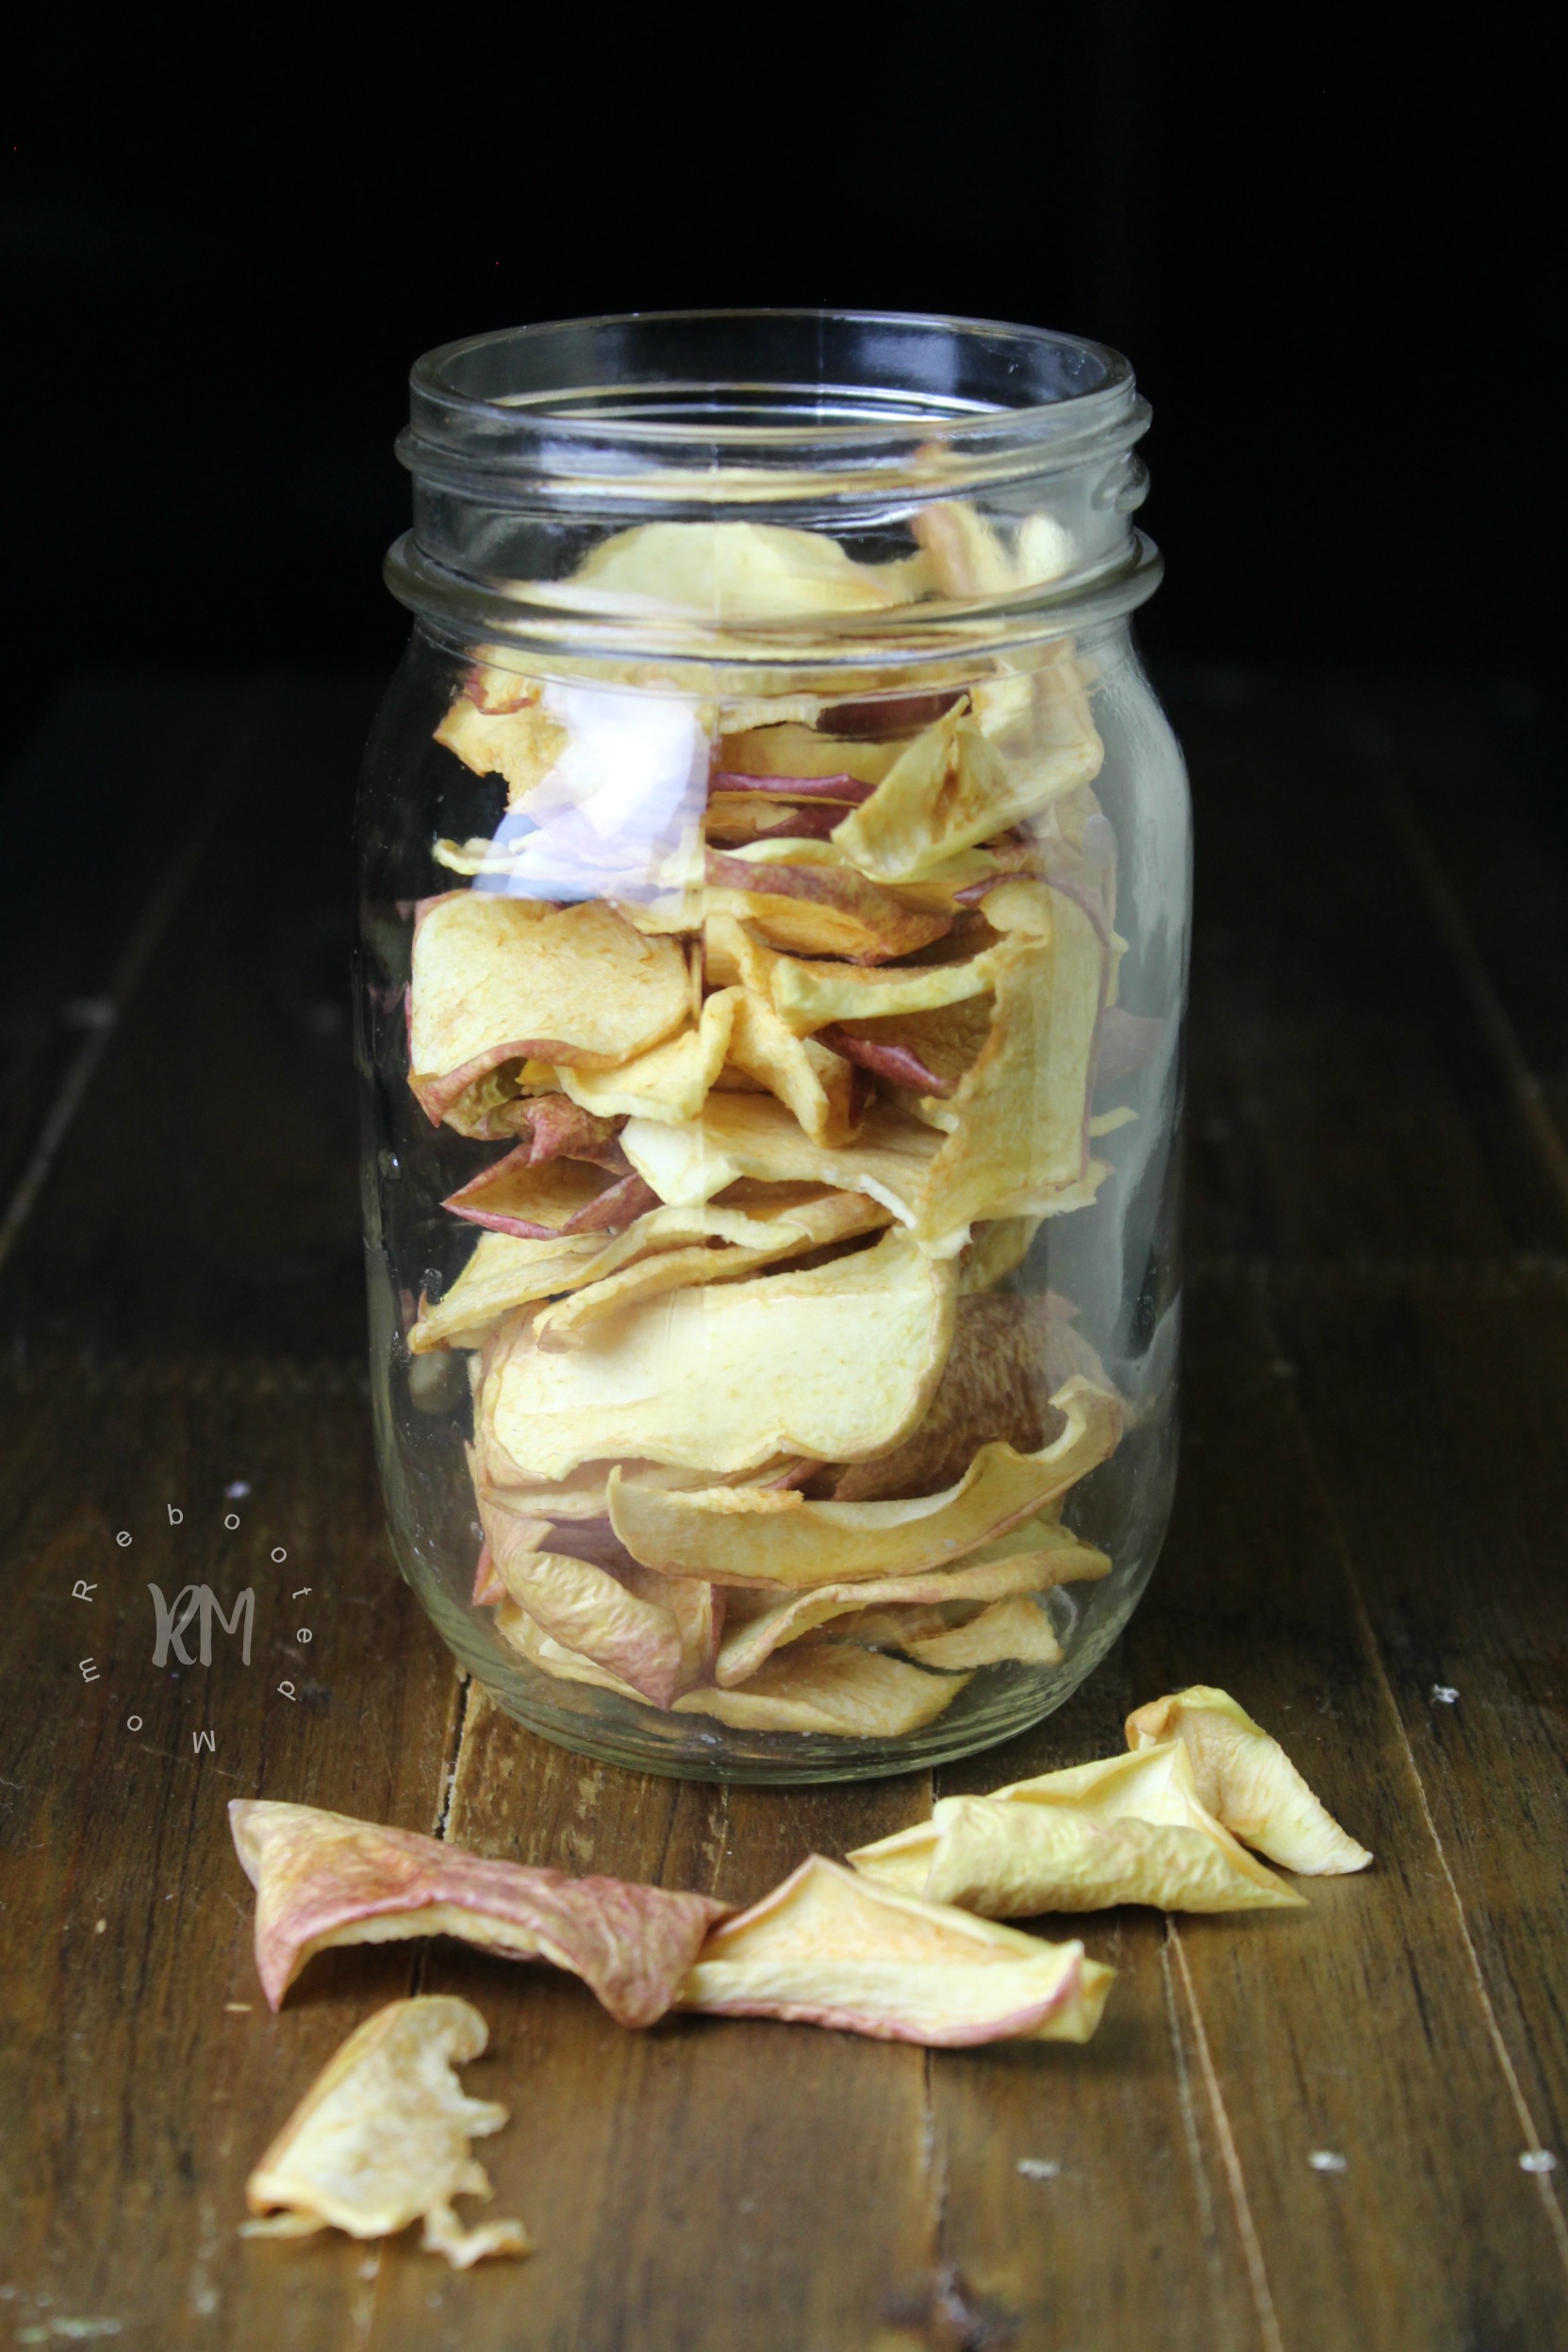
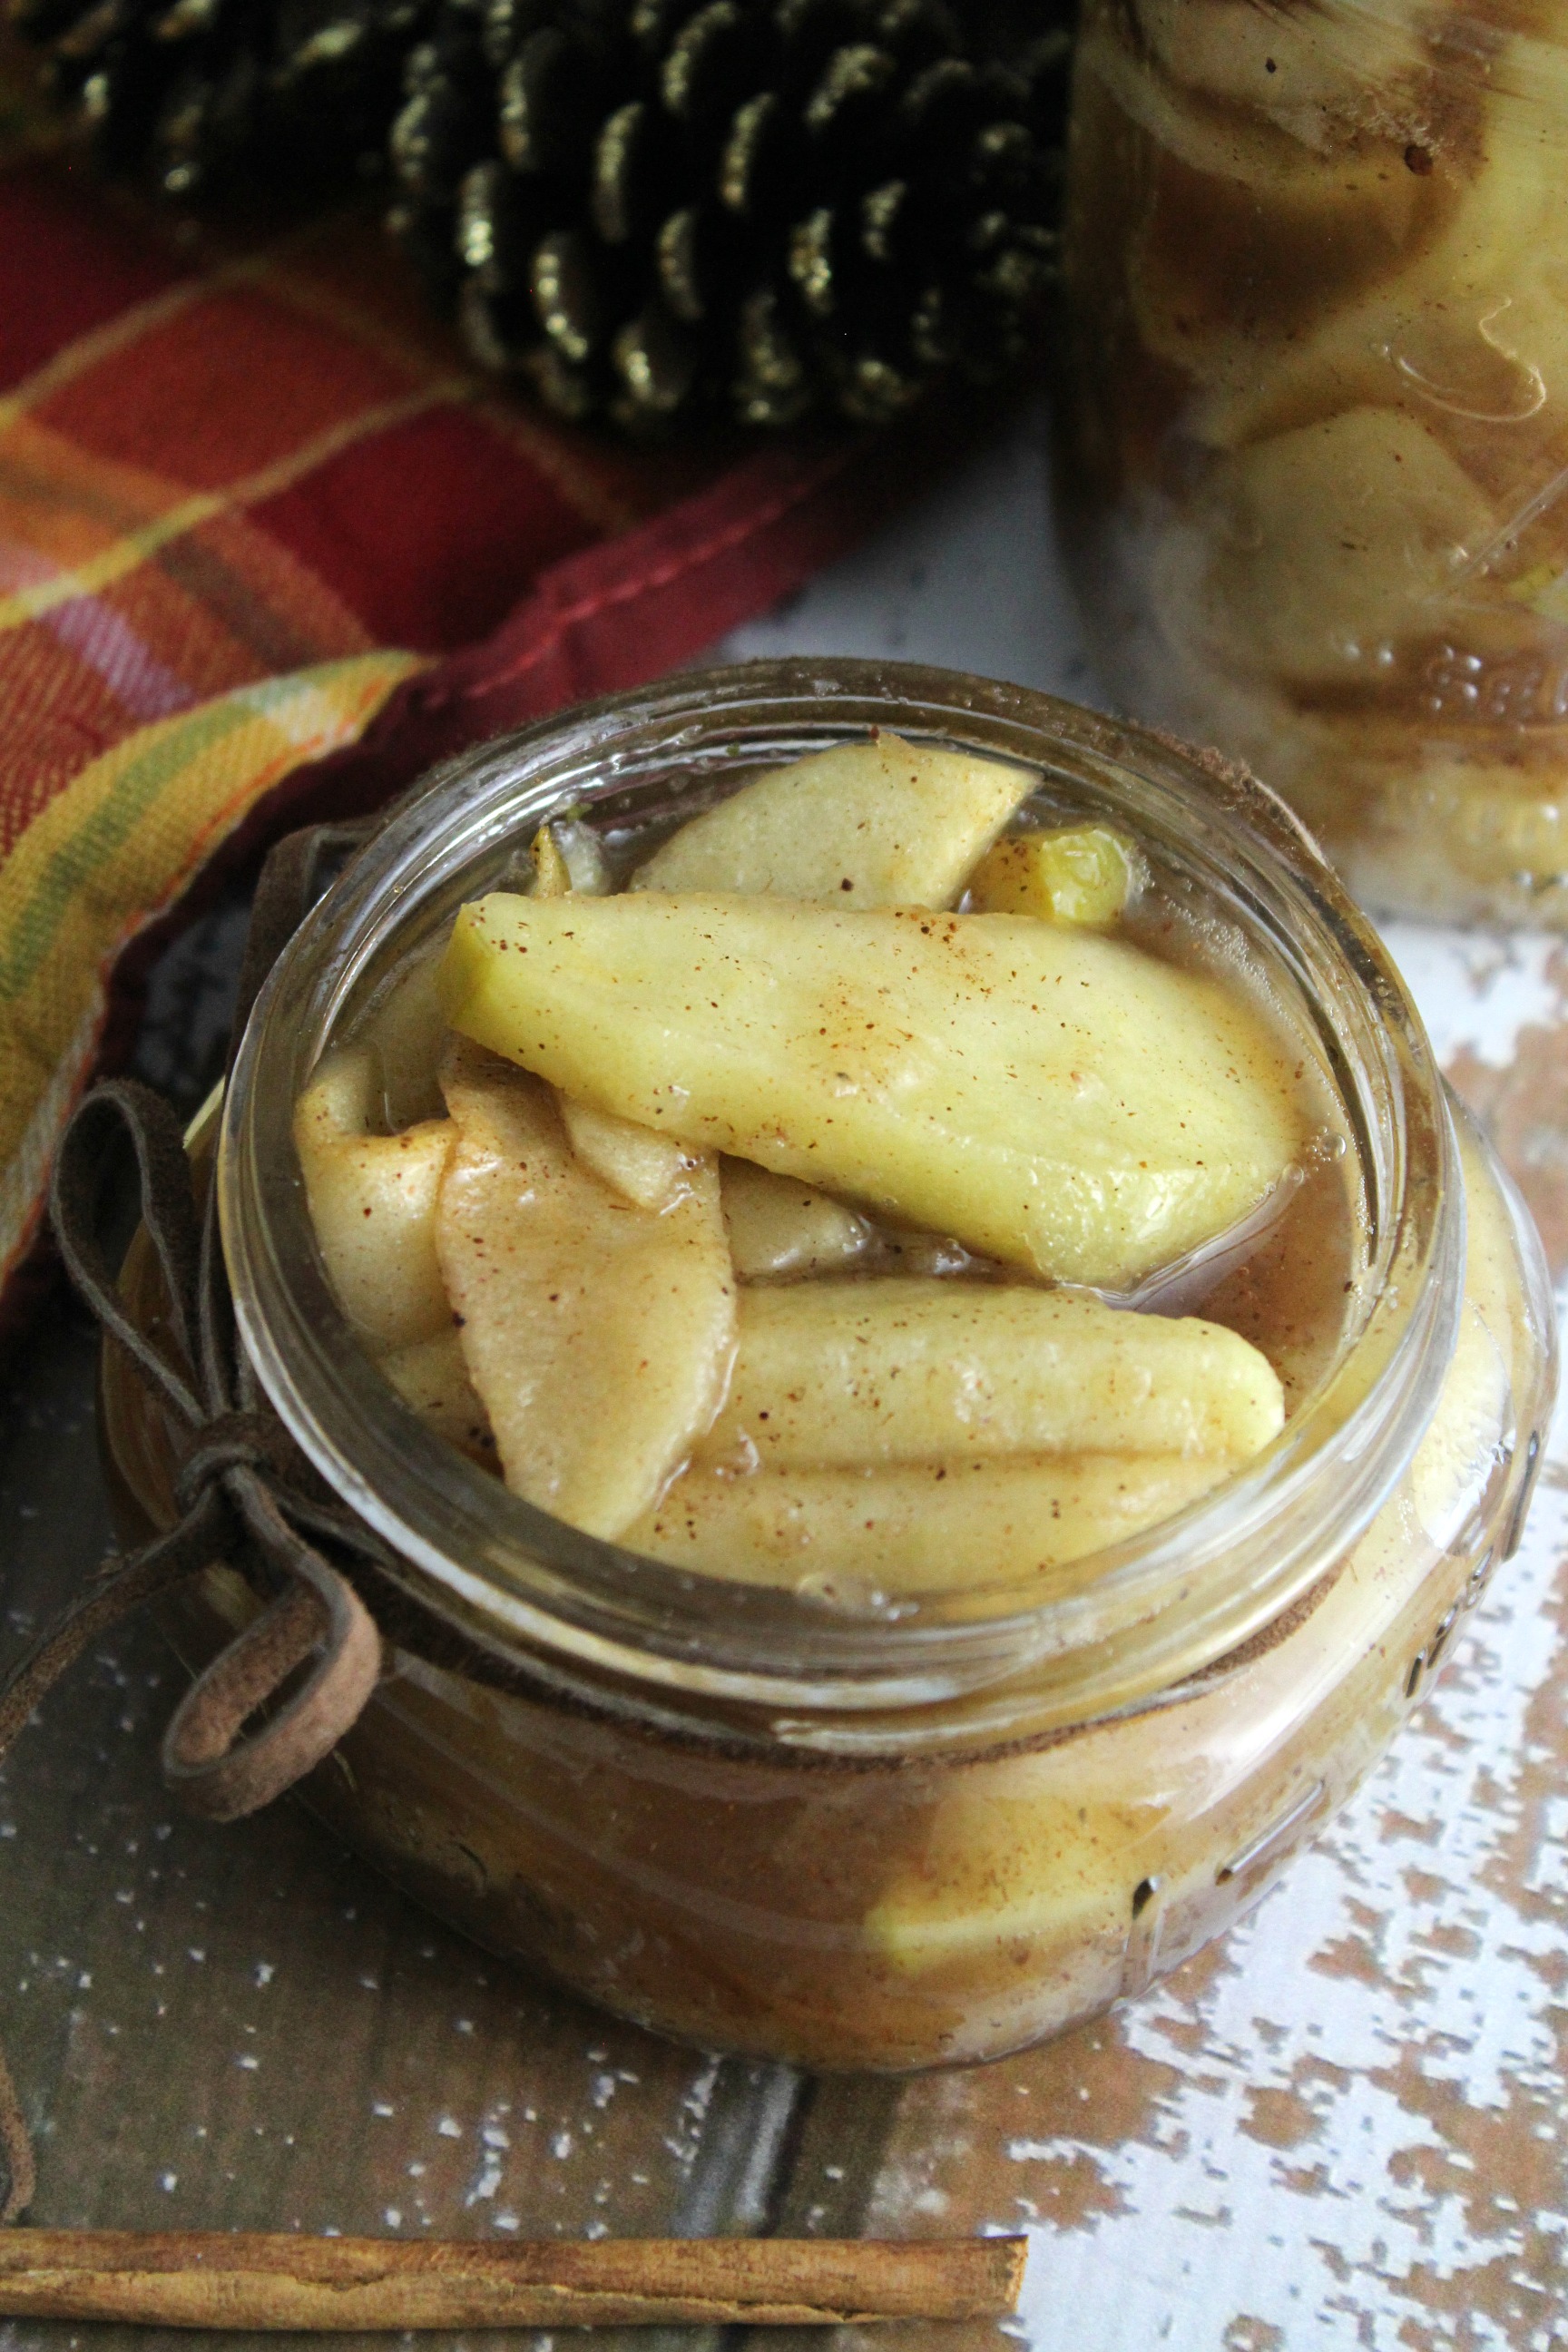
A five pound bag of apples will make a few canning jars few of apple rings.
However, they don’t last long at all. Especially when your kids can eat a jar between two of them in one sitting. They are definitely a “hot” item in our house. And rightly so – they are a simple snack to make, and definitely delicious.
If you don’t have a dehydrator, you can easily use your oven.
How to Make Dehydrated Apples
After making over a hundred batches of these dehydrated apples, here are my tips to share:
- I love using Fuji, Granny Smith, Gala or Cortland apples. They result in the most perfect dehydrated apple pieces that aren’t overly sweet.
- You don’t need to add any sweeteners to the apples when dehydrating. Apples have sufficient natural sugars that actually get a little more intense allowing them to be naturally sweet.
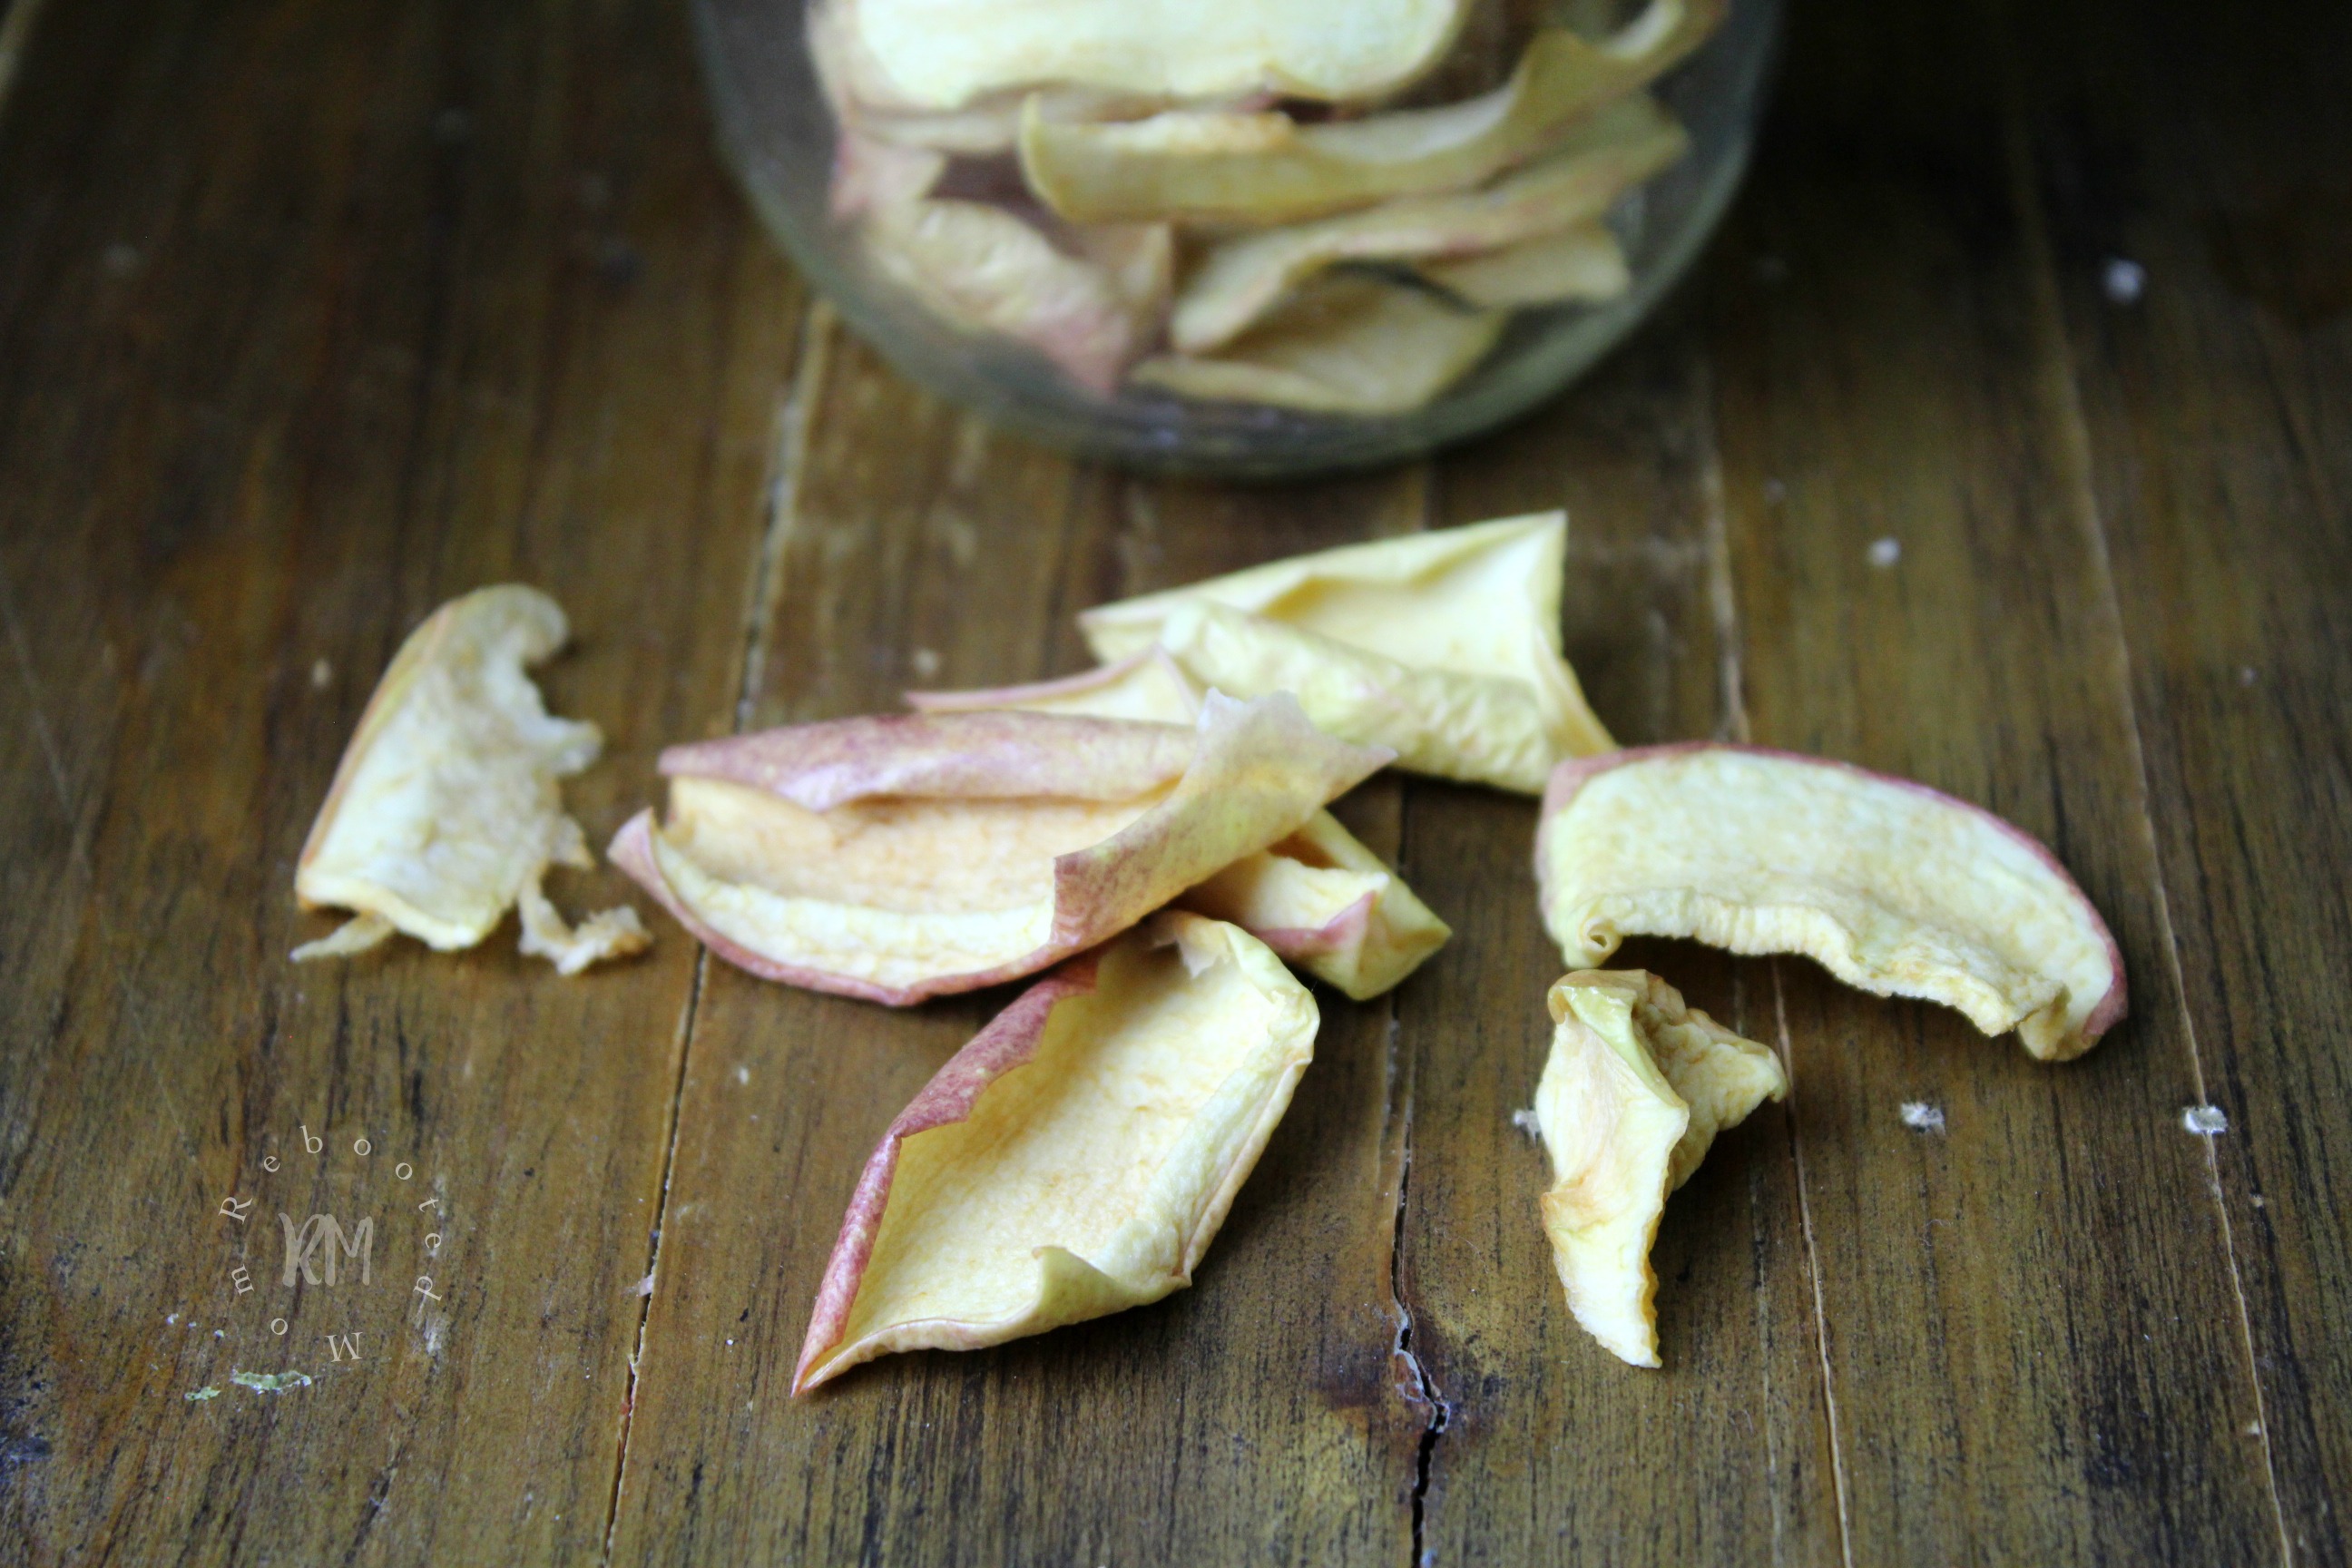
- You can dip the lemon slices in lemon juice, to prevent browning, but it’s not really necessary. It’s not something I try to do – our apples come out a nice light brown color.
- Apples should be dry between the 6 and 8 hour mark – however, it doesn’t hurt to over-dry them. It’s better to over-do the drying in the dehydrator than to under-dry. Any amount of moisture can trigger mold growth.
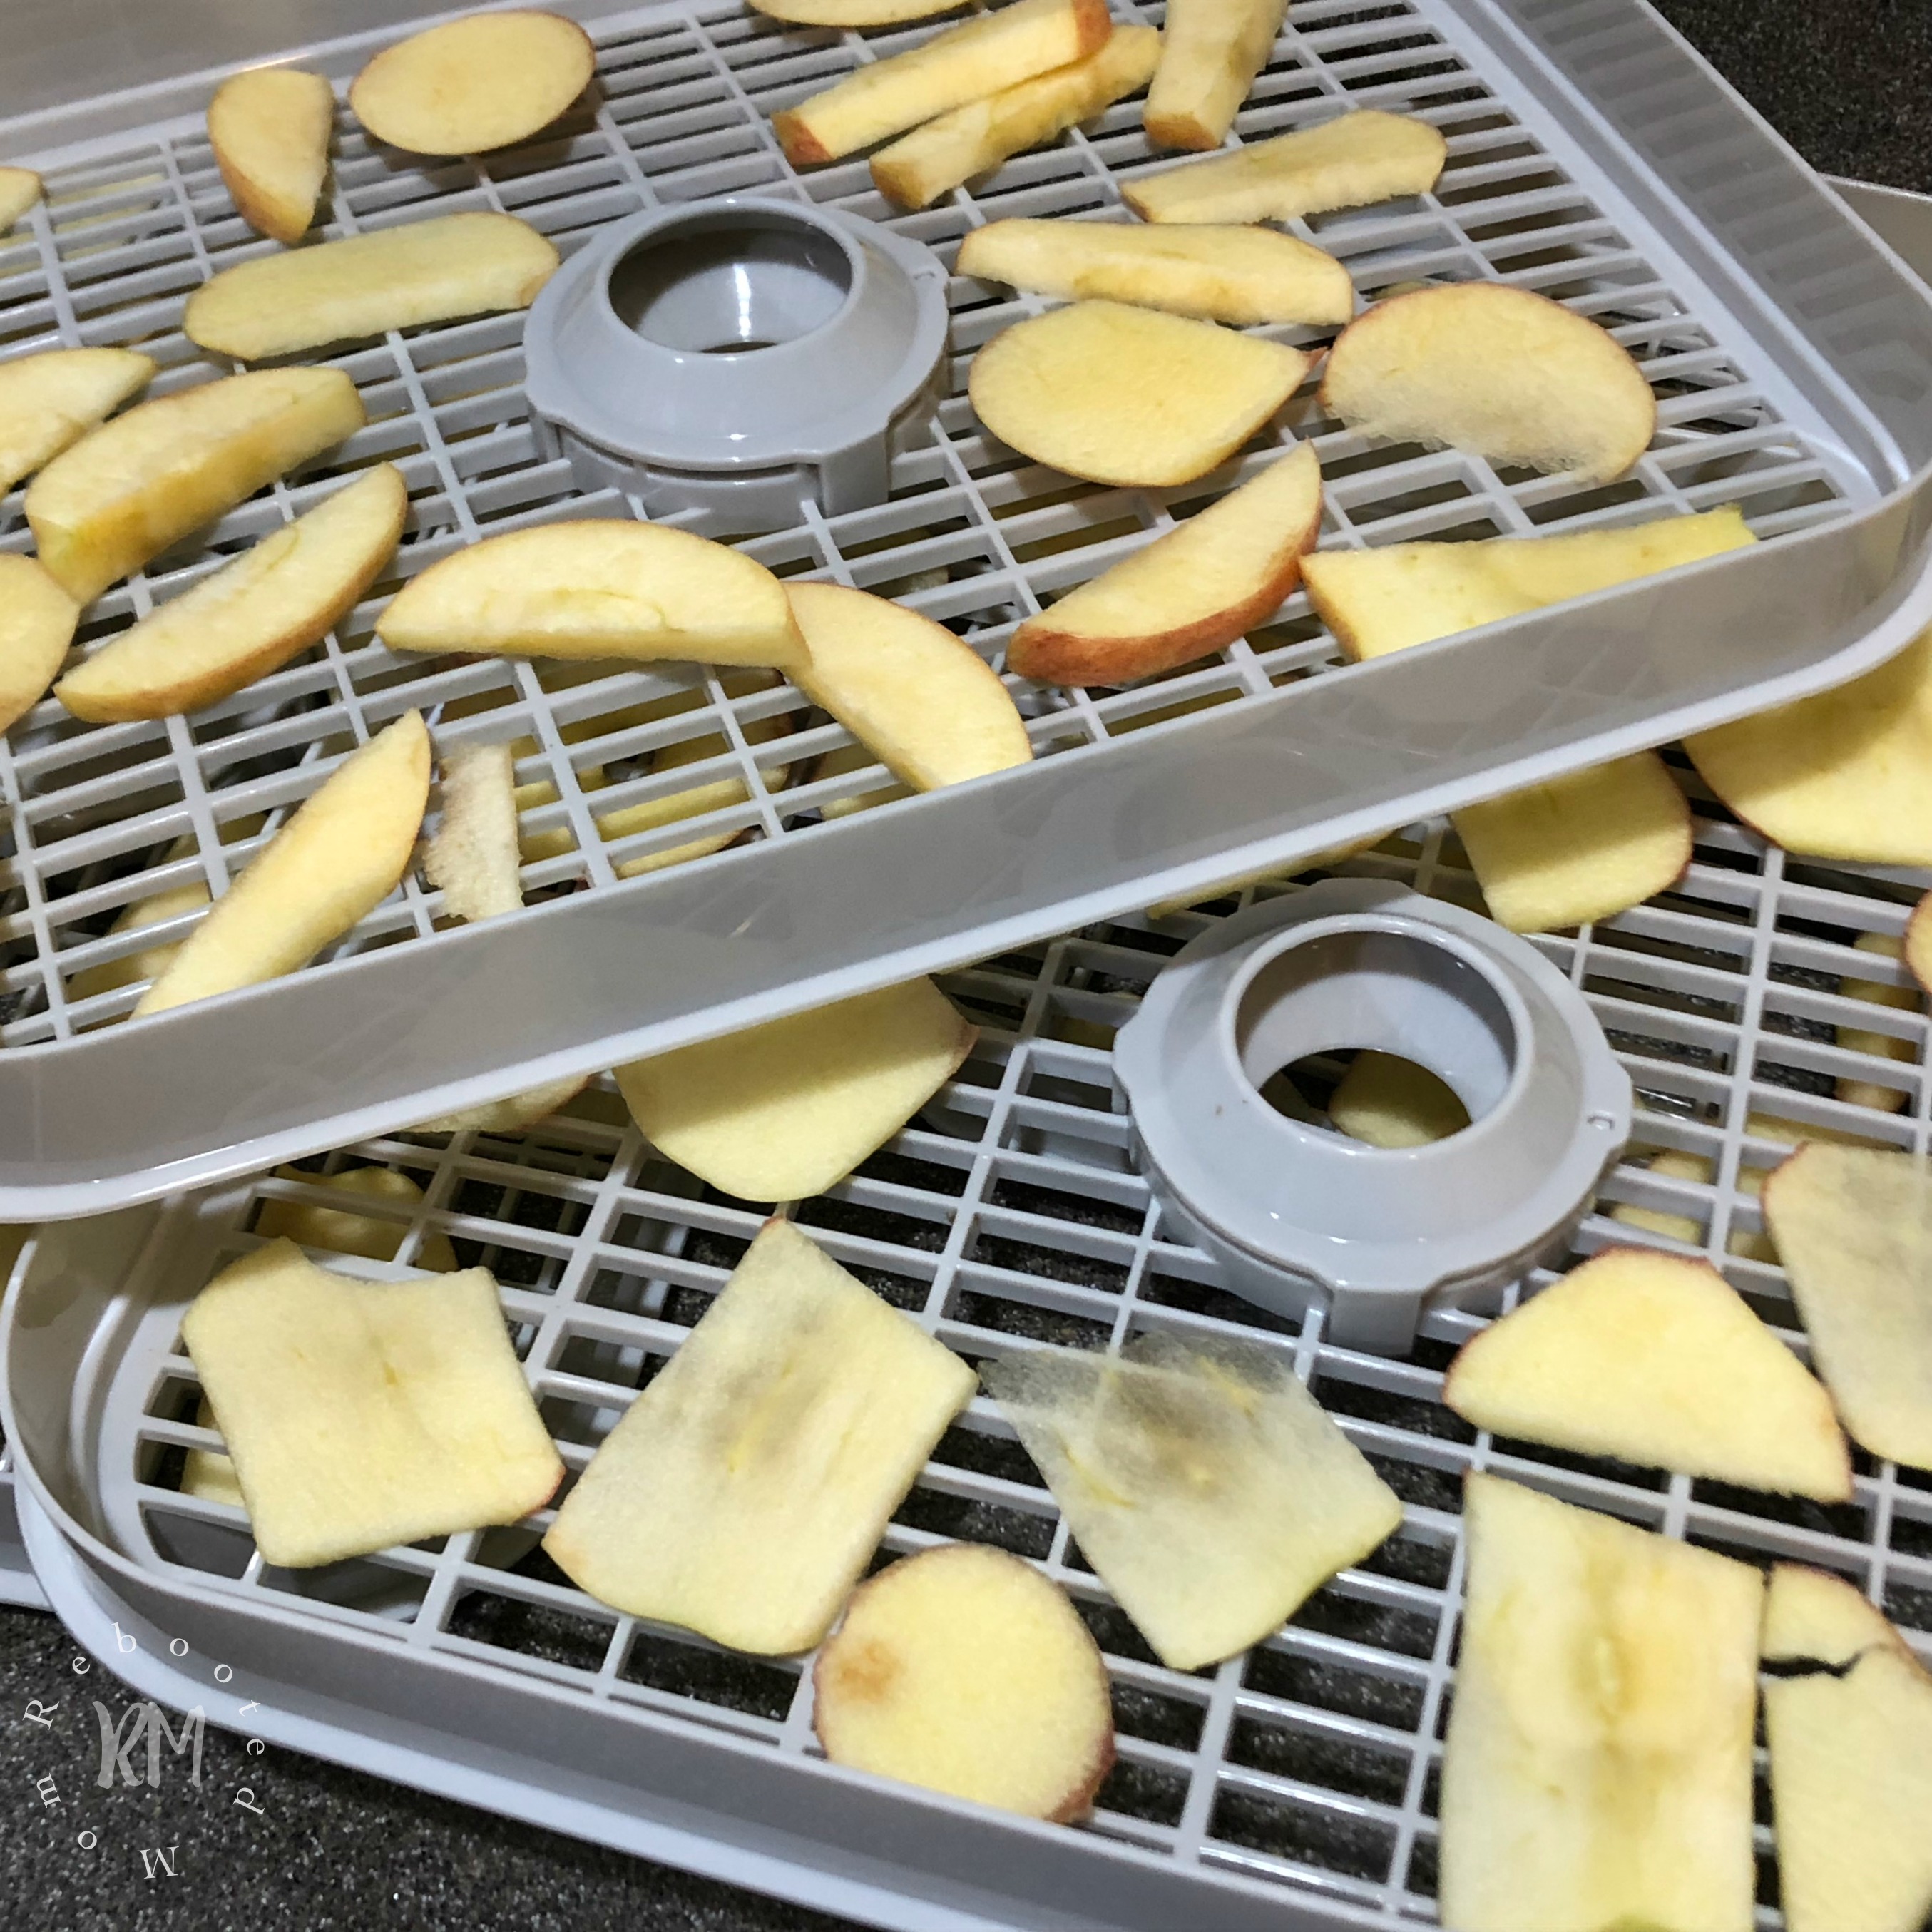
- Peeling isn’t necessary – it’s an extra step that will take considerable time, unless you have an apple corer and peeler (then by all means go for it!)
It’s also helpful to remember that although these apples are simple and easy, they will never be as perfect as the dried apples you tend to find in the grocery store.
That is because manufacturers add preservatives to allow those apples to be stored for long periods (especially if they have a higher moisture content). Homemade apple slices like we have here don’t have preservatives; therefore, they need to be drier in order for them to keep for long periods.
Ingredients
- 3-5 lb apples (Cortland, Fuji, Granny or Gala) - unpeeled
- 1/4 C. lemon juice + 1/2 C. water (completely optional)
Instructions
- Wash and dry apples.
- If desired, peel and core apples using an apple peeler and corer. If not using a peeler or corer, simply slice your apples (skin on is fine), and set aside.
- Optional: soak slices in lemon juice and water mixture to prevent browning. Once again, this is completely optional and actually not even necessary.
- Place your sliced apples on your dehydrator tray, leaving sufficient space around the apples. Make sure you shake off as much liquid (lemon juice + water) as possible if you took that route.
- Dehydrate at 135 degrees for 6-8 hours.
- Check apples for moisture. Apples should be dry and somewhat leathery - if you rip one in half you should not see any sign of moisture. If needed, continue to dehydrate for an additional 1-2 hours.
- Allow to cool for 2-3 hours; then, place in an airtight bag or glass canning jar with lid. Store in a cool, dry pantry until completely gone.
Notes
Depending on the size of your dehydrator, you can easily increase this recipe to dehydrate more apples.

If you prefer apple chips, then continue to dehydrate them to suck even more moisture out. An additional 4-5 hours will zap those apple slices and make them crispy. Or, simply slice your apples even thinner.
If you are looking for other apple recipes, this Homemade Apple Pie Filling without refined sugar is a great way to use up an abundance of apples.

[…] How to Make Dehydrated Apples […]