↑
  • DIY
  • Essential Oils
  • Gardening
  • Health & Wellness
  • Recipe Index

Rebooted Mom

Health, Food & Wellness Information to help your family live naturally.

Home About Contact
  • DIY
  • Essential Oils
  • Gardening
  • Health & Wellness
  • Recipe Index

Main Dishes

This Slow Cooker Honey Sesame Chicken is sweet, savory, and easy to throw together in the slow cooker for a dinner that is perfect for family night!

Slow Cooker Honey Sesame Chicken

Air Fryer Steak Bites

Lemon Chicken Cloud Bread Tacos

Chinese Salt & Pepper Shrimp

Chinese Salt and Pepper Shrimp

More This Way

Breads & Desserts

Moist and delicious Creamed Corn Cornbread Muffins that come together SO easily with a can of creamed corn and easy pantry ingredients - a must for any cornbread lover!

Creamed Corn Cornbread Muffins

Mango Coconut Lime Popsicles

Mango Coconut Lime Popsicles

Sourdough Irish Soda Bread

Homemade Sourdough Bagels

More This Way

Sides & Soups

With just a few ripe peaches you can whip up this naturally sweet and delicious Peach Butter - perfect for spreading on bread, pancakes or ice cream!

Sweet and Spicy Pickled Mini Peppers

Candied Jalapeños (Cowboy Candy)

Pumpkin Patch Biscuits

Pumpkin Patch Biscuits

Korean Cucumber Salad

Korean Style Cucumber Salad

More This Way

Vegetable

Pickled Asparagus

Pickled Asparagus Spears

Creamy Arugula Spread

Sweet and Spicy Pickled Cucumbers

Potato Spinach Balls Appetizer

More This Way

Get the best posts here...

Pickled Hatch Chile Peppers

Pickled Hatch Chiles

August 14, 2024

Use up an abundance of Hatch chiles to cook up this spicy Hatch Chile relish with just a few simple ingredients. It's great on burgers, steak and chicken!

Hatch Chile Relish

July 30, 2024

How to make your own sourdough starter, at home, with just a few simple ingredients, no special equipment and 5-8 days time!

How to Make Sourdough Starter

January 22, 2024

Sourdough English Muffins

October 13, 2023

Hatch Chile Roasted Garlic Artisan Bread

Hatch Chile Roasted Garlic Artisan Bread

August 17, 2023

Corn Cob Jelly

Old Fashioned Corn Cob Jelly

February 12, 2022

Subscribe to the weekly newsletter

Success! Now check your email to confirm your subscription.

There was an error submitting your subscription. Please try again.

How to Dehydrate Raspberries

DIY

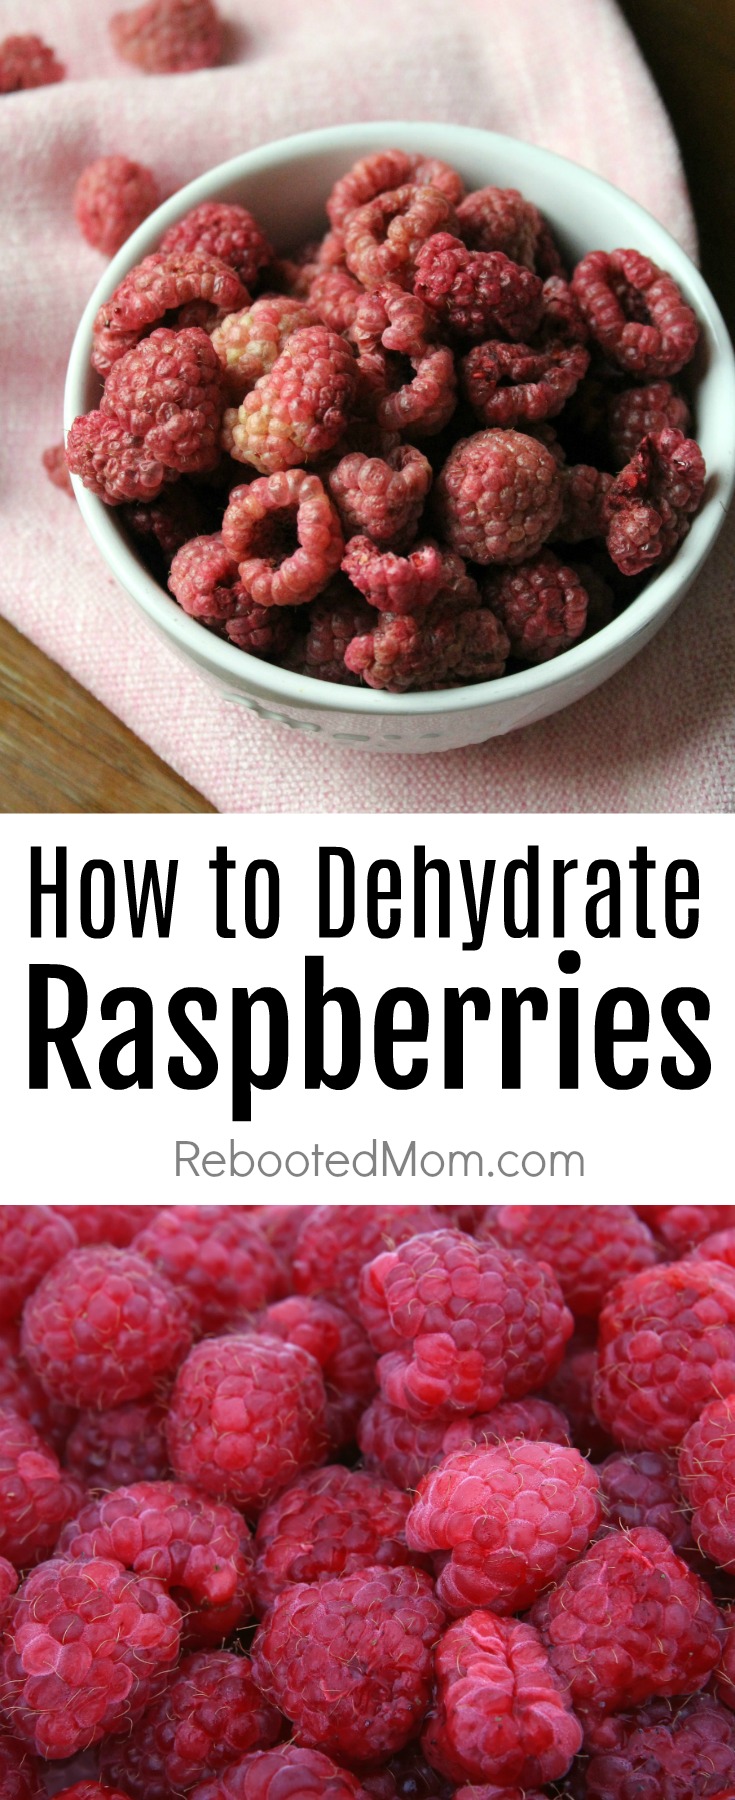
A step by step tutorial on how to dehydrate raspberries, that will help you capture the flavor of raspberries all year long.

Dehdyrated Raspberries

Raspberries are a favorite in my house amongst my five kids – which is great when they are on sale for $.97 each. At one point, we had a few raspberry bushes here at our house but they didn’t grow well. I’m almost certain it was the heat here in Phoenix… it gets so hot in the summer and they require quite a significant amount of water.

In some areas of the county, raspberries grow beautifully – wild, perfect and delicious. For right now though, I buy mine at the grocery store (which means that we need to eat them rather quick before they turn!)

Dehydrated Raspberries

Thankfully, it’s really easy to dehydrate them. After they are dehydrated you can use them for granola, or even grind them down into raspberry powder.

How to Dehydrate Raspberries

  1. Thoroughly wash and dry your raspberries. I like to drain mine in a colander and then blot them dry with a thick towel to get as much water off of them as I can.
  2. Arrange the raspberries in a single layer on your dehydrator trays. Place the raspberry with the center hole facing down to allow any remaining water to drip down.
  3. Spritz them with a tiny bit of lemon juice or vinegar to prevent them from turning brown. Then dehydrate them at 130 degrees F for 12-18 hours.

Fresh Raspberries

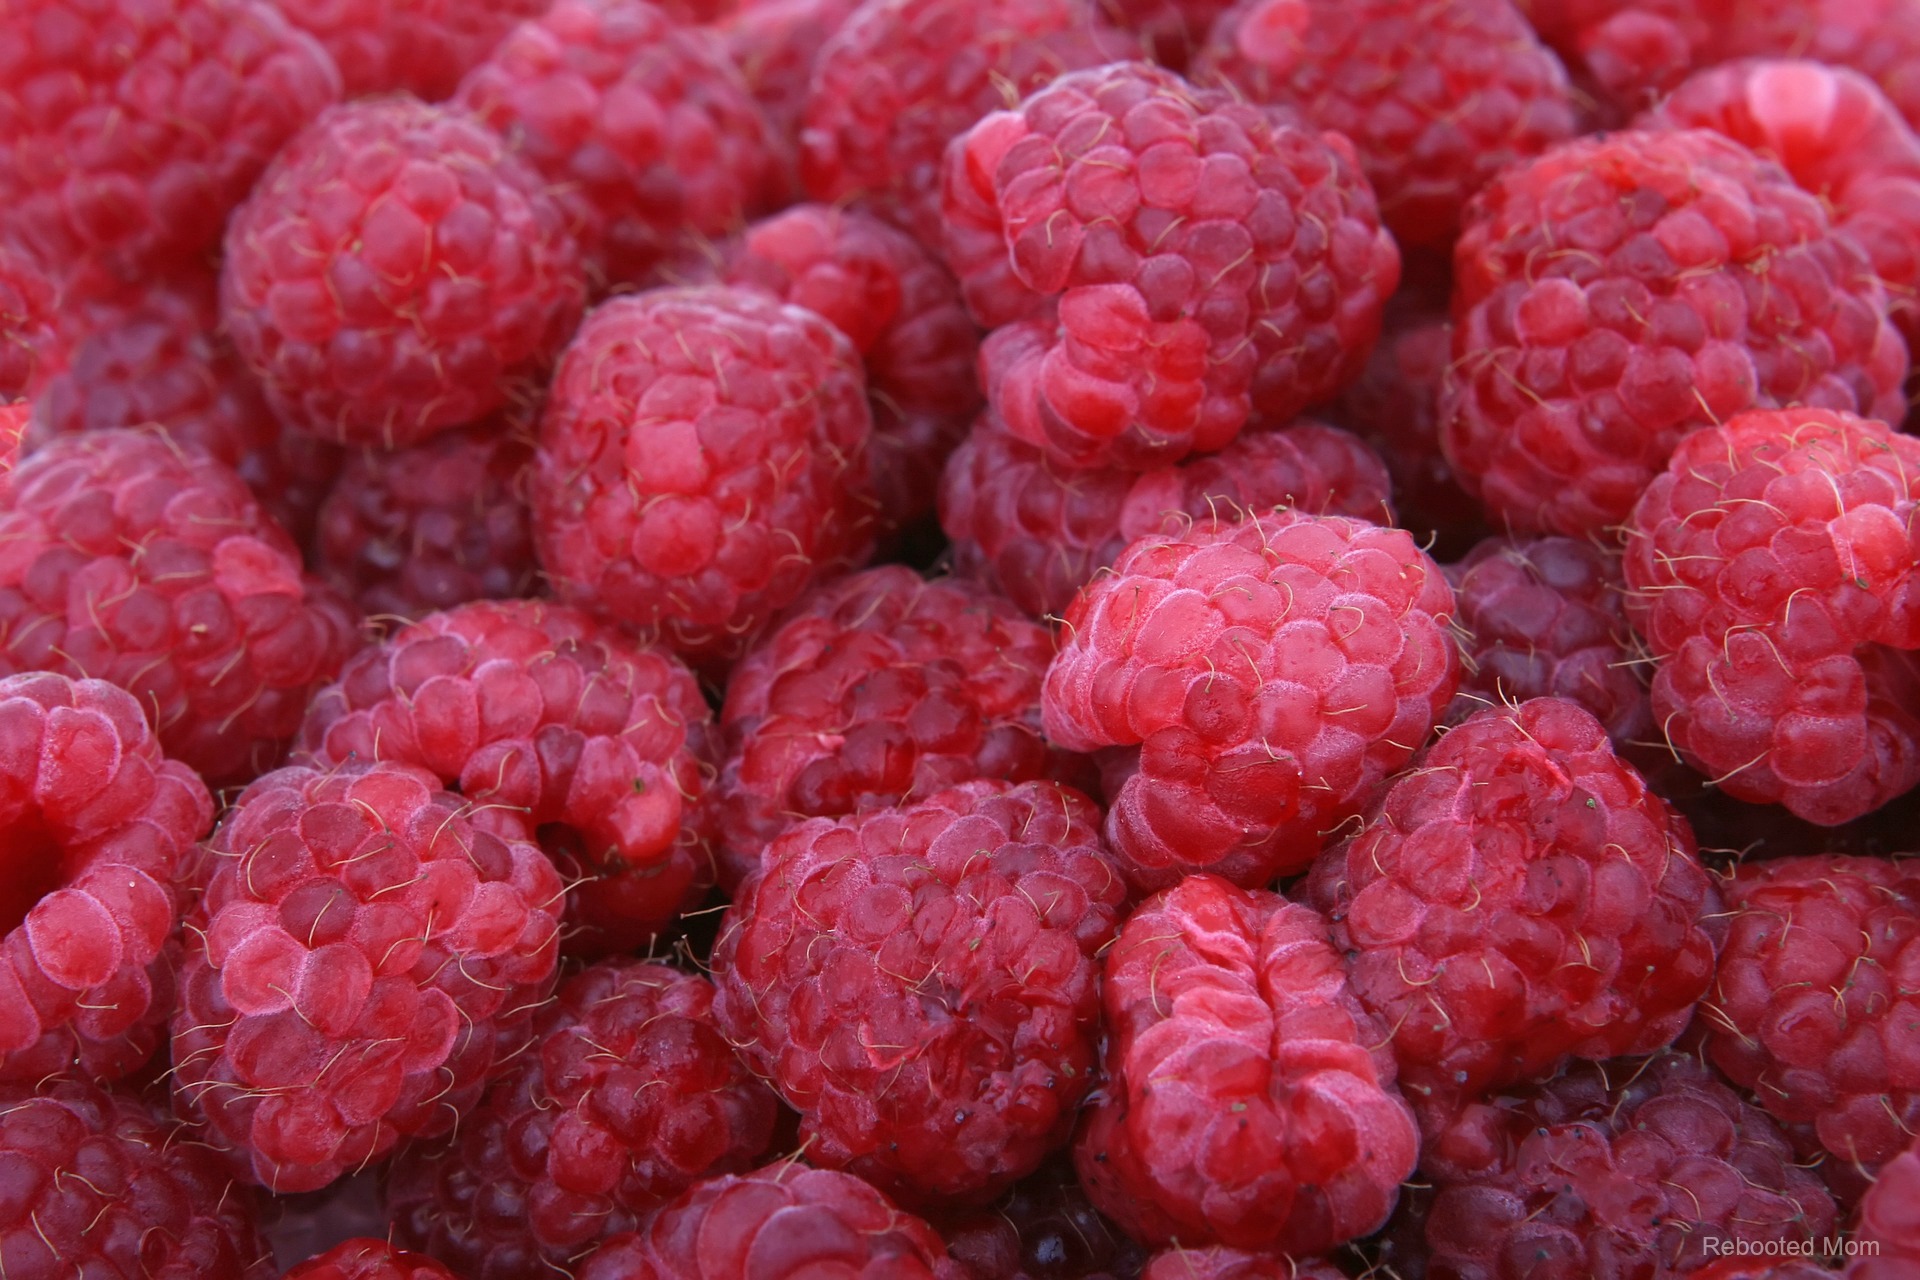
Wash and Dry your Raspberries

Start by picking raspberries that aren’t over-ripe. If they are over-ripe (mushy, dark red) they will not dehydrate well and they might fall apart.

Wash and dry your raspberries and allow them to drain in the colander. Dump them out on a heavy (clean) towel and try to pat them dry as best as you can. Raspberries like to absorb water, they are almost like a sponge. Not to mention, the center hole tends to collect water as well.

Raspberries on Dehydrator Trays

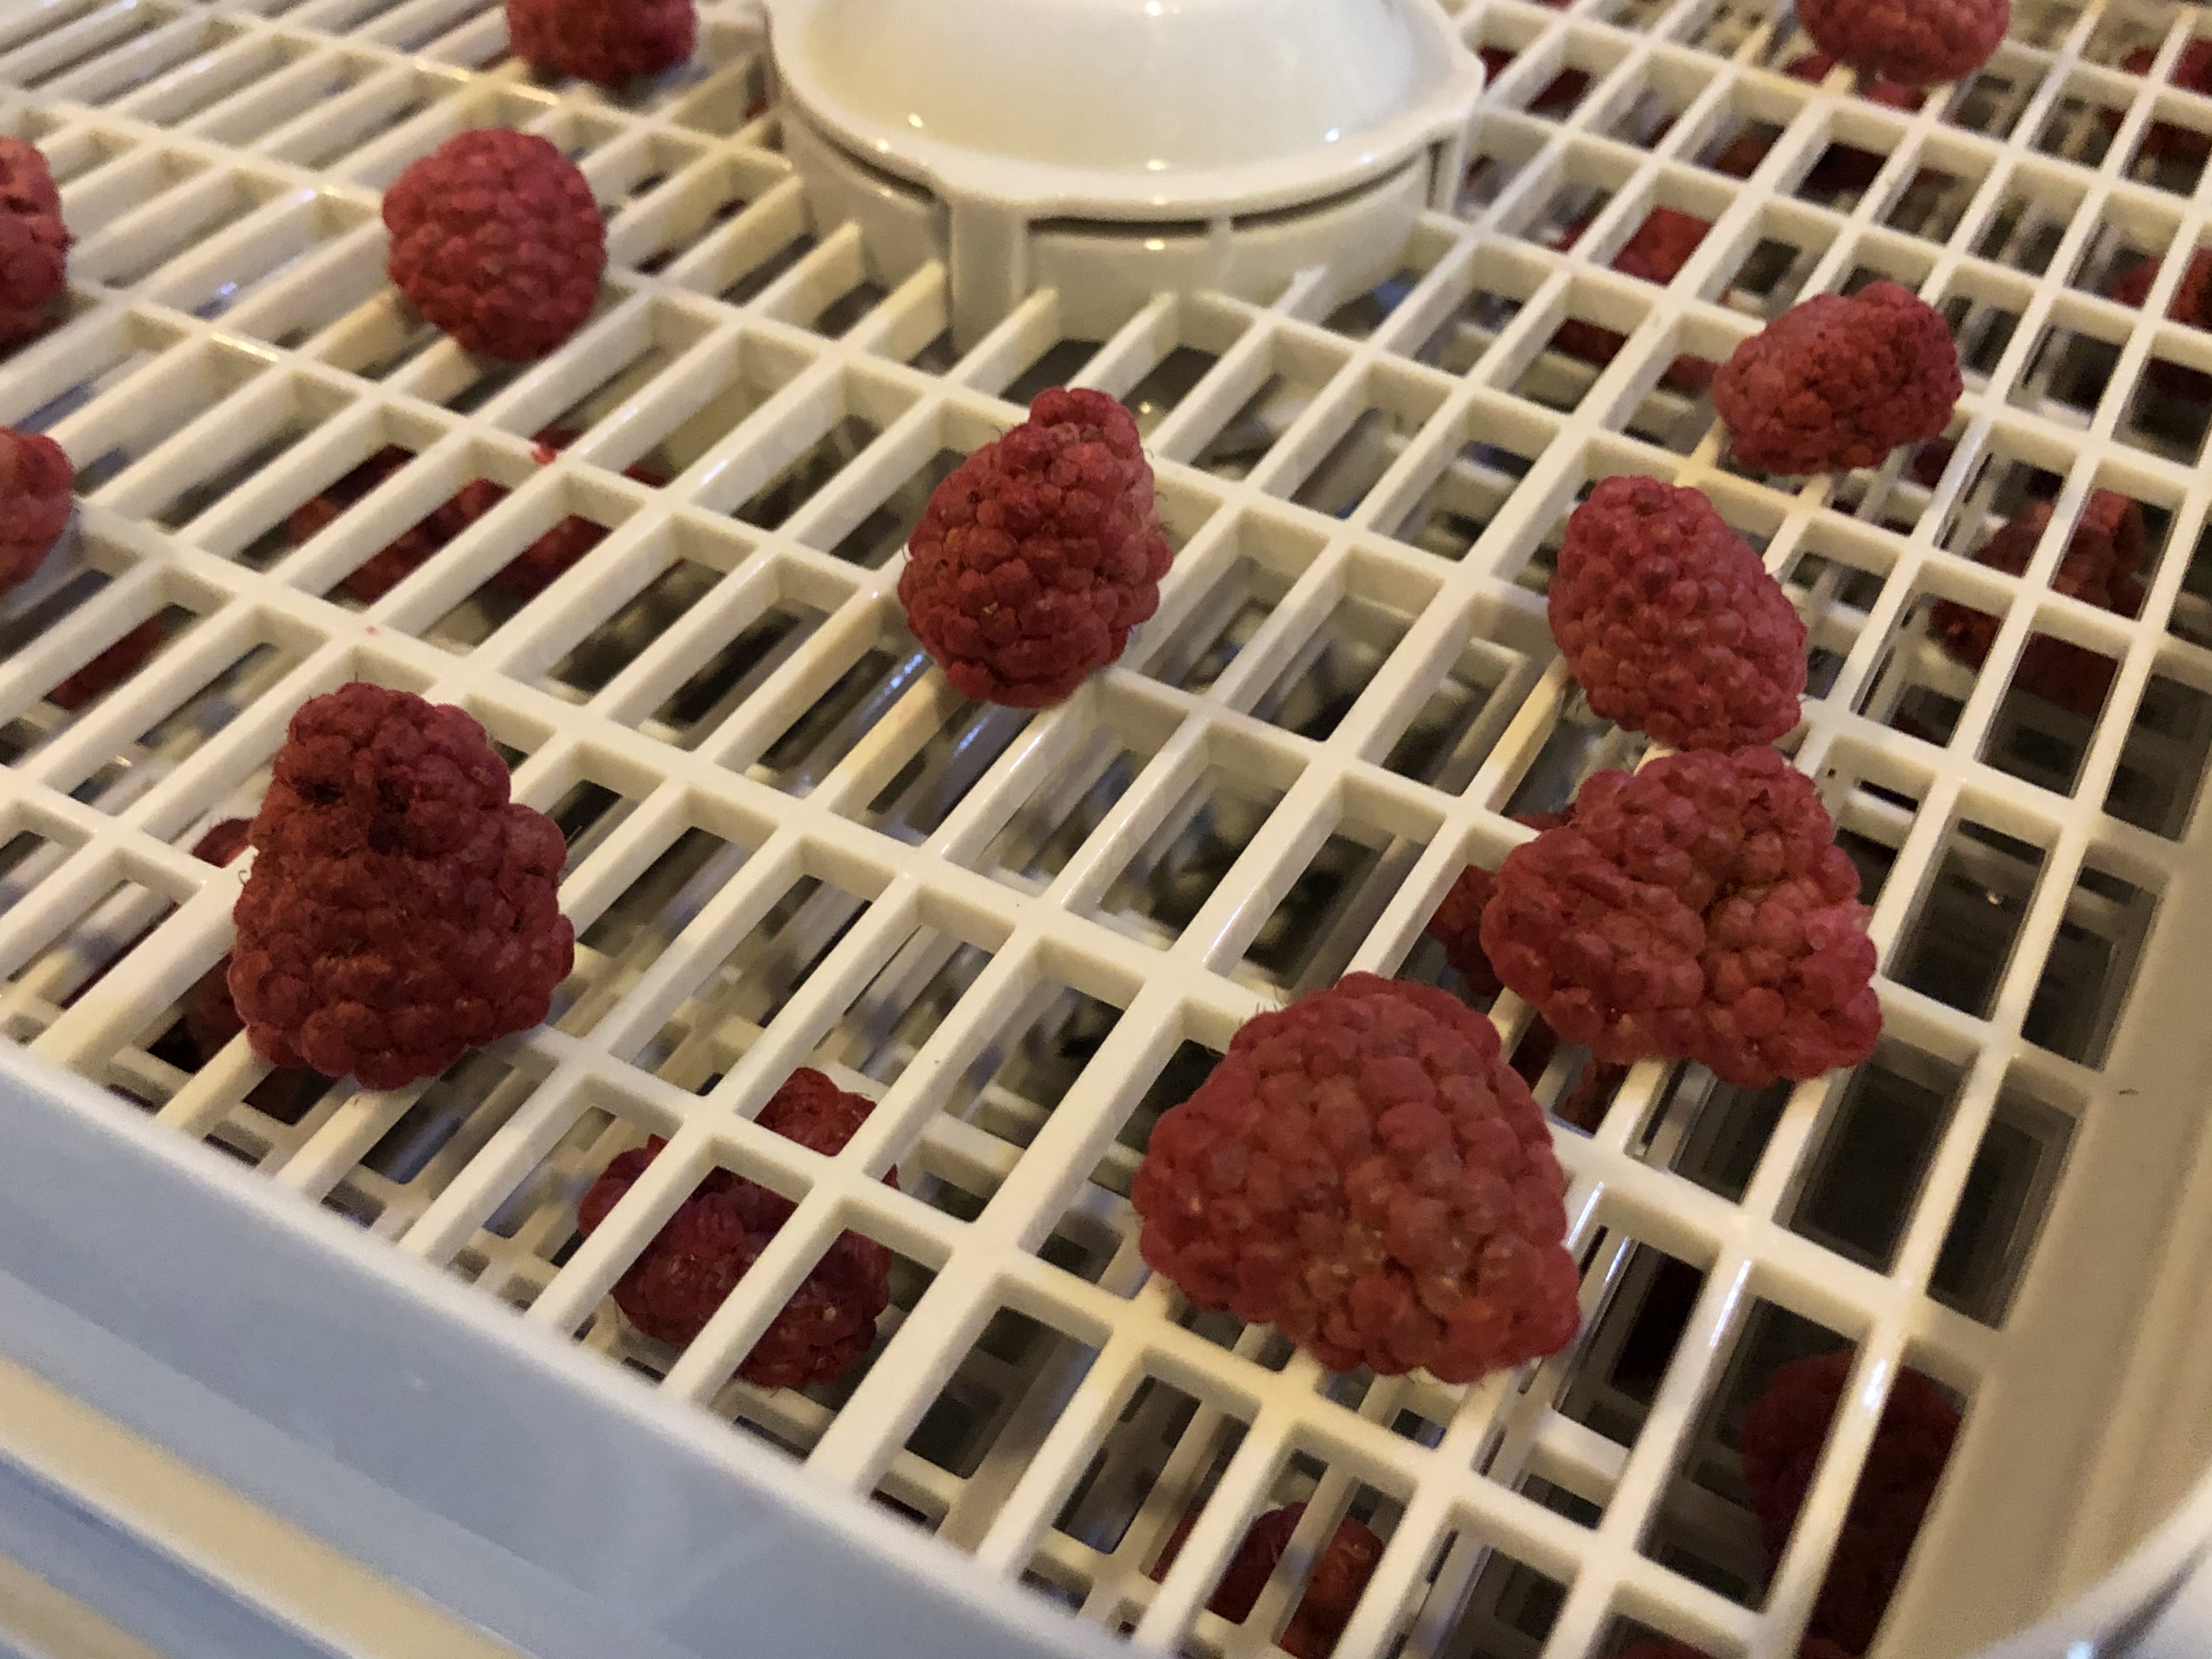
Fill up your Dehydrator Trays

Place your raspberries face down on the dehydrator trays, making sure to provide ample space between the berries. I was able to fill up my entire dehydrator with 4 lbs of raspberries. 

If you have a spray bottle, carefully spray the raspberries with a light layer of lemon juice (or vinegar). That acid will help them retain their color through the dehydrating process.

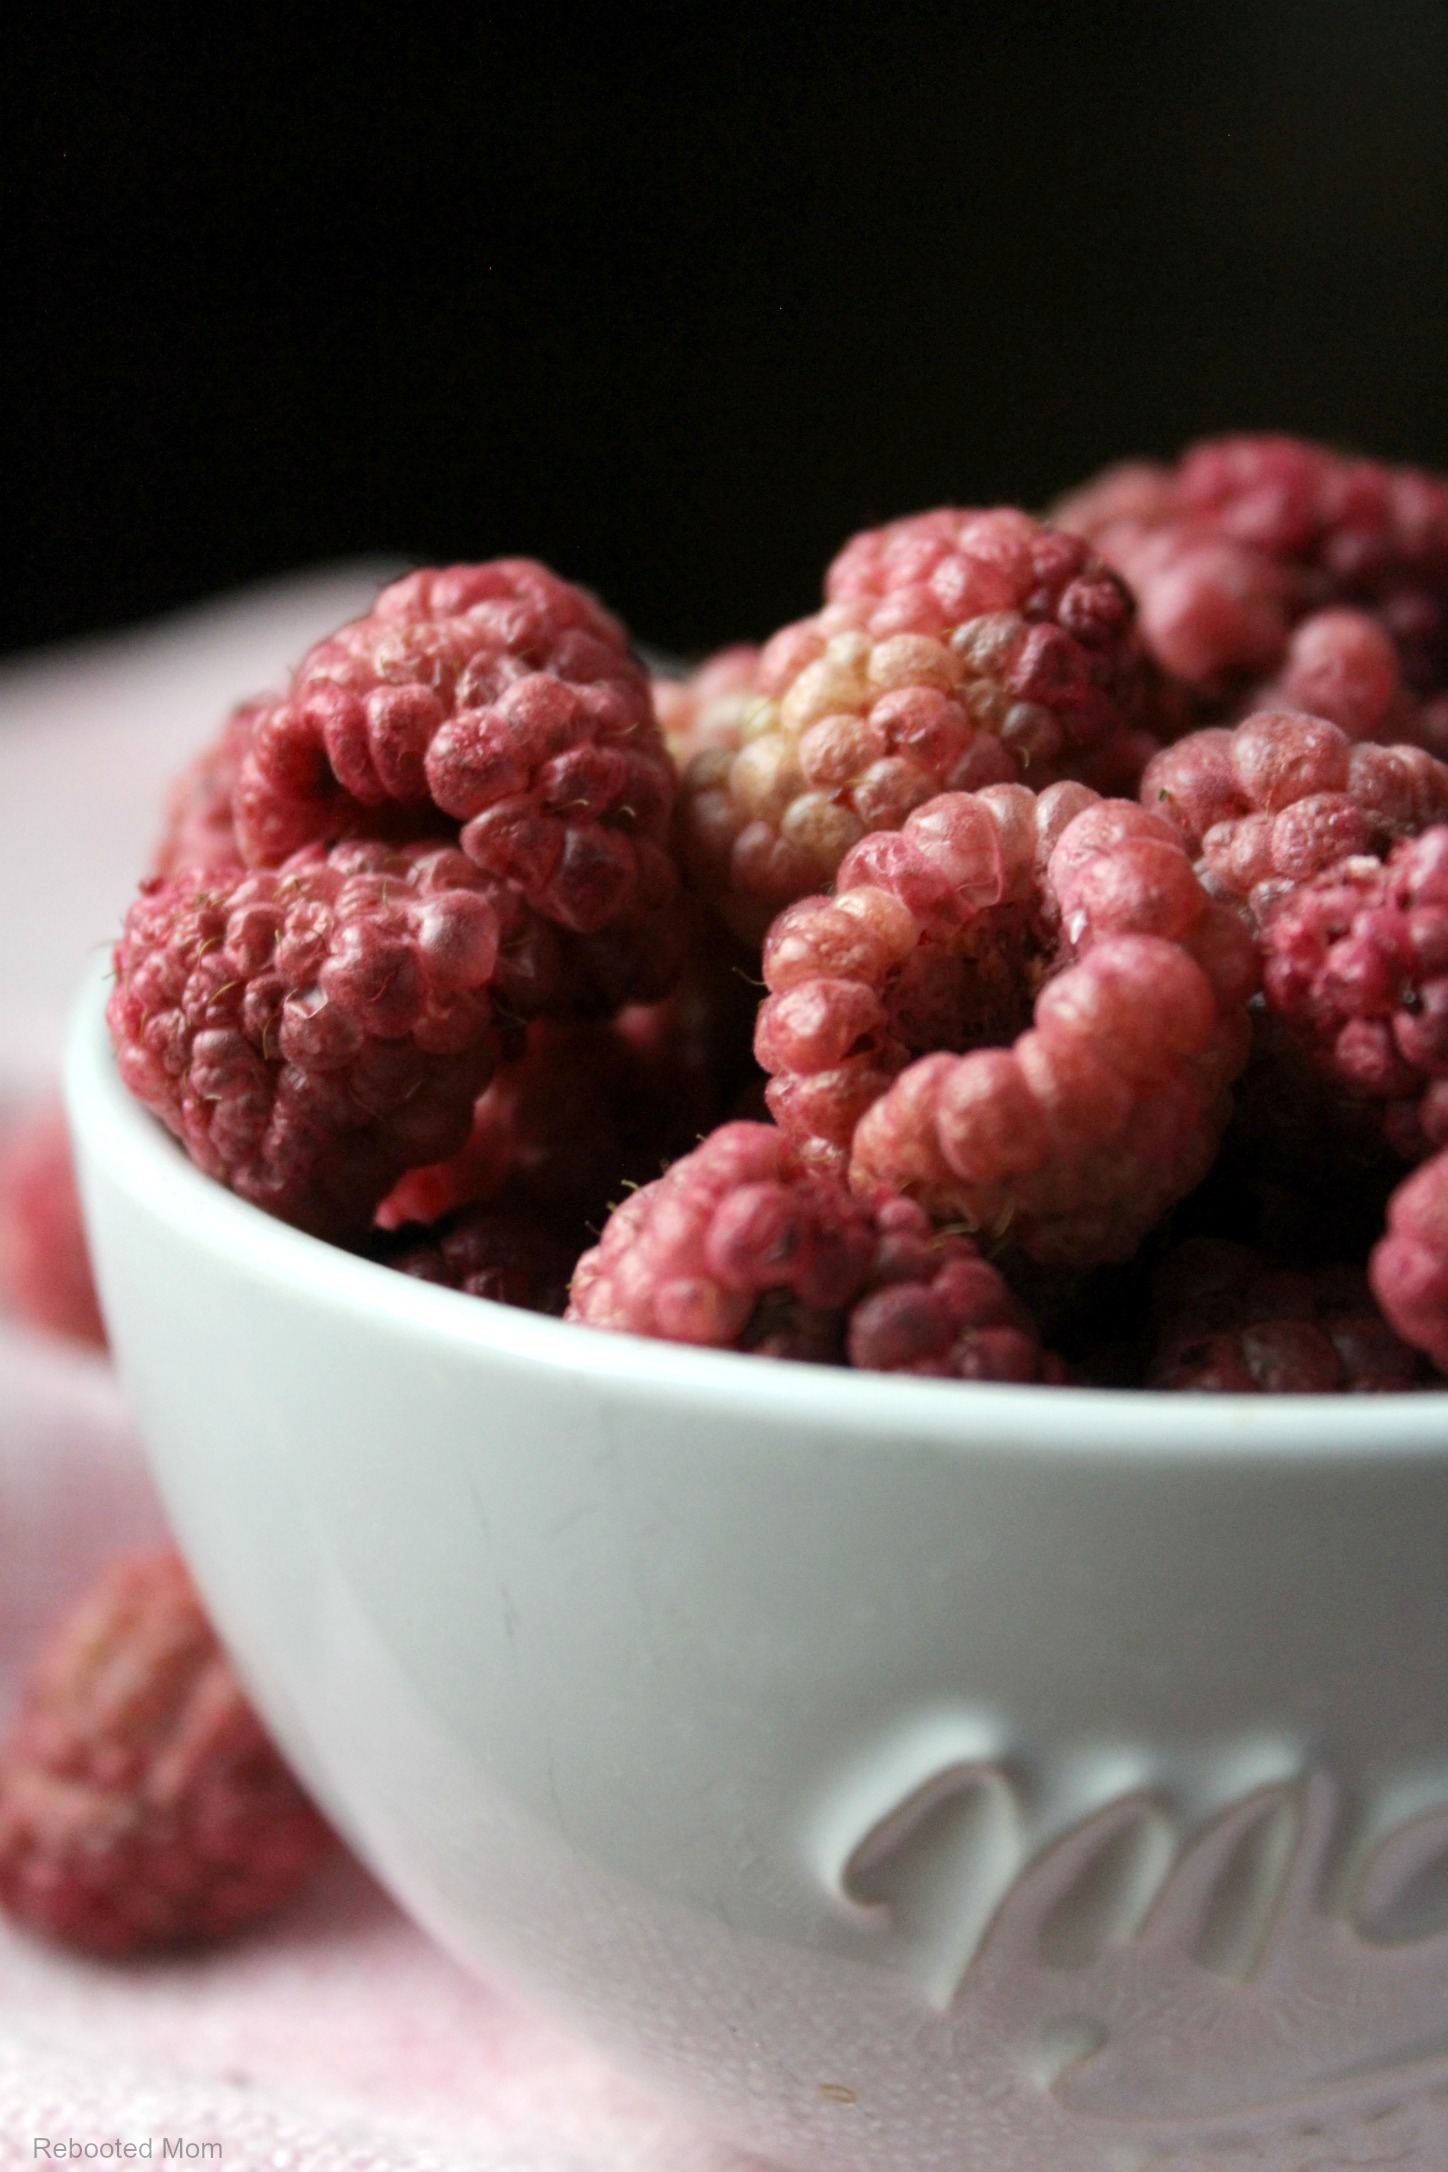
Place your trays inside the dehydrator and dry your raspberries for 12-18 hours at 130 degrees F.  As time progresses, the raspberries will get lighter and crisper as the water gets pulled out of the fruit.

Dehydrated Raspberries

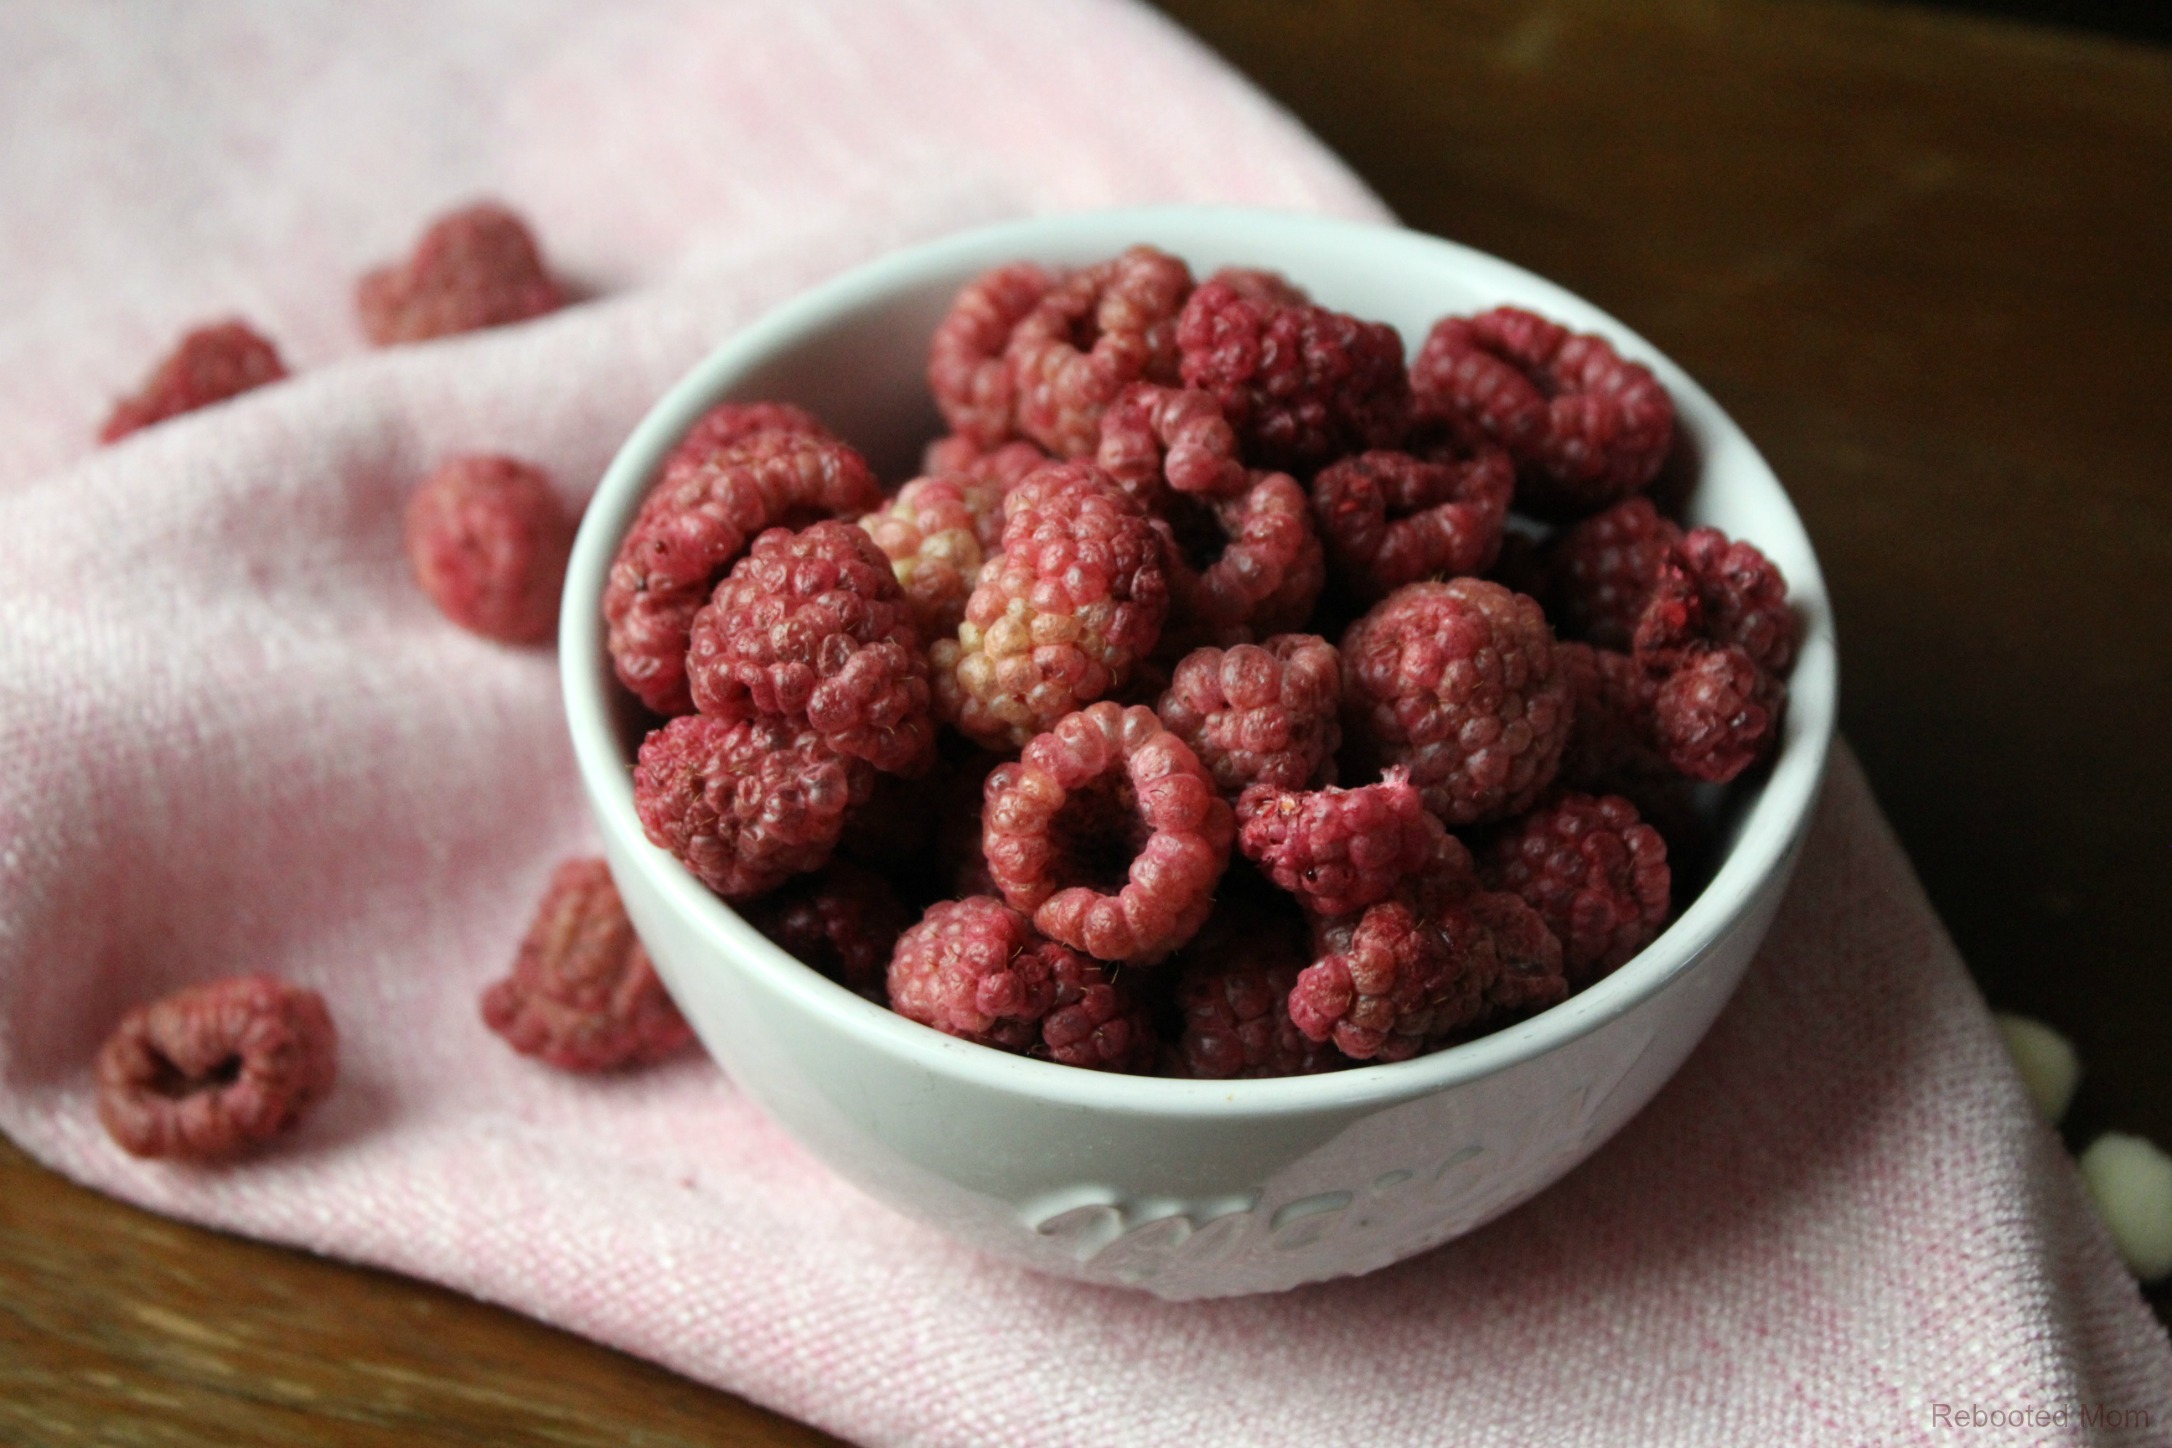
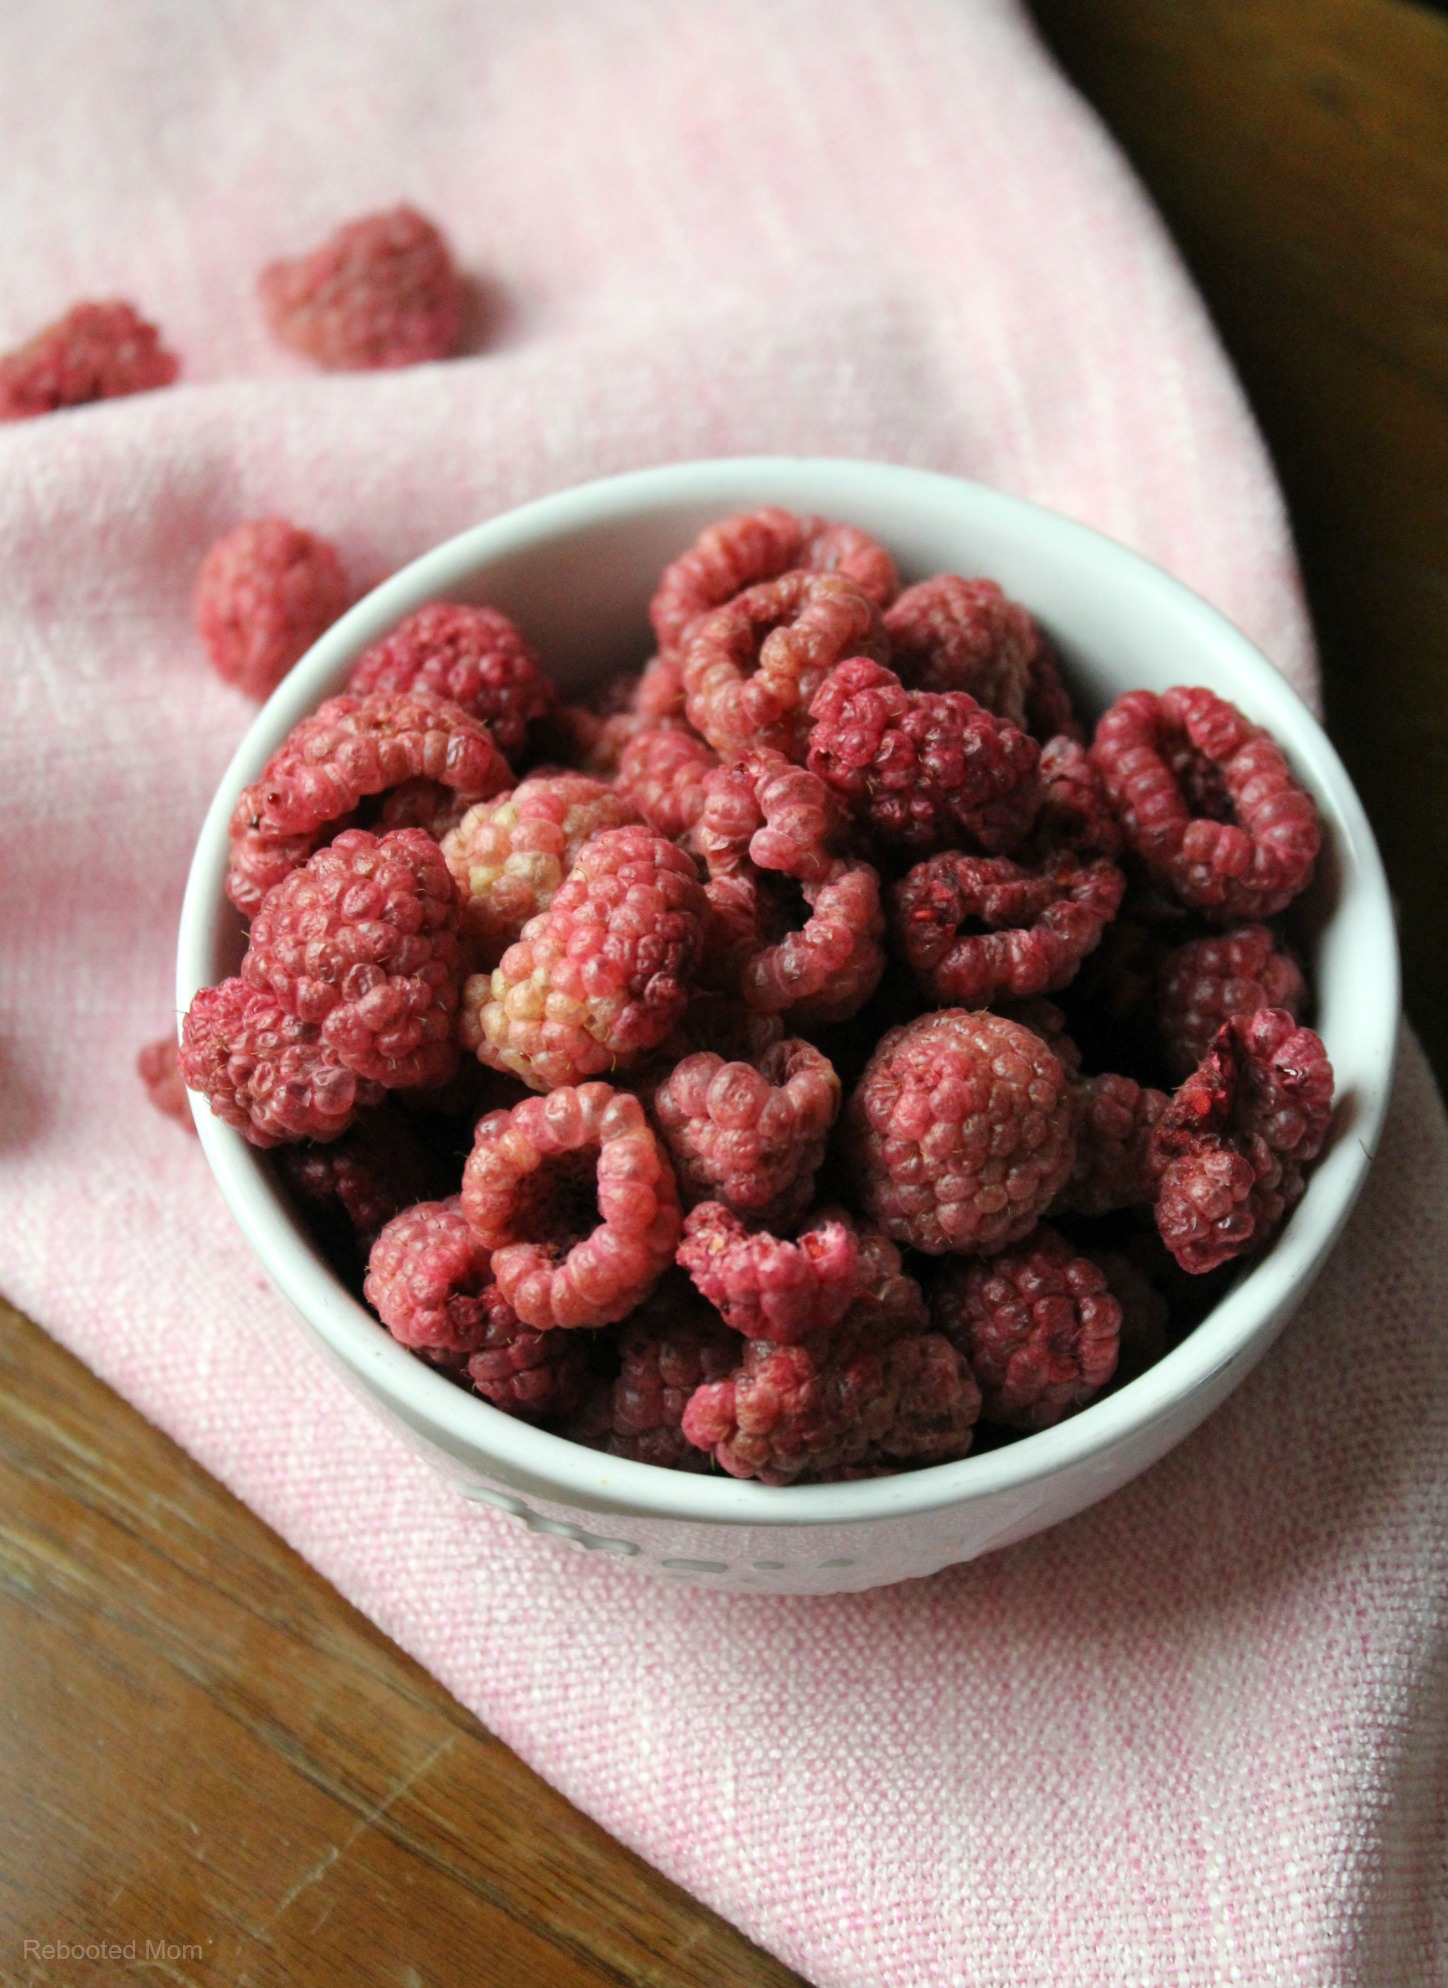
Store the Raspberries

Once the raspberries are done, you’ll want to store them away from light and moisture. You can vacuum pack them with a food saver attachment, or simply grind them down to powder and store that way.

I like to put mine in food saver bags and vacuum save, then pop them in the freezer for long term storage. When stored properly, raspberries will keep for up to one year.

How to Dehydrate Raspberries

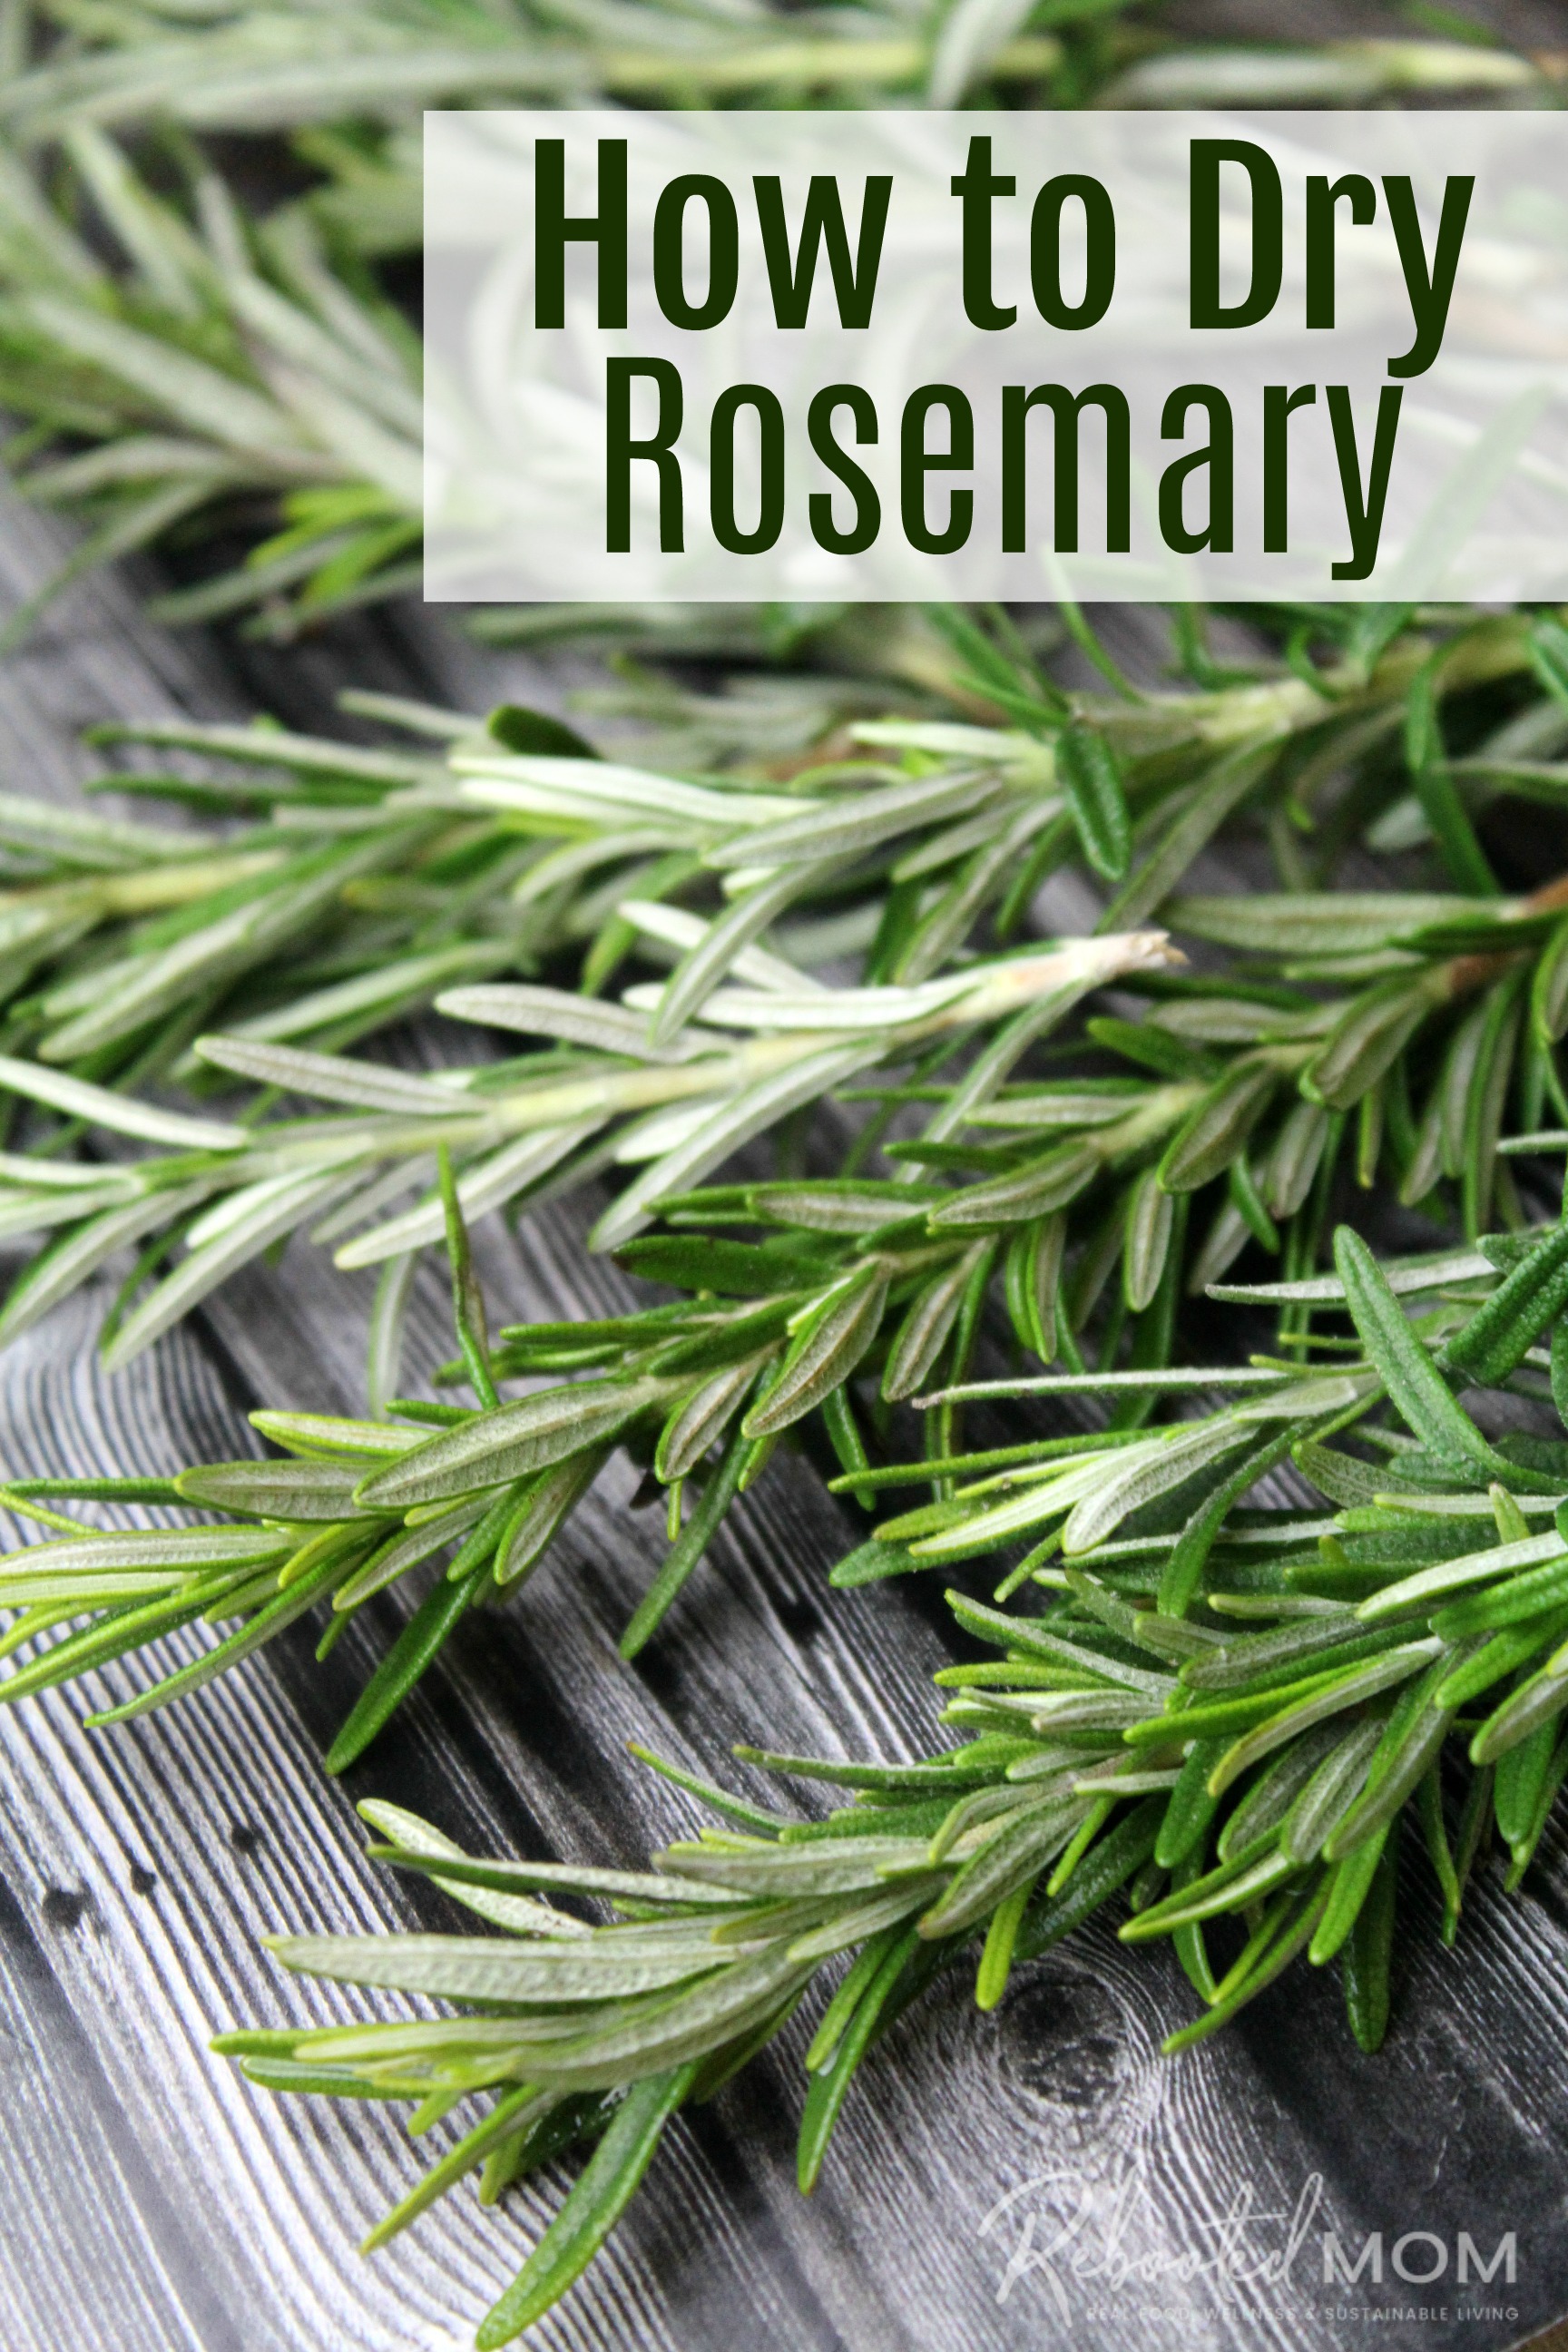
More things you can do with your dehydrator:

How to Dry Rosemary 


How to Dehydrate Whole Hot Peppers

How to Dehydrate Peppers

Shared by Sheryl

Leave a Reply Cancel reply

Your email address will not be published. Required fields are marked *

Recipe Rating


This site uses Akismet to reduce spam. Learn how your comment data is processed.

Hi, I'm Sheryl!

Hi there, I'm Sheryl!

Rebooted Mom was created out of my own journey to live and think differently about the food I eat. I share everything from gardening to DIY, recipes, and sustainable living.

categories

archives

Copyright ©2026, Rebooted Mom. All Rights Reserved. Privacy Policy.
Design by Pixel Me Designs