


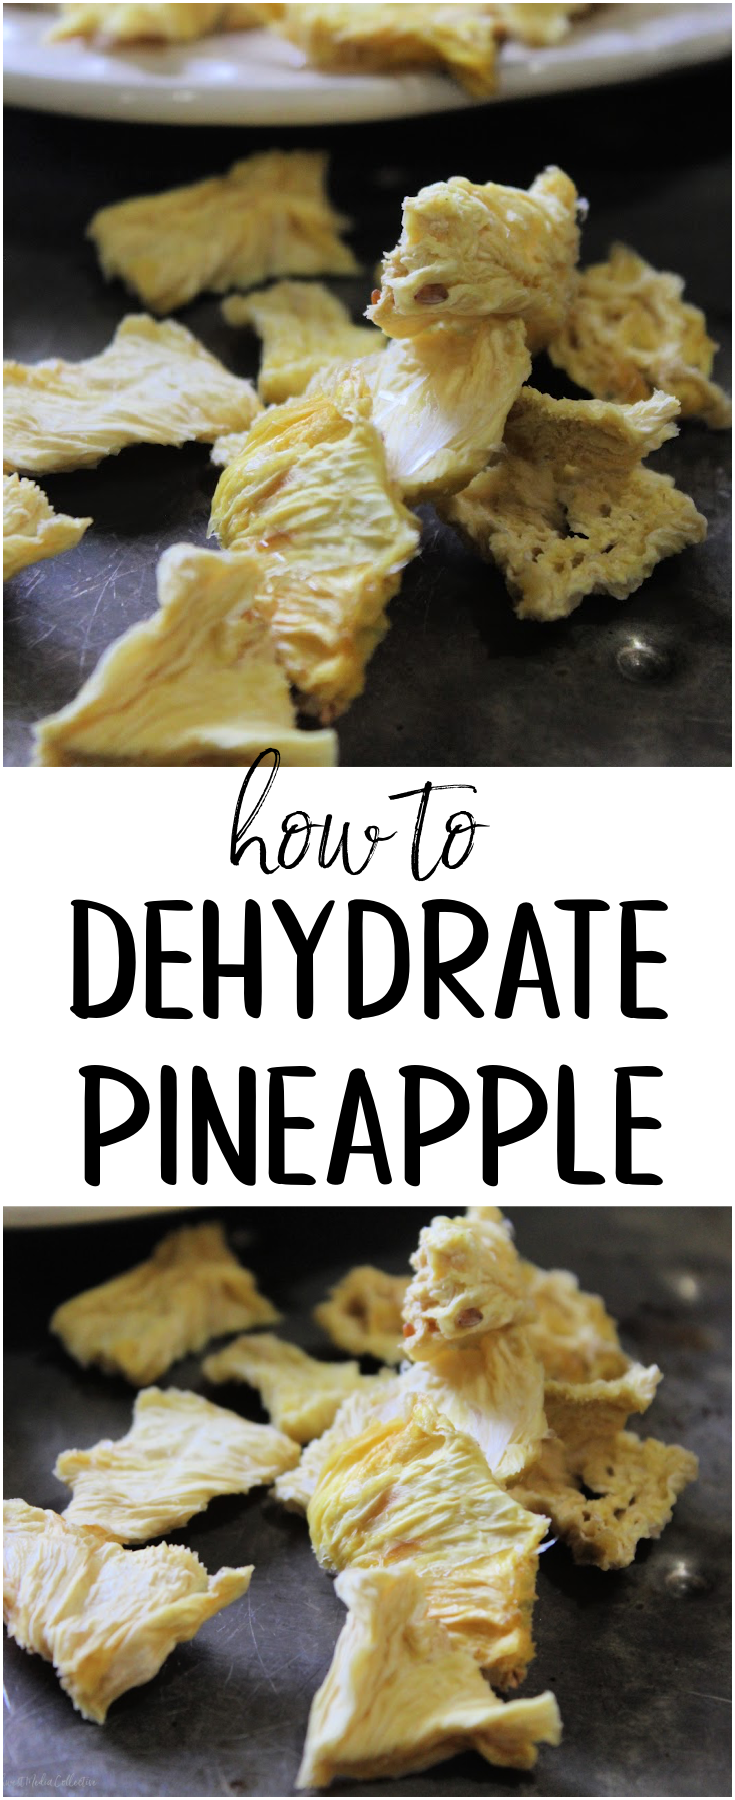
Step by step instructions to teach you to how to dehydrate pineapple in your home dehydrator – a healthy, filling and delicious snack!
My kids and I absolutely love pineapple. .. but I’ll be the first to admit, coring and peeling it is way too much for me at times.
Even for those of us who have a corer that cores pineapple, it can still be quite the production. There is no denying though that dehydrated pineapple is itself is one of the most delicious snacks.
It’s perfect for carrying on road trips and for hiking with your kids.
Dehydrated pineapple is full of flavor – do the work at home in your kitchen, and reap the rewards by taking it out on the trail. Dried fruit is the #1 request of my kids when we are out hiking the mountains of the southwest.
I admit — I love it, too.
How to use dehydrated pineapple
- Perfect added to trail mix
- Combine with other dehydrated fruit
- Add with coconut flakes and granola
How to Dehydrate Pineapple
Dehydrating pineapple is as easy as cutting it up and putting it on dehydrator trays. You can dehydrate canned or fresh pineapple. The benefit to canned pineapple is that it is already peeled and cored – and it’s also rather ripe.
Fresh pineapple may be more difficult to dehydrate – not only do you have to determine if it’s ripe, you will have to peel and core the pineapple before slicing. Pineapples sold in the grocery store typically need another week or so to ripen.
To dehydrate fresh pineapple:
Remove the outer skin with a sharp knife. Core the pineapple. Then slice the pineapple in half and then cut each of those halves in half again. Aim to cut the pineapple into small pieces 1/2 inch or less for faster drying time.
To dehydrate canned pineapple:
Open the can and drain the liquid (set aside for another recipe). Then lay the pieces on your dehydrator tray ensuring enough space is left around each piece.
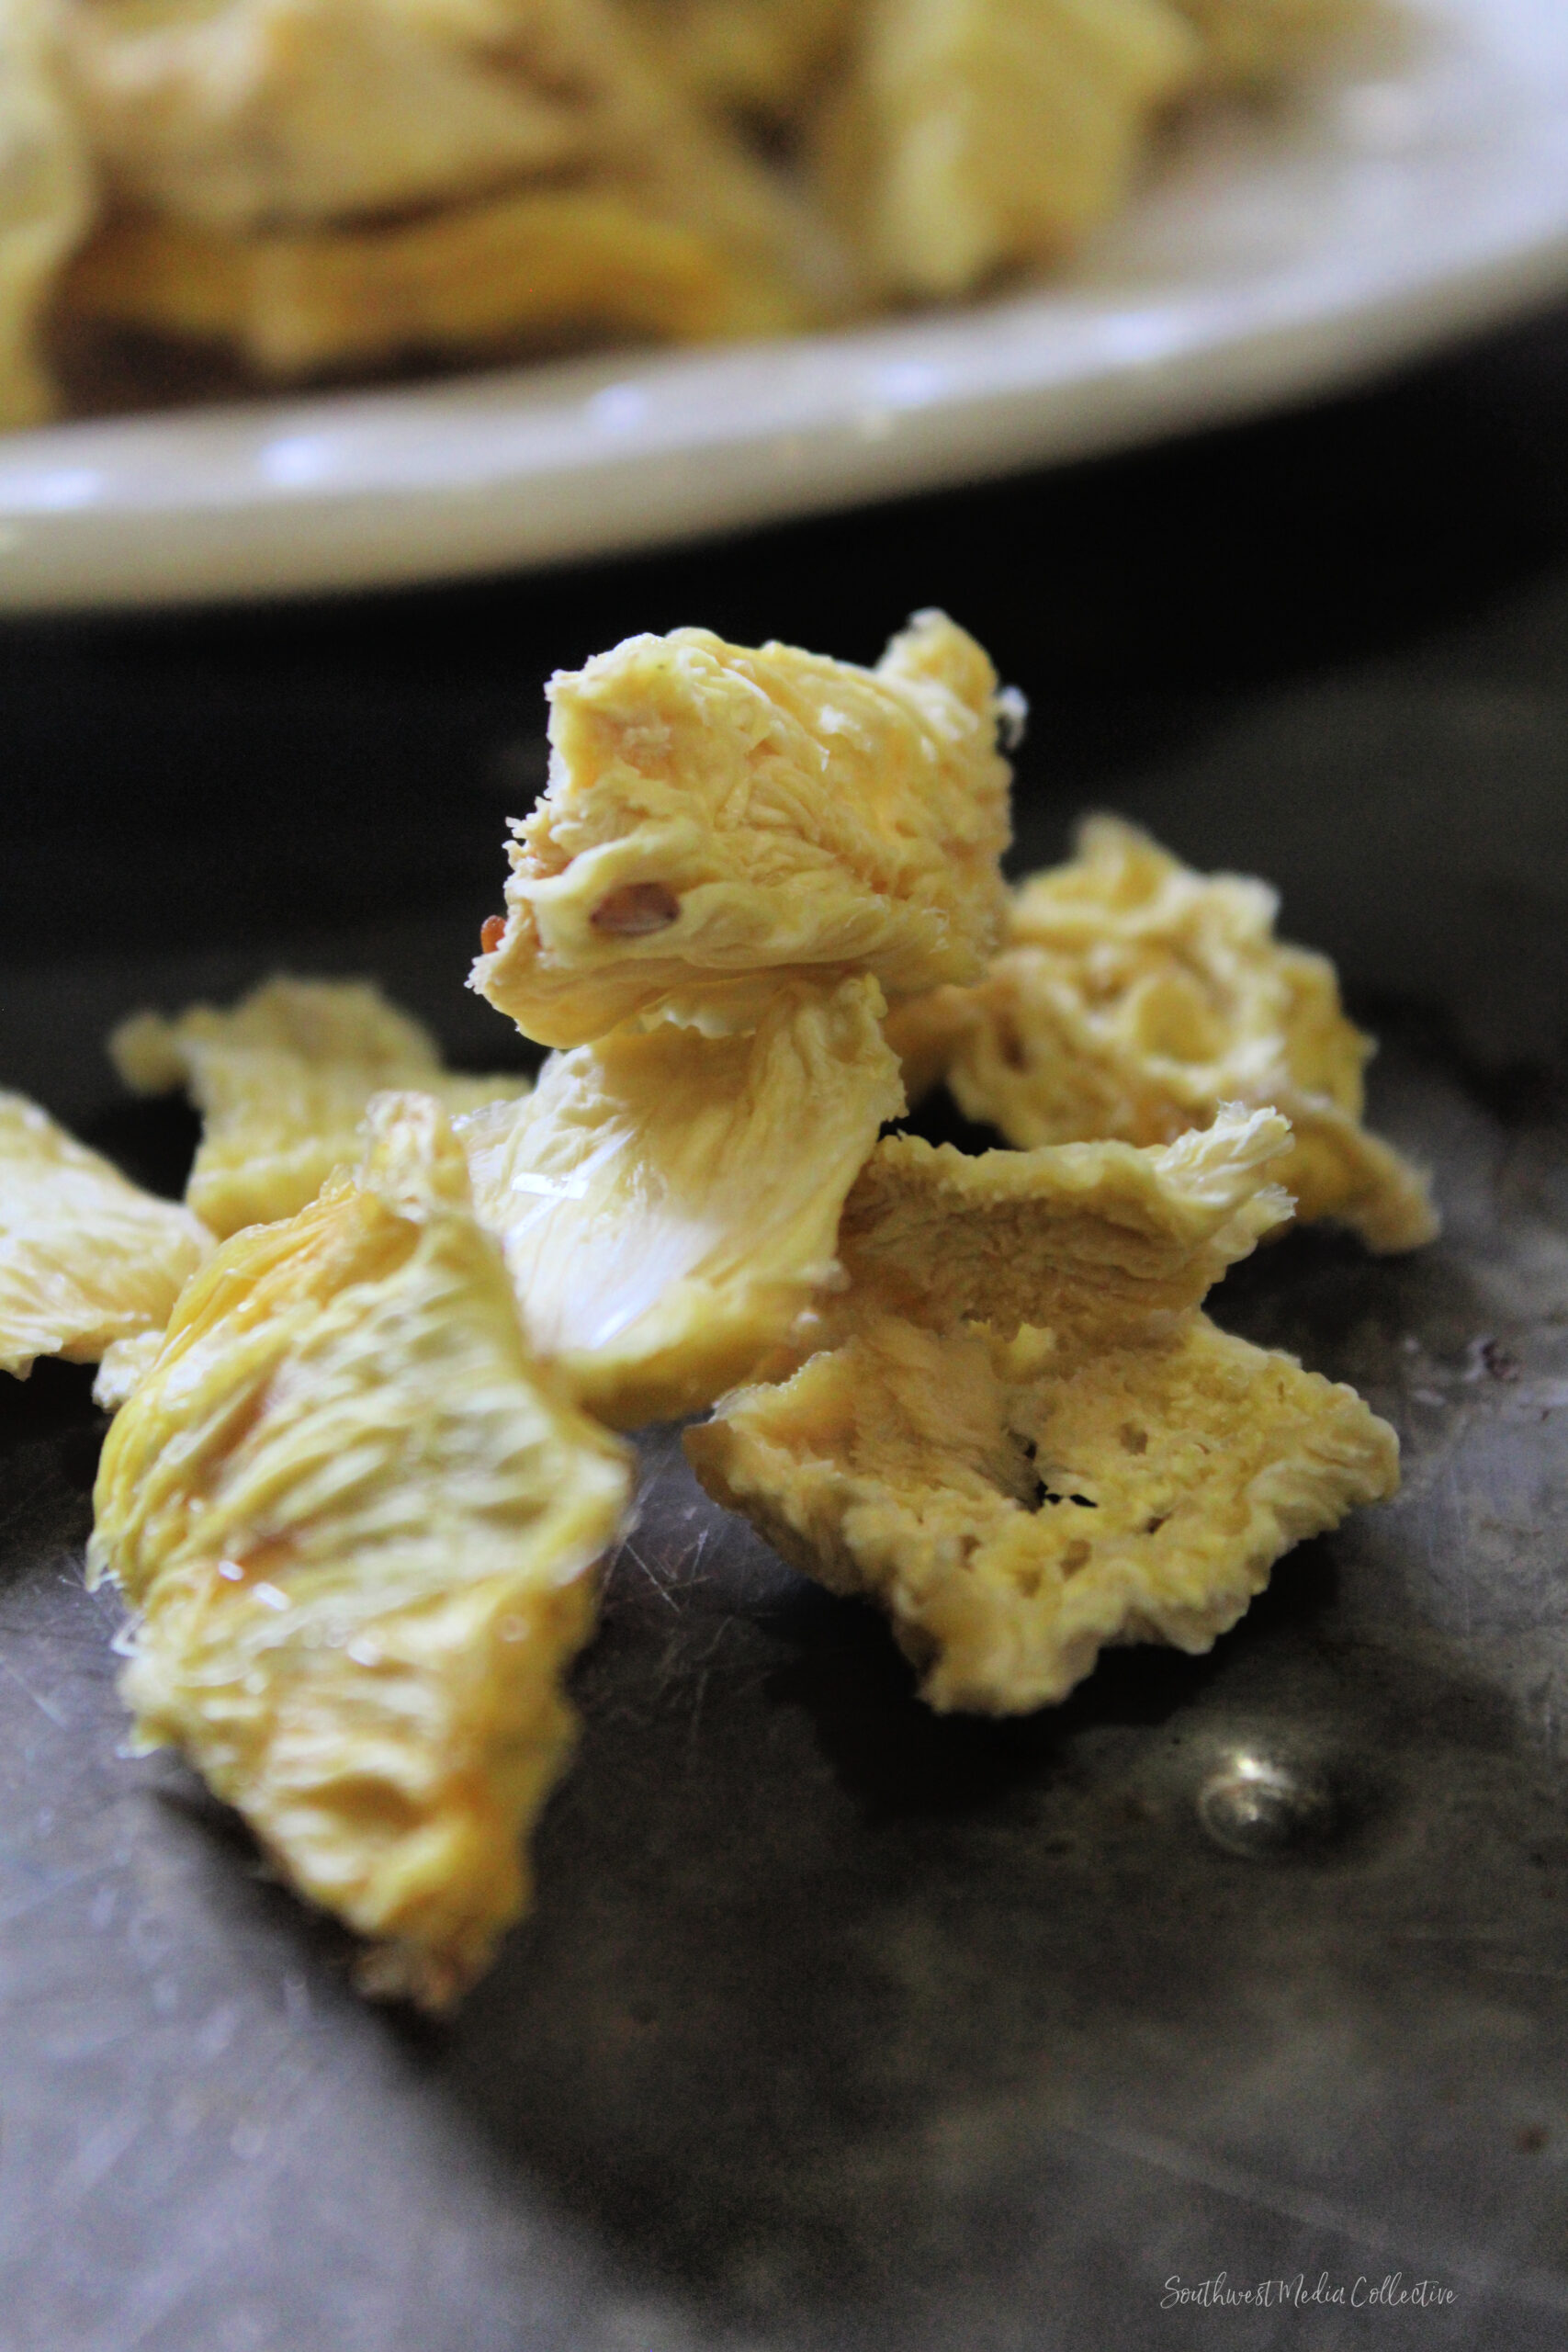
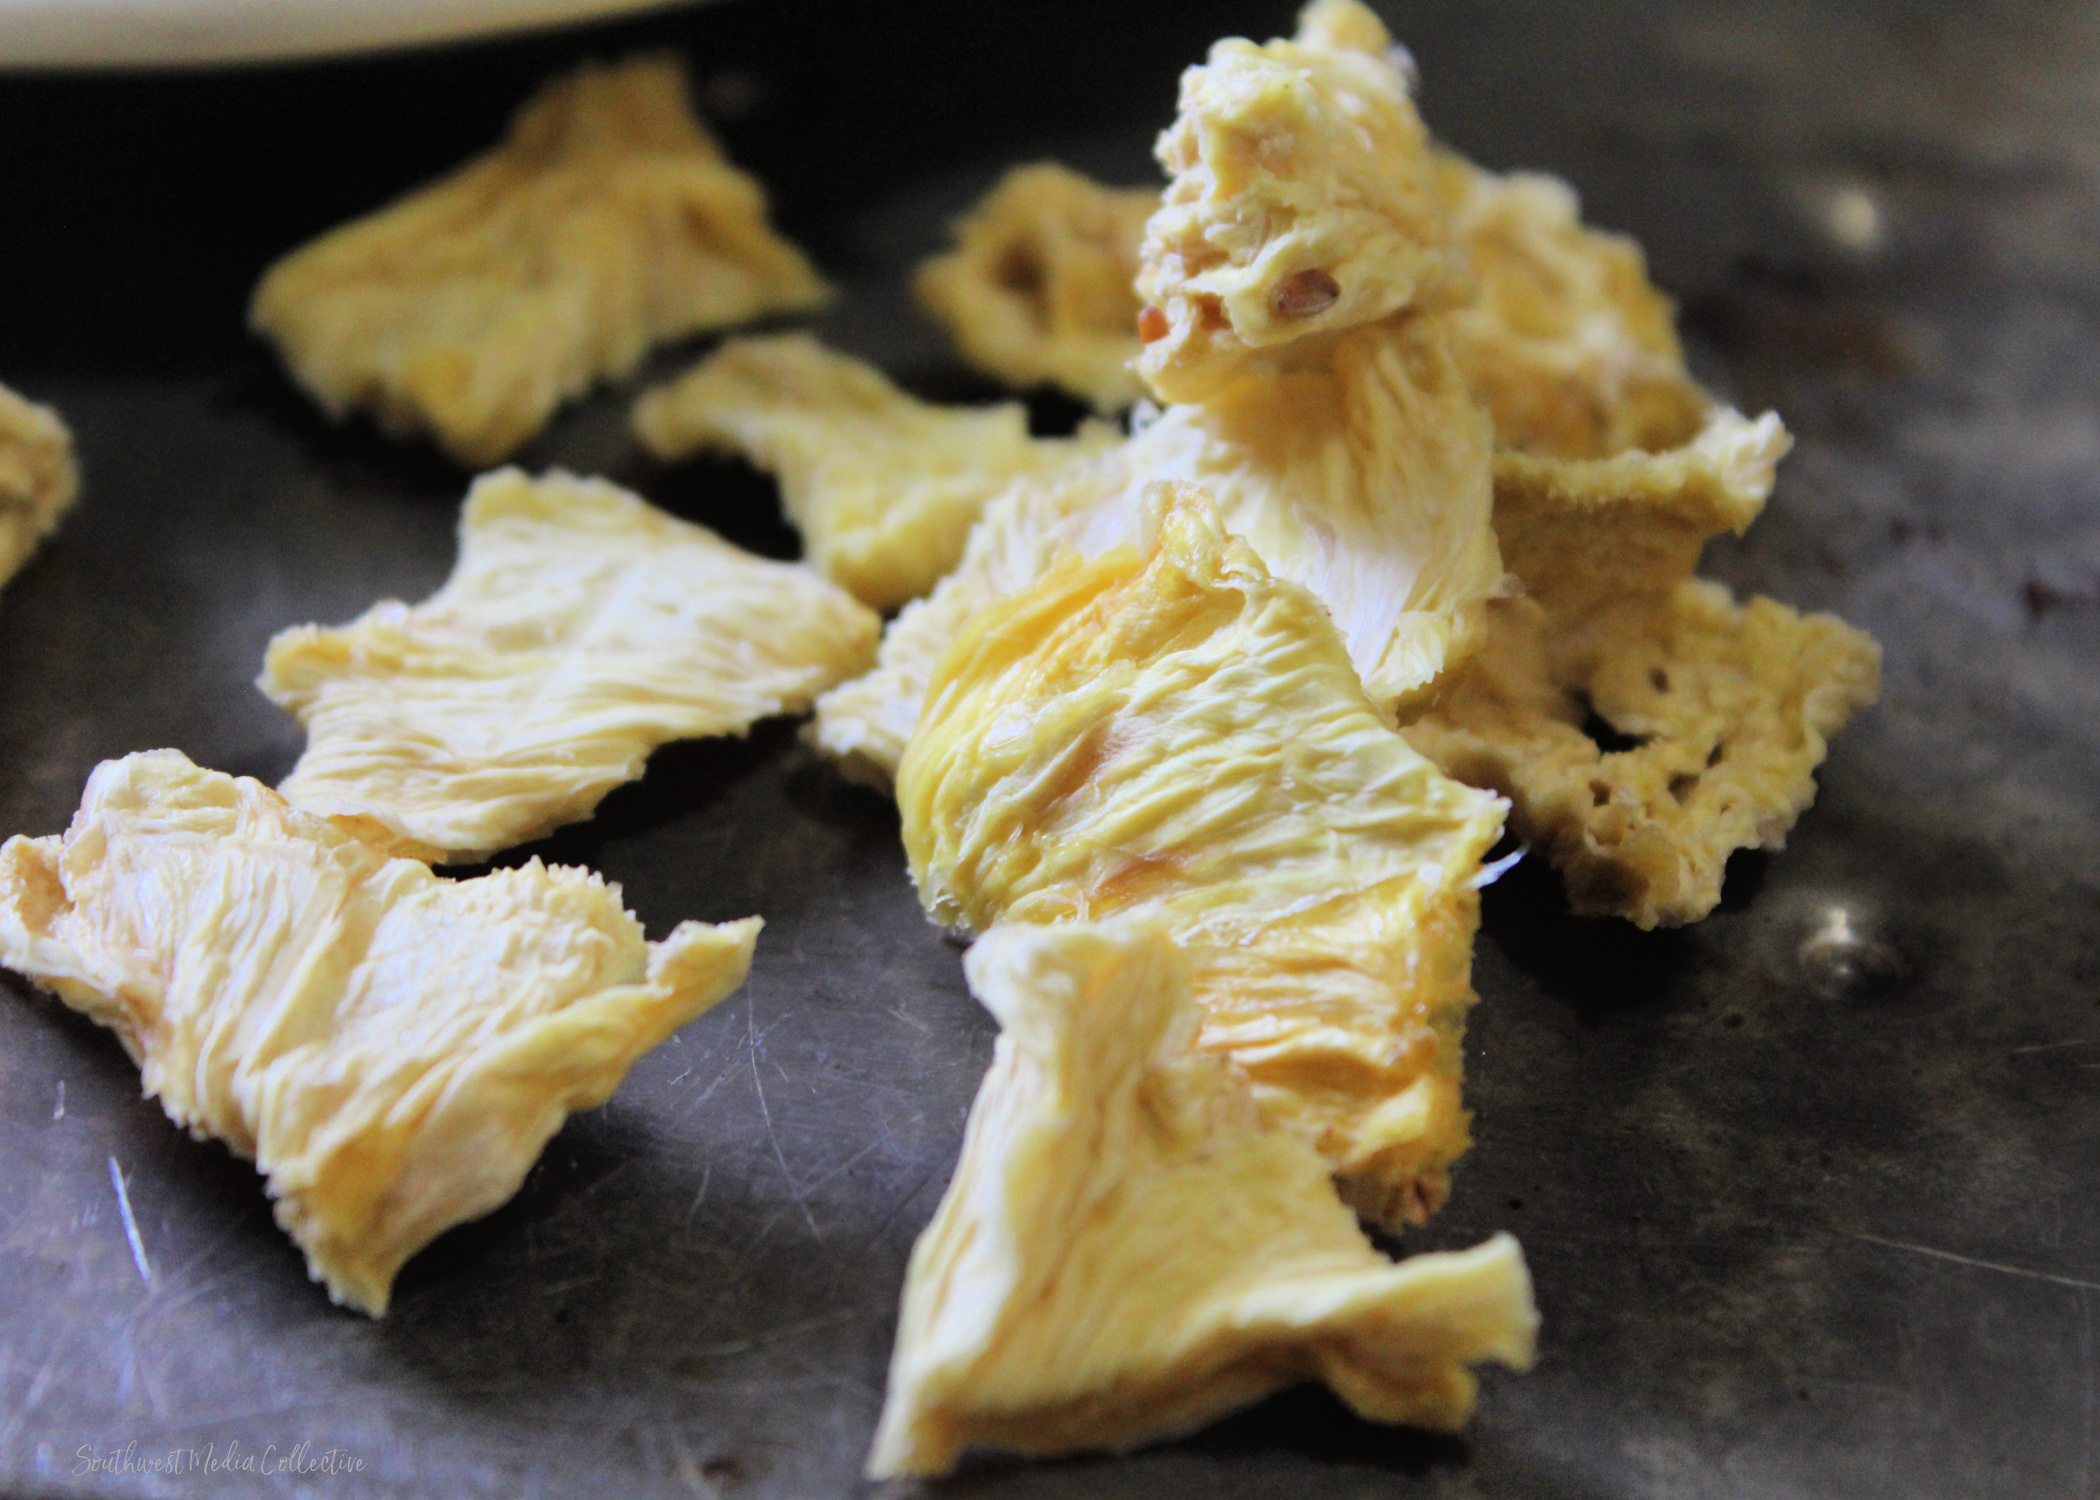
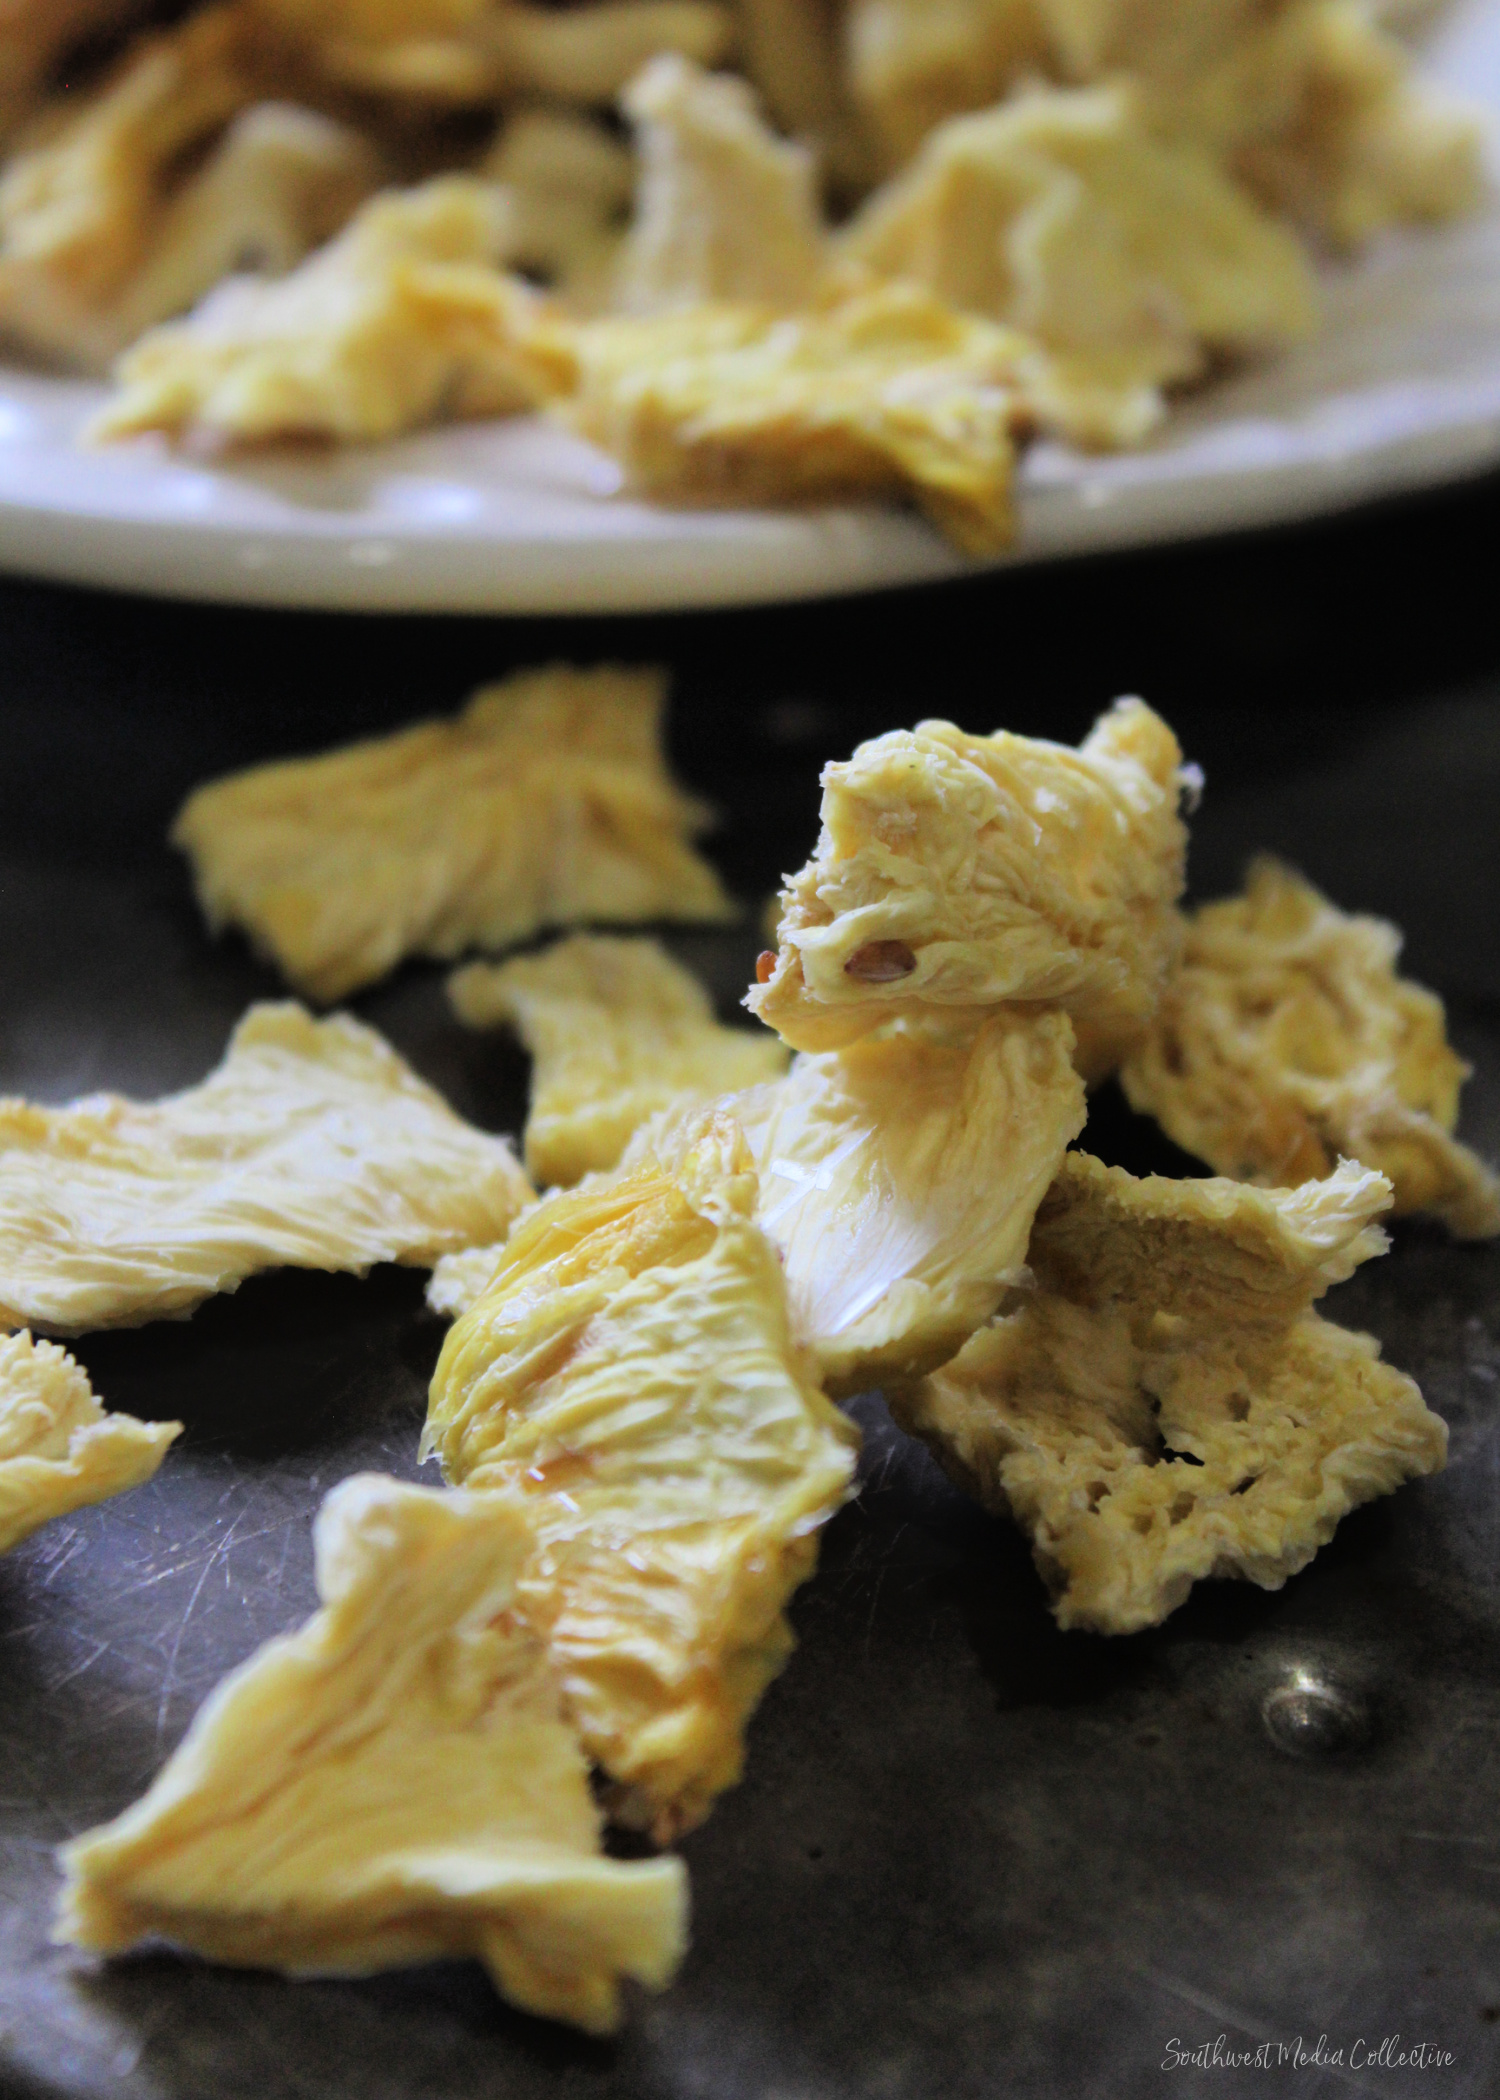
Arrange your pineapple pieces on your dehydrator trays allowing space to circulate. Dehydrate at 135 degrees F (52 degrees C) for 8-16 hours or until the pineapples are dry. You may need to reference the trays regularly to determine if you need more or less time.
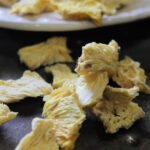
When is the pineapple done?
The pineapple will be done when it is still pliable. It will have some bend, but if you bend the pieces and squeeze them, there should be no moisture.
How to store
Dehydrated pineapple can be stored in a sealed container or a ziplock bag on the counter. When properly dehydrated and stored, the pieces can last for up to one year. Tips for storing dehydrated pineapple:
- Allow the pieces to cool completely before storing.
- Make sure to label the dehydrated pineapple properly.
- Store the container in a cool, dark, and dry place in a clean, tight-fitting container.
If you loved this recipe…
I would be so appreciative if you gave the recipe a review.
Make sure you snap a pic of your dehydrated pineapple & leave a comment to let me know how it turned out!
For more great recipes, follow me on Pinterest.
How to Dehydrate Pineapple
Equipment
- Dehydrator
Ingredients
- fresh or canned pineapple
Instructions
Fresh Pineapple:
- Remove the outer skin with a sharp knife. Core the pineapple. Then slice the pineapple in half and then cut each of those halves in half again. Aim to cut the pineapple into small pieces 1/2 inch or less for faster drying time.
- Lay on dehydrator tray with adequate space and dehydrate for 8-16 hours at 135 degrees F (52 degrees C).
Canned Pineapple:
- Open the can and drain the liquid (set aside for another recipe). Then lay the pieces on your dehydrator tray ensuring enough space is left around each piece.
- Dehydrate for 8-16 hours at 135 degrees F (52 degrees C).
Store the pineapple:
- Dehydrated pineapple can be stored in a sealed container or a ziplock bag on the counter. When properly dehydrated and stored, the pieces can last for up to one year. Allow the pieces to cool completely before storing.Make sure to label the dehydrated pineapple properly.Store the container in a cool, dark, and dry place in a clean, tight-fitting container.
Dehydrated pineapple is an absolutely delicious snack around my house – while it can last for up to one year, it NEVER does!
My kids tear up dehydrated pineapple faster than I can make more. If your family loves it as much as my kids do, you won’t ever worry about having to store it long term – because it’ll likely be gone before you can even find a bag or container.

[…] things to eat and bring on hikes with my kids is dehydrated fruit. Whether that be dehydrated pineapple or peaches, mangoes, or strawberries, dehydrating is relatively easy and healthy, […]