


Honey Fermented Garlic, an easy ferment that’s perfect for supporting a healthy immune system during cold and flu season!
Honey fermented garlic is perhaps the most valuable example of food as medicine. It’s good to have on hand as the weather starts to cool down in the fall.
It is usually at this time of the year that germs fly around pretty fierce.. kids are back in school and the change in weather brings lots of coughs and sore throats to people everywhere.
Garlic is a wonderful immune booster. Likewise, honey is also a powerhouse, and a nice sweetener for sore throats.
Honey Fermented Garlic
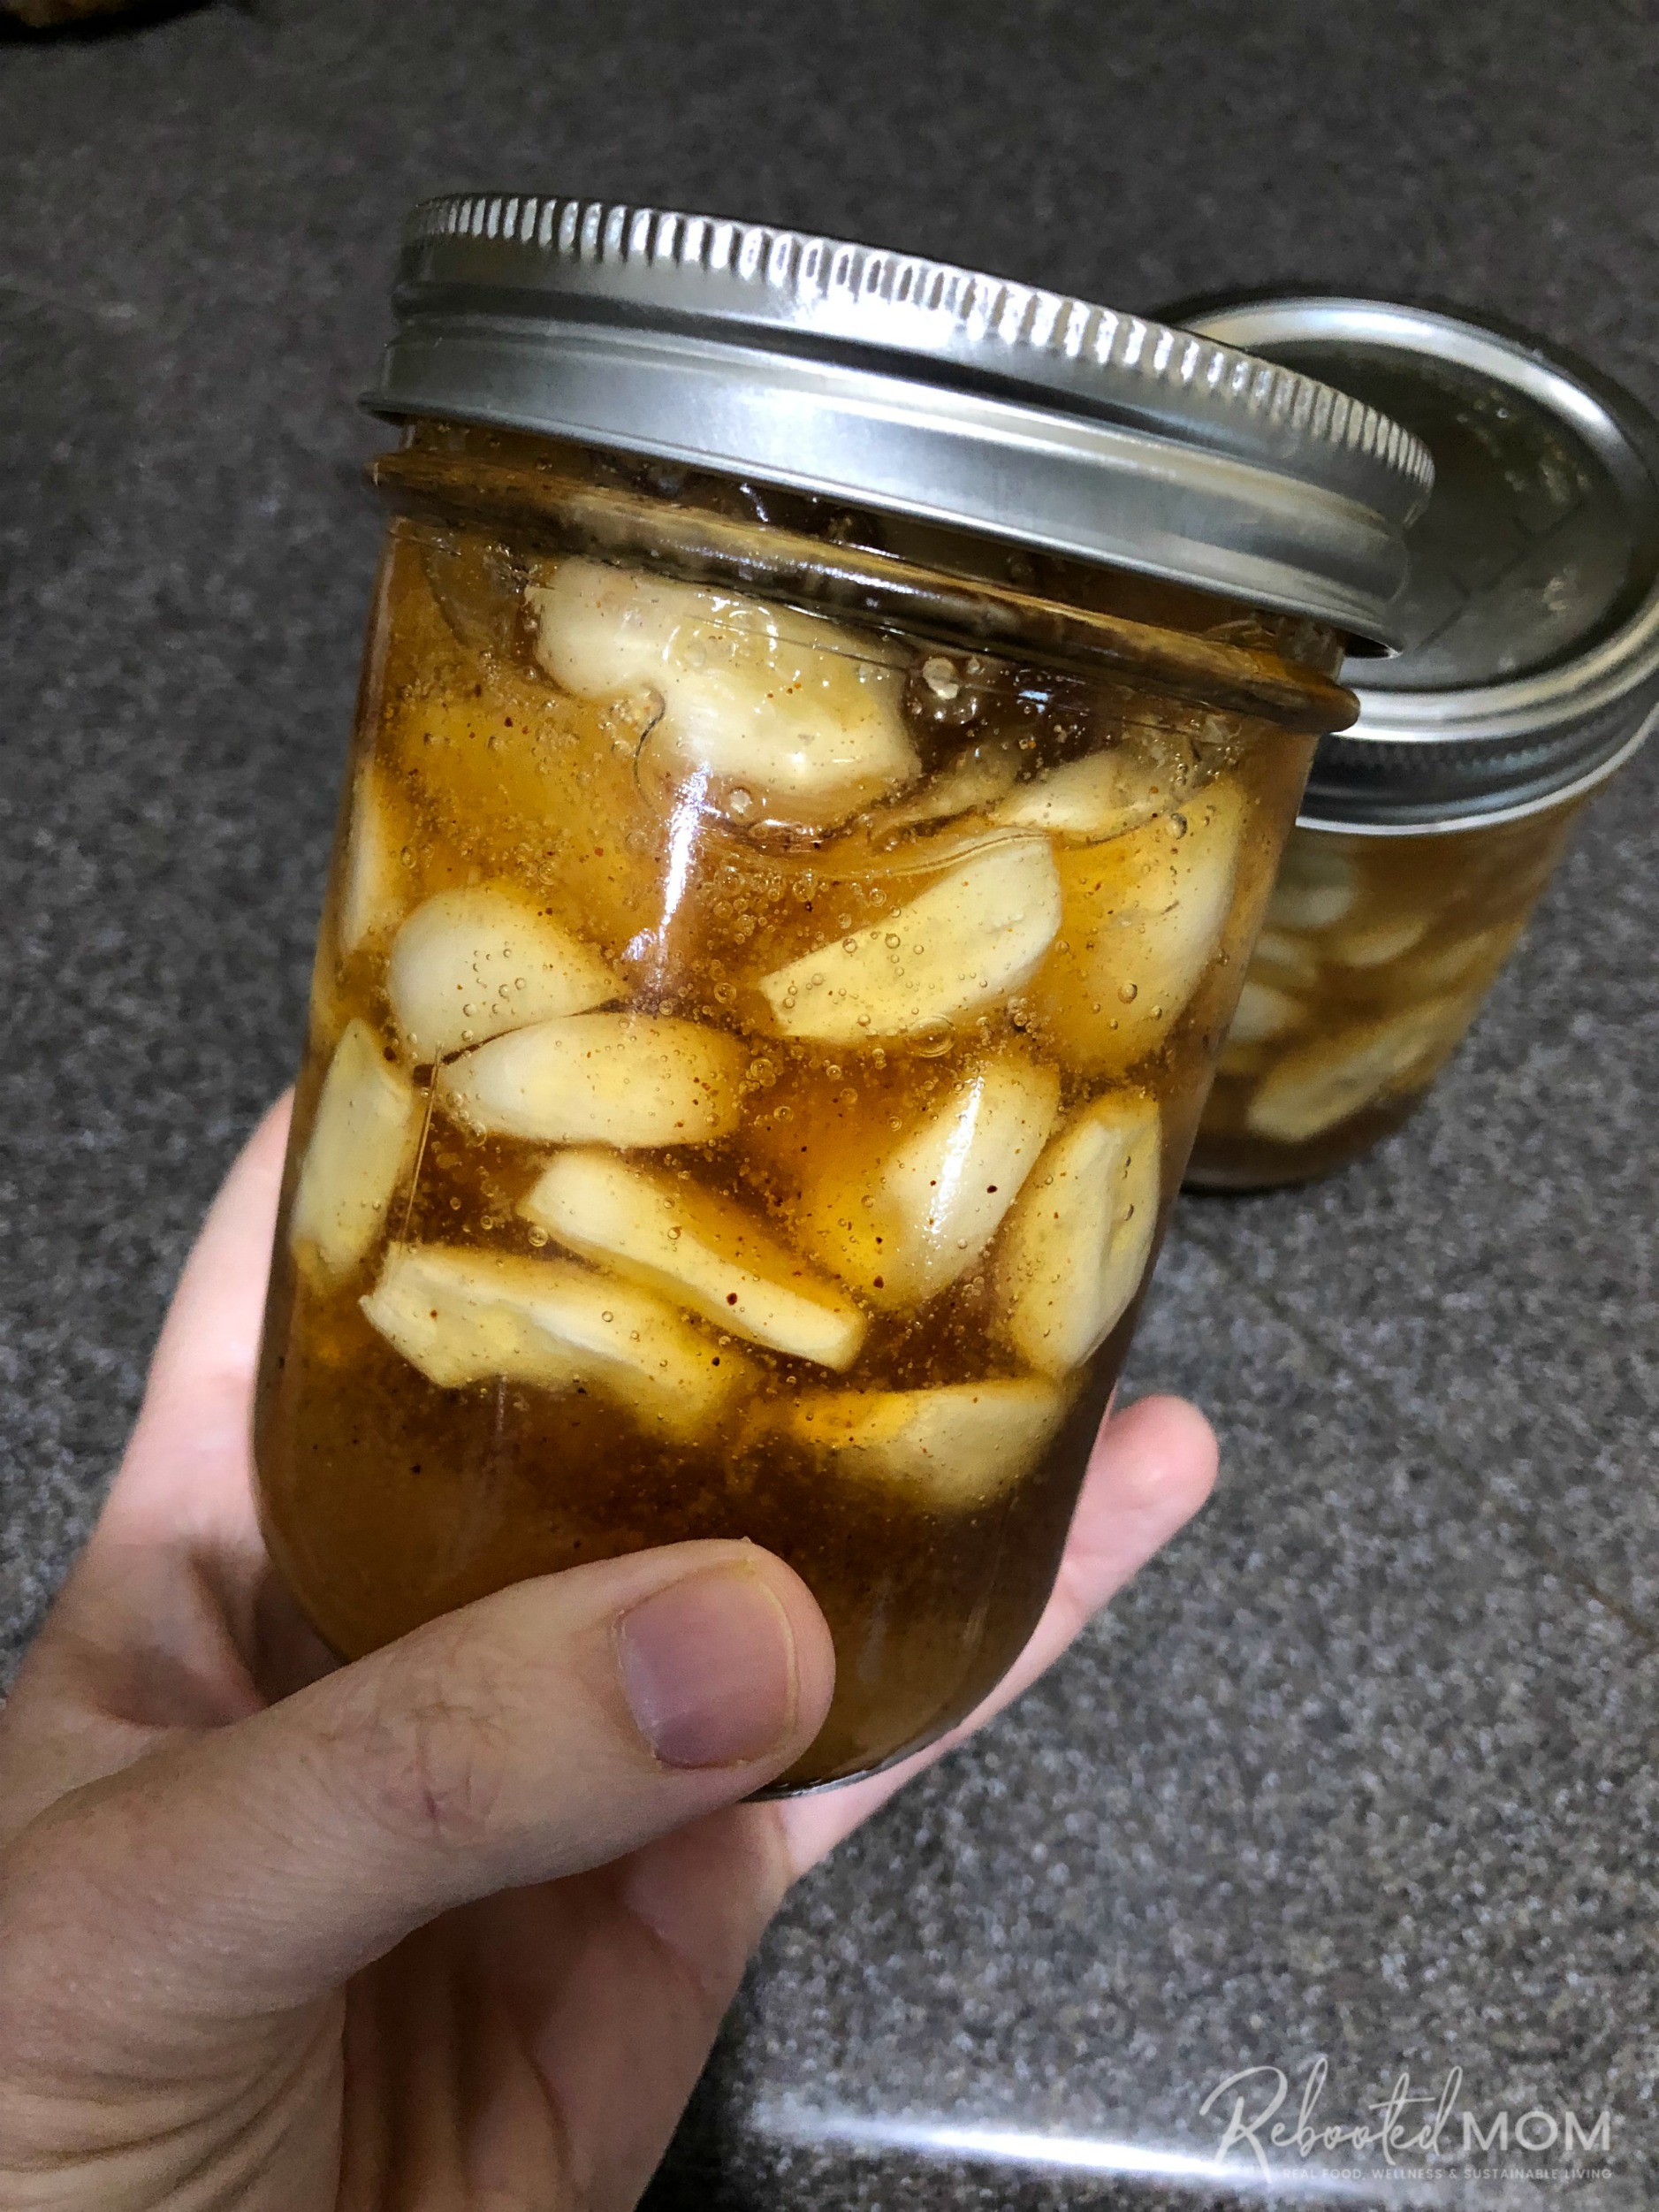
This honey fermented garlic is a four week ferment that gives the garlic a long time to infuse the flavor to something that packs a serious punch. Since this is a rather long infusion, the end result tends to carry a very strong flavor.
It’s not exactly something you’d want to drizzle on oatmeal or granola.
But it definitely is something that would be perfect in salad dressings, roasted meat or even veggies. Raw honey is right around 18% water — the little bit of water that’s held up in the garlic is enough to kick start fermentation.
Over time, the fermenting process makes the honey thinner. If you feel a cold or crud approaching, pop a clove in your mouth with a spoon of honey. Or pull out a few cloves to mince and top them on your salad or meat.
If you are looking for a way to soothe a sore throat, use the garlic honey with a little lemon and cayenne. Add to a cup of warm water for a soothing tea.
No Perfect Measurements
Though we did include a recipe below, there really aren’t any perfect measurements to honey fermented garlic. Any amount of garlic will work, provided that the skins are peeled and it is covered completely by raw honey.
Choose a raw, unpasteurized honey for the greatest health benefit. Likewise, opt for locally grown, organic garlic – perhaps from a local family farm.
As a variation, add 1-2 tsp of chipotle powder to the honey before pouring over the garlic.
*During the fermenting process, keep a towel or plate under the jars as the jars will leak honey during the process. Change the towel out every few days.

Honey Fermented Garlic
Equipment
- pint jar
- kitchen knife
Ingredients
- 4 heads garlic
- 1.5 C raw honey
Variations:
- 2 tsp chipotle powder
Instructions
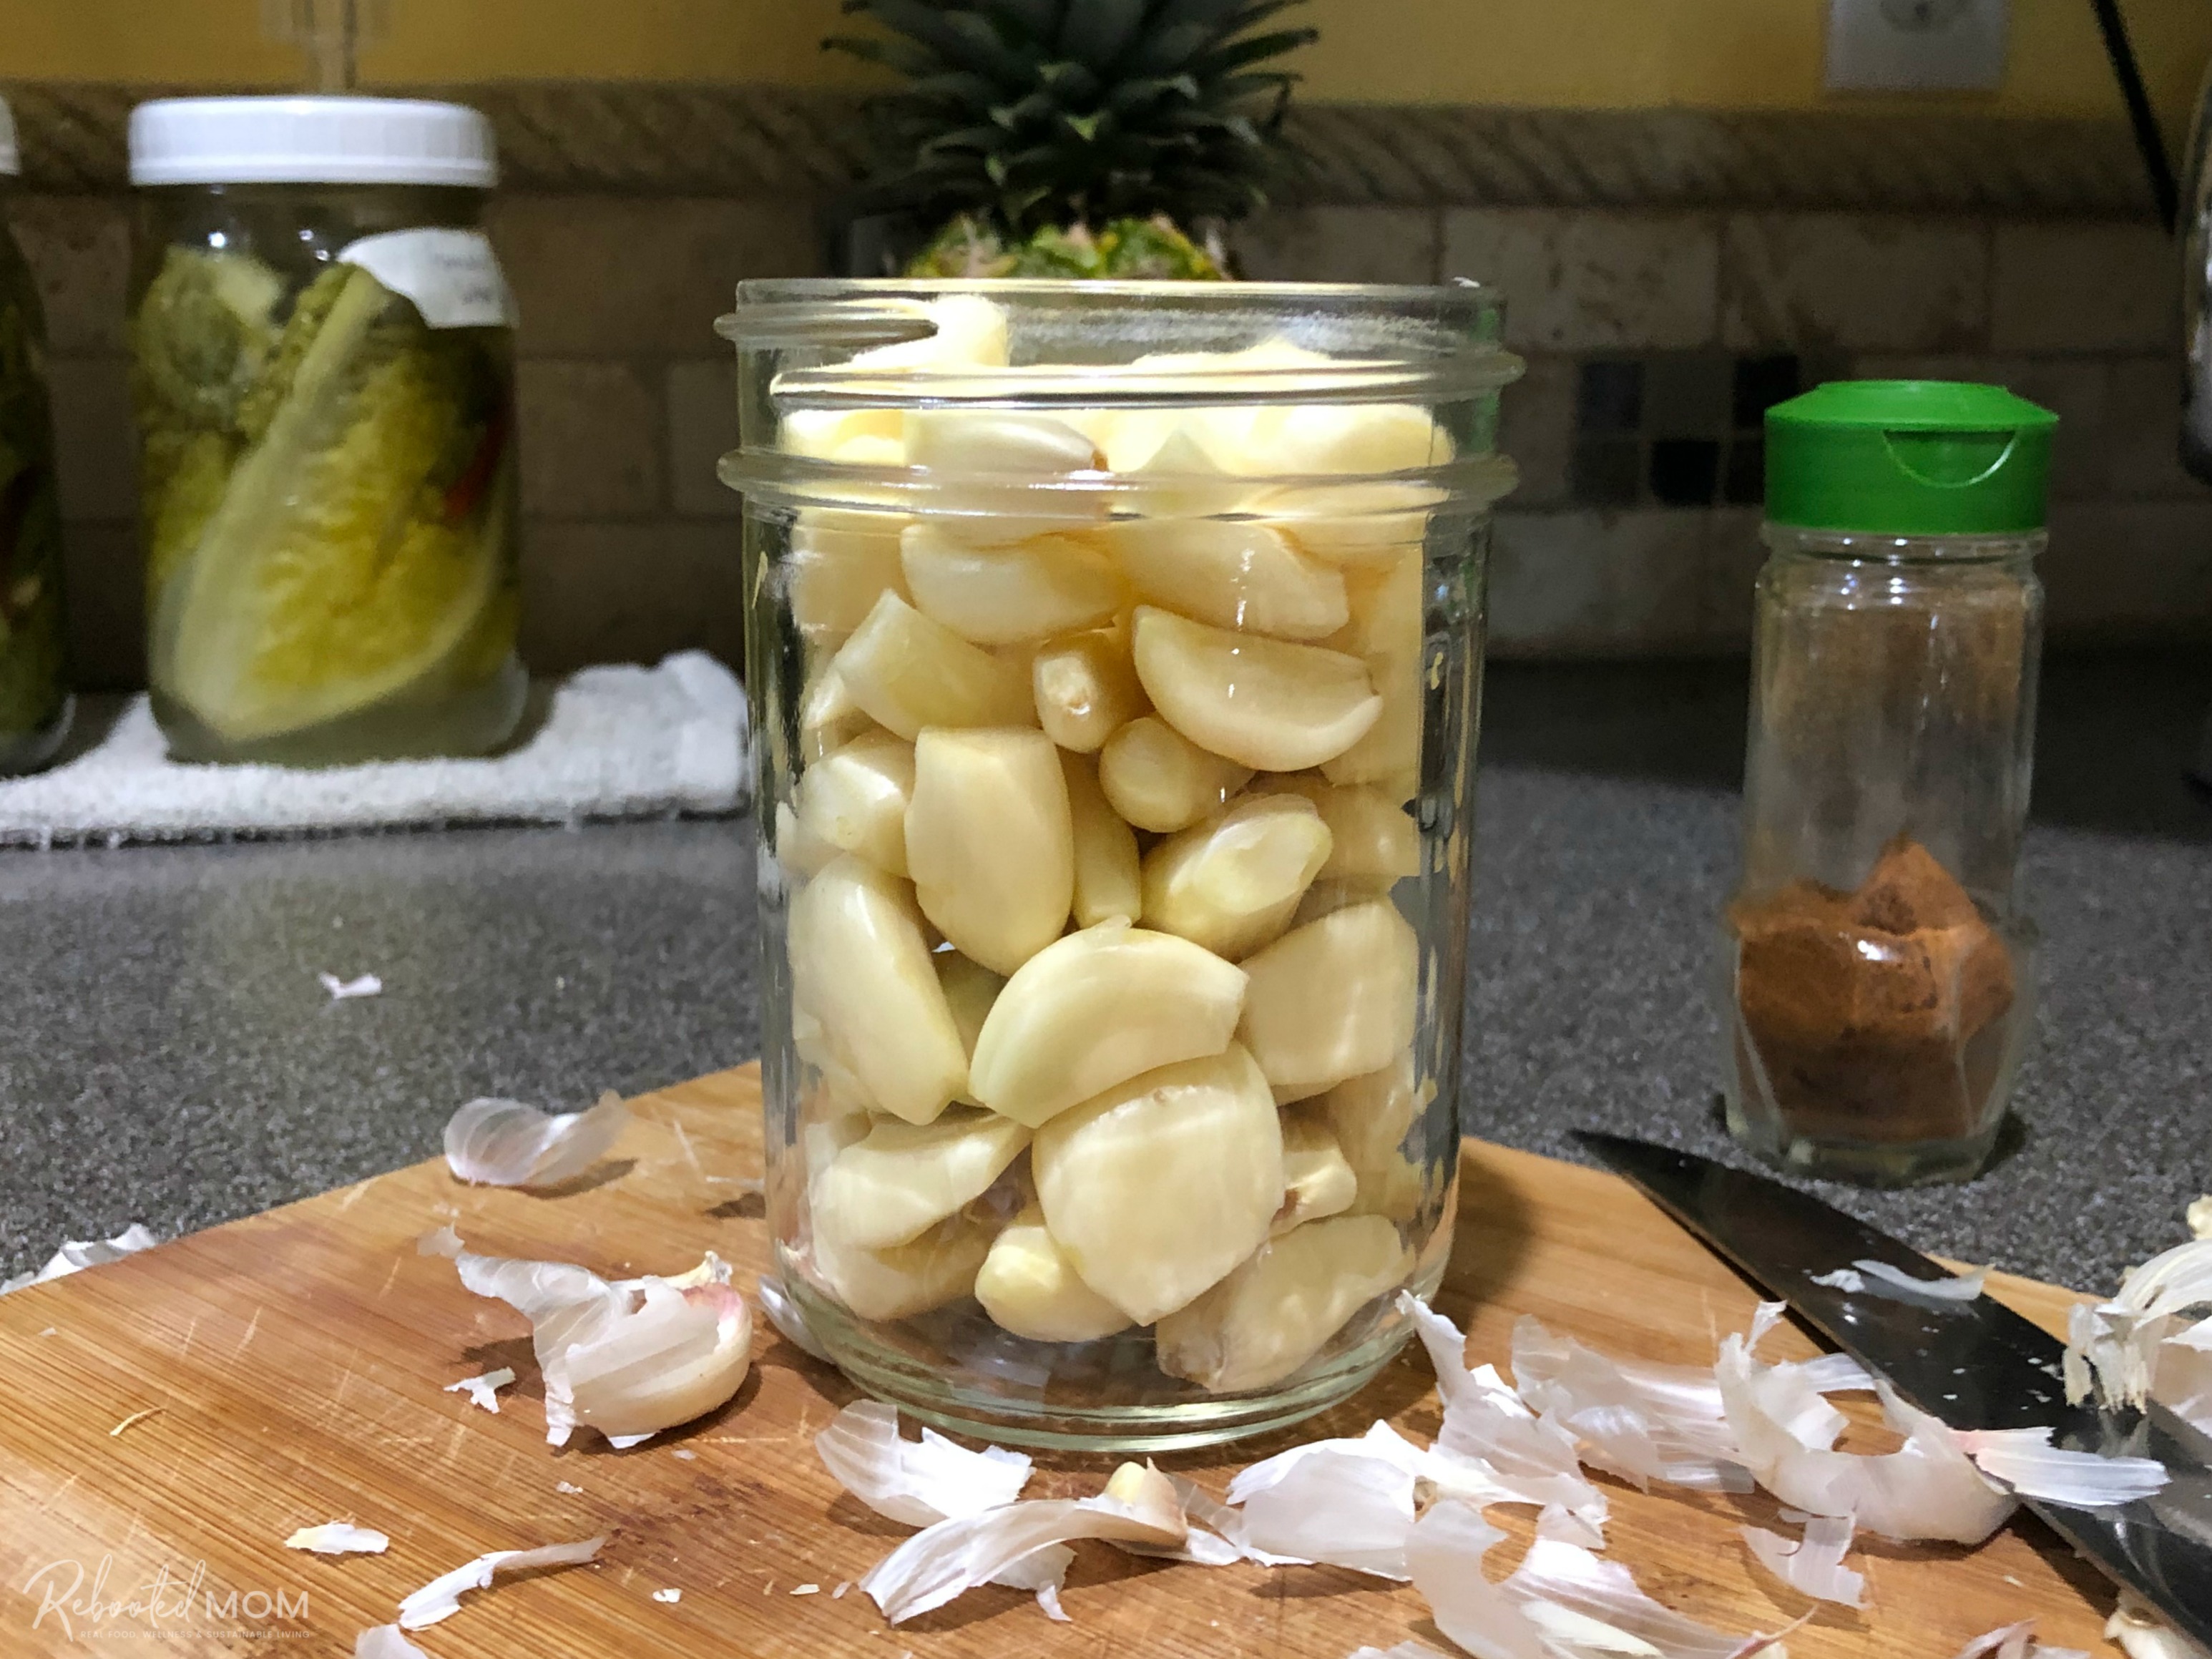
- Remove the outer skin from each clove. Then lightly crush (don't smash) each clove just a tiny bit. The juice from the garlic will help thin the honey as it ferments.
- Place your garlic in a pint jar, add more or less until it's 2/3 full. You will want to leave at least 1.5 - 2 inches headspace from the top of the jar.
- Pour your raw honey over the garlic cloves. Shake the jar or lightly bang on the counter to allow the air bubbles to set.
- Cover the jar with a canning lid and ring. Allow the garlic to sit for 3-4 weeks to ferment.
- Over the next 24-48 hours, the tiny bit of liquid in the garlic will thin the honey enough to allow for fermentation.
- Unscrew the lid quickly each day to burp the jar, then re-tighten the lid. Periodically flip the jar each day. You will see bubbling activity after the first few days.
Notes
- Allow to sit on your counter for up to 4 weeks. Burp the jar to release built-up gas... especially the first two weeks.
- Place the jars on a plate or a double folded towel, honey will seep out of the jar over time (that is normal).
- The longer the garlic sits in the honey, the more pronounced the flavor becomes.
- Variation: Add 1-2 tsp of chipotle powder. Mix thoroughly with the honey before adding the honey to the cloves.
Nutrition
Did you try this recipe? If you did, please take a second to rate the recipe and leave a comment as I’d love to know how it turned out.
I’d ask you to tag me on social media but I gave up social media several years ago (Crazy – right??!!) It was the best thing I ever did. I still love to read comments and hear from you though – so don’t be afraid to leave comments on this post as I do take the time to read and respond when I can.

[…] and place it on a plate so that you can serve the honey directly from the bucket.. Read more about garlic and honey recipe and let us know what you […]