


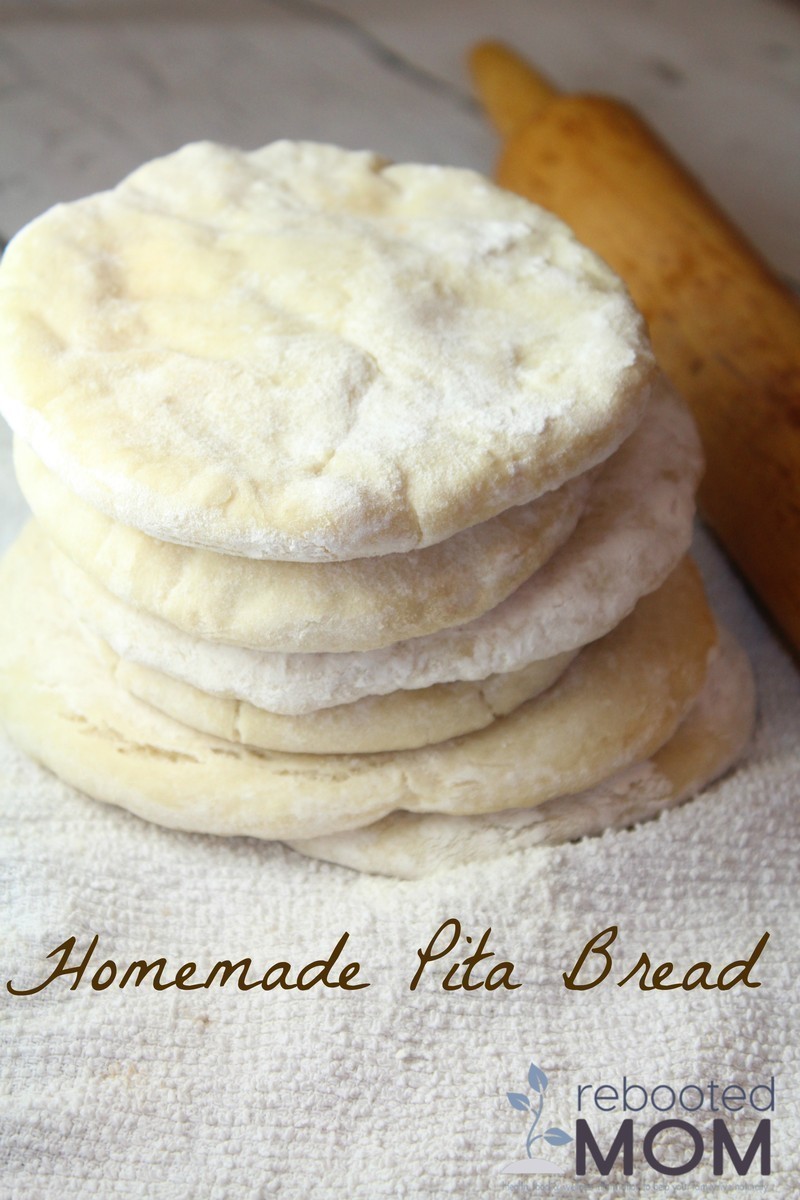
If there is one thing that I absolutely love, that is making our own bread ~ it’s so stinkin’ easy and for us, it’s better than picking up at the grocery store.
Sure, you might be able to get pita bread at Sam’s Club for a pretty good price, but nothing beats making it yourself – it’s SO MUCH better.
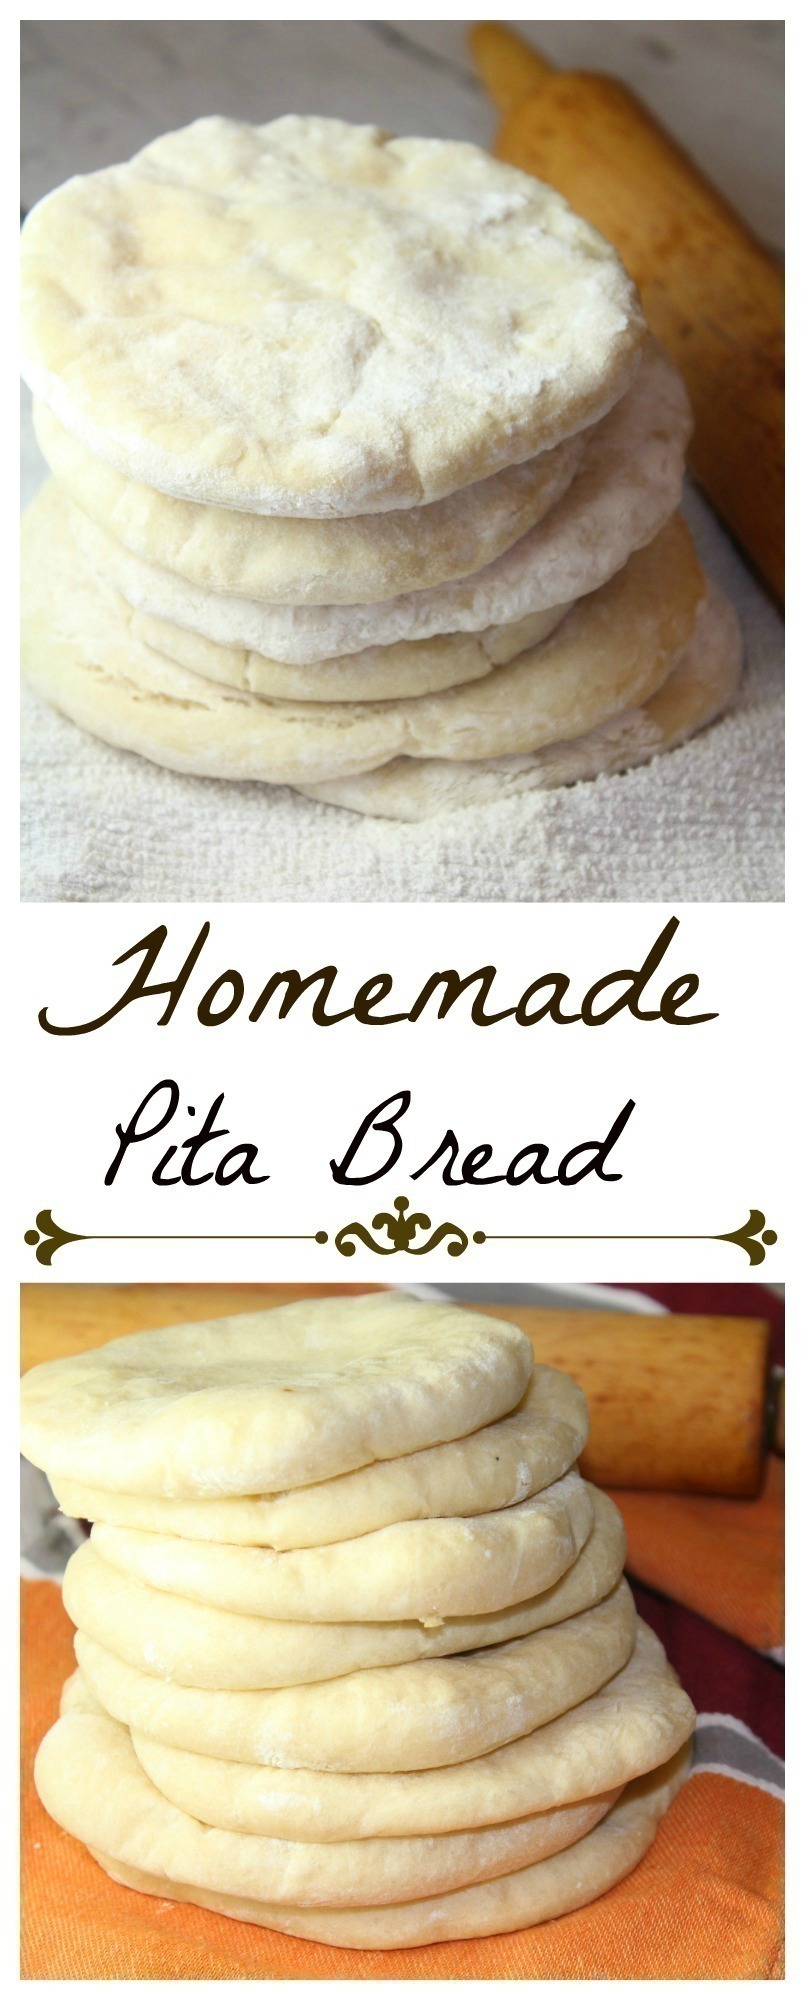
Pita Bread is so easy to eat – portable (for work)… and great if just a few of you in the house eat regularly. Making them yourself allows the kids to watch the breads puff up really tall in the oven. Not to mention the ingredients are minimal…
- Salt
- Yeast
- Flour
- Water
That’s it – hard to believe, right? We buy Organic All Purpose Unbleached Flour (many reasons why – you can read HERE for more!) What makes the bread puff is is the combination of water (turning to steam) and the yeast becoming active as both are hit from heat from the oven.

Although you can make it in the oven OR on the stovetop, we prefer the oven – because we love a bigger puff pocket – if you make it on the stove, you lose some of the HUGE puffing, but you will gain some crunch toasted spots on the doughs outer layer.
While that’s great too, if your house heats up fast, then the oven is your best bet, because you can cook several at once (versus the stove).
- 1 C. Warm Water (100 - 110 degrees)
- 2 tsp Active Dry Yeast
- 2 1/2 -3 C. All Purpose, Organic Unbleached Flour (divided)
- 2 tsp Salt
- Optional: 1-2 tsp Olive Oil (divided)
- Mix the water & yeast together - let sit for 5-10 minutes until proofed (bubbles form on top).
- Add 2 1/2 C. Flour (save the other half for later) - salt, and olive oil - and with your dough hook, stir with your KitchenAid until it pulls away from the bowl and forms a ball.
- Sprinkle some of the extra 1/2 C. flour on your work surface - turn out your dough and knead for 5 minutes until the dough is smooth & elastic.
- If you need to, add a little oil and flour to your hands to prevent the dough from sticking - just don't use too much flour.
- Prepare a clean bowl and film it with a little olive oil - set your dough in a nice, formed ball in the olive-oil coated bowl and turn until it's well coated with oil.
- Cover with a clean dishcloth and let sit 1-2 hours in a warm area until it doubles in sizes.
- Deflate the dough gently and turn out on a lightly floured work area - divide into 8 equal pieces and form each into a disc.
- On a lightly floured surface, and with a floured rolling pin, roll the pieces into an 8-9 inch circle about 1/4 inch thick.
- Lift and turn the dough as you roll - using a little extra flour if needed.
- Repeat with all the other pieces.
- While you are doing that, preheat the oven to 450 degrees - and drag out your baking stone or cookie sheet.
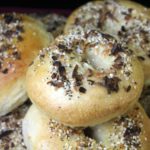
- Place the rolled out pitas on the baking stone or sheet (2-3 - or as many as will fit) and bake for 3 minutes -- if you have the oven temperature correct, it will puff up after a minute or two - it is done when it has fully ballooned.
- Take out and stack up on a clean dish towel - cover with a separate dish towel until they are all done.
- Eat immediately or, store them in a large ziploc bag.
- Baked pitas can be frozen with wax paper between the layers and freeze for up to 3 months. Reheat in a toaster oven.
If you get one or two that doesn’t “puff” up… don’t worry, because you can still use them. Some may puff higher than others.
We haven’t tried freezing them though – since it only makes 8, and we have 4 kids, they are usually gone that day.. though the dough can be refrigerated for up to 7 days after the first rise.
Just keep the dough covered in the fridge and break off as needed to bake 1-2 at a time.

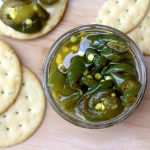
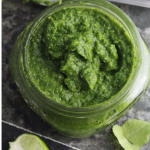
[…] we threw together Pesto in a jiffy – and it pairs up super with the Pita Bread we made the other day. I will say… we didn’t toast the Pine Nuts – and it turned out just as […]