


Follow this Foodie Notebook DIY to transform unique cereal and snack food boxes into a gift you can give to family and friends.
When I was a kid, every week my mom would pack up the cardboard food boxes and haul them into town 30-45 minutes away for recycling. I really didn’t think much of it… then again, we lived in the country far away from town and so everything was a longer process as compared to living in town.
Fast forward… I’m now in the Phoenix area, and we have blue recycle bins on our property. These bins collect our recyclables and are dumped on Mondays by the local city recycle truck. The last few months, however, things have changed – either people aren’t recycling as much or the cost of running the recycle facility has gotten more expensive because the recycling program has now come to a halt.
As a result, I just kept piling up food boxes… thinking that I could probably use them for something really unique.
Then I thought, why not use these old food boxes to make a foodie notebook?
These foodie box notebooks are a wonderful way to put old food boxes to use into something really unique. You can gift to family or friends .. or use them for yourself!
Foodie Notebook DIY
What you’ll need:
~Heidi Swapp Cinch Binding Machine
(Buying one new on Amazon is quite expensive. I would suggest looking in your area or on Facebook marketplace. I was able to buy a brand new Heidi Swapp Cinch Binding Machine for $40 from Facebook marketplace making it a considerable savings!)
(The 100 ct is significantly cheaper than buying 4 to a box at your local craft store).
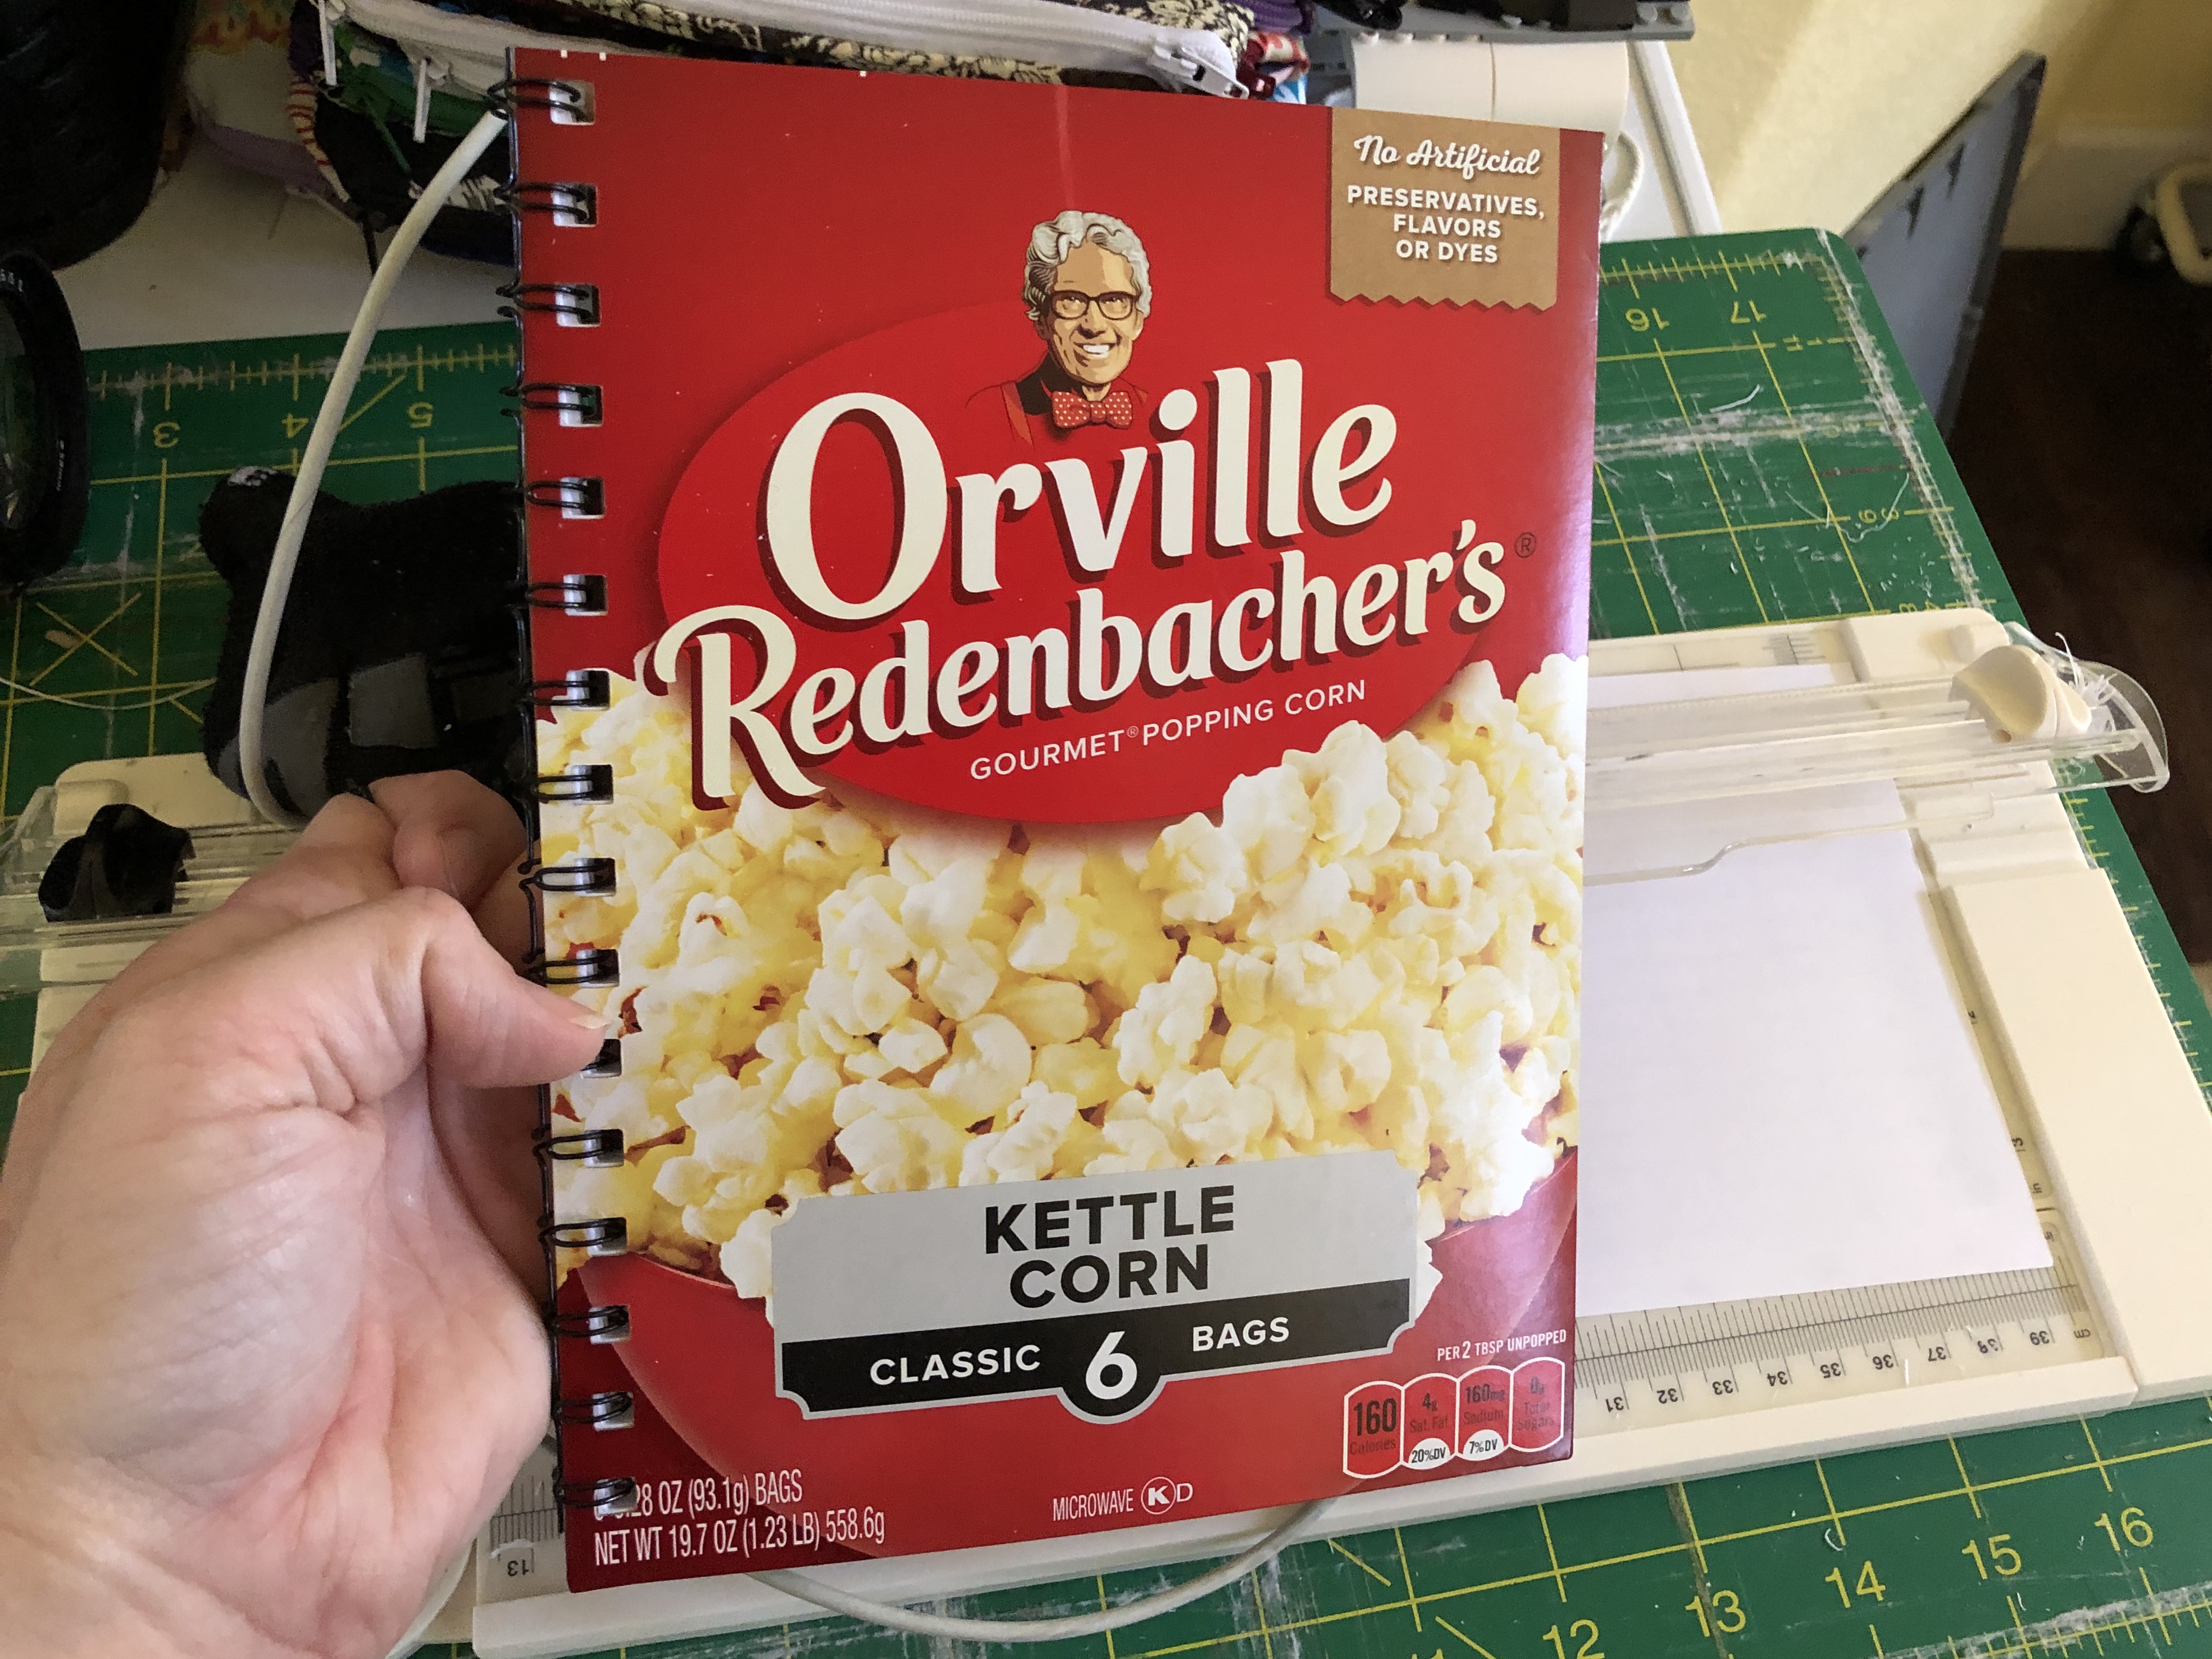
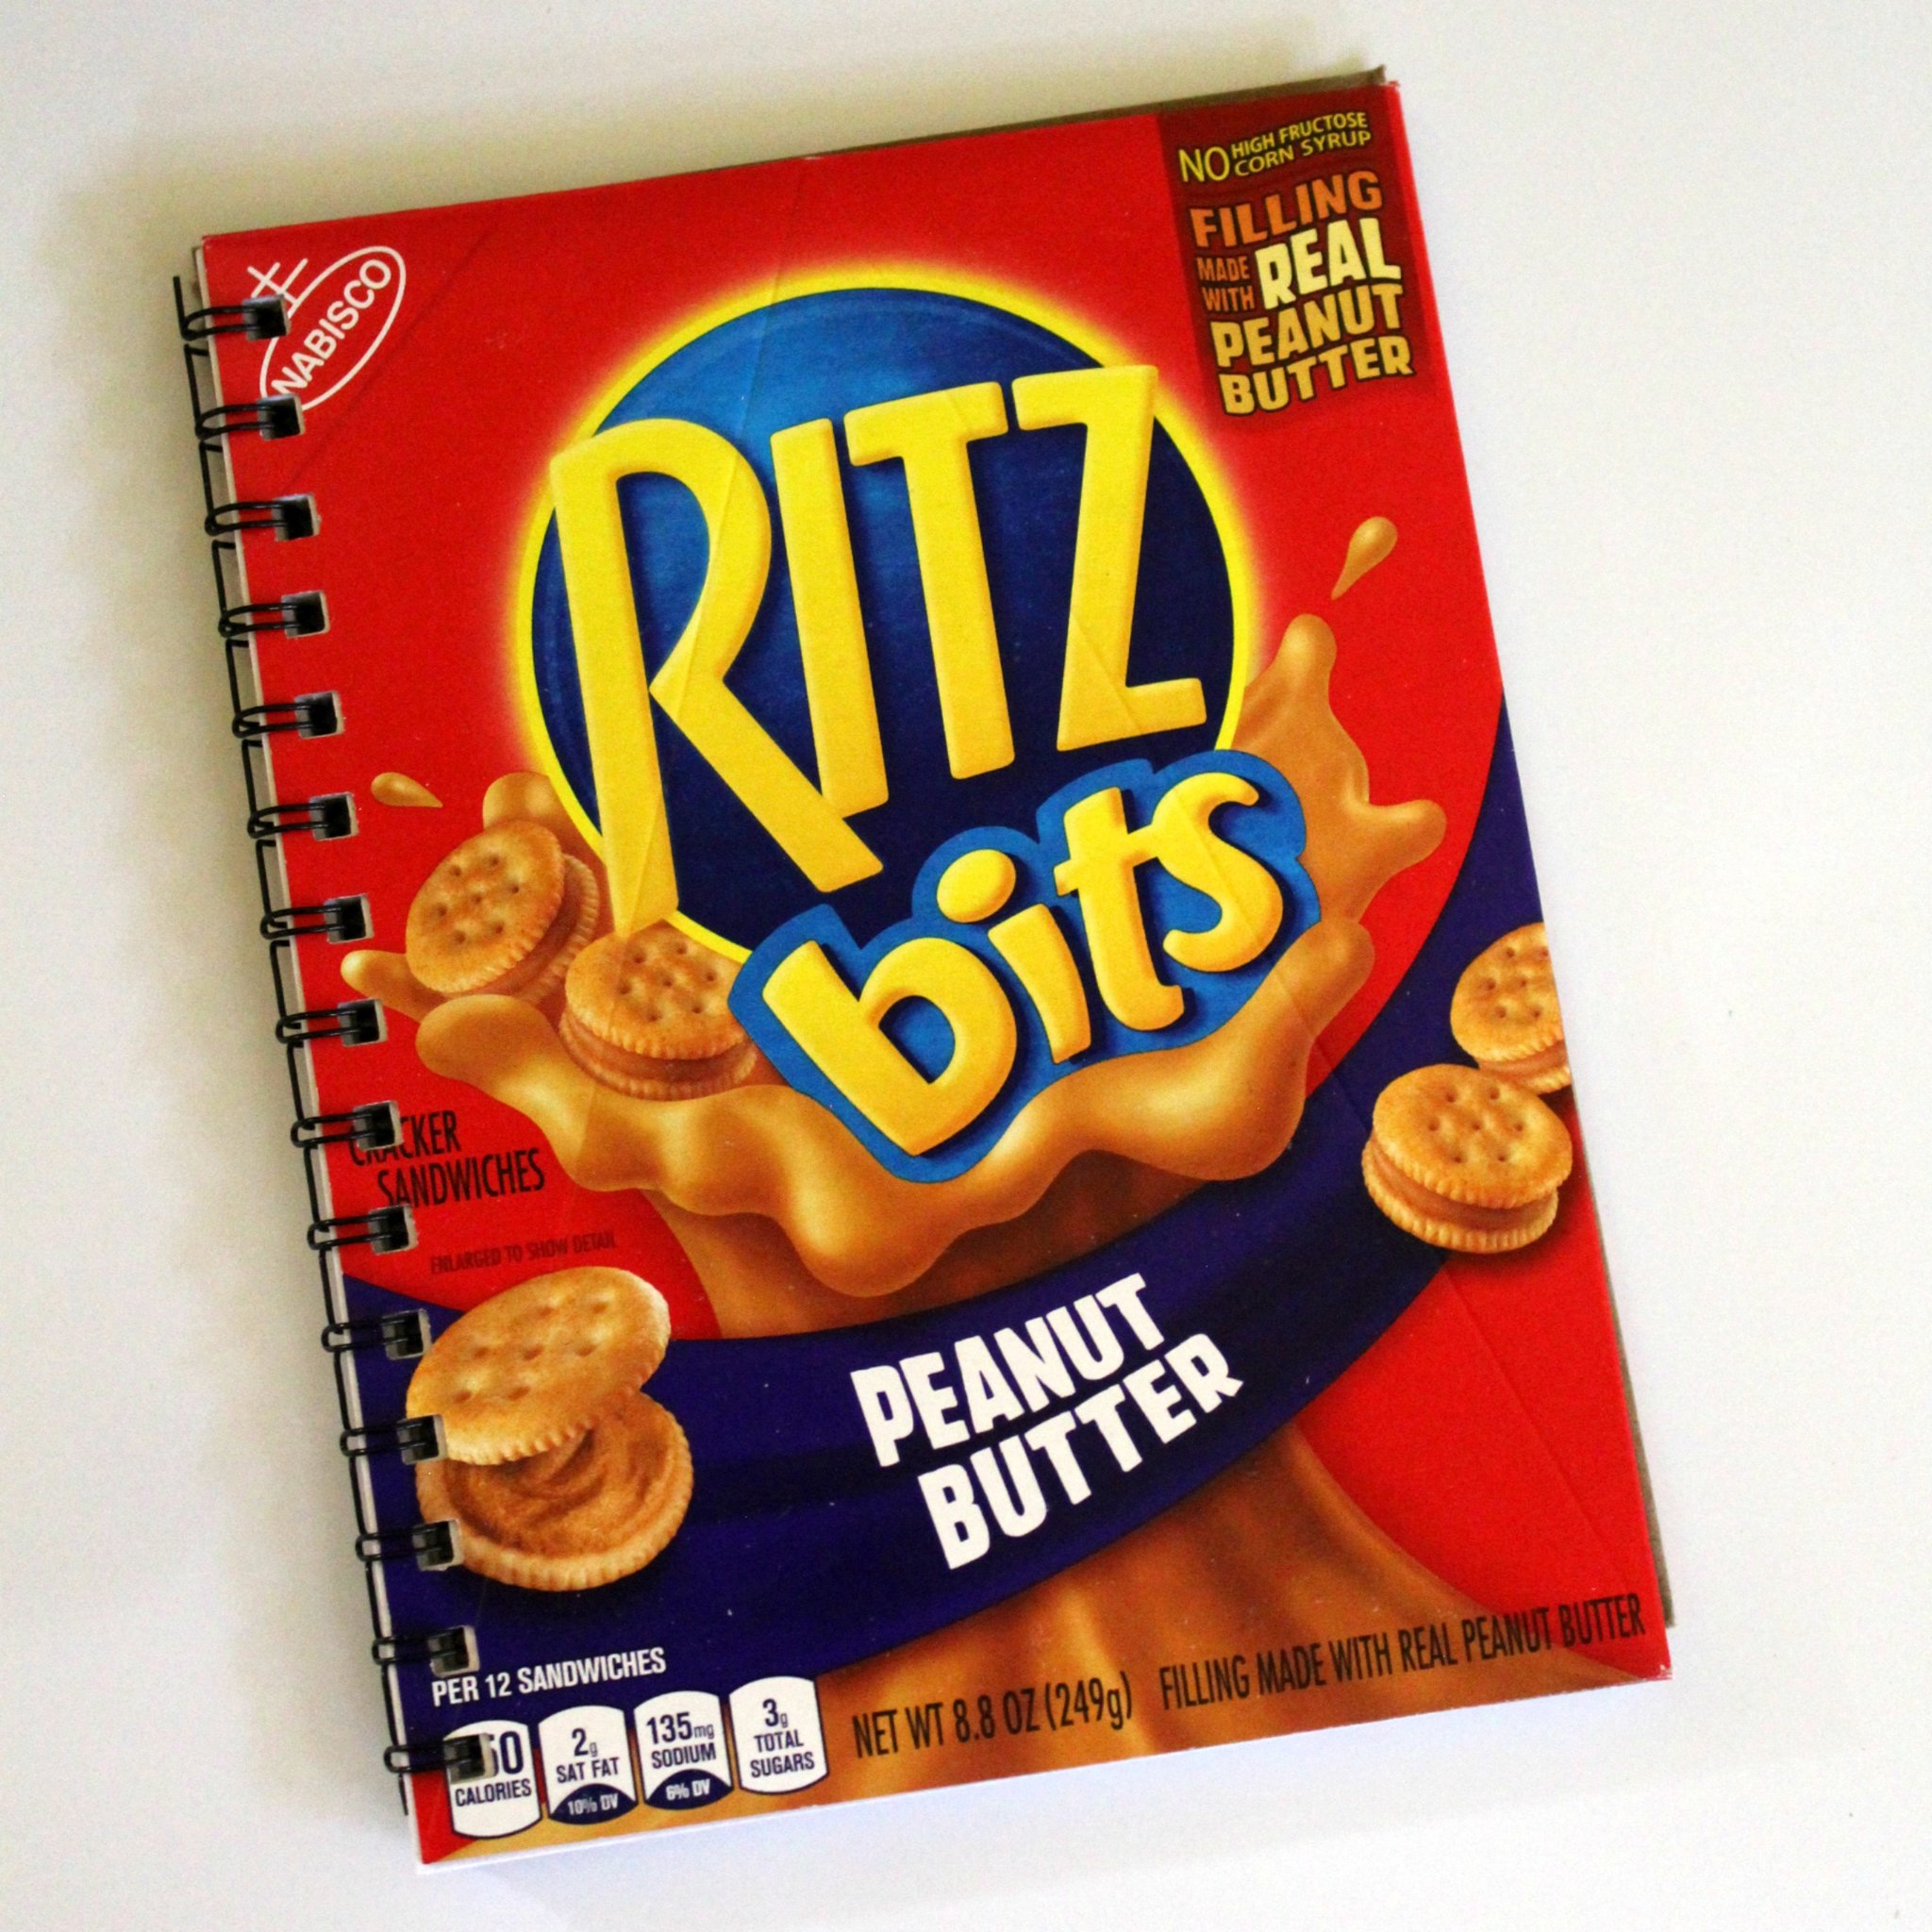
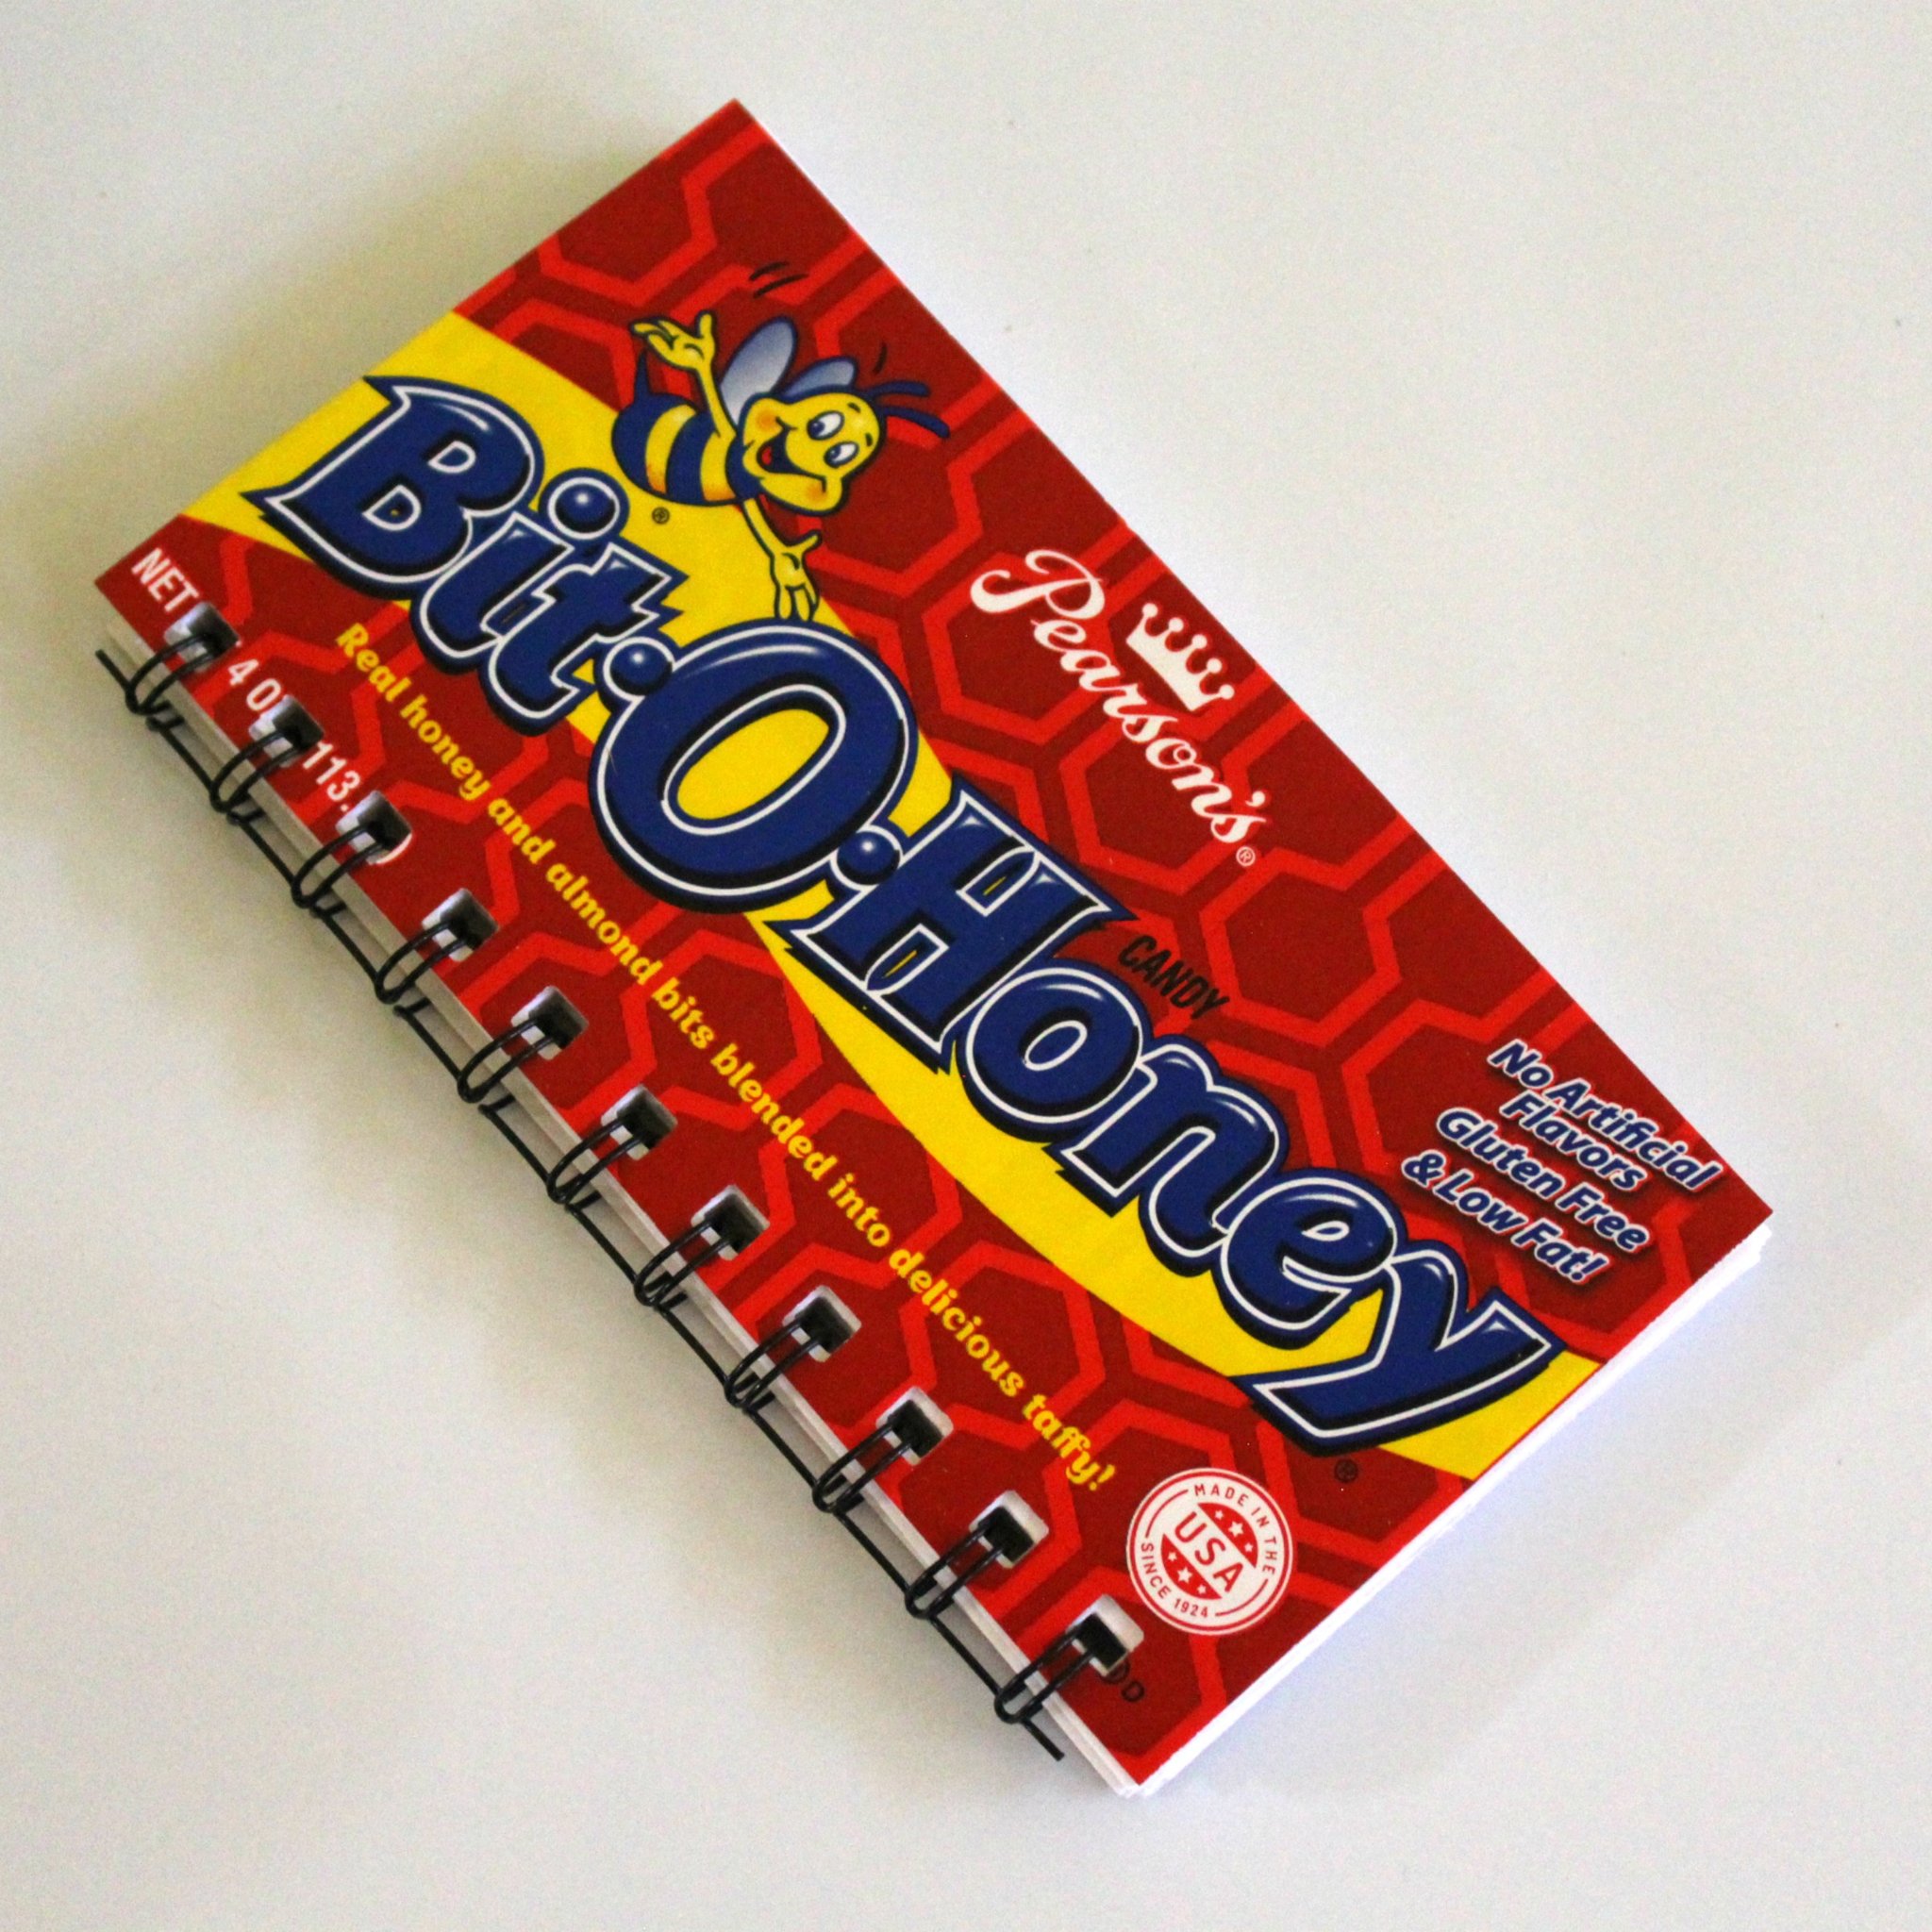
~Food Boxes – Chex Mix, Cereal Boxes, Cheez-Its, etc.
Try to avoid using boxes that are or have been ripped open
~8.5 x 10 Paper
~Scissors or wire cutter
To make:
When using any cardboard box (food, VHS, etc.) you will want to open up the box completely so you can use a rotary cutter to trim the front and back of the box off for the notebook.
To do this, you’ll want to find the side with the glued seam and run your finger under the seam to open up the box (being careful not to rip it).
Once opened up, you’ll want to lay the box down on a rotary mat and use a cutter to cut down the seams.
Once you have the front and back cover, set aside. Grab 50-55 sheets of paper and use the cover of the notebook to trim the paper down to size. Most trimmers will only cut 8-10 sheets at a time as anything additional will take longer and jam up the paper cutter.
Once you have the covers (2) and the paper (50-55 sheets), pull out your cinch binder. Place the front and back cover together, wrong sides facing, and use the cinch to punch the holes. Depending on how big the cover is, you may have to slide the tray down and punch the end that didn’t get covered initially.
(If it’s your first time using the Heidi Swapp Cinch you’ll want to watch the You Tube video here – it does take a bit of practice to get the hang of it!)
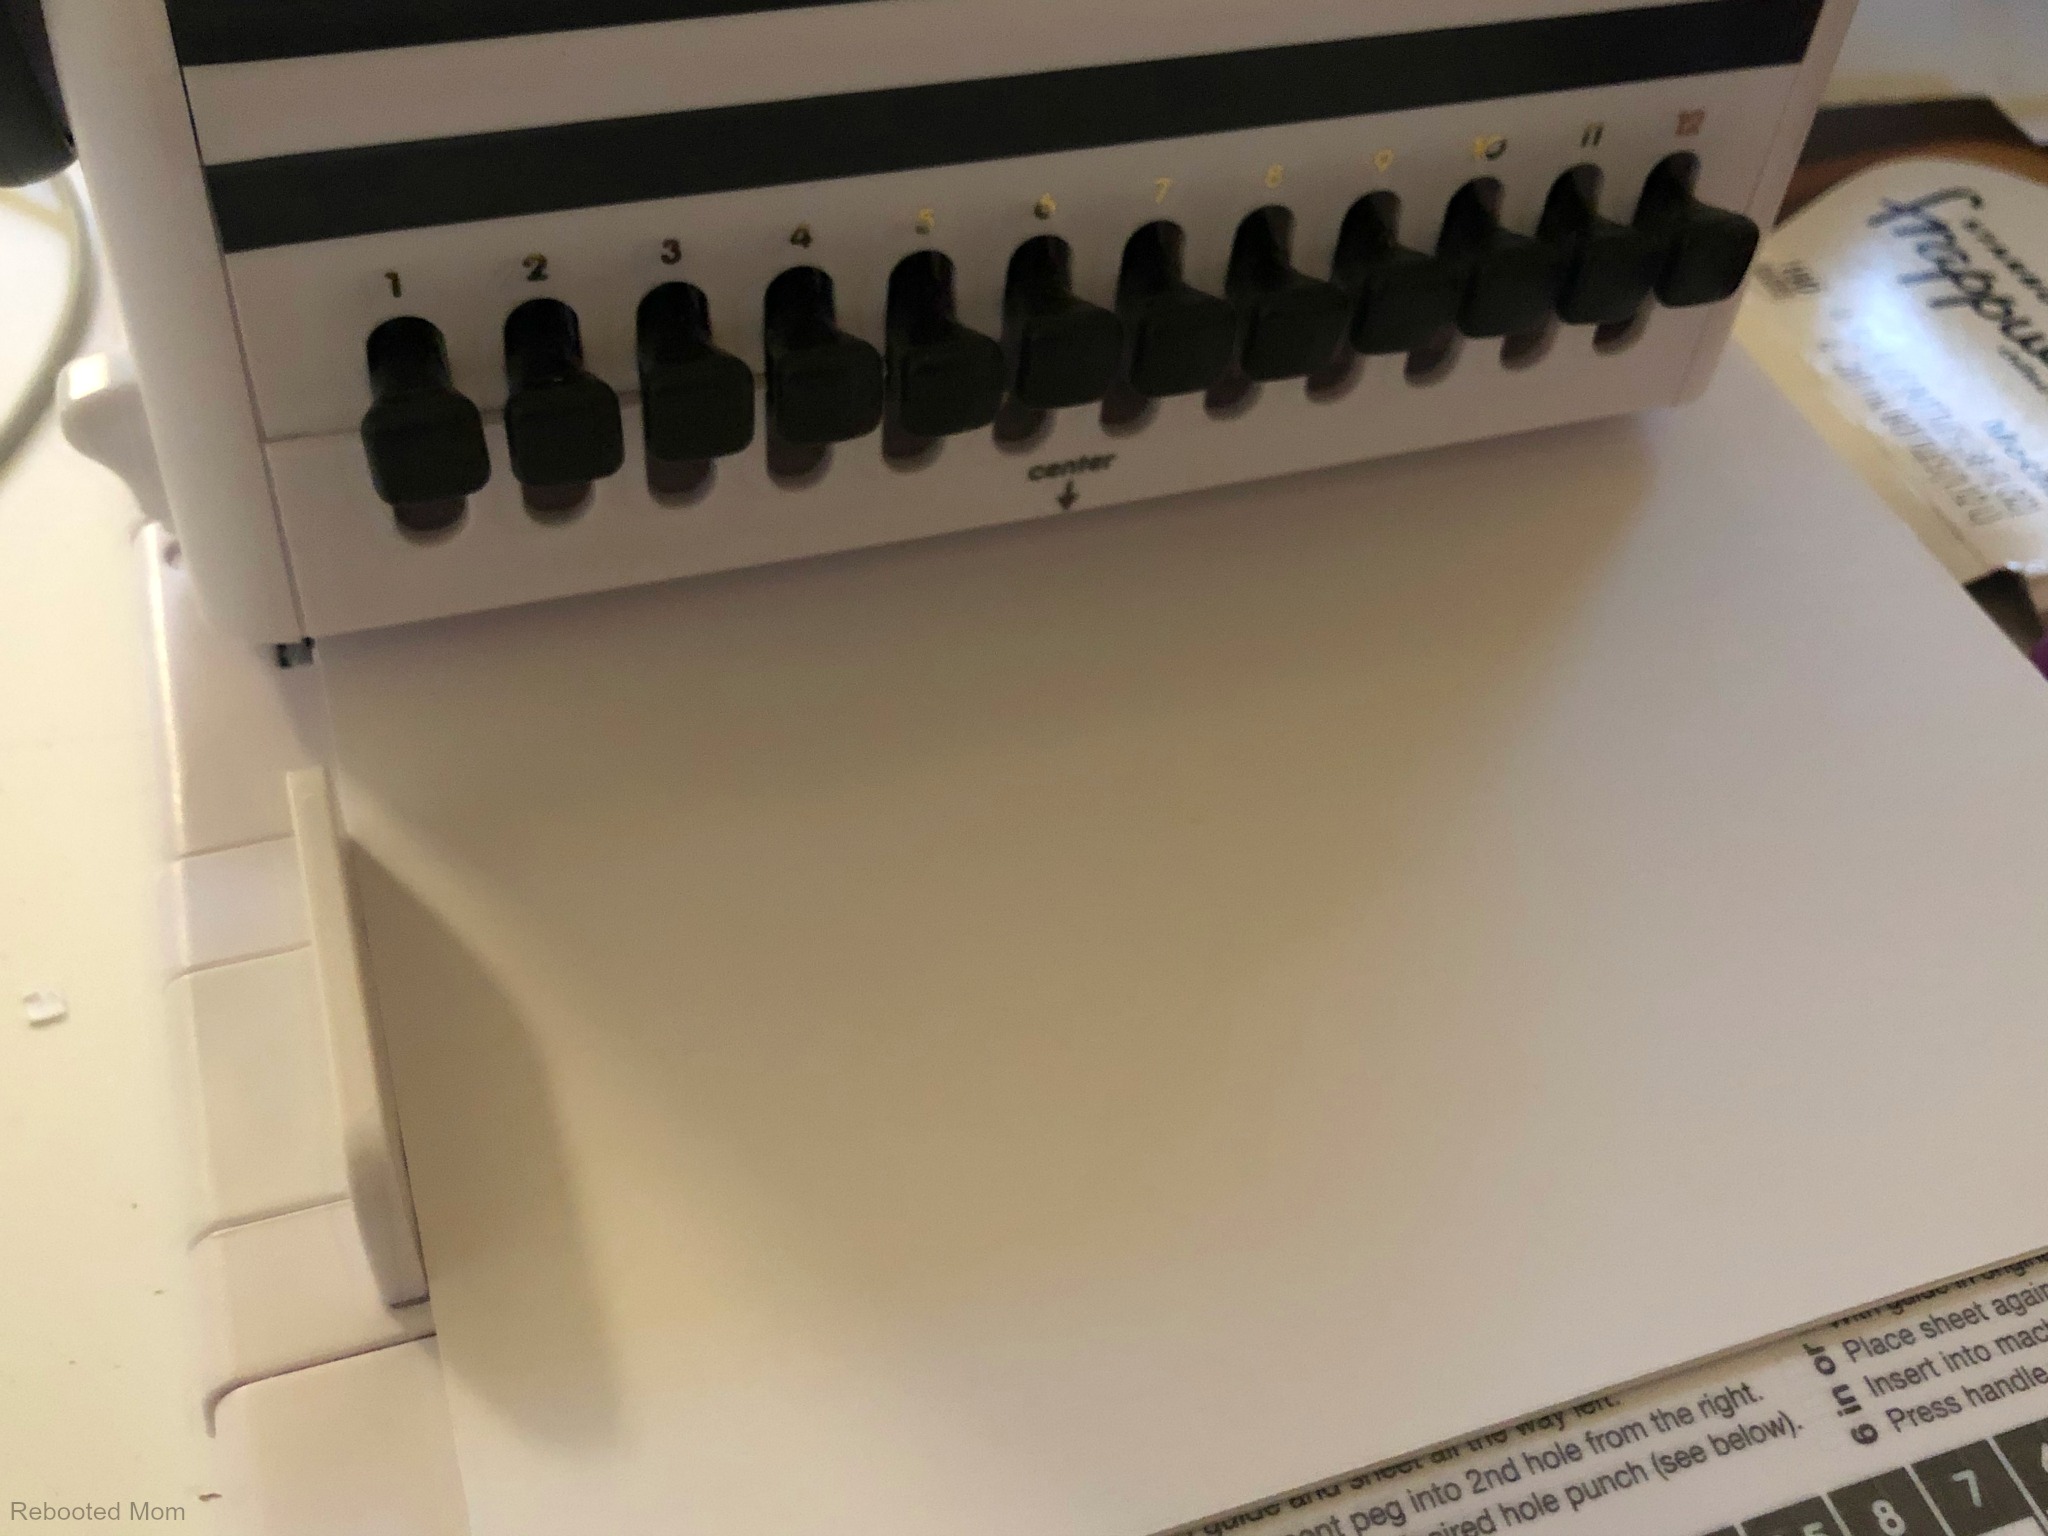
Once the covers are punched, punch the paper, 10-20 sheets at a time.
Assemble the Book:
Pull out a binding wire and use a wire cutter (or scissors) to trim the wire down to the size of the notebook. Then start assembling:
- Rear cover (wrong side face up)
- 50-55 sheets of paper
- Front cover (wrong side down)
Bind the wire
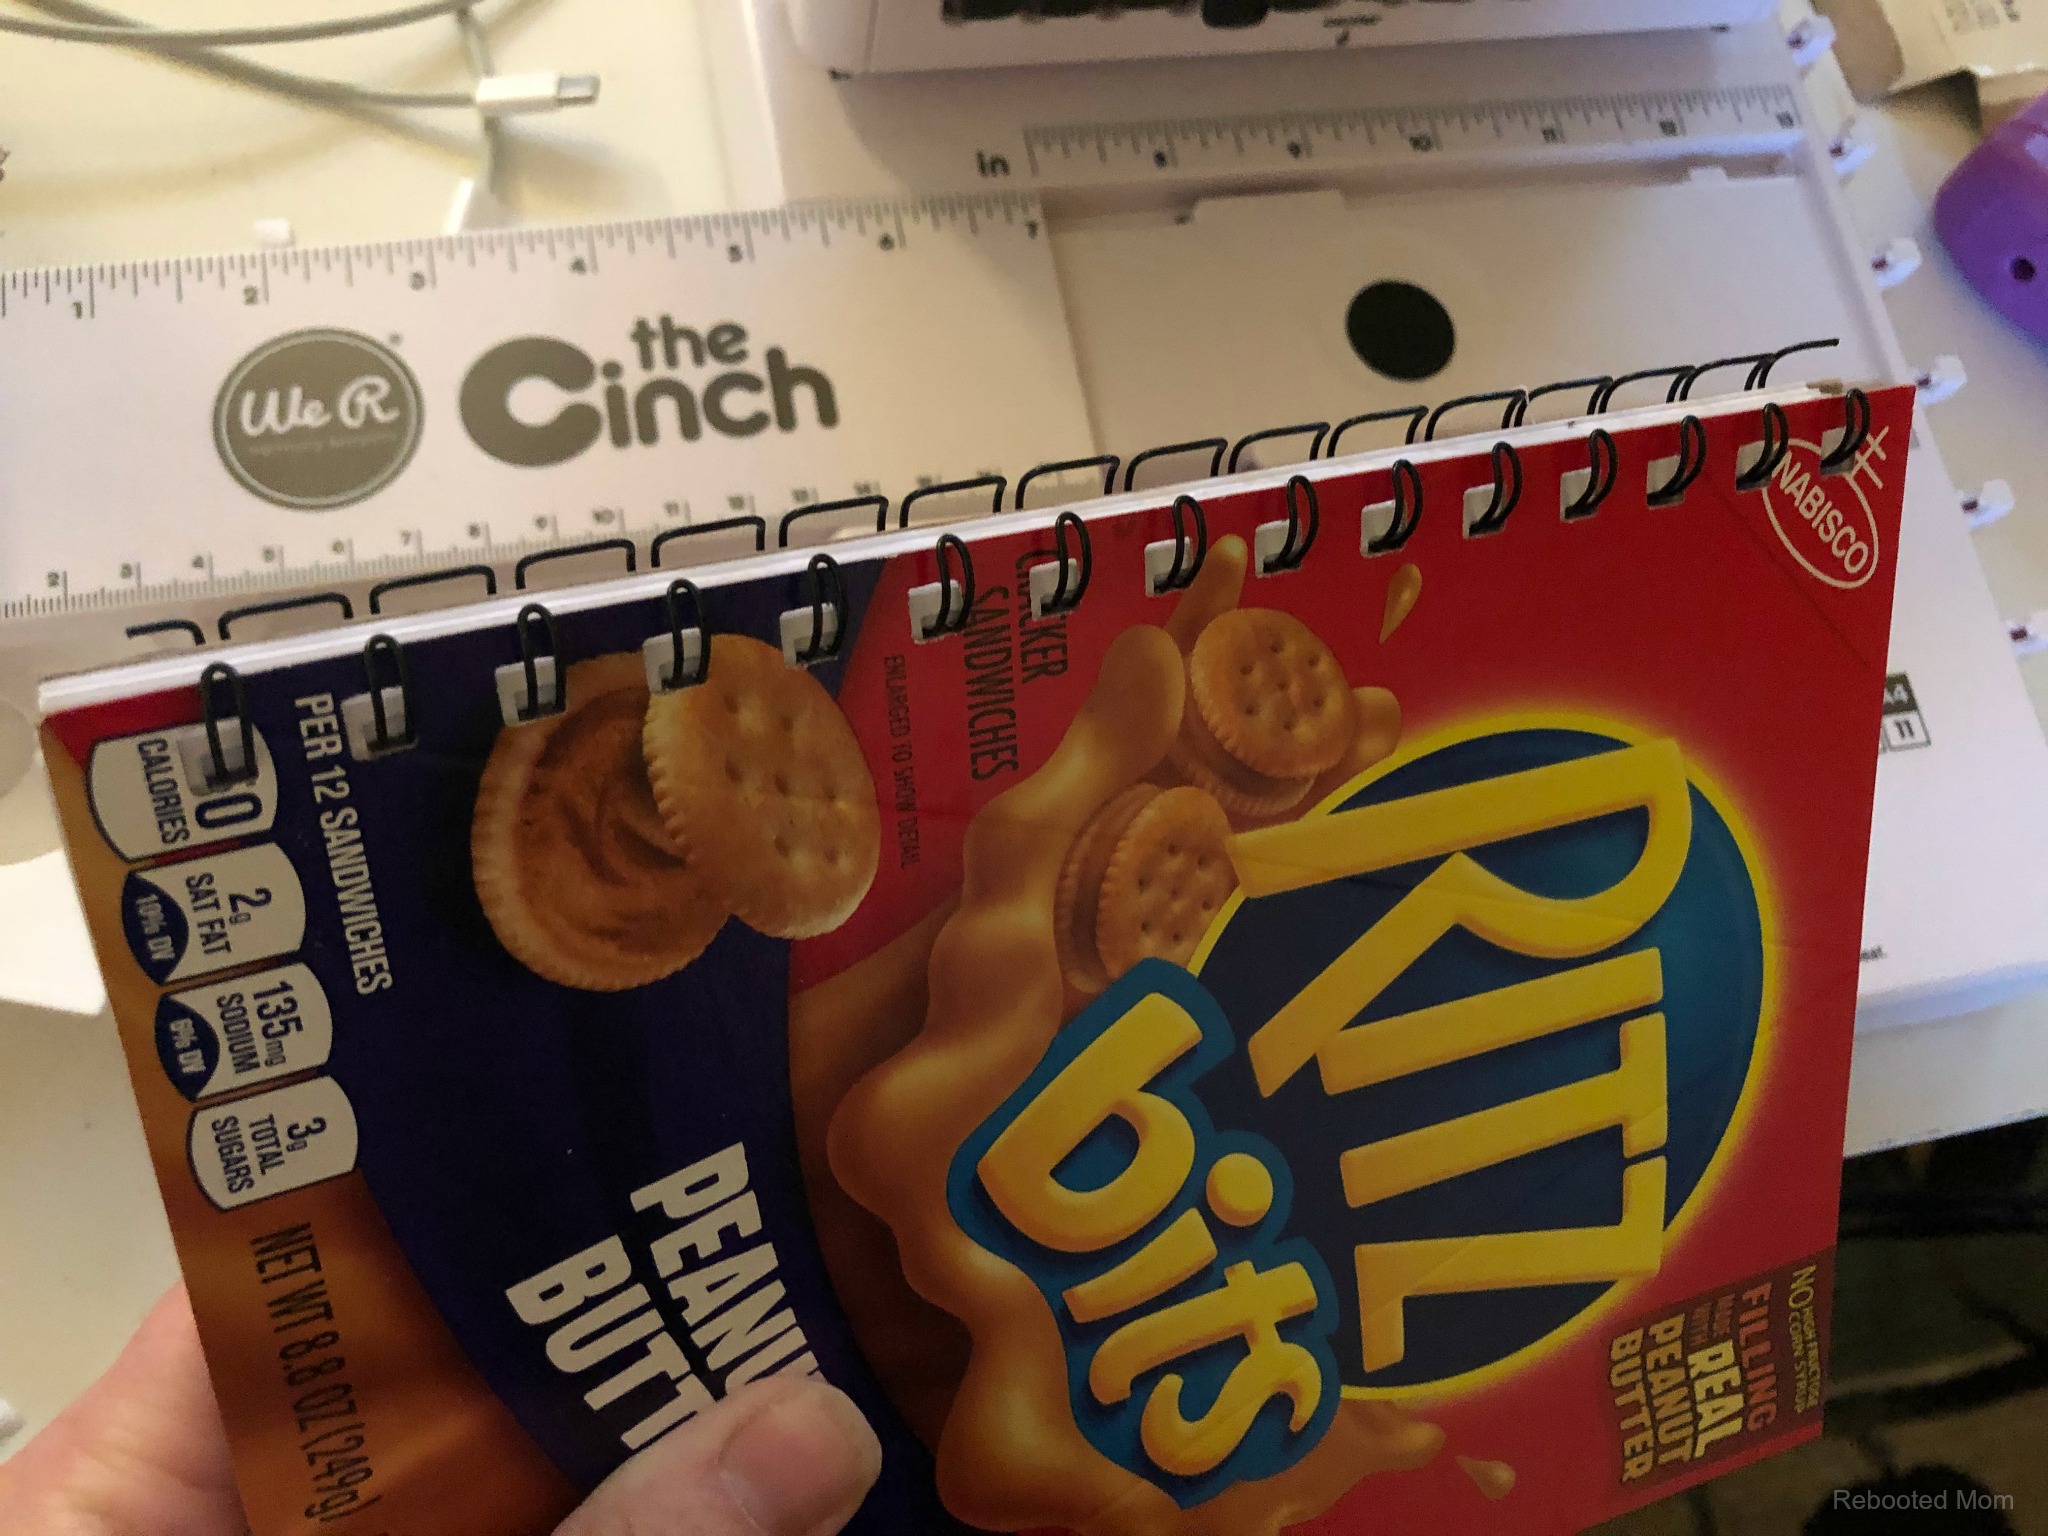
Turn your cinch machine around and ensure that the button on the top is the same as the size of the binding wires (hold to push down and turn).
Hold your book (as shown above) and slide the book into the binding machine and push the handle down. Repeat if the book is too wide for the tray.
That’s it! You now have a foodie notebook that is worthy of attention from family and friends (that otherwise would have been a box tossed in the trash!)
These foodie notebooks make really unique gifts for folks of all ages. Get creative… use crayon boxes for smaller notebooks:
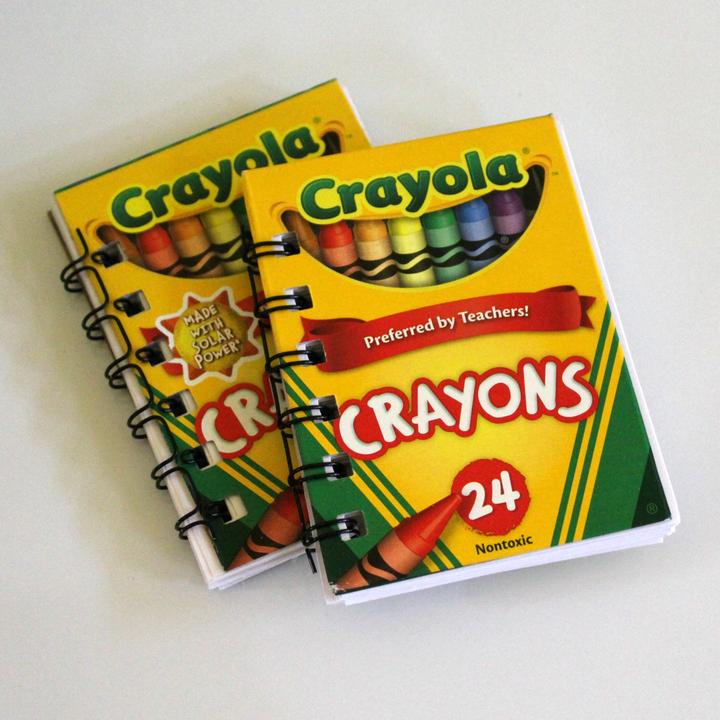
Crayola Crayon Notebooks (2ct)
Don’t want to go to the trouble of getting the materials to make your own? You can find a huge variety of foodie and VHS notebooks by heading here to Notebook Nostalgia (all with free shipping!)

[…] Foodie Notebook DIY […]