


How to create a long-lasting, decorative landscaping edge with just a few simple materials and a few hours in an afternoon.
Have you ever wanted to throw together a new garden bed or edging on an area of your yard without having to struggle to dig out a huge portion? This tutorial will help you do that in just a few hours – think a simple afternoon!
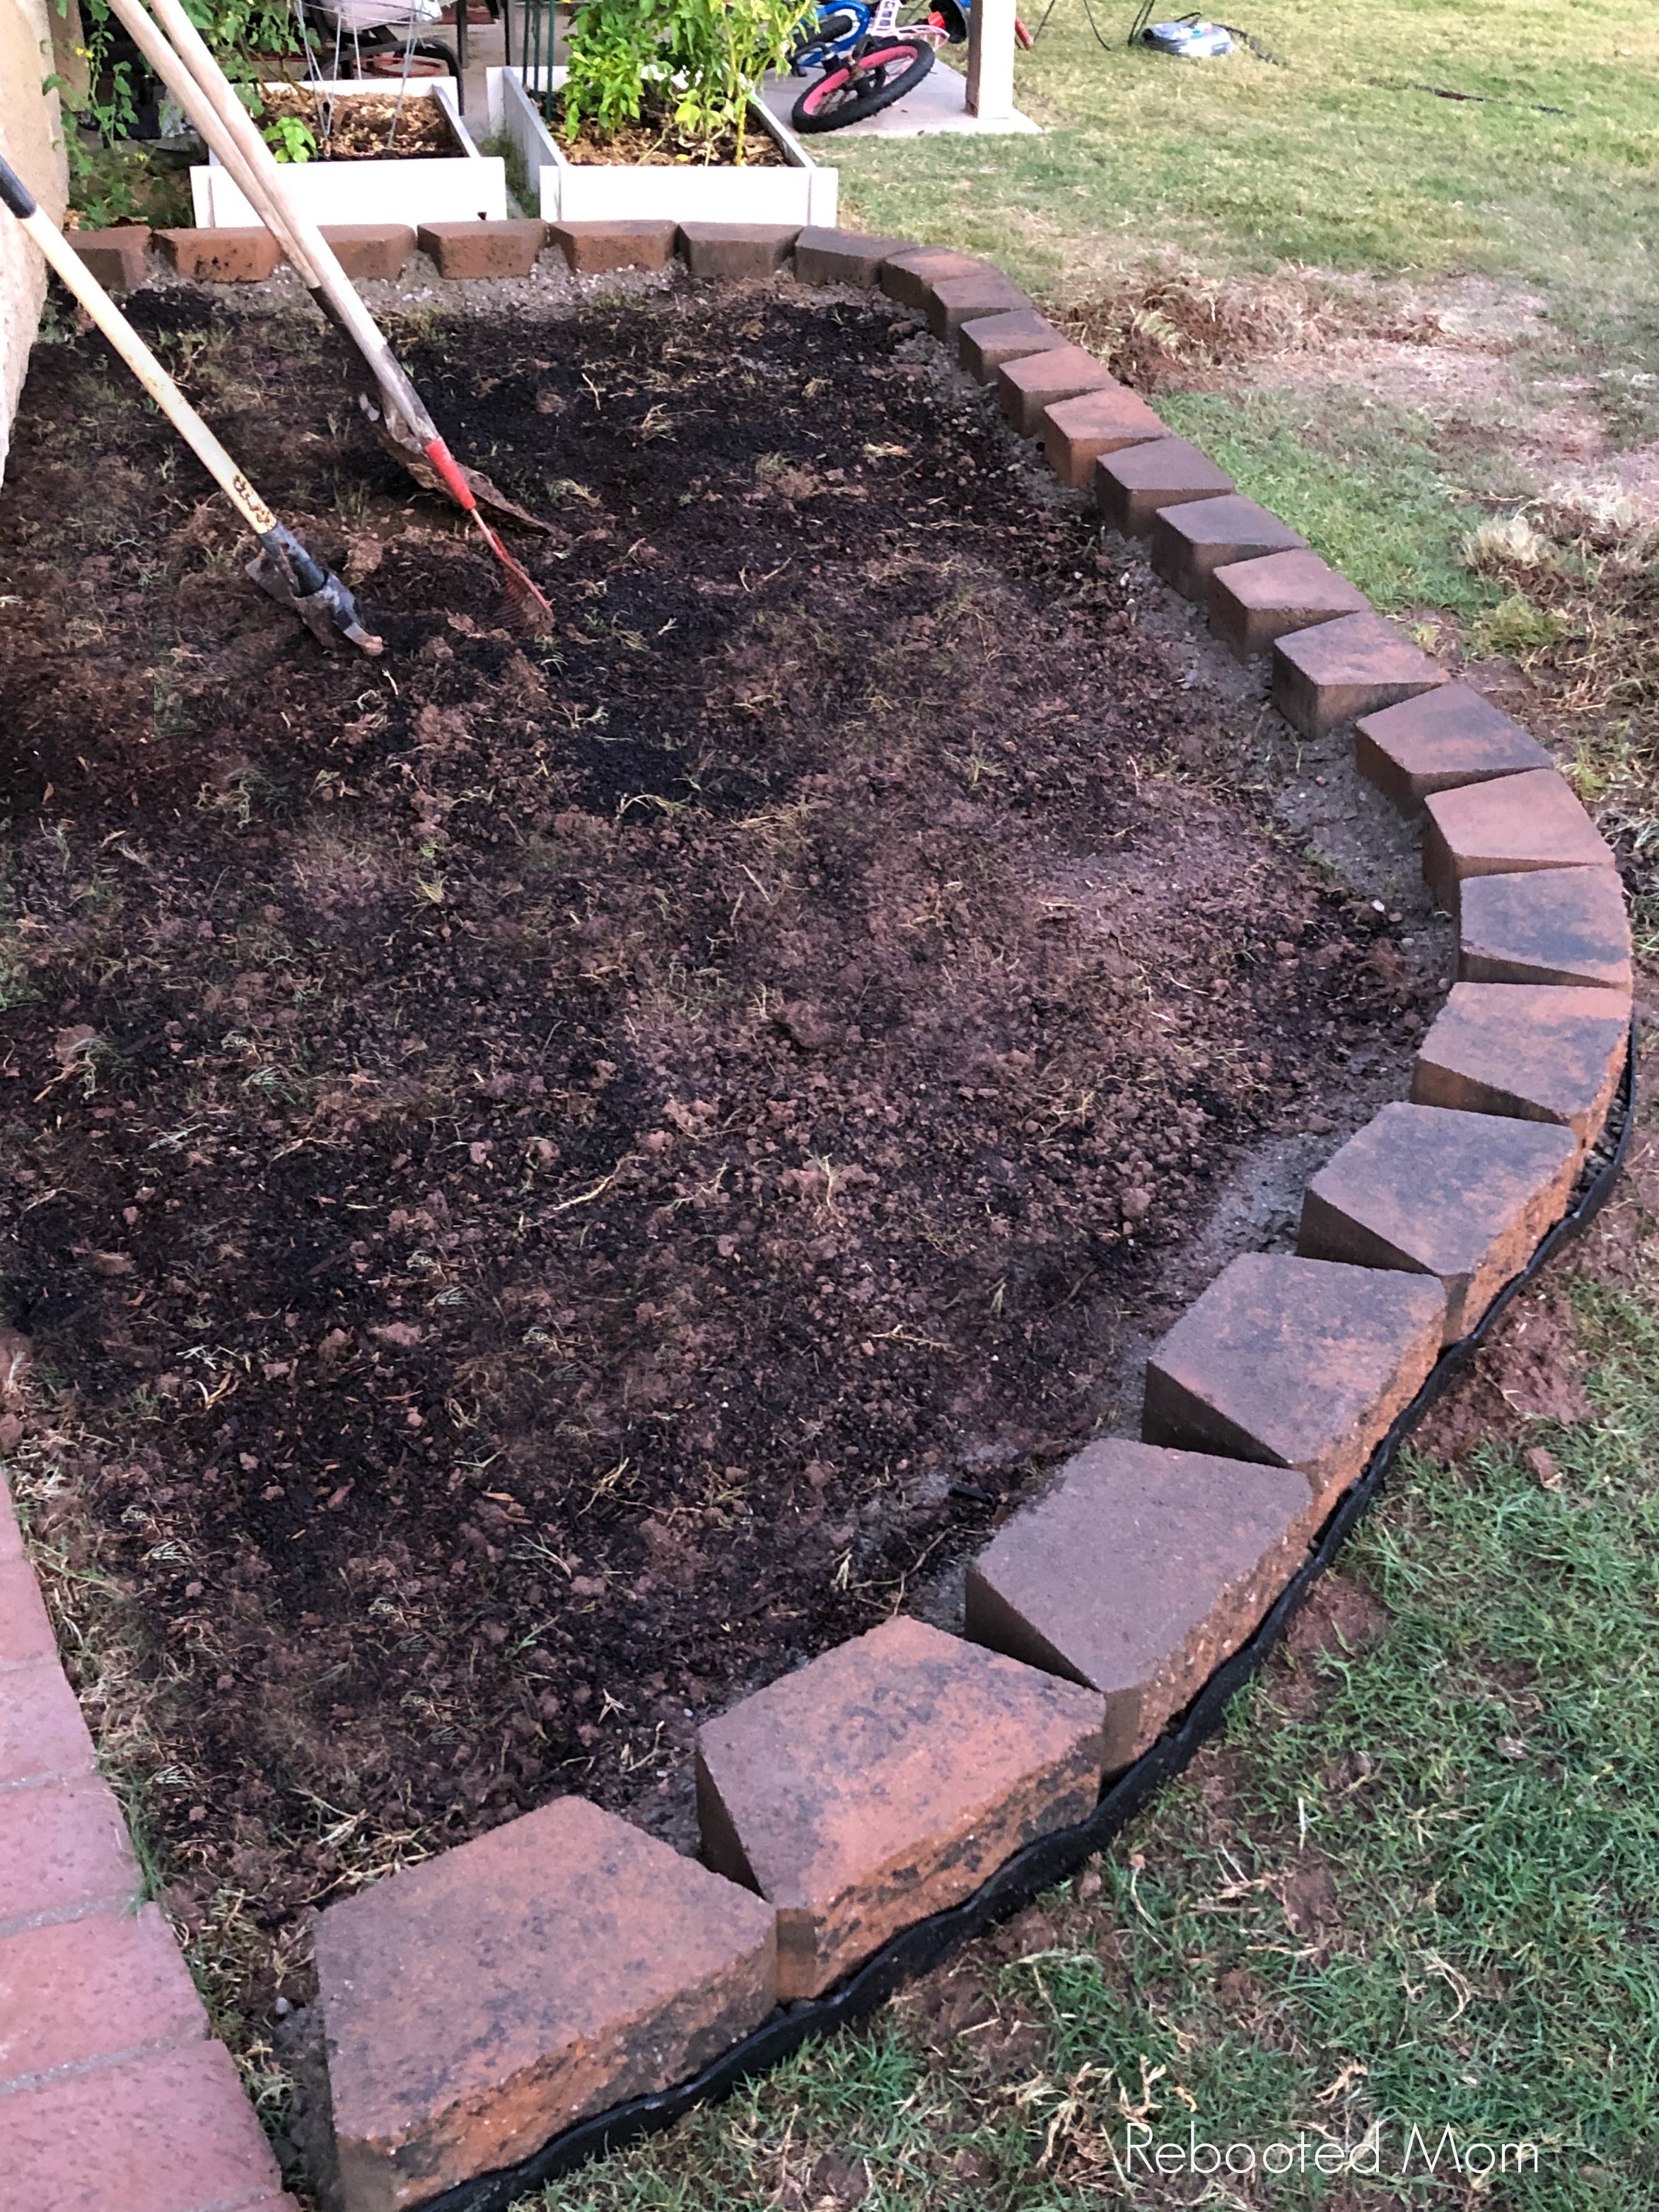
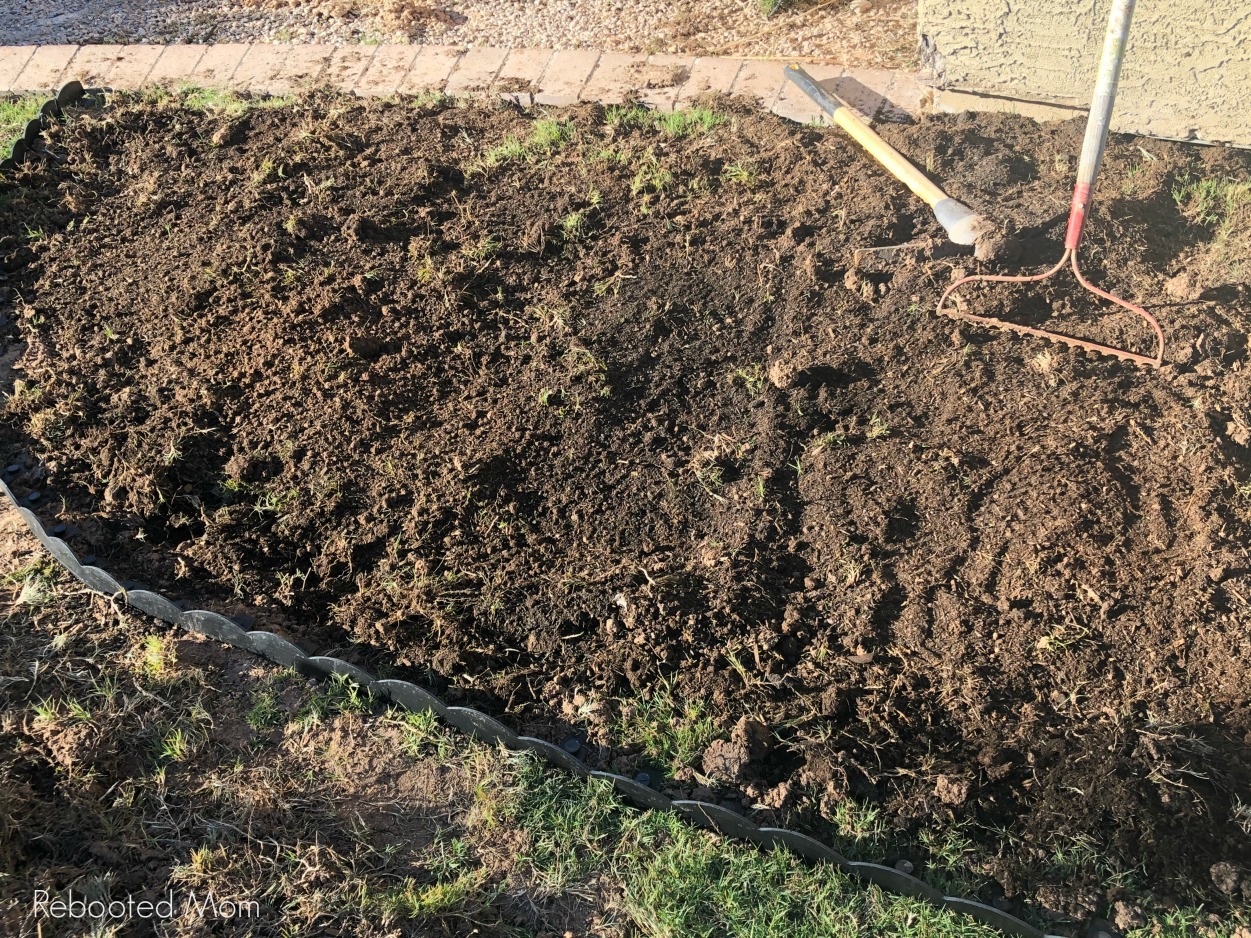
Just a few months ago I had a large portion of the yard that needed a little love and attention. It was just over 18 feet in length by 7 feet deep. I wanted to create something that didn’t require too much effort or break the bank. After all, here in Arizona, our ground is rather dry and difficult to work with.
I wasn’t in any mood to rent huge equipment or do a terrible amount of labor to pour concrete. Nor did I want to have to wait for anyone in the family to lend a hand, so I picked up a few supplies at Home Depot and got to work on a Sunday afternoon.
Easy DIY Decorative Landscape Edge
This garden bed took just a few simple hours in the afternoon and is a great way to edge a bed without spending all too much money.
Get your kids involved and encourage them to help you prepare the bed. Once it’s done, you can fill in the garden bed with beautiful, flowering plants, herbs or even garden veggies. It’s such a great way to transform a space!
Materials Required:
- 10″ retaining wall blocks
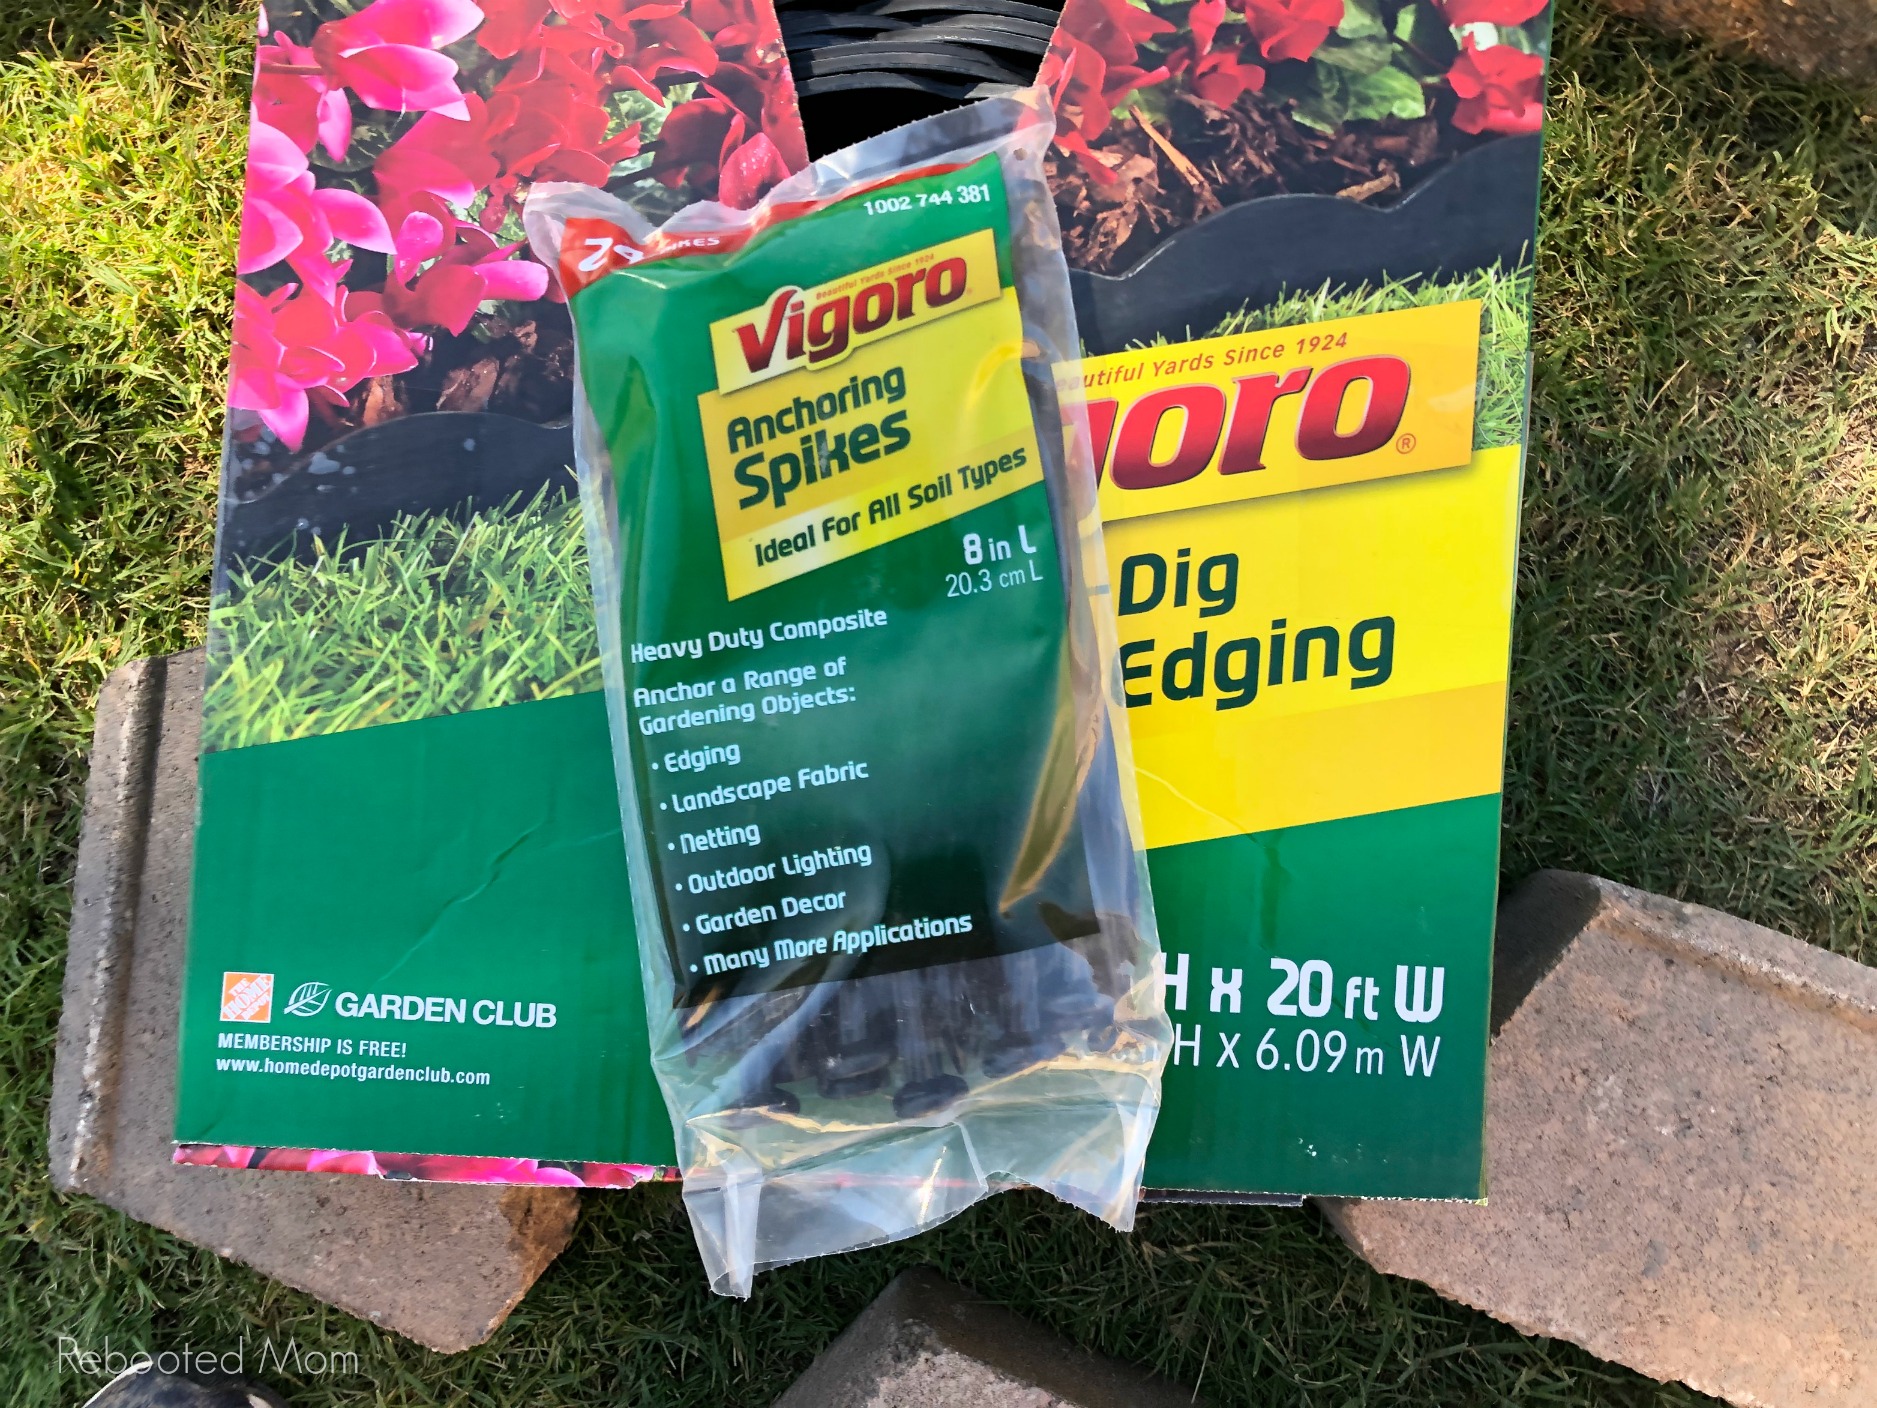
- no dig landscape edging
- anchoring spikes (metal spikes are better but the plastic ones will work okay too)
- quickset concrete (1-2 bags)
The retaining wall blocks run 10 inches in width, so you’ll want to measure the area you wish to landscape and calculate your needs.
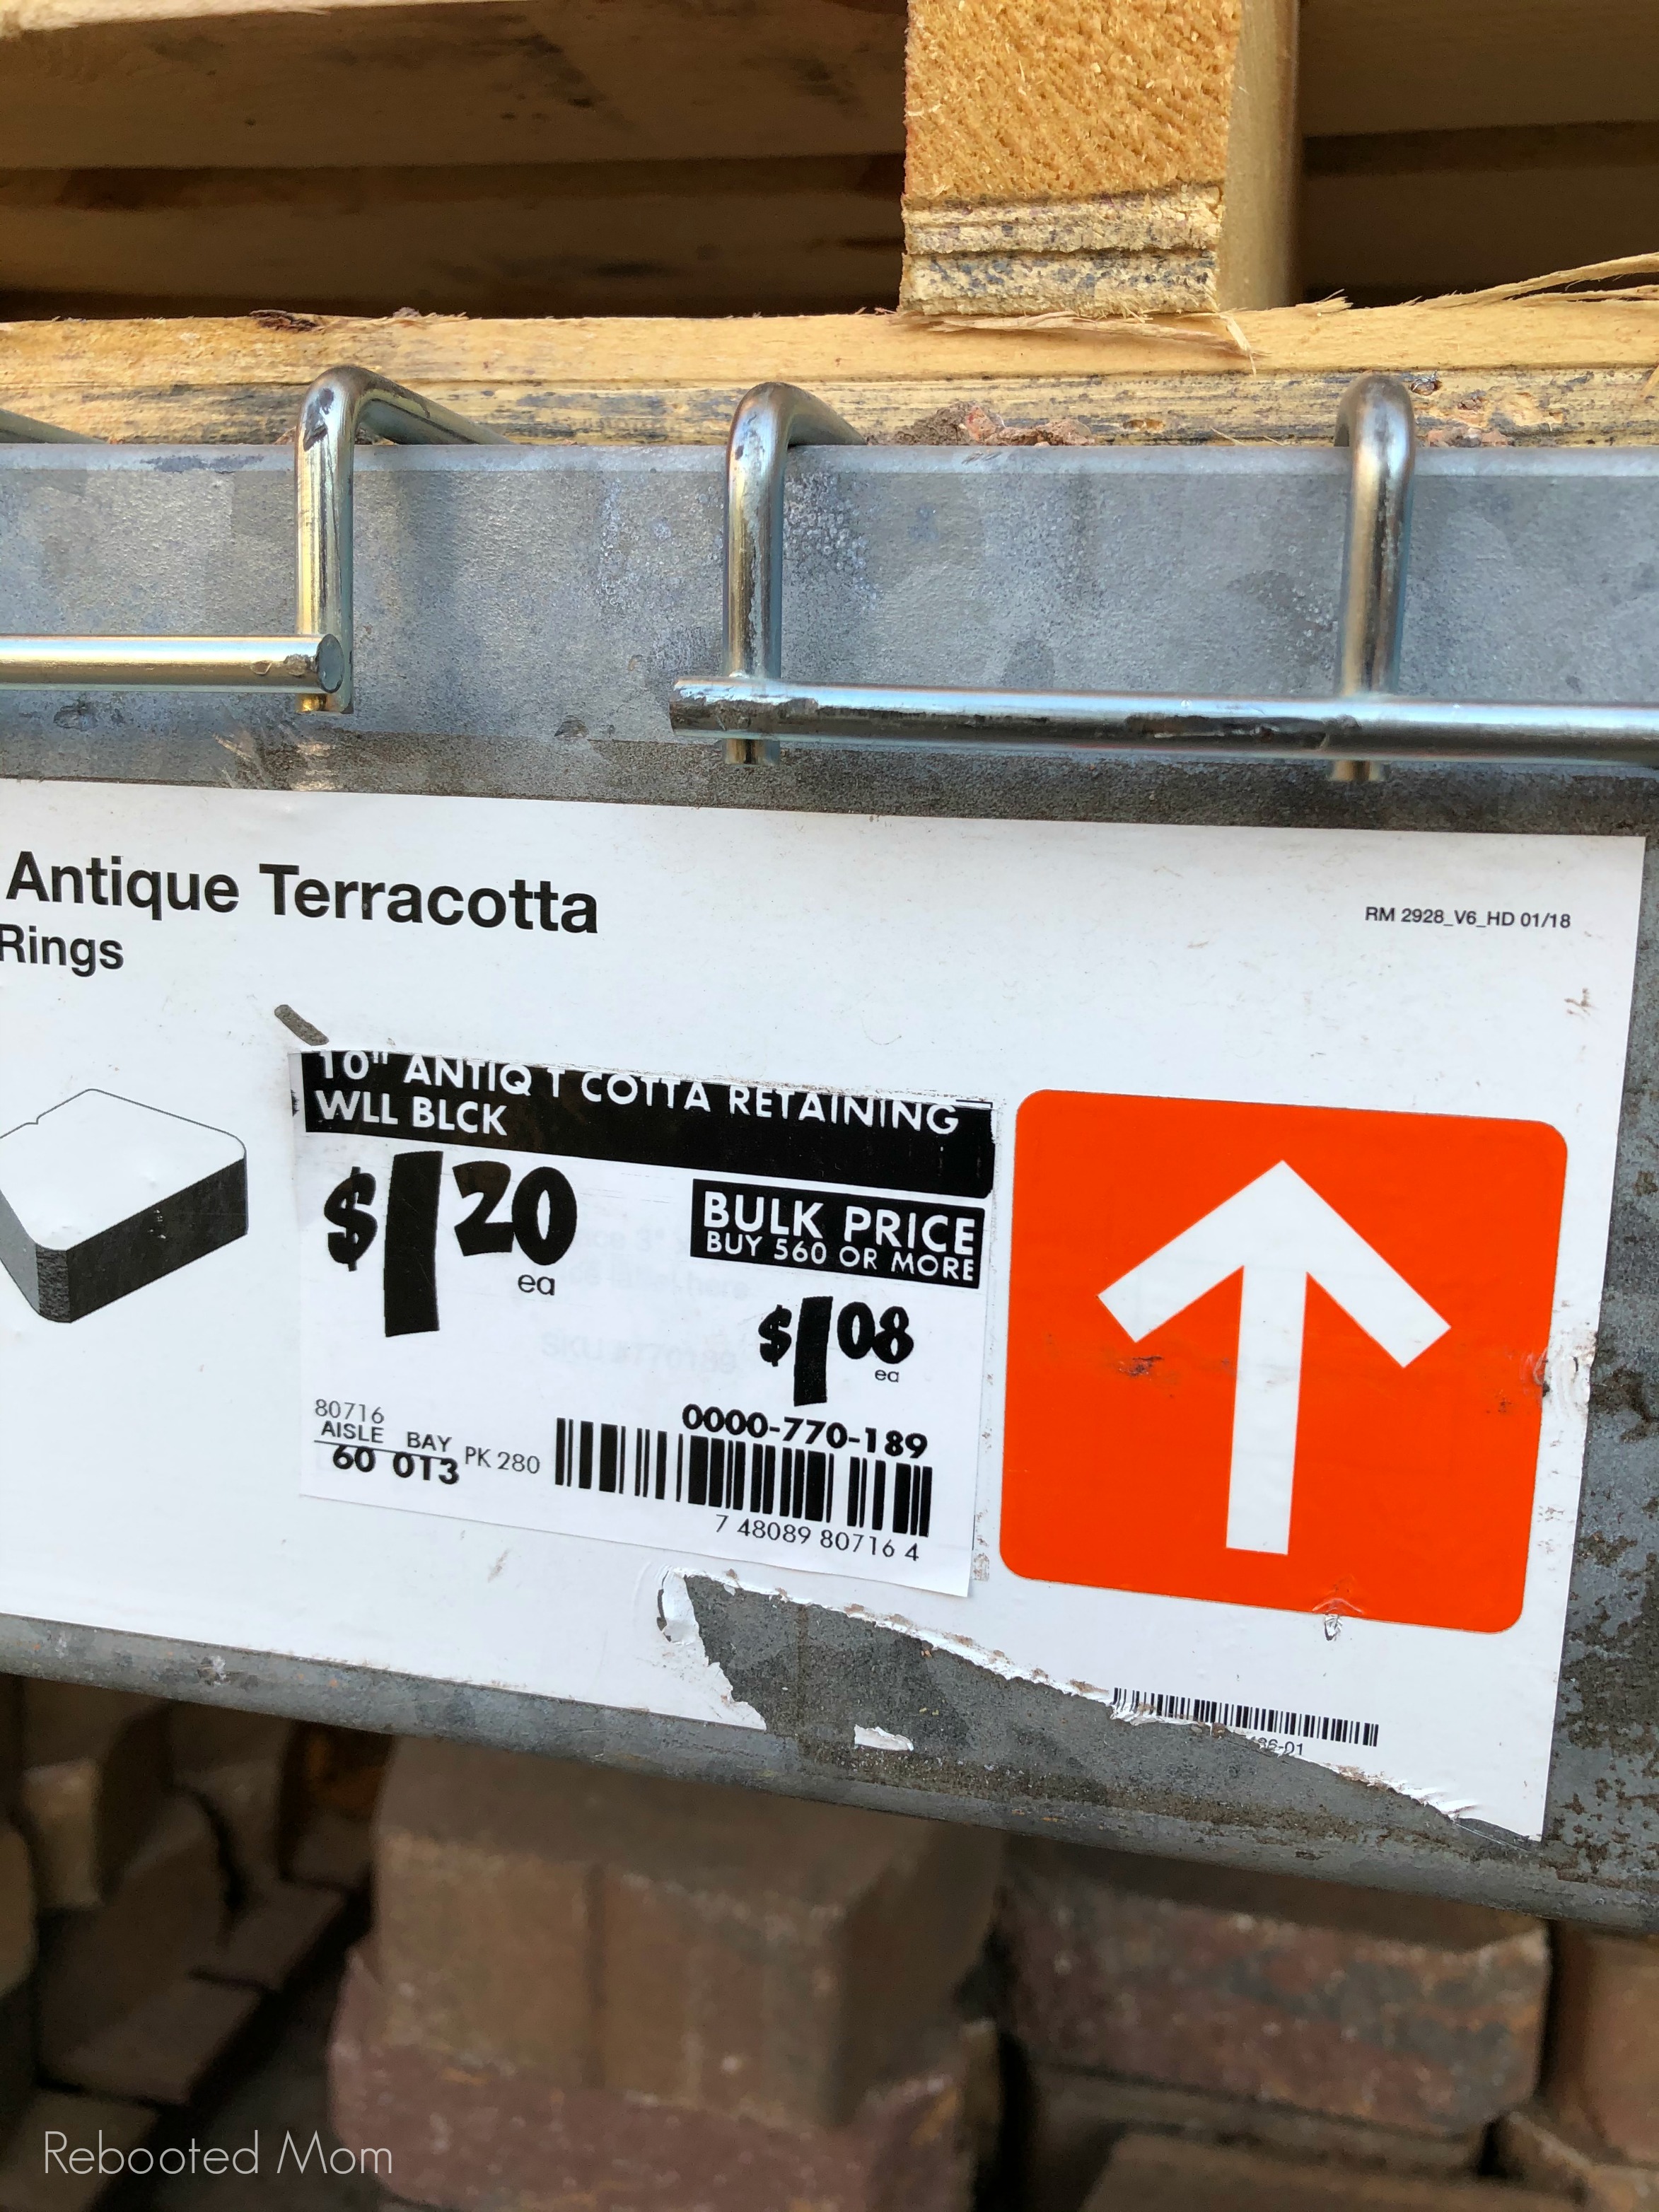
The retaining wall blocks are fairly inexpensive at Home Depot… they also have several color options. This Terra Cotta retaining wall block was just $1.20 each. If you are a military service member or spouse, don’t forget to show your military ID or dependent ID card for an additional discount at the register.
Directions:
Lay the edging down along the length of the bed, taking care to follow it around the curve. Use a hammer or a mallet to hammer in the stakes as you go. Take care if you are using plastic anchoring stakes… metal stakes are much more sturdy and less prone to breakage. But if your hardware store doesn’t have metal stakes then plastic is the way to go.
Carefully open the bag of concrete at the corner and sprinkle it along the inside border of the edging. You’ll want to wear gloves to make sure you aren’t touching the concrete with your hands.
Spread it out evenly – this will be the base for the retaining wall blocks. The more level the fast setting concrete, the better the blocks will look when they are placed on top.
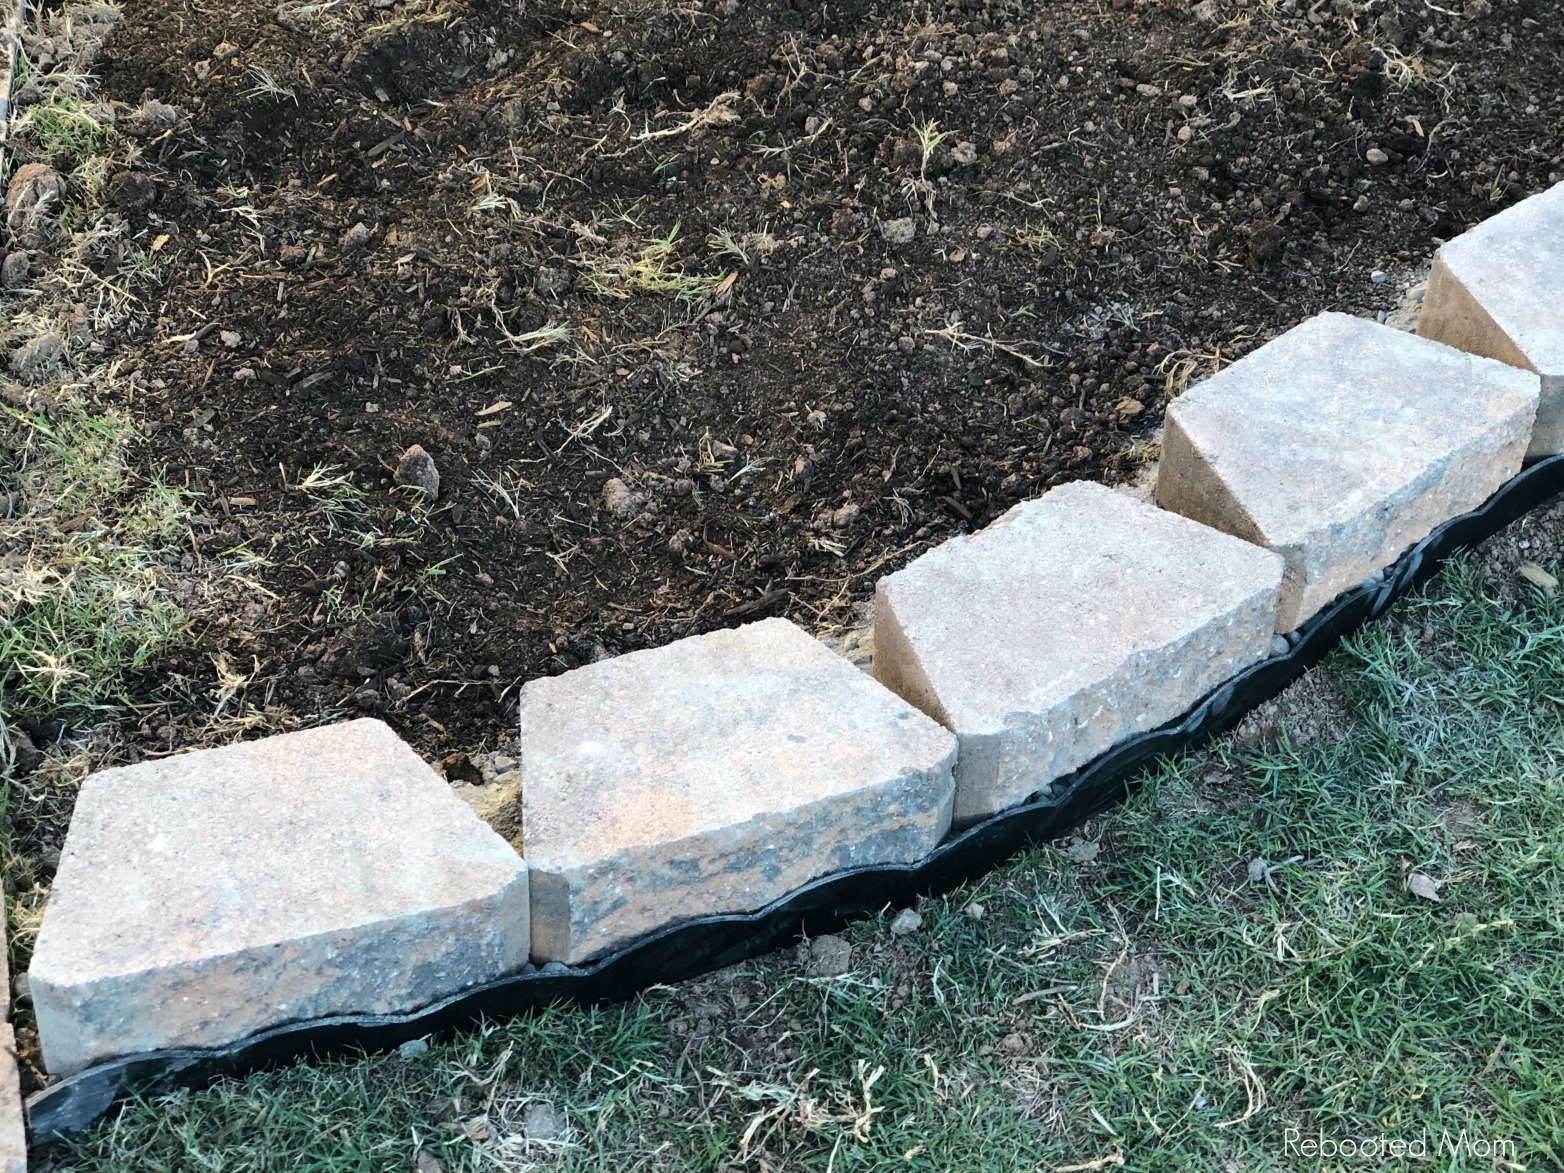
Once the fast set concrete is spread out evenly, lay the landscape bricks on top of the fast set concrete mix so that the corners are just barely touching. The blocks should be fairly level across the top – if not, adjust as needed.
Grab your garden hose and lightly spray over the blocks for a good 4-5 minutes. Don’t soak them (that will come later) – just moisten them enough to give the fast set concrete a chance to establish a secure base. Focus on spraying water between the blocks as well.
Allow the bed to rest overnight. The next day, give the retaining wall blocks and fast set concrete a good drench with your hose. The water will allow the concrete to finish setting in place thus securing the blocks.
The bed is now ready for you to plant your favorite cover crop, garden herbs or vegetables.

Leave a Reply