


Over the last few weeks, I have been working on making several different soaps that I can gift for Christmas and the New Year. It’s fun to be able to make them something unique that they may not have had the chance to try otherwise.
Of course, I could always go shop for a gift, but I’m not a person who loves dragging kids to the store and spending money – I prefer to make something at home, and it’s something I enjoy to do. I guess you could say it’s a form of stress relief/therapy.
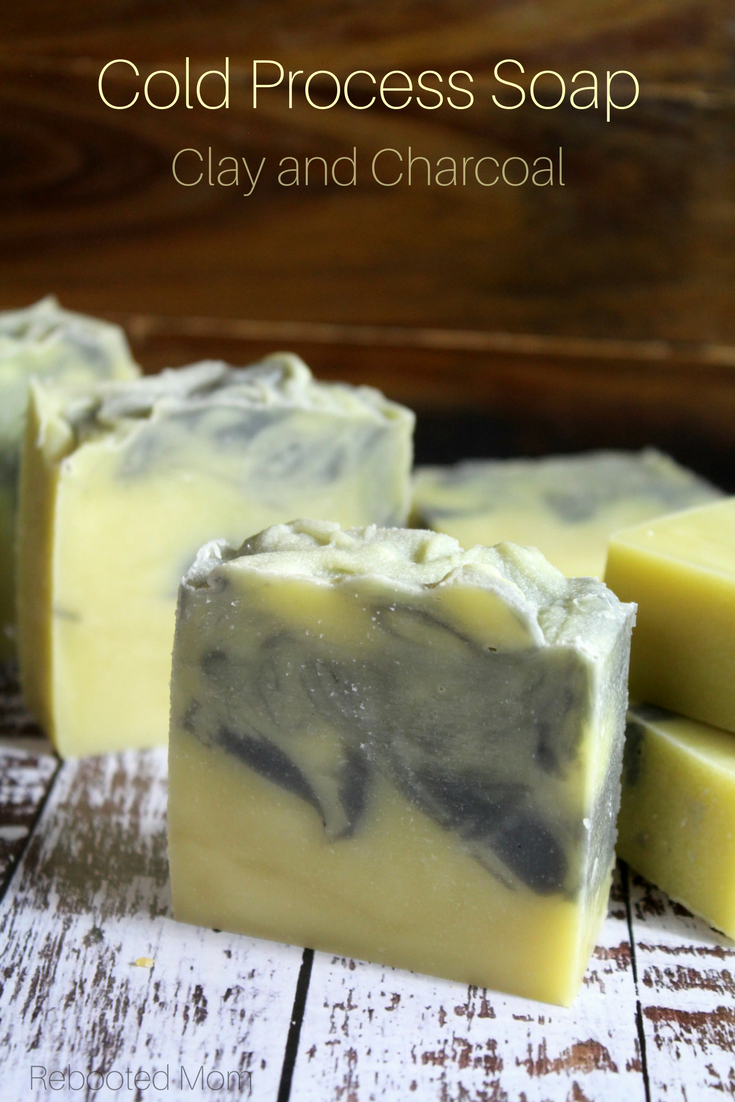
This clay and charcoal soap is a wonderful gift for family and friends – it looks beautiful when wrapped and would smell amazing if you choose to add essential oils to your soap.
About this Soap
Activated charcoal is a carbon – it’s made by steaming wood, coconut shells, or peat to high temps. The porous surface has a negative charge that attracts positively charged toxins to go with it.
Bentonite clay is something we typically use in our facial mask and deodorant – and while we love using it for those two DIYs alone, it’s even more incredible in soap. Bentonite clay is sourced from volcanic ash. Like activated charcoal, it’s also negatively charged – which allows it to attract toxins (positively charged) in the same way.
Both of these together make a wonderful option for cold process soap because thy will attract the dirt and bacteria that are on your body when you shower.
Sourcing Materials
Your oils can be picked up from a variety of places – you will want to make sure you get a good quality olive oil from a retailer that has a high turnover. Costco’s brand of olive oil has always been wonderful in our soap, but feel free to use a brand that works for you.
If you adapt this recipe to include essential oils, run them through the Bramble Berry Fragrance Calculator to determine how much you need to use. Some essential oil brands are not cost effective when soaping, I would recommend purchasing from a supplier that is affordable (Bulk Apothecary is one of my favorites).
Find some of our favorite suppliers here at the bottom of our last post.
Charcoal and Clay Cold Process Soap
This cold process soap recipe results in a 2 lb loaf, at 6% superfat.
Oils and Liquid:
- 1.6 oz castor oil
- 17 oz extra virgin olive oil
- 8.0 oz coconut oil (76 degrees)
- 4 oz avocado oil
- 1.8 oz kokum butter
- 4.41 oz lye
- 10.69 oz water
- 2 tsp bentonite clay
- 2 tsp activated charcoal
Supplies:
- Thermometer (one that you don’t use for food)
- Silicone Column Mold, 31 oz
- Pyrex 8 cup measuring device , heat proof
- (2) 4 oz cups for dividing soap, heat proof
- Immersion Blender – you don’t have to spend oodles but you will want something reliable with a metal stick, not plastic.
- Lye – this is the brand we use
- Digital Scale to measure your ingredients
- Protective safety goggles (we got ours at Home Depot for $3)
- Rubber gloves
- long sleeve shirt and pants
Instructions:
Weigh all your ingredients. Set on the rear of the counter away from small hands. Make sure you wear your safety gear.
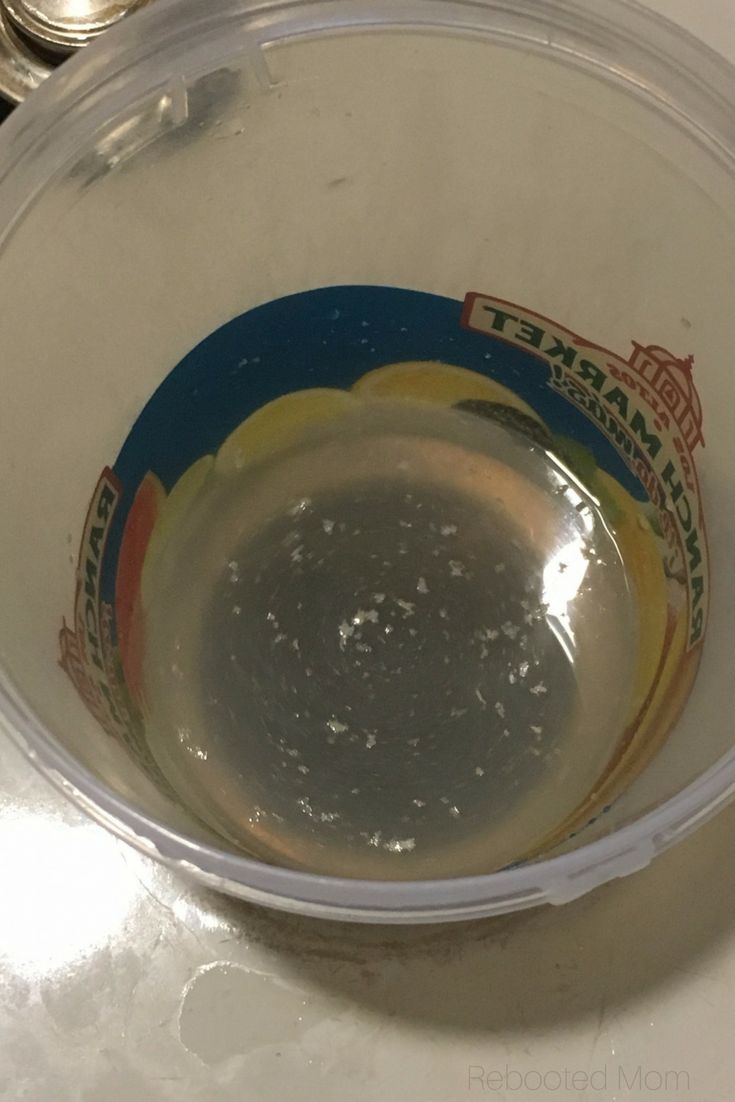
Make your lye and water solution. With your safety gear on, slowly pour the lye into the cool water until it dissolves. We use our kitchen sink because it’s relatively deep, and I have a window behind it that I can open up. I also try to place a fan behind me to blow those fumes towards the window and out to the side yard.
The lye mixture will be very hot – ensure that the water and lye is completely dissolved, and then push aside until you are ready to add your oils.
Prepare your oils/fats. While you wait for the lye mixture to cool in temps (125 or so), warm your fats and combine together into a large bowl (a large pail is great for this). Wait for your oils to cool (around 100 degrees or so).
Measure out the clay and charcoal. Set aside. (If you are using essential oils, you will want to measure those out at this time, too).
Slowly add the lye solution to your oils. Use your immersion blender to pulse off, then on, until you reach a light trace – about 2-3 minutes.
If you are adding essential oils or fragrance to this soap, you will do it at this point and mix in just until combined. (Bramble Berry has a really handy fragrance calculator).
Separate the batch. Once at light trace, separate the mixture into two different portions – add the clay to one and the charcoal to the other. Use your immersion blender to combine – start with the light (clay), mix thoroughly, then gently lift the immersion out and into the portion with charcoal and mix thoroughly. Make sure to combine well.
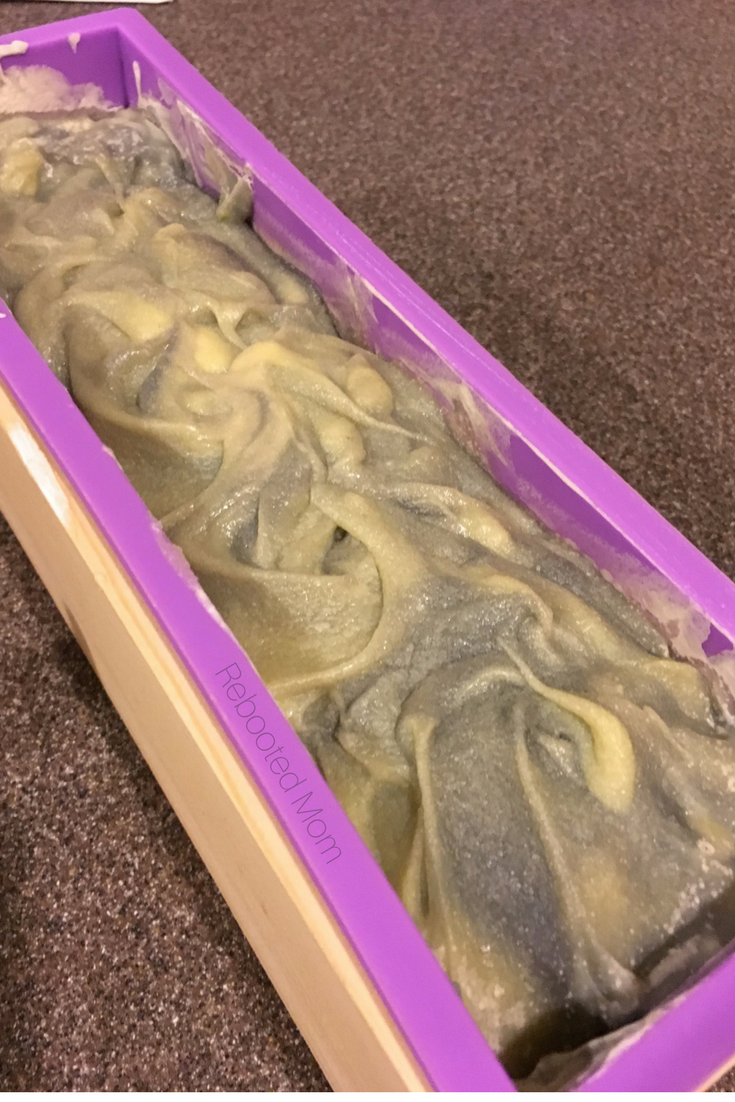
Prepare your mold. Grab your mold, and pour a little of one, then the other, until you have exhausted your batter. Swirl it with a spoon by grabbing under, then over – be creative. There is no right or wrong way! If the batter isn’t thick enough to texture the top of the soap, allow it to sit for a while then texture once it gets a little thicker.
Allow it to sit for 24 hours to go through gel phase. Depending on your temps in your home, you may want to place it on a folded towel, and cover well to keep it insulated.
Soap Queen has some neat tips and tricks to read if you aren’t familiar with gel phase – if you are soaping for the first time or are new, the tips can be helpful.

Allow the soap to sit, undisturbed for 24-48 hours. Un-mold and cut into bars – allow the bars to cure for 4-6 weeks before using. The longer the bar sits the harder the final bar will be.
(If you are using milk in lieu of water for this soap, the procedure will be a little different – see how we used milk in our milk soap on this post & adapt as necessary).

Leave a Reply