


Charcoal soap is a pretty popular thing right now – all you have to do is go check out Amazon to find over a dozen charcoal cold process soap bars that sell from artisans all over the world. I definitely don’t mind purchasing things from Amazon – after all, going to the store with 5 kids isn’t exactly the most joyous of events these days. But I couldn’t help but wonder if I could just make my own charcoal bars at home.
Which also led me to examine things further – many people have skin issues, why wouldn’t they want to pick up handmade soap if I was to offer it in my online shop (coming soon!)
Charcoal is fabulous for the skin – it has oil absorbing properties that help support those with the oiliest of skin; the charcoal also binds to dirt and pulls it out of pores to leave your skin feeling clean and energized.
Should you make your own Activated Charcoal Cold Process Facial Soap?
It really depends. If you are not already making your own beauty products and don’t think you’ll have the time to make this soap, or, the money to put up front for the materials, then it might be a better option to buy. If you love to make your own beauty items or, make items for others and have the materials, feel free to follow this recipe to make your own.
I have most of the ingredients at home because I make and sell soap personally … so it makes sense for me to make several varieties of cold process soap bars in hopes others will enjoy the fruits of my labor.
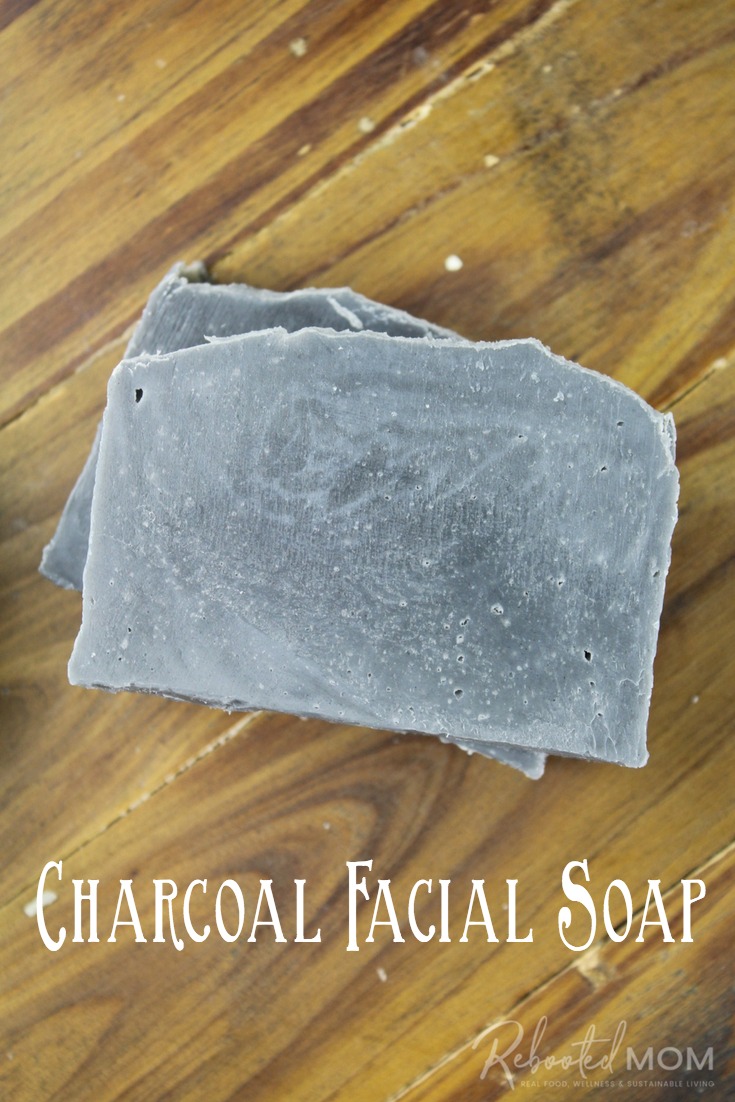
These bars turned out quite incredible – I was very excited to take the soap out of the mold and slice into it – such a gratifying feeling!
Activated Charcoal Cold Process Facial Soap
This soap uses the cold process method – it contains Avocado Oil, Coconut Oil, Olive Oil, Castor Oil, Grapeseed Oil and Shea Butter and has a 5% super fat.
Oils and Fats:
- 1.5 oz castor oil (4.6%)
- 15 oz extra virgin olive oil (46.2%)
- 8 oz coconut oil (24.6%)
- 4 oz shea butter (12.3%)
- 4 oz grapeseed oil (12.3%)
(Brambleberry has a wonderful lye calculator should you want to make changes!)
Lye and Liquid (5% superfat):
- 10.73 oz water, room temperature or cooler
- 4.47 oz lye
- 2 tsp sodium lactate
Other additions:
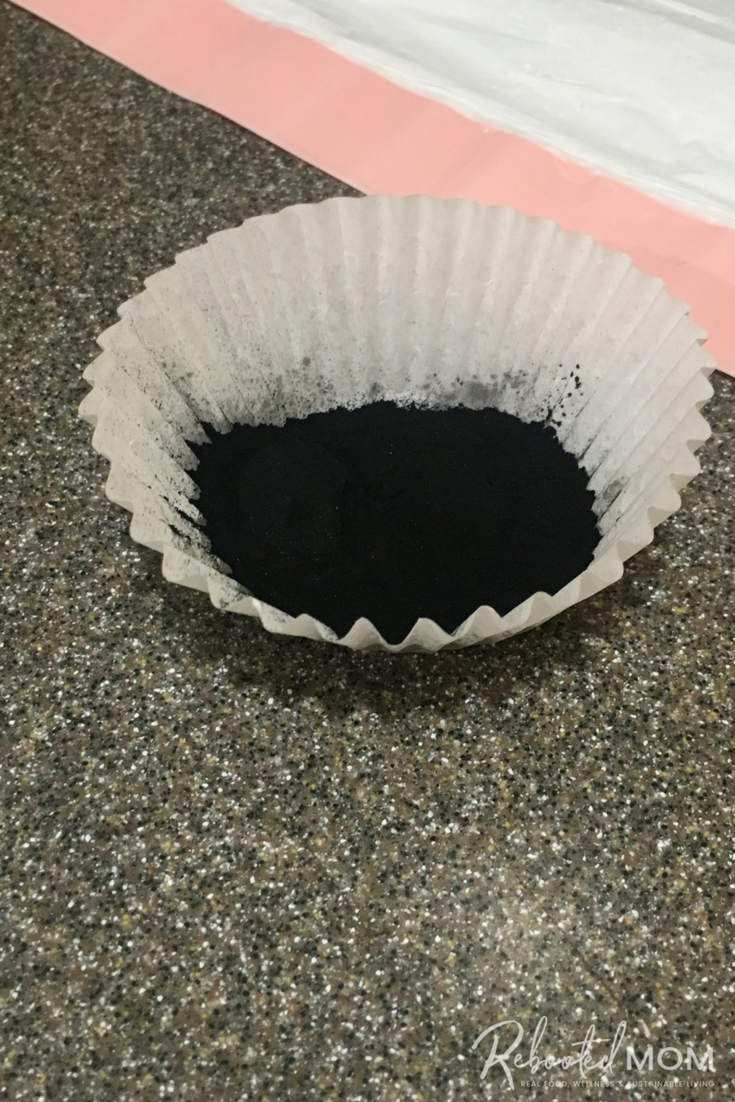
- 2 tsp activated charcoal
- Eucalyptus, Tea Tree and Lemongrass Essential Oils (read about combining oils in your CP soap)
#1: Suit up for safety. Put on goggles, wear gloves and use clothing with long sleeves. Go a step further and make sure all distractions are out of the room/house – kids, pets, etc. Use a well-ventilated area (I like to use my kitchen sink because I have a few windows behind it that provide ventilation). I would not recommend doing anything outside because you run the risk of tripping with the lye/bucket/dishes by going back and forth.
#2: Weigh out the water you will be using in a plastic cup or pitcher. Make sure it has had a chance to cool down. Don’t ever mix hot liquids with lye.
#3: Prepare all of your ingredients – and have everything set aside to start:
- Thermometer (one that you don’t use for food)
- Silicone Column Mold, 31 oz or this one here
- Pyrex 8 cup measuring device – not required, but so handy to have!
- Immersion Blender – you don’t have to spend oodles but you will want something reliable with a metal stick, not plastic.
- Lye – this is the brand we use
- Digital Scale to measure your ingredients
If you don’t want to order lye online, you can also head to Lowe’s ~ they carry Roebic Brand Drain Cleaner (100% lye – Sodium Hydroxide) in the Plumbing aisle – 32 oz for around $15.00..
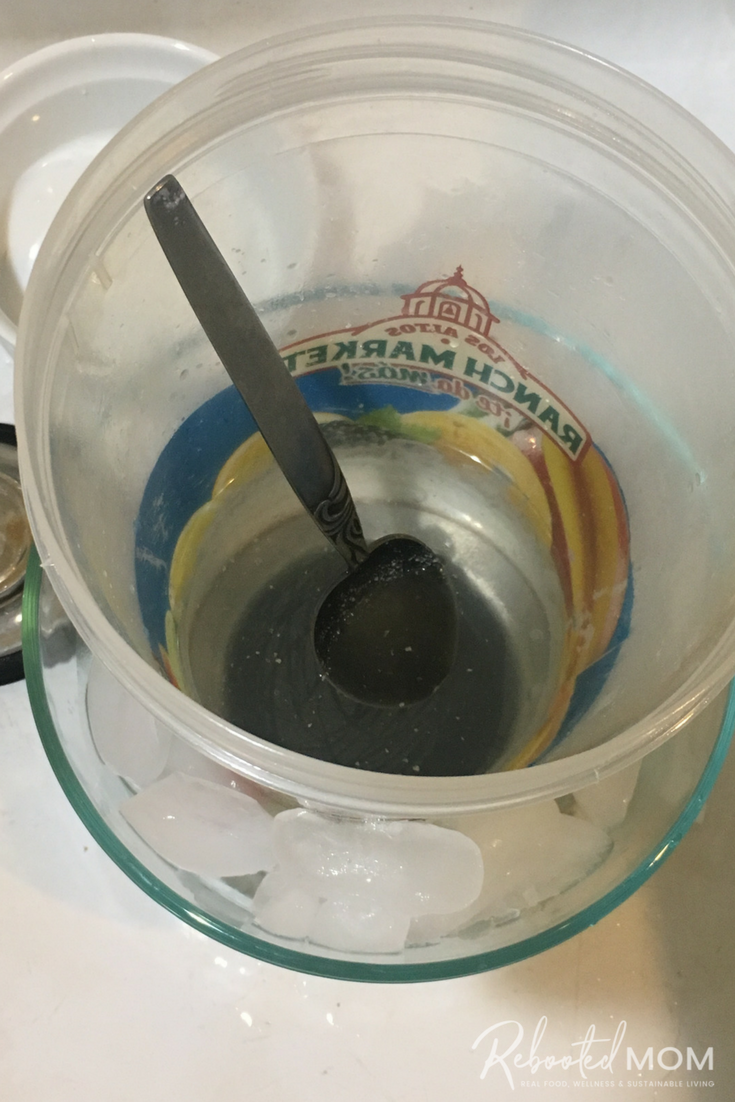
#4: Set your water in a heavy plastic measuring cup or bowl, and set that bowl in another dish filled with ice. When you combine the water with the lye, the temp will skyrocket — I like to soap between 120 and 130, so the ice will help drop the temp without having to wait an hour.
#5: Sprinkle the lye into your water, a little at a time. Stir slowly as you continue to add little bits of lye. Make sure everything is dissolved properly and that the lye is fully mixed in. Once the lye & water mixture has cooled to 120-130 degrees, add the sodium lactate (if desired) and mix well. Then remove the ice bath it was sitting in and set the water/lye mixture aside.
#6: Combine your oils that you have weighed out. You may need to melt your shea & coconut oil, then combine with the other oils. Aim for 115-120 degrees F – you may have to use a digital thermometer (one that you do not use for food).
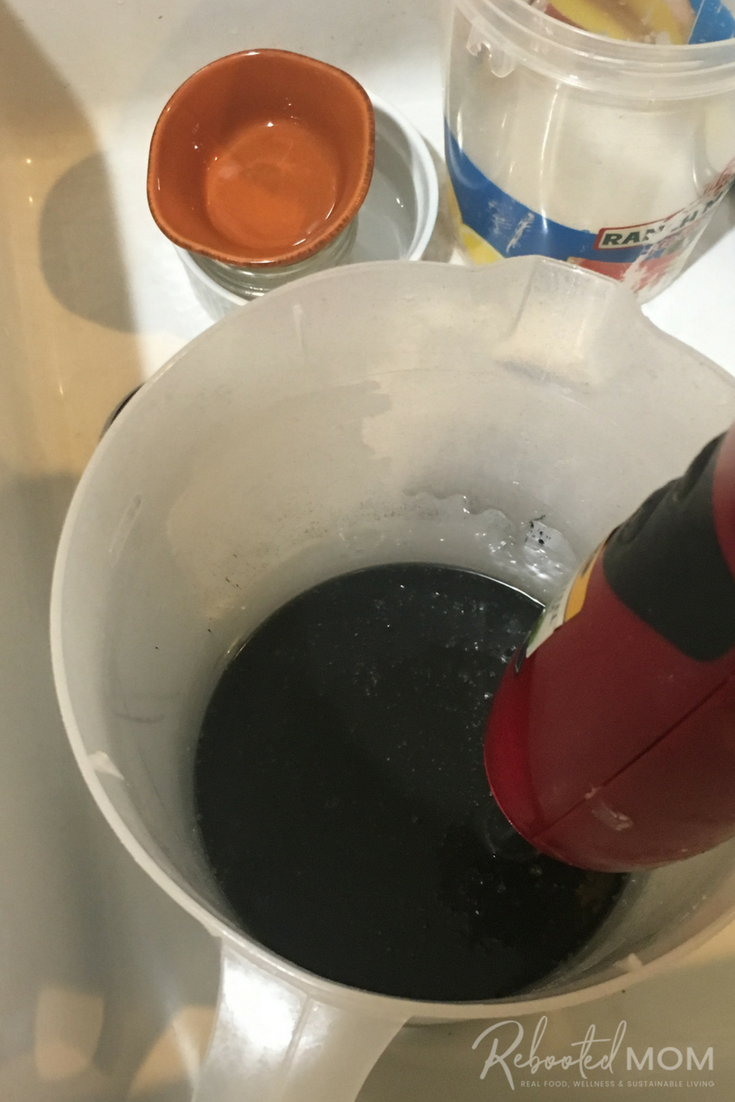
#7: Slowly pour the lye mixture into the oils. Use your immersion blender to stir the oil and lye together, making sure to pulse the immersion and take 15-20 second breaks – running it continually will cause it to overheat.
#8: Add the essential oil and activated charcoal at this time. Bramble Berry has a really handy fragrance calculator you can use to determine a safe amount of oil to add to your creation. It’s always best to use your scale to weigh the oil instead of using drops. If you don’t want to add essential oils that’s OK too! Use your stick blender to combine.
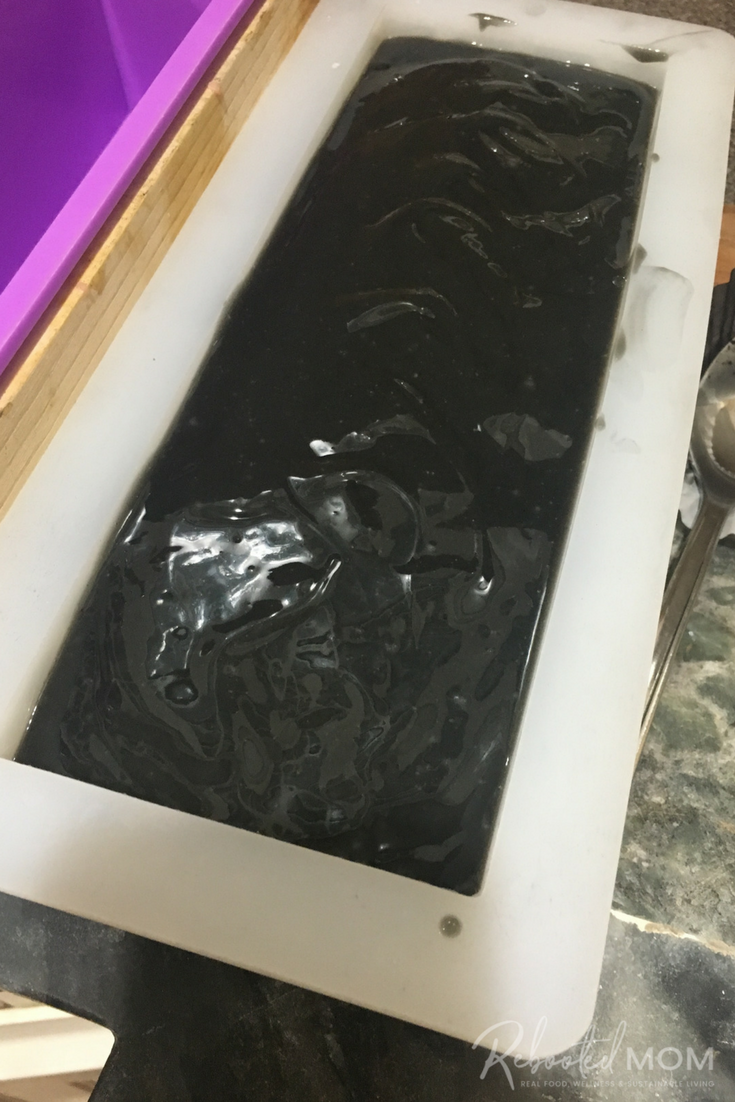
#9: Once the batter becomes thick (trace) then quickly pour into your soap mold evenly distributing from one side to another. Use a paddle or long spoon to spoon out as much of the batter as you can – swirl the top (if desired).
Insulate well by placing on a heating pad (if need be) or wrapping the mold in towels and setting in an area that it will not be disturbed. Use a piece of cardboard to arc over the top of the mold to insulate the top, too. Allow to sit, undisturbed, for 24 hours.
After 24 hours, carefully remove from the mold and cut – allow the soap to cure for 4-6 weeks before using.

Hi,
I’ve been making soap for about 6 years now and I’d love to make this one (especially for my oily skin). I’m sensitive to shea butter – do you know what I could substitute it for? I have mango butter or I could purchase another butter if needed?
Thanks in advance,
Cindy
You could definitely do mango or cocoa butter, or even Kokum butter. Just re-run the recipe through the lye calculator because the lye amounts might change slightly!