


One of the most fascinating things about making your own cold process soap is seeing all the different variations between soapmakers ~ some love working with Vegan options, others passionately create soap from raw milk and natural colorants like clays, spices and fruit purees.
It’s really fun to find what you enjoy the most – while I love to cook in the kitchen, I think I might just love making soap a little bit more. It’s fun to try new ideas that roll around in my head every few days, and see how they turn out.
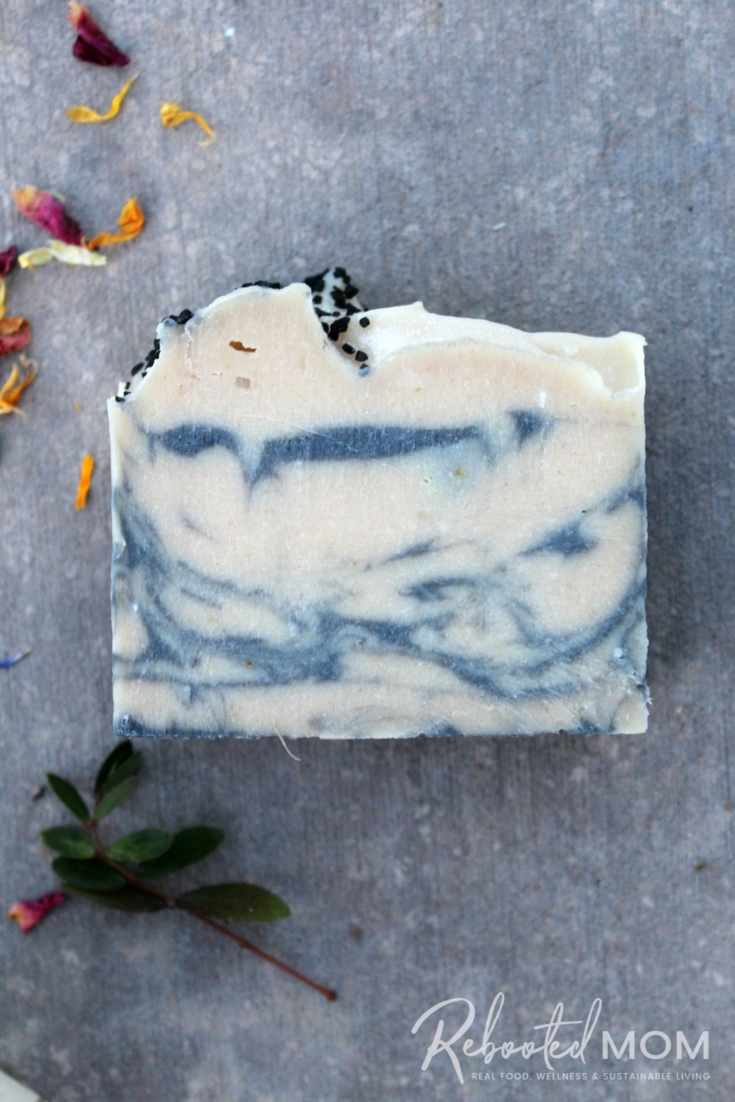
In this case, I wanted an elegant bar of milk soap that also had activated charcoal to draw out impurities and yuckies that love to hang out in the deep crevices of our skin.
While activated charcoal makes a wonderful facial bar, it’s also something that can be used in soap – either as a layer, or swirled into the lighter colored batter. Raw milk is something we always have in the fridge, and the healthy fats that we love to drink also work wonderfully to keep skin moisturized, too.
If raw milk isn’t an option in your area, feel free to substitute your own choice of milk – whether coconut, almond, or goat’s milk. Using raw milk is possible in any cold process soap recipe – it just requires that you weigh the milk and freeze in ice cube trays prior to starting your project. Milk has a considerable amount of sugar, and those sugars have a tendency to burn when combined with the lye.
While milk can be made via gel process (insulating the log), the sugars will cause the bar to heat up to very high temps and the bar will indeed come out much darker in color.
If aesthetics are important to you (indeed they probably are if you are looking for a swirly bar like this one, above), then you will want to throw yours in the freezer too. Freezing your soap after the batter has been poured will result in a more matte finish with colors that don’t pop quite as much as they would if you used water in your recipe.
Charcoal and Milk Soap
This is one of my favorite soaps ~ simply because it lathers beautifully and looks incredibly elegant. You can opt to scent the soap with essential oils (we chose Anise and Fennel) or keep it unscented.
Anise and fennel resemble the scent of black licorice – you have to really love back licorice to find this scent as incredible as I do. It smells super.
Oils, Lye and Liquid:
- 2 oz castor oil
- 11 oz extra virgin olive oil
- 9.0 oz coconut oil
- 5 oz shea butter, refined
- 5 oz rice bran oil
- 4 oz avocado oil
- 4.90 oz lye
- 11.88 oz milk
- 2 tsp sodium lactate (optional – but makes for a harder bar that’s easier to remove from the mold)
Optional: Essential Oils for Scent
- .53 oz anise essential oil
- 1 oz fennel essential oil
Natural colorants
- 1 tsp activated charcoal
- 2 tsp kaolin clay
We topped the finish soap with black lava salt after pouring it into the mold – that’s completely optional!
#1: Suit up for safety. Put on goggles, wear gloves and don clothes that have long sleeves. Use a well-ventilated area.
#2: Weigh out the milk you will be using in a plastic cup or pitcher and pour into ice cube trays the day or night before making soap. Milk needs to be frozen in order to prevent scorching.
#3: Prepare all of your ingredients – and have everything set aside to start:
- Thermometer (one that you don’t use for food)
- Silicone Mold
- Pyrex 8 cup measuring device – not required, but so handy to have!
- Immersion Blender – you don’t have to spend oodles but you will want something reliable with a metal stick, not plastic.
- Lye – this is the brand we use
- Digital Scale to measure your ingredients
#4: Place your weighed ice milk/cubes into a non-reactive bowl.
#5: Sprinkle the lye into your milk ice cubes, a little at a time. Stir slowly as you continue to add little bits of lye. Stir, but don’t rush the melting. Once completely mixed, add the sodium lactate and stir to combine. Set the mixture aside towards the back of the counter.
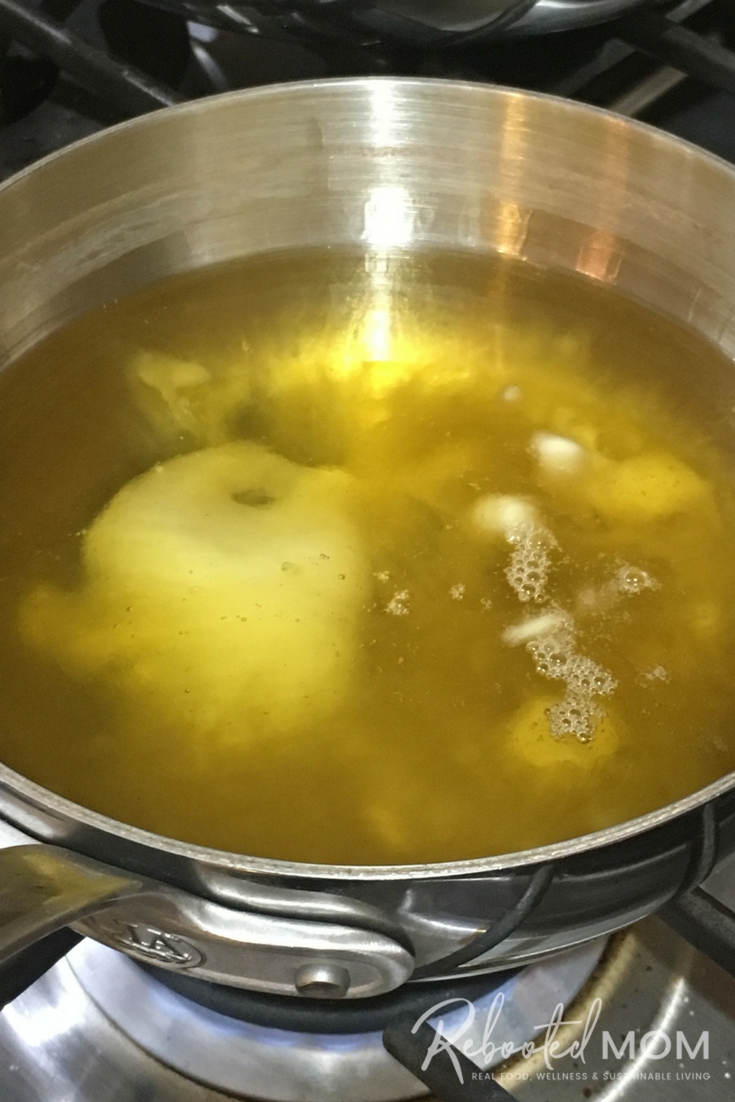
#6: Combine your oils that you have weighed out. Melt your shea and coconut oil over low heat until melted, then add those in with the remainder of your (already liquid) oils. It’s best to have the temperature of the oils within 10-15 degrees of the lye/milk. Aim for 105 – 110 degrees when making milk soap.
#7: Pour the lye and milk mixture into the oils. Add the (optional) essential oil. Use your immersion blender to stir the mixture together, making sure to pulse the immersion and take 15-20 second breaks – running it continually will cause it to overheat.
Before the mixture reaches trace (thickens up similar to pudding), pour 1/3 of the batter into a second bowl. Add the activated charcoal to that 1/3. Add the kaolin clay to the remaining 2/3.
Use your immersion blender and blend the 2/3 batter portion with clay first, since that is the lighter color. Once that mixture reaches trace, switch the immersion to the remaining 1/3 (with the charcoal). Blend that remaining third until it reaches trace.
*Do not run the immersion blender for the entire time – work in 5-10 second increments, then break, then work again.
Carefully pour the charcoal batter into the kaolin clay batter at the 12:00, 3:00, 6:00 and 9:00 (4 different spots), dividing up equally). Take a long chopstick (or similar item) and briefly swirl through each, no more than twice through each pool of color, making sure that what you choose to use (chopstick, skewer) is long enough to push some of that charcoal to the bottom of your bowl.
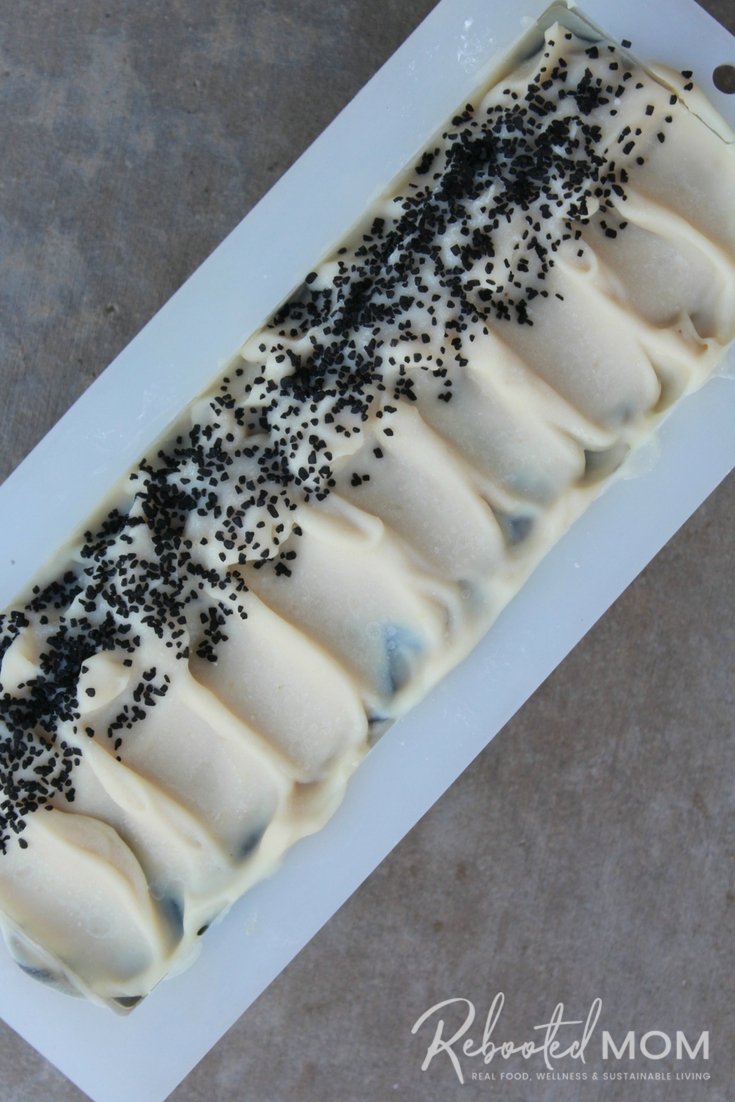
Immediately pour into your log mold, making sure to scrape all of the batter out of your container. Carefully bang the mold on the counter to get rid of any possible air bubbles. Texture the top, and add your black lava salt (if desired). Gently place in the rear of the freezer
If the soap is too soft to swirl the top, then place in the freezer for a few minutes until it a hardens up a bit. Allow the soap to remain in the freezer for 24 hours to avoid gel phase. Remove from the freezer and allow to sit at room temperature an additional 24-48 hours.
Unmold, and slice – allow the soap to cure for at least 4-6 weeks.

This soap turns out beautifully! Is the part with activated charcoal really blue?
The part with the charcoal looks blue but it’s actually a light black.