


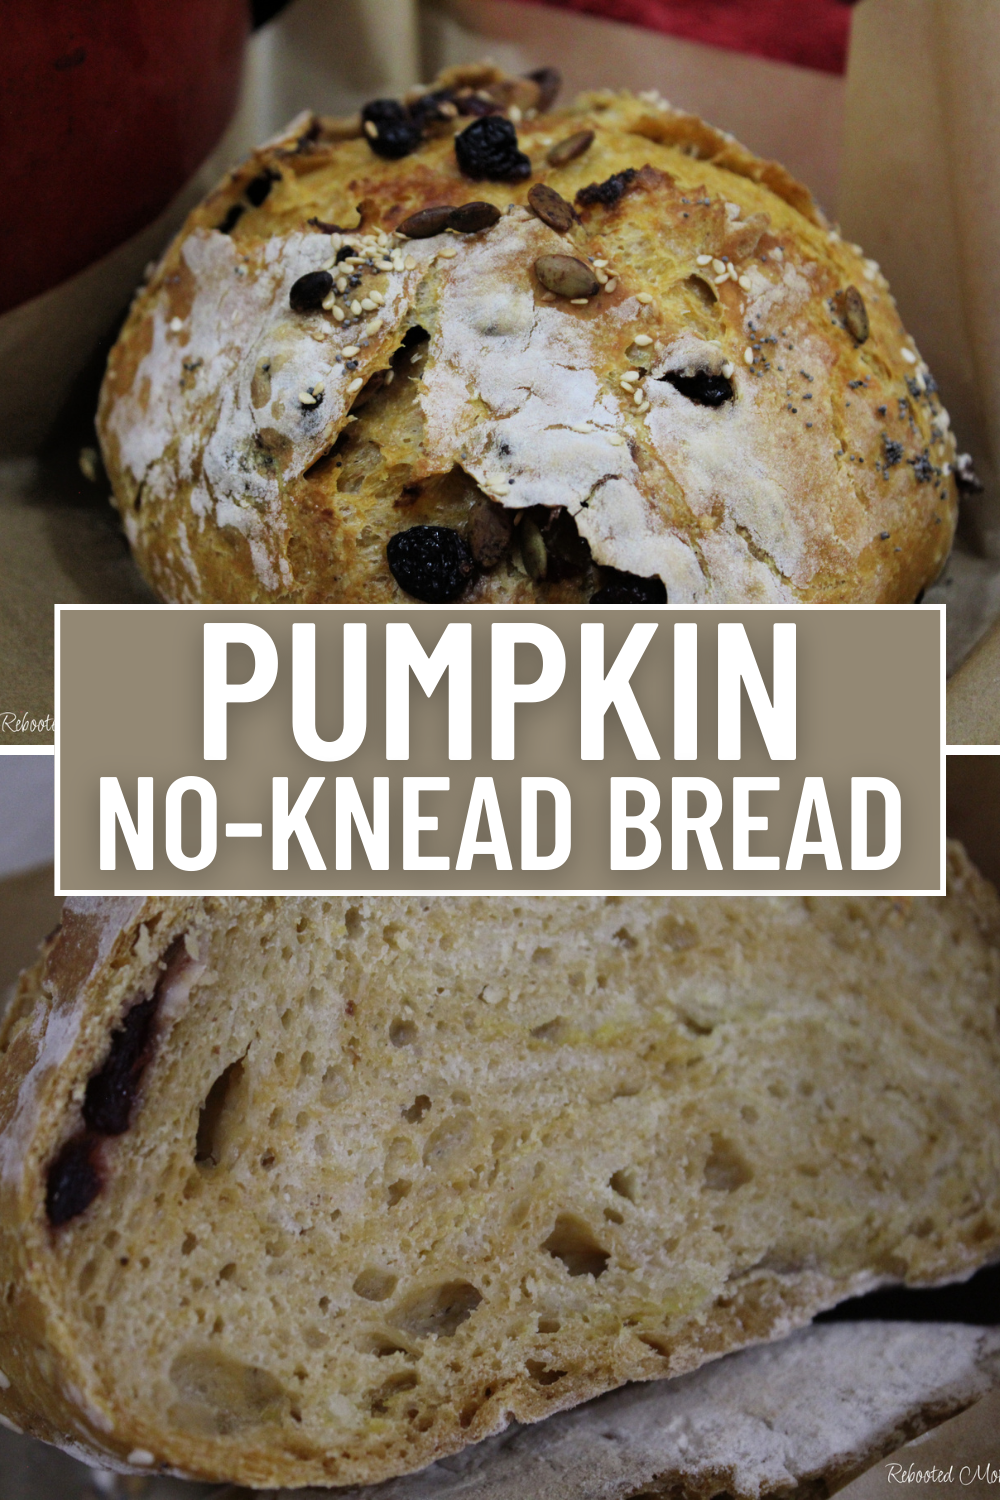
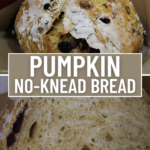
This Easy No-Knead Pumpkin Bread holds all the flavors of fall – soft pumpkin, delicious cranberries, and flavorful sunflower seeds, in a crusty loaf of fresh bread that’s SO easy to make at home!
This delicious No-Knead Pumpkin Bread will make it look like you have been slaving away in the kitchen all day long to prepare food. In fact, I can say that very same thing about many of the delicious bread recipes I have put together over the years.
There is nuthin’ better than a huge loaf of crusty bread pulled from the oven, sliced, toasted, and smothered with butter. Nothing. I can attest to that!
Bread is so addictive – and this No-Knead Pumpkin Bread is no exception!
It’s so easy to put together and will be a staple in your kitchen at the dinner table this fall and winter with every bowl of soup or hearty bowl of chili.
What is No Knead Bread?
No-Knead Bread has a few defining characteristics:
- little yeast used in the recipe
- long fermentation/rise time
- sticky, wet dough as opposed to regular breads
- no-kneading required
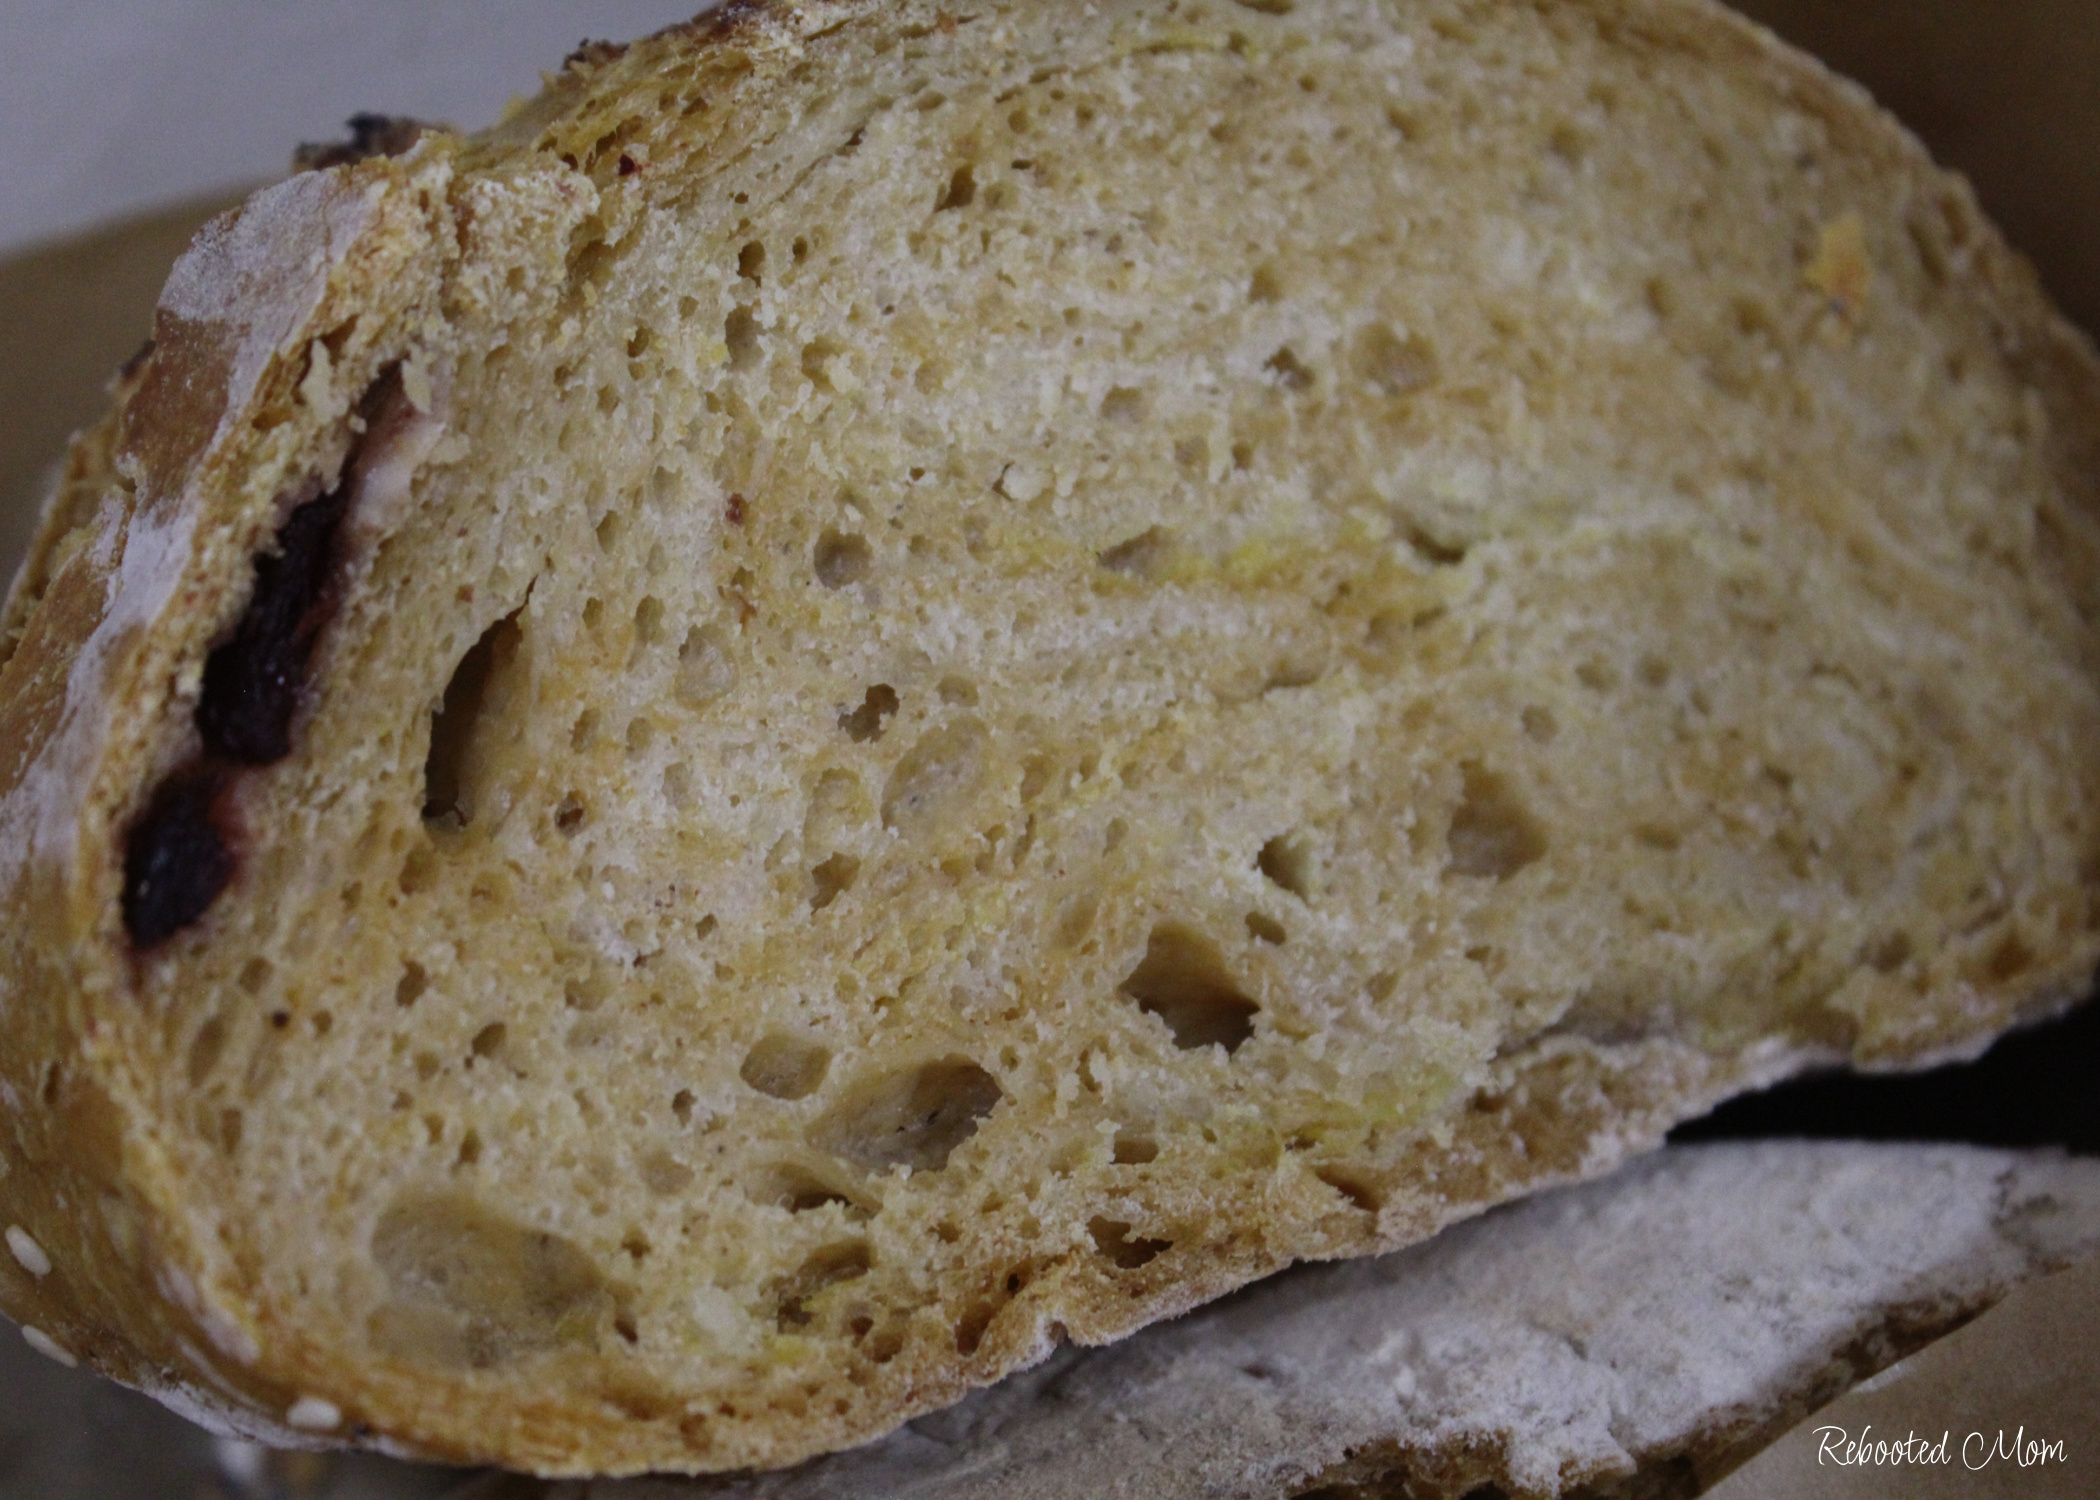
Unlike regular breads that require kneading to develop the gluten, this bread relies on a very long ferment/rise time that gives the bread a lighter, more airy texture.
While it’s not entirely hands off, it’s much easier to throw together than the regular types of breads. A stand mixer can be used, but is definitely not required (I did not use mine for this simply because I was too lazy to take it out!)
While I did not knead this bread, I did briefly stretch and fold it prior to the final bake.
One of the best things about this bread is that you can adapt the recipe to suit your life and schedule. I have made sourdough loaves dozens of times, and feeding your sourdough baby requires punctual attention to your schedule. With this bread, you can mix it and cover it at night – take yourself to bed, and then finish it up around lunch the next day.
I like to mix mine up at 9 p.m., then do my final shaping around 9 a.m., and bake at 10 a.m. However, that completely depends on what the weather is like in my area and the timeframes can ultimately also depend on the temps in your home.
Go a Step Further
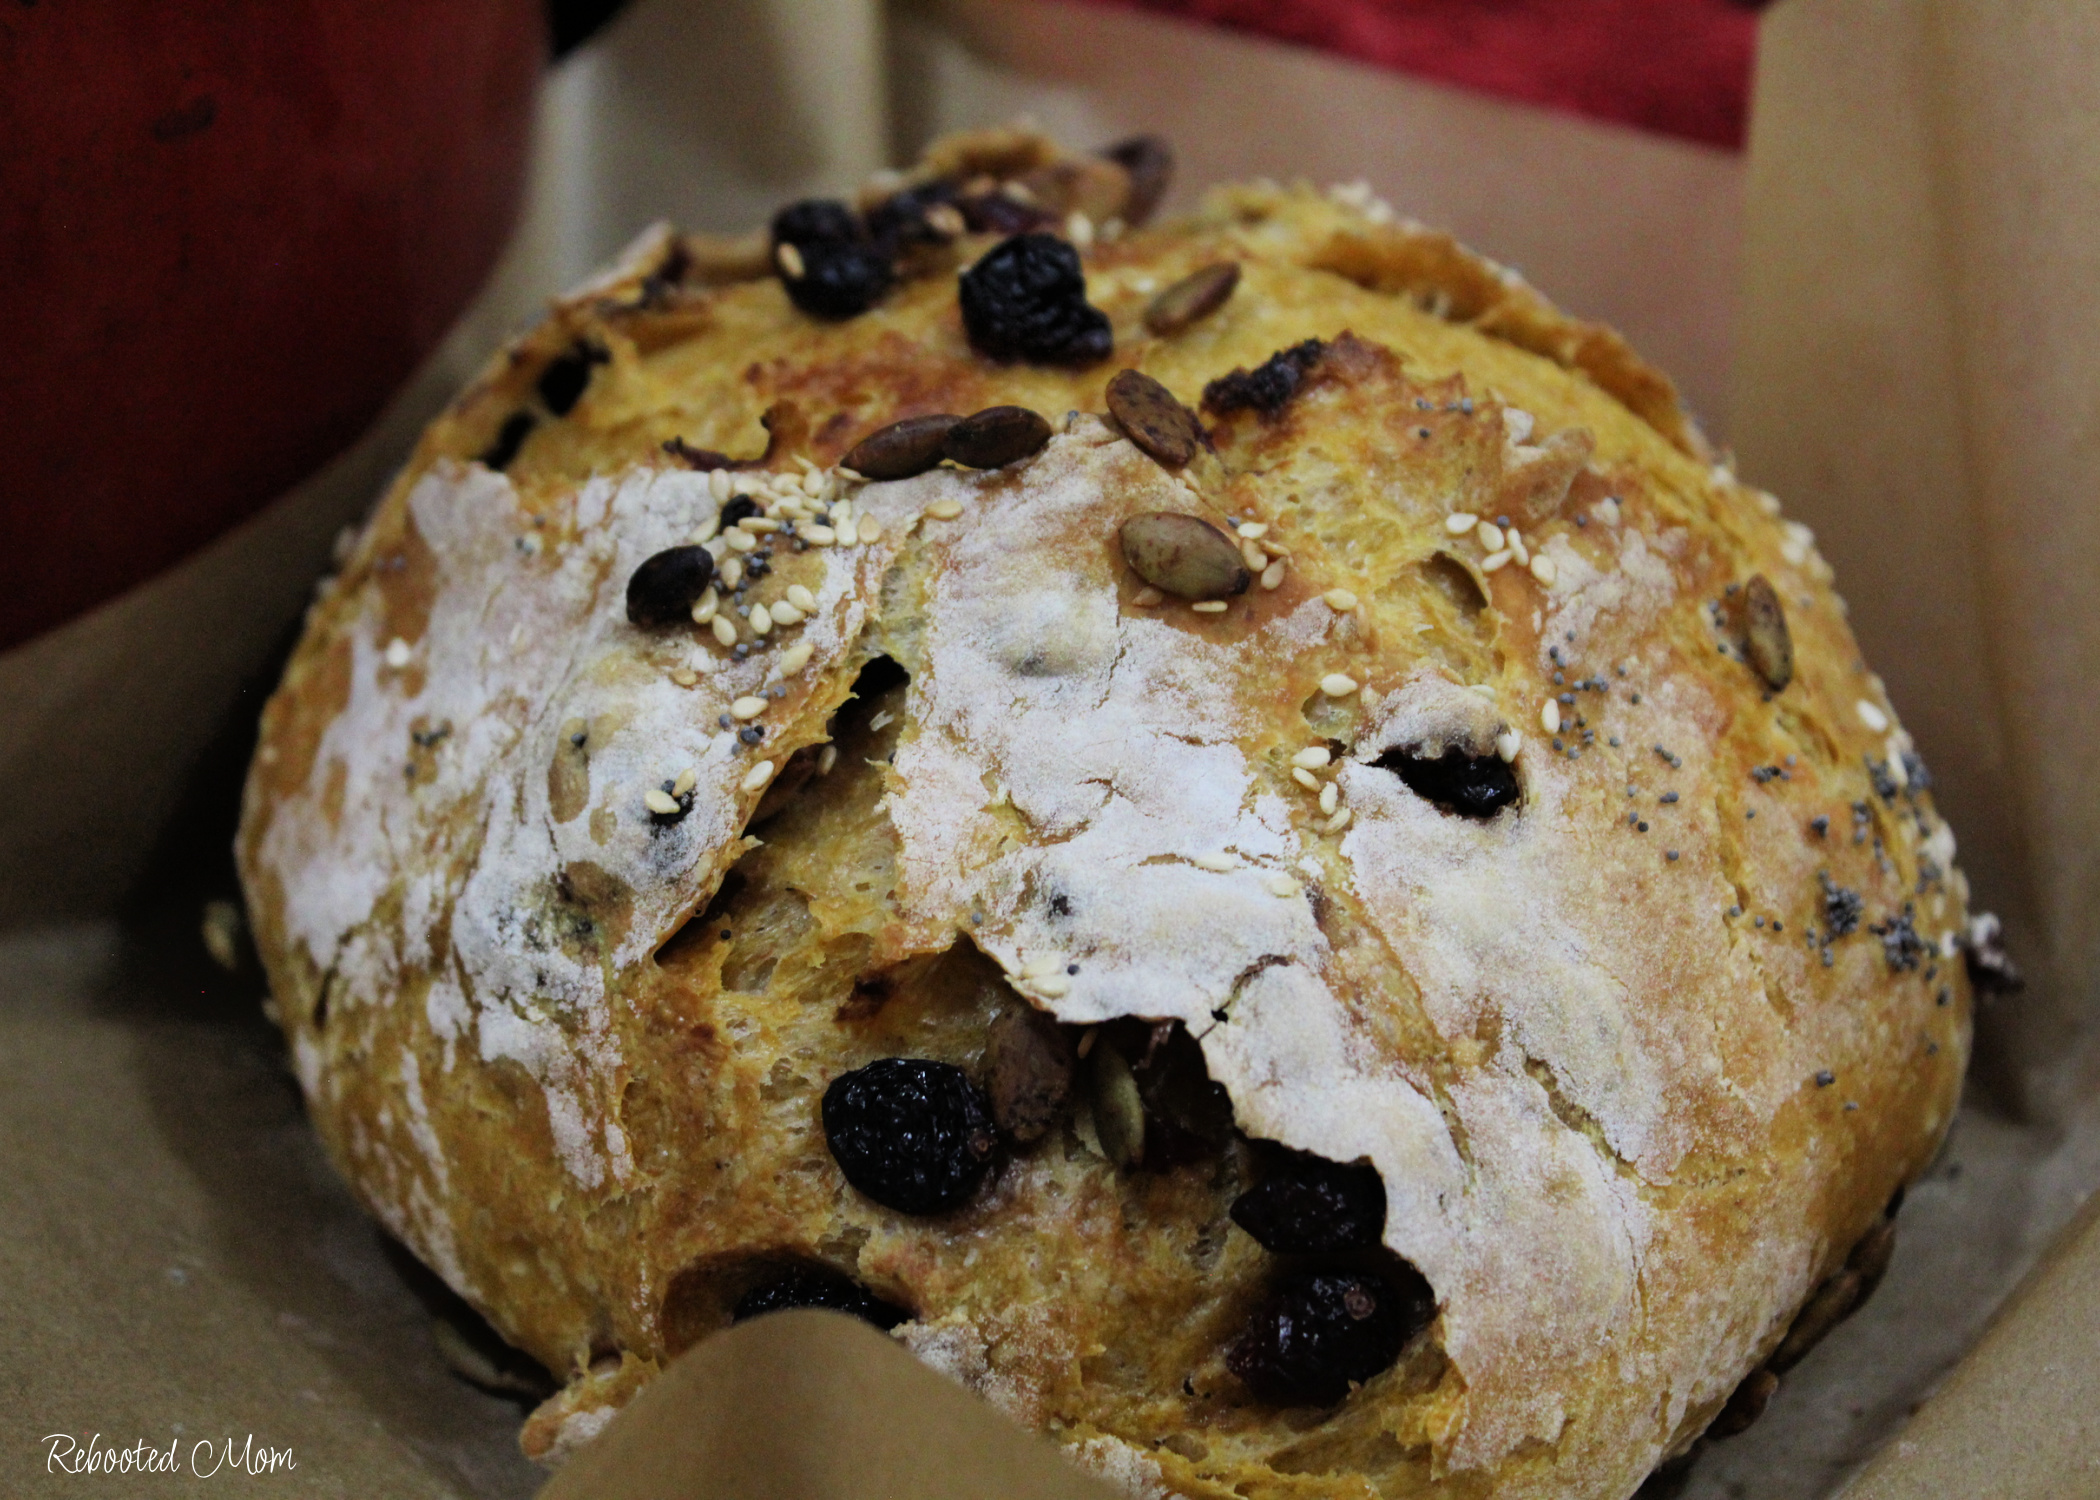
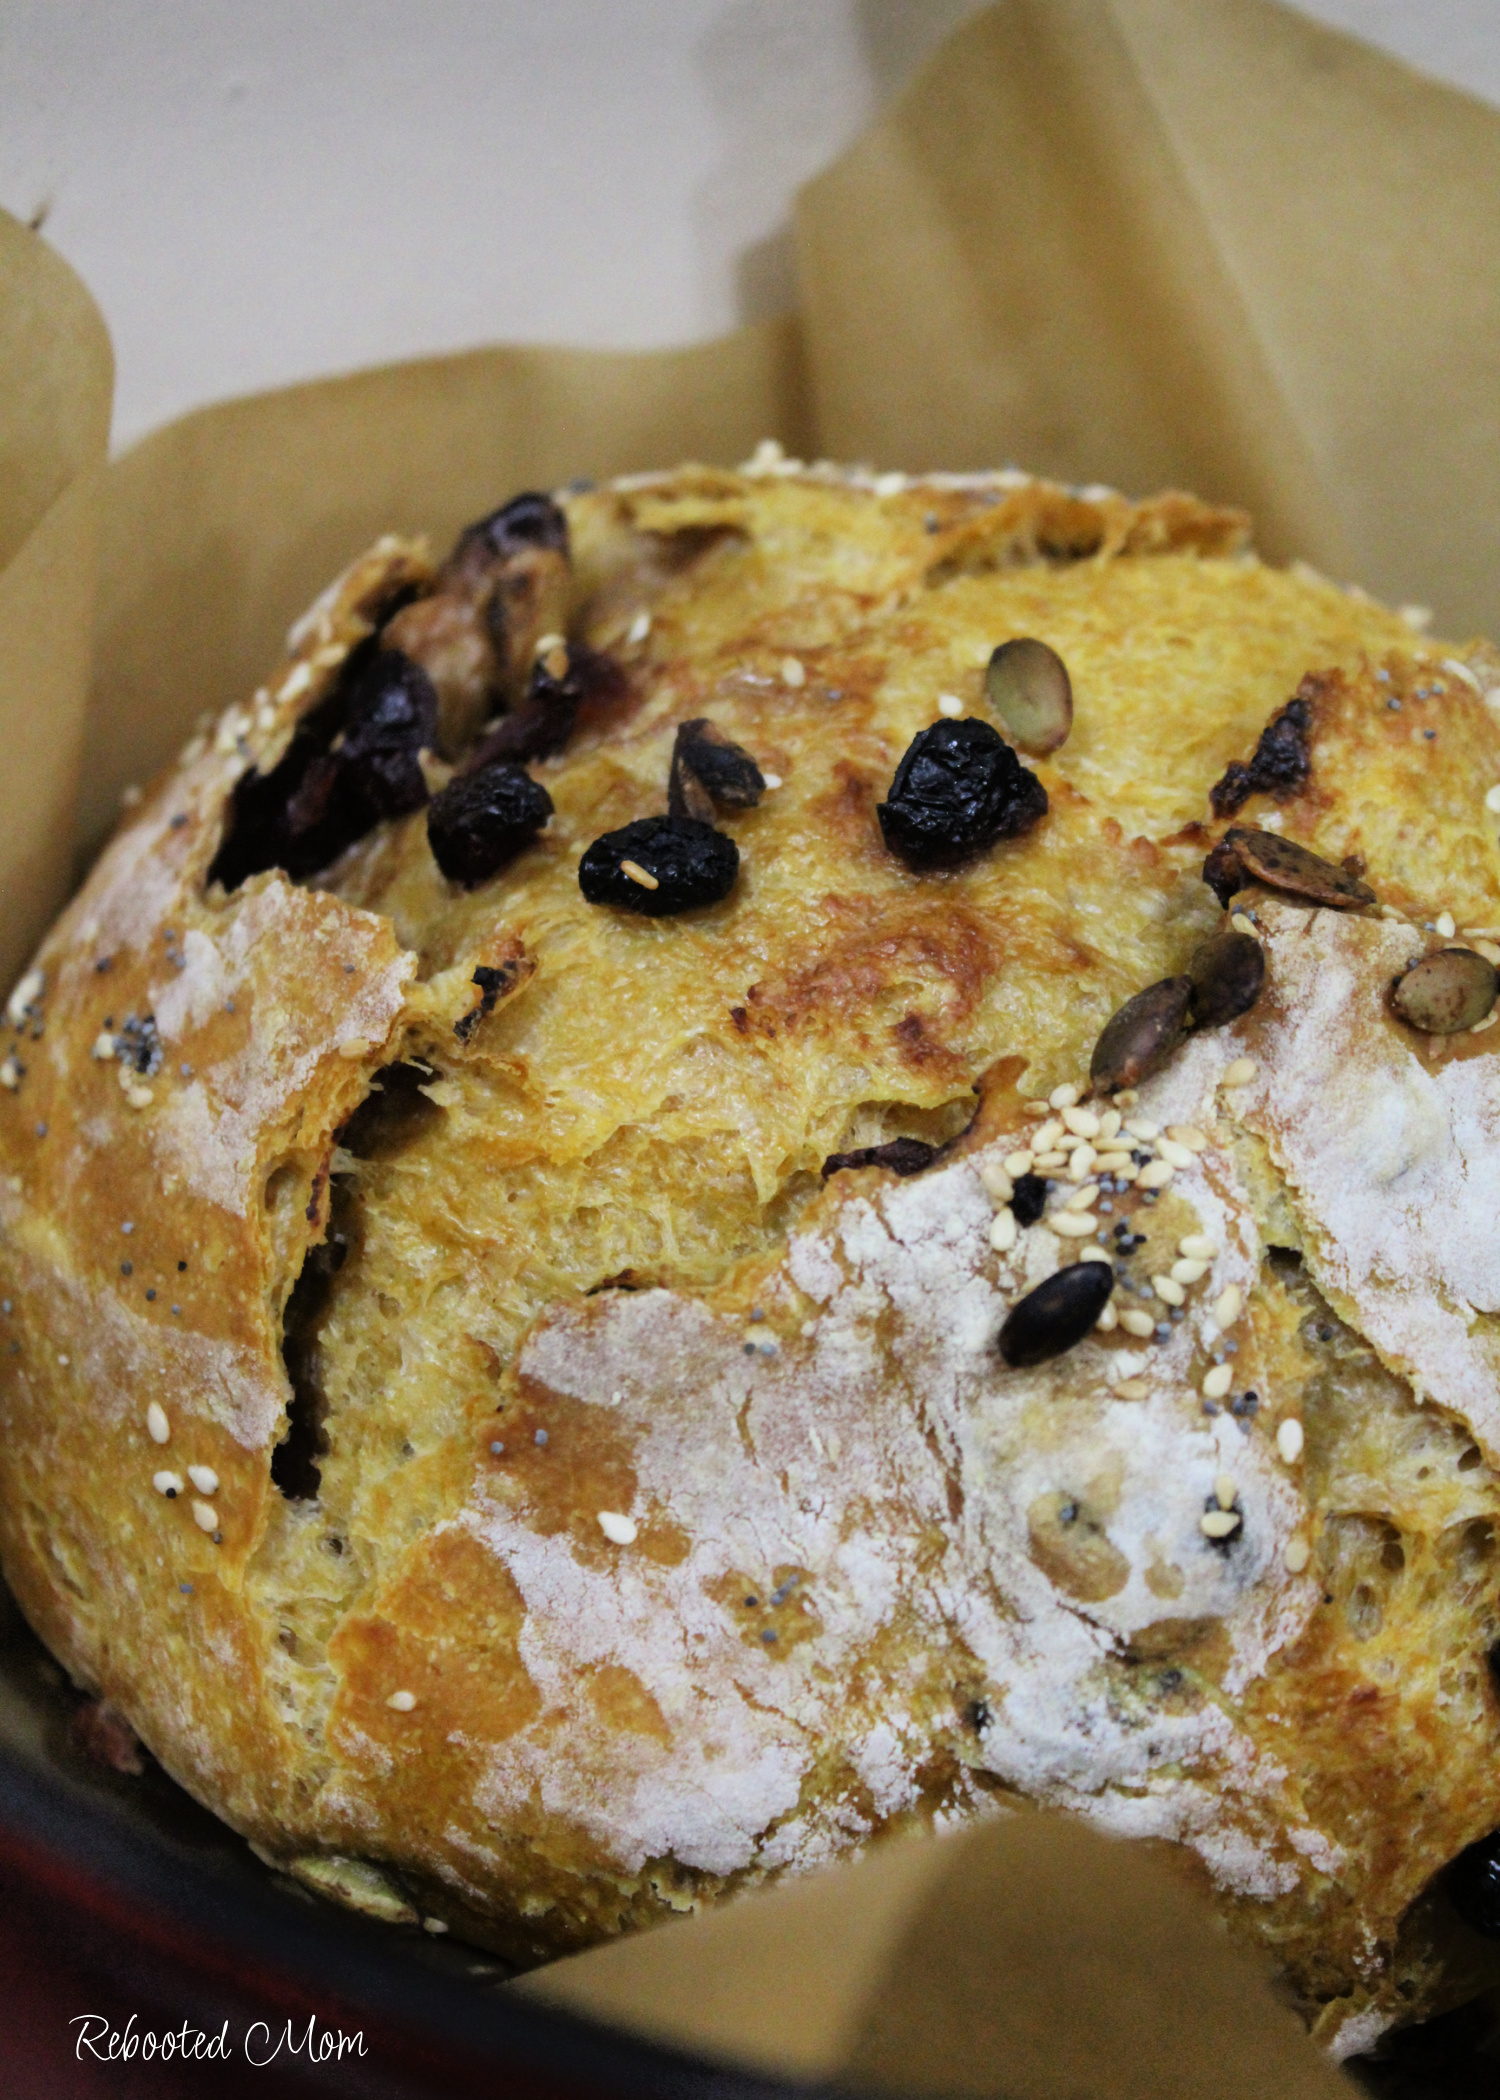
While not required, finish off the bread by topping with sunflower seeds, crushed walnuts and dried cranberries. You can also fold some dried cranberries and/or walnuts in with the dough after the first rise, prior to shaping.
Once baked, store the bread in a paper bag – I usually find mine at the grocery store (in lieu of plastic I’ll ask for paper). While you can store your bread in a large, gallon ziplock, a paper bag will help it retain its crisp crust.
Allow to cool before slicing and serving. You can serve this yummy bread with this delicious Brie recipe here for an even better appetizer.
Looking for more artisan bread recipes? Try these:
- Sourdough Crackers Recipe
- Hatch Chile Roasted Garlic Artisan Bread
- How to Make Cheater Sourdough Bread
Pumpkin No-Knead Bread
Equipment
- Dutch Oven with lid
- Parchment paper
Ingredients
- 1/4 tsp active yeast
- 1 C warm water 105-115 degrees F
- 1 Tbsp brown sugar or, substitute granulated sugar or honey
- 1/2 tsp salt
- 2/3 C pumpkin puree
- 3 C all purpose flour
Optional:
- sunflower seeds, crushed walnuts, dried cranberries, sesame seeds, poppy seeds
Instructions
- Place water and sugar in large mixing bowl. Sprinkle with yeast - allow to proof for 2-3 minutes. If you do not see activity (foaming), toss the yeast and start again.
- To the mixture in the bowl, add the pumpkin puree, salt and 2 C. of the flour. Mix gently with your hands. Slowly add in the last remaining cup of flour.
- Reach into the bowl and mix with your hands until it all comes together. It will be very sticky. Continue to mix until the dough is smooth and elastic. (Alternatively, you can use your mixer with the bread dough attachment).
- Tidy the dough into a ball. Cover the bowl and allow to rise for 12-13 hours until the dough has risen more than doubled and bubbles have formed on the top of the surface.
- Remove the dough from the surface, place on a clean countertop dusted with a little flour.
- Grab the side of the dough farthest away from you, and stretch up (3x the height of the dough), and fold over the dough. Repeat on the right side of the dough, then the left. Then flip the ball of dough over, the smooth side should be on top. Cup your hands around the ball of dough and rotate until the dough resembles a smooth ball.
- Place a piece of parchment on top of your flat counter surface. Place the ball of dough on the parchment.
- Gently cover with a clean, damp linen rag and allow to rise an additional hour.
- About halfway through the second rise, turn your oven on 450 degrees F. Place your Dutch oven (with lid) in the oven and allow it to get hot - anywhere from 30-45 min.
To Bake:
- Remove the Dutch oven quickly and carefully from the oven.
- Wet your hands, and lightly rub over the top of the bread. Then, carefully scatter your seeds and cranberries on the surface of the dough. You may need to apply slight pressure for them to stay.
- Score the bread with a sharp knife or bread lame.
- Quickly pick up the parchment on each side and place the bread directly in the Dutch oven and top with the lid.
- Bake the boule, covered, for 25 minutes at 450 degrees F. Remove the lid at the 25 minute mark, and set aside. Continue to bake for an additional 20 minutes until the boule is dark colored and crusty.
- Carefully remove the Dutch oven from the hot oven with the bread and set aside. Allow the bread to cool prior to slicing and serving.
- Store uneaten bread in a paper bag to maintain the crisp exterior crust.
Did you try this recipe? If you did, please take a second to rate the recipe and leave a comment as I’d love to know how it turned out.
I’d ask you to tag me on social media but I gave up social media several years ago (Crazy – right??!!) It was the best thing I ever did. I still love to read comments and hear from you though – so don’t be afraid to leave comments on this post as I do take the time to read and respond when I can

Leave a Reply