


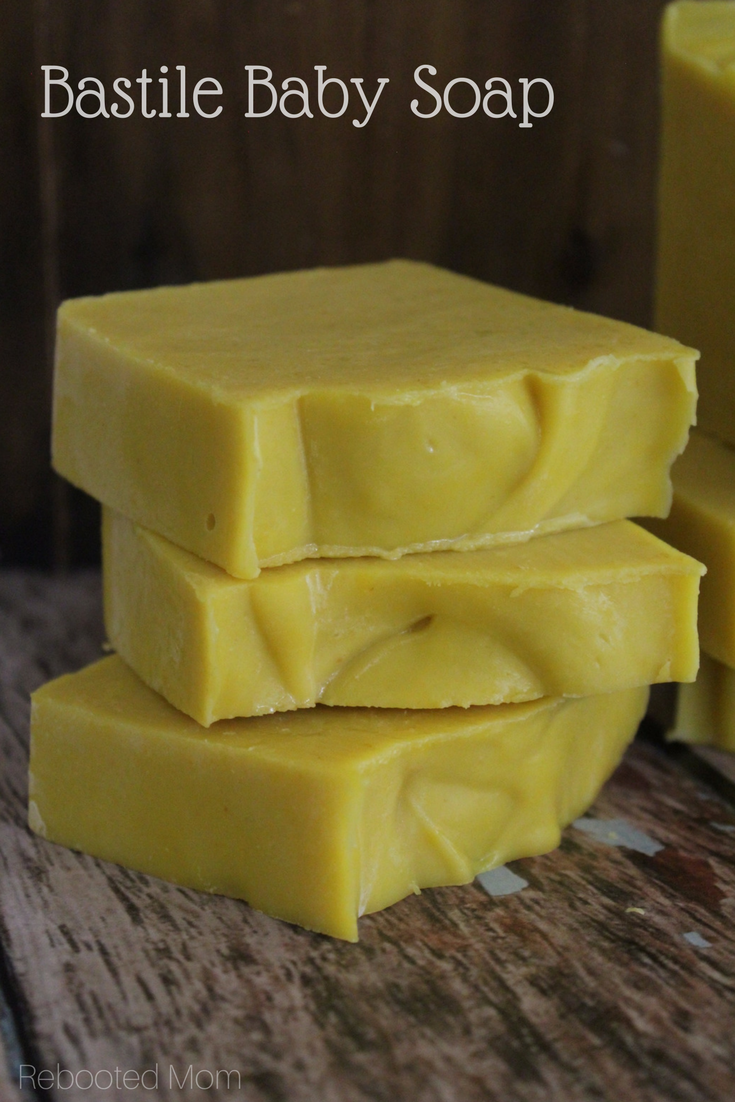
Bastile is a soap that made with a high percentage of olive oil. If you are familiar with castle soap (which is 100% olive oil soap), this is similar but uses additional oils and butters. In our case, w used coconut oil and kokum butter – coconut oil gave it lather and kokum buttr (just 5%) to give it some hardness.
Instead of using water in this soap we used raw milk – raw milk has sugar that helps encourage a nice lather, too.
This is a very simple cold procses soap that is perfect for baby – it contains simple ingredients and pureed carrots – feel free to use carrot baby food or, steam and puree your own carrots. If you are purchasing baby food make sure that the baby food you pick up has only carrots and water with no additives.
Any soap can be made with milk – it’s not difficult to do but does require a few extra steps. Since milk has sugar, the milk needs to be measured and frozen beforehand. The lye will heat up the milk considerably when mixed – by freezing, you will help keep the temps down.
I also throw my silicone soap mold in the freezer beforehand as it helps keep the temperature of the soap down.
Cold Process Bastile Baby Soap with Carrot Puree
Oils and Fats:
- 21.50 oz olive oil (71.7%)
- 1.5 oz kokum butter (5%)
- 7.0 oz coconut oil (23.3%)
Lye and Liquid:
- 4.11 oz lye
- 9.9 oz raw milk (or, buttermilk)
- 2.5 oz pureed carrots
#1: Weigh out the milk you will be using into a plastic cup or pitcher and pour into ice cube trays the day or night before making soap. Milk needs to be frozen in order to prevent scorching. (If you are making this without milk, you can skip the freezer/cubes and add the room temperature milk to the lye directly).
#2: Prepare all of your ingredients – and have everything set aside to start:
- Thermometer (one that you don’t use for food)
- Silicone Column Mold, 31 oz – I LOVE this mold!
- Pyrex 8 cup measuring device – not required, but so handy to have
- Immersion Blender – you don’t have to spend oodles but you will want something reliable with a metal stick, not plastic.
- Lye – this is the brand we use
- Digital Scale to measure your ingredients
#3: Place the frozen milk cubes and carrot puree in a heavy plastic measuring cup or bowl, and set that bowl in an ice bath.
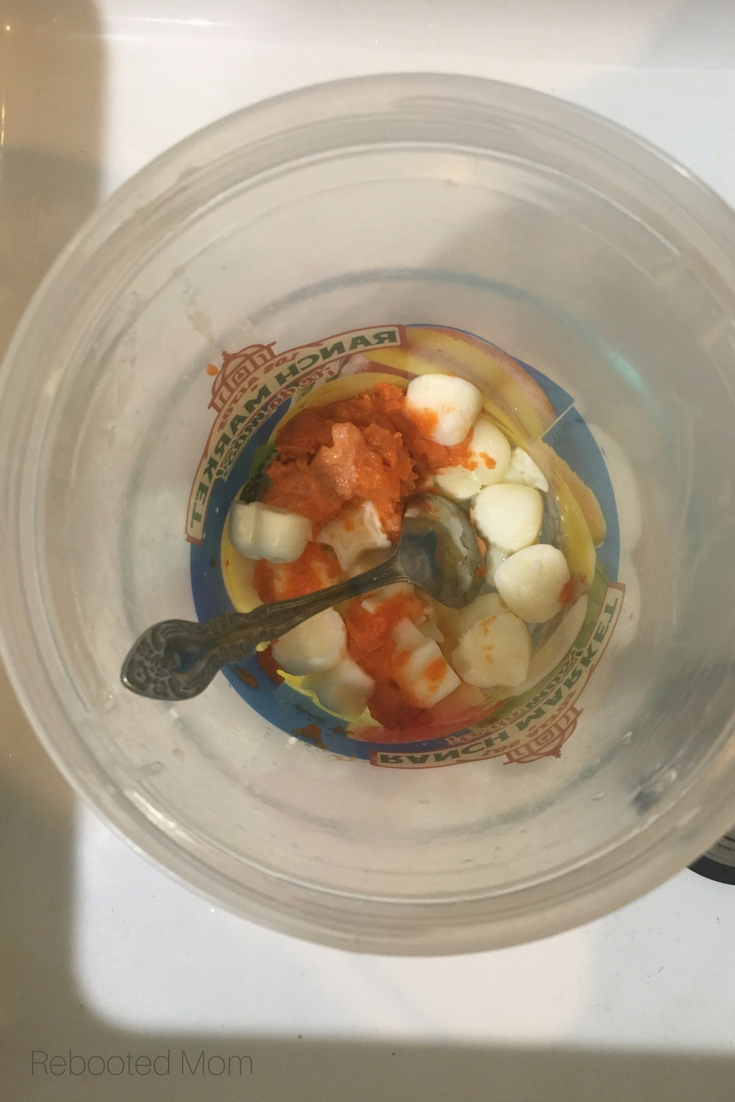
Wearing your safety gear, sprinkle the lye into your milk and carrot mixture, a little at a time. At first there will be little to no reaction, but after 10-15 seconds, you will see the cubes start to melt.
Stir frequently to make sure everything is dissolved properly and that the lye is fully mixed in. Set that mixture aside.
#4: Measure out the olive oil, coconut oil and kokum butter. You will likely need to melt the kokum butter over a double broiler. Once it’s melted, add to the other oils. When using milk in your soap, I find that it’s best to have the temperature of the oils within 10-15 degrees of the lye/milk… so if you heated your oils on the stove, allow them time to cool down considerably until they are in that range.
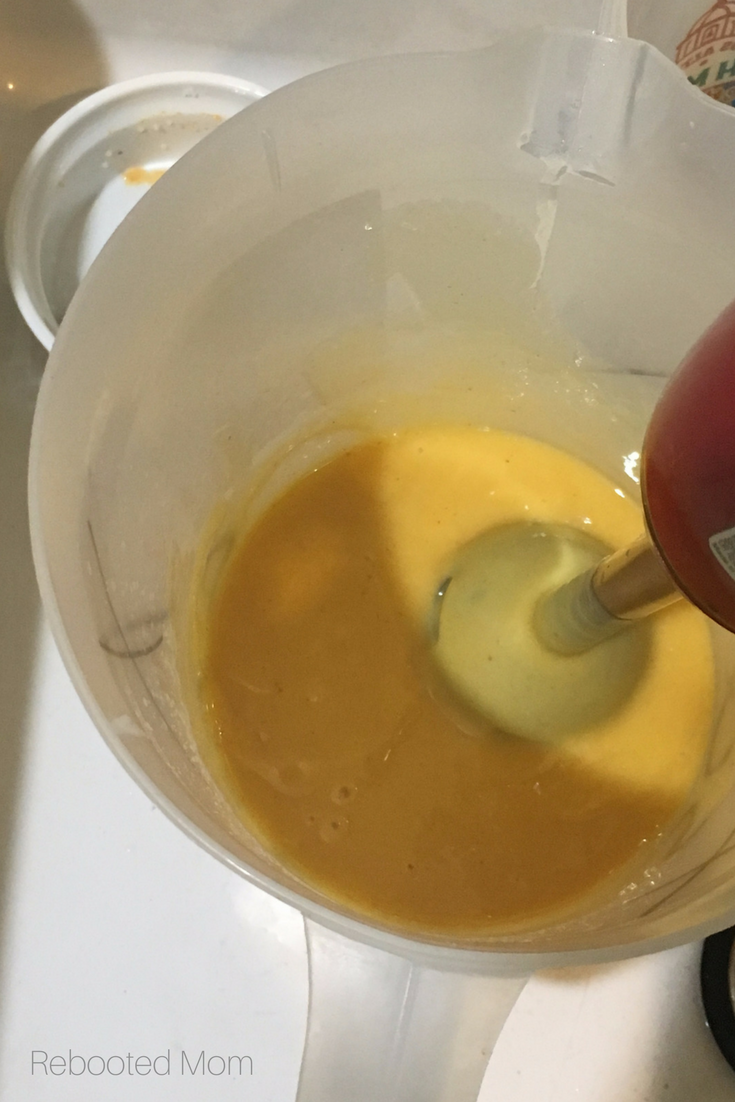
#5: Add the lye/milk/carrot mixture to your melted oils/butter mixture. Use your immersion blender to combine.
Do not run the immersion the entire time or the blender will get hot and you will burn out the motor. Use a pulse (off, then on) to combine the mixture until you reach a thick trace. Pulsing will make sure you don’t get any air bubbles in your soap. It will take you several minutes of pulsing for you to combine the oil with the lye to reach a thick trace.
(Trace means that your soaping batter will be thick and will hold an outline when you pull the immersion mixture out).
#6: If you are adding essential oils or fragrance to this soap, you will do it at this point and mix in just until combined. (Bramble Berry has a really handy fragrance calculator).
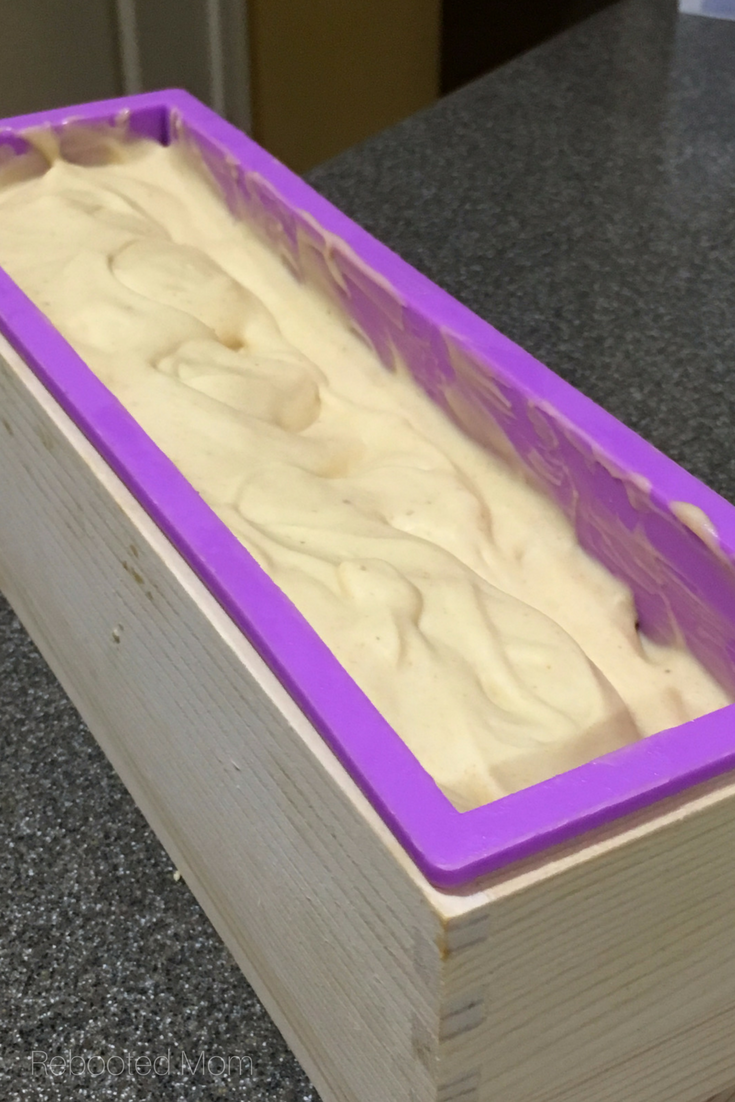
#7: If you are using milk in your soap, remove the mold from the freezer and quickly pour the batter into the mold evenly distributing from one side to another. Use a paddle or long spoon to spoon out as much of the batter as you can. Once you have poured, put immediately in the freezer for 24-48 hours.
Optional & not necessary: After an hour or two in the freezer, the soap batter will have thickened up enough to allow you to swirl the top – then place back in the freezer.
With cold process soap you have two options: Gel Phase and Non-Gel Phase.
Gel Phase vs Non-Gel Phase
Gel Phase essentially means molding at room temperature, while non-gel phase means that you are avoiding gel phase by placing in the freezer.
Using milk in your soap gives you options – when soap goes through gel phase, it will heat up and cause the milk in the soap to turn a dark brown. If you put in the freezer, you can avoid gel phase by keeping the soap cool and in turn, your bars will be lighter white/ivory in color.
If I wasn’t making milk soap, then I would be doing a traditional gel phase by insulating my soap after pouring into the mold, but since I am using milk I am using the freezer in hopes that I can bypass that and have a beautiful, lighter-colored soap.
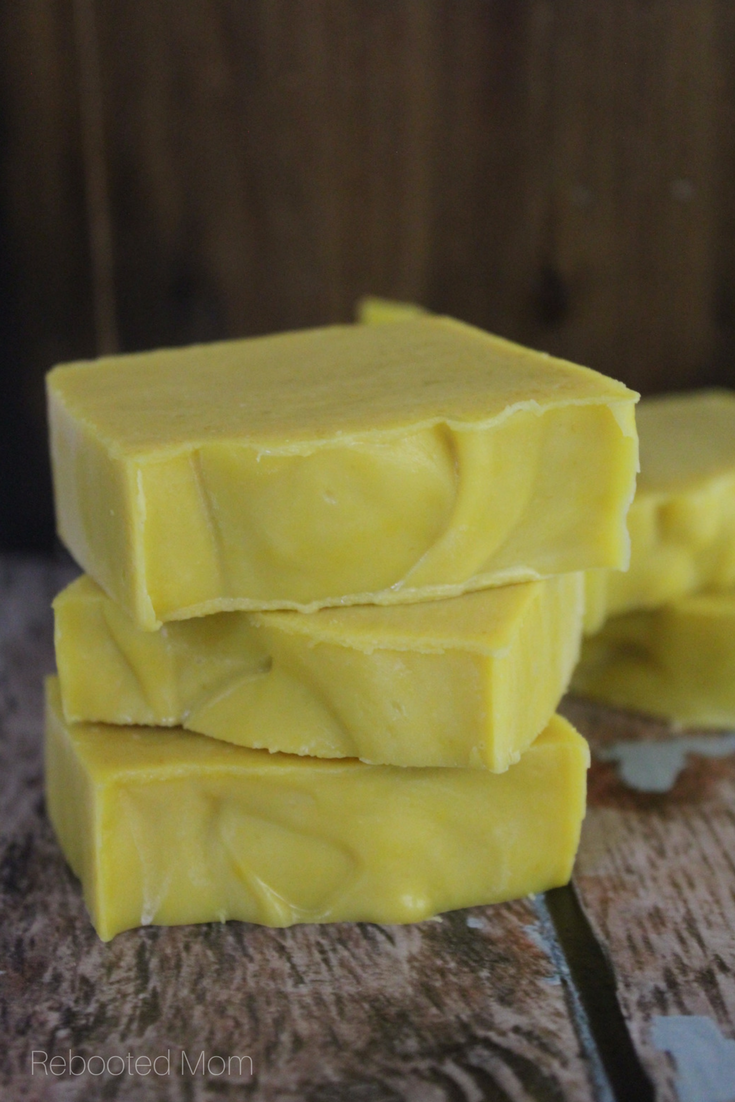
After 24 – 36 hours, remove from the freezer. Unmold by pulling the sides of the silicone mold away to release the suction and gently placing on a sheet of wax paper. Allow to come to room temperature, then slice and cure at least six weeks.

Leave a Reply