


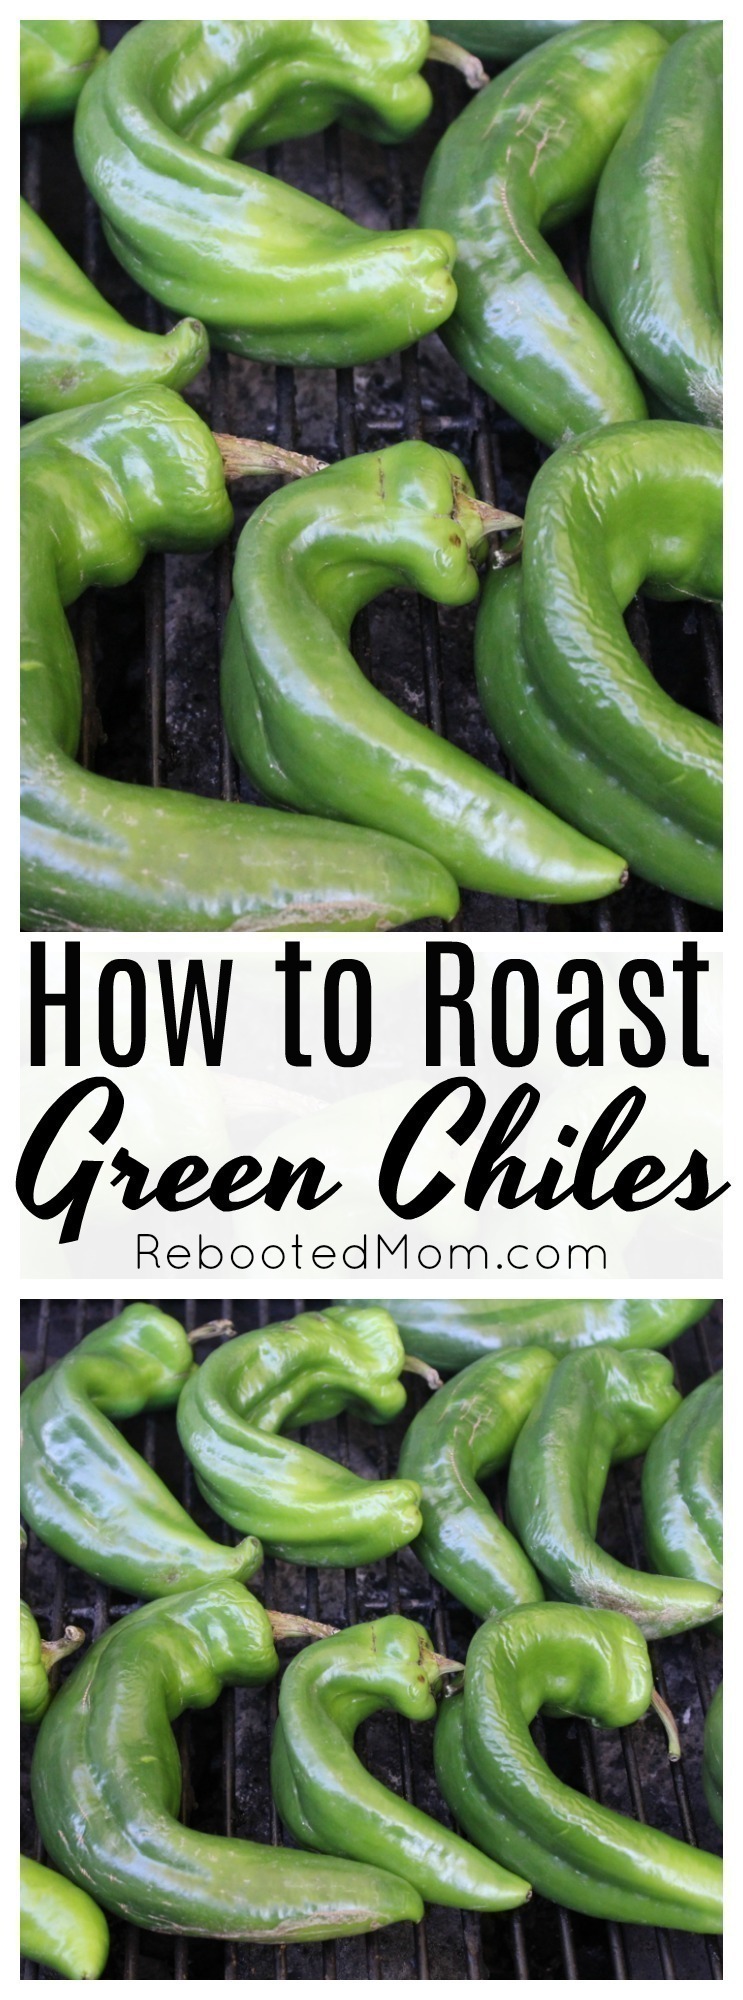
It’s Hatch Chile season! Follow our step by step tutorial to help you roast green chiles so you can prepare them for recipes you can eat all year long.
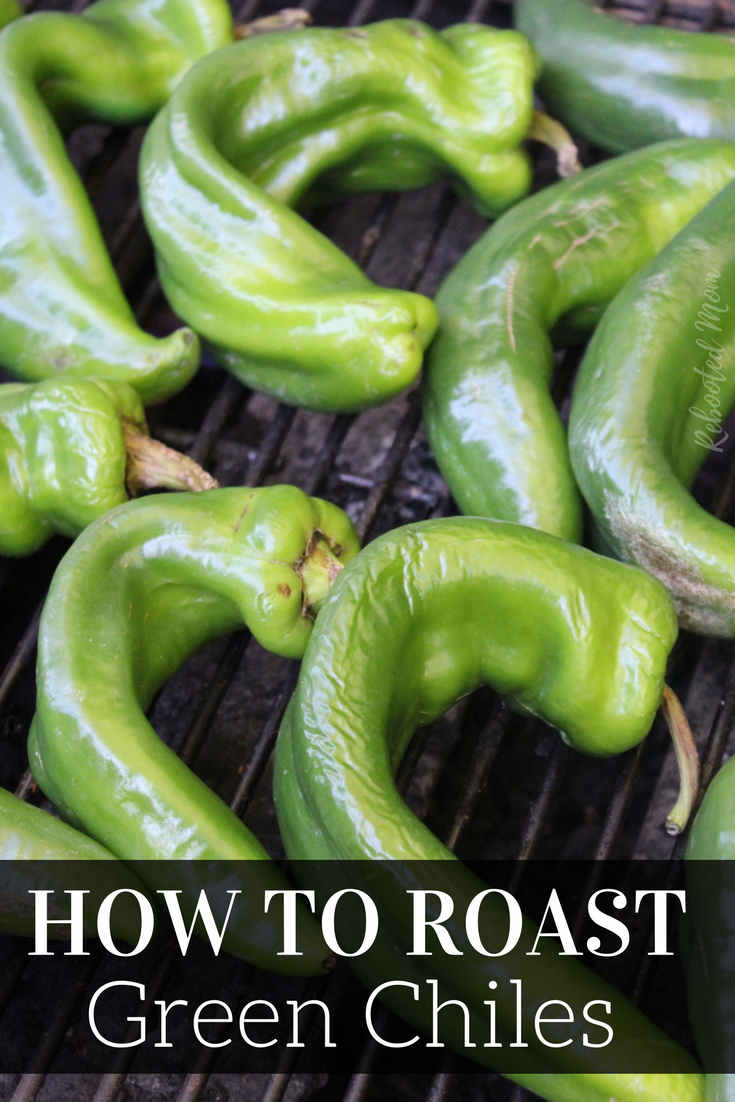
Ahhh… Green Chiles
It’s green chile time in neighboring New Mexico. Every year over Labor Day, the city of Hatch welcomes locals and tourists alike for the New Mexico Chile Festival. The celebration of harvest runs for 2 days, a Saturday and a Sunday, and you can smell chiles for miles and miles away.
I took my kids a few years ago and despite the hot weather, it was so much fun to see the festivities. There was live music, Ristra making and good ol’ New Mexican food.
It is so much fun!
The kids and I always come home with quite a few green chiles that we roast on our grill or in the oven, then peel and de-stem. We remove the seeds and stem, then freeze the flesh so we can use throughout the year for green chile stew, enchilada sauce, or even green chile relish. Oh so good!
(And if you don’t want to roast green chiles, you can use them as-is to make this lovely Raspberry Green Chile Jam!)
I have roasted green chiles on both my home grill and in my oven, but I’ll be honest and tell you it’s much easier done on the grill. Every time I do it in the oven, the kids feel the heat of the chiles up their nose and sneeze for hours.
How to Roast Green Chiles
Supplies
- Gas or Charcoal grill (I use a gas grill) – or you can simply use your home oven
- Long tongs for roasting the chiles on the grill
- A large bowl to put the chiles in when they are done roasting (I use a metal colander)
- Cutting board
- Latex gloves
- A sharp knife
- Damp towel
Instructions:
I do these things outside on the side of my gas grill because it’s just a few steps away from my compost bucket if I have to use it for anything.
- Wash your chiles and stab each with your sharp knife – I usually stab mine in the top near the stem. This helps to prevent them from bursting when you are roasting them. If you don’t care about keeping them intact, then feel free to stab them anywhere…it’ll allow the chile to breathe as they roast.
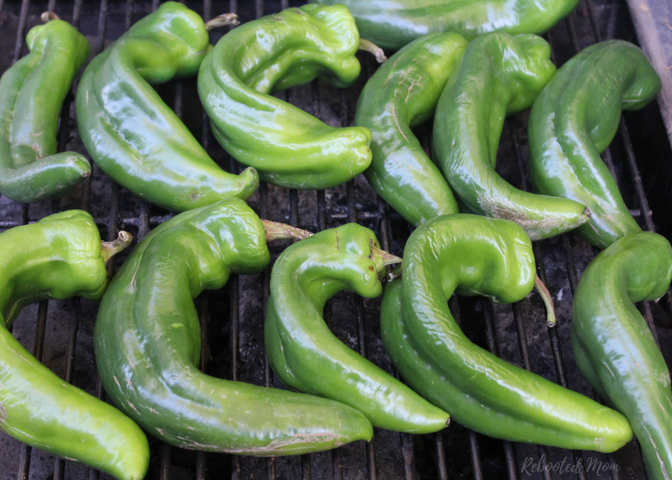
- Turn your grill on – use all 3 burners, and crank it on medium/high.
- Place all of your peppers on the grill – I usually do 12 at a time because that’s what my burners can hold (realistically speaking)
At this point, I close the lid for the first few minutes and let them get hot – check on them every 2-3 minutes to make sure they don’t roast too much.
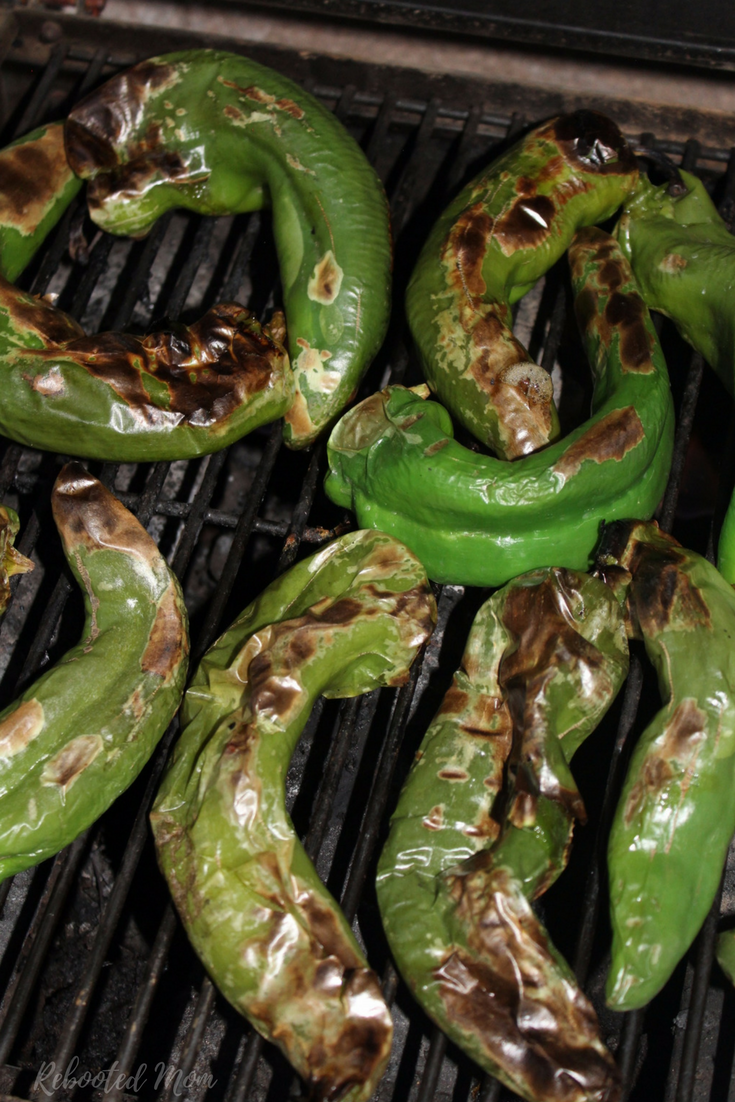
These peppers are almost done – a few more flips and they are ready!
- After the first 2 checks, I lifted the lid and kept it open so they didn’t overcook. Continue to check all of the chiles. You want them to turn black but you don’t want them to over-roast because then you will roast the flesh and it won’t be possible to peel the skin away.
- If your top burner is roasting faster than the others, switch out the peppers and move them around so they all cook evenly. If your peppers are crooked and twisted, they will flatten as they roast. Keep turning them from side until every side is roasted.
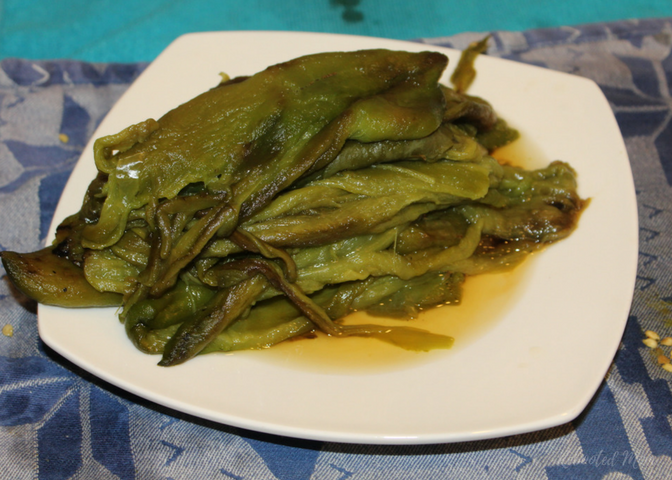
- Place all of your roasted peppers in a bowl next to the grill – I love using a colander but feel free to use what works for you. Cover the bowl with plastic wrap or a damp towel and let the chiles cool for 60-90 minutes.
Peeling your Roasted Chiles
Throw some latex gloves on when you are ready to peel your chiles. Capsaicin is the chemical that gives chiles their heat and that same chemical can differ from pepper to pepper. Play it safe and wear gloves. If not, your hands will absorb that capsaicin and depending on the heat of the pepper, that can hurt.
To peel the chiles, look for the areas of your chile where the skin is raised and puffy and start to feel that charred skin.
If you are preparing the entire chile, peel the skin off completely. Then cut the stem and remove the seeds from inside of the pepper.
If you are using the chiles for chile relleno keep the steps on and instead cut a tiny slit on the side of the pepper to keep it as intact as you can. Then pull those seeds out. You can definitely keep the seeds in that may make your chile rellenos too hot – preference can vary.
How to Freeze your Chiles and Peppers
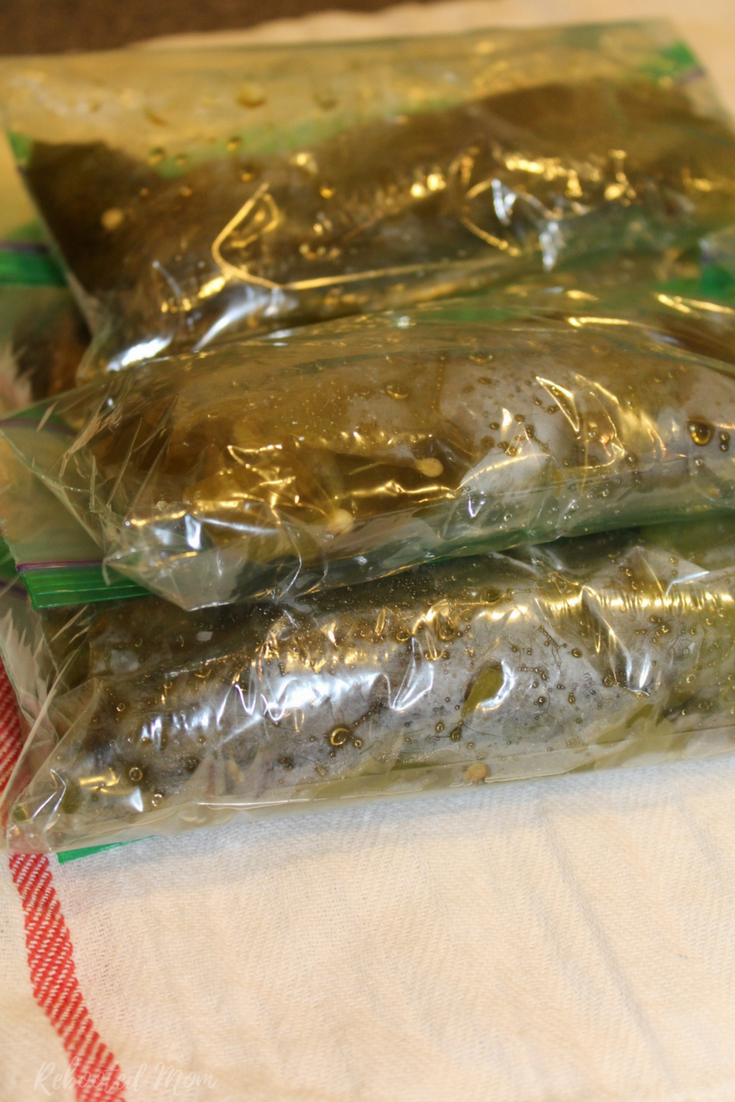
You have the option of freezing your chiles or peppers whole (as is) or chopped. Determine what works best for you. I usually always freeze mine whole and always 2 per bag as that is what I use in most recipes.
Once prepared, separate your chiles into sandwich bags. Then, press out all of the air, then bag in a second sandwich bag.
Always label your chiles with the contents & freeze date when you freeze. You’ll want to know how long they have been in the freezer. When you are ready to use them in recipes, pull out a bag or two at a time.
Looking for Hatch Green Chile Recipes?
Look no further – we have many!
- Homemade New Mexico Hatch Green Chile Enchilada Sauce
- Instant Pot Salsa Verde White Chicken Chili
- Cheesy Hatch Green Chile Cornbread
- Green Chile Zucchini Cornbread
- Instant Pot Green Chile and Potato Stew
- Hatch Chile Hummus
- 10 Hatch Chile Recipes


[…] you can’t get your hands on Hatch chiles (whether in person or online), you can roast your own chiles at home on the grill, […]