


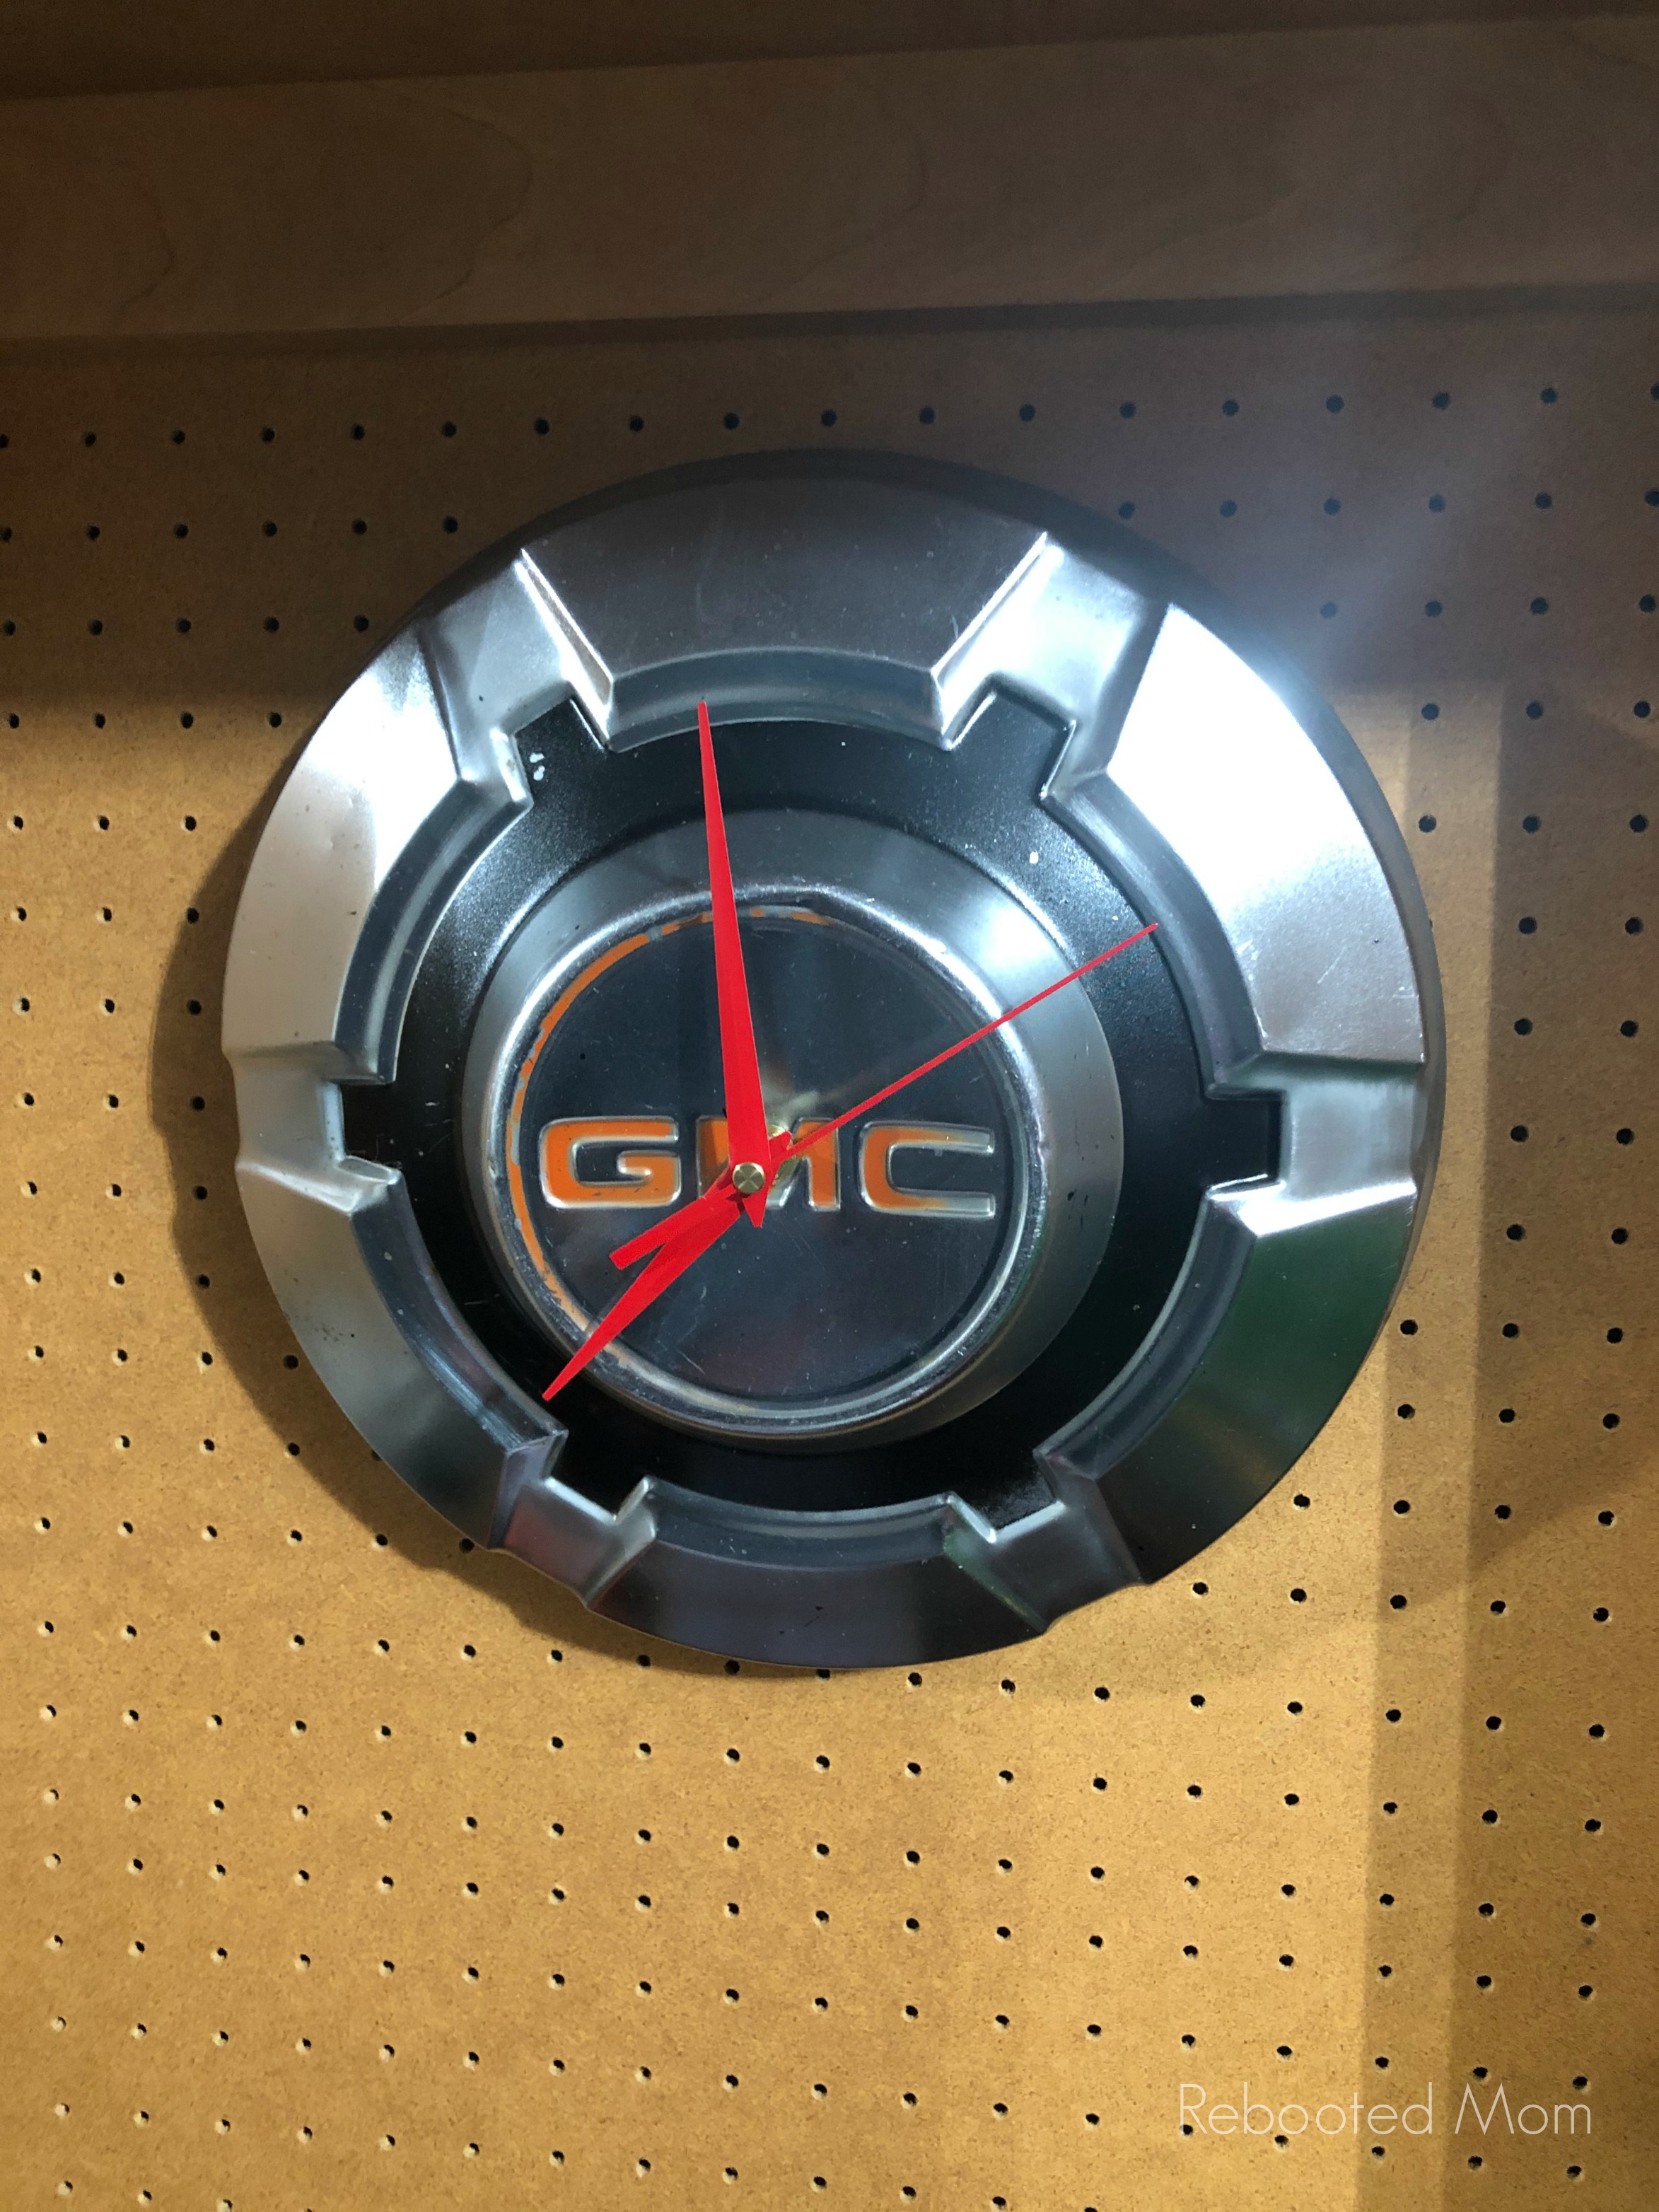
Upcycle your favorite automotive hubcaps to make this vintage hubcap clock – perfect for any man cave, garage, or bedroom!
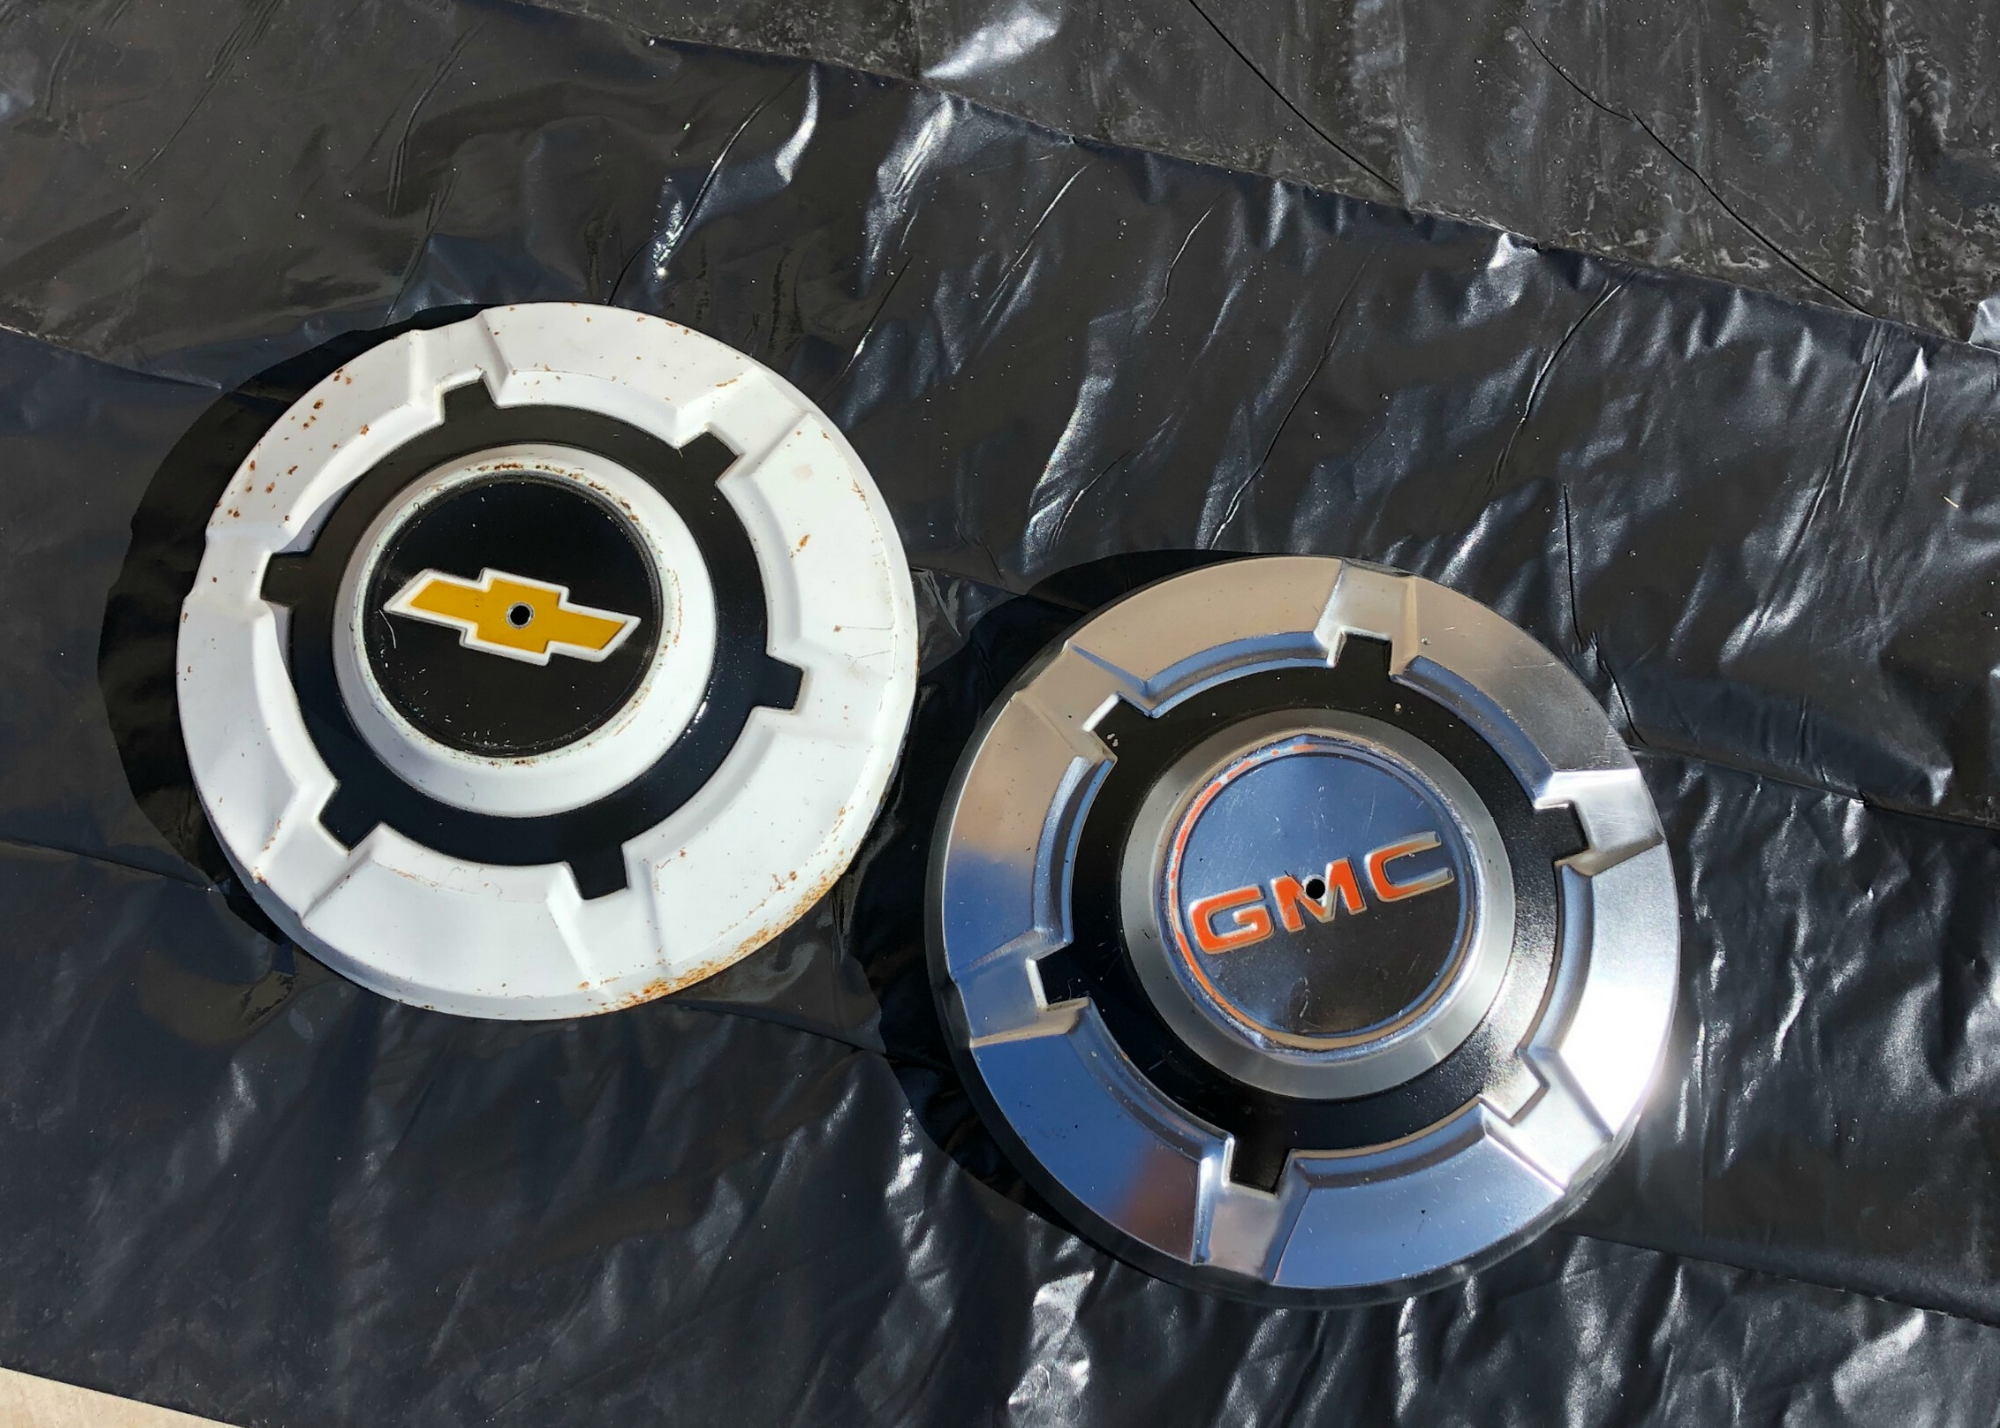
Why bother upcycling rusty vintage hubcaps from a 1970’s Chevy truck? I recently ended up finding a bunch of Chevy hubcaps for sale from an auto supply company out in Arkansas.
While some of them weren’t worth gambling after, a few of them were. At the time, my boys were looking for a clock for their bedroom. I wanted to whip up some hubcap clocks so that they had a unique car-themed bedroom and I figured it would be a fun project to make something different than what I might find in any store.
Combine that with the fact that we really didn’t have a fun and unique clock at home. I love taking things apart and putting them back together so this was a fun project that they thought was pretty neat for their room.
Upcycled Hubcap Clock
Clocks made from hubcaps have definitely been done before (just check out Etsy). One of the biggest differences between buying a hubcap clock on Etsy or elsewhere versus doing one yourself is simple.
Rusty, worn out hubcaps give character … while most of those for sale on the marketplace are new and shiny. I prefer those hubcaps with dents, dings and rust because it gives the hubcap character. Those are all things that will transfer to the garage, man cave or even bedroom.
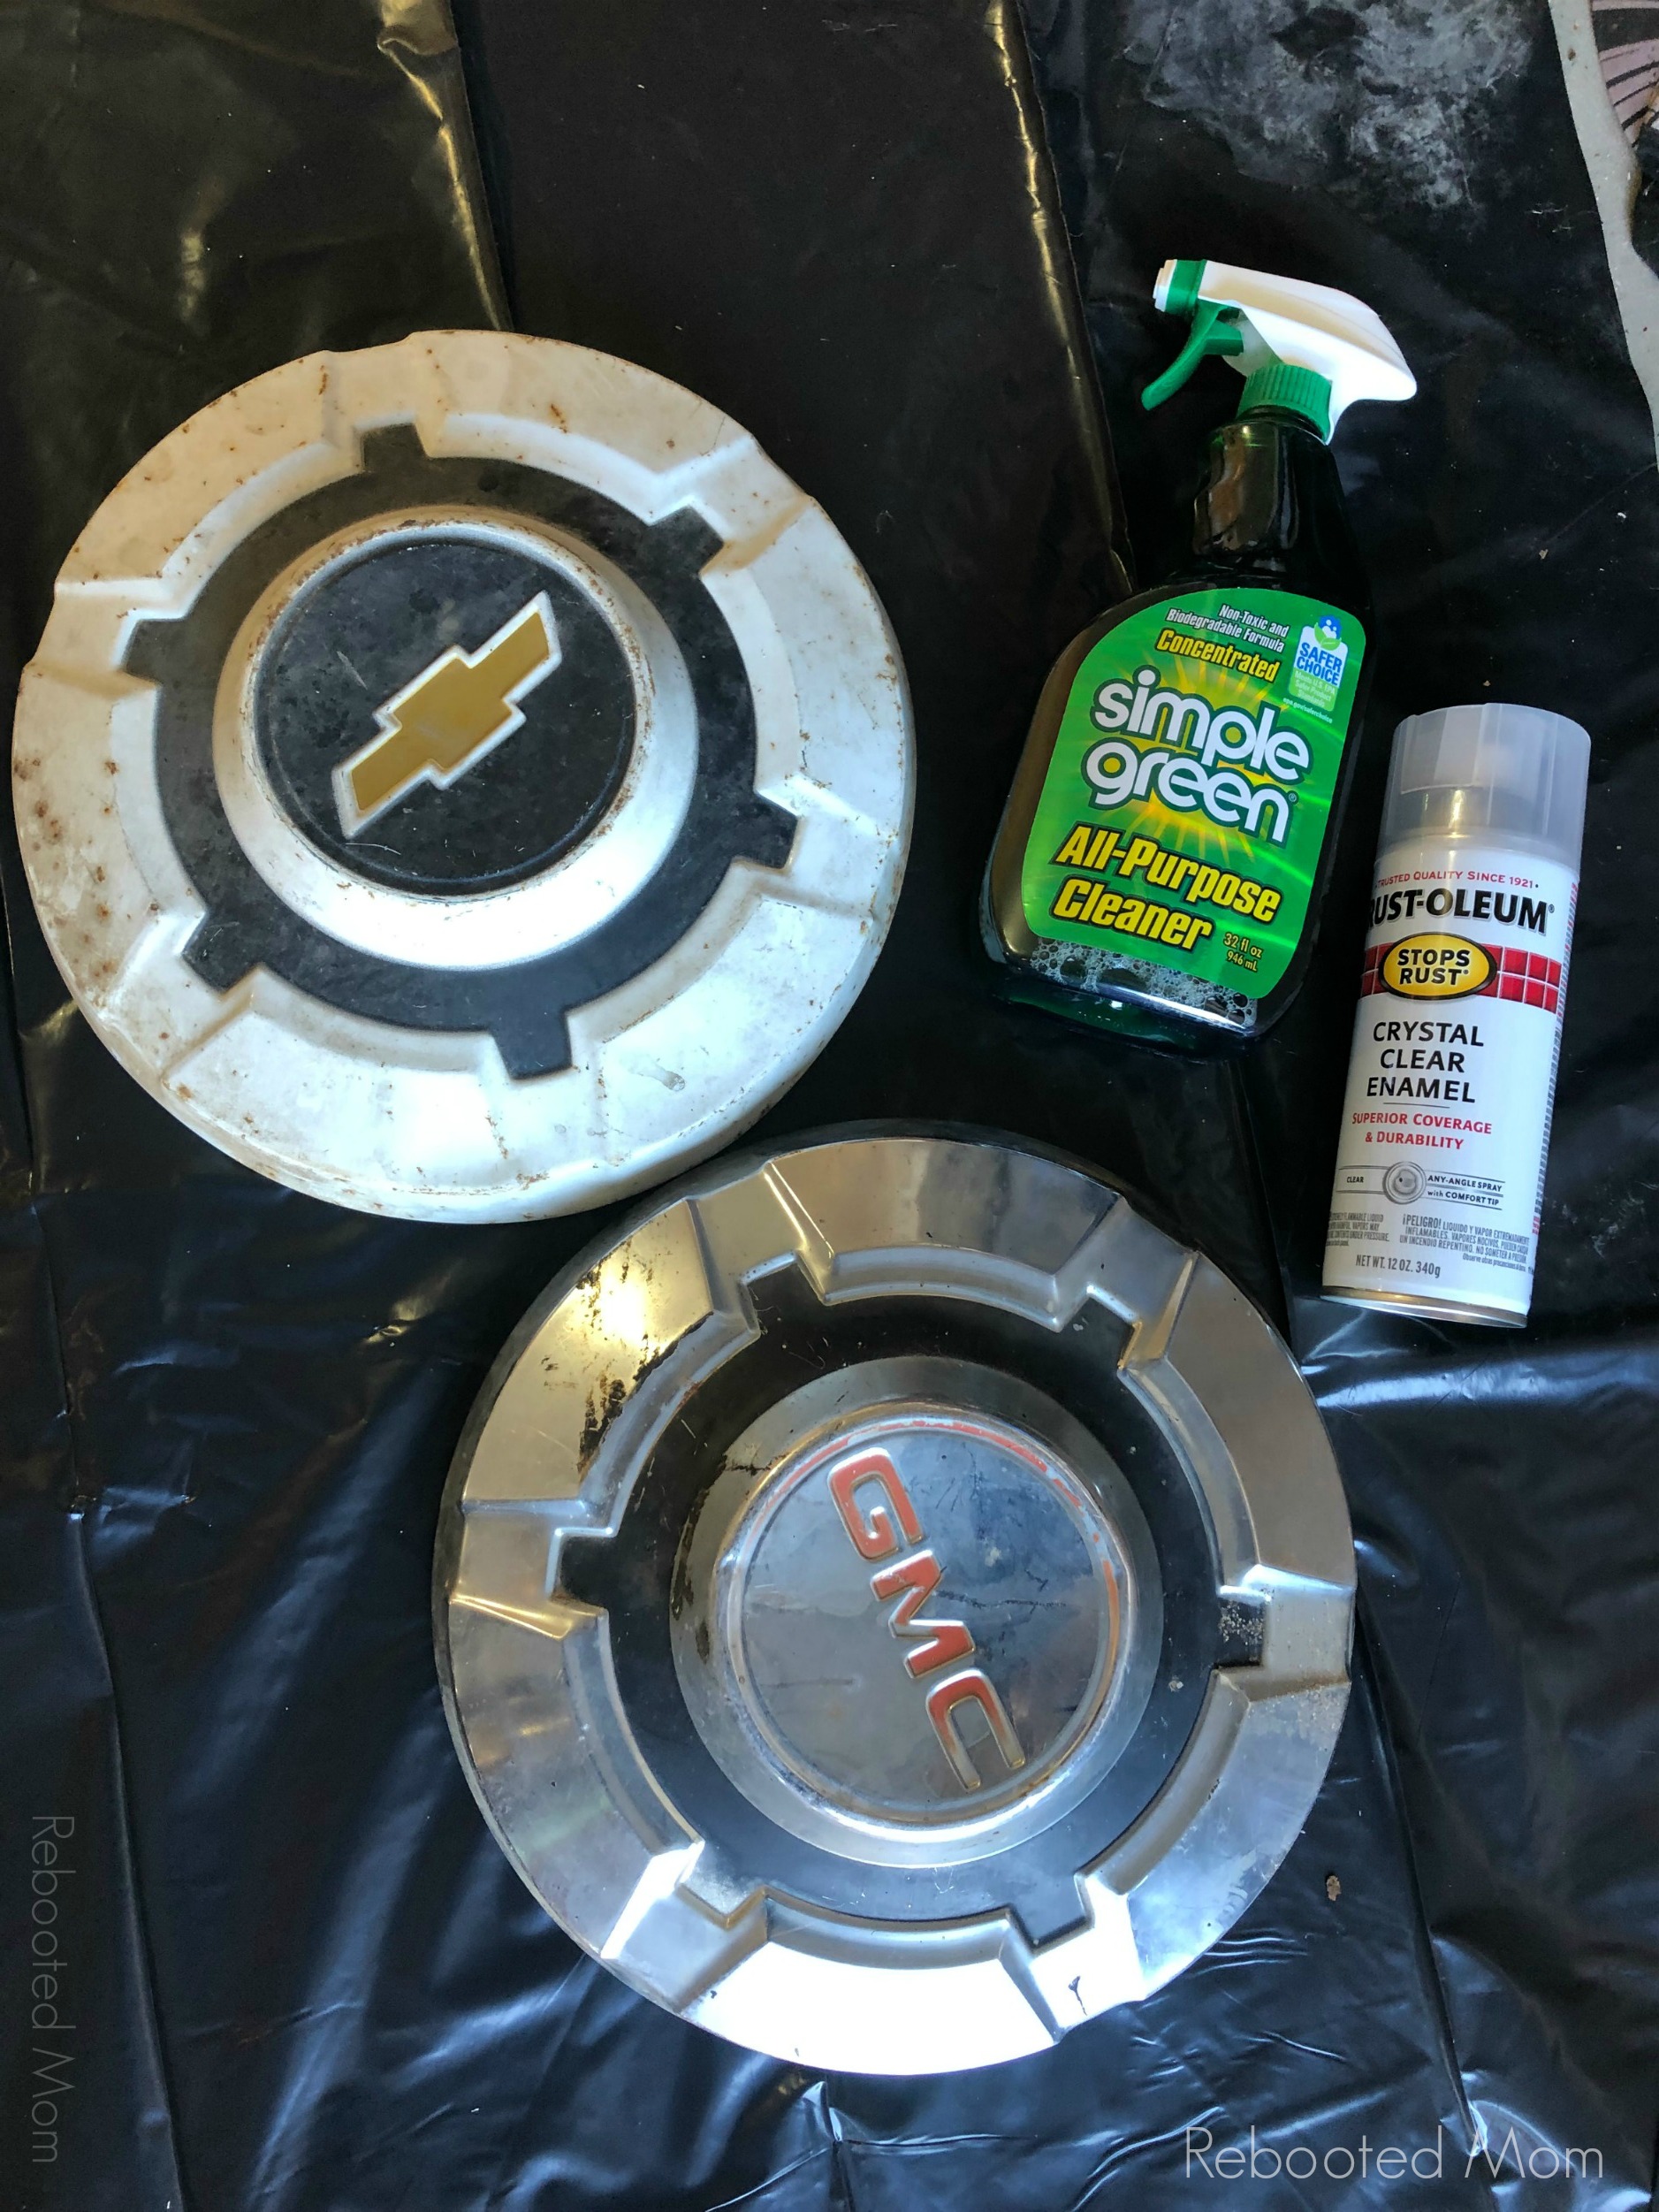
Tools and Materials needed:
- clock mechanism
- hubcap
- drill with bit (or go a step further and pick up a Unibit from Harbor Freight)
- Simple Green (or other cleaner)
- Rustoleum Clear Coat Enamel
- painters tape
- pencil
- ruler or straight edge
- hammer
*Note: If you don’t have a unibit, a regular drill bit will work fine. I suggest finding an interior drywall screw and tapping that in the center of the hubcap to make a sort of indent. Then, use your drill bit to bore that screw in completely. Then reverse the screw to remove, and stick your drill bit in the hole to widen it out.
A unibit will run around $40 at Home Depot.. which is quite an expense if you only plan on making one or two clocks. Harbor Freight carries them as low as $5 .. if you have a HF in your area.
Instructions:
Prepare the Clock:
If you are using an existing clock, you’ll want to gut out the clock. Remove the glass retaining bezel, then the glass. Carefully take out the clock hands and the nut holding the clock mechanism on and set aside until you need to insert in your hubcap clock.
Or, you can do what I did and buy the clock kit on Amazon. They are relatively inexpensive and easy to use. The box with the clock kit comes with instructions that are easy to understand.
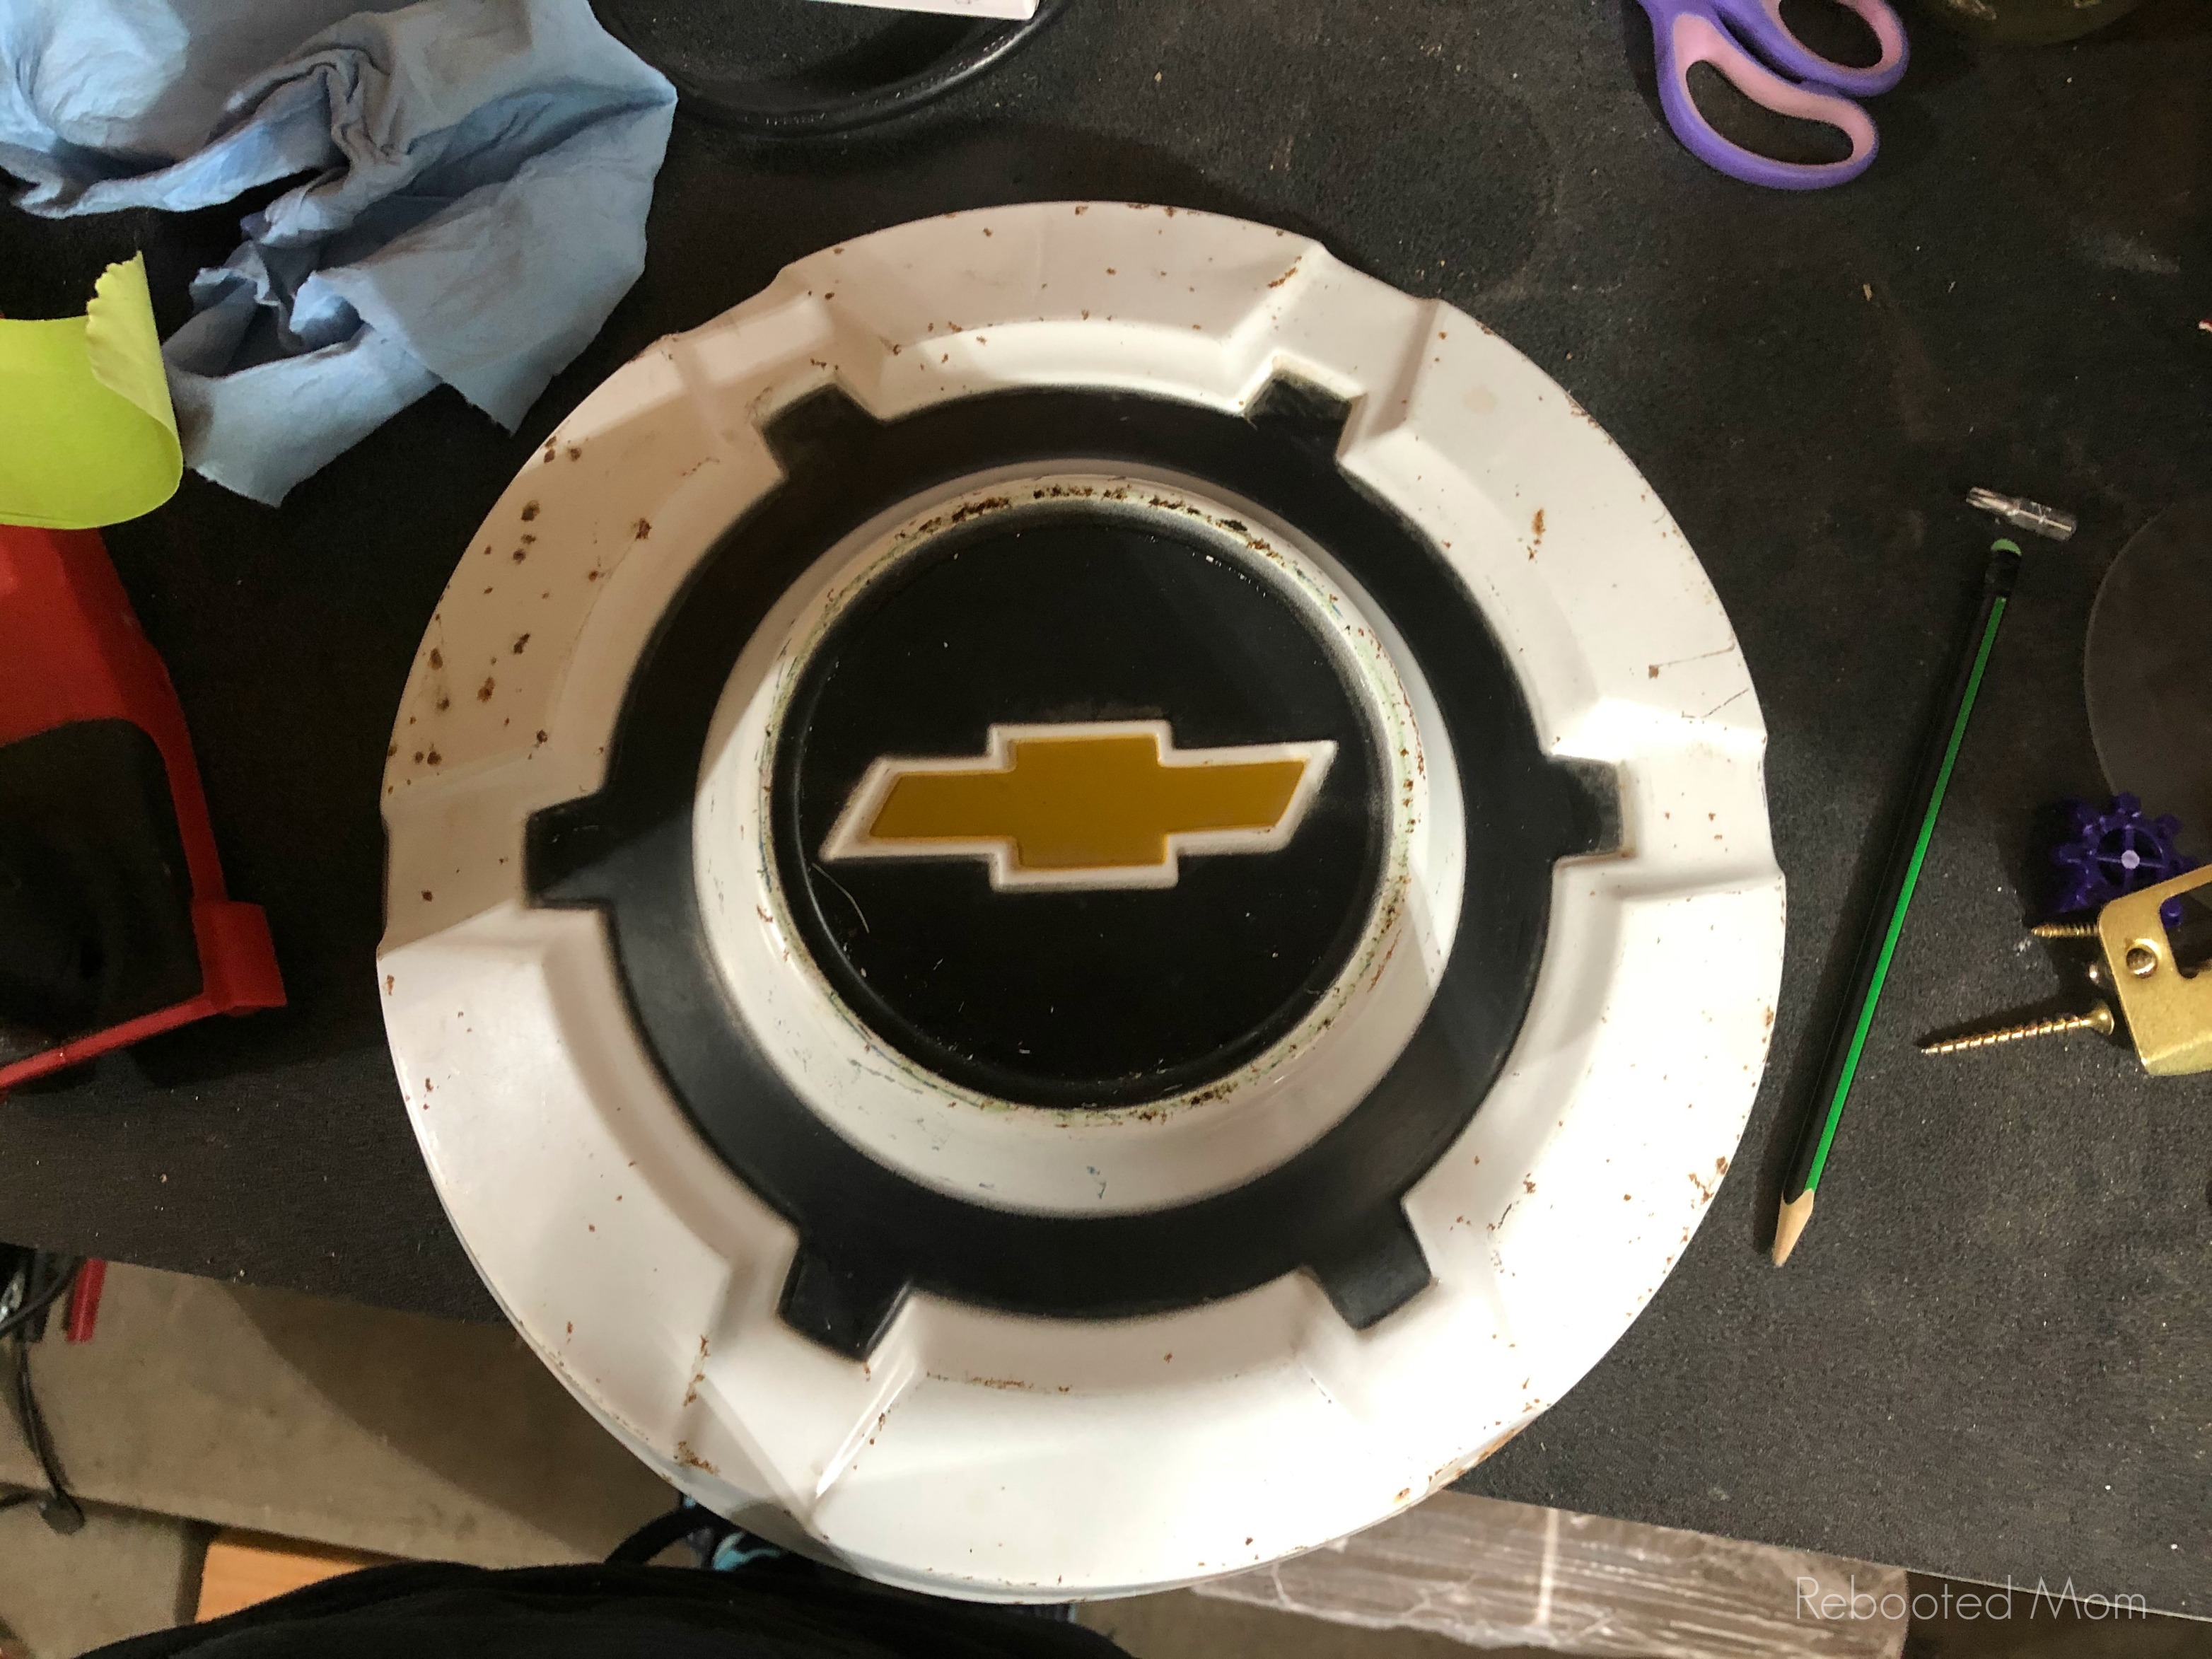
Step 2: Clean the Hubcap:
Use your favorite cleaner (mine was Simple Green). I sprayed mine well and then took a green scrub pad to get all the dirt and grime off of it. Dry it thoroughly and set aside.
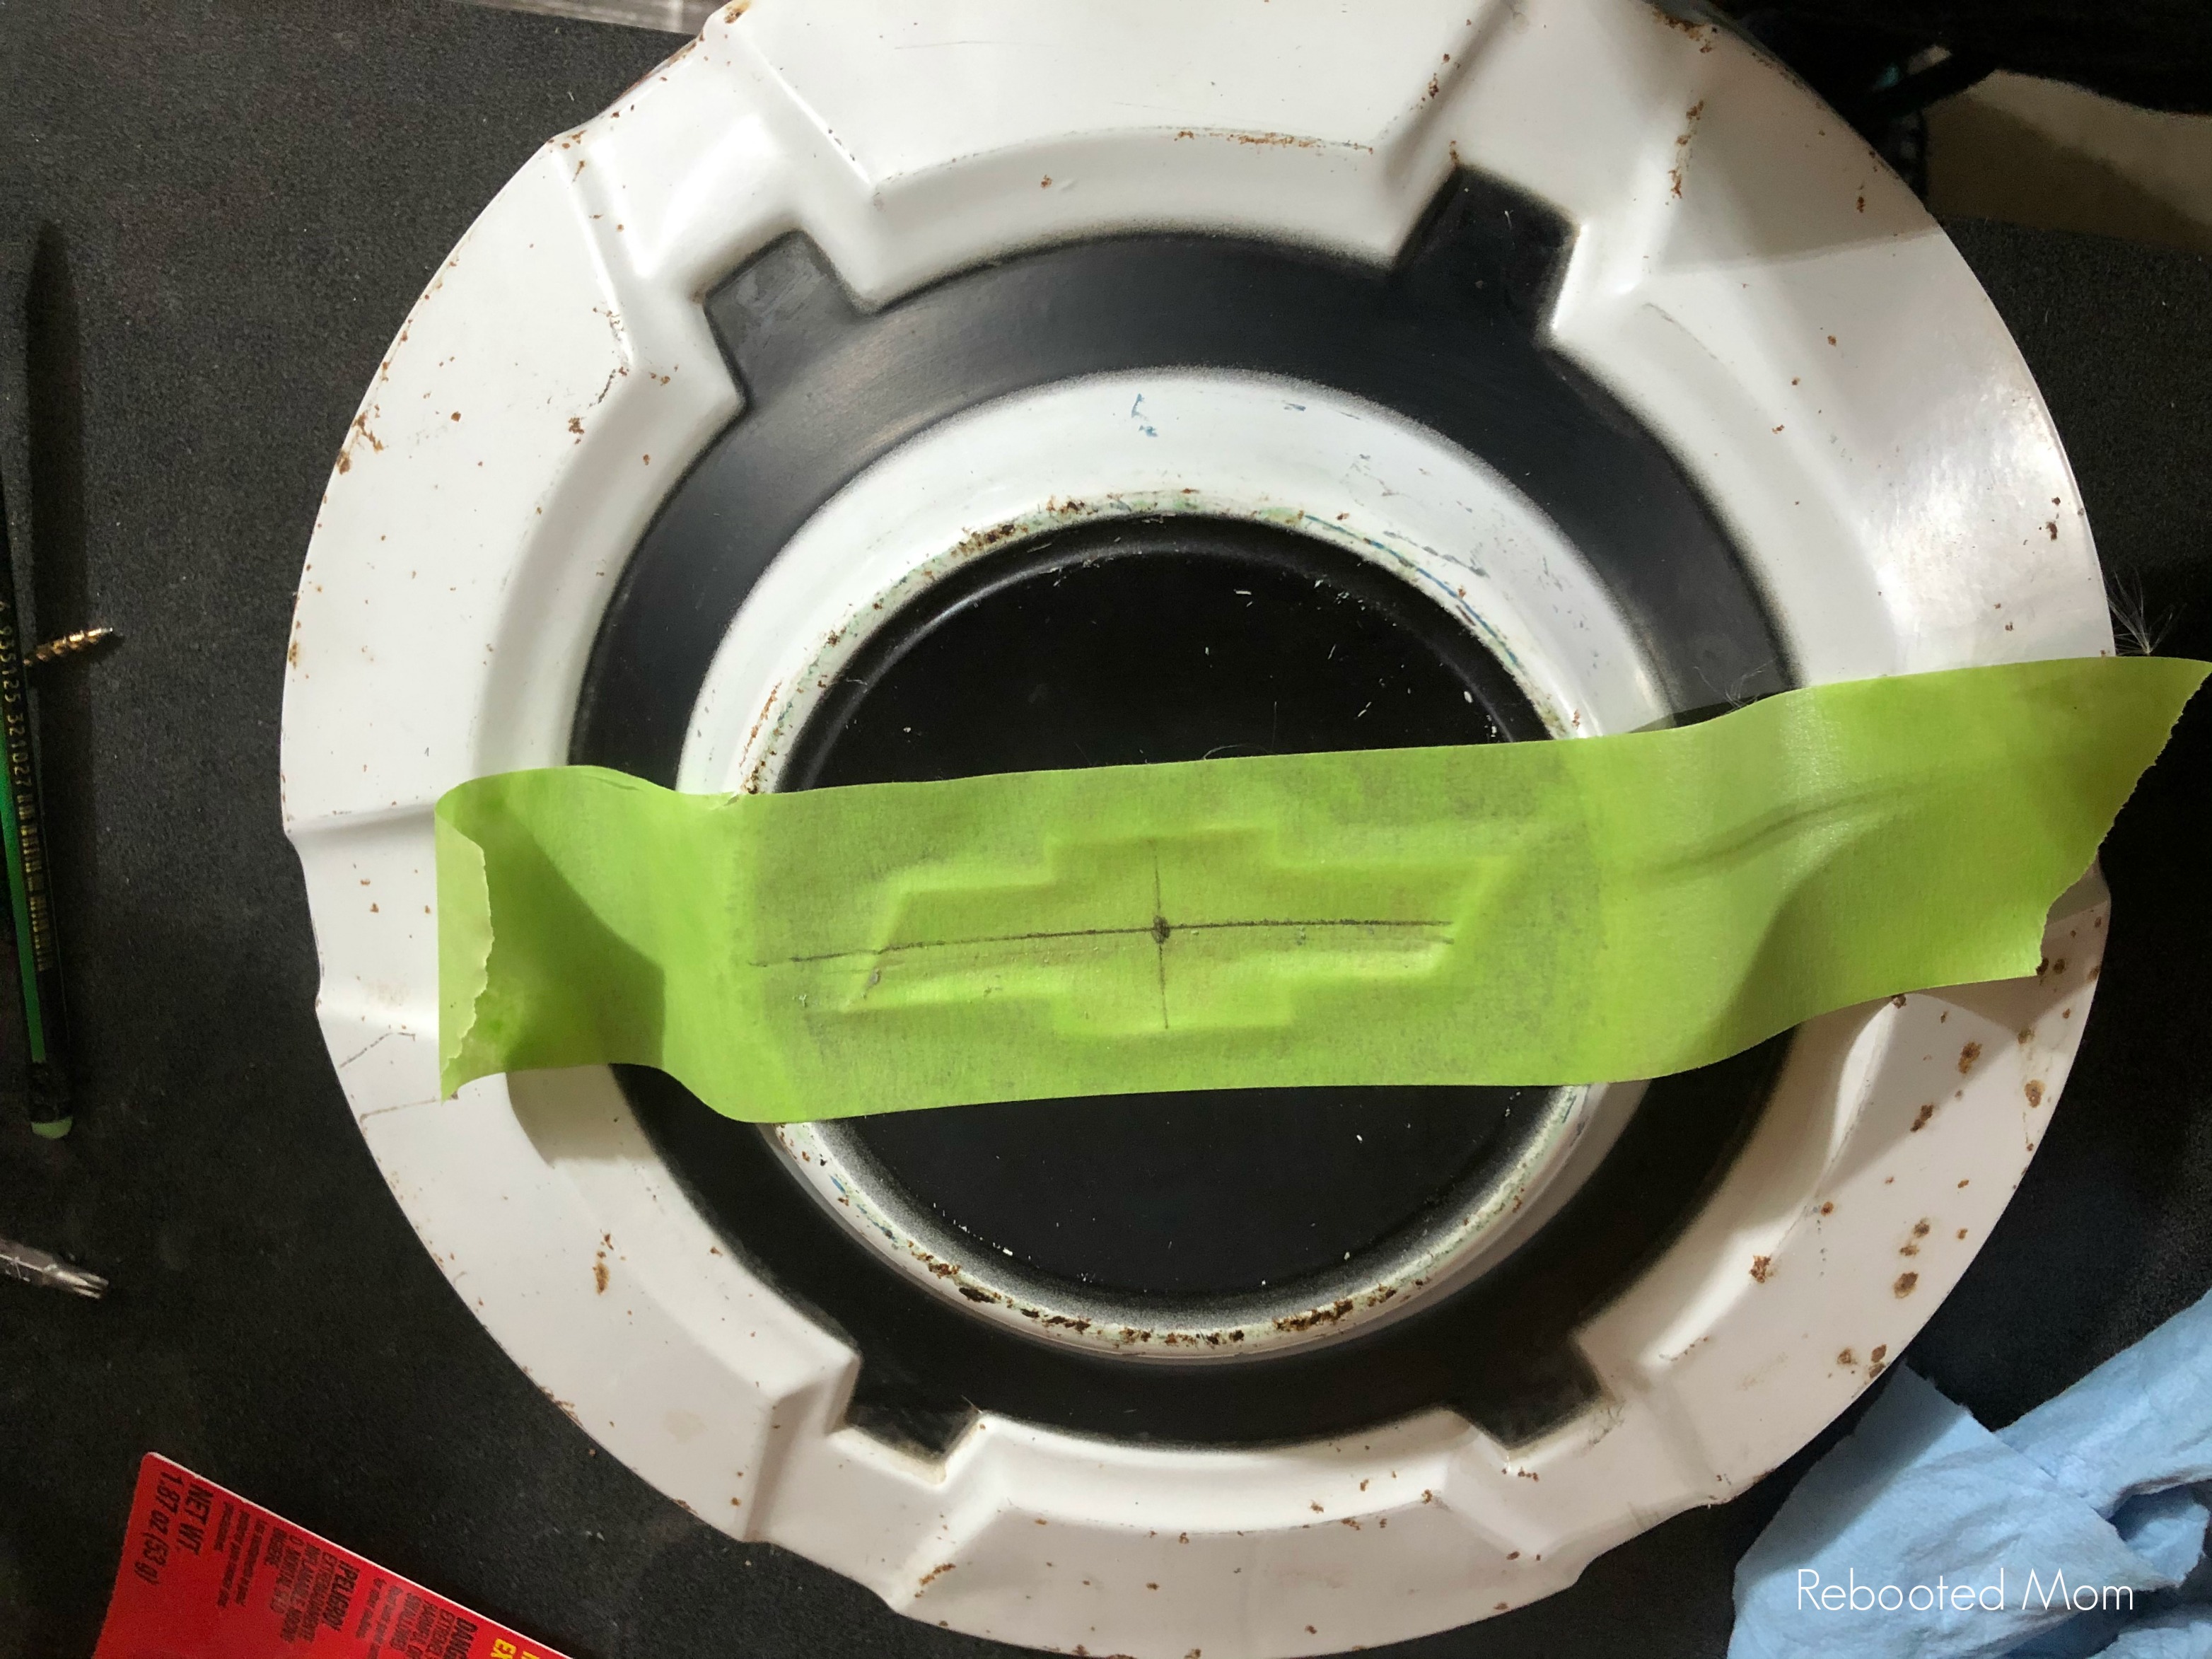
Step 3: Prepare to Drill a Hole:
I wanted the hole to be in the middle of each of those two hubcaps. For one, I aimed for the middle of the Chevy logo. For the other, I aimed in the middle of the “M” on GMC.
- Lay down a piece of masking tape over the area you’ll be working on.
- Use your ruler to find your central reference point and push the tape down flat in the middle of the emblem. Once you find the center mark an X.
- Support the hubcap. Use your hammer to lightly tap your drywall screw in the center of the X to create a slight indentation.
- Carefully drill your drywall screw (or use a unibit) in the central reference point to create a hole. That hole will likely not be big enough – so reverse the drill, remove the screw and set aside. Now place your drill in the hole you created and bore the hole out as best as you can.
- If you are using a drill bit, use a bit larger than the clock mechanism center. Roll up the masking tape to catch any of the metal shavings.
(It’s easier to use a unibit but.. if you don’t want to buy one a regular drill bit works well too. It just takes a little extra work.)
Step 4: Use your Clear Coat
Once you have the hole drilled, lay the hubcap out in a well ventilated area. Give it 3-4 coats of Rustoleum Clear Coat Enamel and let it dry thoroughly.
Step 5: Assemble the Clock
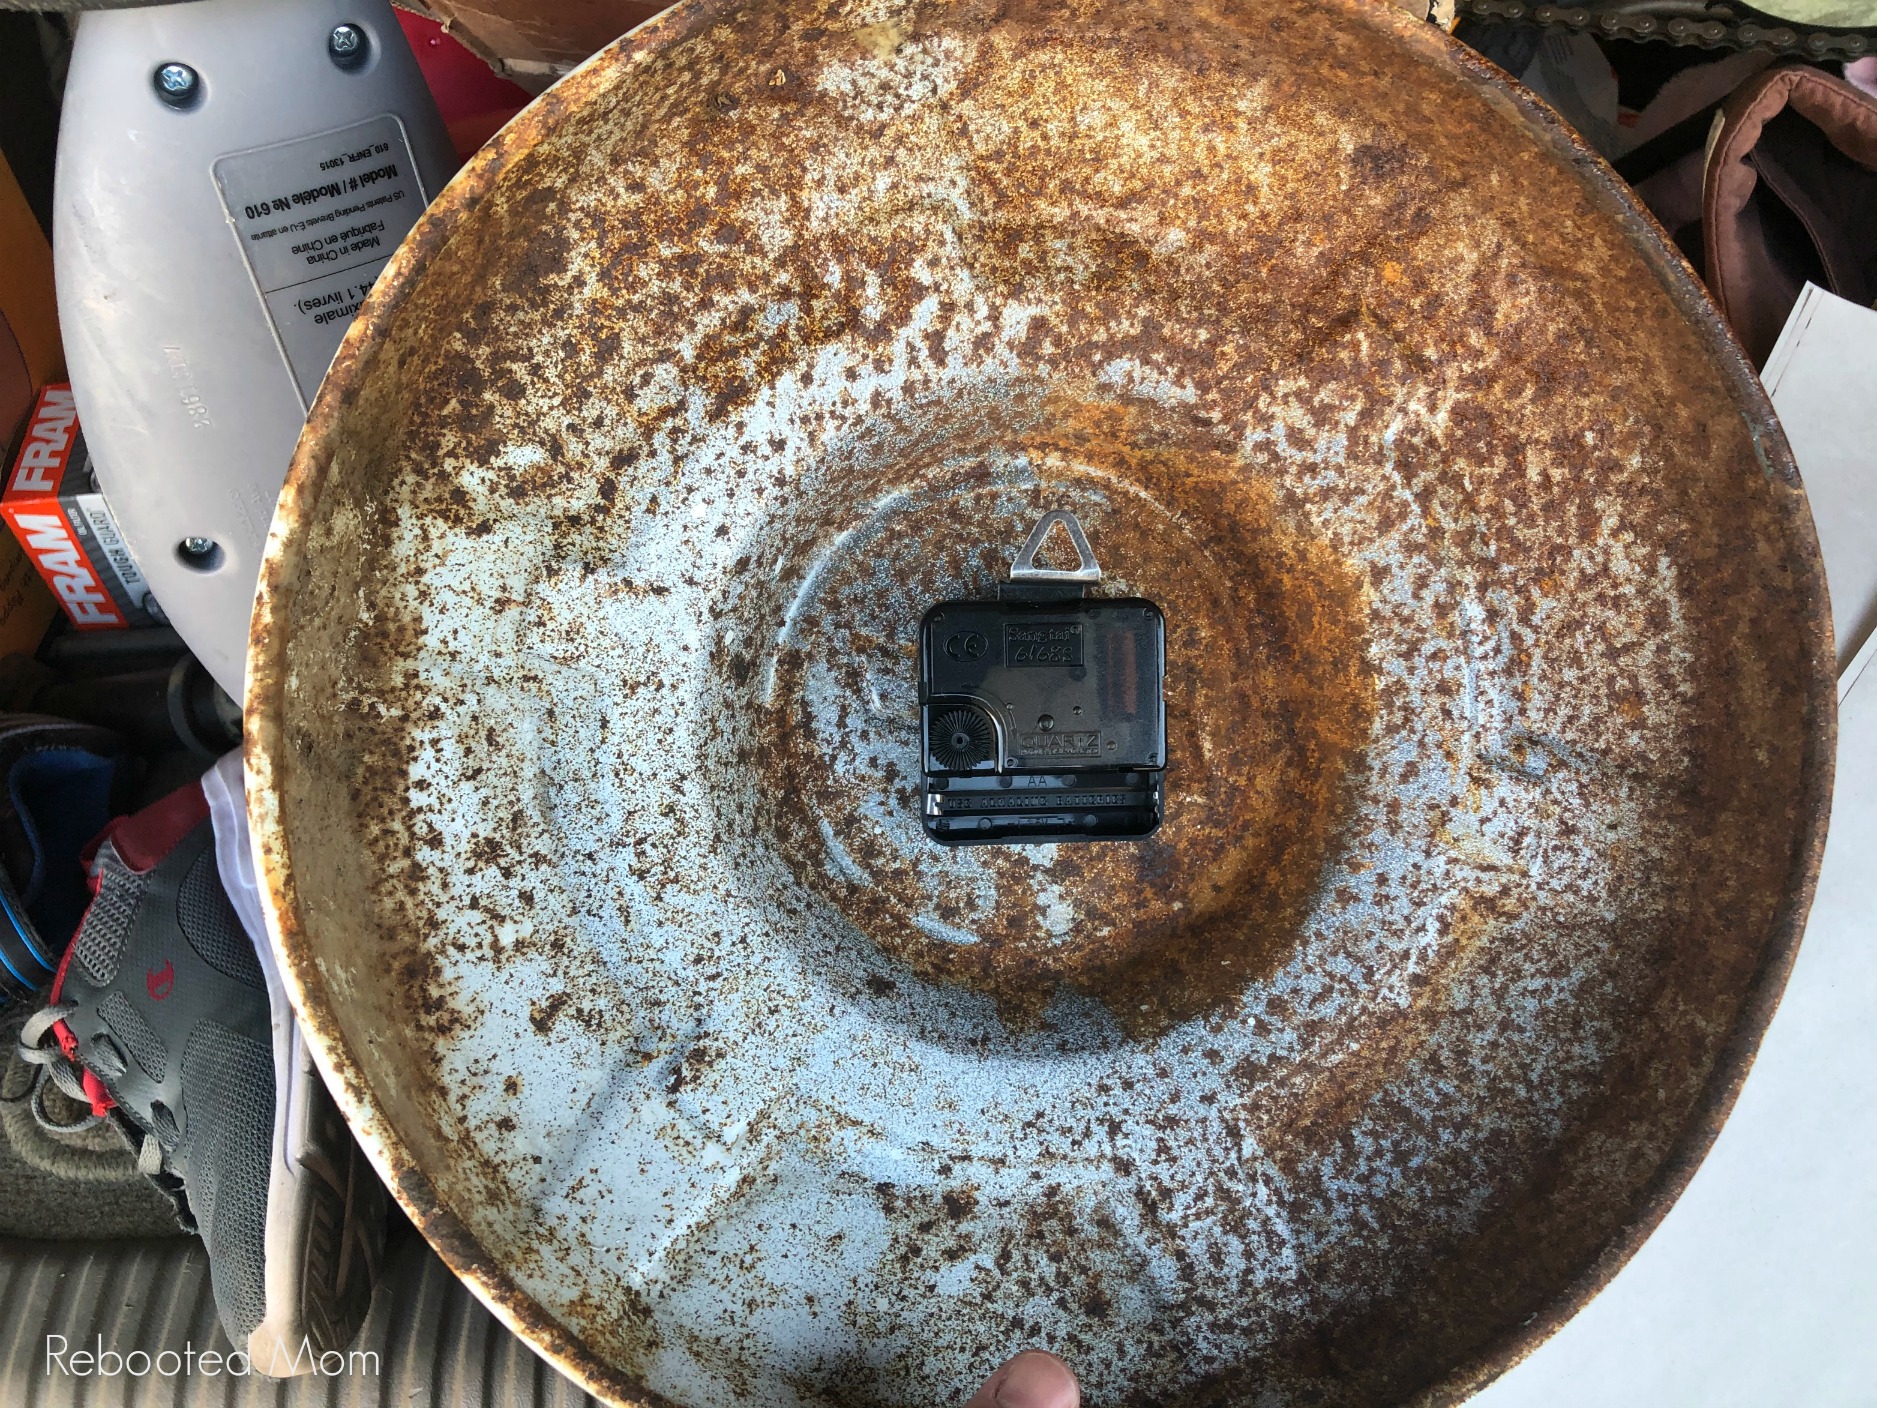
Attach the clock mechanism to the hubcap as shown in the instructions that came with the clock kit. Slide the clock mechanism through the hole from the back of the hubcap.
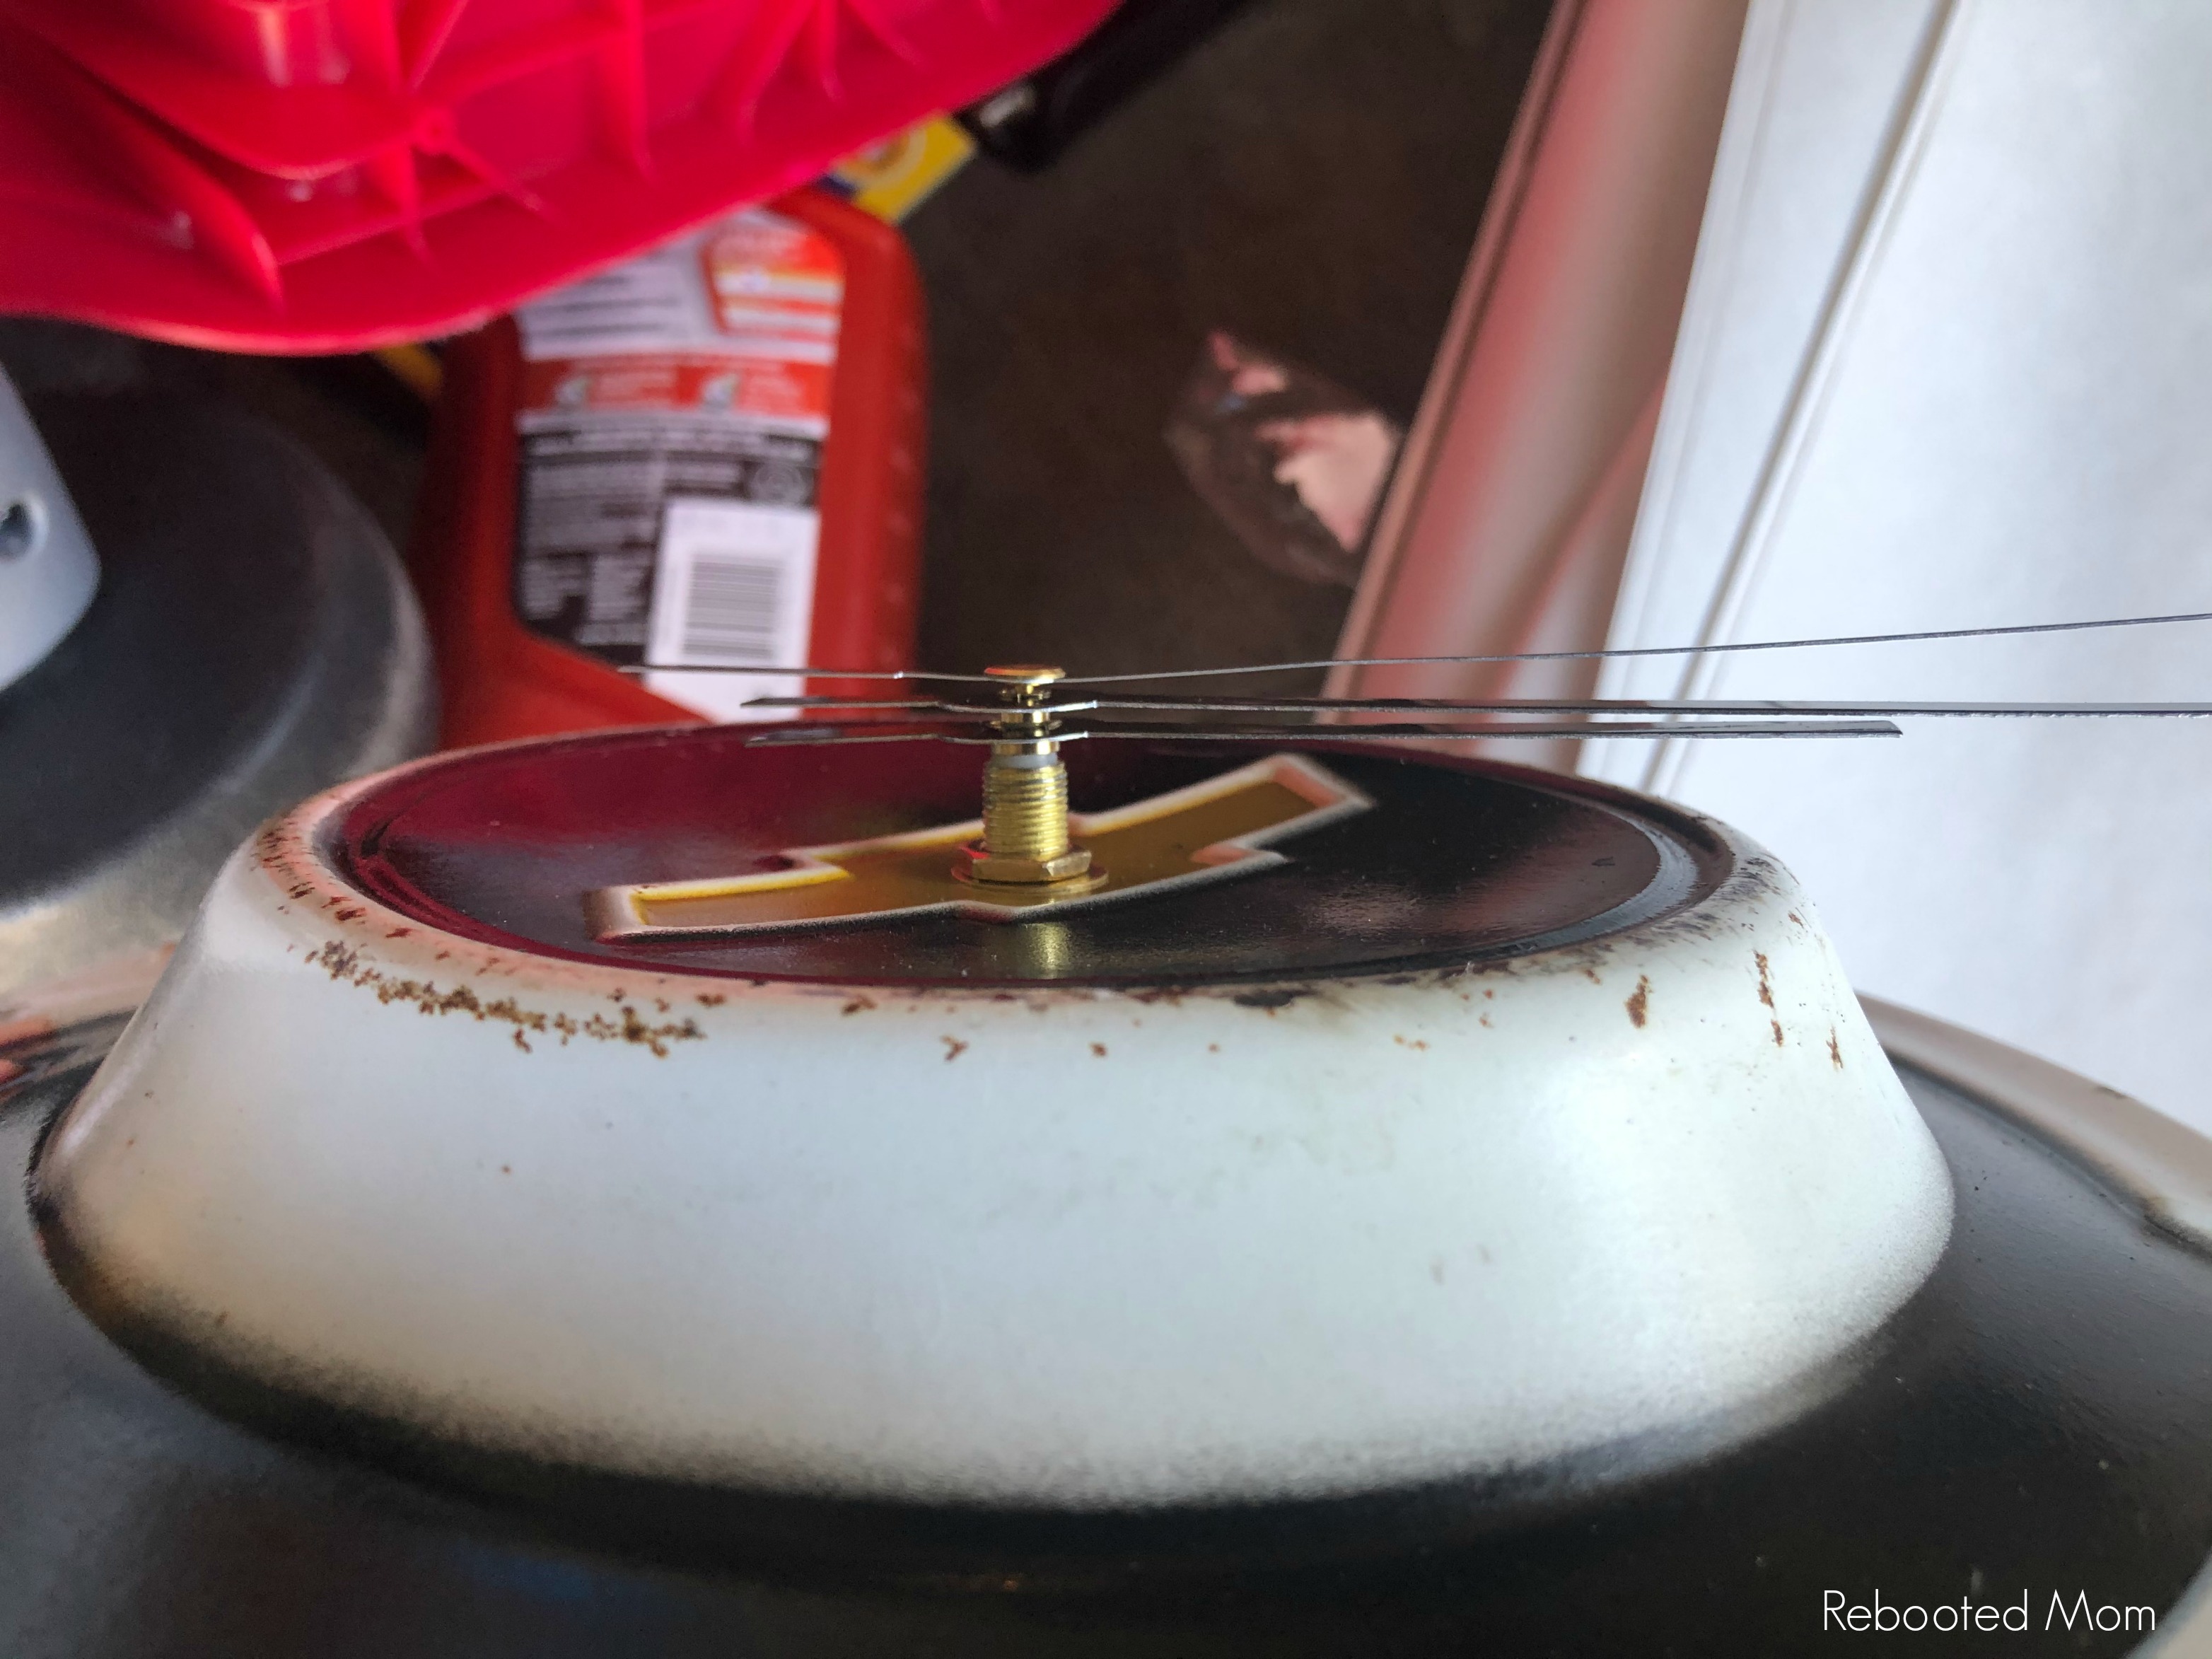
- Tighten the nut down on the front to secure the clock mechanism.
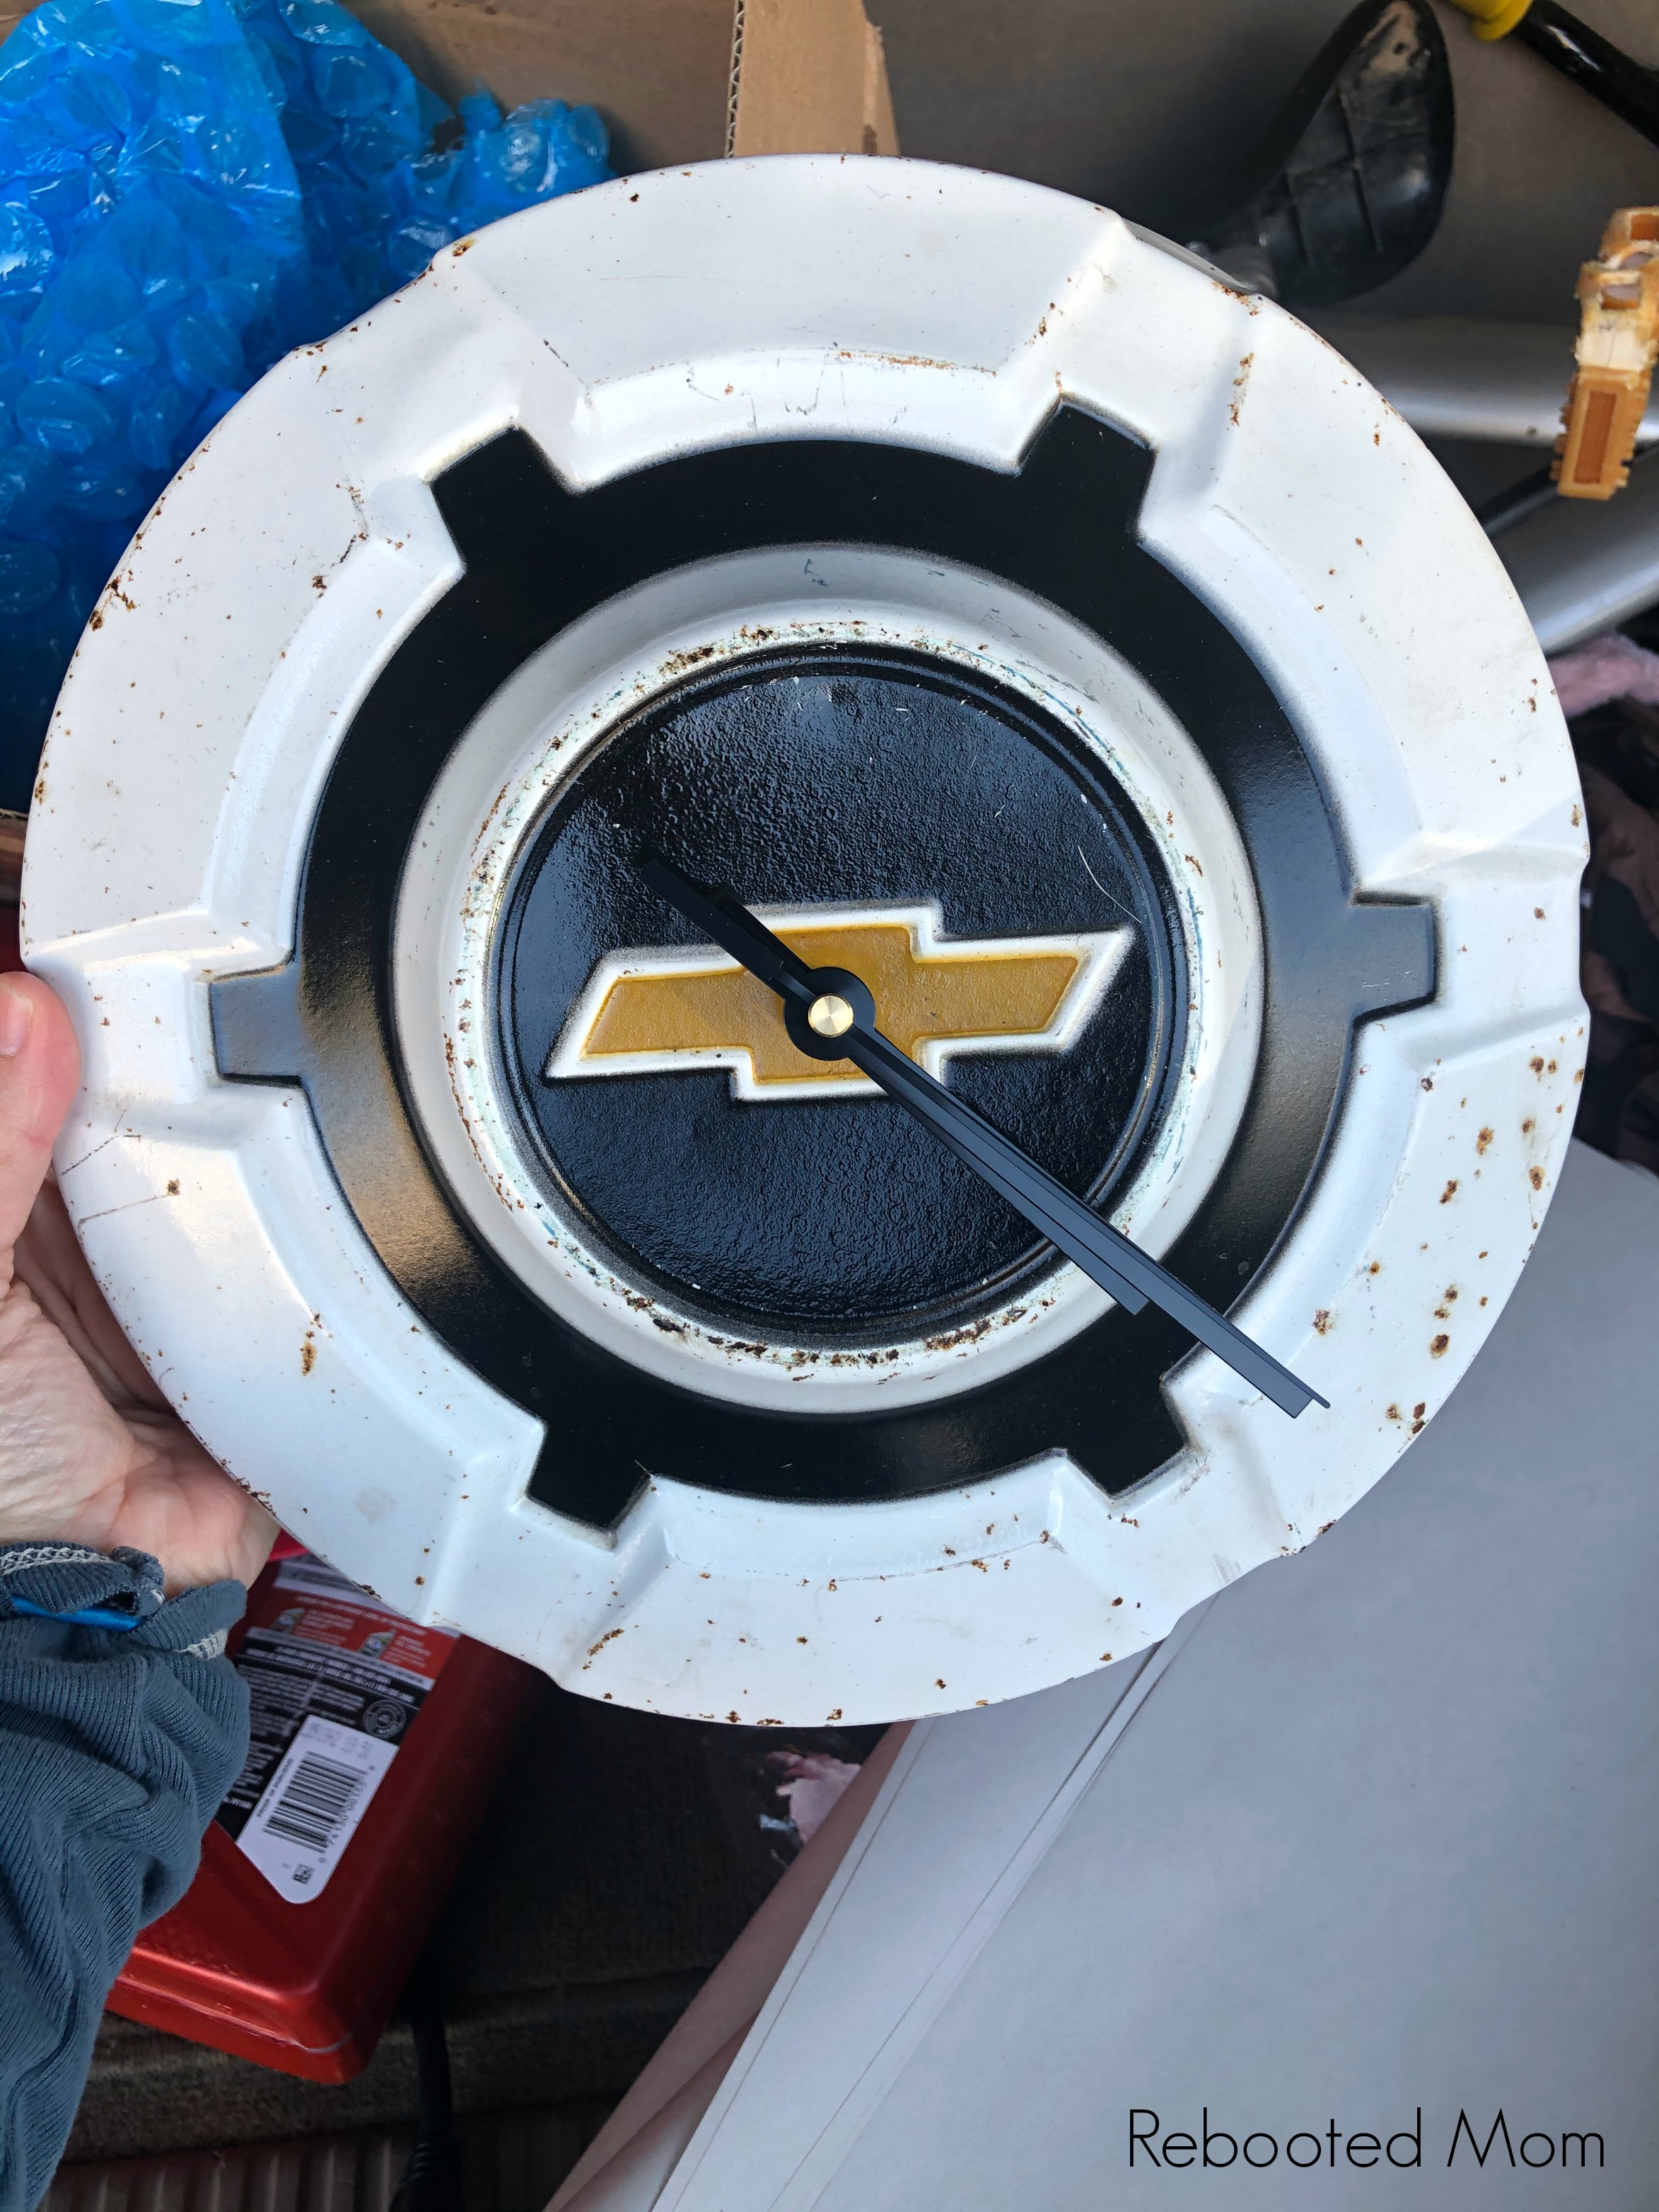
- Add the clock hands in the order instructed on the directions (hour, then minute, then second hand). Make sure the hands are straight (not bent) and parallel. Always install them facing the 12:00 hour.
- Flip the clock around and use the wheel on the back to adjust the time, then add the AA battery.
- You are done! Watch the clock and make sure it’s accurately keeping time.
That’s it! If you want to go a step further, you can always laser or engrave the clock numbers – obviously I don’t have a laser engraver so I left mine as is.
Now that you have these detailed instructions, go on and try making your own hubcap clock! Scour your local salvage yards for hubcaps you can use or check your own garage for some old hubcaps you might have laying around.

[…] Hubcap Clock […]