


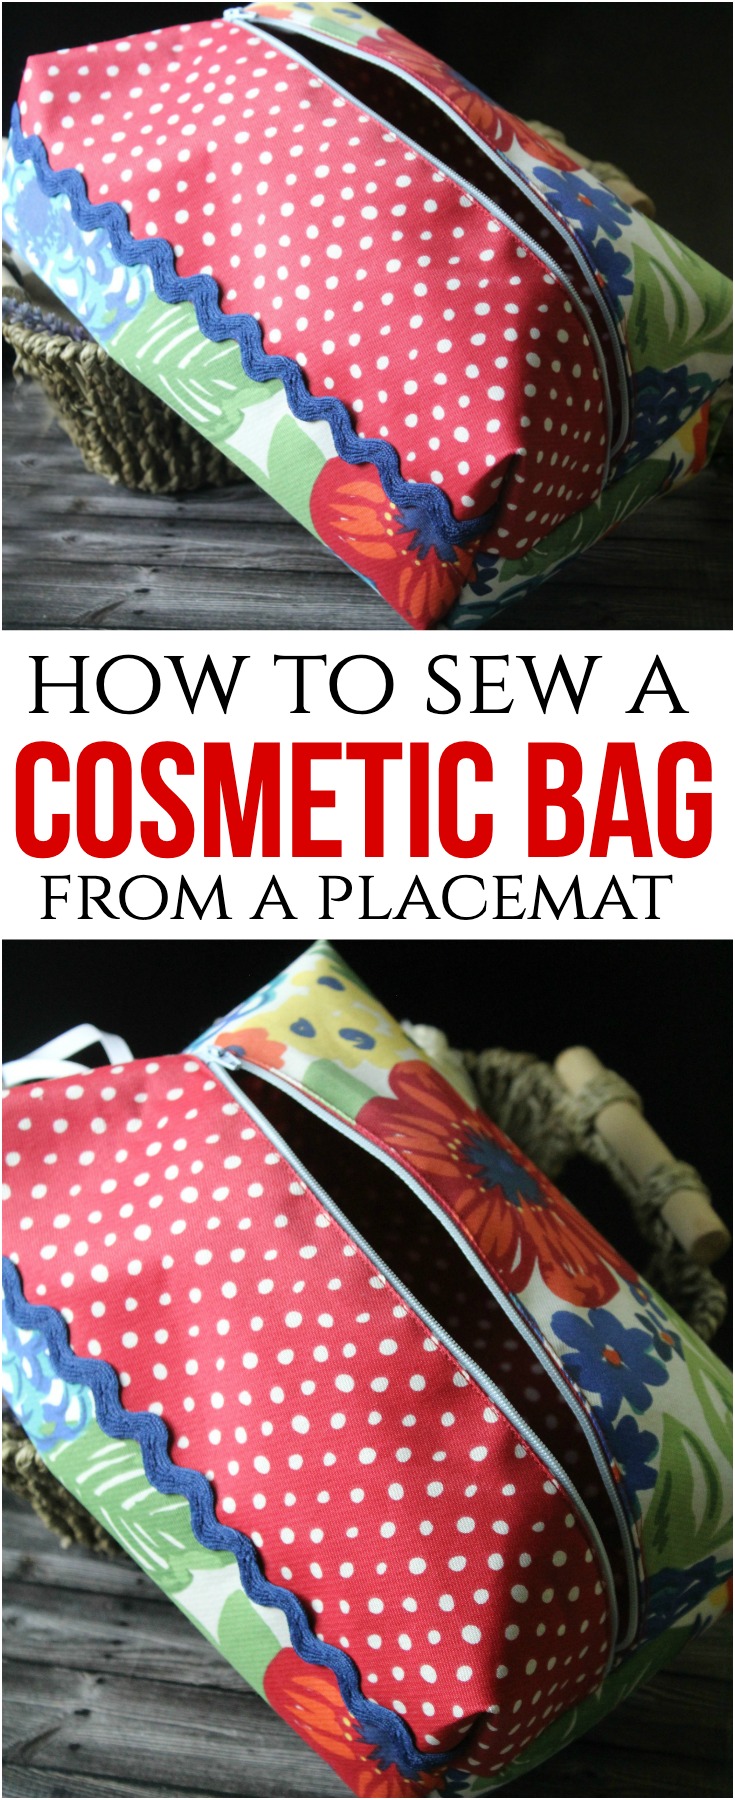
Sew a DIY placemat cosmetic bag (pouch) – a simple and inexpensive sewing project for beginners that makes a unique gift!
Last December, my oldest daughter zipped through a whirlwind of sewing projects. She started with zippered pouches, then made a few pillowcases, and eventually expanded her horizons to these cute cosmetic bags.
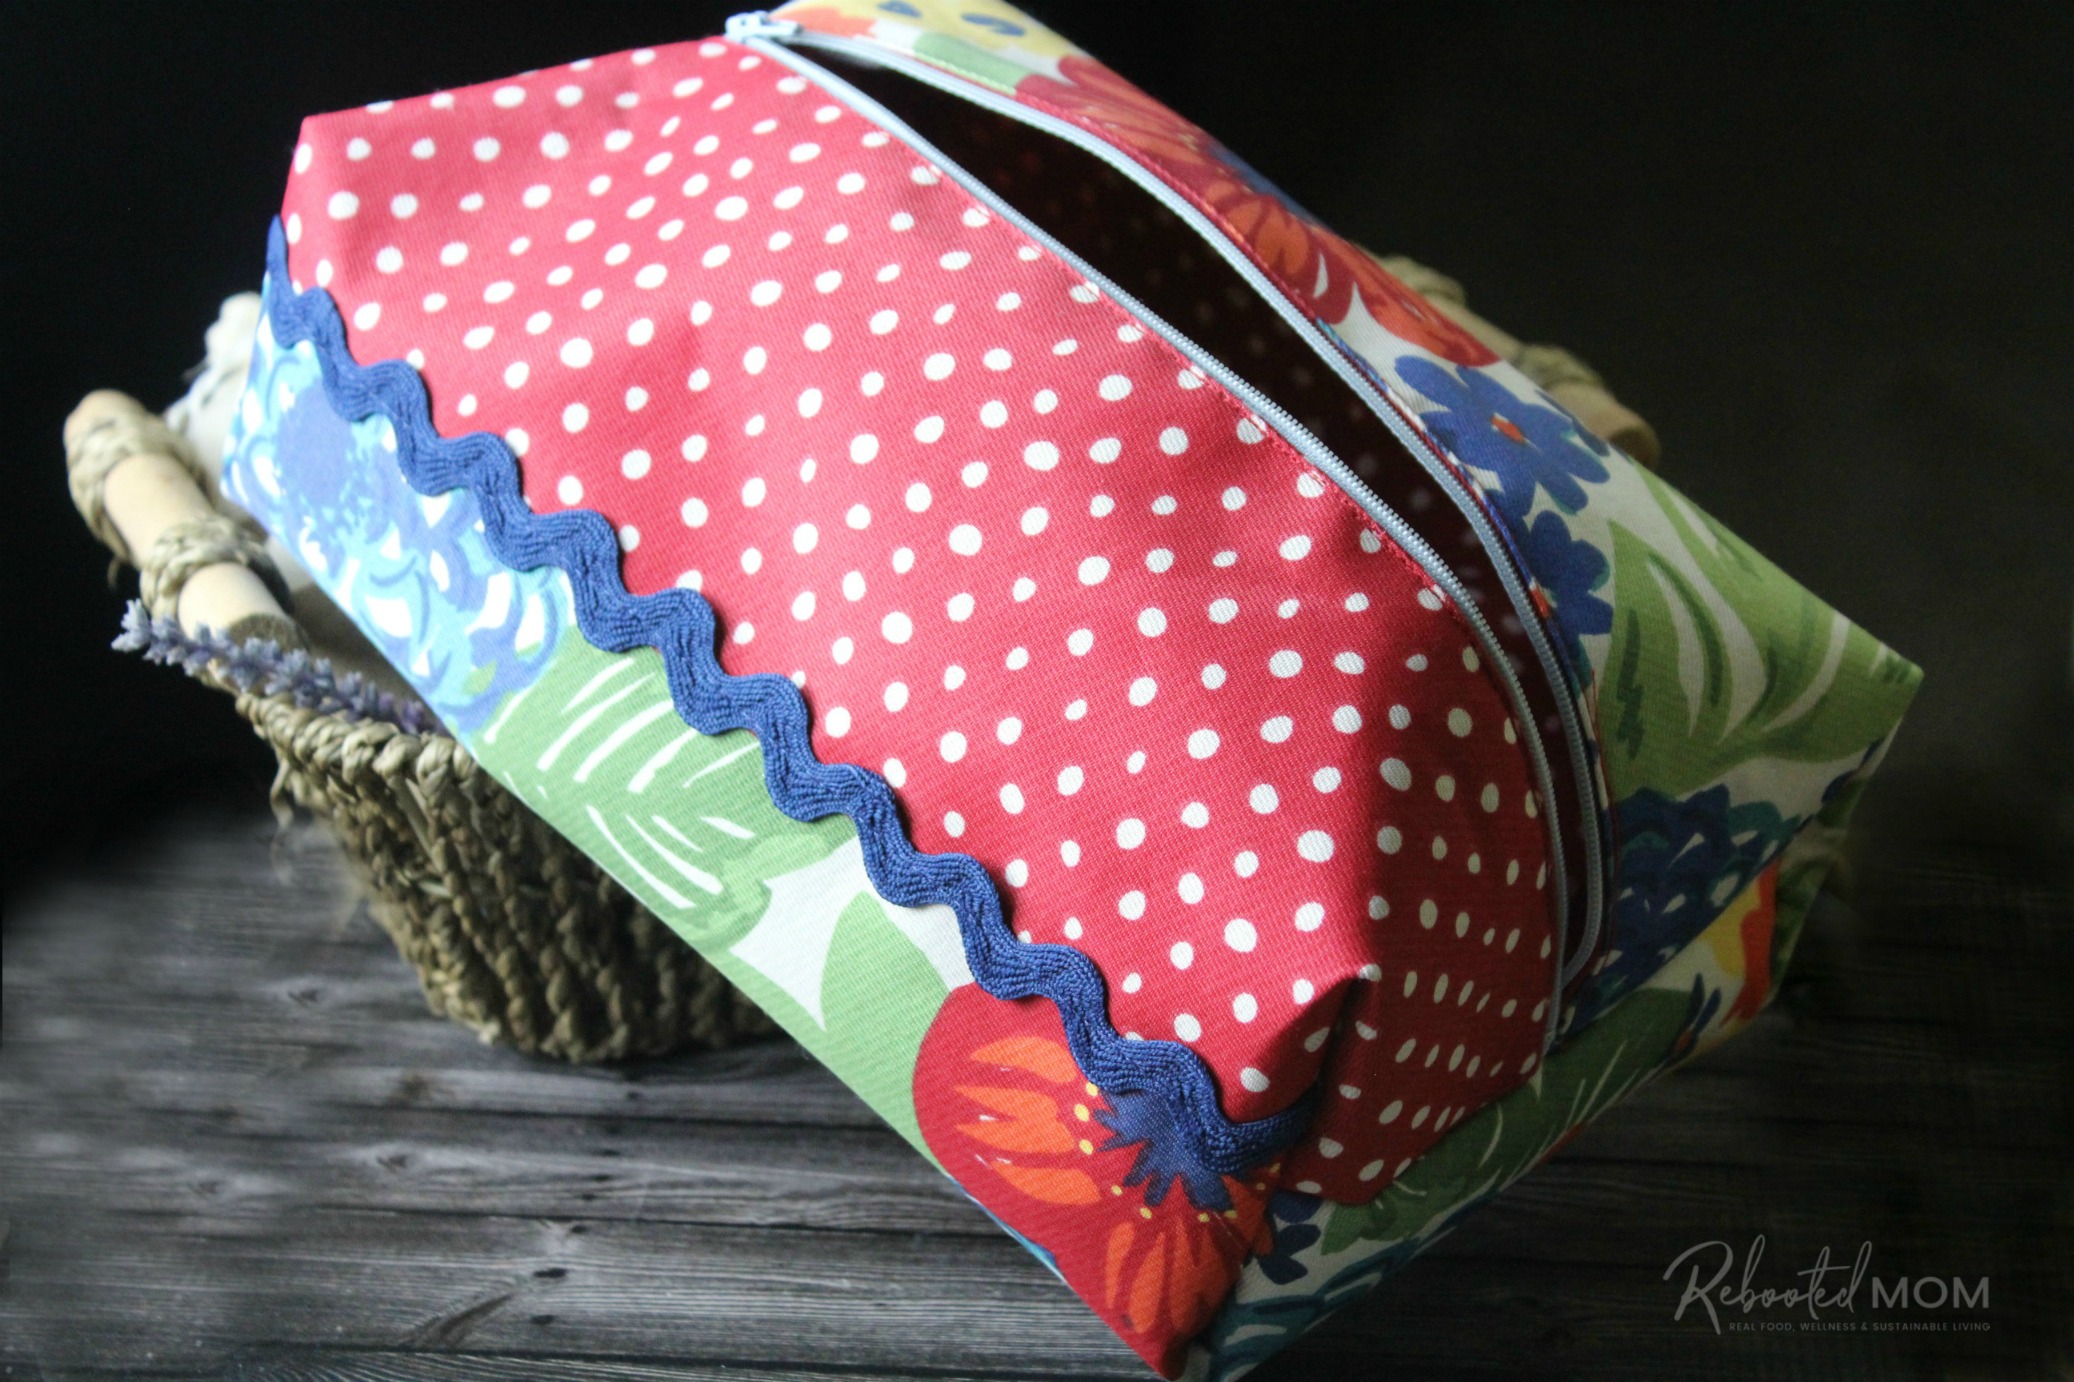
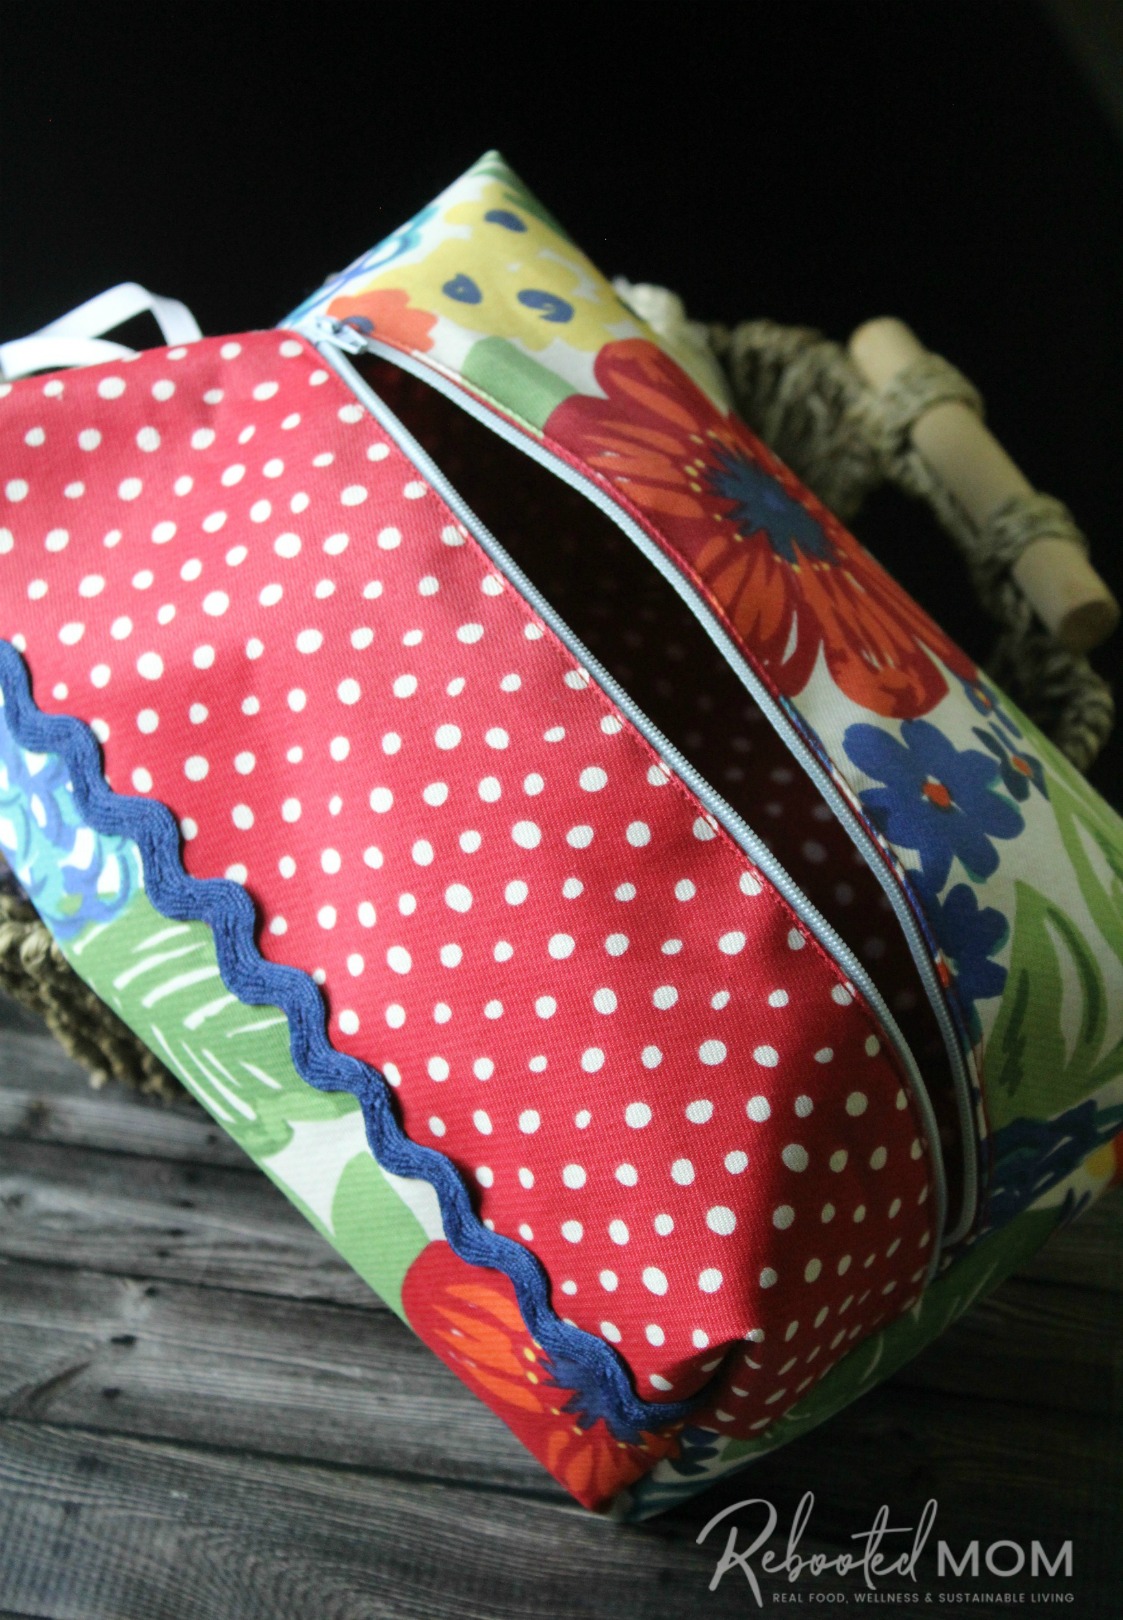
The fun thing about these cosmetic bags is that they are made very easily with a placemat. In this case, we picked up a few Pioneer Woman placemats from Walmart at just a few dollars each.
These placemats are really nice because they have a different print on each side and are thick enough to hold up as a cosmetic bag without any additional layers for structure.
DIY Placemat Cosmetic Bag (Pouch)
This easy DIY is really simple to make – even as a sewing beginner. If you can sew a straight stitch you’ll be able to make this.
The zipper is not a challenge either – as long as you know how to take the regular foot off the sewing machine and switch it to a zipper foot.
(Always remember that if you buy zippers in bulk, it’s better to buy larger than you might need. Zippers can always be shortened, but you won’t be able to make them longer!)
What you’ll need:
- 1 placemat (it’s best to find one that has a bit of structure with a print that differs from the outside & the inside)
- 14″ zipper (or larger)
- matching thread
- sewing machine with zipper foot
- pins
To get started:
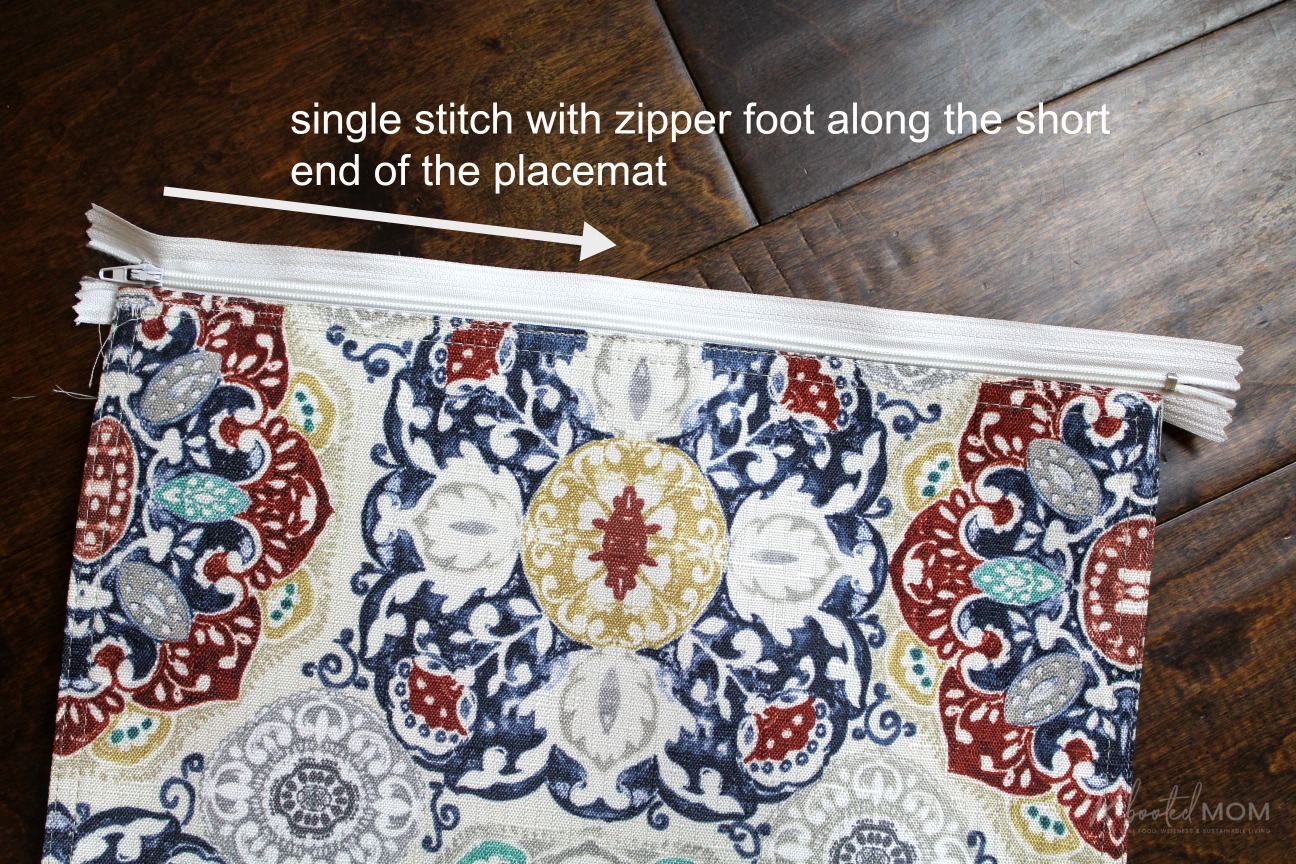
Place the short end of your placemat on top of the zipper and sew a single straight stitch from the start of the placemat to the end. Make sure that the zipper pull is lined up near one of the edges.
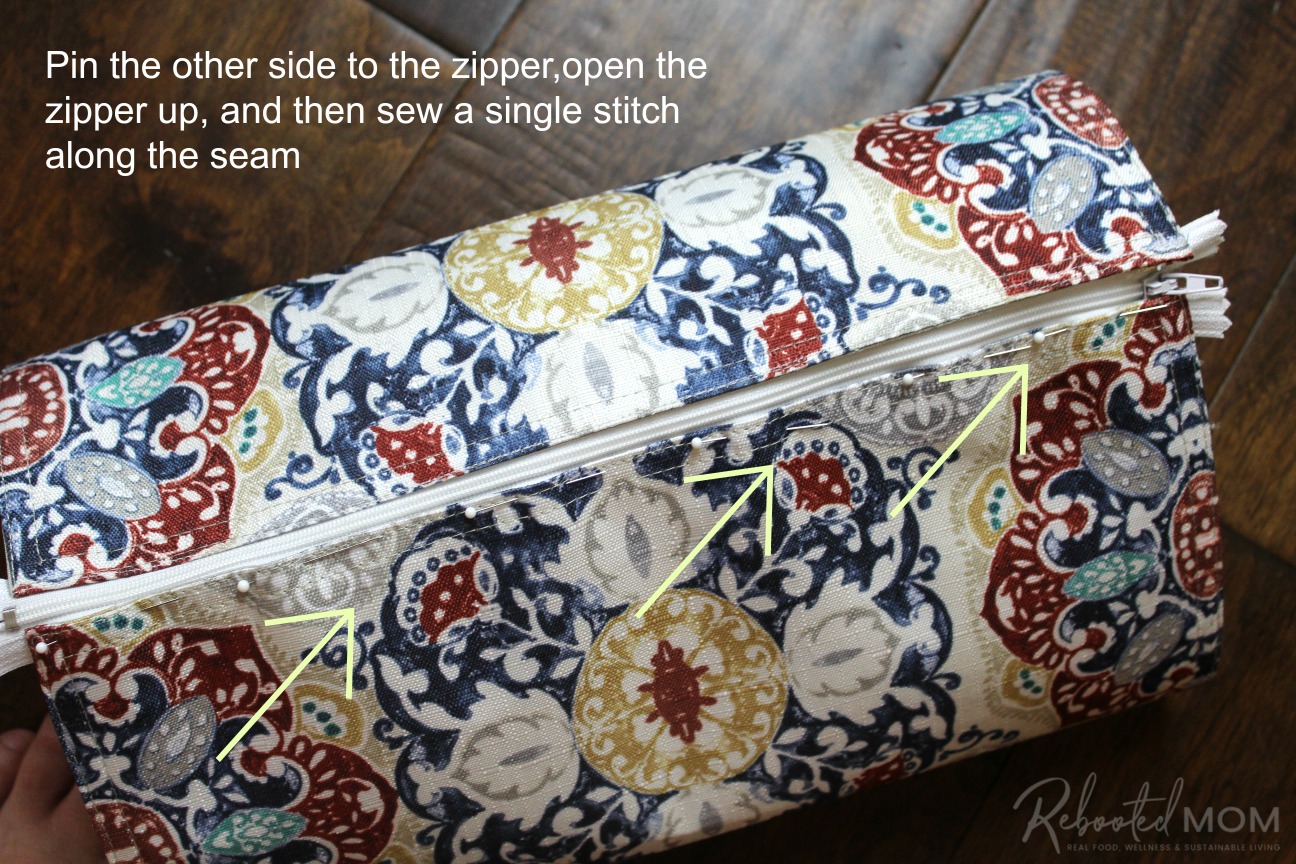
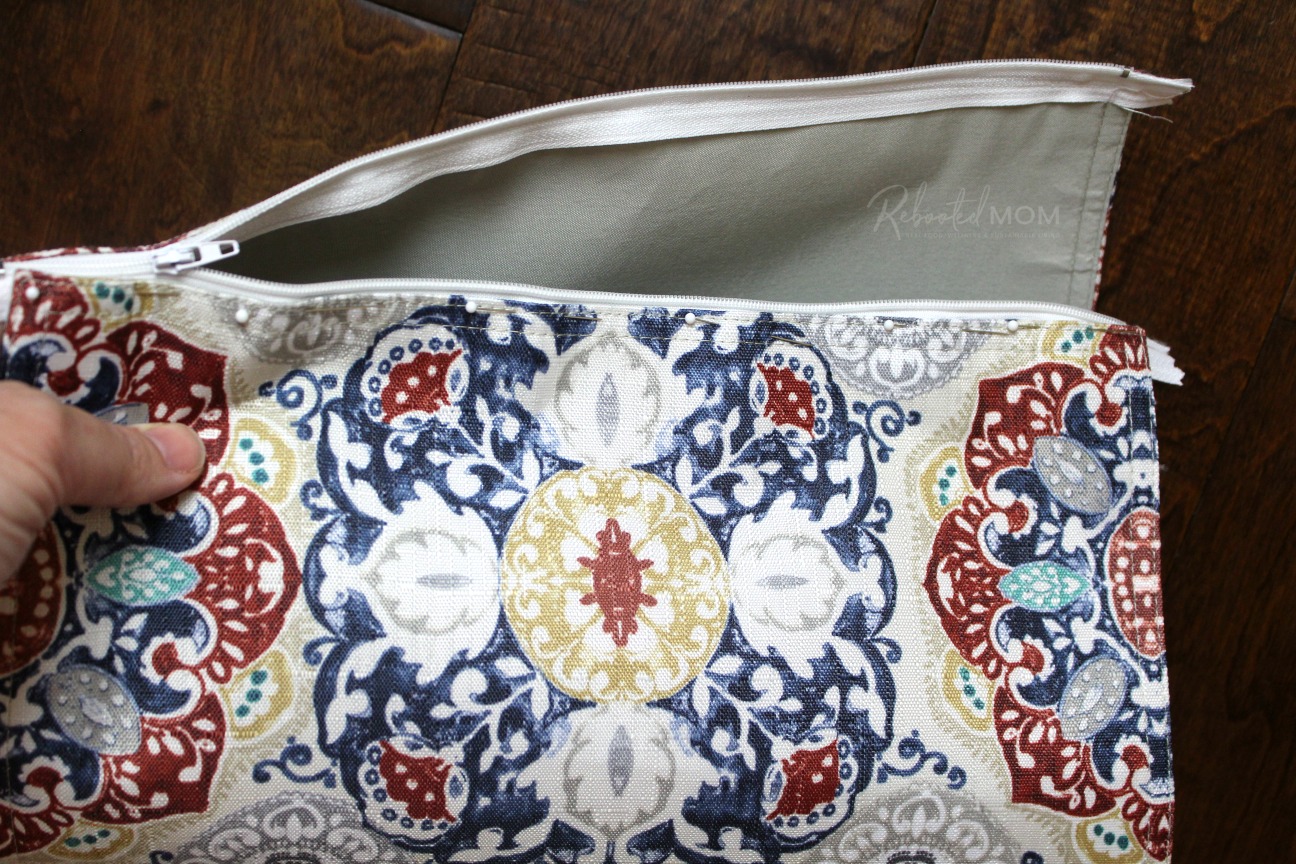
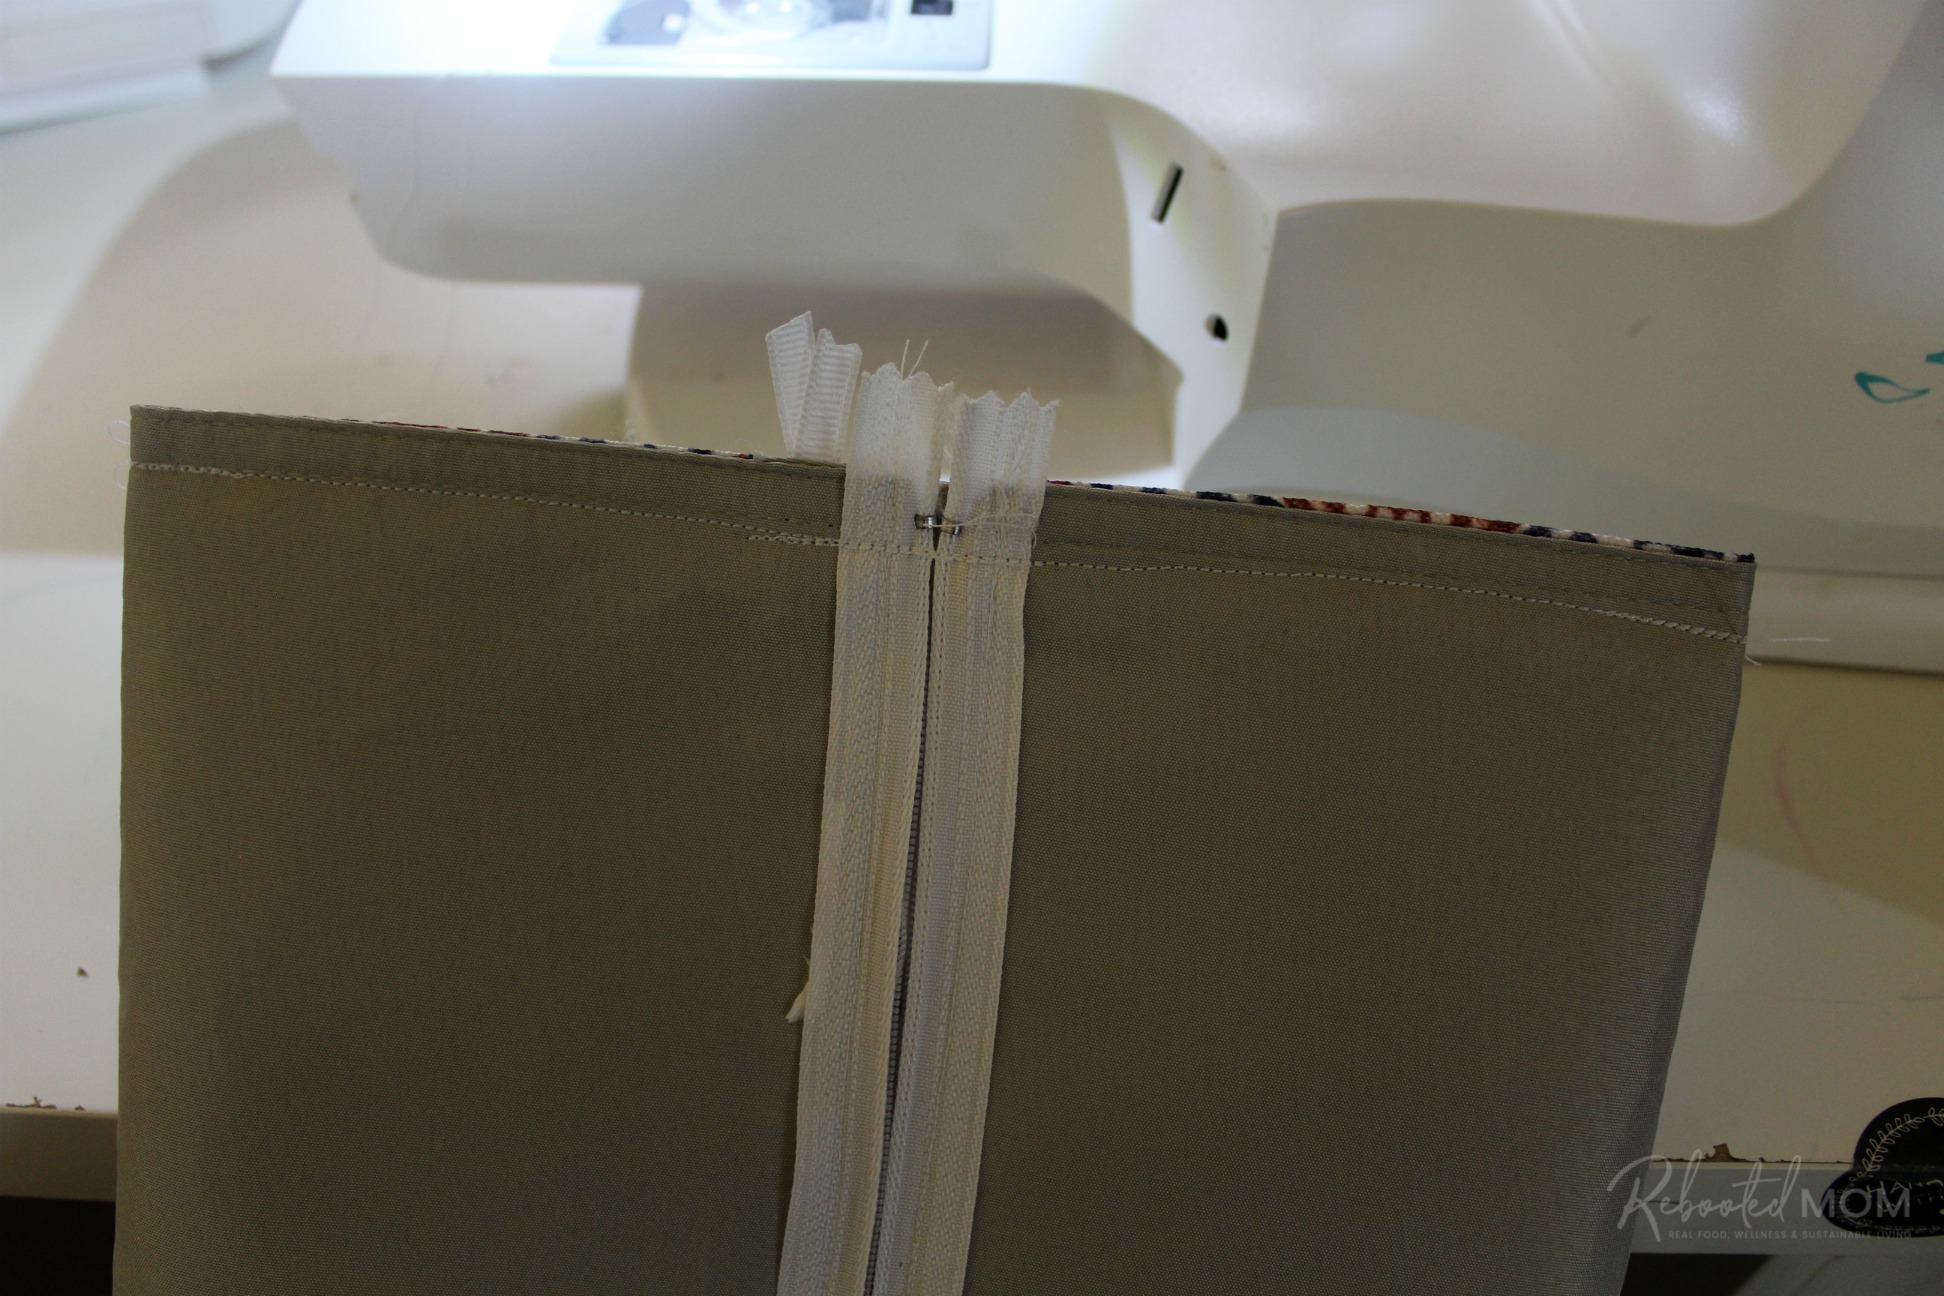
Once the initial side is sewn to the zipper, bring up the other short side of the placemat and match it up to the zipper (zipper being under the placemat).
Pin in place. Then unzip the zipper 3/4 of the way and using your zipper foot, sew a single stitch along the zipper. Remove the pins.
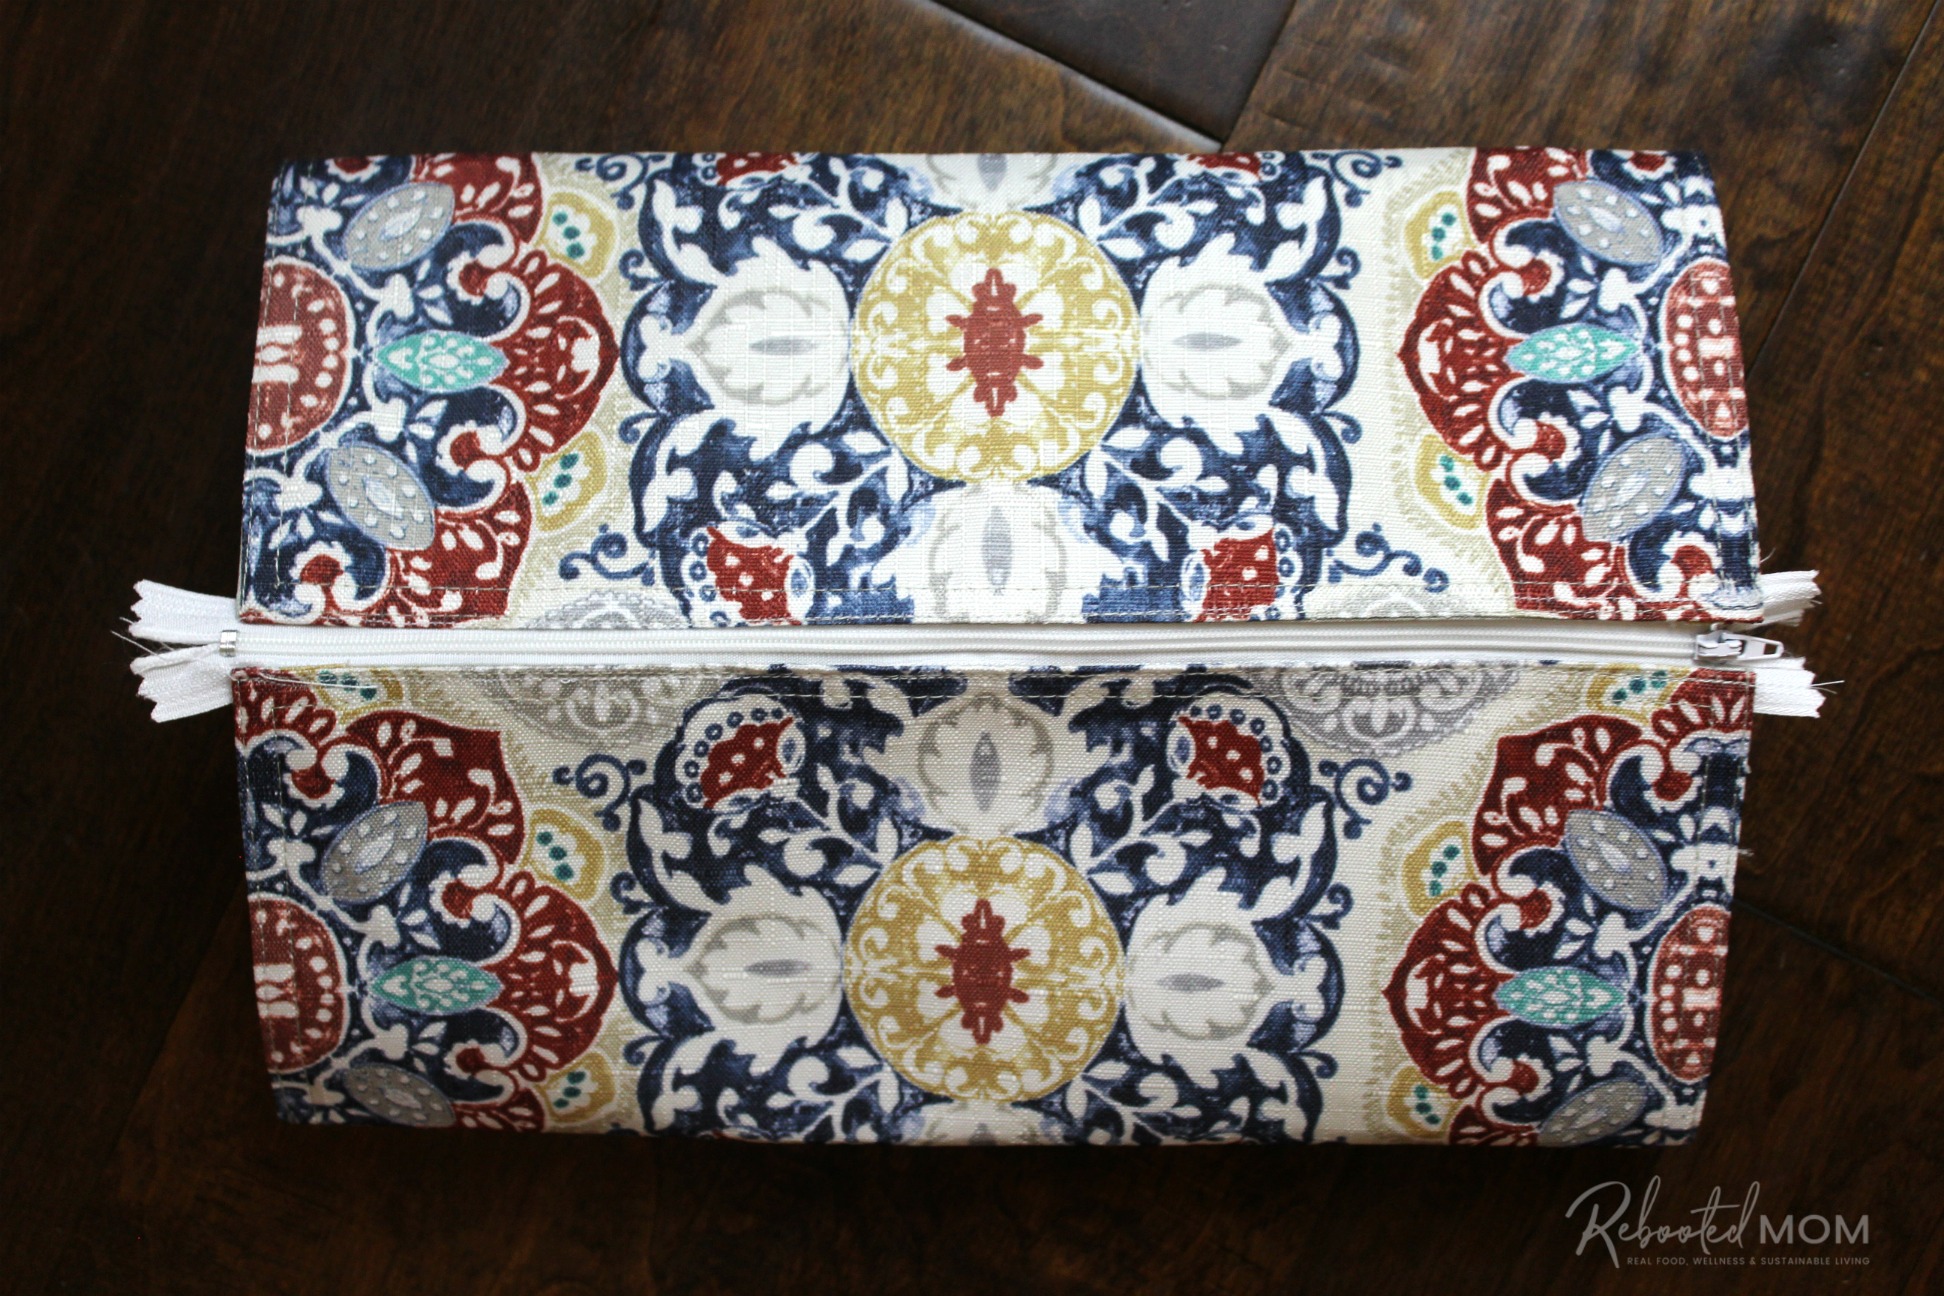
Your placemat should now have the short sides sewn to the zipper as pictured above (ends are wide open!)
Unzip the zipper on the placemat – not completely but at least halfway. Reach your hand in and turn the placemat inside out (right side in).
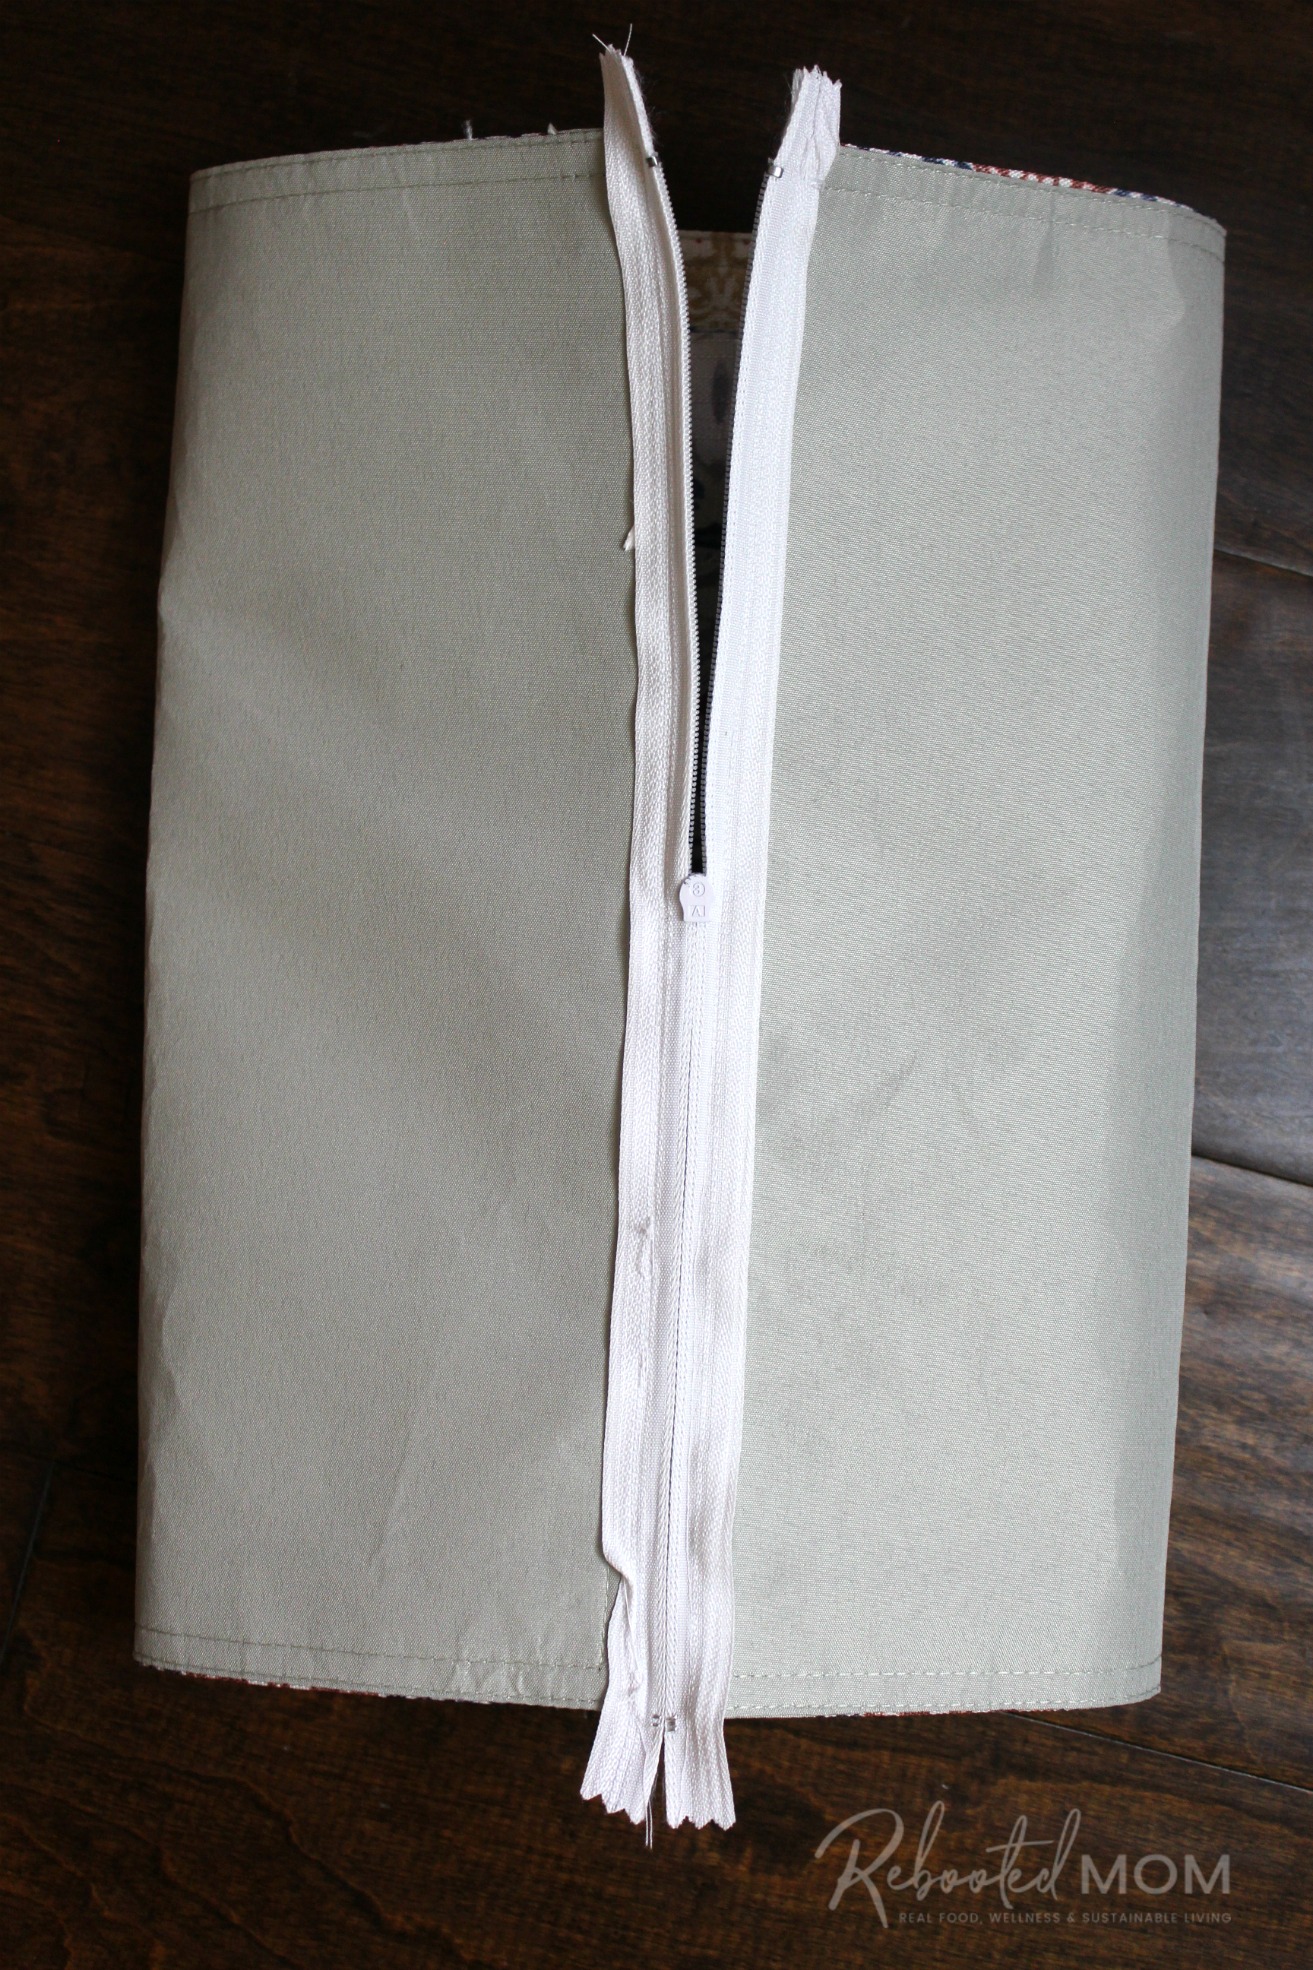
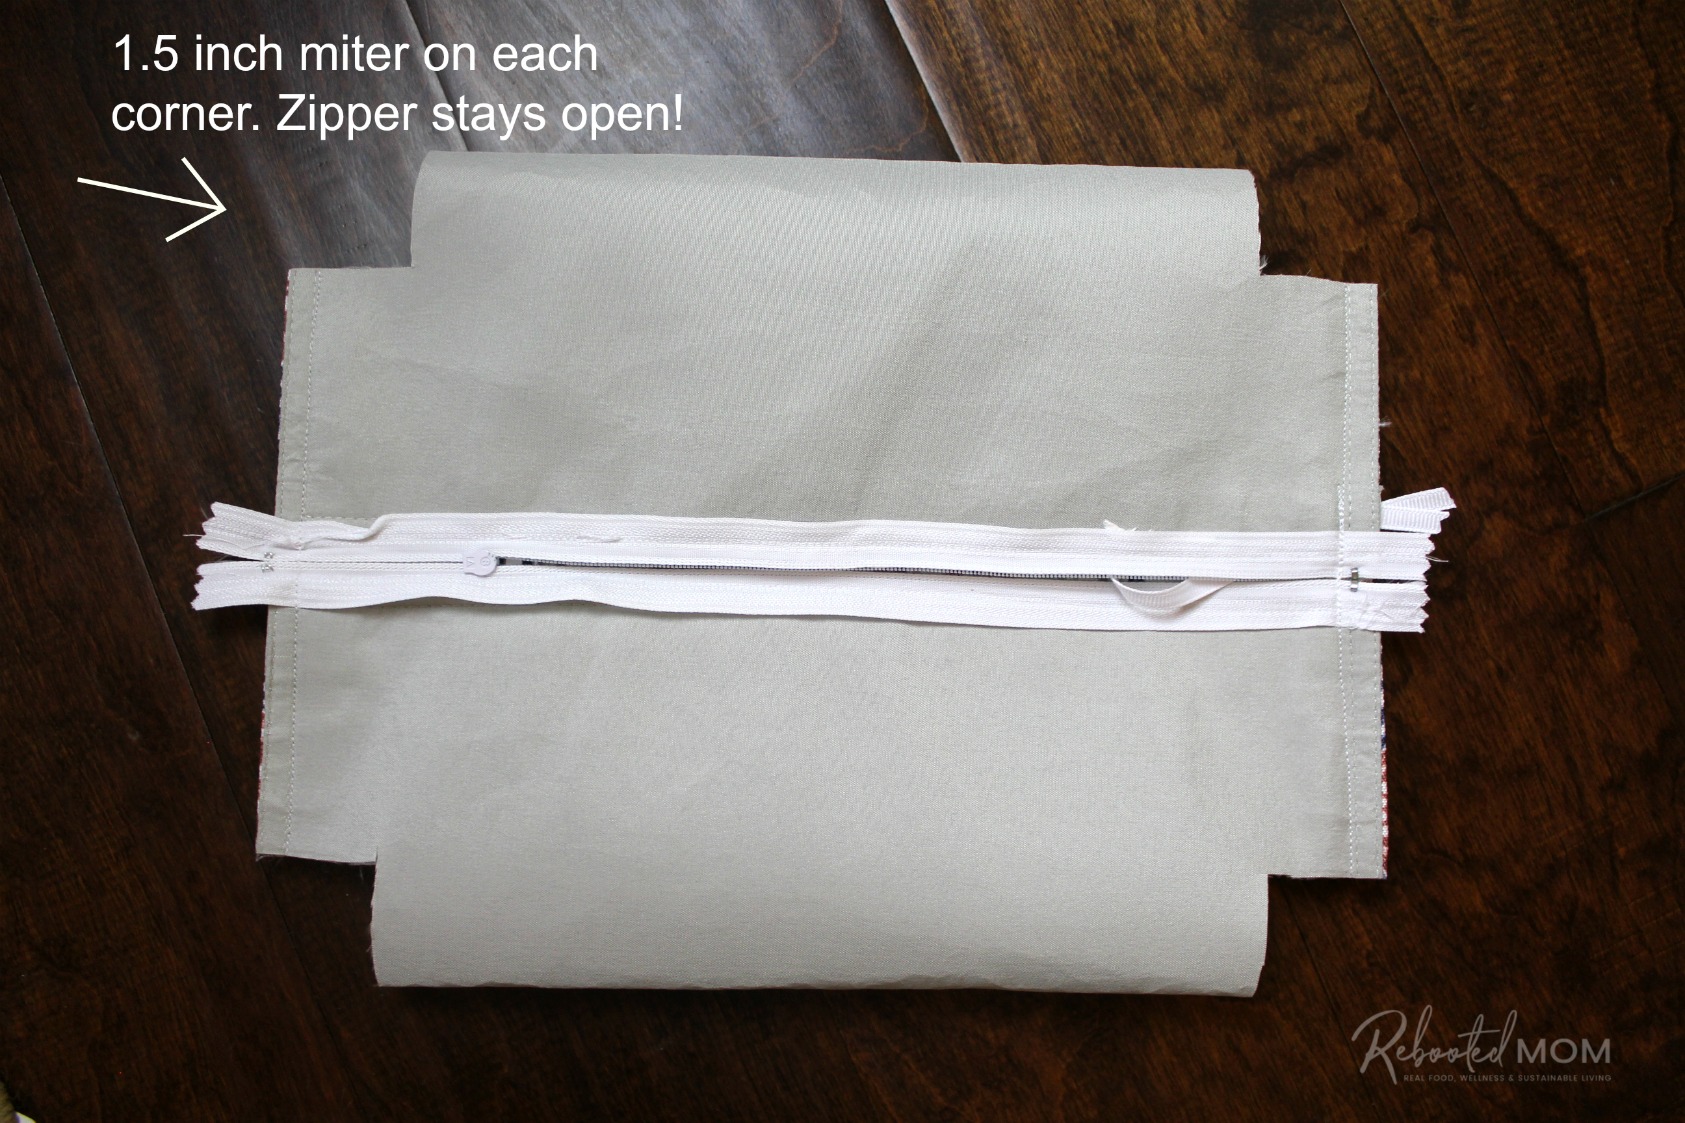
Flatten it so that the zipper is in the center – you are now going to sew each end shut with a simple straight stitch.
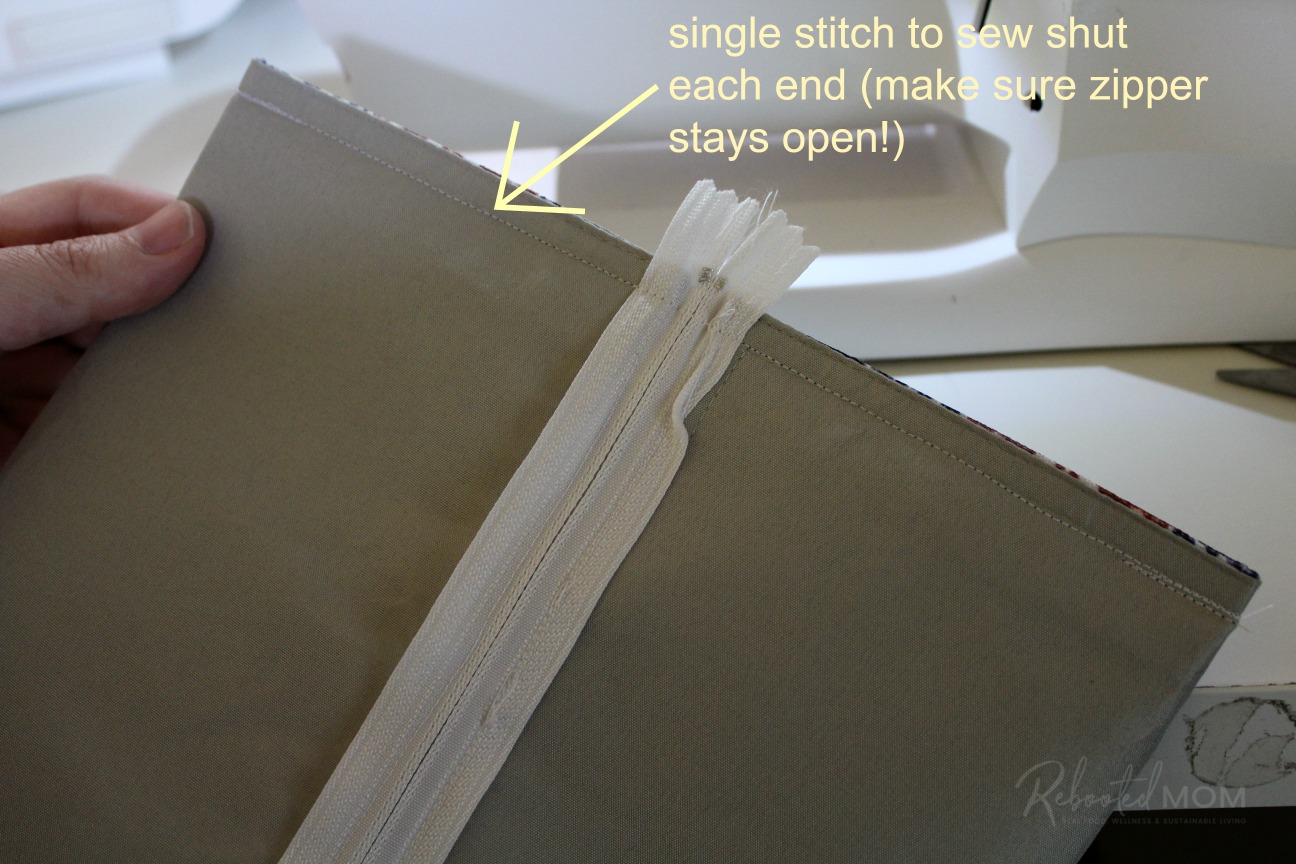
Line up the seams on each end and press together the top and bottom layer, then sew a straight stitch. Backstitch at the beginning and end to reinforce. Repeat on the opposite side.
(Make sure your zipper is pulled open at least halfway so you can turn right side out!)
Both sides of the placemat pouch should be sewn shut.
Sew the corners
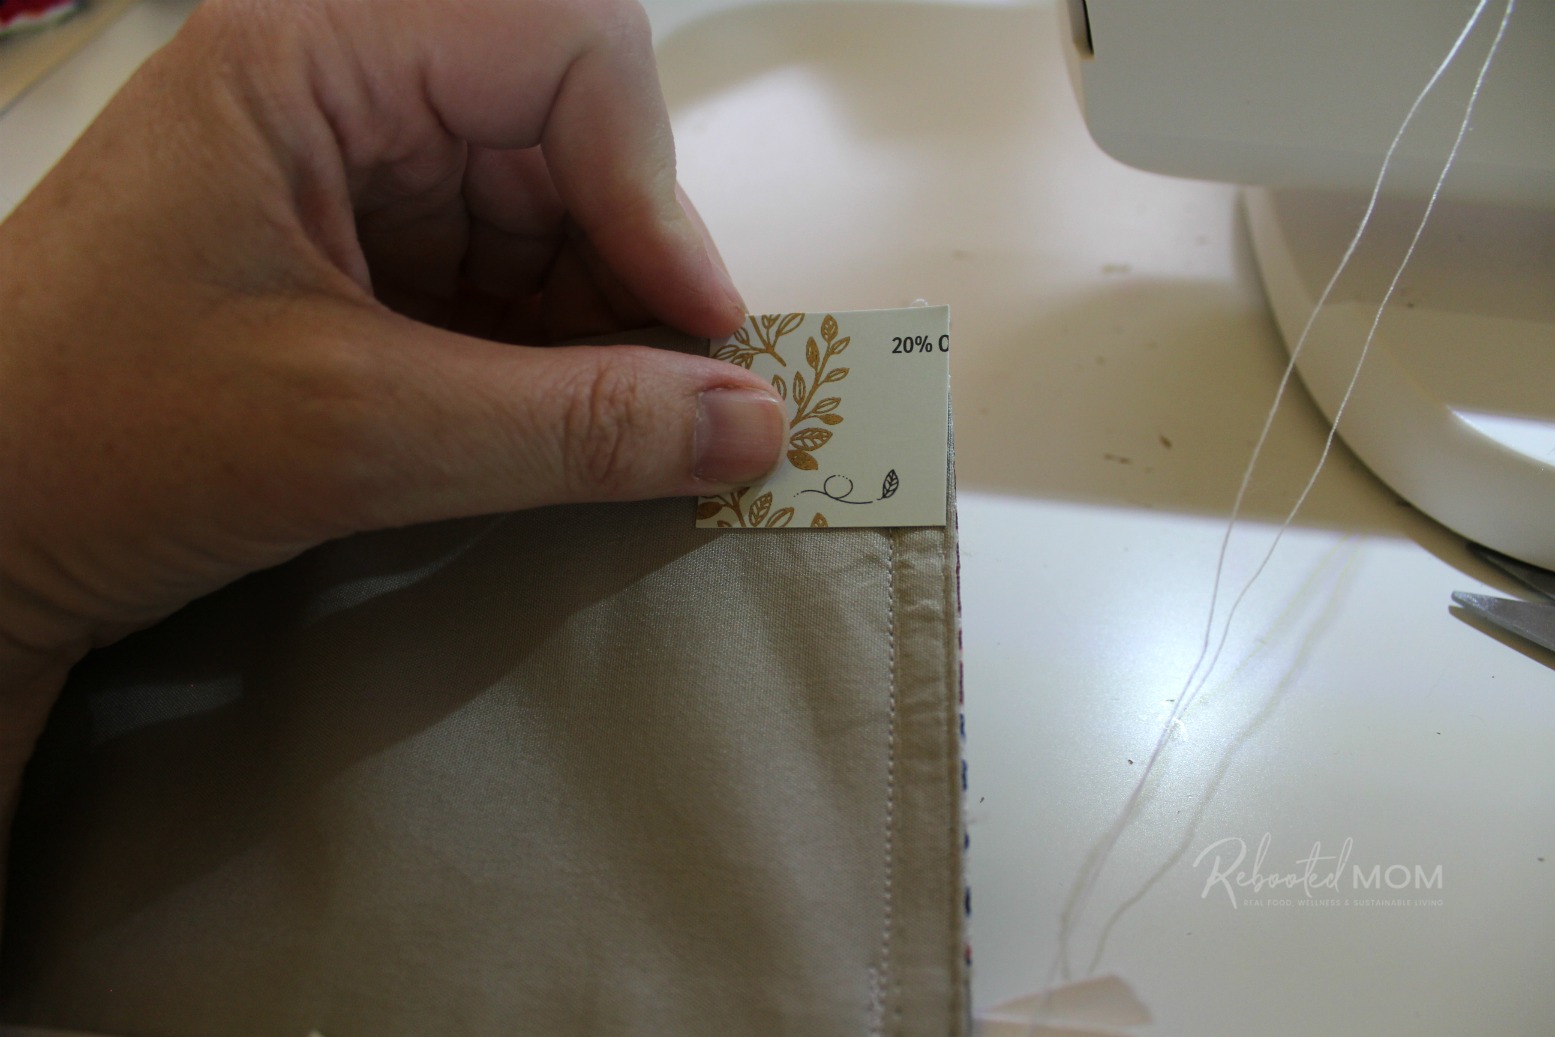
Use a business card and cut a template that’s 1.5″ x 1.5″. Flatten the pouch – wrong side out, so that the zipper is straight down the middle going horizontally.
Place that template on each corner, trace with a pencil. Cut that square from each corner to make the “box” for the cosmetic bag. Remember: the zipper stays open at least halfway!
Once the corners have been mitered, pull the corners out and sew a single stitch along each. Backstitch at the beginning and end.
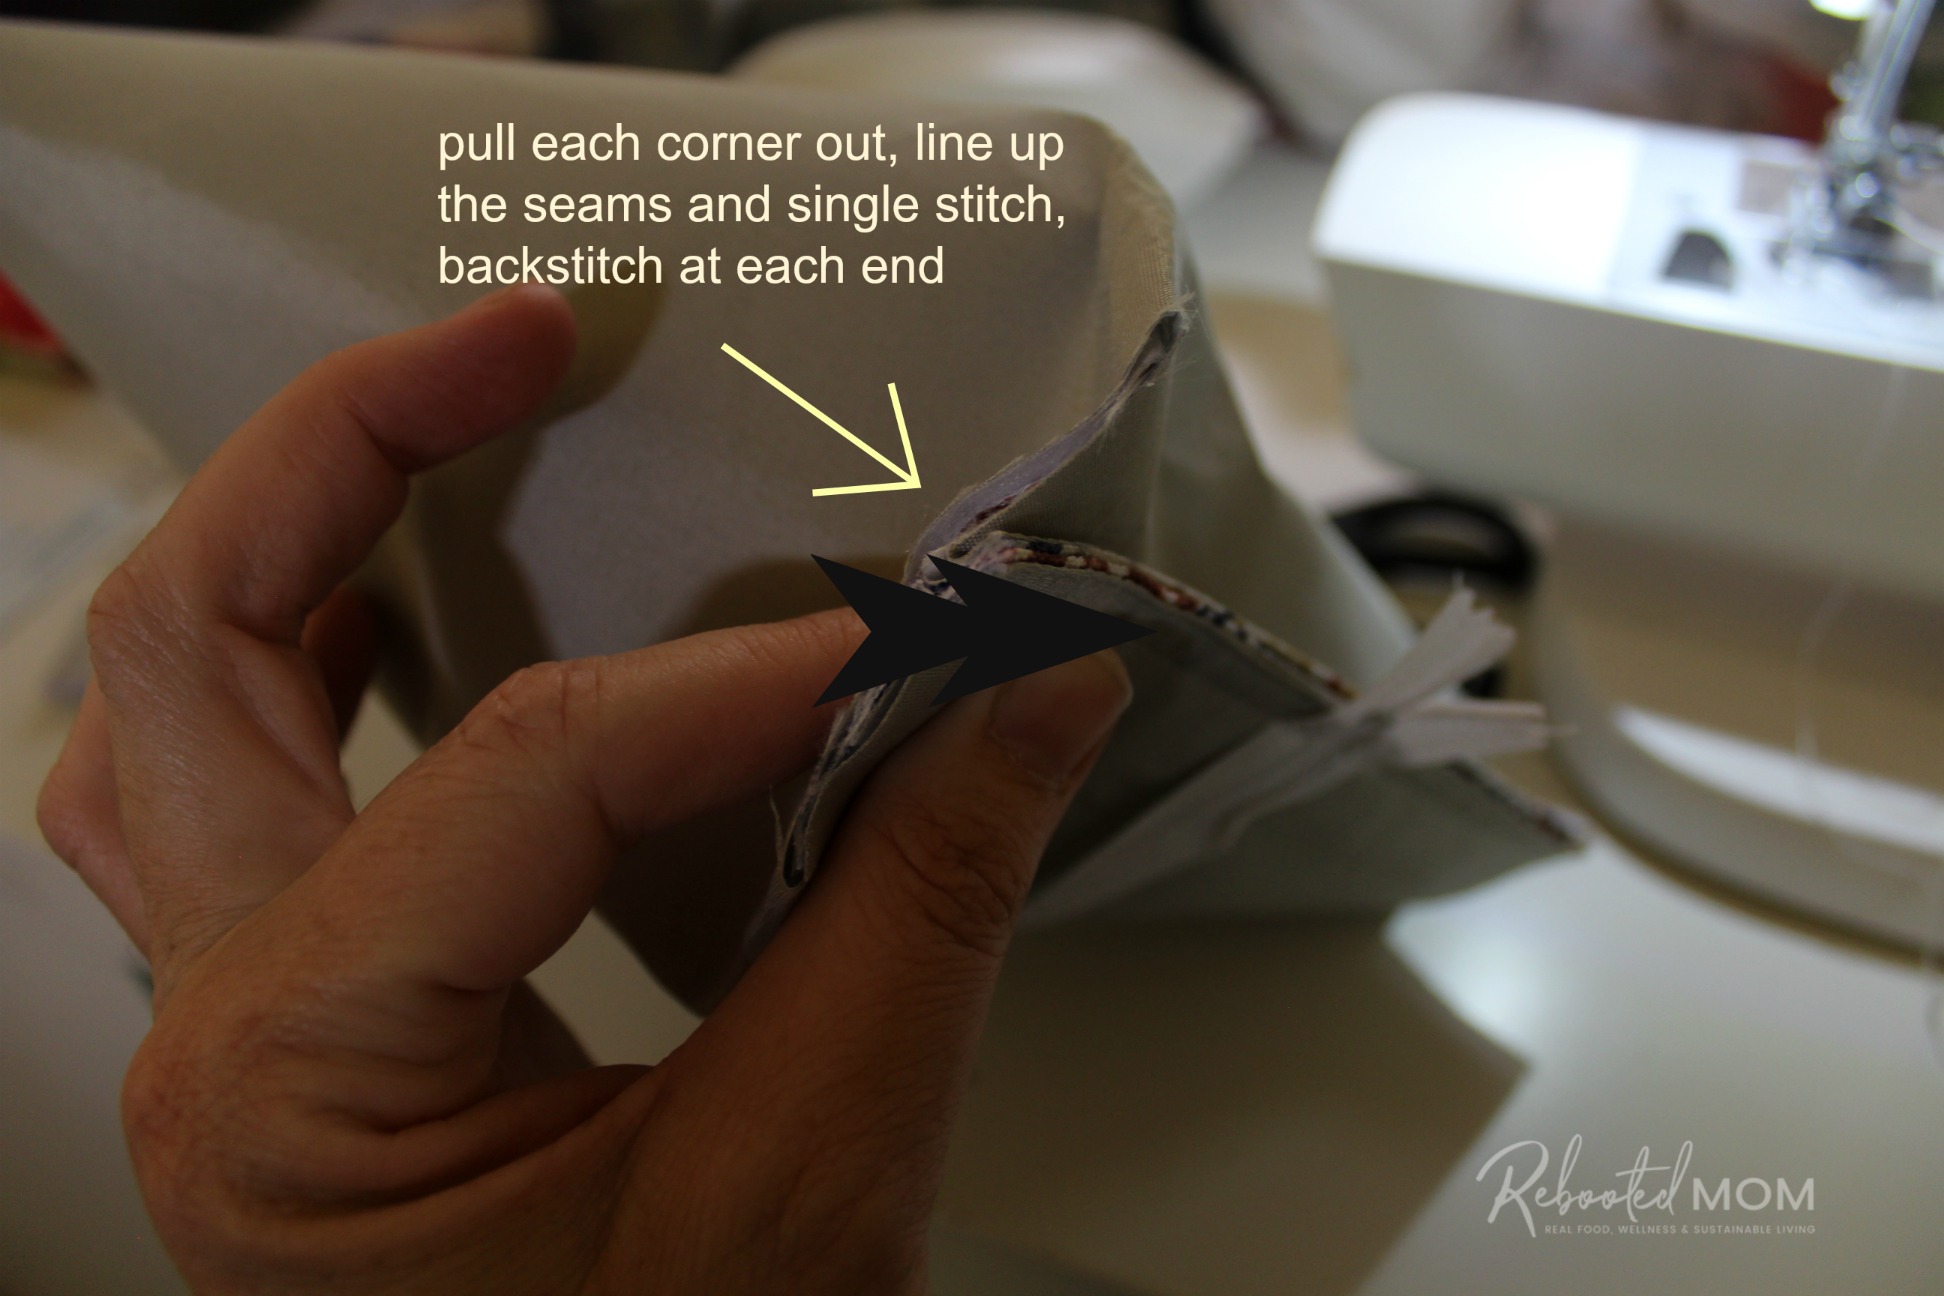
The fabric “sandwich” will be thick, so make sure you use a relatively strong needle!
You’re almost done!
Once you sew each corner and backstitch at the beginning and end of each, trim any loose thread. Reach your hand in through the open zipper and pull the bag right side out.
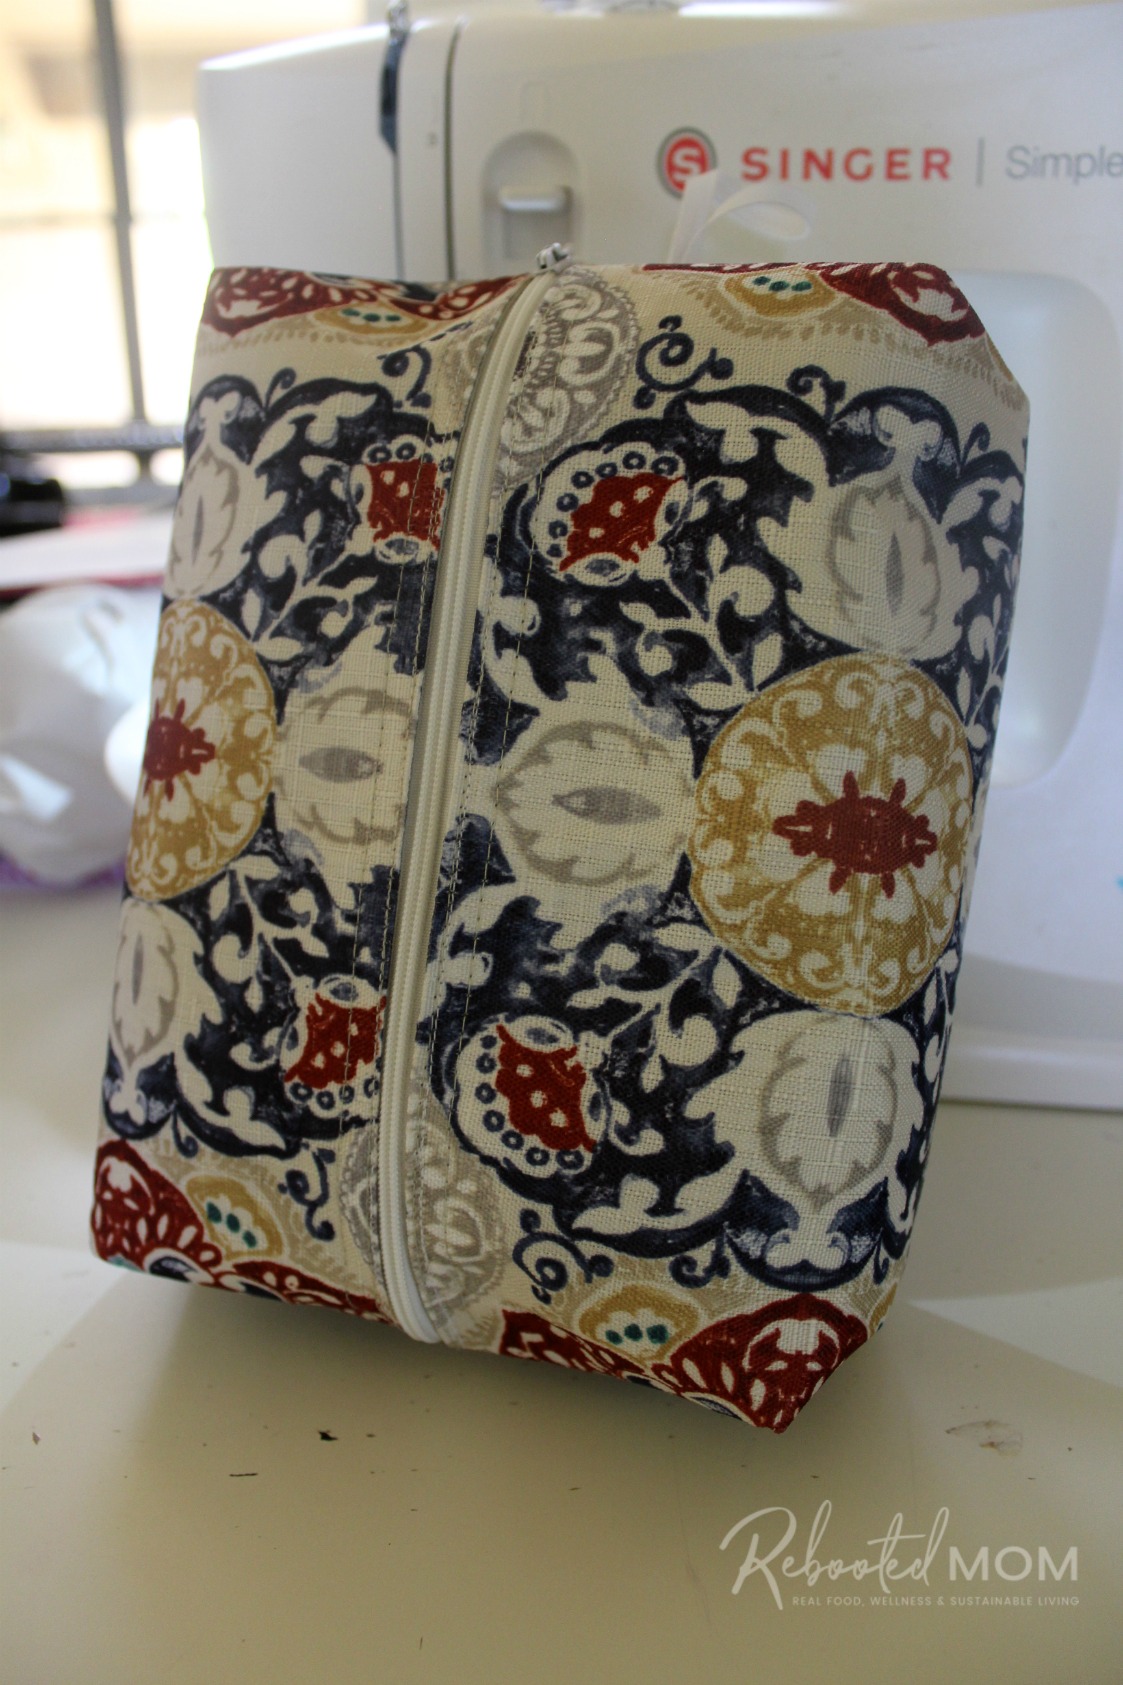
Push out the corners on the pouch and zip up. That’s it! Your pouch is done.
Finding the right placemats
What placemats work the best for this project? The truth is, you can pick up placemats as low as $2.00 at your local Walmart. The placemat in our tutorial was a Better Homes and Gardens placemat we picked up at Walmart for $1.97.
The placemat that’s red in color is a Pioneer Woman placemat we picked up at Walmart for just under $4.00. Both worked incredibly well for this project, with the BH&G placemat being less expensive.
Both of the placemats pictured above are reversible, and stiff enough on their own without having to use heat & bond for structure.
These cosmetic bags are completely washable and make great gifts for family and friends. Plus, they are a really simple sewing project even for beginners.
Have you ever considered making a cosmetic bag from a placemat?

Leave a Reply