


Sew up this easy 10 minute Christmas stocking with leftover fabric and this easy stocking pattern with this simple step-by-step tutorial!
Anyone who sews knows how easy it is to hoard fabric and fabric scraps. It really is a never ending battle. I feel like I’m always buried in fabric and looking for new projects to do!
The kids have been begging me to make them Christmas stockings for the last few weeks and I figured there was no better time.
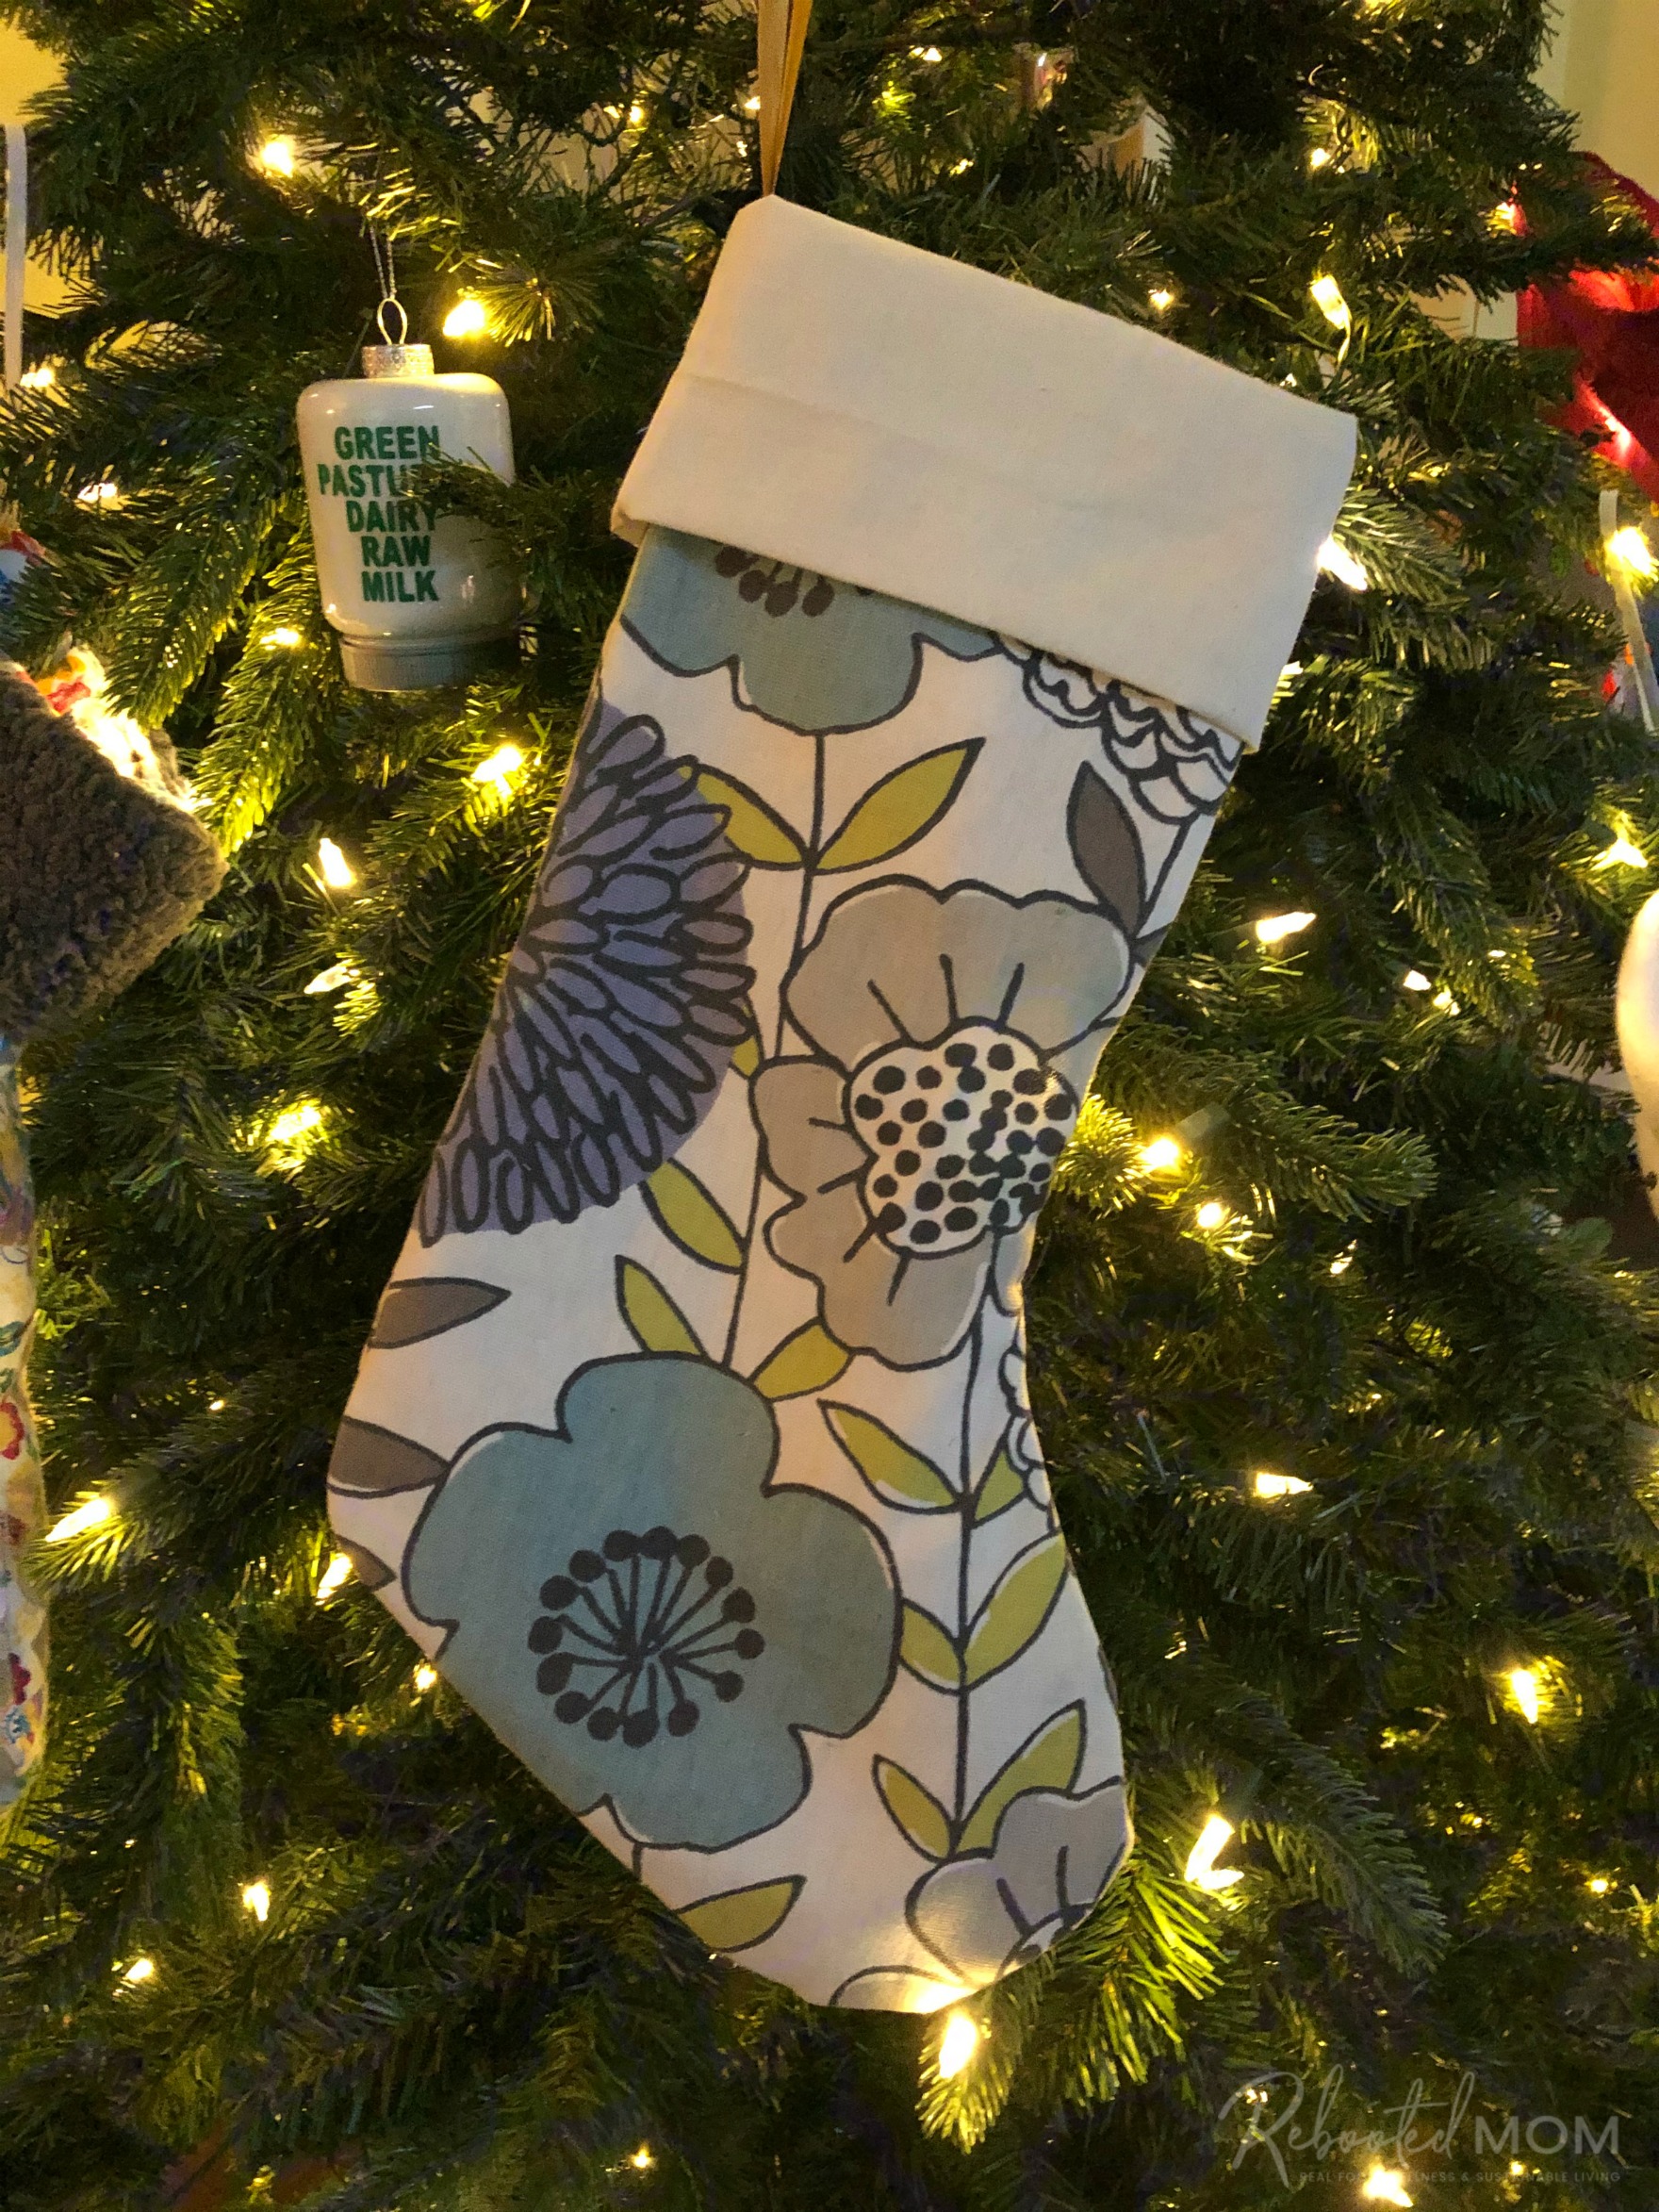
10-Minute Christmas Stocking
This easy 10-Minute Christmas Stocking Tutorial is so incredibly simple. If you are making multiple stockings, it’s best to cut out all of the pieces at once, then do one massive sew session.
Pick out your fabric fabric — two fat quarters is sufficient to sew up this stocking. Or use leftover fabric from past projects. I used up leftover fabric and tried to find a coordinating fabric for the lining – I used the same fabric for the cuff.
For each stocking you will need:
- 1/2 yard for the main fabric (outside of stocking)
- 1/2 yard for the lining fabric (inside of stocking)
- 1/4 yard (fat quarter) for the cuff (single piece)
- ribbon for hanging
- optional: fusible interfacing
- free stocking pattern*
*Print the third page twice and tape together without overlap.
Use 1/2 inch seam allowance on all seams.
**If you are adding interfacing to your fabric, add it to the wrong side of the fabric before getting started.
Instructions:
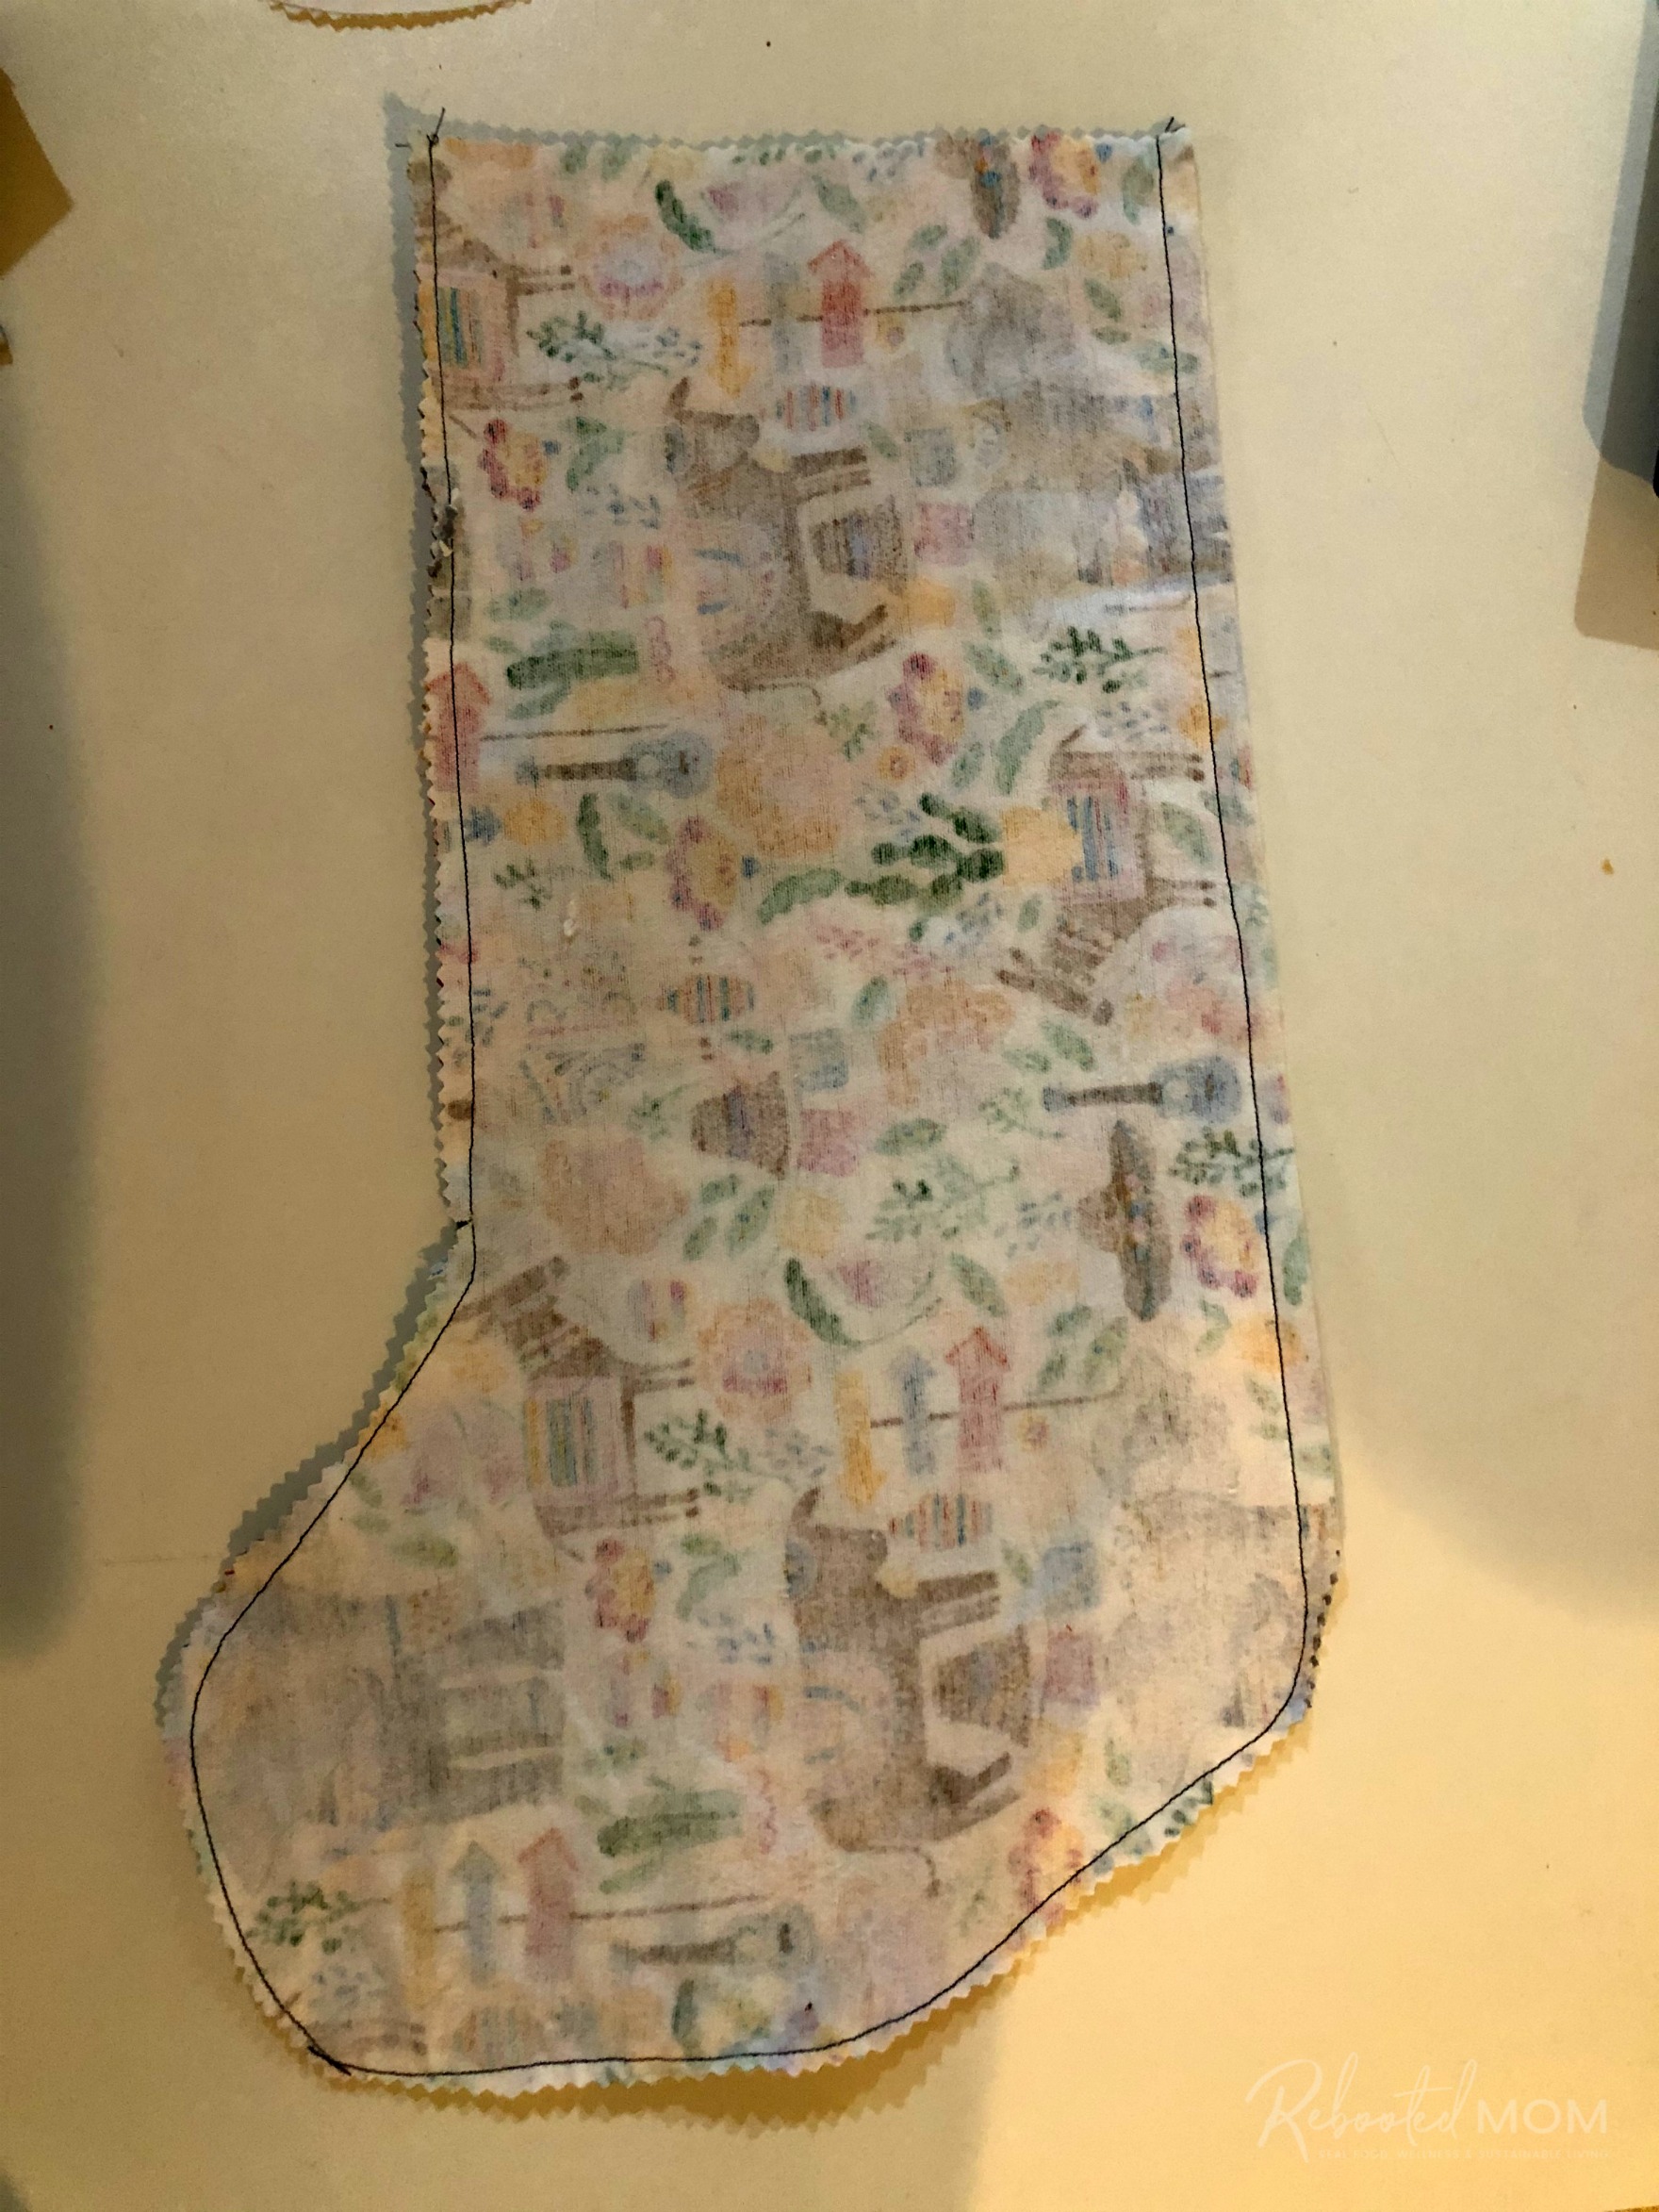
Cut the stocking pieces from your fabric. You’ll want to cut one left and one right from the main fabric (outside of the stocking). Place them right sides together (RST) and sew around the outside with 1/2 inch inseam (leave the top open!) Turn the piece right side out and set aside.
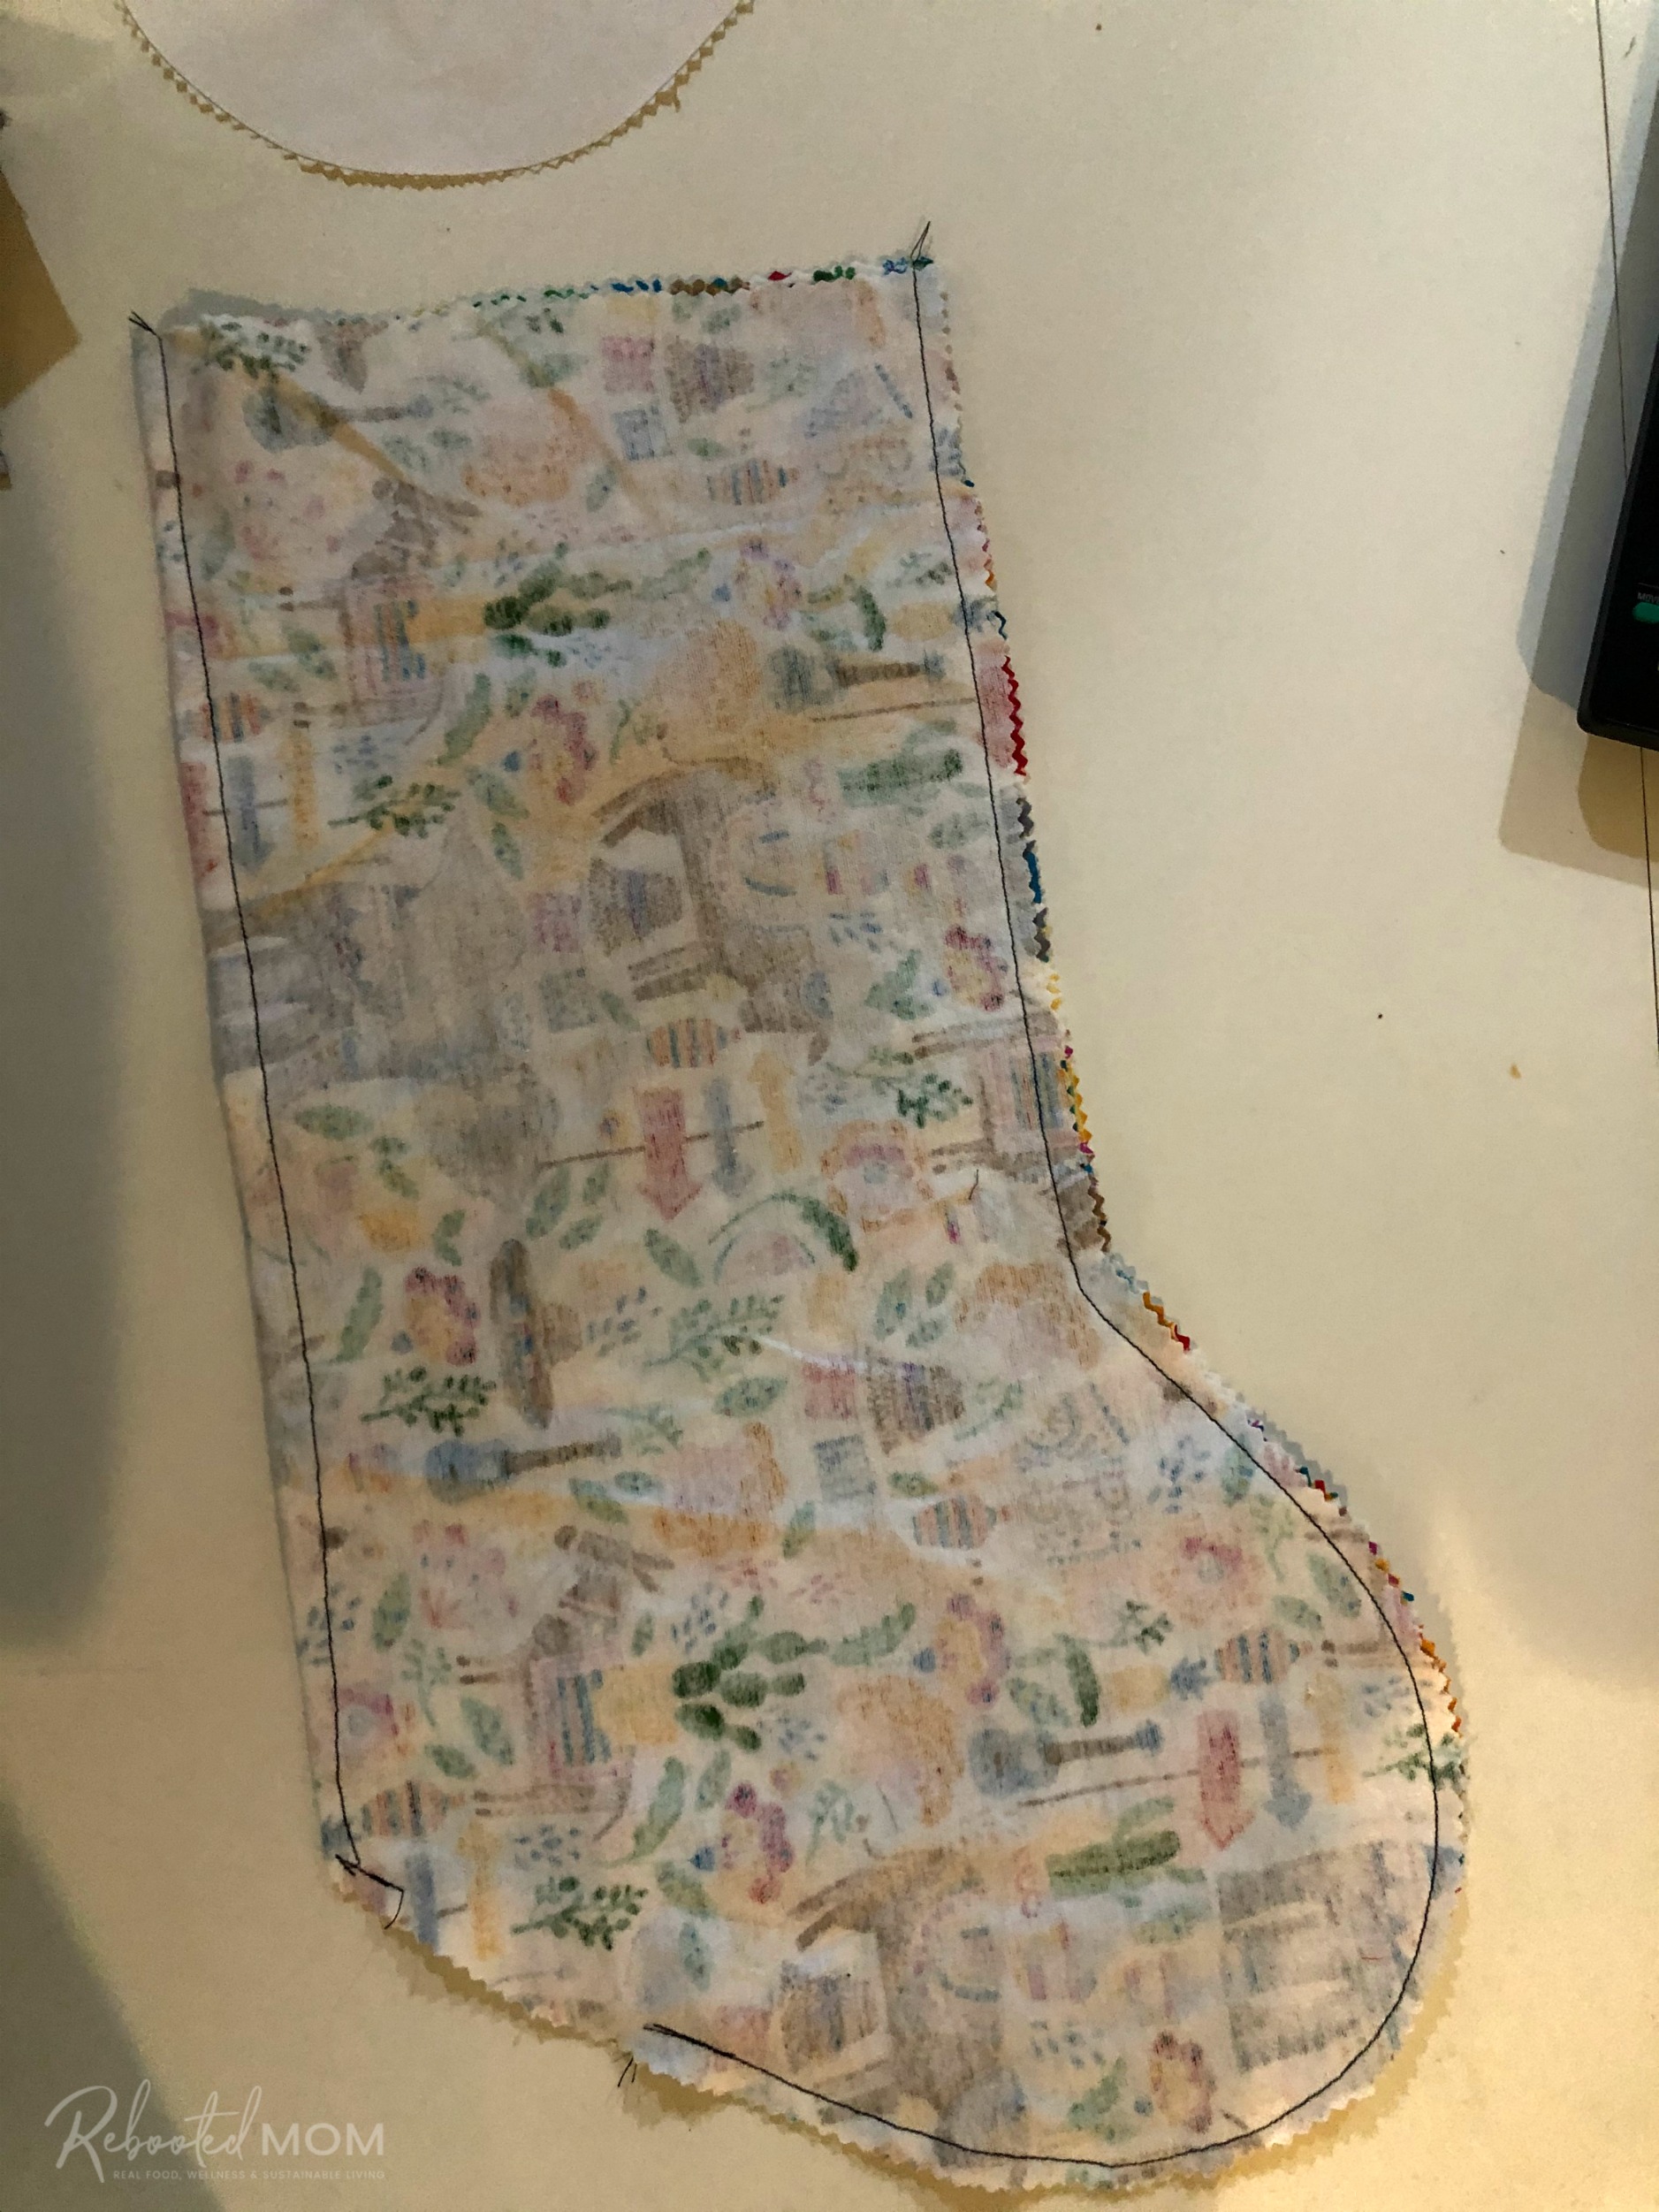
Now, cut one left and a right stocking piece from your lining fabric (inside of stocking). Place them right sides together (RST) and sew around the outside with 1/2 inch inseam. Leave the top open, and leave a 3″ gap on the back of the heel (back stitch on each side of that gap).
Using the stocking pattern, print (2) of the third page (which will be the cuff piece) – 16 inches wide by 9″ tall. Fold the cuff in half the short way so that right sides are together and the 9″ edges are lined up together.
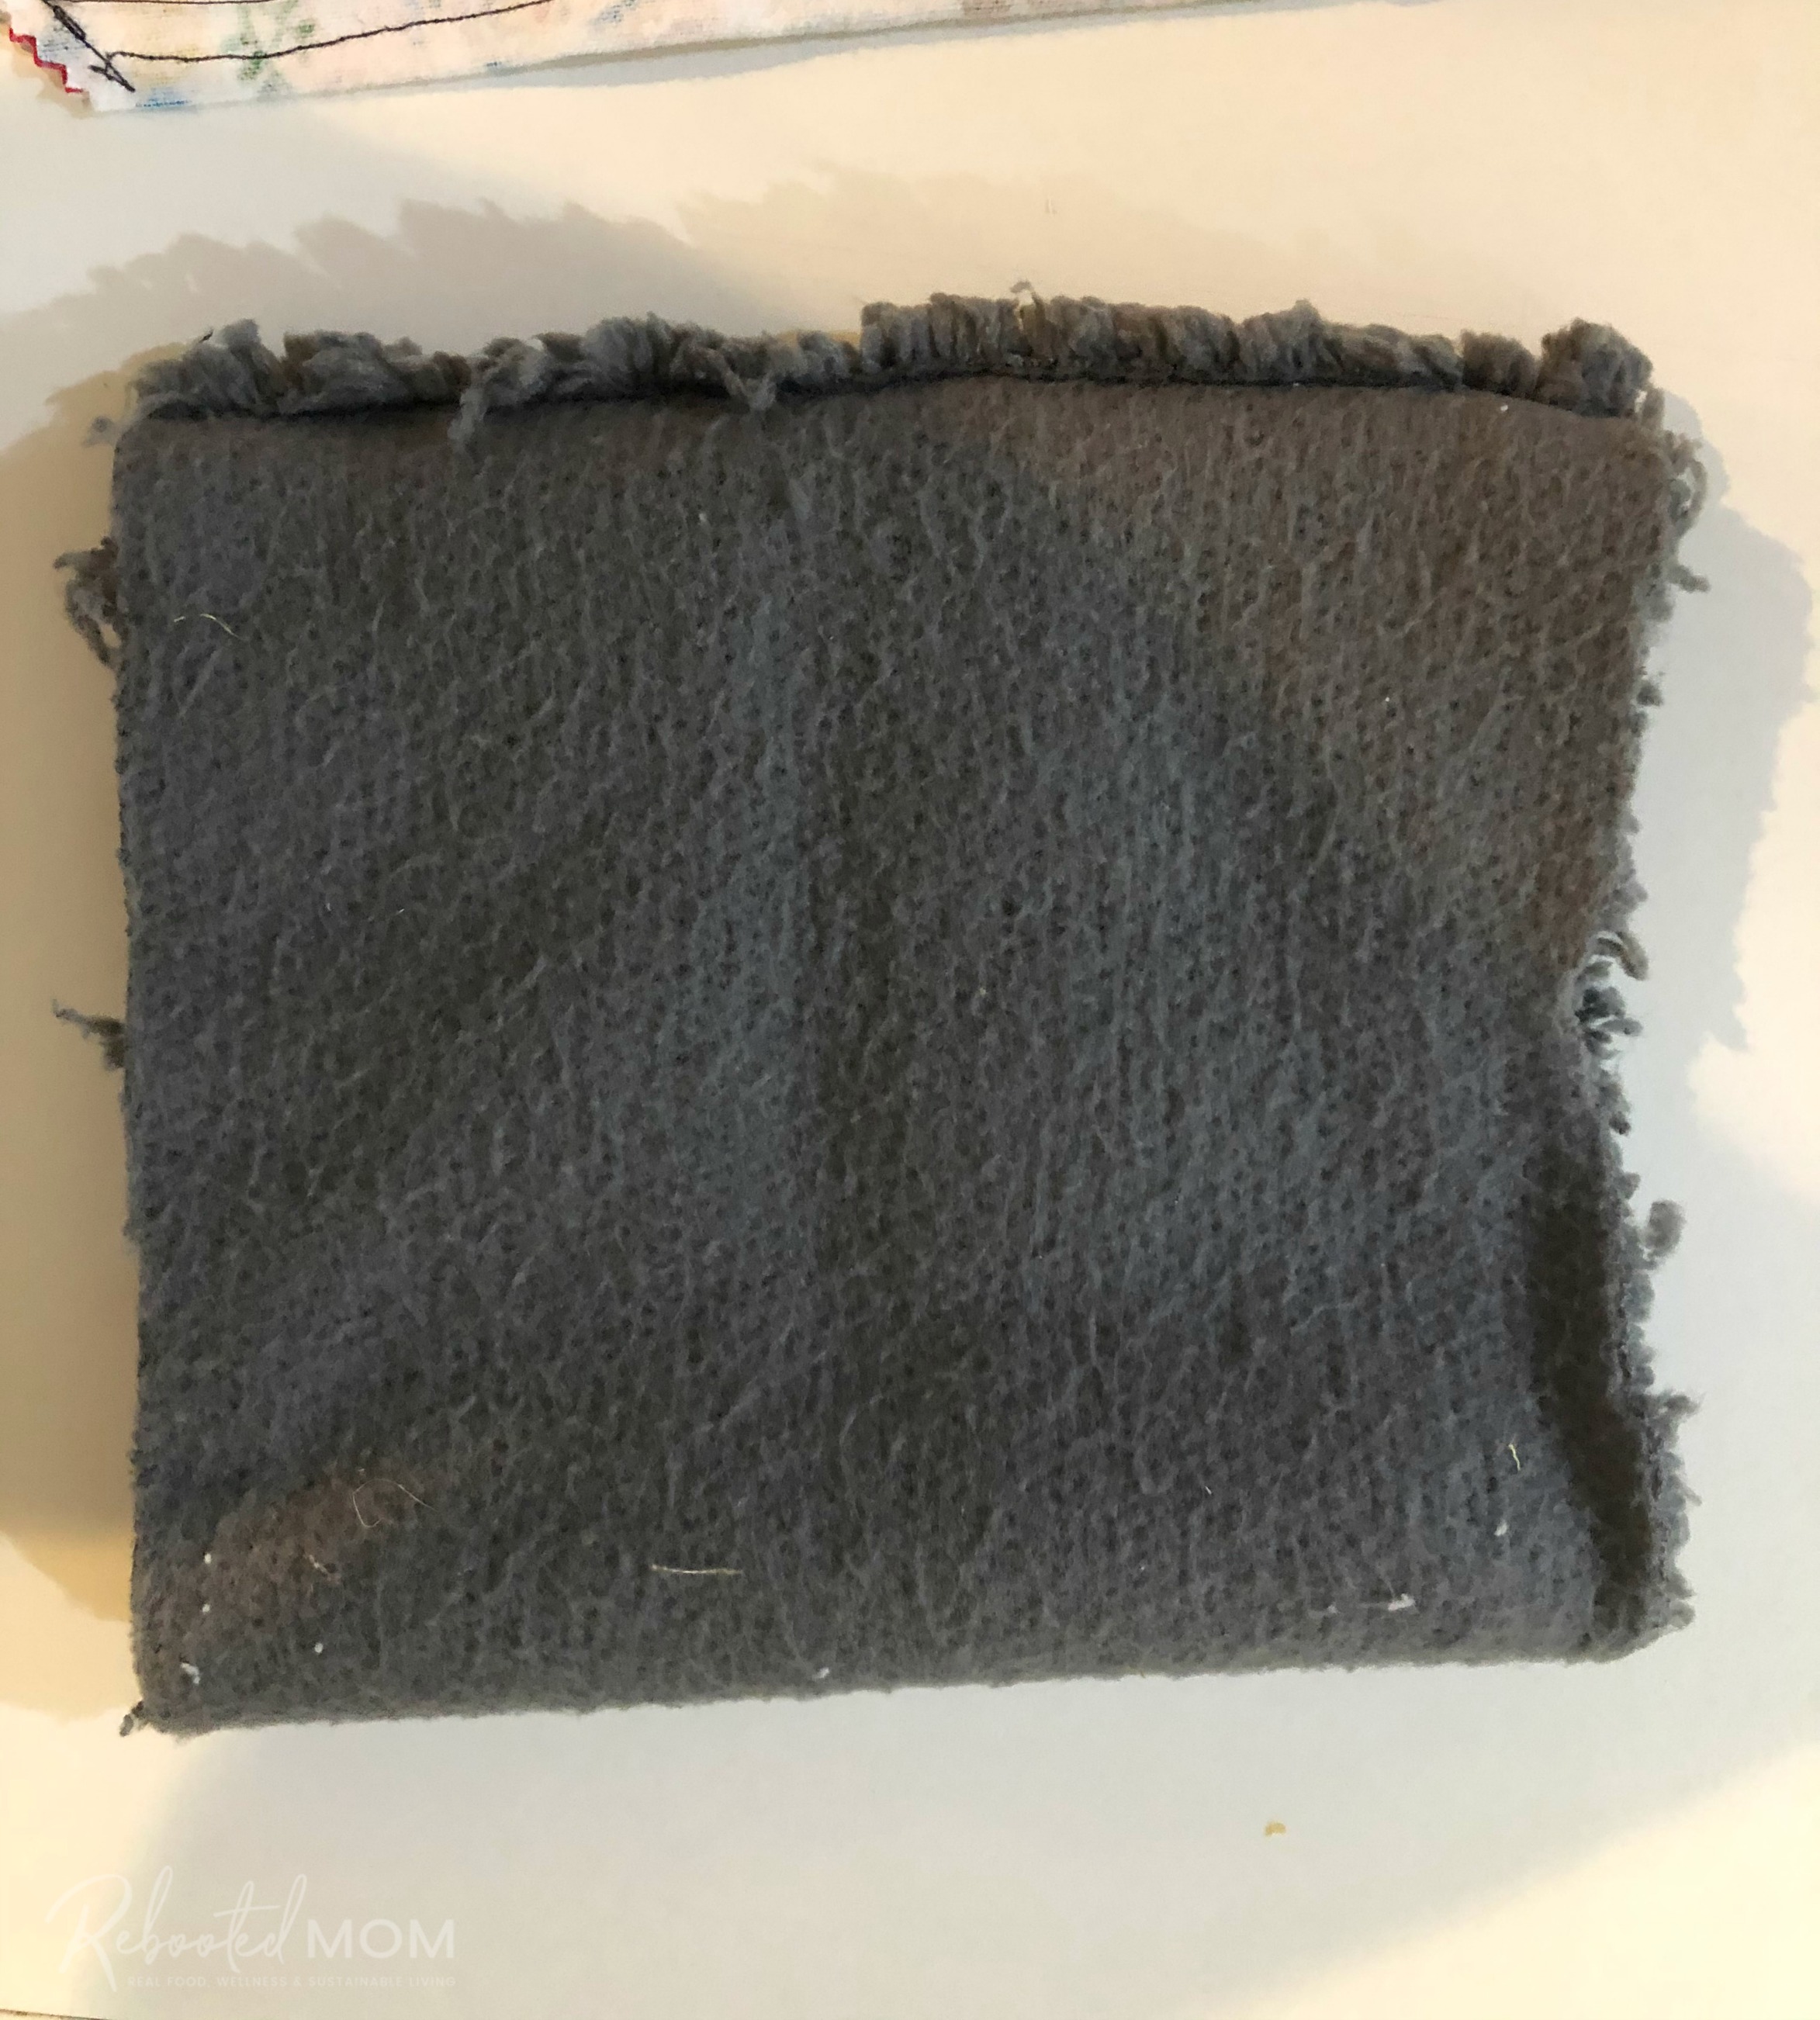
Sew across the top of the 9″ edge with a 1/2 inch inseam – the cuff will now look like a tube with the right side of the fabric on the inside of the tube.
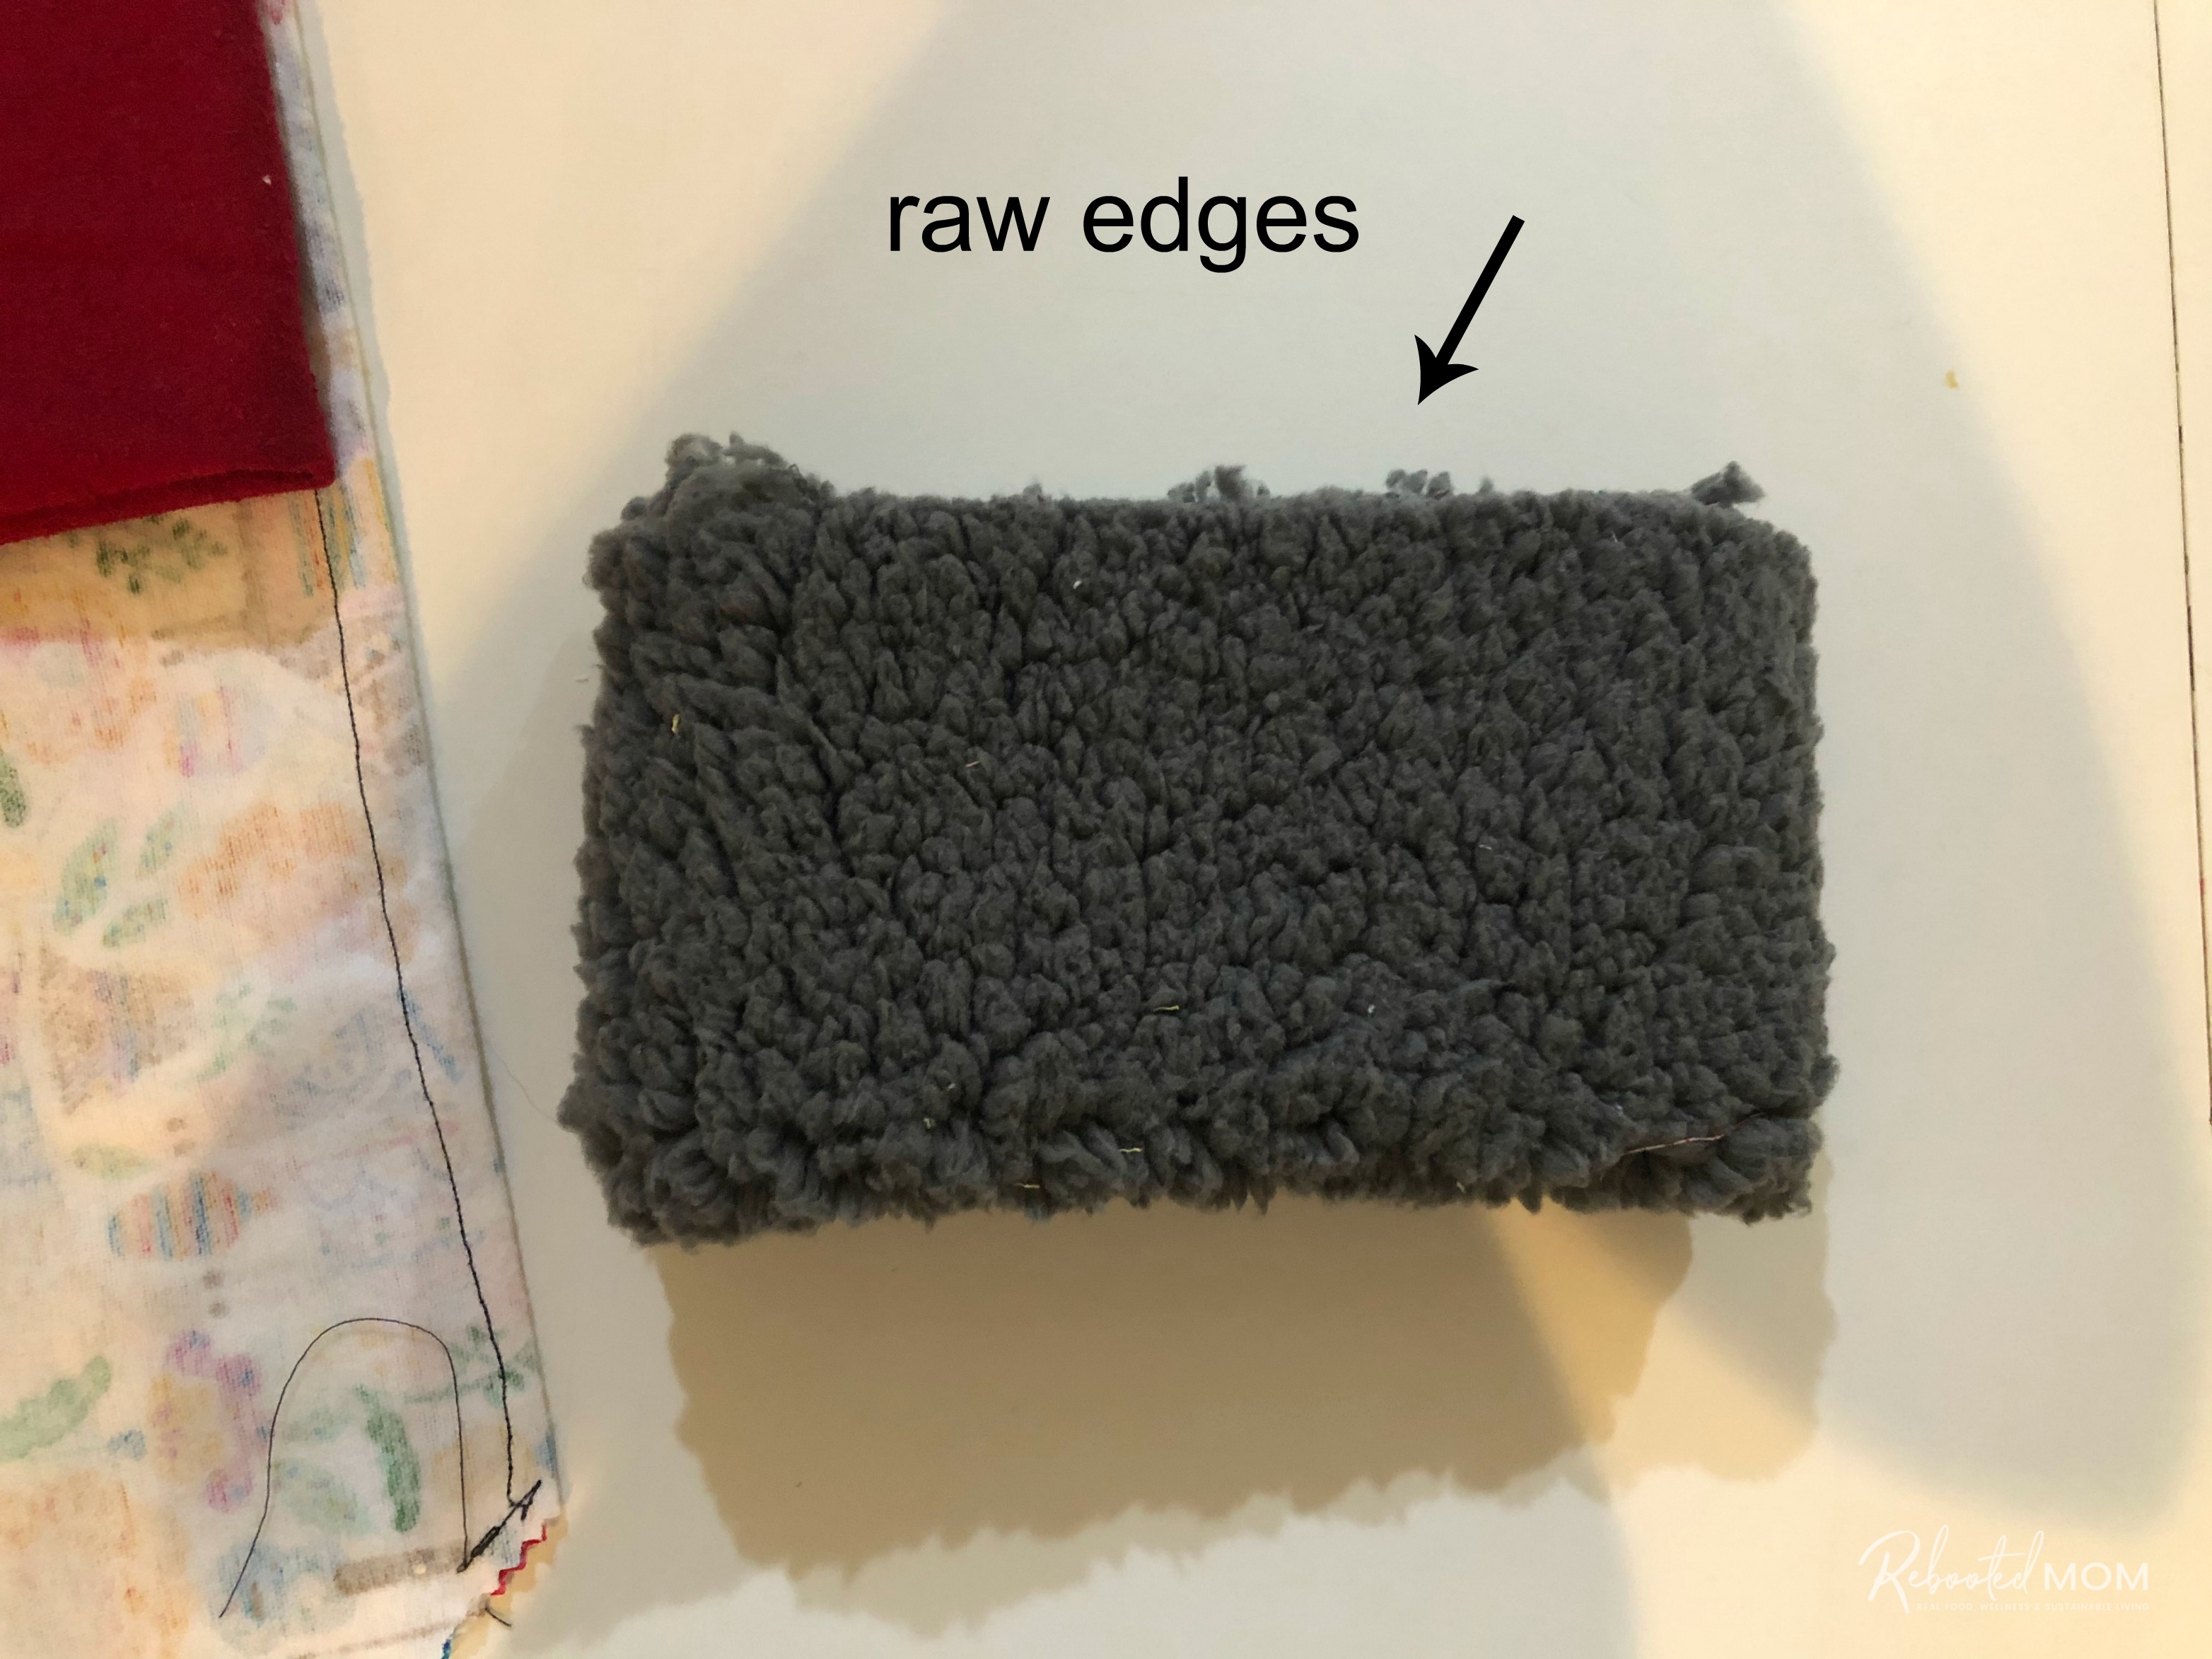
Now turn that cuff so that the seam is to the left. Then, turn the bottom of the cuff upwards to make a tube cuff. The tube should be double thickness, with raw edges on the top and the right side of the print on the outside.
Assemble the stocking to sew together. Slide the cuff over the main stocking piece (which is right side out). The seam of the cuff should be lined up with the back of the stocking. Line up the raw edges along the top of the stocking.
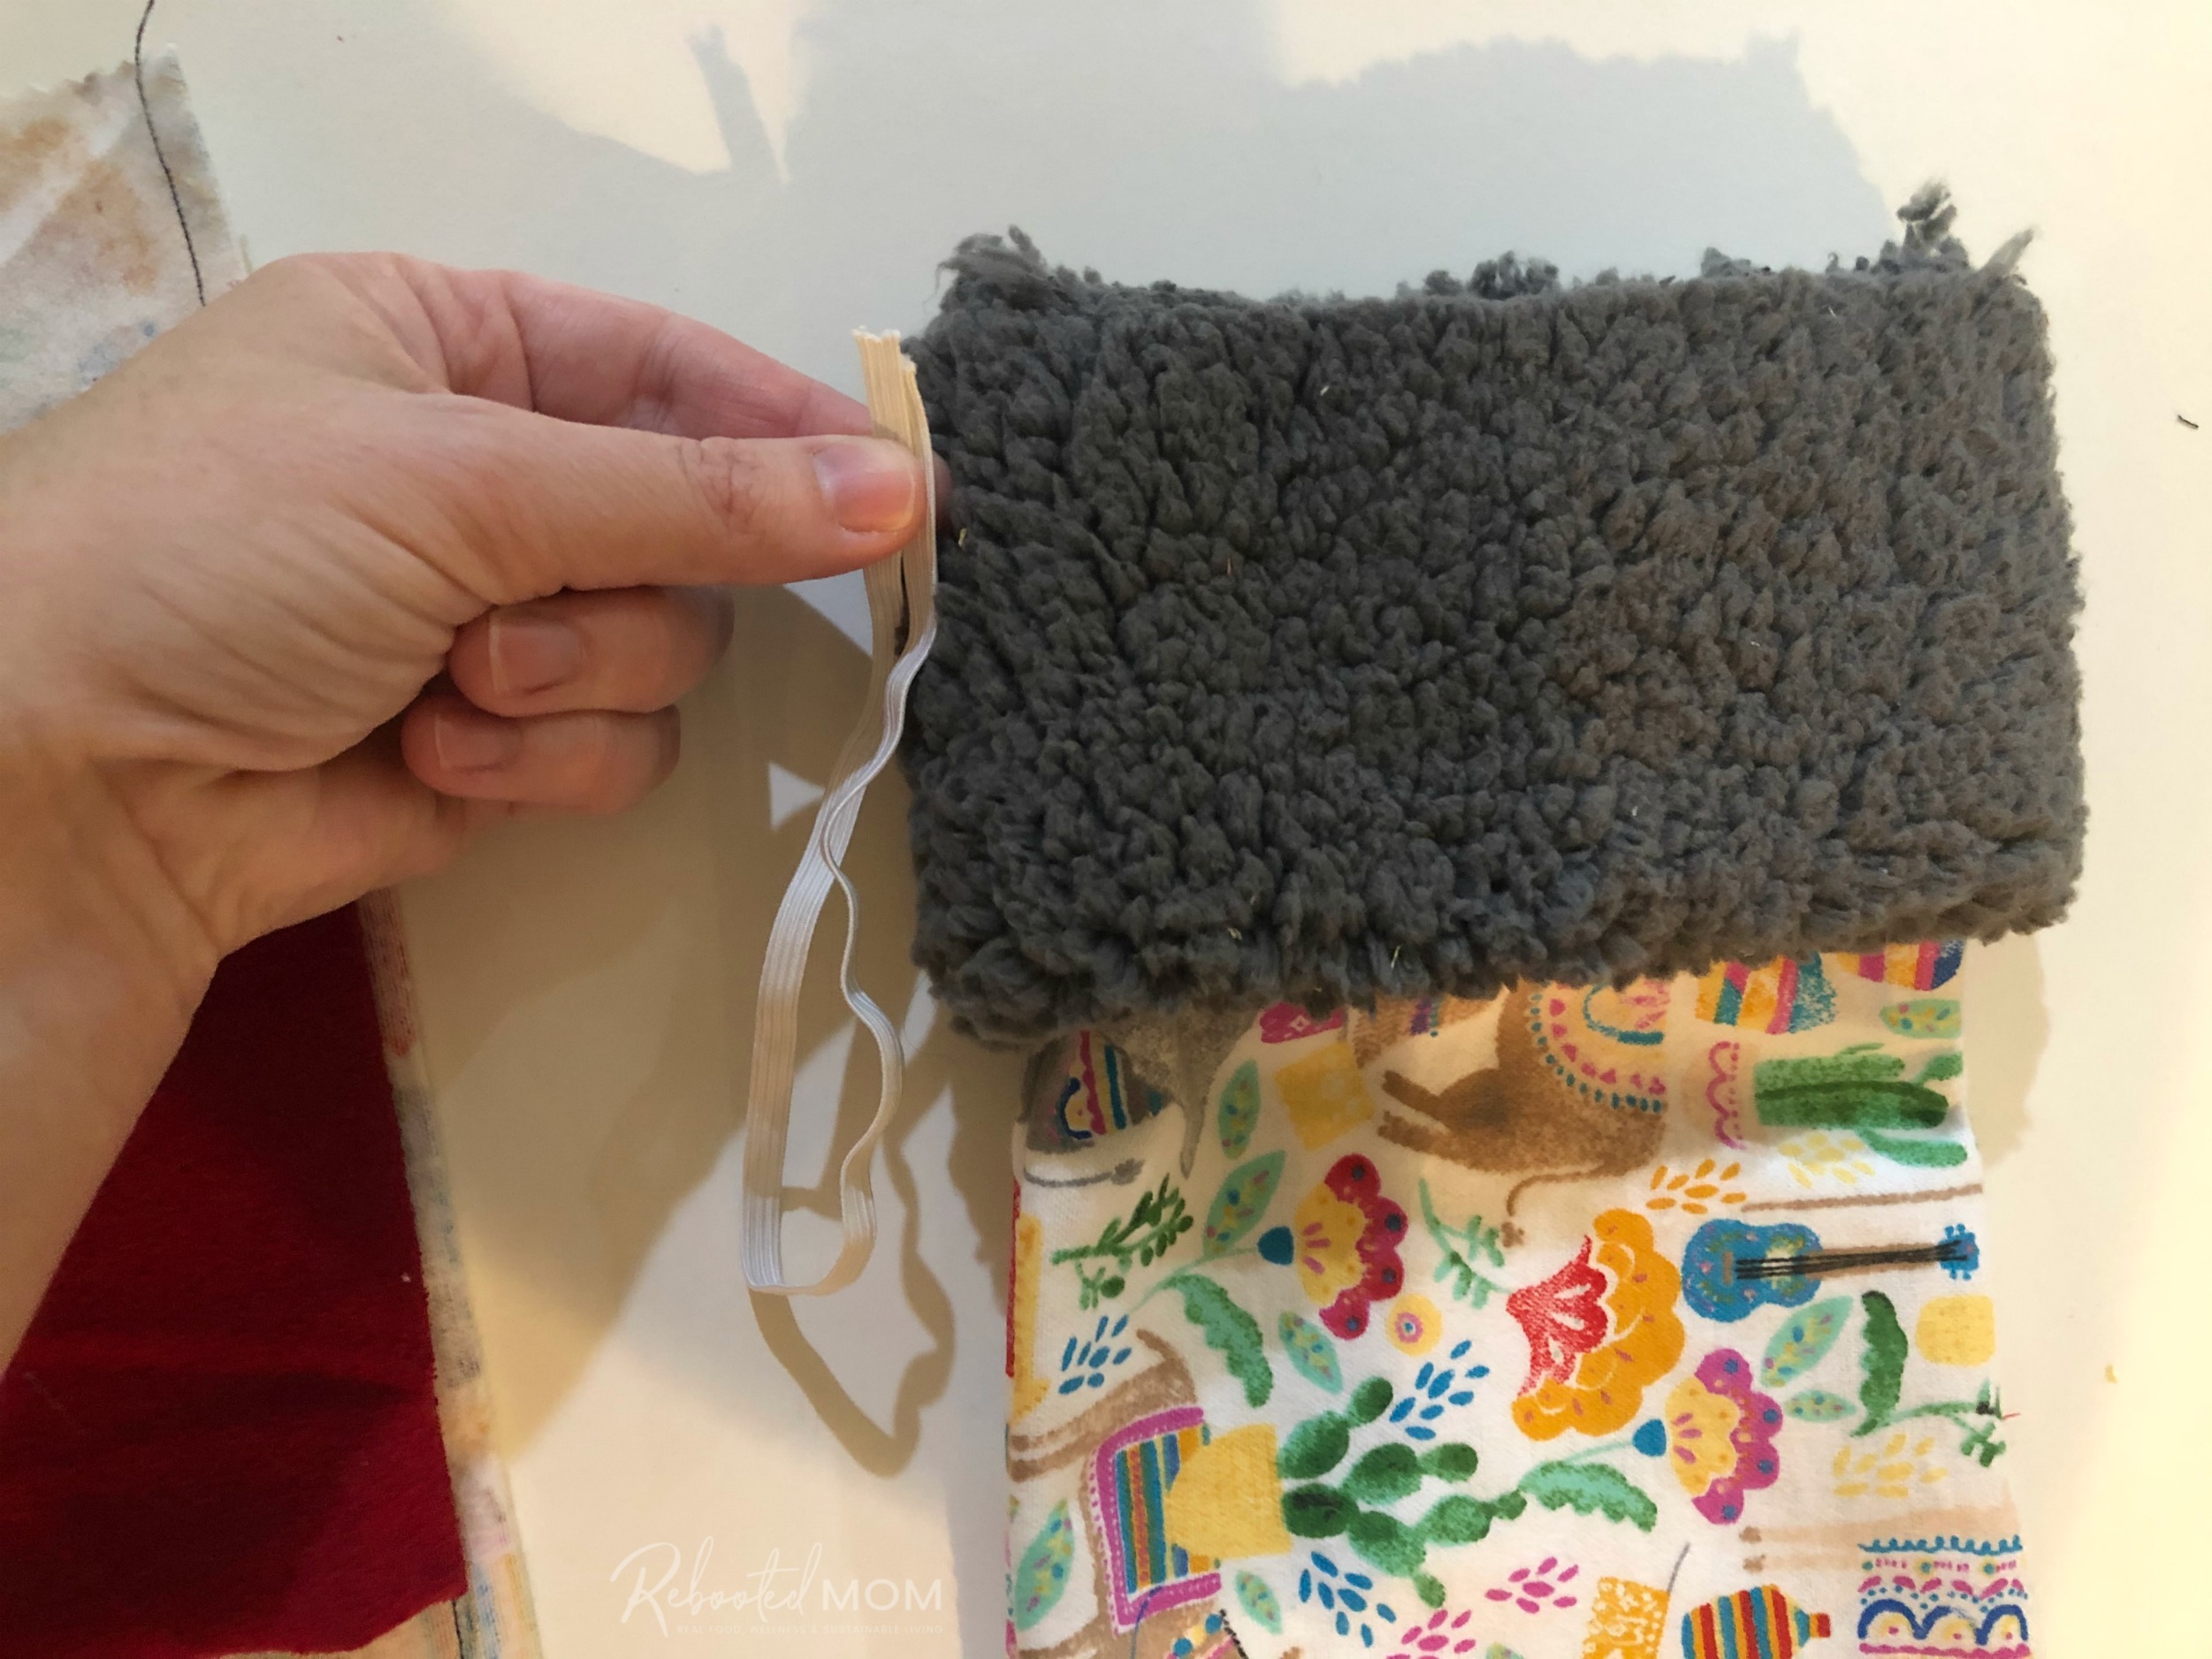
Take a 7-8″ piece of ribbon and pin it on the back seam of the cuff. The ribbon loop should point down with the cut edges facing upwards.
Then slide the stocking liner over both, lining up the raw edges with the top of the cuff and main stocking.
Assemble your stocking
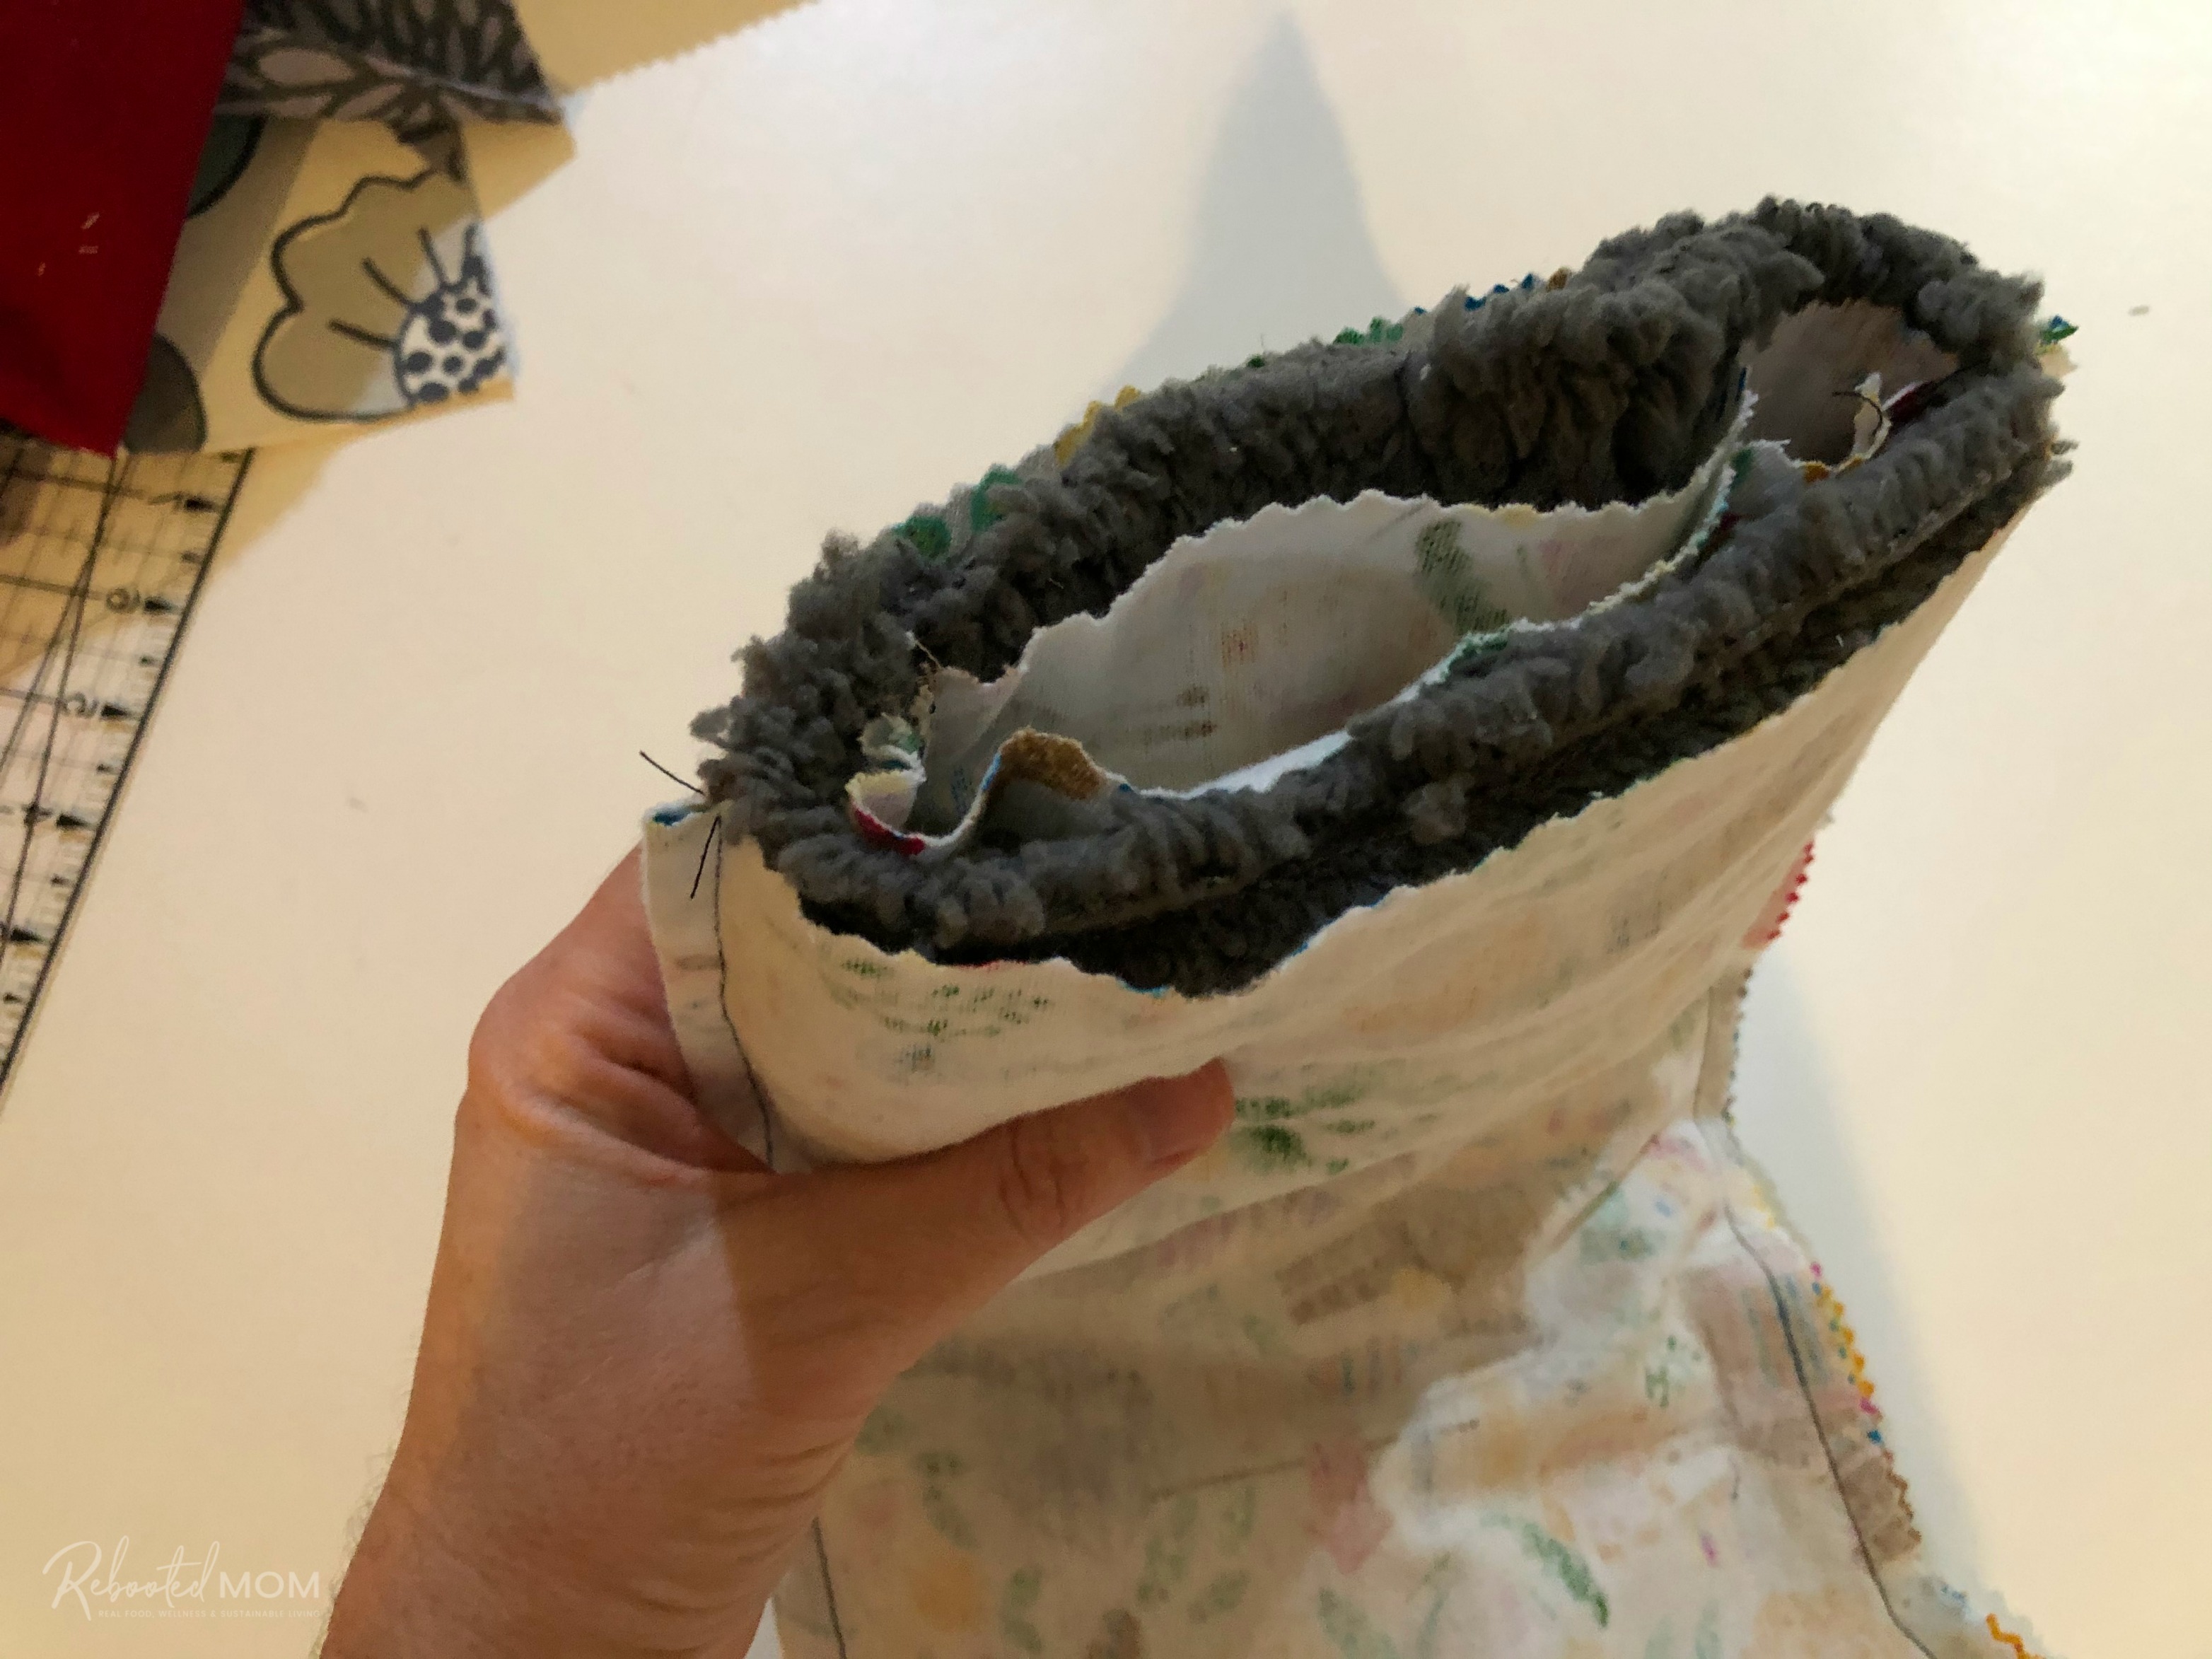
Your project should look like this:
- (Outside): Stocking liner, wrong side out
- (Inner): Cuff
- Ribbon on rear of cuff, lined up with seam (loop pointing down)
- (Far Inner): Main stocking, right side out
You can pin the ribbon/loop, or just hold it into place. I prefer to just hold it while I quickly stitch.
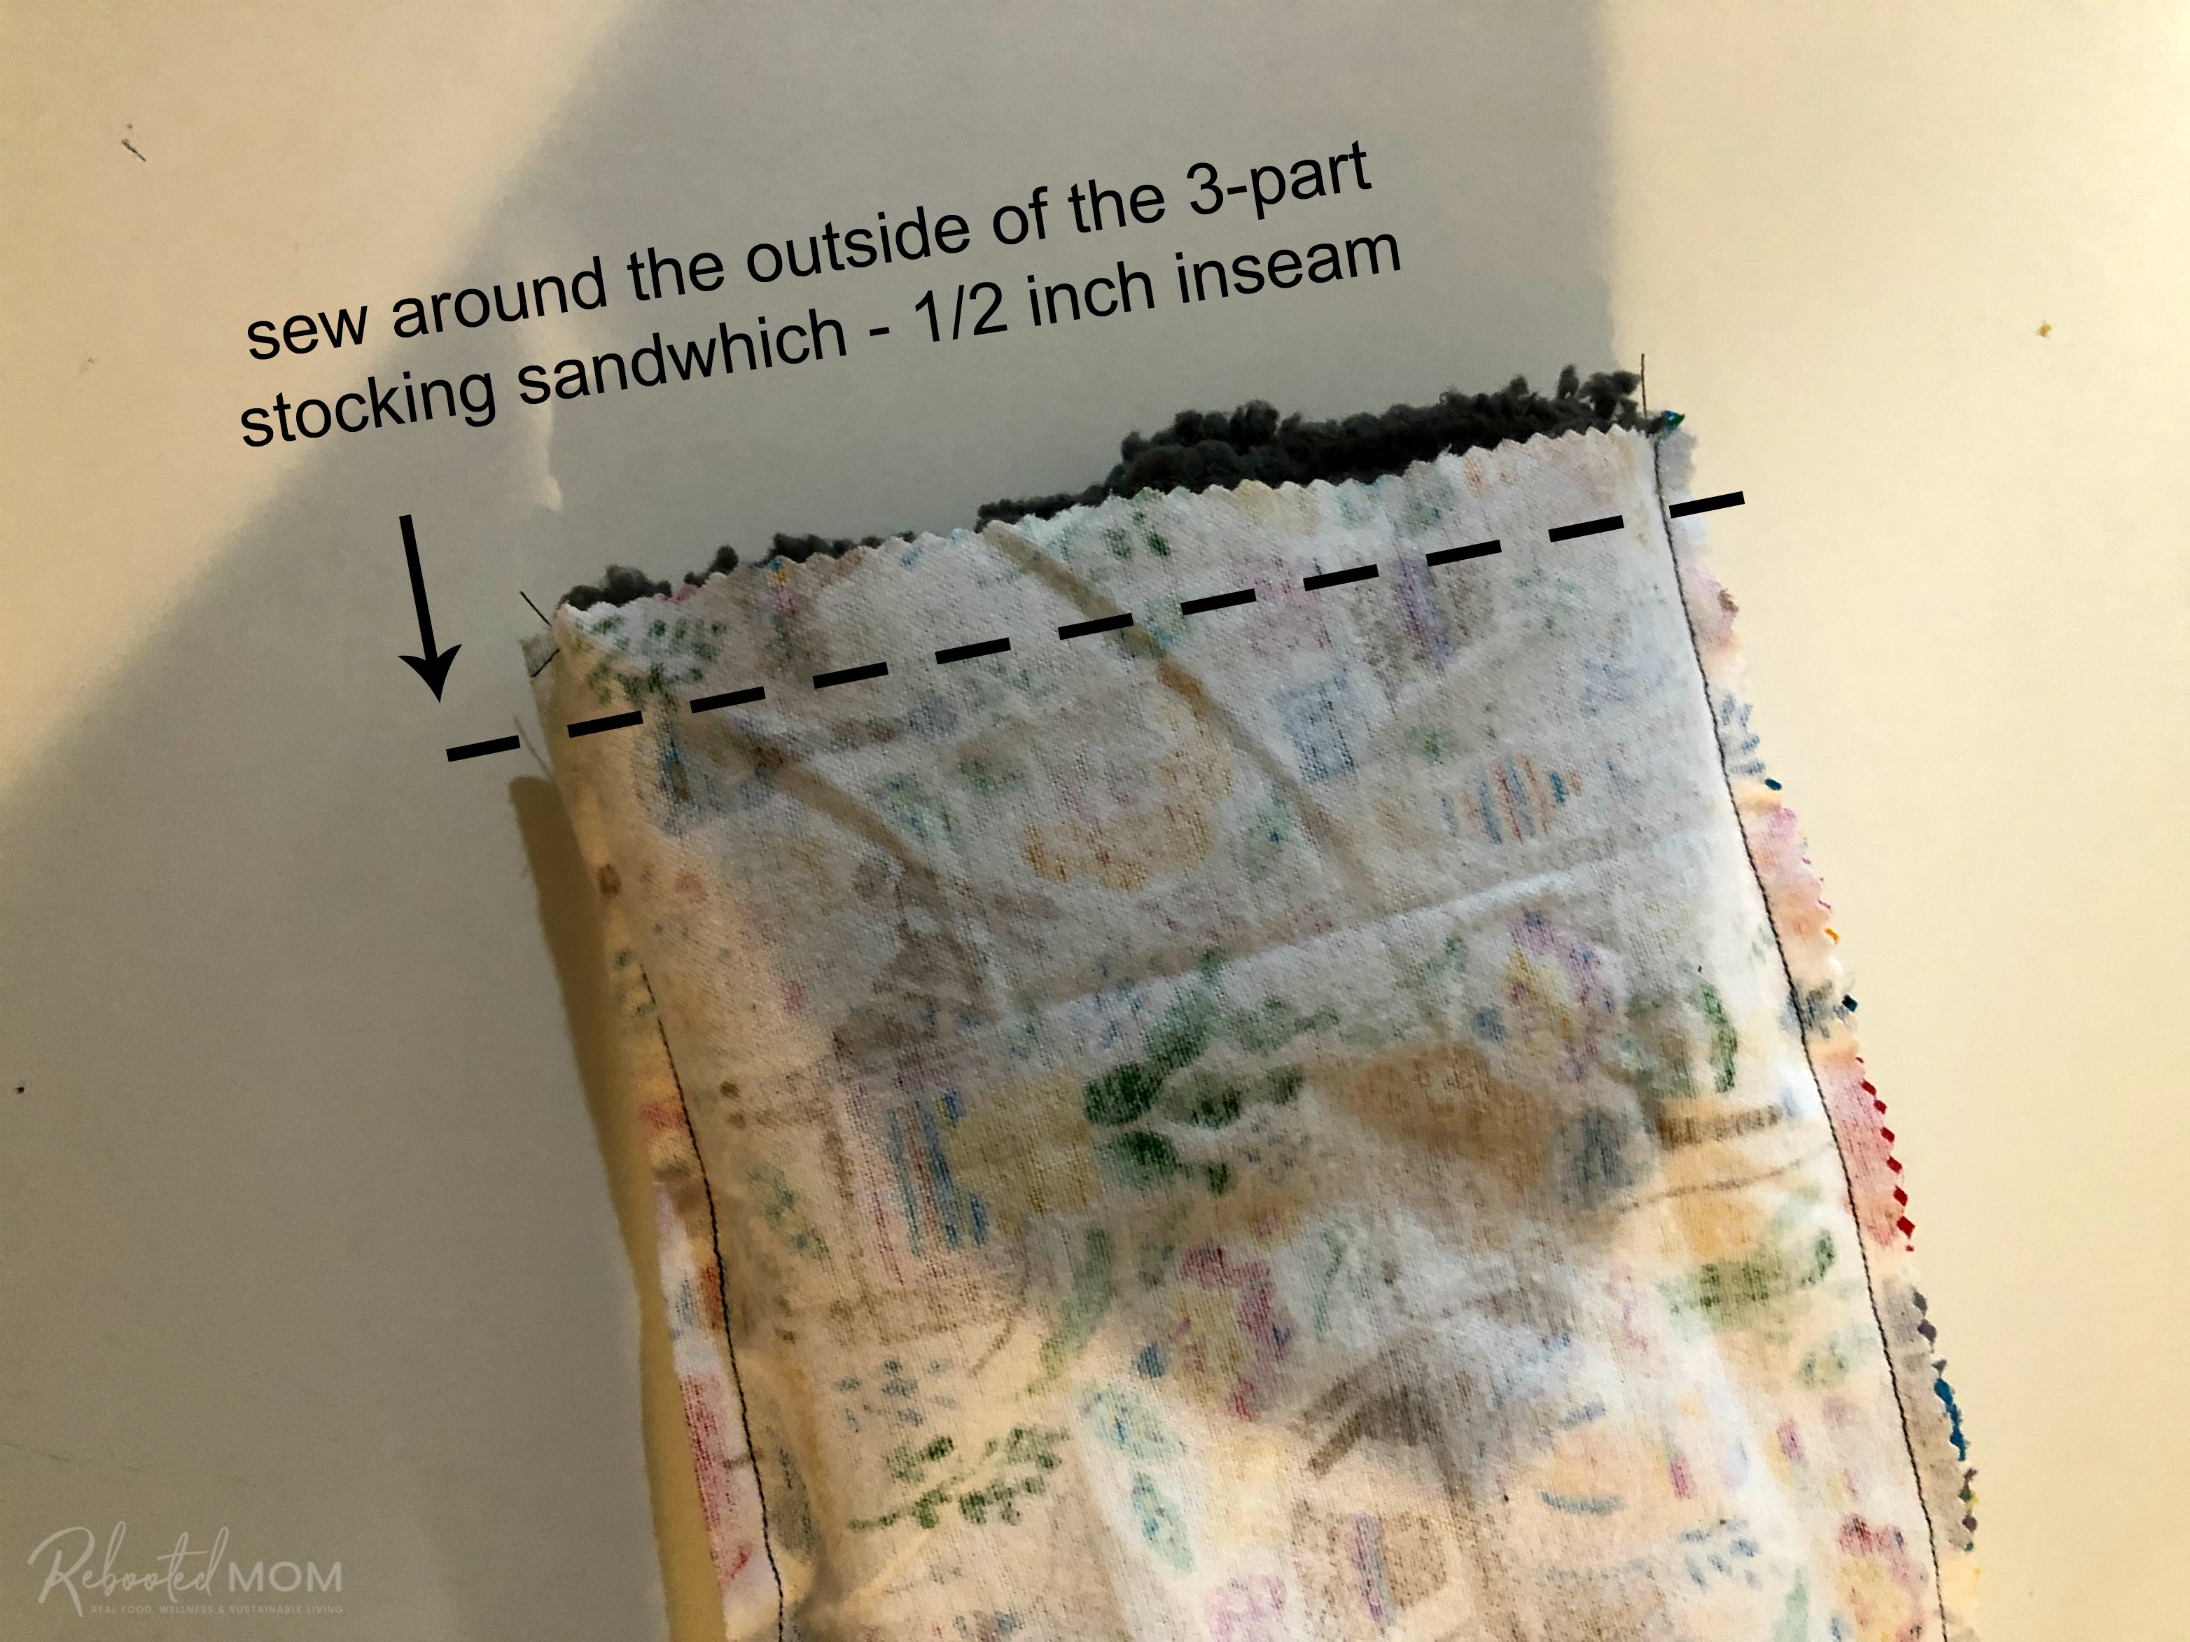
Sew around the outside of the 3-part sandwich. I usually like to remove the tray part of my sewing machine, and slide the stocking over the hole (see pic, above), then sew around the outside leaving the inside open. Use a 1/2 inch inseam.

Then gently pull the inside out through the hole on the back of the cuff. Before you push the liner back “in” the stocking, sew the gap shut with a simple straight stitch.
Then stuff the liner in the stocking and hang on your mantel!

Once you have the Christmas stocking pattern, and cut the pieces, the stockings are easy to crank out. Make one for each member of your family and then get started on stockings as gifts for family and friends.

Leave a Reply