


Today I’m going to show you how to make your own custom bath bombs right there at home. Bath Bombs are one of my favorite DIYs to make… unfortunately it’s one thing I don’t do nearly enough.
Hopefully, this will give you the courage to make them more often – for yourself and perhaps even as gifts.
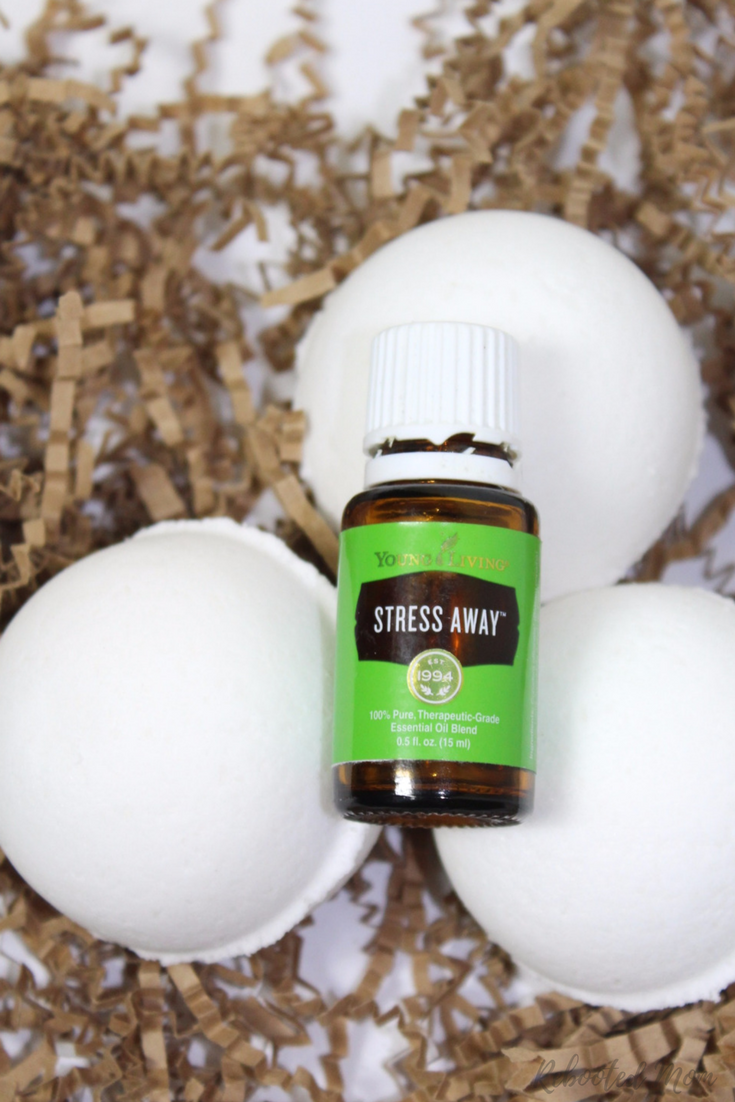
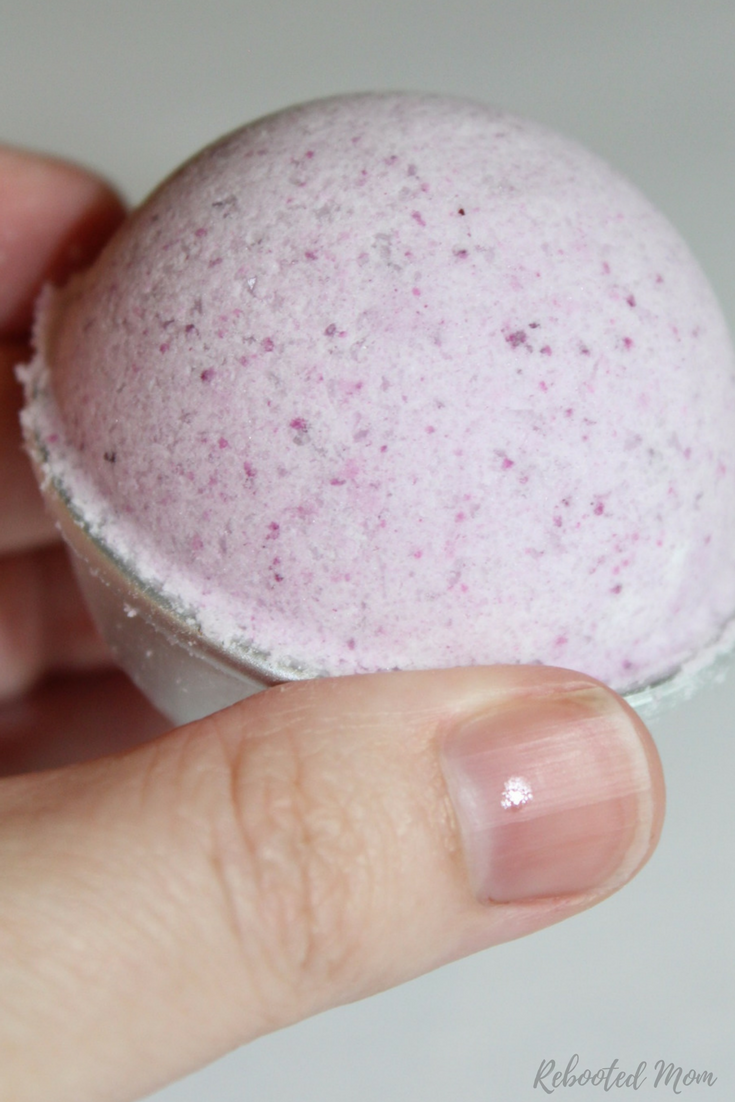
Bath Bombs are one of those things that looks much more daunting than they really are ~ – thankfully they are incredibly easy. Finding the perfect recipe is they key to making successful bath bombs. .. then add the essential oil of your choice – for these, we just used Stress Away because it’s one of the most relaxing oils aside from Lavender – it incorporates Lime, Vanilla and Copaiba.
Add your own color to your bath bombs, then when you are done, wrap them up to give to teachers, friends, family or… even keep for yourself.
Bath bombs can easily be intimidating – but don’t be… the ingredients are incredibly easy to find (in fact, I found them all online). Mixing and shaping them took a mere 5 minutes – I think waiting for them to harden was the hardest part!
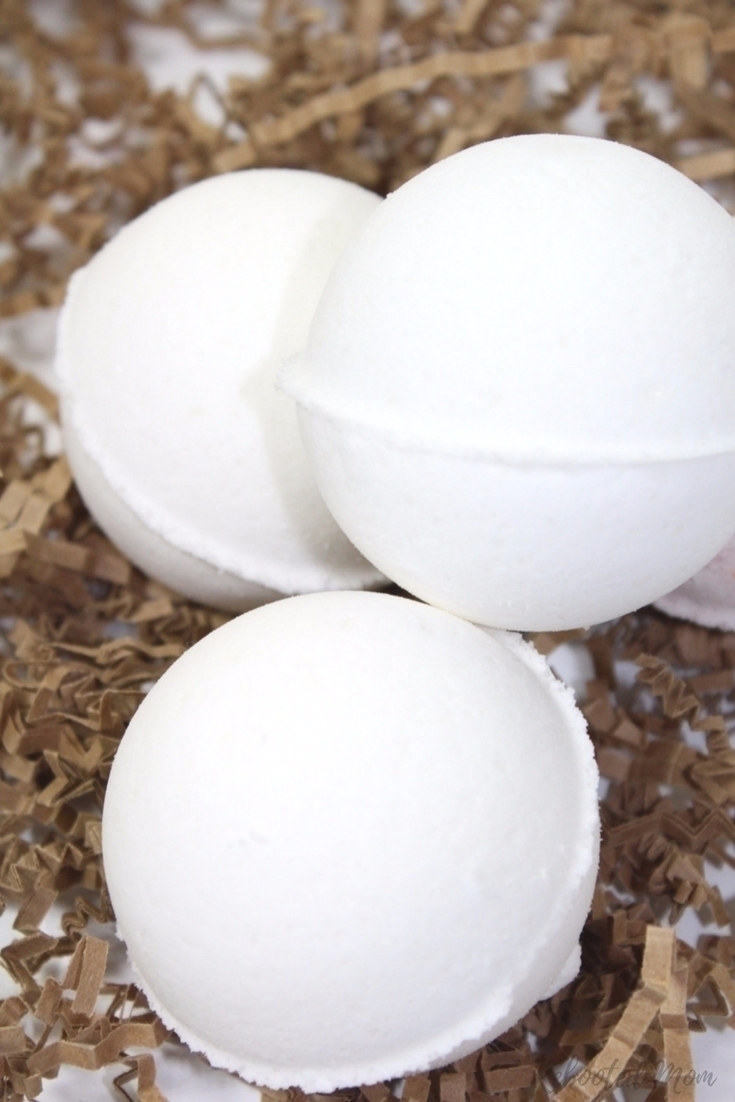
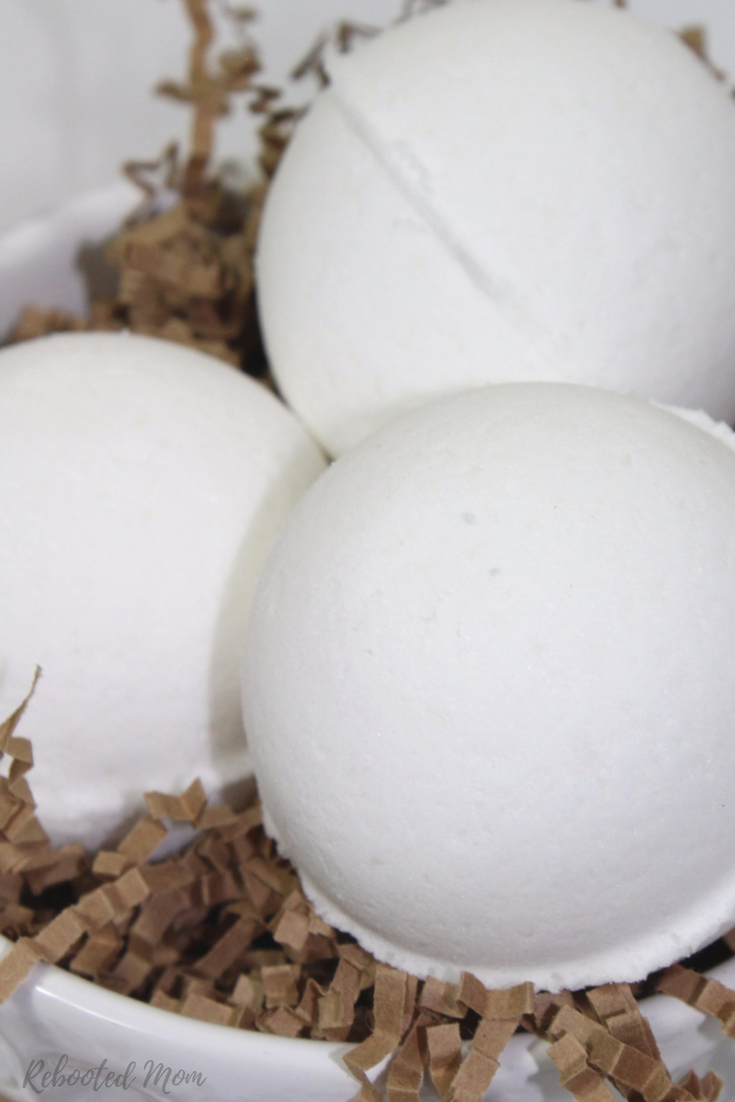
I left some of mine white, but added color to others. I actually made half of them Lavender and the other half white – both make such great gifts!
Begin by measuring out the ingredients and whisking the dry ingredients together into a large bowl. Add the oil, then quickly and carefully add the water (very very little!)
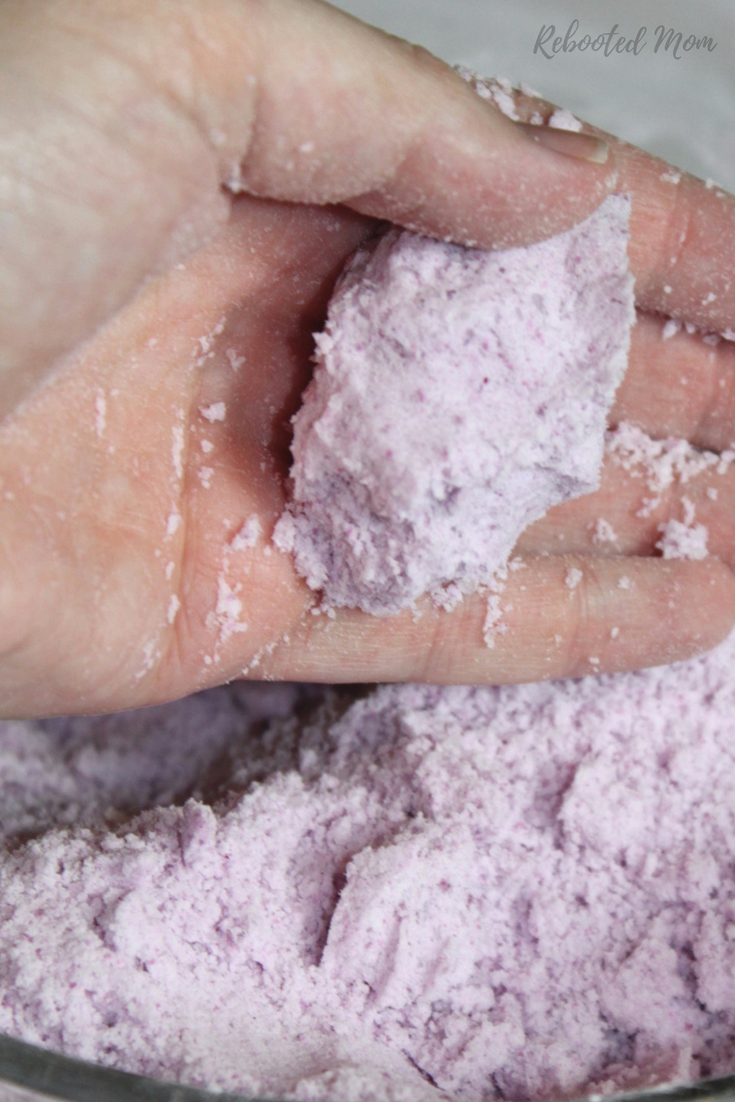
If you are adding any colors, do it at this time.
Work the mixture well with your hands to ensure that the oil and water is well distributed. The mixture should be slightly damp, and when you squeeze it together with your hands it will stick together. Avoid adding too much water – it’s really easy to assume you need more, but more water will demolish your results.
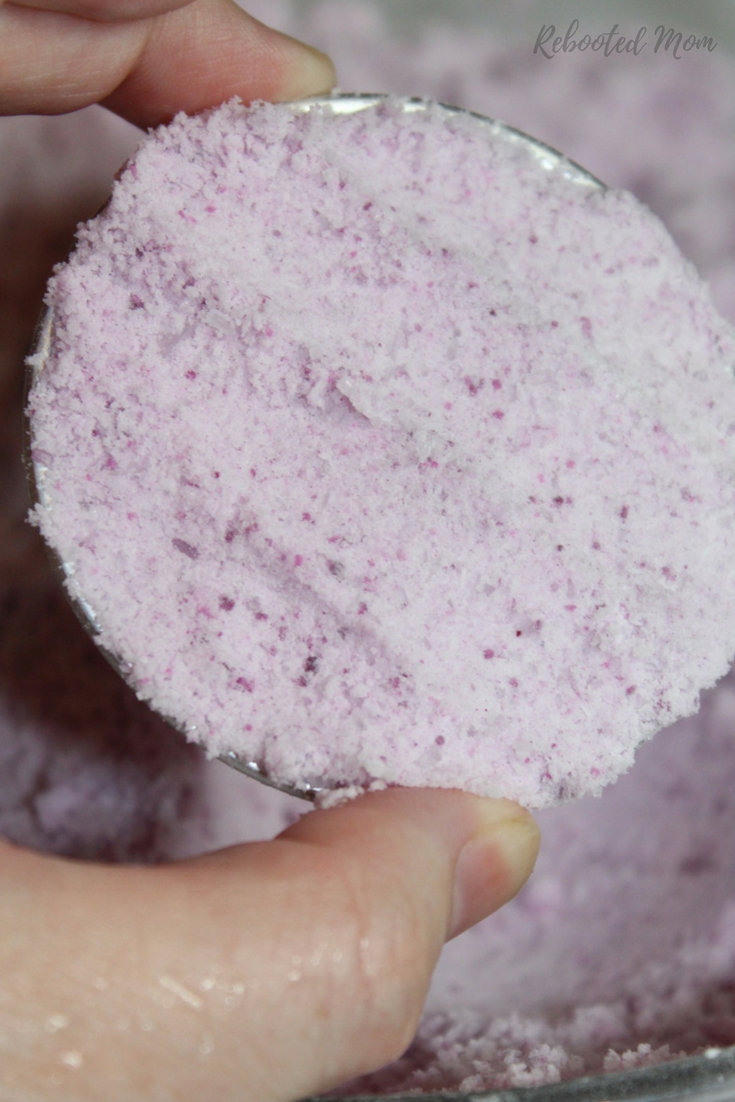
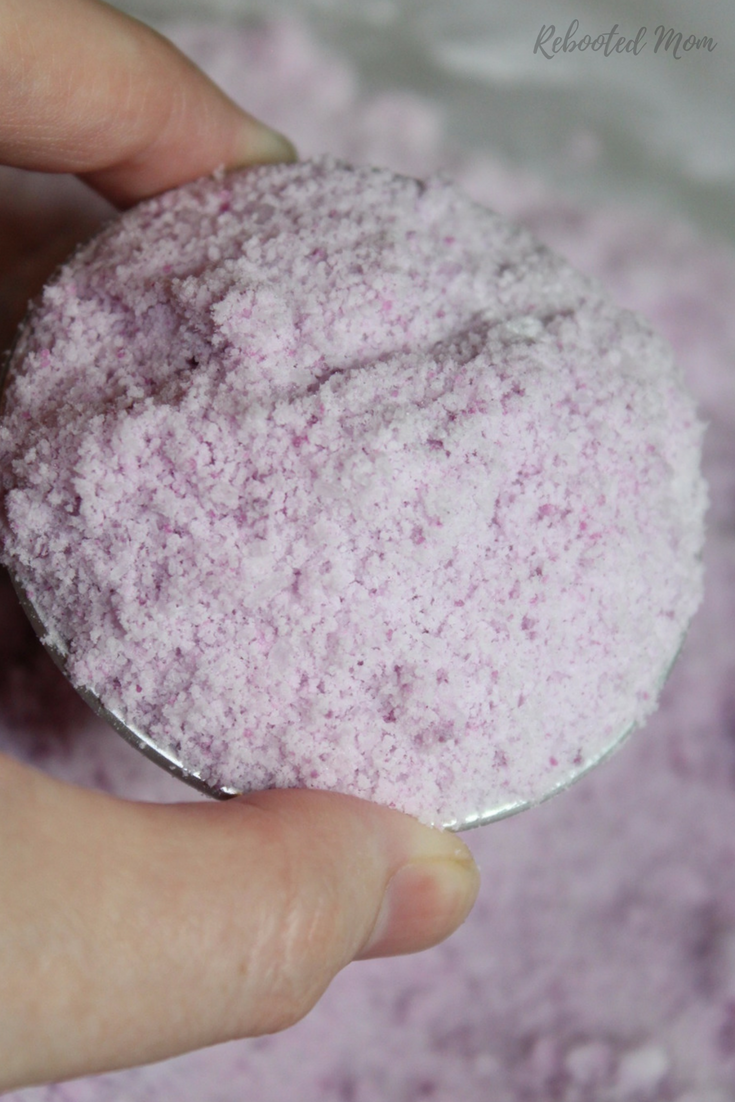
Once you work the mixture with your hands, and you feel that it’s ready for the molds, grab your (2) halves. Pack down the mixture into one of the halves – once it’s packed, add more to the half so it’s overfull – set it down in the bowl and repeat with the second half.
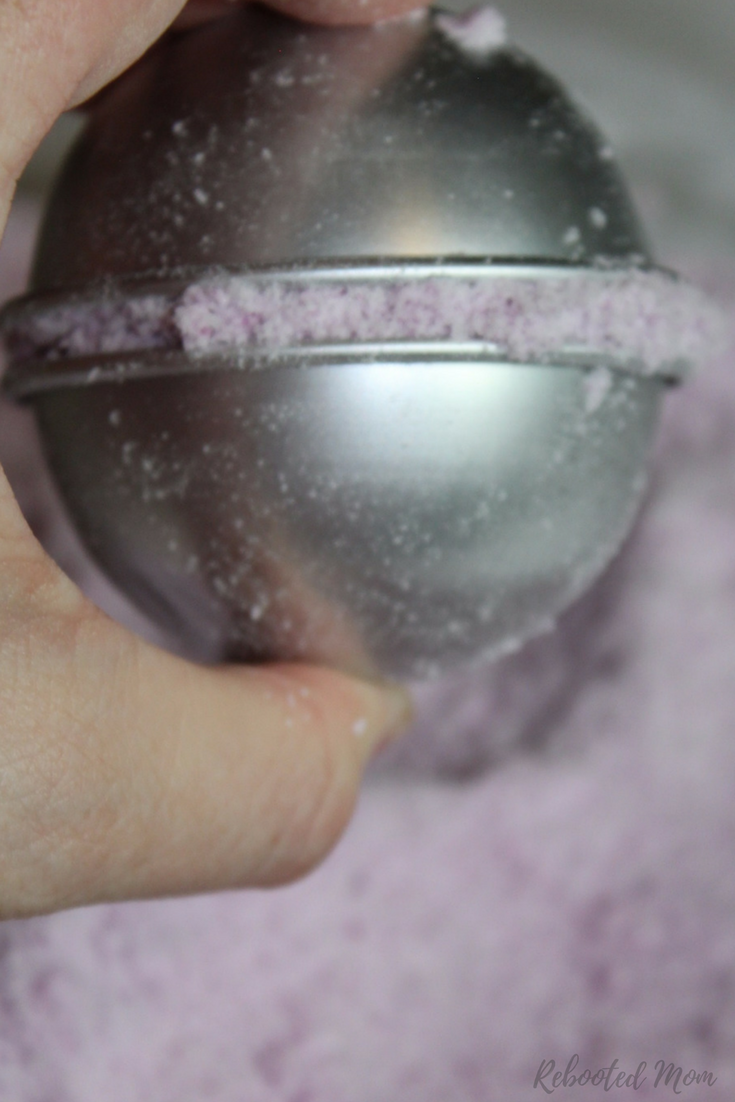
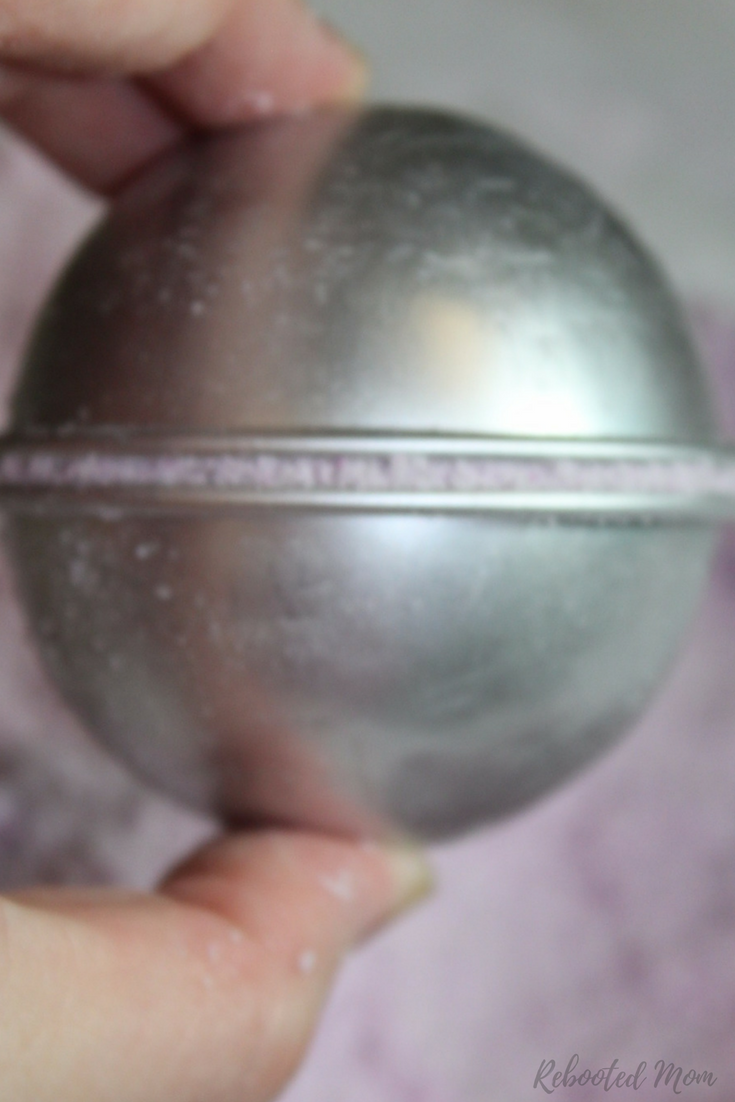
Then, push the halves together – the excess you have overfilled with will mush together and squeeze out the sides – that’s fine! Go around the outside of the mold seam and brush off the extra. Set the mold down and work on the others.
After you are done filling each mold, set them all on a plate and gently remove half the mold.
You should now have the bottom half of the mold on and allow them to dry that way for an hour. Then remove that half of the mold and allow to dry in an area that has no moisture (do not allow them to dry in the bathroom).
In the morning, or after 6-8 hours, check on your molds – they should be dry. At this point, immediately wrap and twist tie. I use Cello Bags that are 4×6 in size that fit perfectly around the large bath bombs – you can find smaller bags if you opt to use the smaller bath bomb molds.
That’s it! Gift to family or friends for Mother’s Day, Valentine’s Day, birthdays and more.
Ingredients
- 1 C. Baking Soda
- 1/2 C. Arrowroot Flour, Organic Cornstarch OR... Tapioca Starch
- 1/2 C. Epsom Salt
- 1/2 C. non-GMO Citric Acid
- 2 1/2 Tbsp Sweet Almond Oil (or fractionated coconut oil)
- 2 tsp water
- 20-25 drops of your favorite Essential Oil (we used Stress Away)
- Optional: Soap Colorant Pigment Powder
- Bath Bomb Molds
- For wrapping, 100 ct cellophane bags
Instructions
- In a large bowl, mix together the dry ingredients. If you are using color pigment, add at this time (for a darker color add more).
- In a separate bowl, combine the wet ingredients.
- Add the wet ingredients to the dry ingredients very slowly (this is crucial - because if you add too quickly you will activate that citric acid and that in turn will create the fizzing effect).
- Mix with your hands until combined. The mixture may not seem overly wet and that's fine - you want it to be a very slightly damp feel like sand. It should hold together when you squeeze it.
- Fill each half of the mold - pack in tightly then overflow each end. Push the halves together firmly, and remove excess powder that squeezed out of the circumference of the mold edge.
- Let the mold sit with both top and bottom for several minutes. Remove half of the mold and allow to dry with the other half on 6-8 hours. Hold the uncovered side face down in your palm and lightly tap on the back of the metal mold with a spoon to remove. Let dry an additional hour and then store by wrapping tightly.
- Keep away from moisture, and do not store in the bathroom.

If you love these bath bombs, check out 25 DIYs with Essential Oils or, 12 Homemade Gifts you can give with Essential Oils.
We LOVE Young Living Essential oils and would love to help you live fabulously by incorporating them into your personal care and wellness goals.
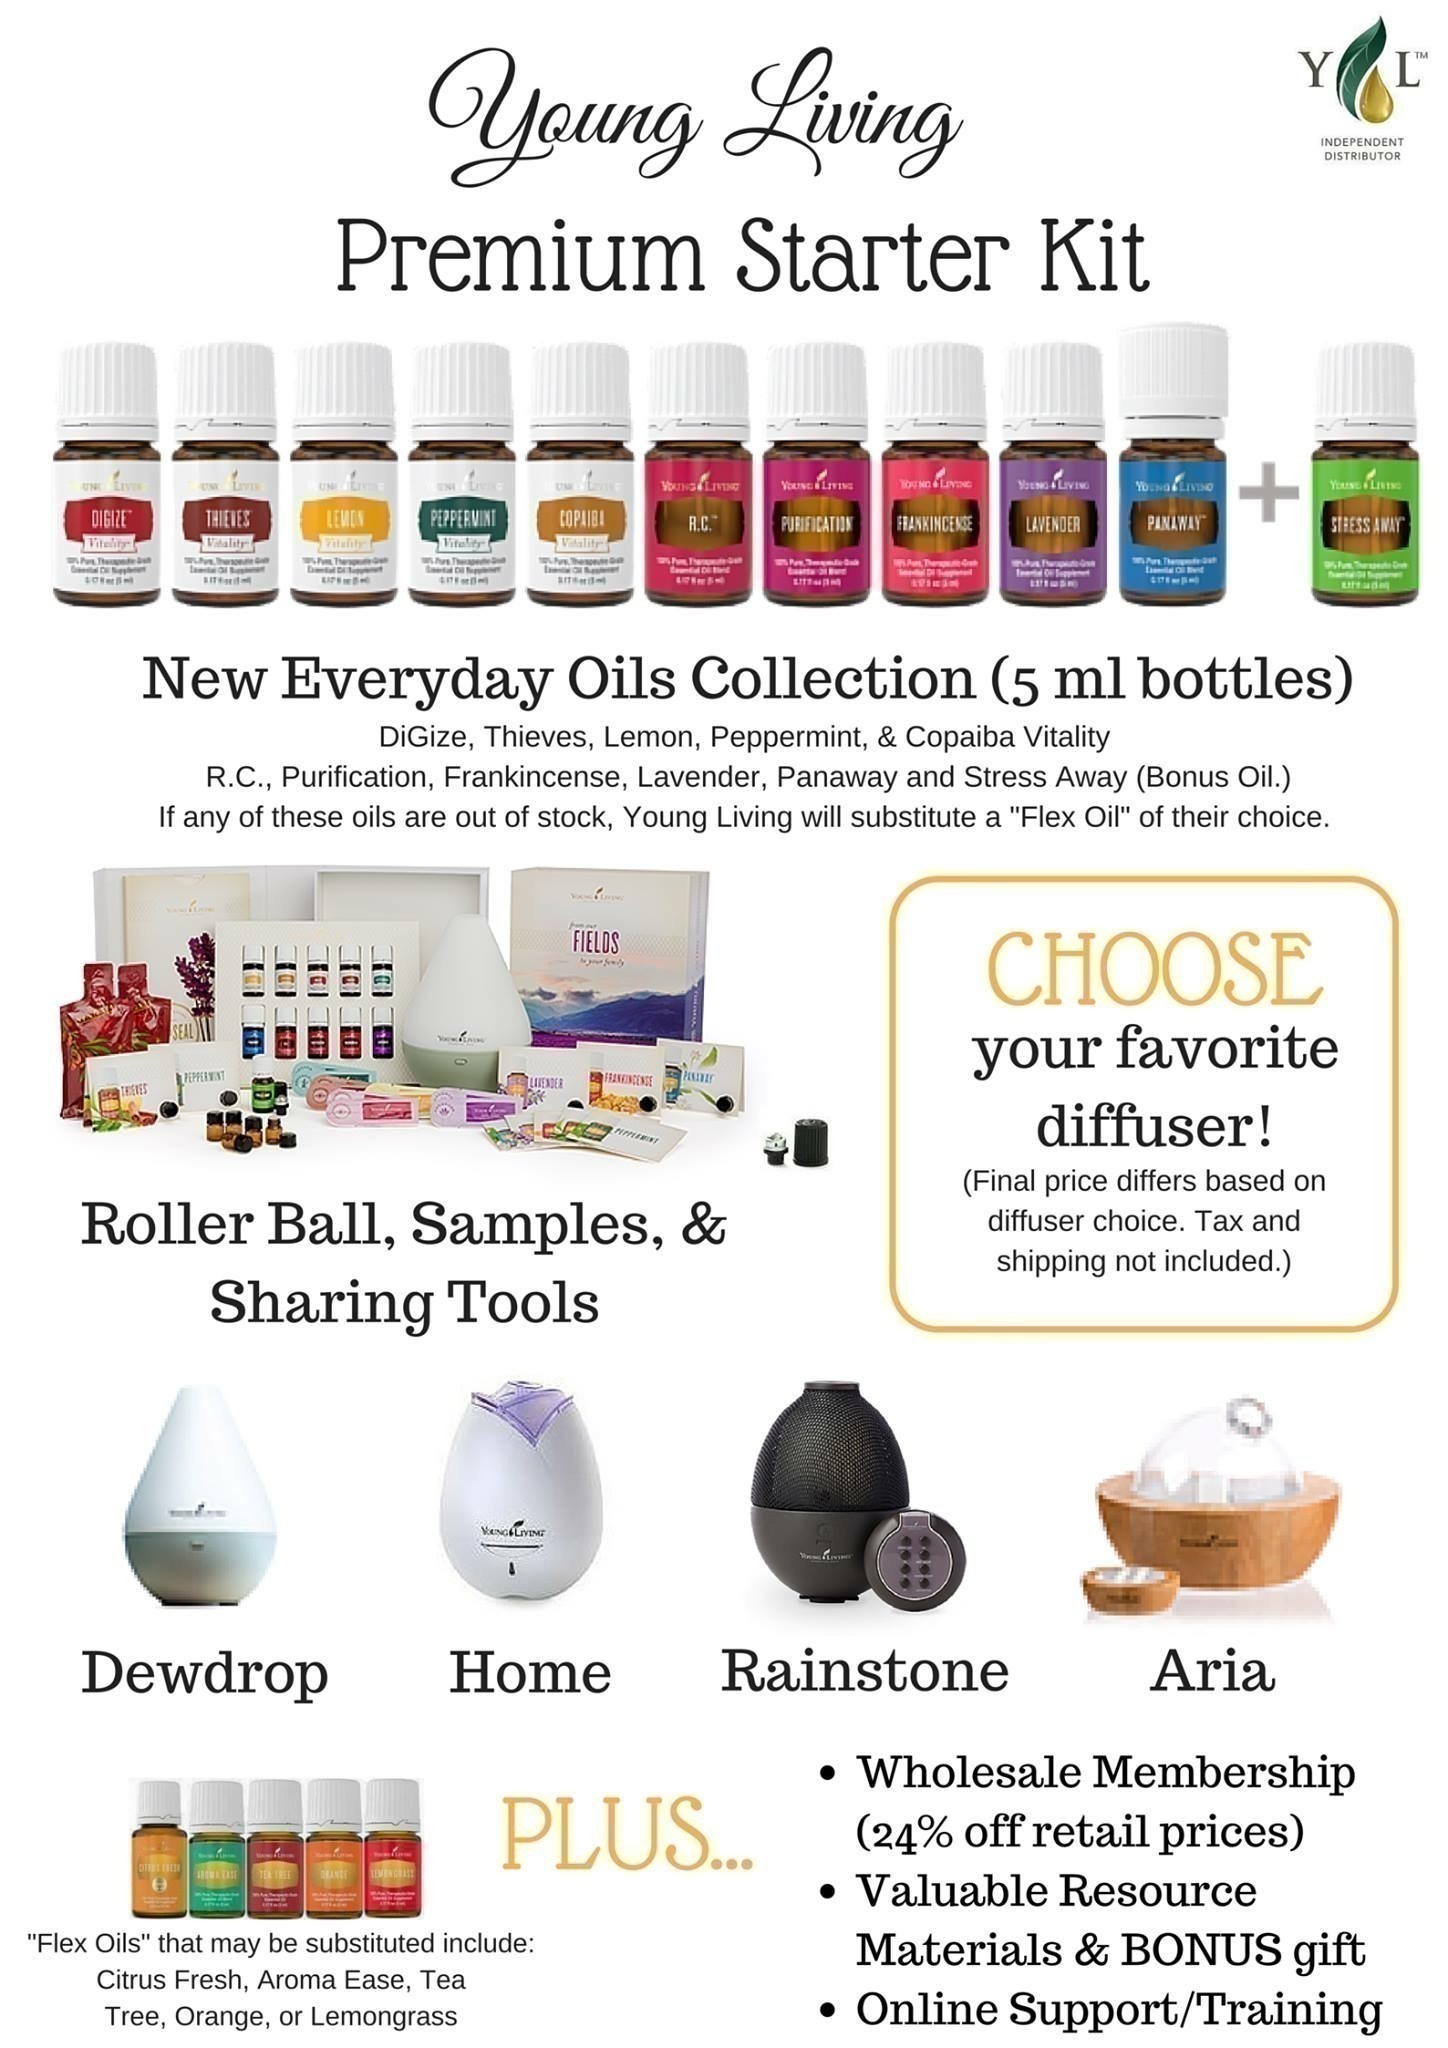
You can pick up the Premium Starter Kit (including 11 Oils + a diffuser) as well as a wholesale membership that will score you 24% OFF your essential oils. I will also gift you bonus items (that can vary by month!)
You’ll also score generous support in our private Facebook groups.

[…] Stress Away Bath Bombs […]