


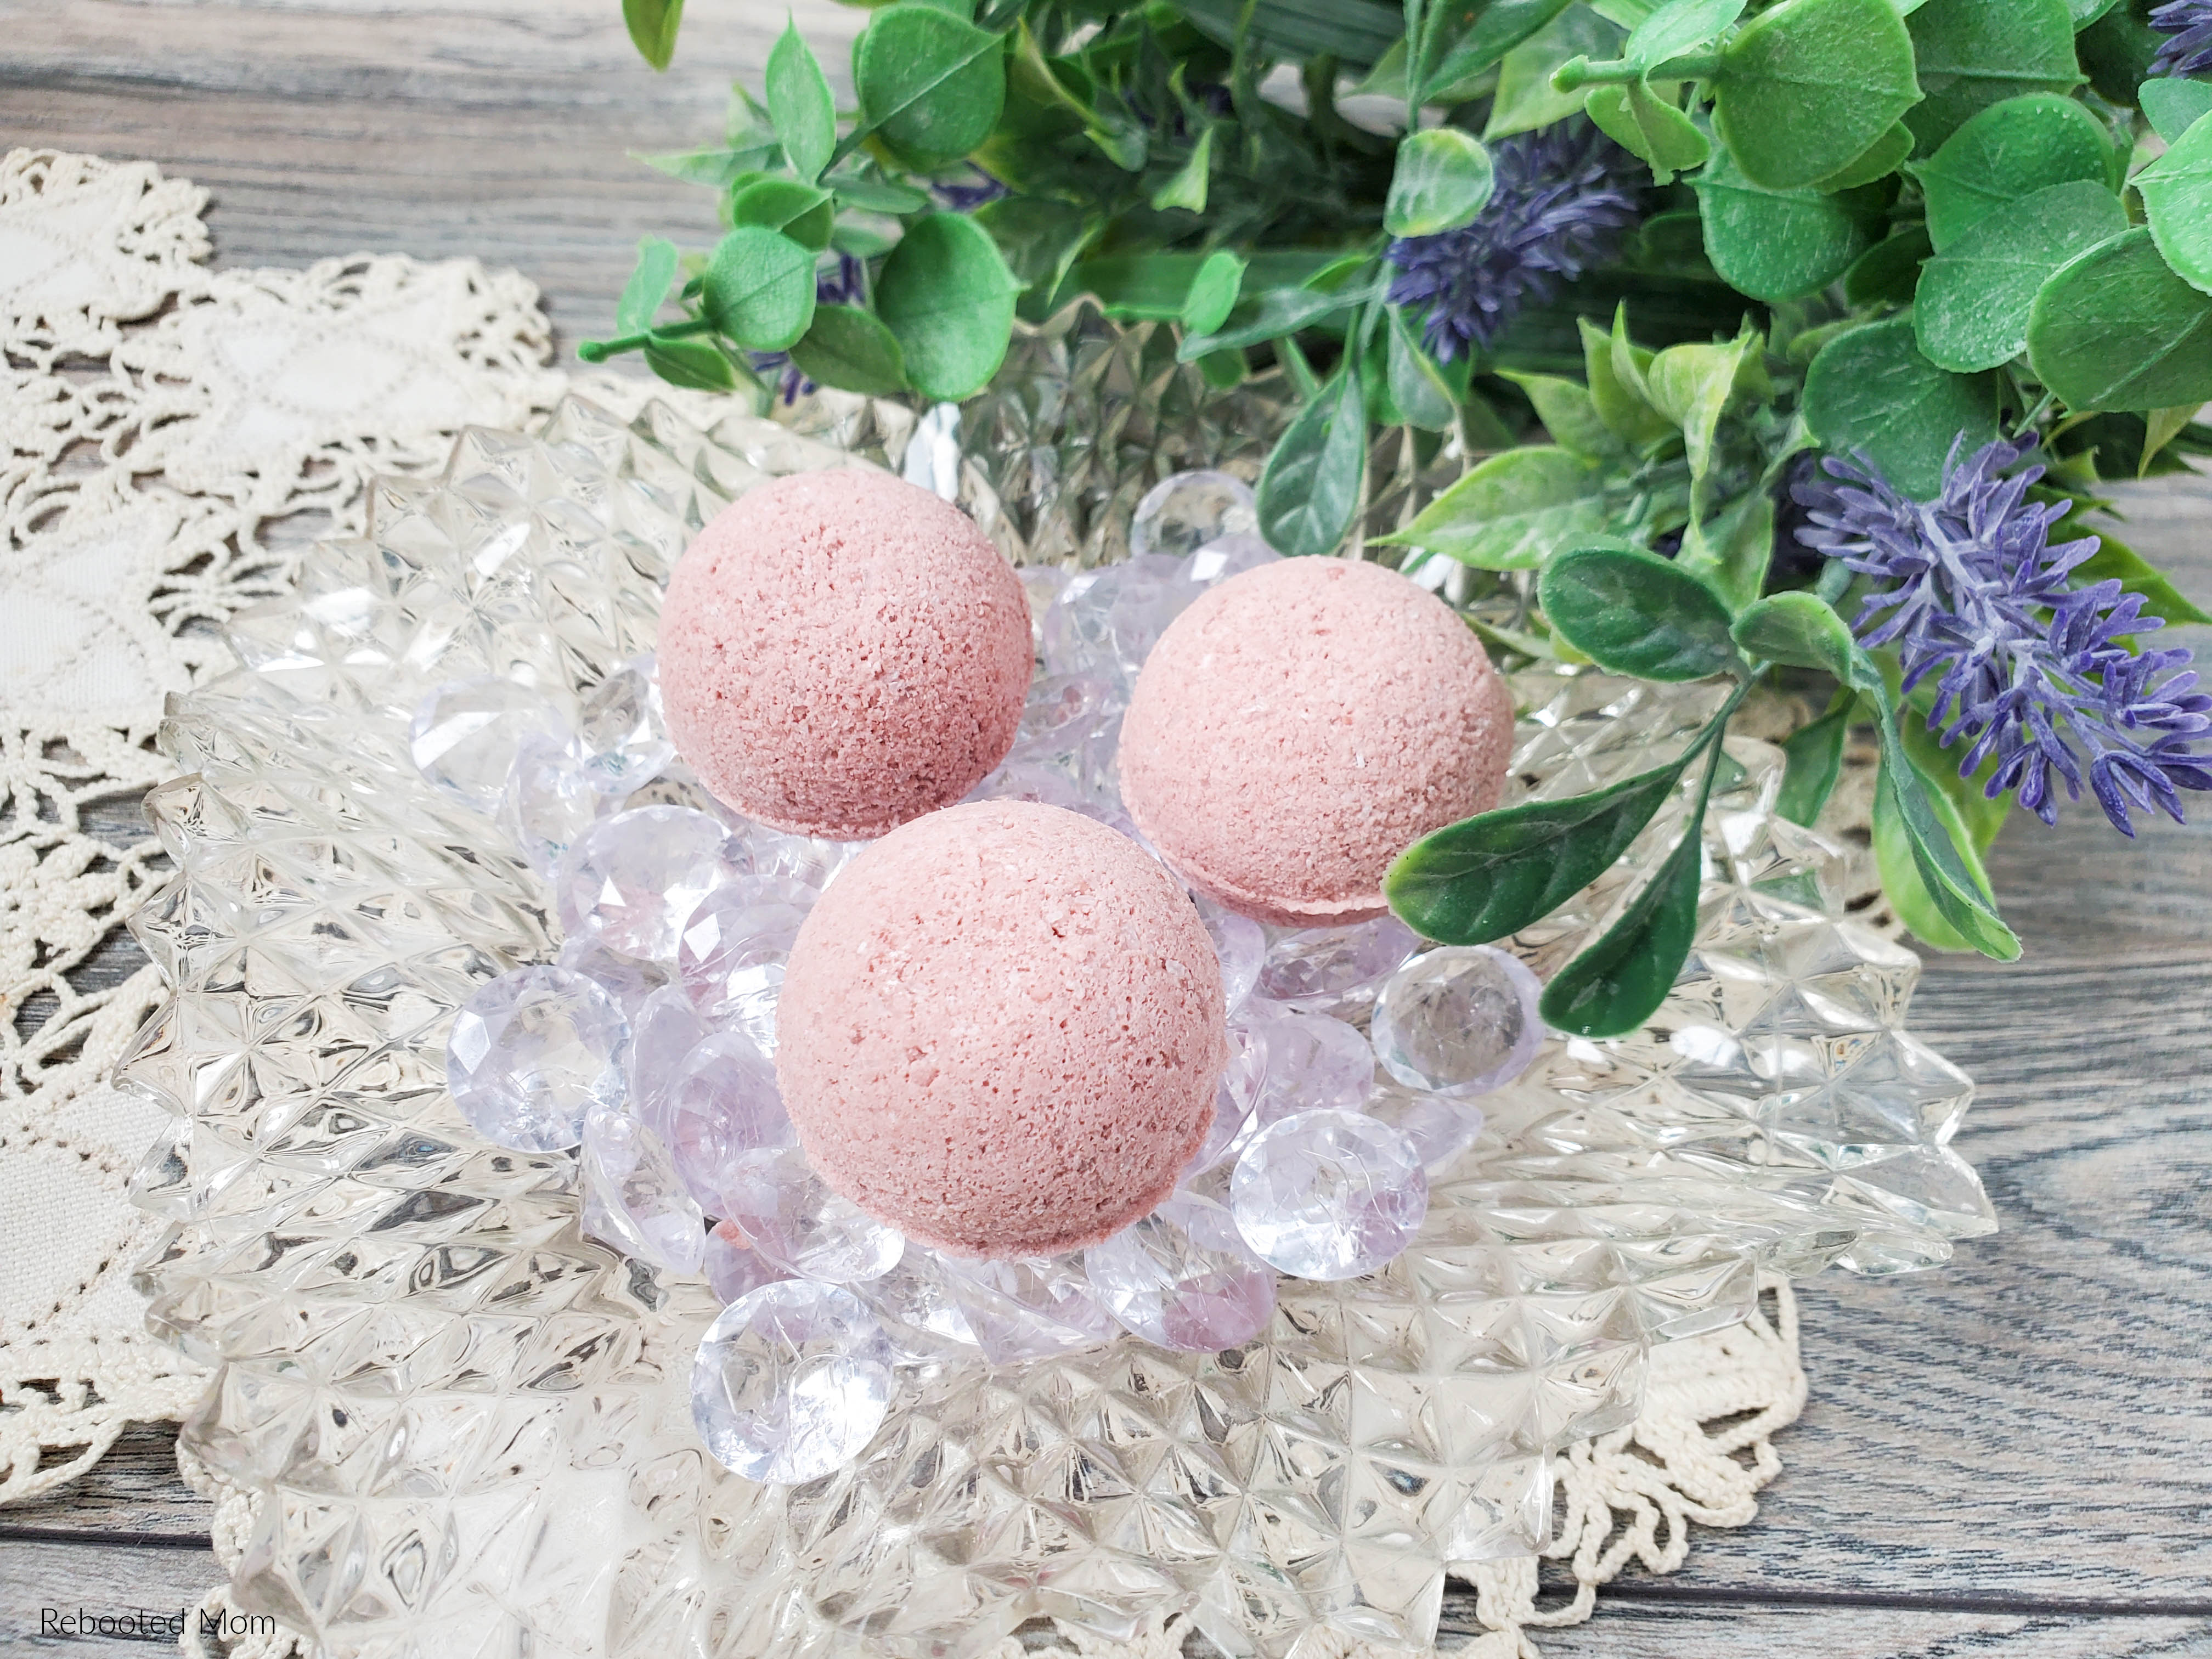
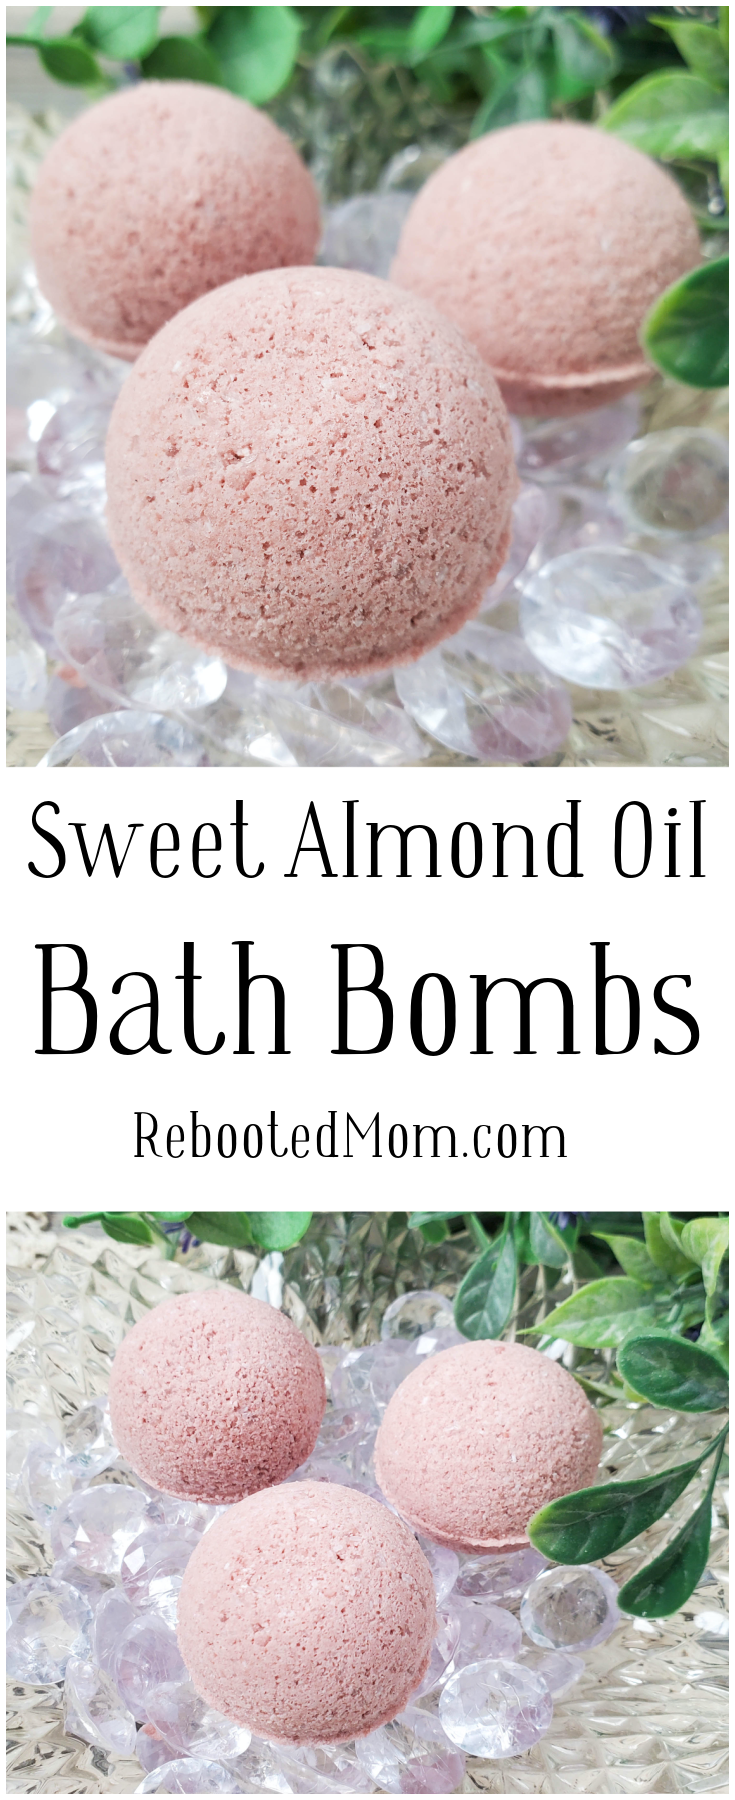
Beautifully fragrant & moisturizing Sweet Almond Oil Bath Bombs that are easy to make and even better to give as gifts to family and friends!
Over the years, I’ve done a ton of DIY’s – from lotion bars to sugar scrub bars… even fun bath bombs with LEGO men and essential oils. Of all the fun beauty projects, bath bombs are one of my favorites.
They are also, however, one of the most tricky to make! When I first started making bath bombs, I failed miserably! Now that I look back, I’m thankful that I didn’t ever give up…. because it was so much fun to finally figure it out.
Take it a step further, it was fun to give them as gifts knowing I made them myself.
Moving on now, have you checked out the price of bath bombs in the store? I have spotted bath bombs as high as $6 – $7 each. That’s horrifying knowing that I have 5 kids that can literally toss 4-5 in one single bath session!

Sweet Almond Oil Bath Bombs DIY
If you haven’t made bath bombs, you’ll enjoy this DIY. Gather the ingredients together and follow these simple instructions. Once you are done, wrap and gift them to family and friends.
Disclosure: Some of the links below are affiliate links. This means that, at zero cost to you, I will earn an affiliate commission if you click through the link and finalize a purchase.
Supplies/Ingredients:
- 2 oz epsom salt
- 4 oz baking soda
- 2 oz corn starch
- 2 oz citric acid
- 1 tbsp sweet almond oil
- ½ tbsp water
- 20 drops sweet almond fragrance oil
- ¼ tsp Coffee colored mica powder
Ingredients:
- Large bowl
- Whisk
- Measuring cups
- Measuring spoons
- Small jar with lid
- Bath bomb mold
- For wrapping, 100 ct cellophane bags
Directions:
To start, combine dry ingredients (epsom salt, baking soda, citric acid, and corn starch) in a large bowl. Mix very well, using the whisk, until all ingredients are fully combined.
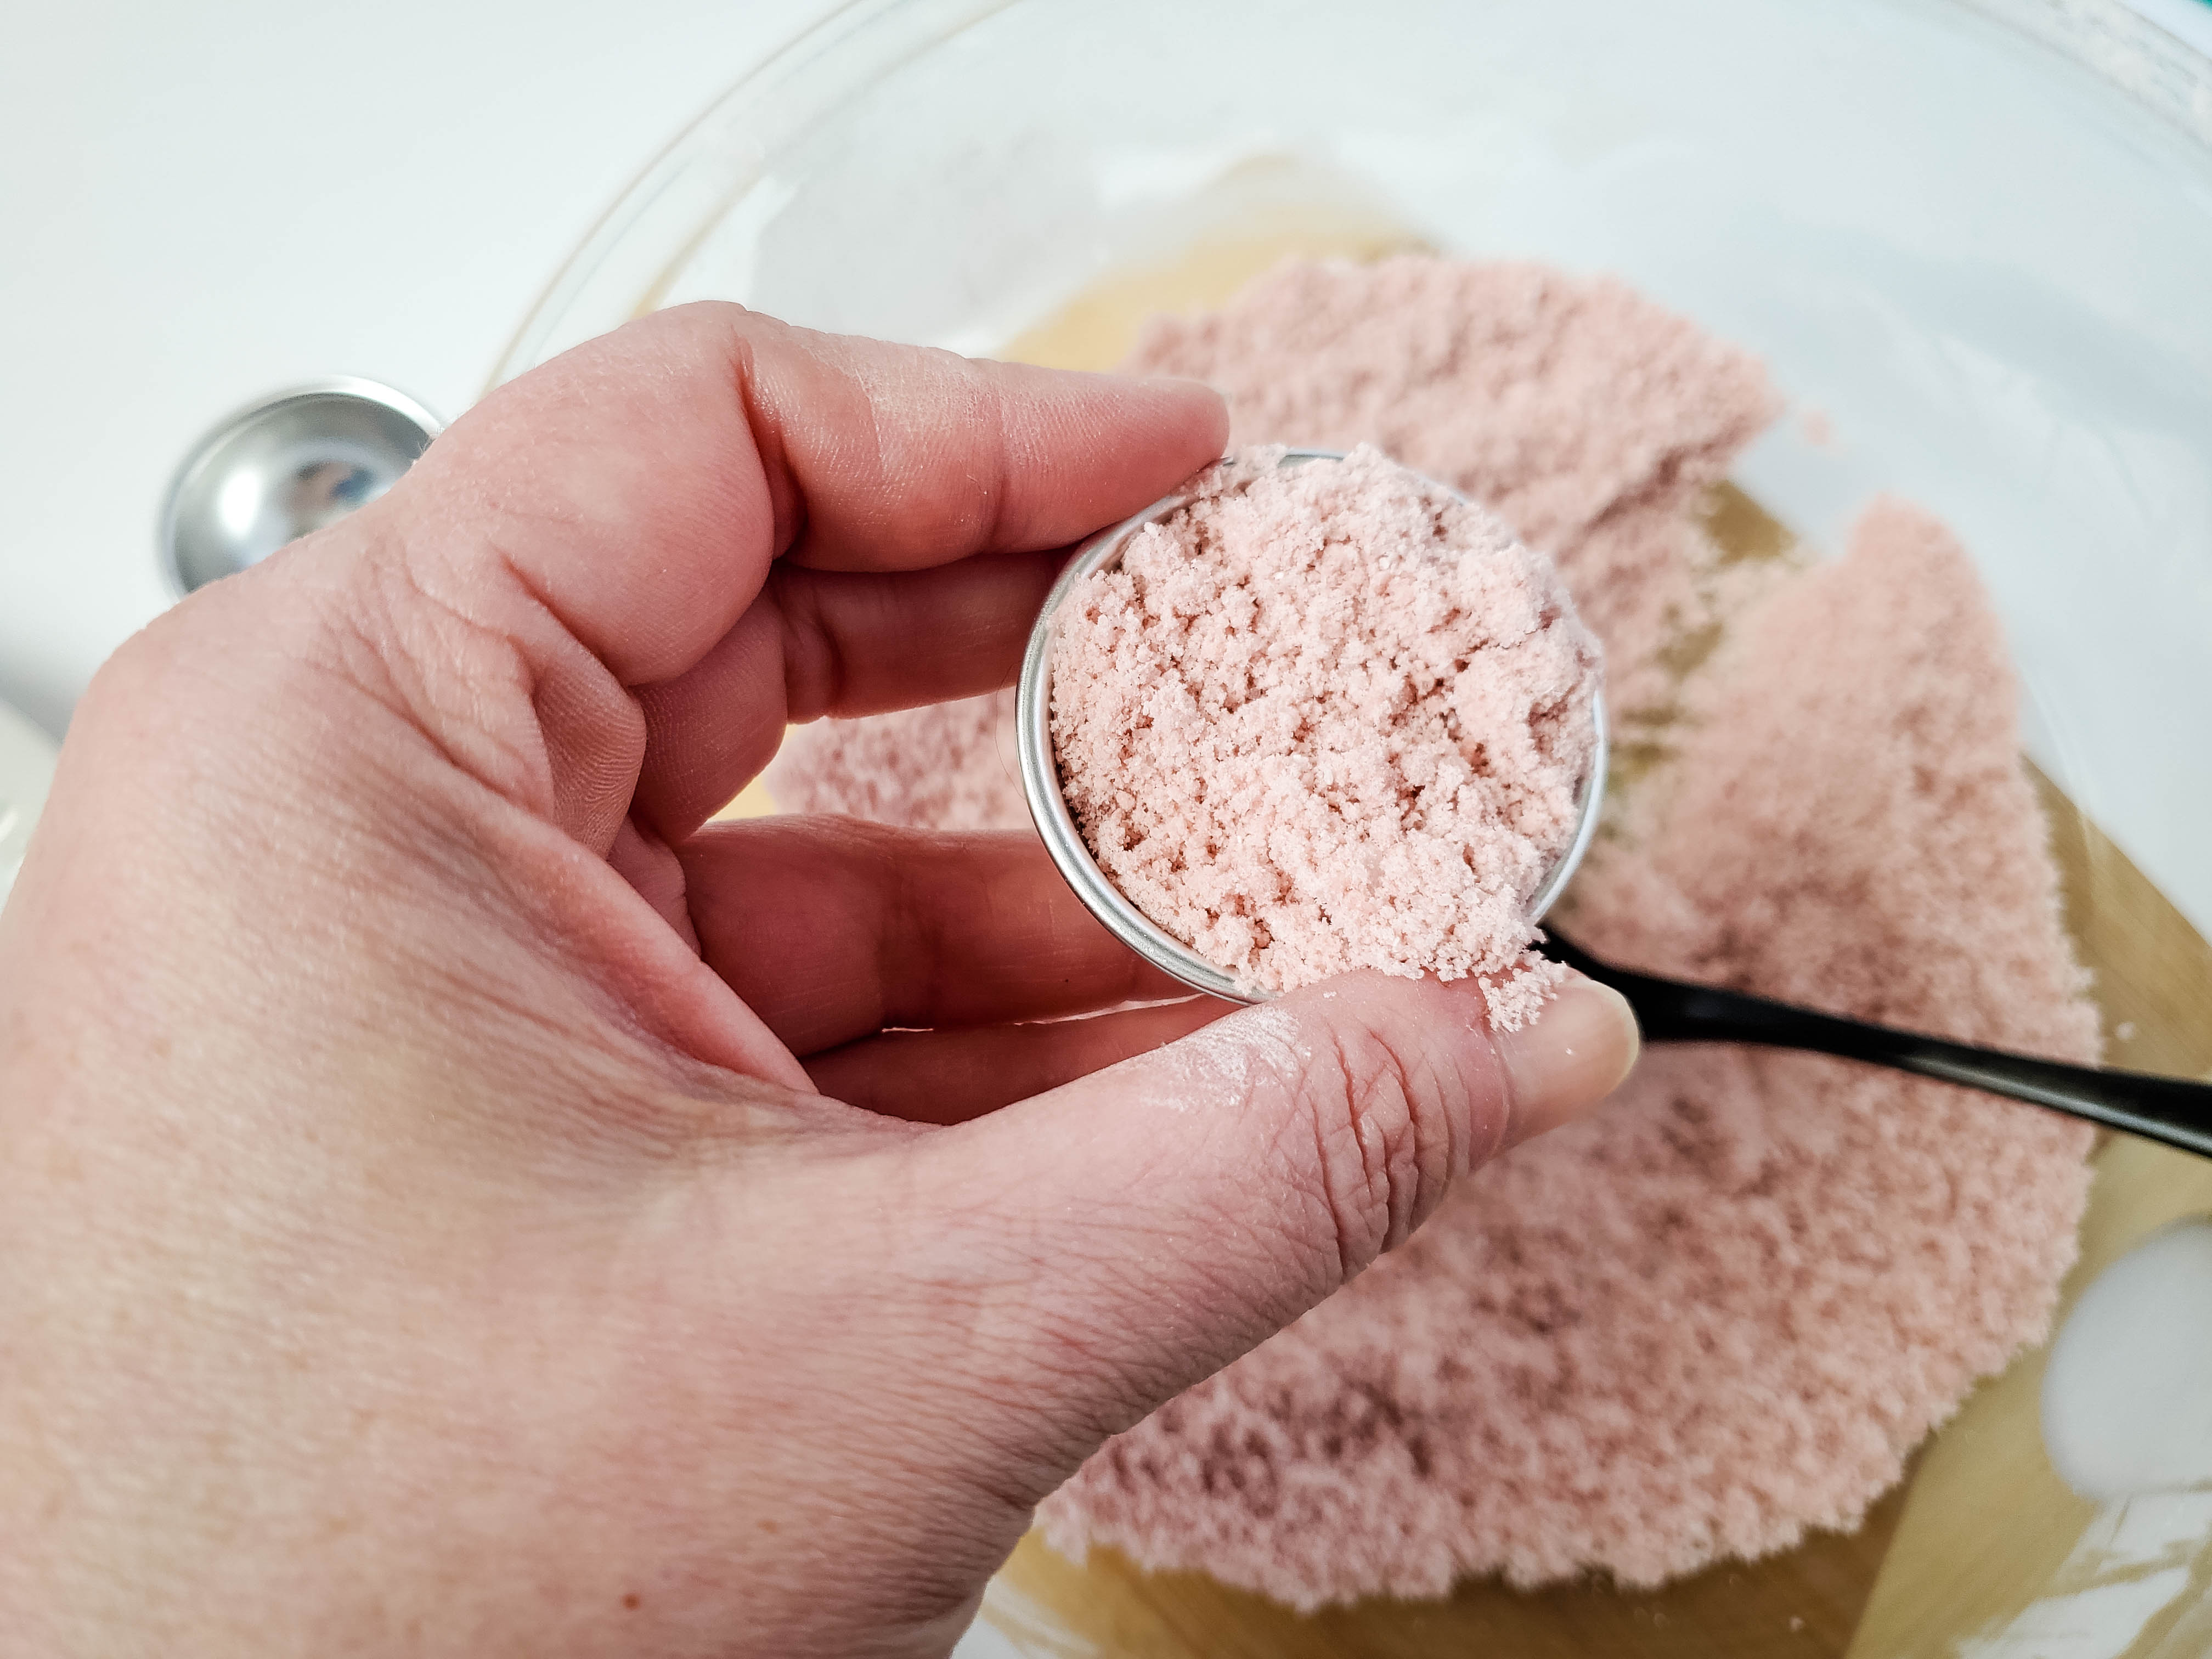
Quickly add your mica powder, and stir well until color is blended.
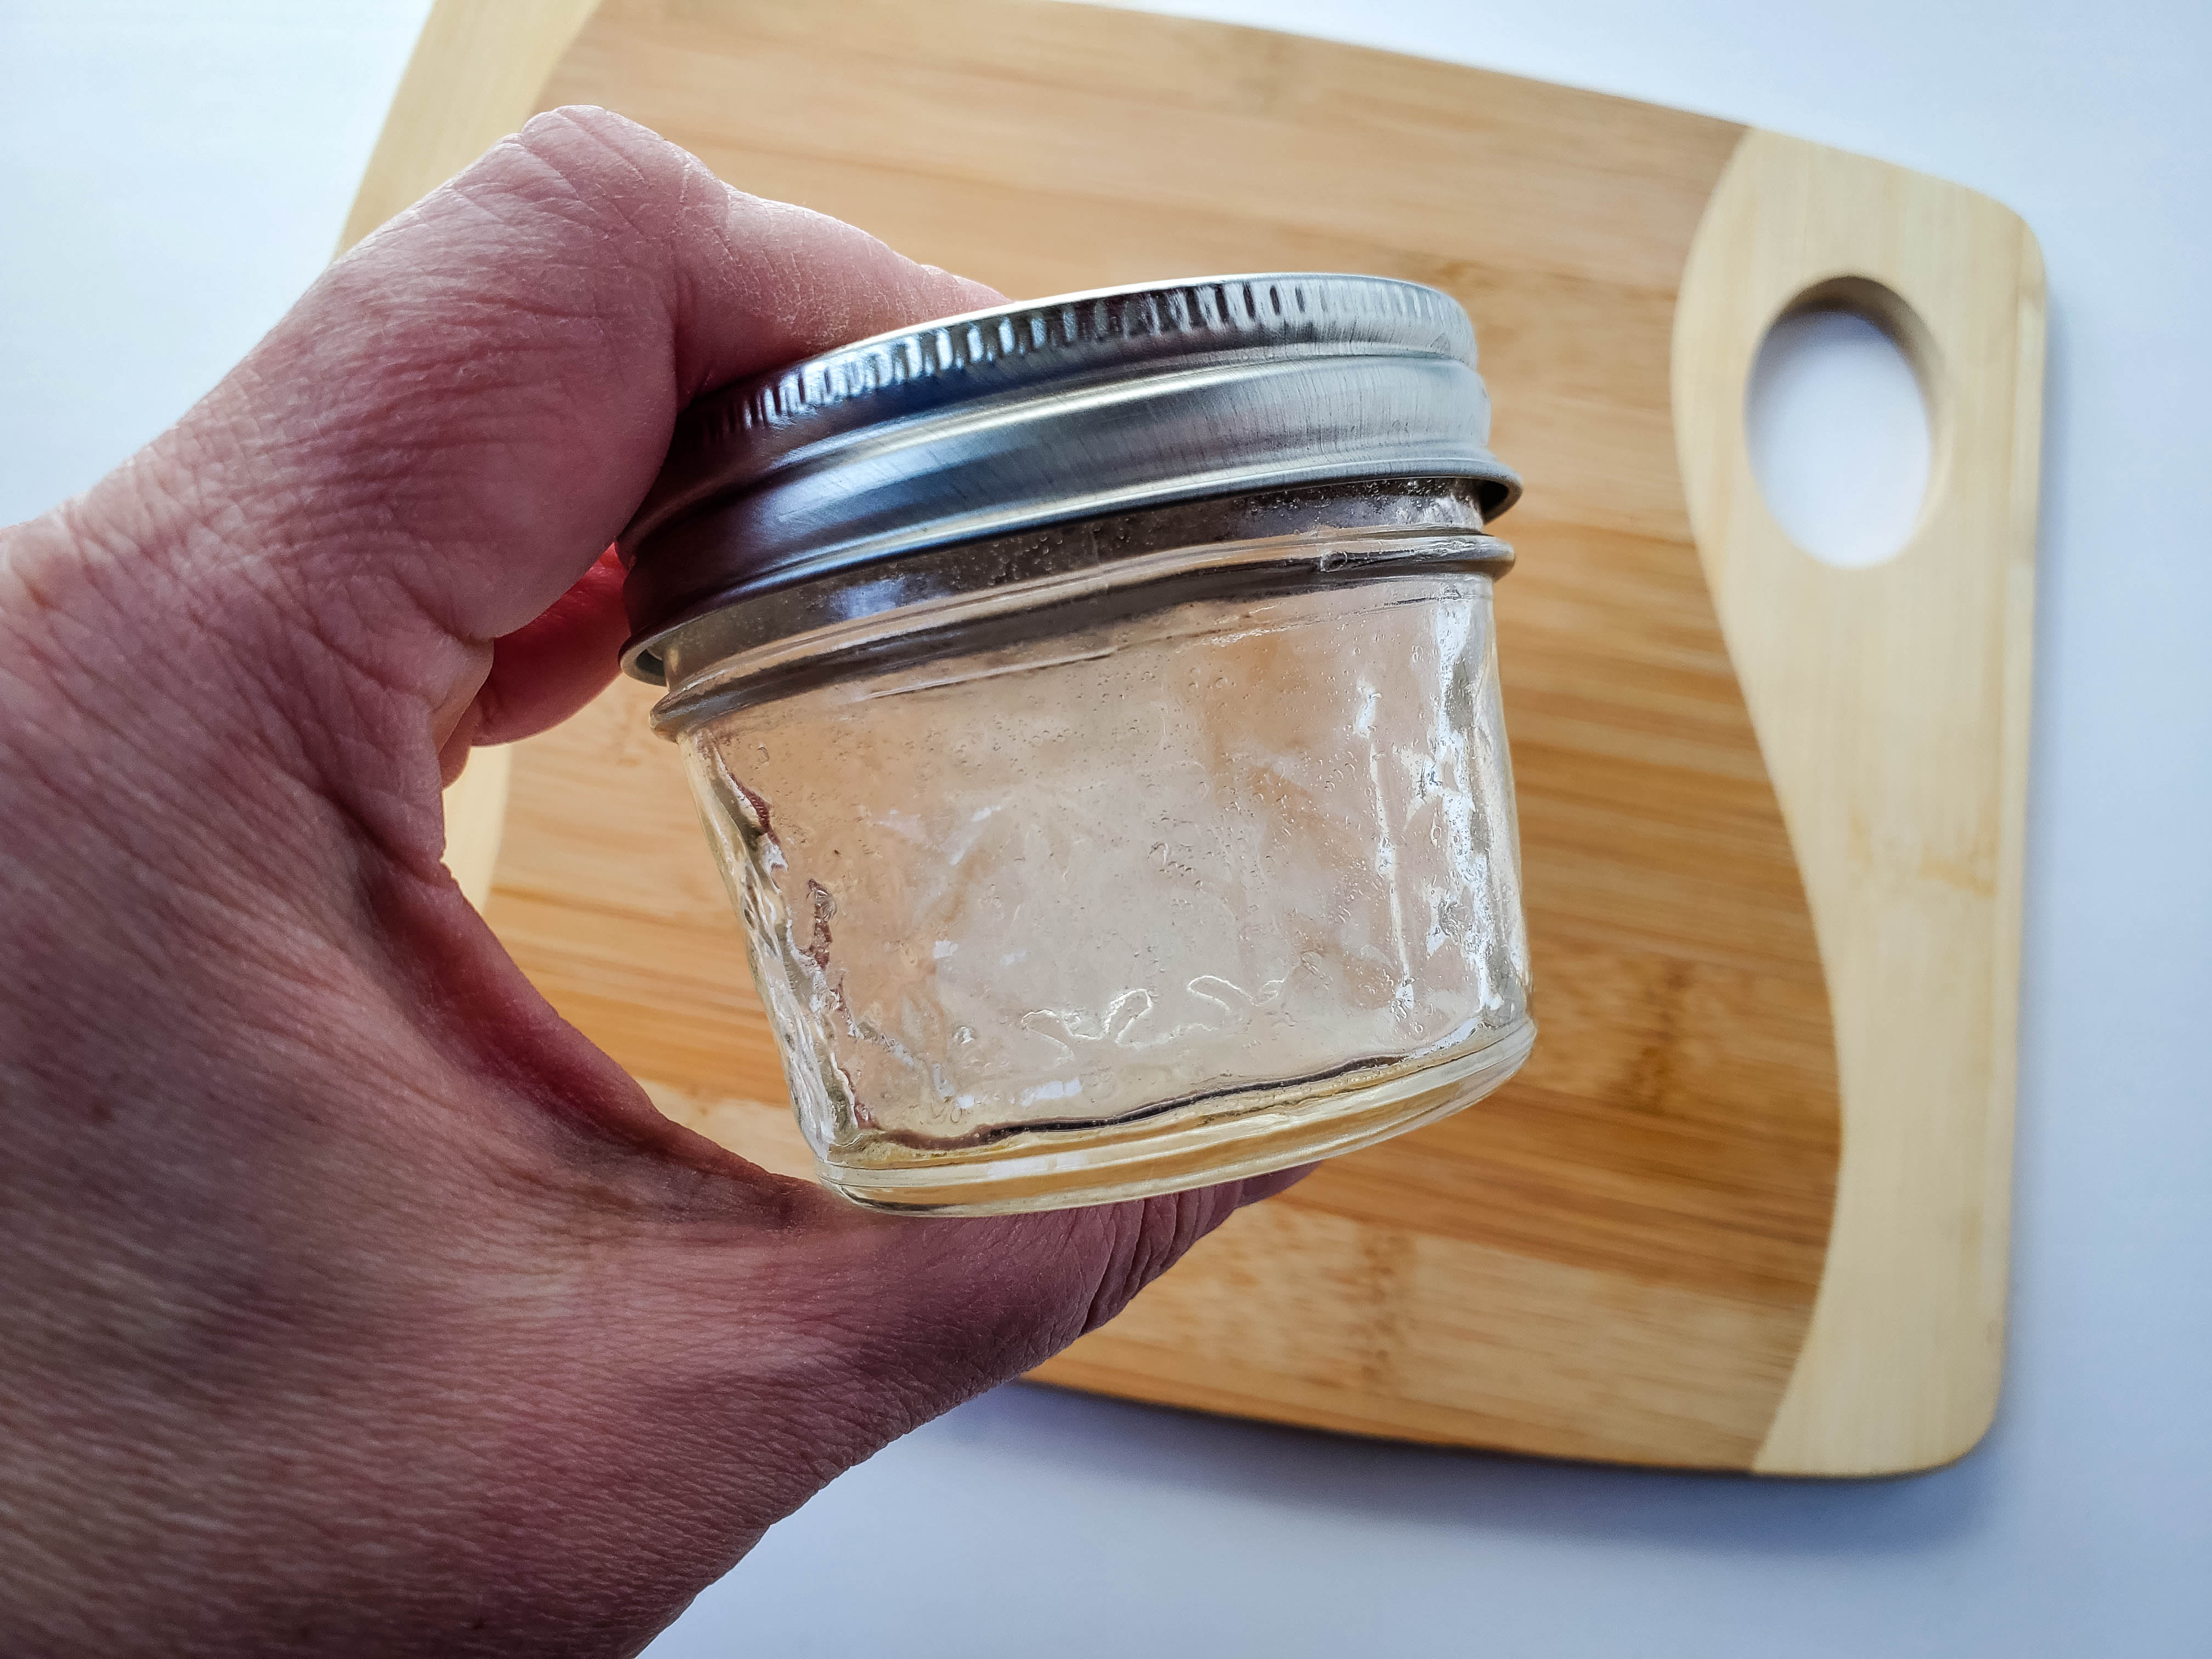
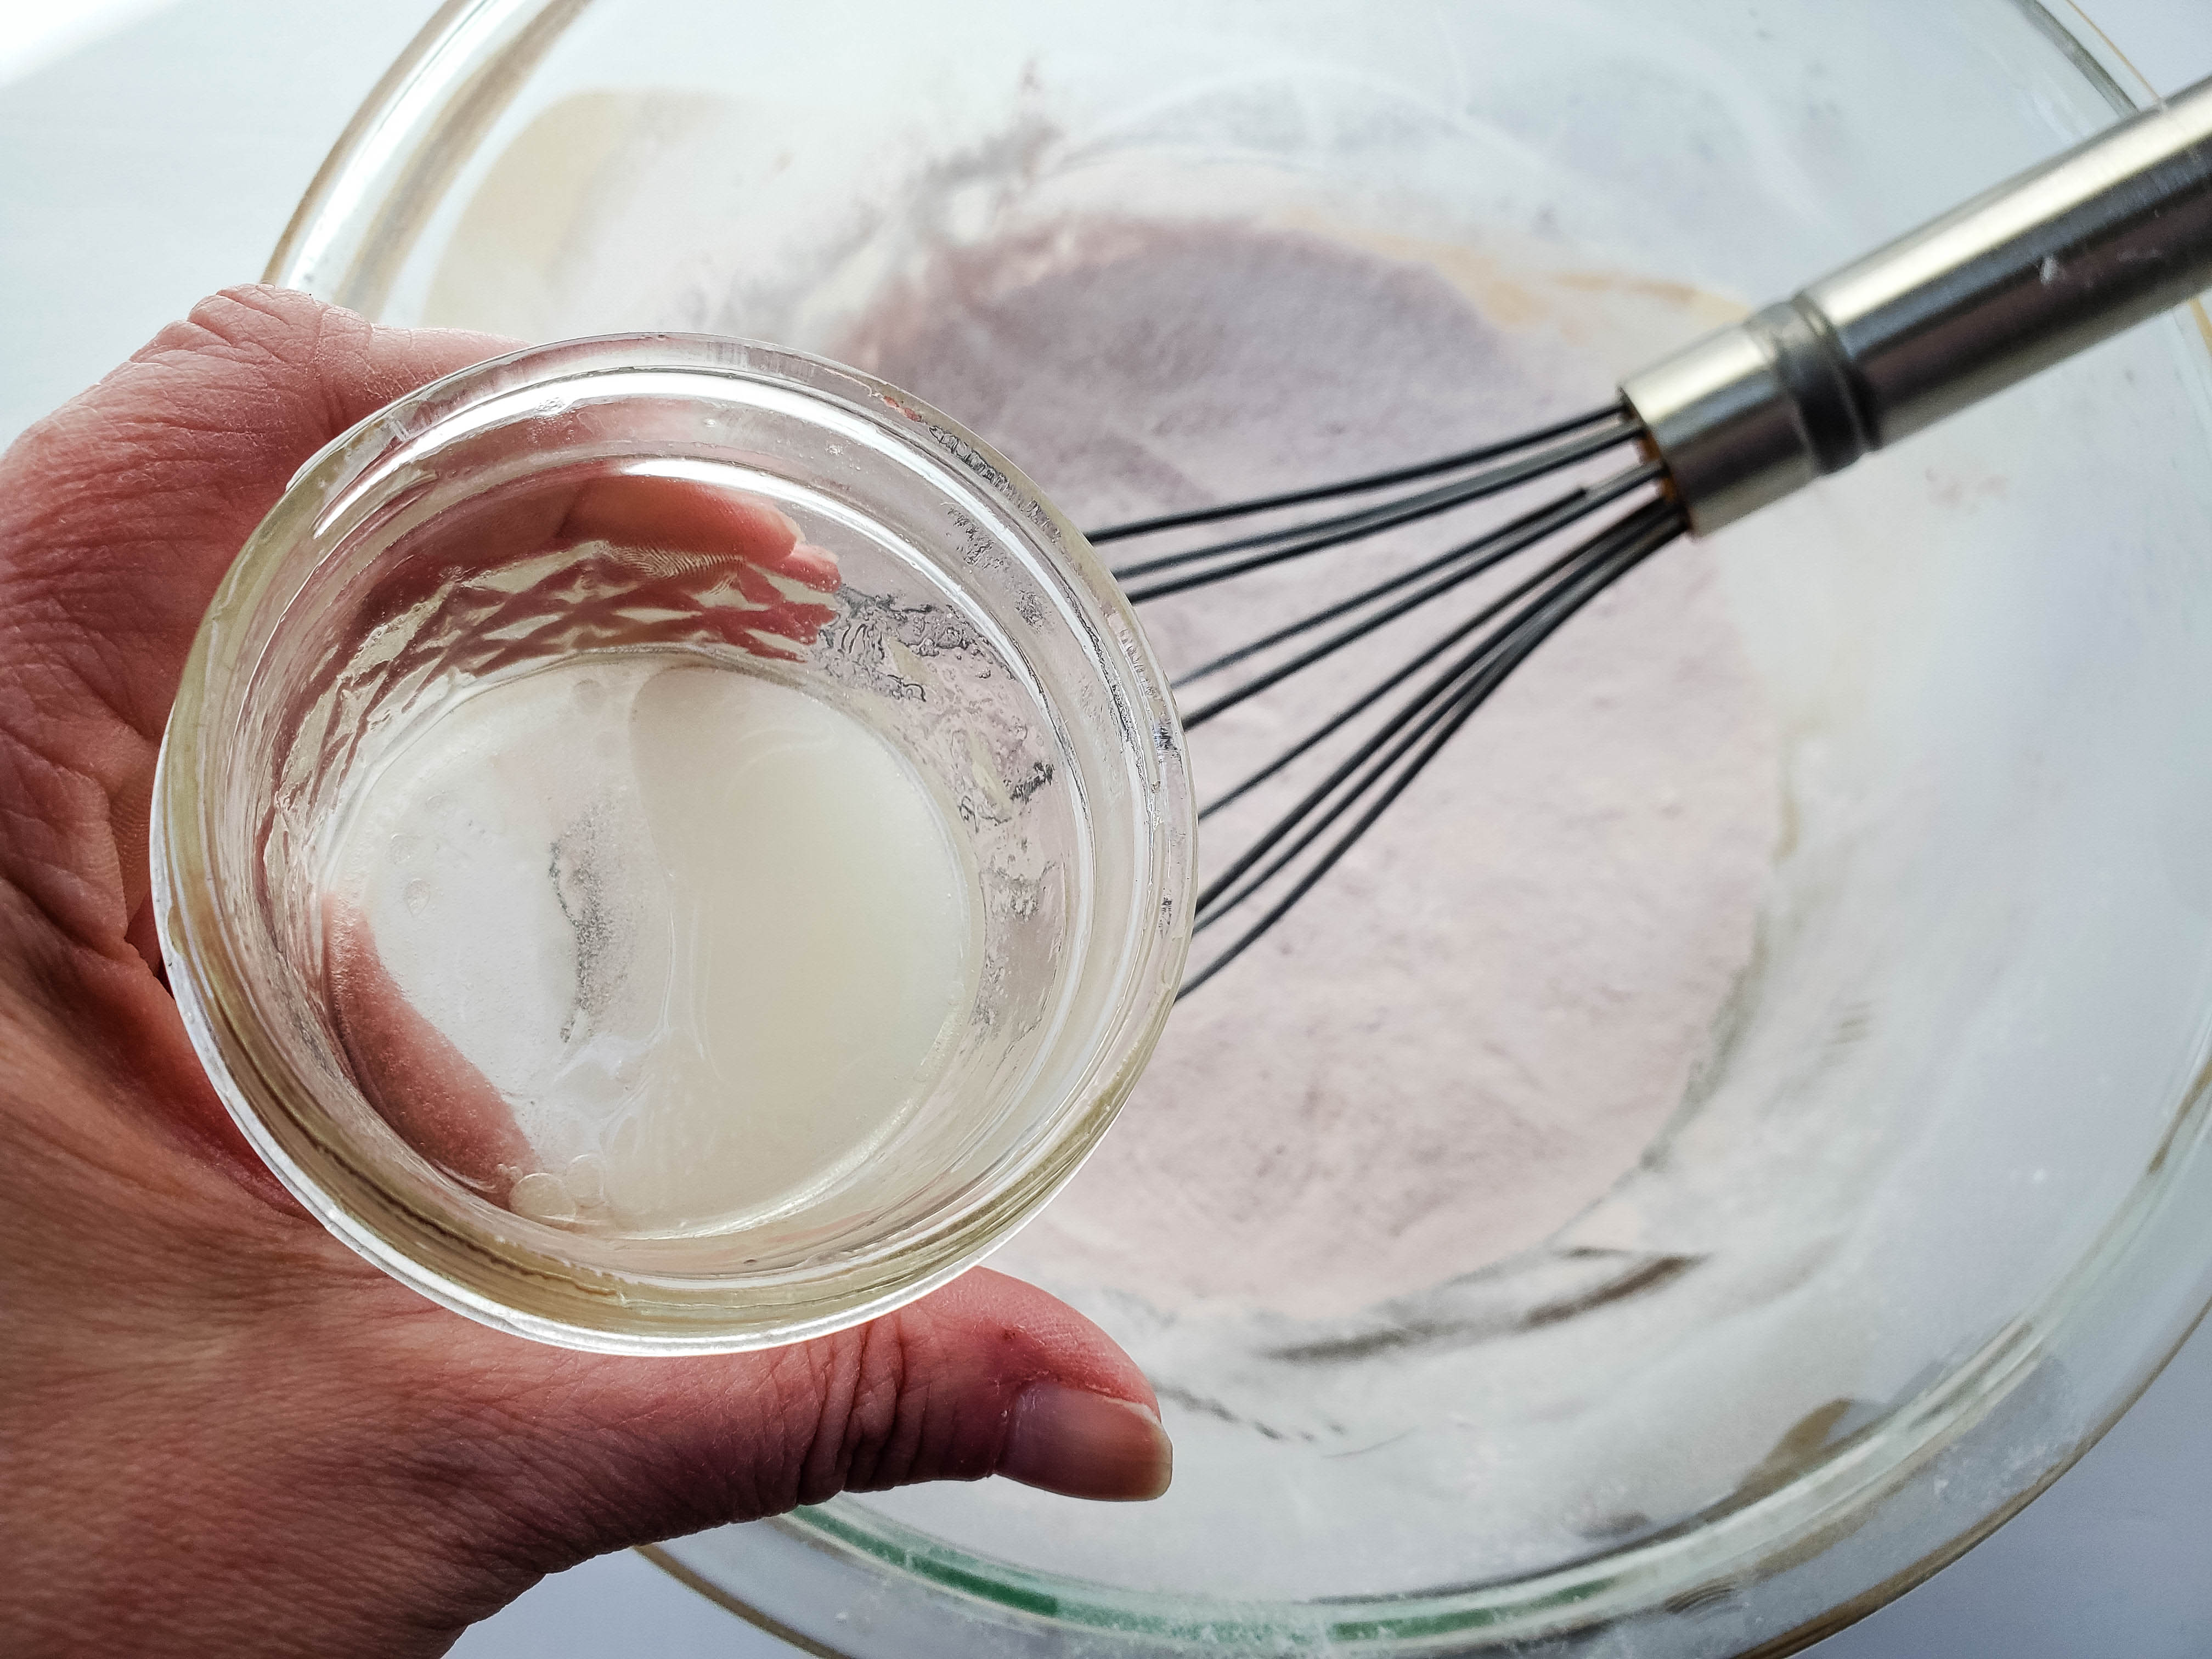
Add liquid ingredients into a small jar, screw the lid on, and shake very well until combined.
Add the liquid mixture to the dry mixture very slowly, drop by drop, while whisking. If you do not do this slowly, or don’t whisk while adding the liquid, you will activate the “fizz”, and will have to start from scratch.
Once liquid has been added, whisk very well, until you have a mixture the texture of damp sand.
Stuff each half of the mold with mixture, secure the two halves, and twist slightly, dusting off any excess mixture.
Let set for about a day to allow the bath bombs to harden. To remove from mold, twist slightly, and remove the metal mold.
At this point, immediately wrap and twist tie. Cello bags 4×6″ in size fit perfectly around the large bath bombs. You can find smaller bags if you opt to use the smaller bath bomb molds.
Looking for more DIY beauty projects:

Leave a Reply