


Step by step instructions to make cold process beeswax and honey soap — a fantastic soap that creates a hard bar that’s gentle on skin for all ages!

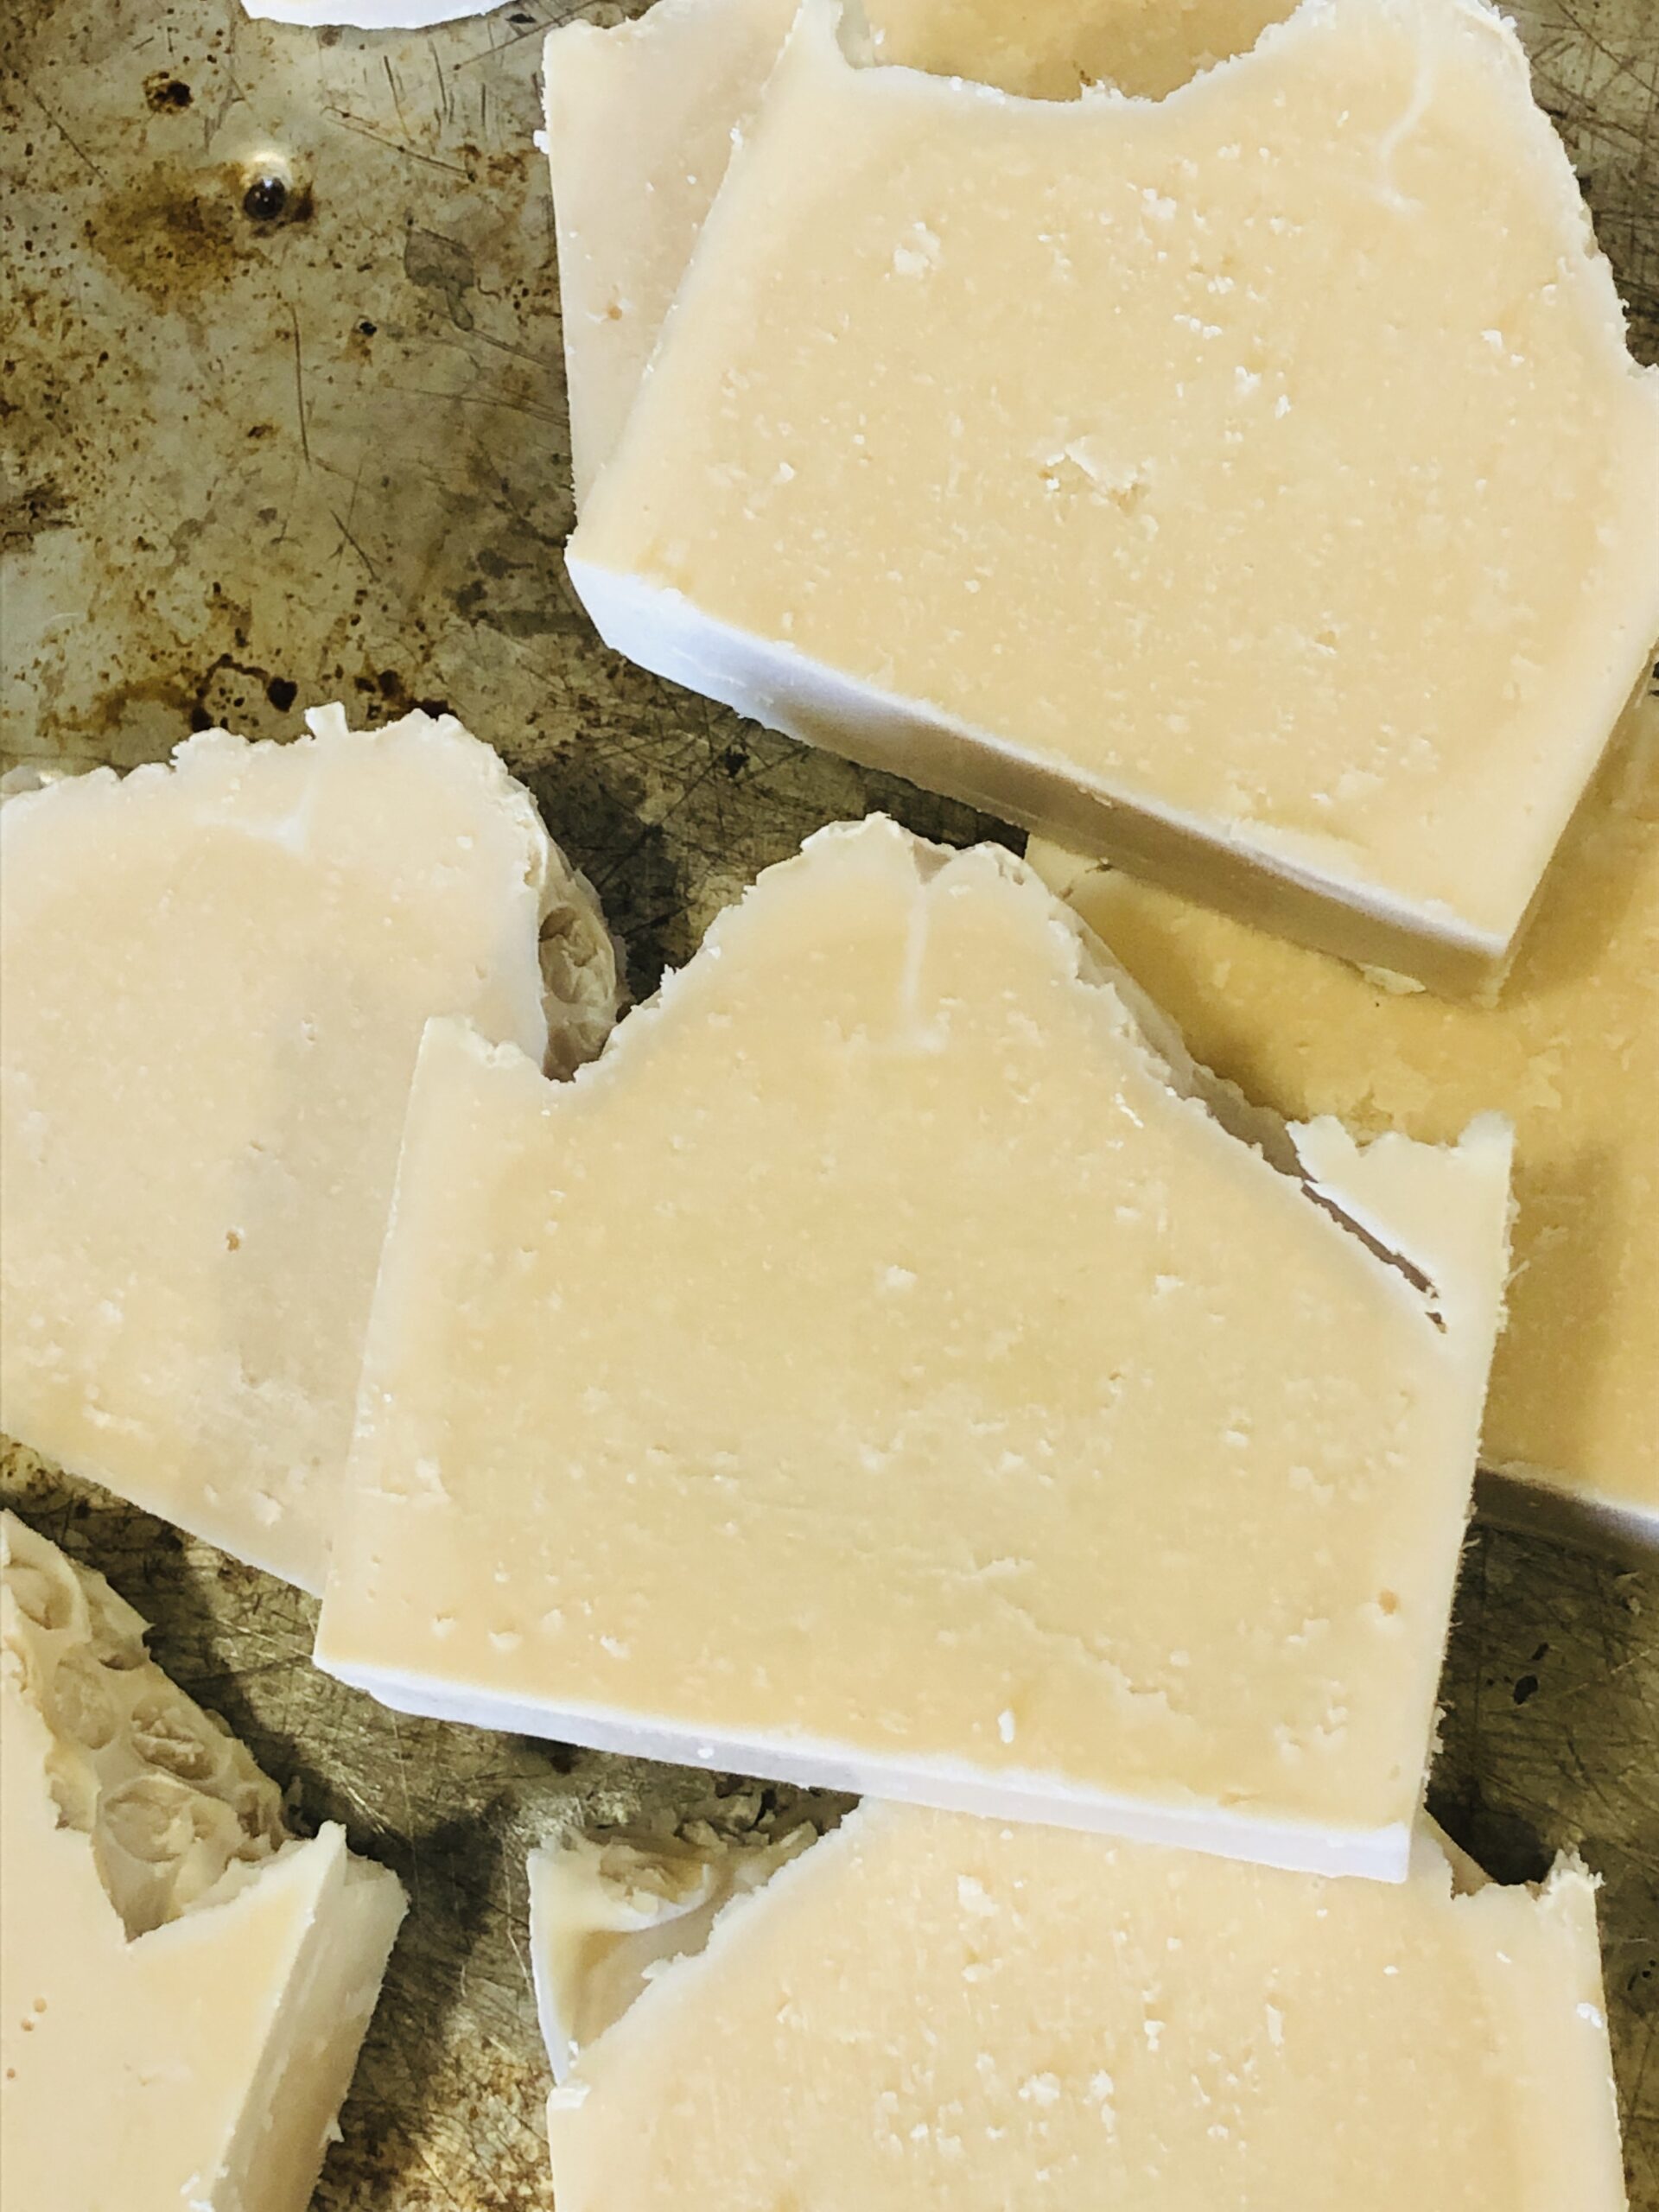
Beeswax and Honey Soap is one of my favorite soaps to make (and even more, a favorite to use!) Making cold process soap is, in general, one of my favorite ways to stay busy.
When I first started making soap years ago, I used a variety of different additives – clays, purees, cocoa, flax, even coffee. I’ve even put cactus paddles in soap.
Yes.. you read that right. 🌵😆
Now, all these years later, beeswax and honey soap is perhaps my favorite of them all.
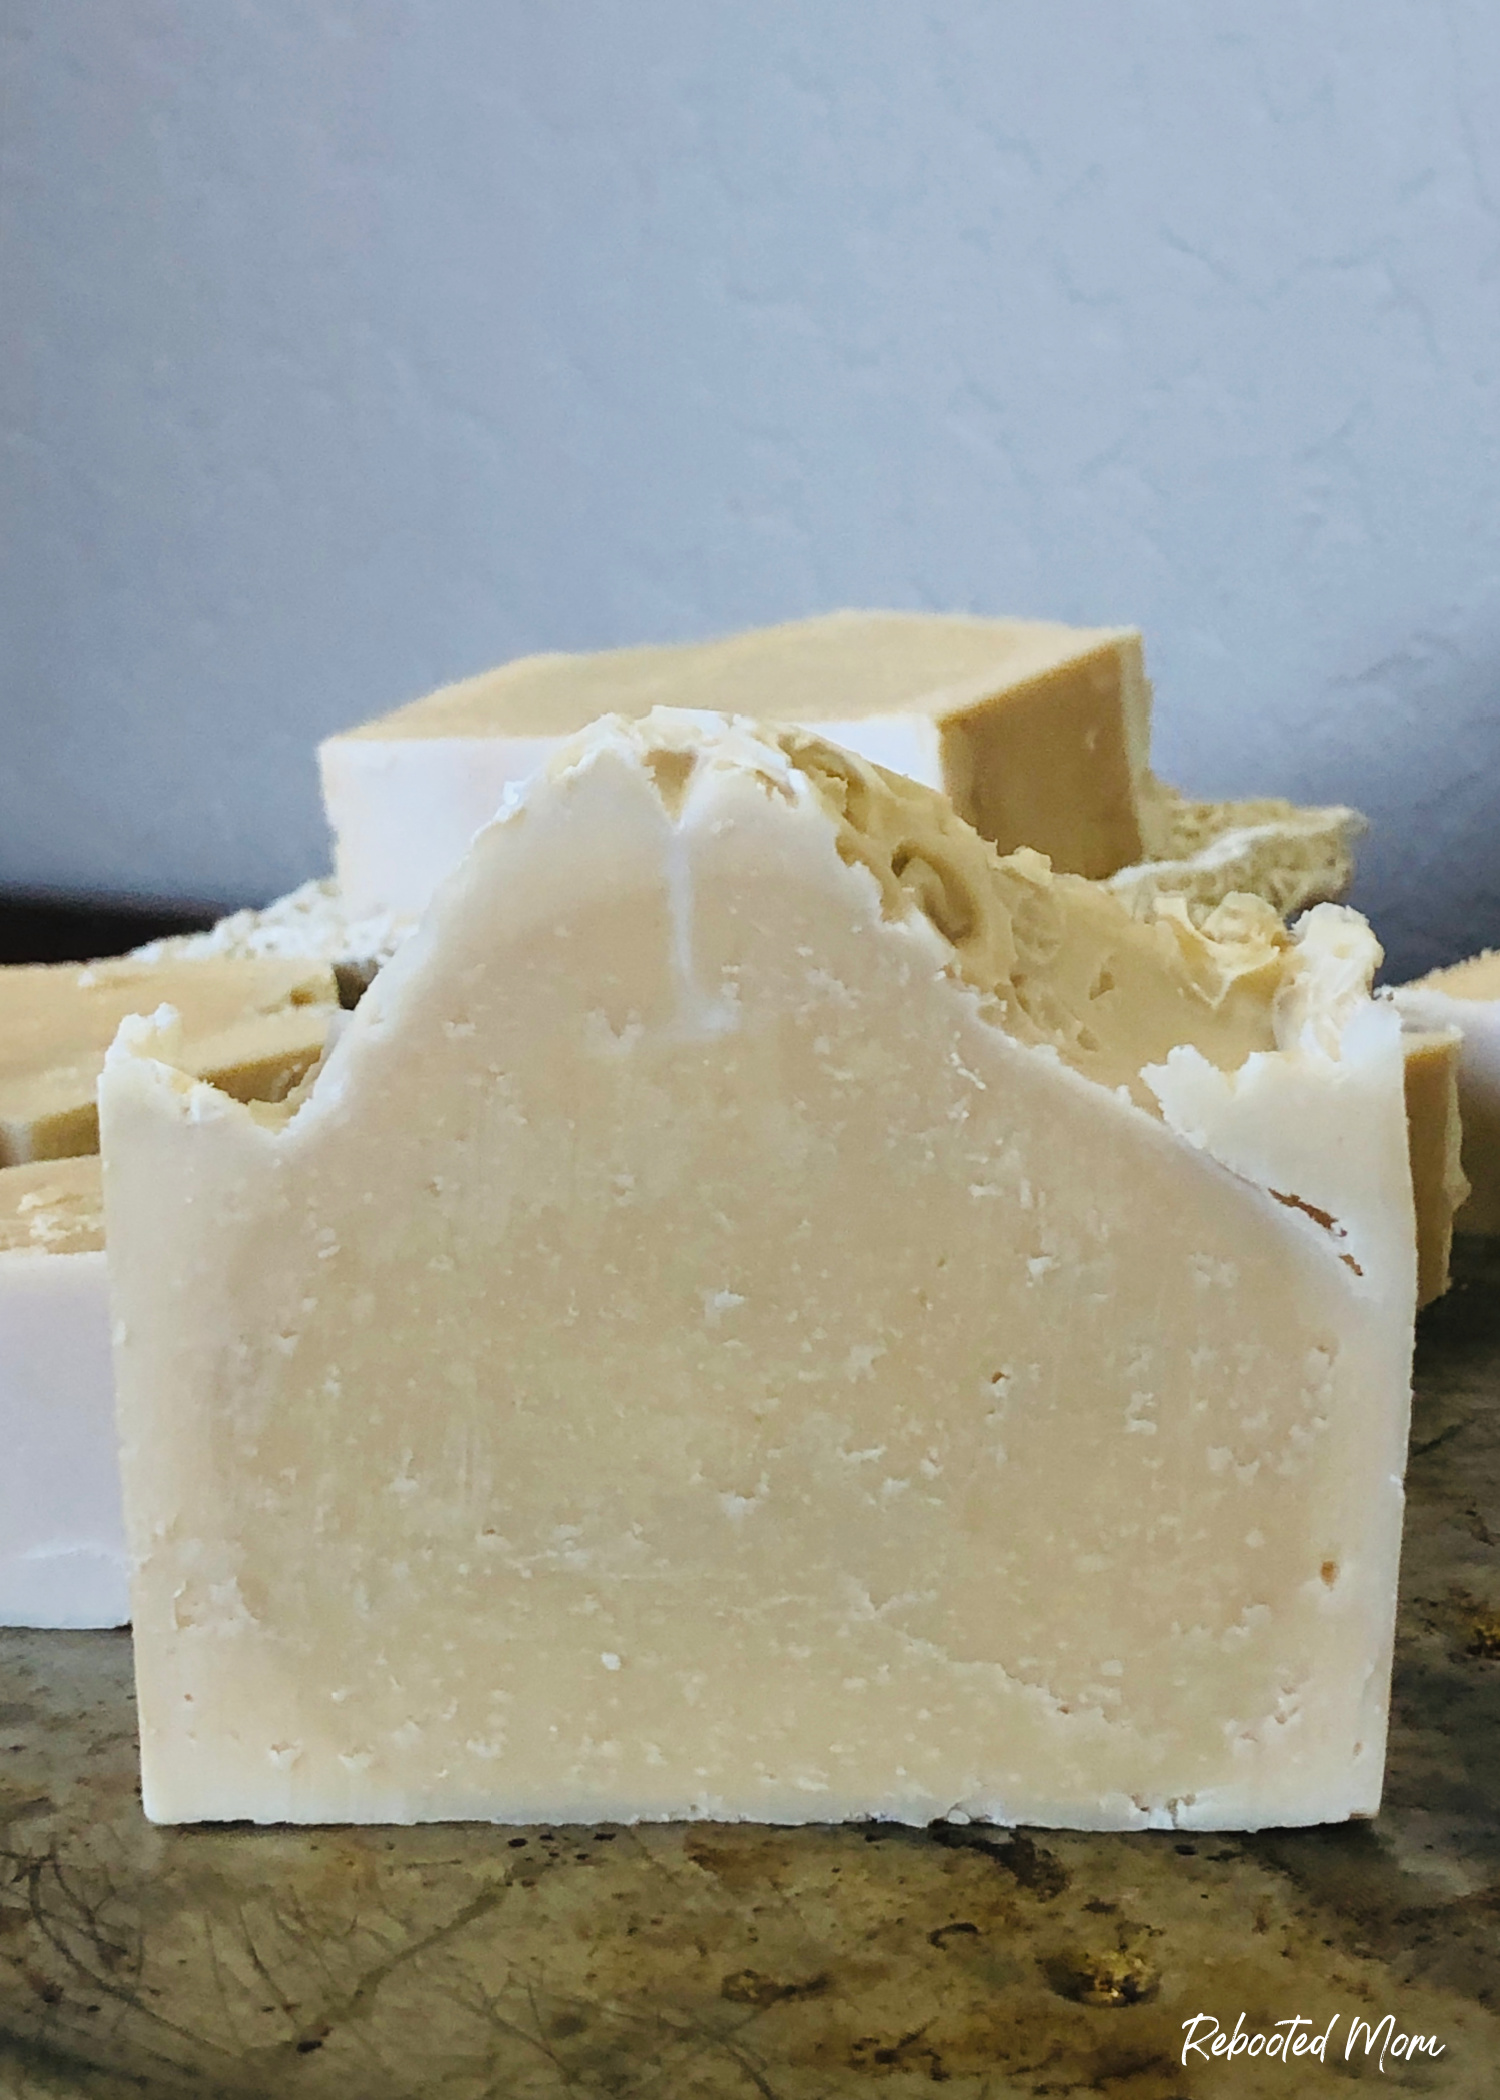
This recipe creates a hard bar that lathers exceptionally well – by keeping the beeswax to 1-2% of the weight of the soap, it allows for a hard bar to form, that has a generous lather. Use too much beeswax and you’ll compromise the effectiveness of the soap – so it’s best to keep the beeswax to a less than 2% of the total weight of the soap (in this case, the total weight was 50 oz – so I used .73 oz of beeswax).
Soaping with beeswax is a bit different than soaping without. When using beeswax, you’ll want to heat your oils and fats to 140 degrees. Once heated, melted and combined, you’ll want to add the honey to the mixture, too.
Soap traces much quicker when using beeswax so be prepared to use your immersion blender very briefly prior to pouring in a mold that’s close by.
BEESWAX AND HONEY COLD PROCESS SOAP
Please use a scale to weigh the ingredients and ensure they are accurate. I’m using a 6% superfat on this soap.
LIQUID/LYE:
- 4.61 oz lye (sodium hydroxide)
- 10.30 oz distilled water
OILS AND FATS:
- 35 oz Beef Tallow
ADDITIVES:
- 45 grams honey (warmed)
- .73 oz. beeswax pellets
This recipe fits perfectly in this Crafter’s Choice, rectangle silicone mold – available on Amazon or from Wholesale Soap Supplies.
Prepare all of your ingredients – and have everything set aside to start:
- Thermometer (one that you don’t use for food)
- 1 rectangular mold
- Pyrex 8 cup measuring device – not required, but so handy to have!
- Immersion Blender – you don’t have to spend oodles but you will want something reliable with a metal stick, not plastic.
- Lye – this is the brand we use
- Digital Scale to measure your ingredients
STEP BY STEP:
Step 1: Slowly add the lye to the liquid portion over a sink. Open up the windows behind the sink or place a fan behind you to dissipate the fumes. Make sure you are wearing safety goggles or gear, long sleeves and gloves. The mixture will get hot very quickly and the fumes will be strong until the mixture cools.
Step 2: Set aside your lye + liquid mixture and allow to cool to 135-140 degrees F. In the meantime, prepare your tallow by measuring it on the scale. Melt the tallow and beeswax over the stovetop, your goal is to reach a temperature of 140 or slightly more until the beeswax has melted. Add the warmed honey and use your stick blender to ensure that the honey dissolves in the tallow and beeswax.
Step 3: Once you are ready to make your soap, add your lye + liquid to the tallow/beeswax/honey with a stick blender. Avoid running the stick blender for long periods. 10-15 second bursts with short breaks will be sufficient.
Step 4: Continue to blend in short intervals until the mixture reaches a trace (the mixture will start to thicken like pudding). Beeswax will contribute to a rather quick trace.
Pour the thickened soap batter into your soap mold and level off (for flat top soap) or, use a spoon to “peak” the top of the soap. Set the soap mold in a cool place (refrigerator) to prevent it from overheating. Or set to the rear of the counter and cover lightly. Do not disturb the mold.
Step 5: After 24-48 hours, remove from the mold. If your soap is still too soft, set it in the freezer for 30 minutes and then try to remove from the mold. Bring to room temperature before using a soap cutter to cut into bars. Allow the soap to cure for 4 weeks before using.
Looking to change out the oils? Make sure you use a lye calculator to re-run the recipe and ensure you have the correct amount of lye.
DON’T WANT TO MAKE THIS YOURSELF?
Shop my soap store for handmade soaps just like this!
DID YOU MAKE THIS SOAP?
If you did, please take a second to leave a comment as I’d love to know how it turned out.
I’d ask you to tag me on social media but I gave up social media several years ago and I don’t have it at all. I still love to read comments and get questions though – so don’t be afraid to leave comments on this post as I do take the time to read and respond when I can.

Leave a Reply