


Learn how to make fresh, homemade cheese curds with this easy recipe including step by step recipe complete tutorial with detailed pictures.
Cheese curds bring back memories from my childhood, growing up in Minnesota. Wisconsin was the cheese state.. and being less than an hour from Wisconsin ourselves, cheese was everywhere.
Every summer, we’d take a trip to the Minnesota State Fair and smell the wonderful cheese curds cooking from the food trucks. Deep fried in batter, they still make my mouth water. Back then I didn’t so much care bout eating healthy – I was a kid, and was convinced that everything fried was amazing.
Thirty years later I still think that’s true. But I’ll be honest – every time I mention cheese curds now, I probably put on 20 pounds instantly.
What are cheese curds?
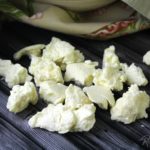
Cheese curds are fresh curds of cheese (in this case, cheddar). They are squeaky when you bite into them. If you don’t eat curds immediately, they can sometimes lose that squeakiness that you get after they are first made.
And if you make too many to eat over the course of a few days, then you can freeze them (for up to 4 months). But freezing them will more than likely make the squeak disappear too.
Cheese curds are best eaten as they are.. but every so often it’s fun to dunk them in the deep fryer and just go all out. Not a good idea though if you are on a diet but every once in a while it’s nice to just let it all hang out.
Cheese Curds Recipe
Every so often we’ll have a gallon or two of raw milk to spare, and when we do, it calls for cheese curds. They are not difficult to make – nonetheless, they are time consuming.
Make sure that if you opt to jump into this recipe, it’s on a day that you are at home without the need to go out.
Ingredients needed:
- 2 gallons of milk (not ultra pasteurized) – we use raw milk
- 1 packet thermophilic culture
- 1/2 tsp single strength liquid rennet
- optional: 1/4-1/2 tsp annatto (for color)
- cheese salt
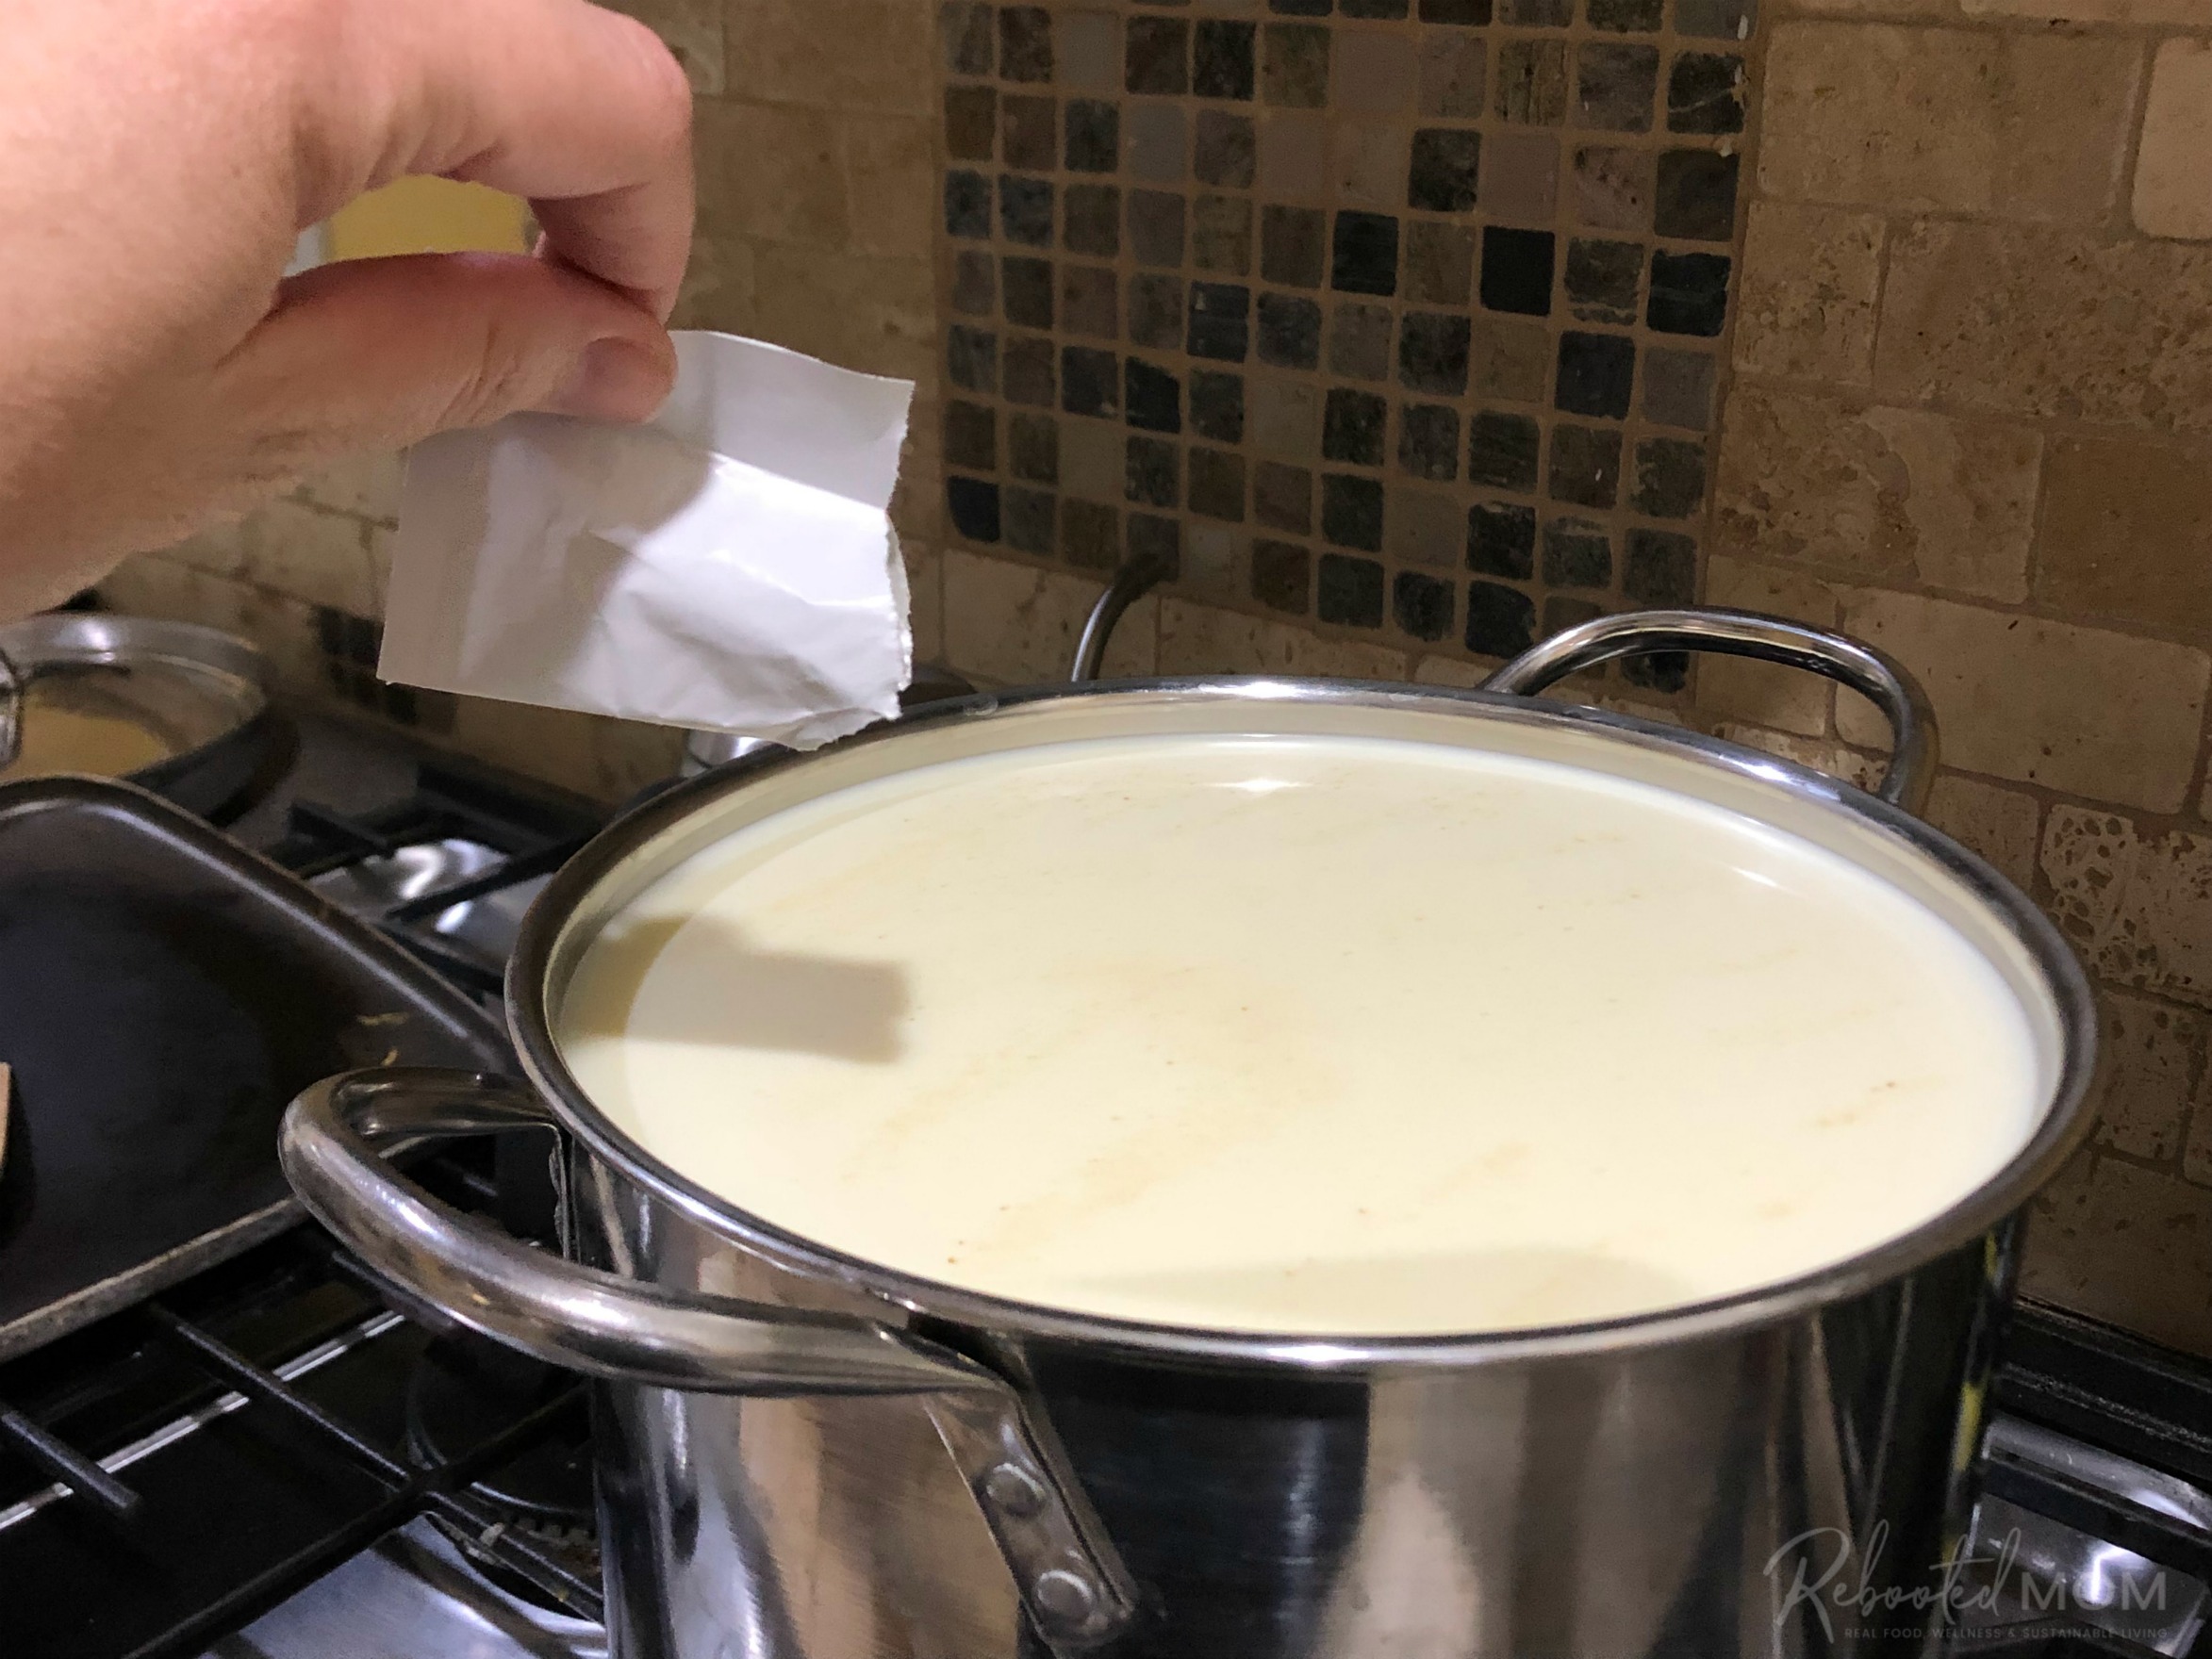
#1: Heat your Milk & Add the Culture
In a large, stainless steel pot, bring your milk to a temperature of 96 degrees F. Turn the heat off and sprinkle your packet of thermophilic culture on the surface of the milk. Allow it to hydrate for 30 seconds.
Gently stir the culture in with an up and down motion. Then cover the pot and let the culture work for 30 minutes.
#2: Add the Rennet
After 30 minutes, measure out the rennet and add it to a 1/4 C. of cool water. Stir it into the milk on the stove, using a gentle up and down motion.
Cover the pot once again and allow it to sit for 40 minutes, undisturbed. After that time, the milk should have a firm set.
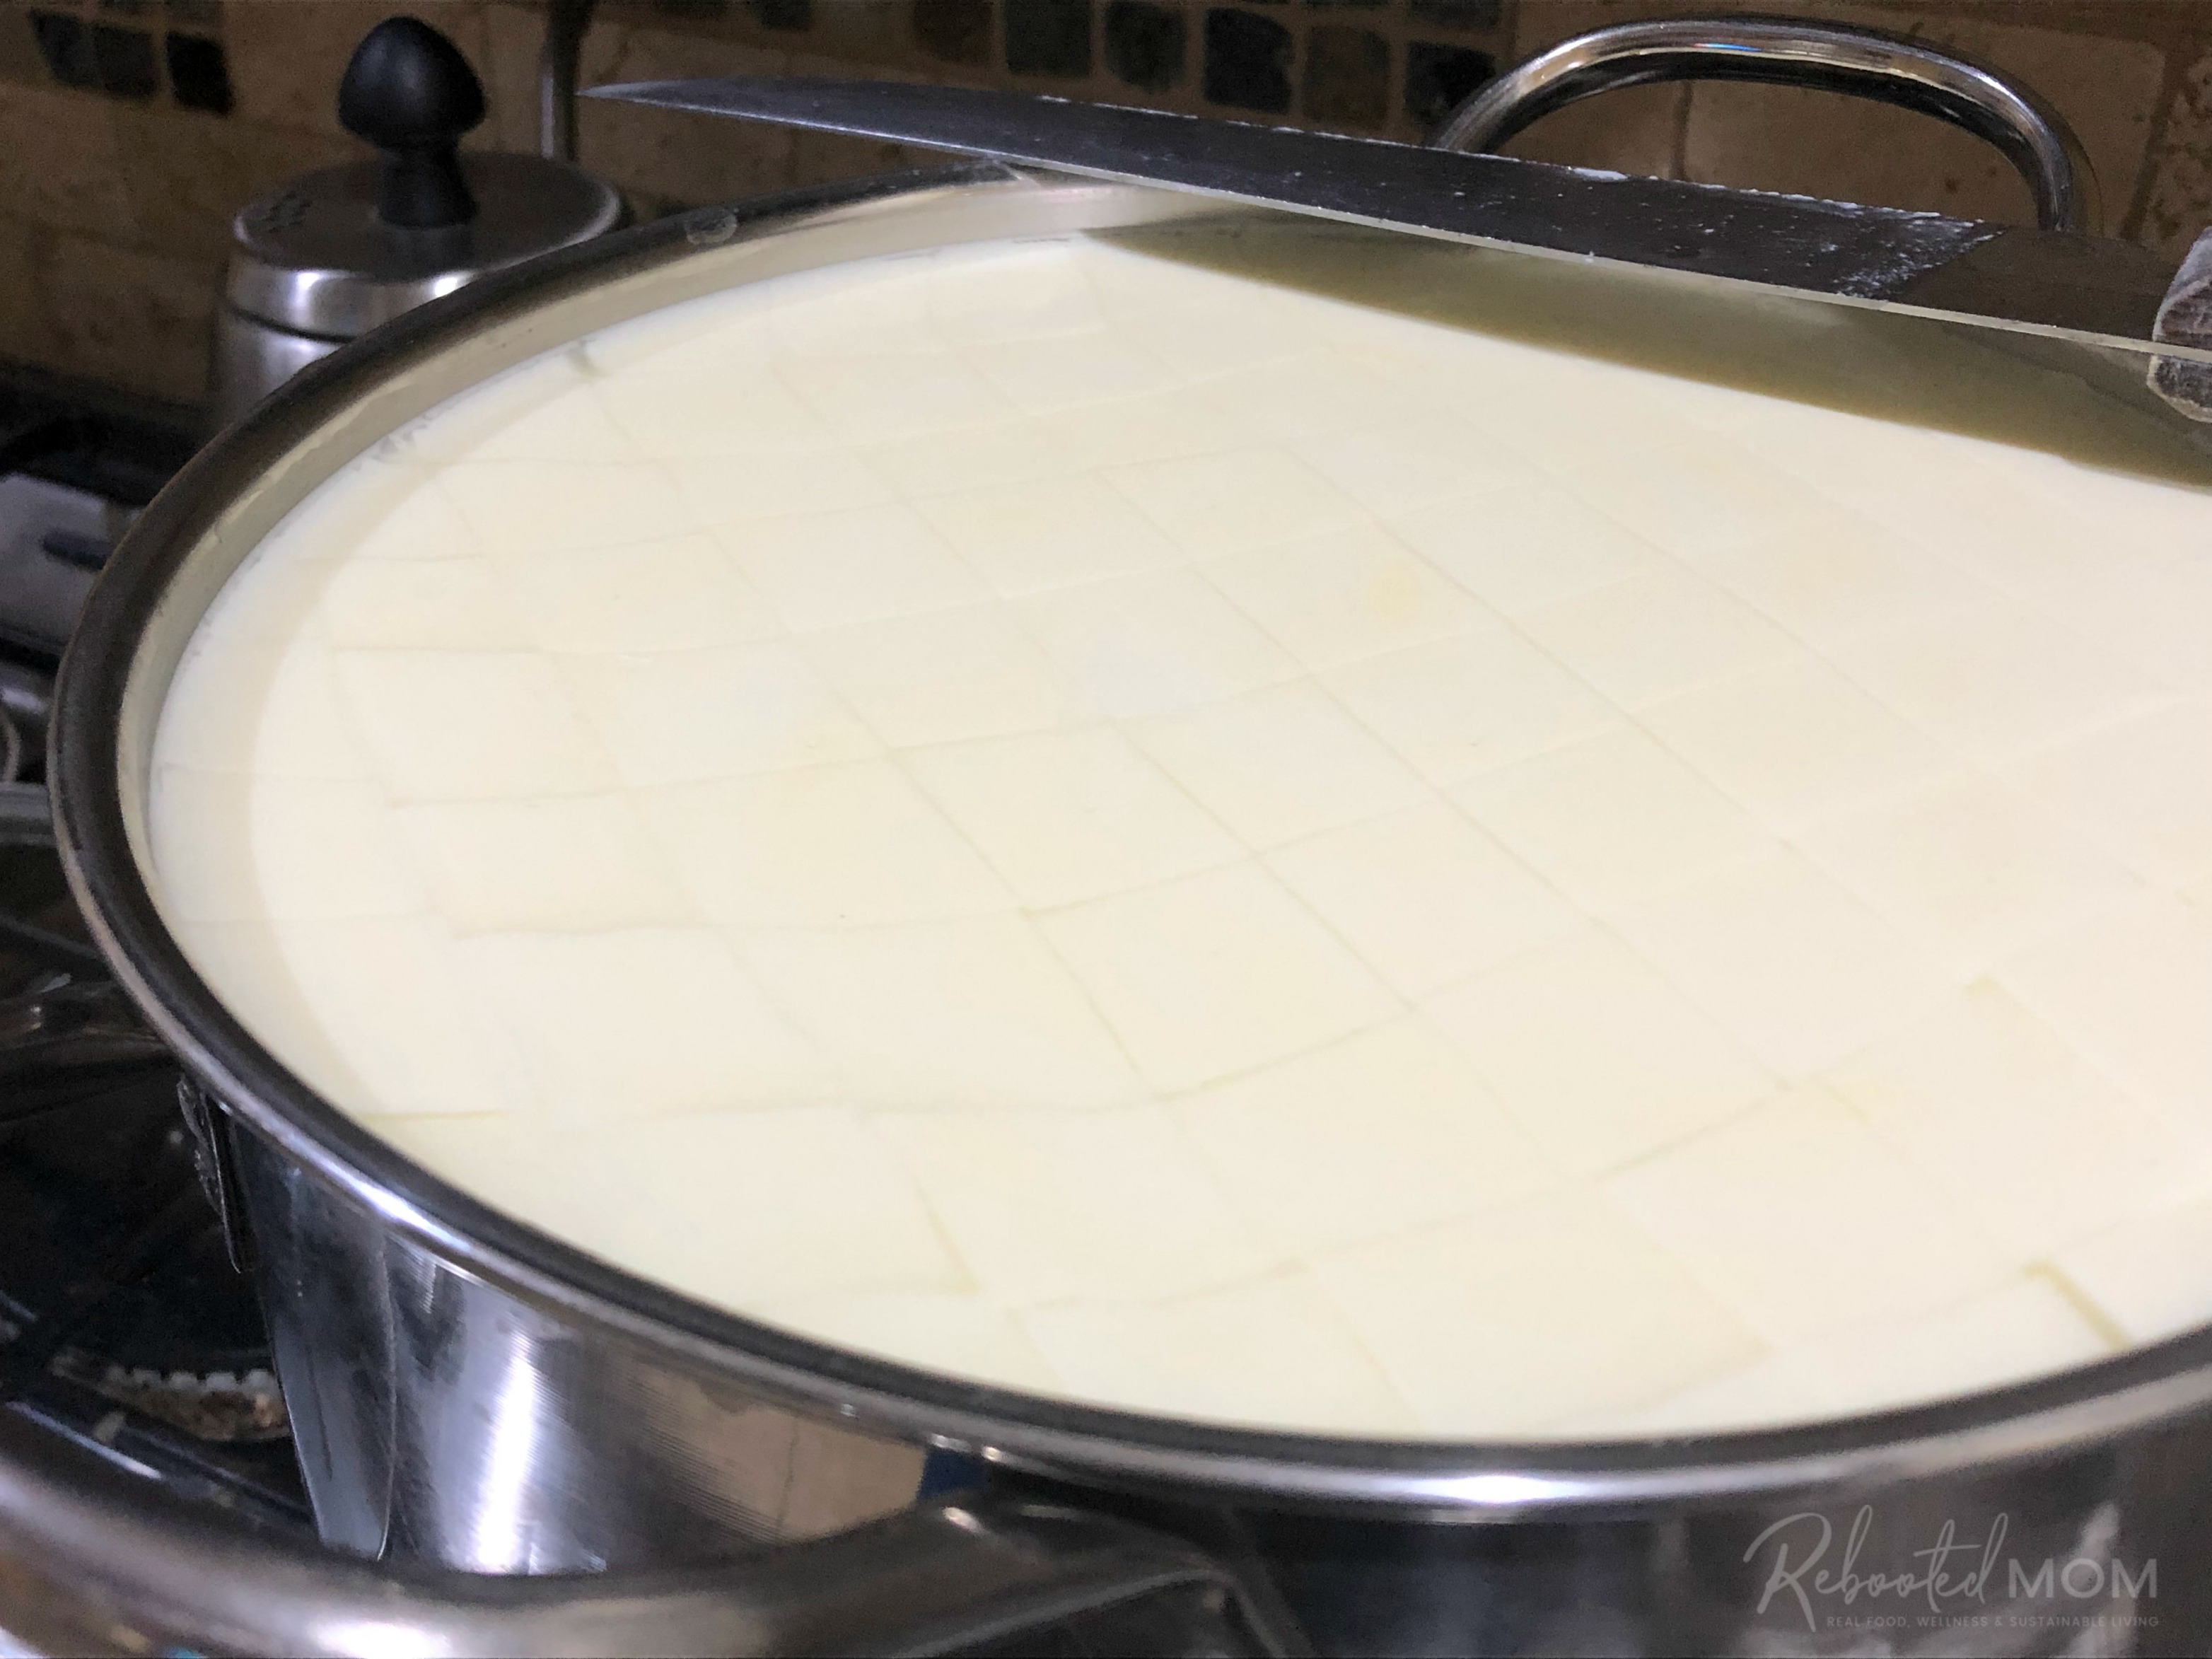
#3: Cut the Curd
Use a long knife to cut the curd in a checkerboard pattern, about 1/2 inch – 3/4 inch rows. The whey that fills in as you cut should be clear (if not, then allow the milk to set an additional 5-10 minutes).
Allow the curds 5 minutes to rest, then bring the temperature of the pot back up to 96 degrees F. and stir the curds. They should start to become smaller over time.
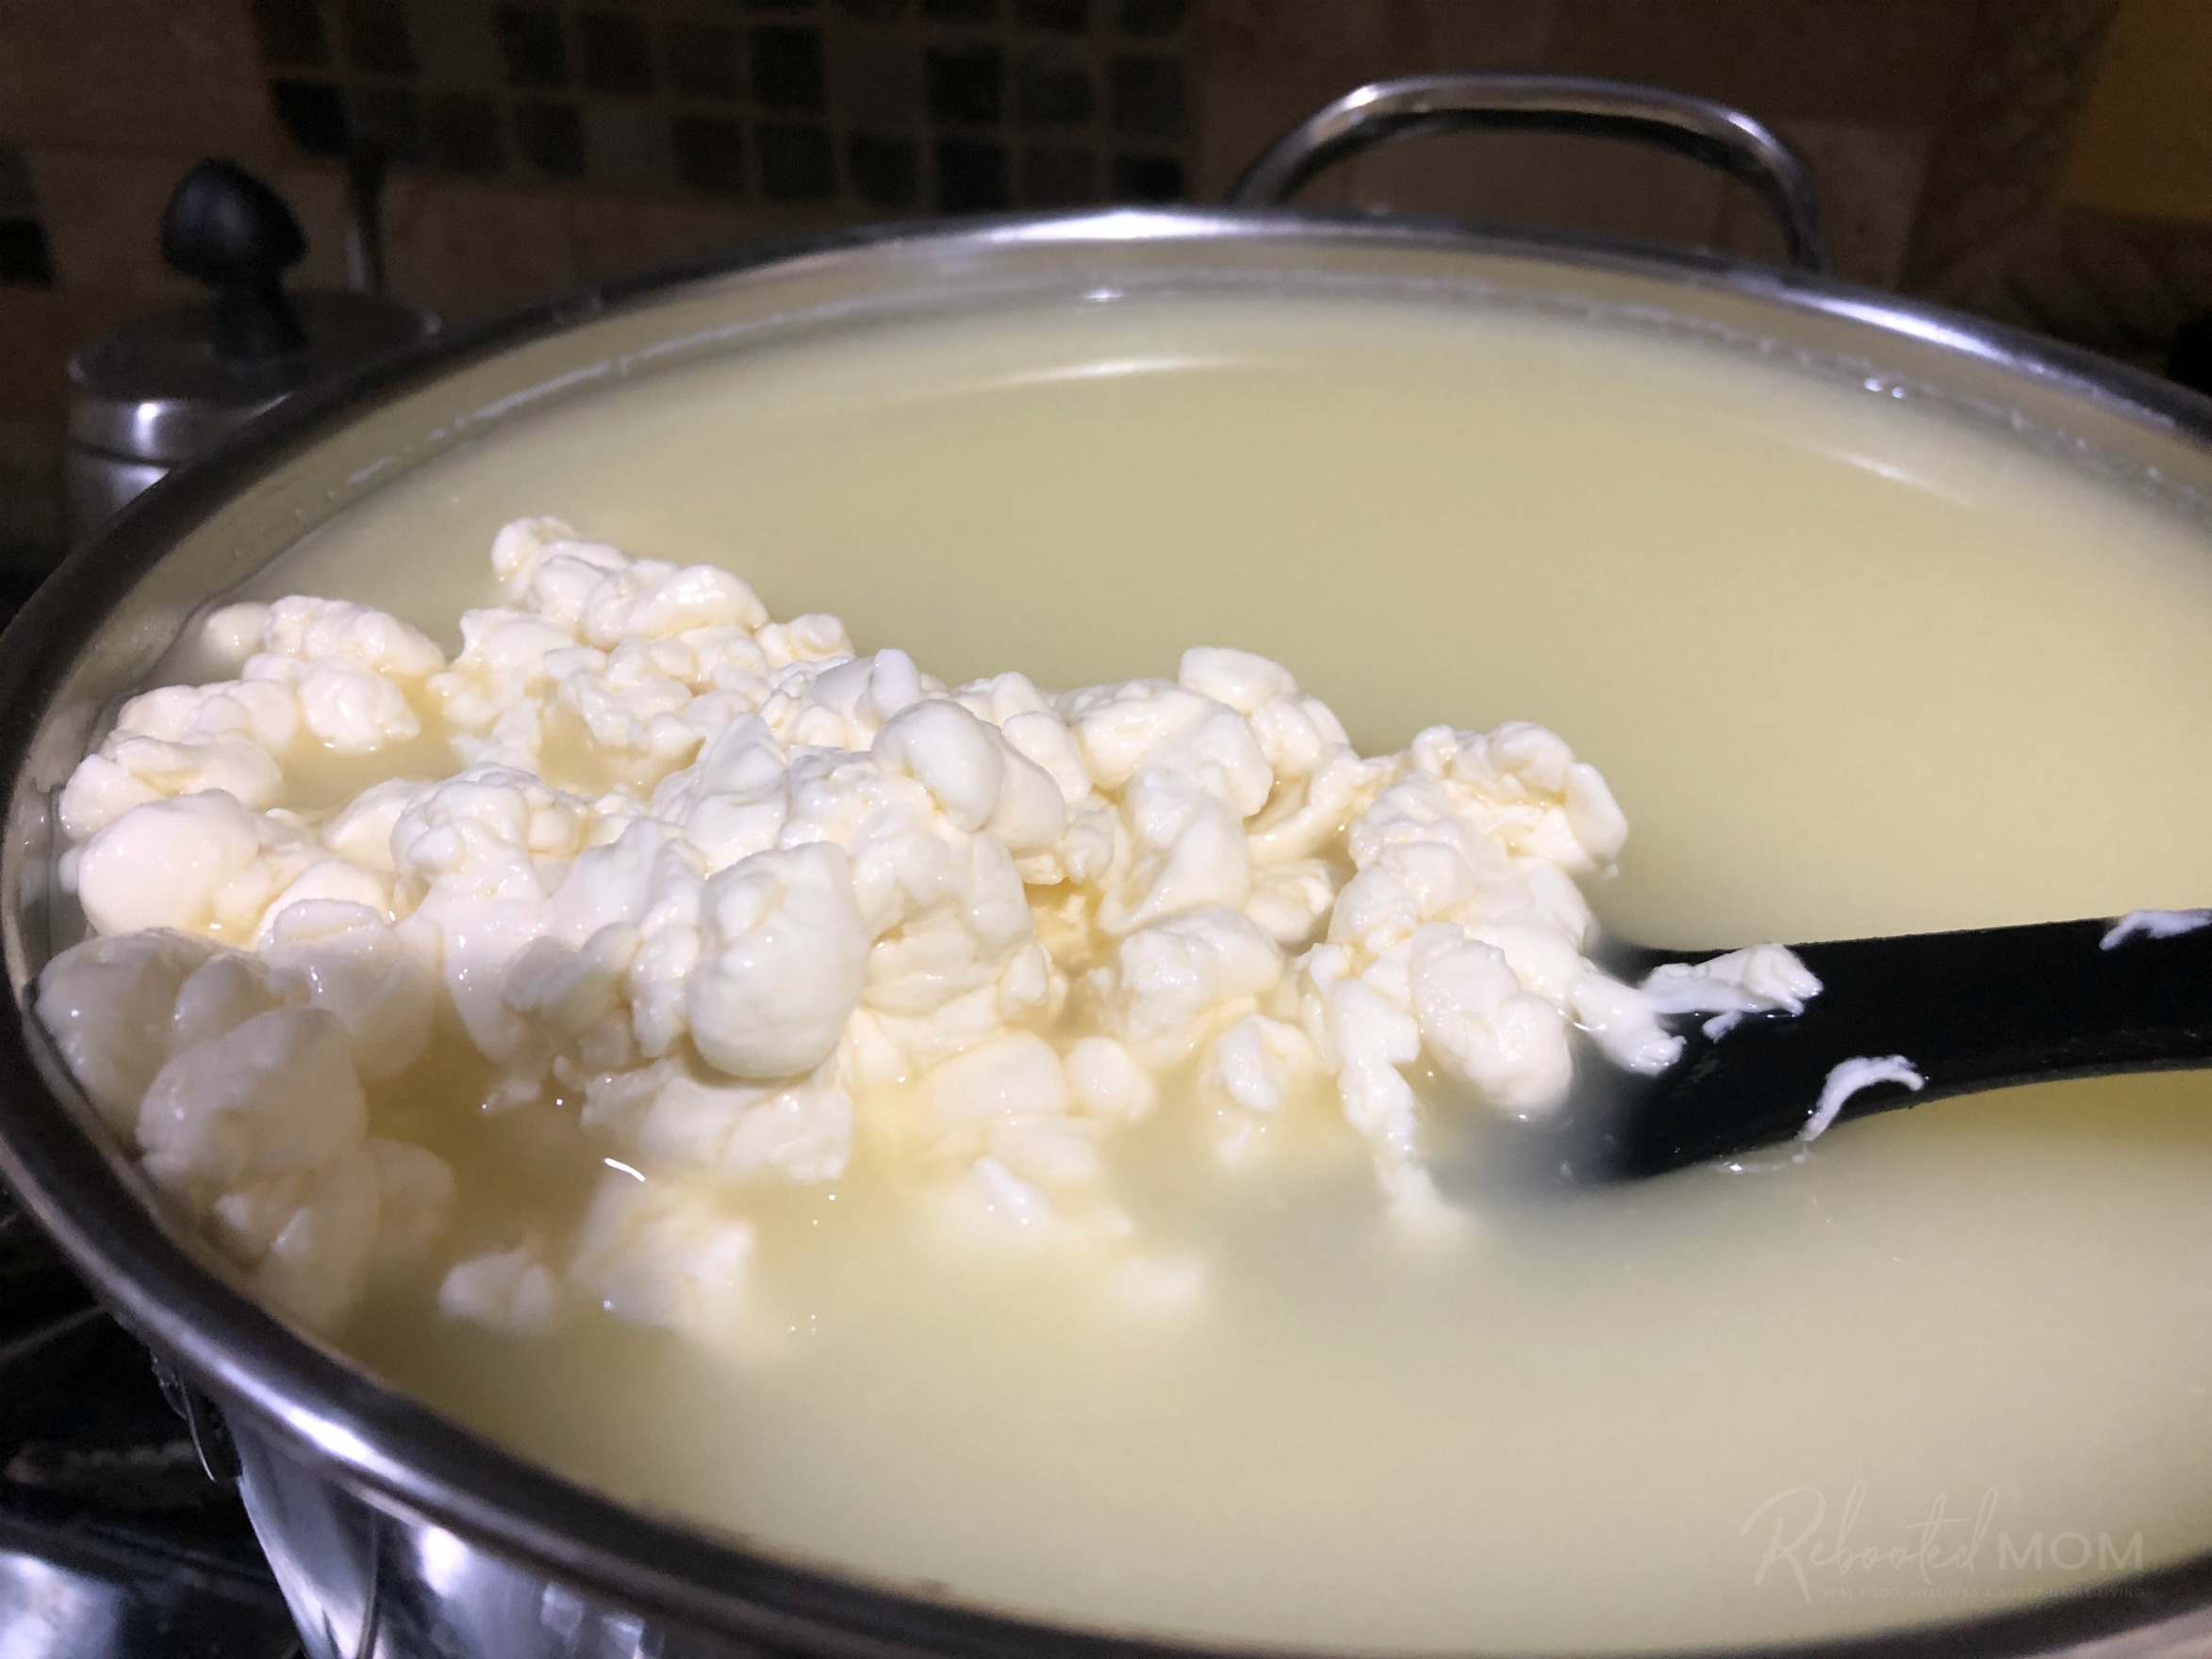
#4: Cook your Curds
Now it’s time to heat up the curds. Over the next 30 minutes, heat the curds to 116 degrees F. Try to do this slowly, so keep the heat on the lowest setting. As the curds shrink, more whey will release.
After that 30 minutes, turn off the heat and allow the curds to remain at that temperature for an additional 30 minutes. The thermal mass of heat within the pot should hold the temperature steady during this time.

#5: Drain the Curds
Once the curds are done, they will fall to the bottom of the pot. Line a colander with cheesecloth and transfer the curds to drain.
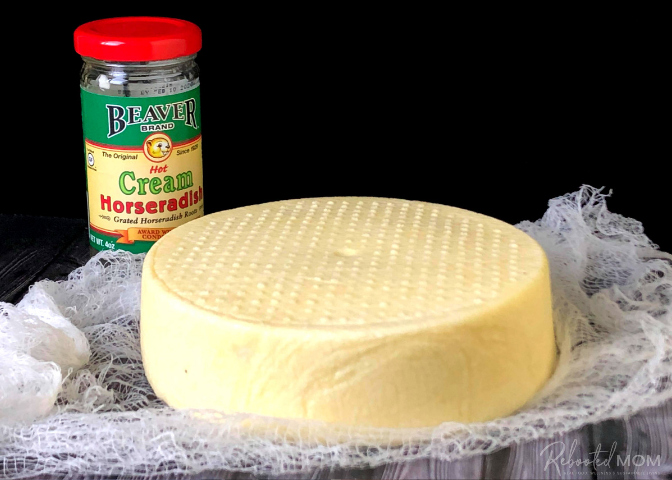
Tie the ends of the cheesecloth up at the corners, and hang on your cabinets for 30 minutes. During that time, the tightness of the cloth will press the curds together in a mass.
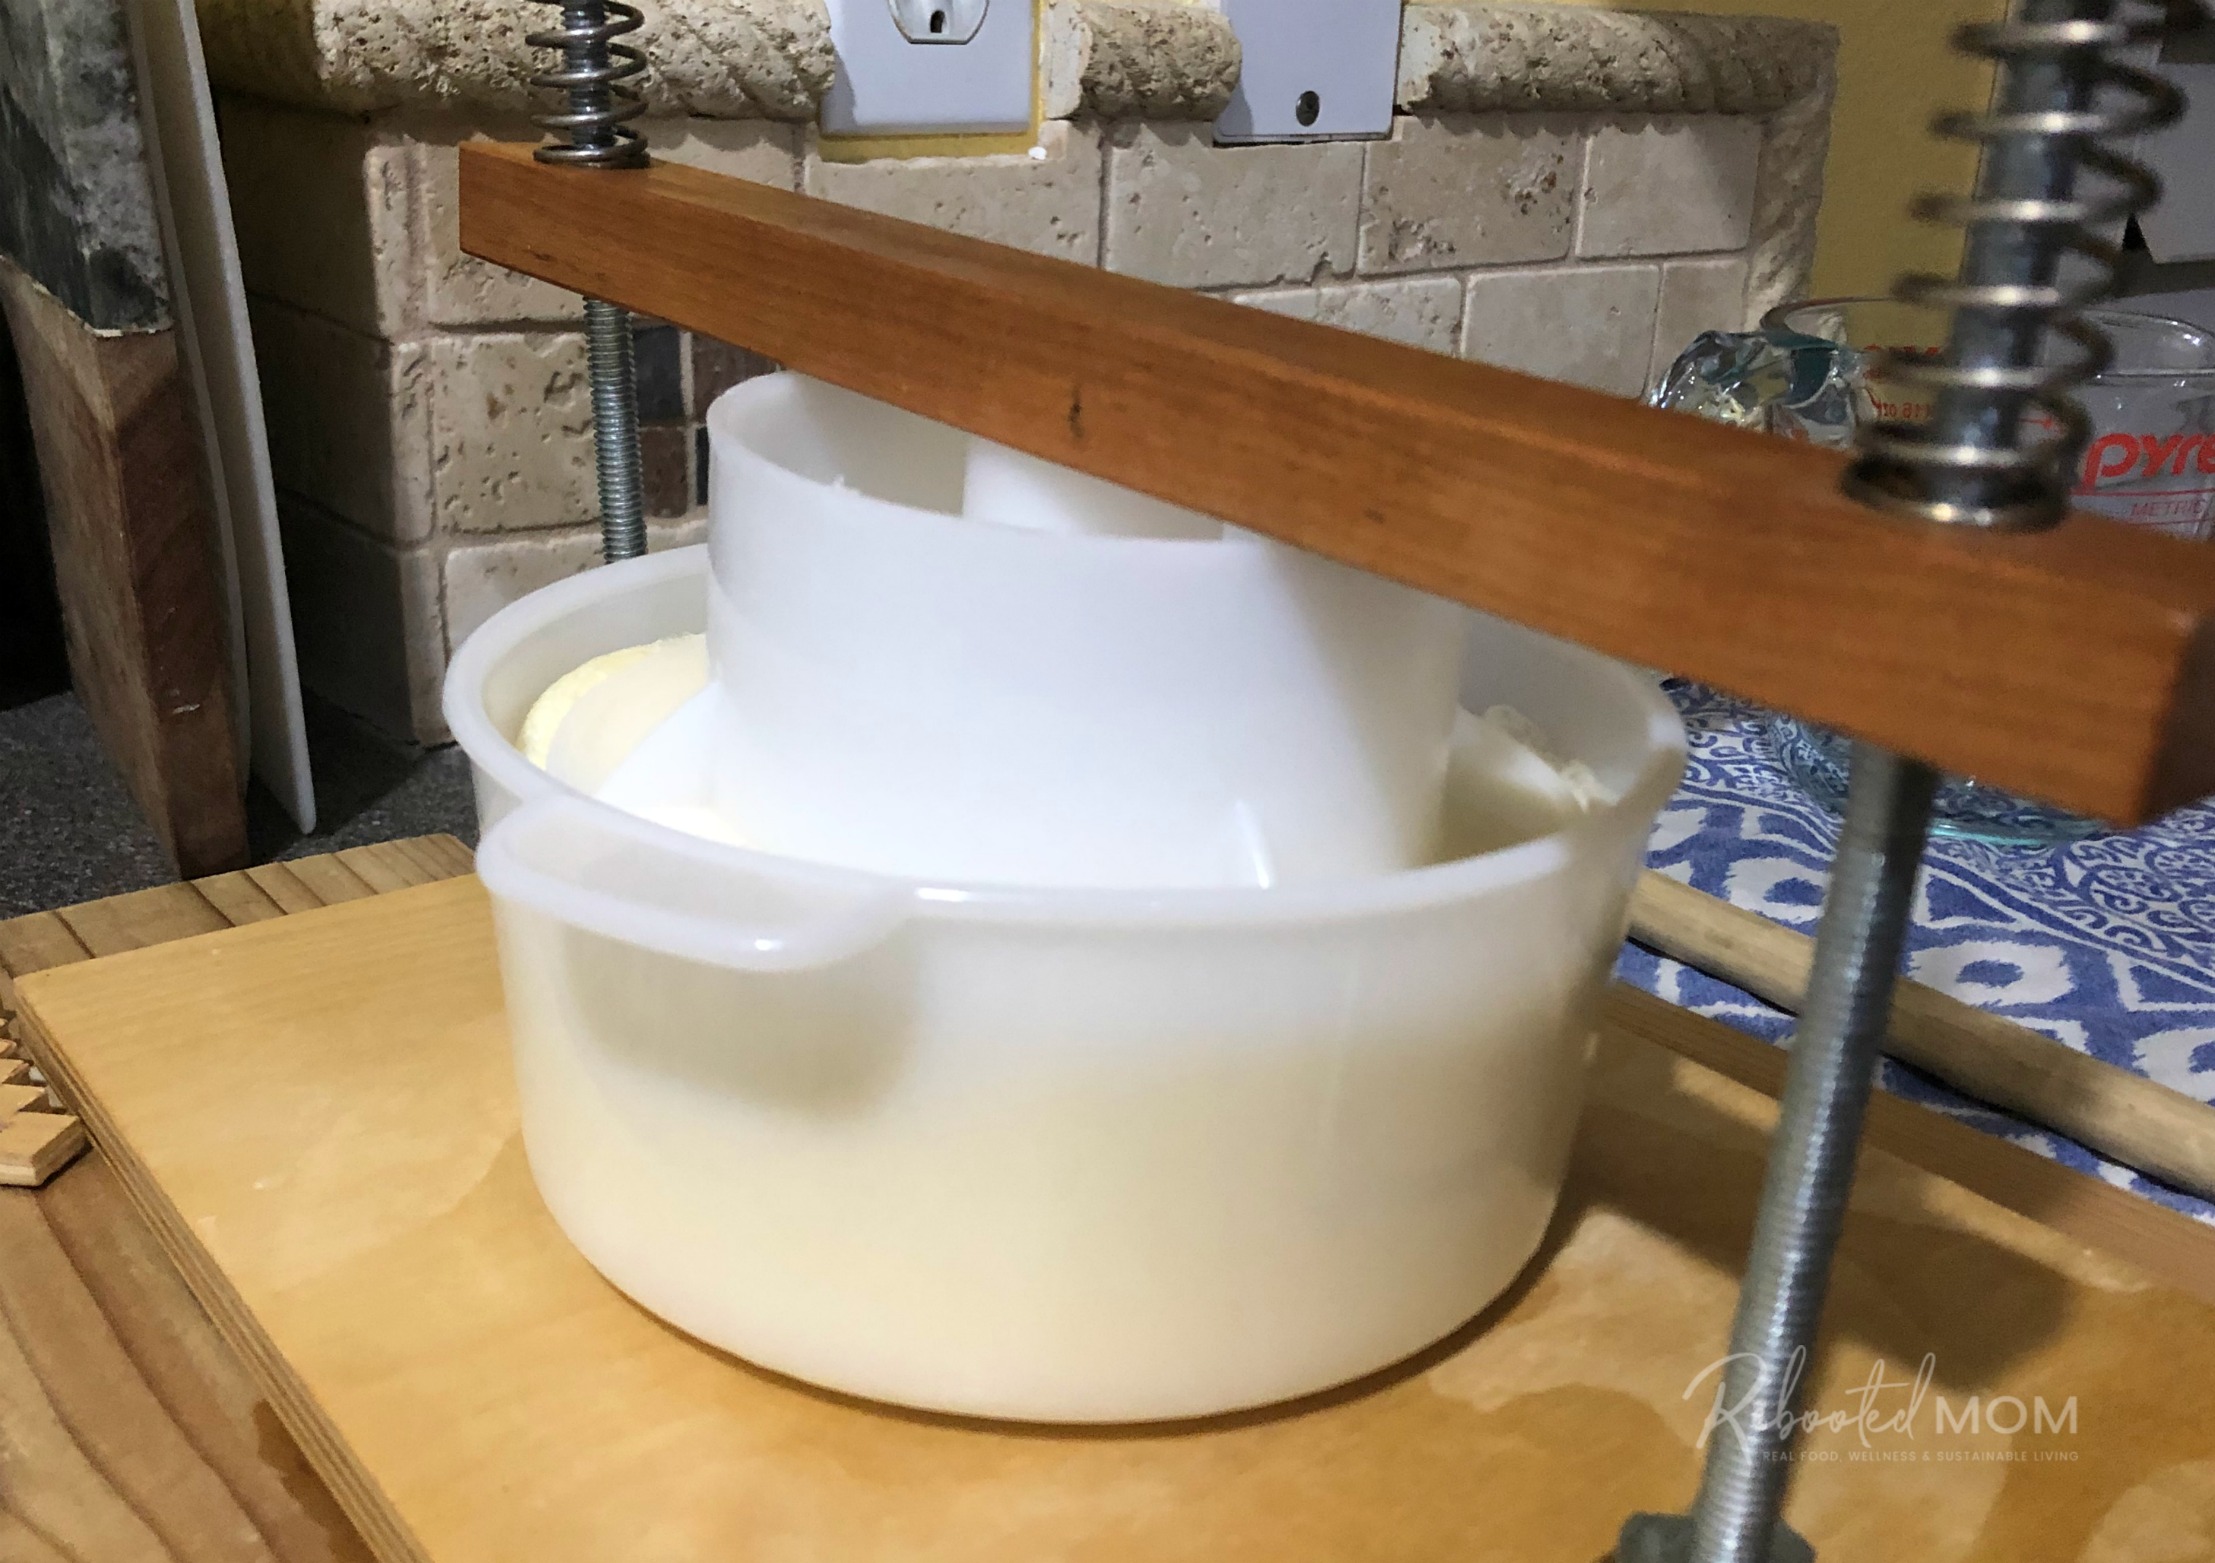
#6: Press the Curds
A cheese press really isn’t required for cheese curds – unless you have one of course.
You want to press your curds for at least 1 hour but no more than 3 hours. To do this, a flat plate topped with a gallon jug of water is sufficient.
I haven’t had luck balancing gallons of water on plates, so I put my cheese cloth mass in my cheese press and pressed at a few pounds shy of ten. As you press, the mass should come together nicely. While you can press for 3 hours, I always stick with an hour unless I lose track of time.
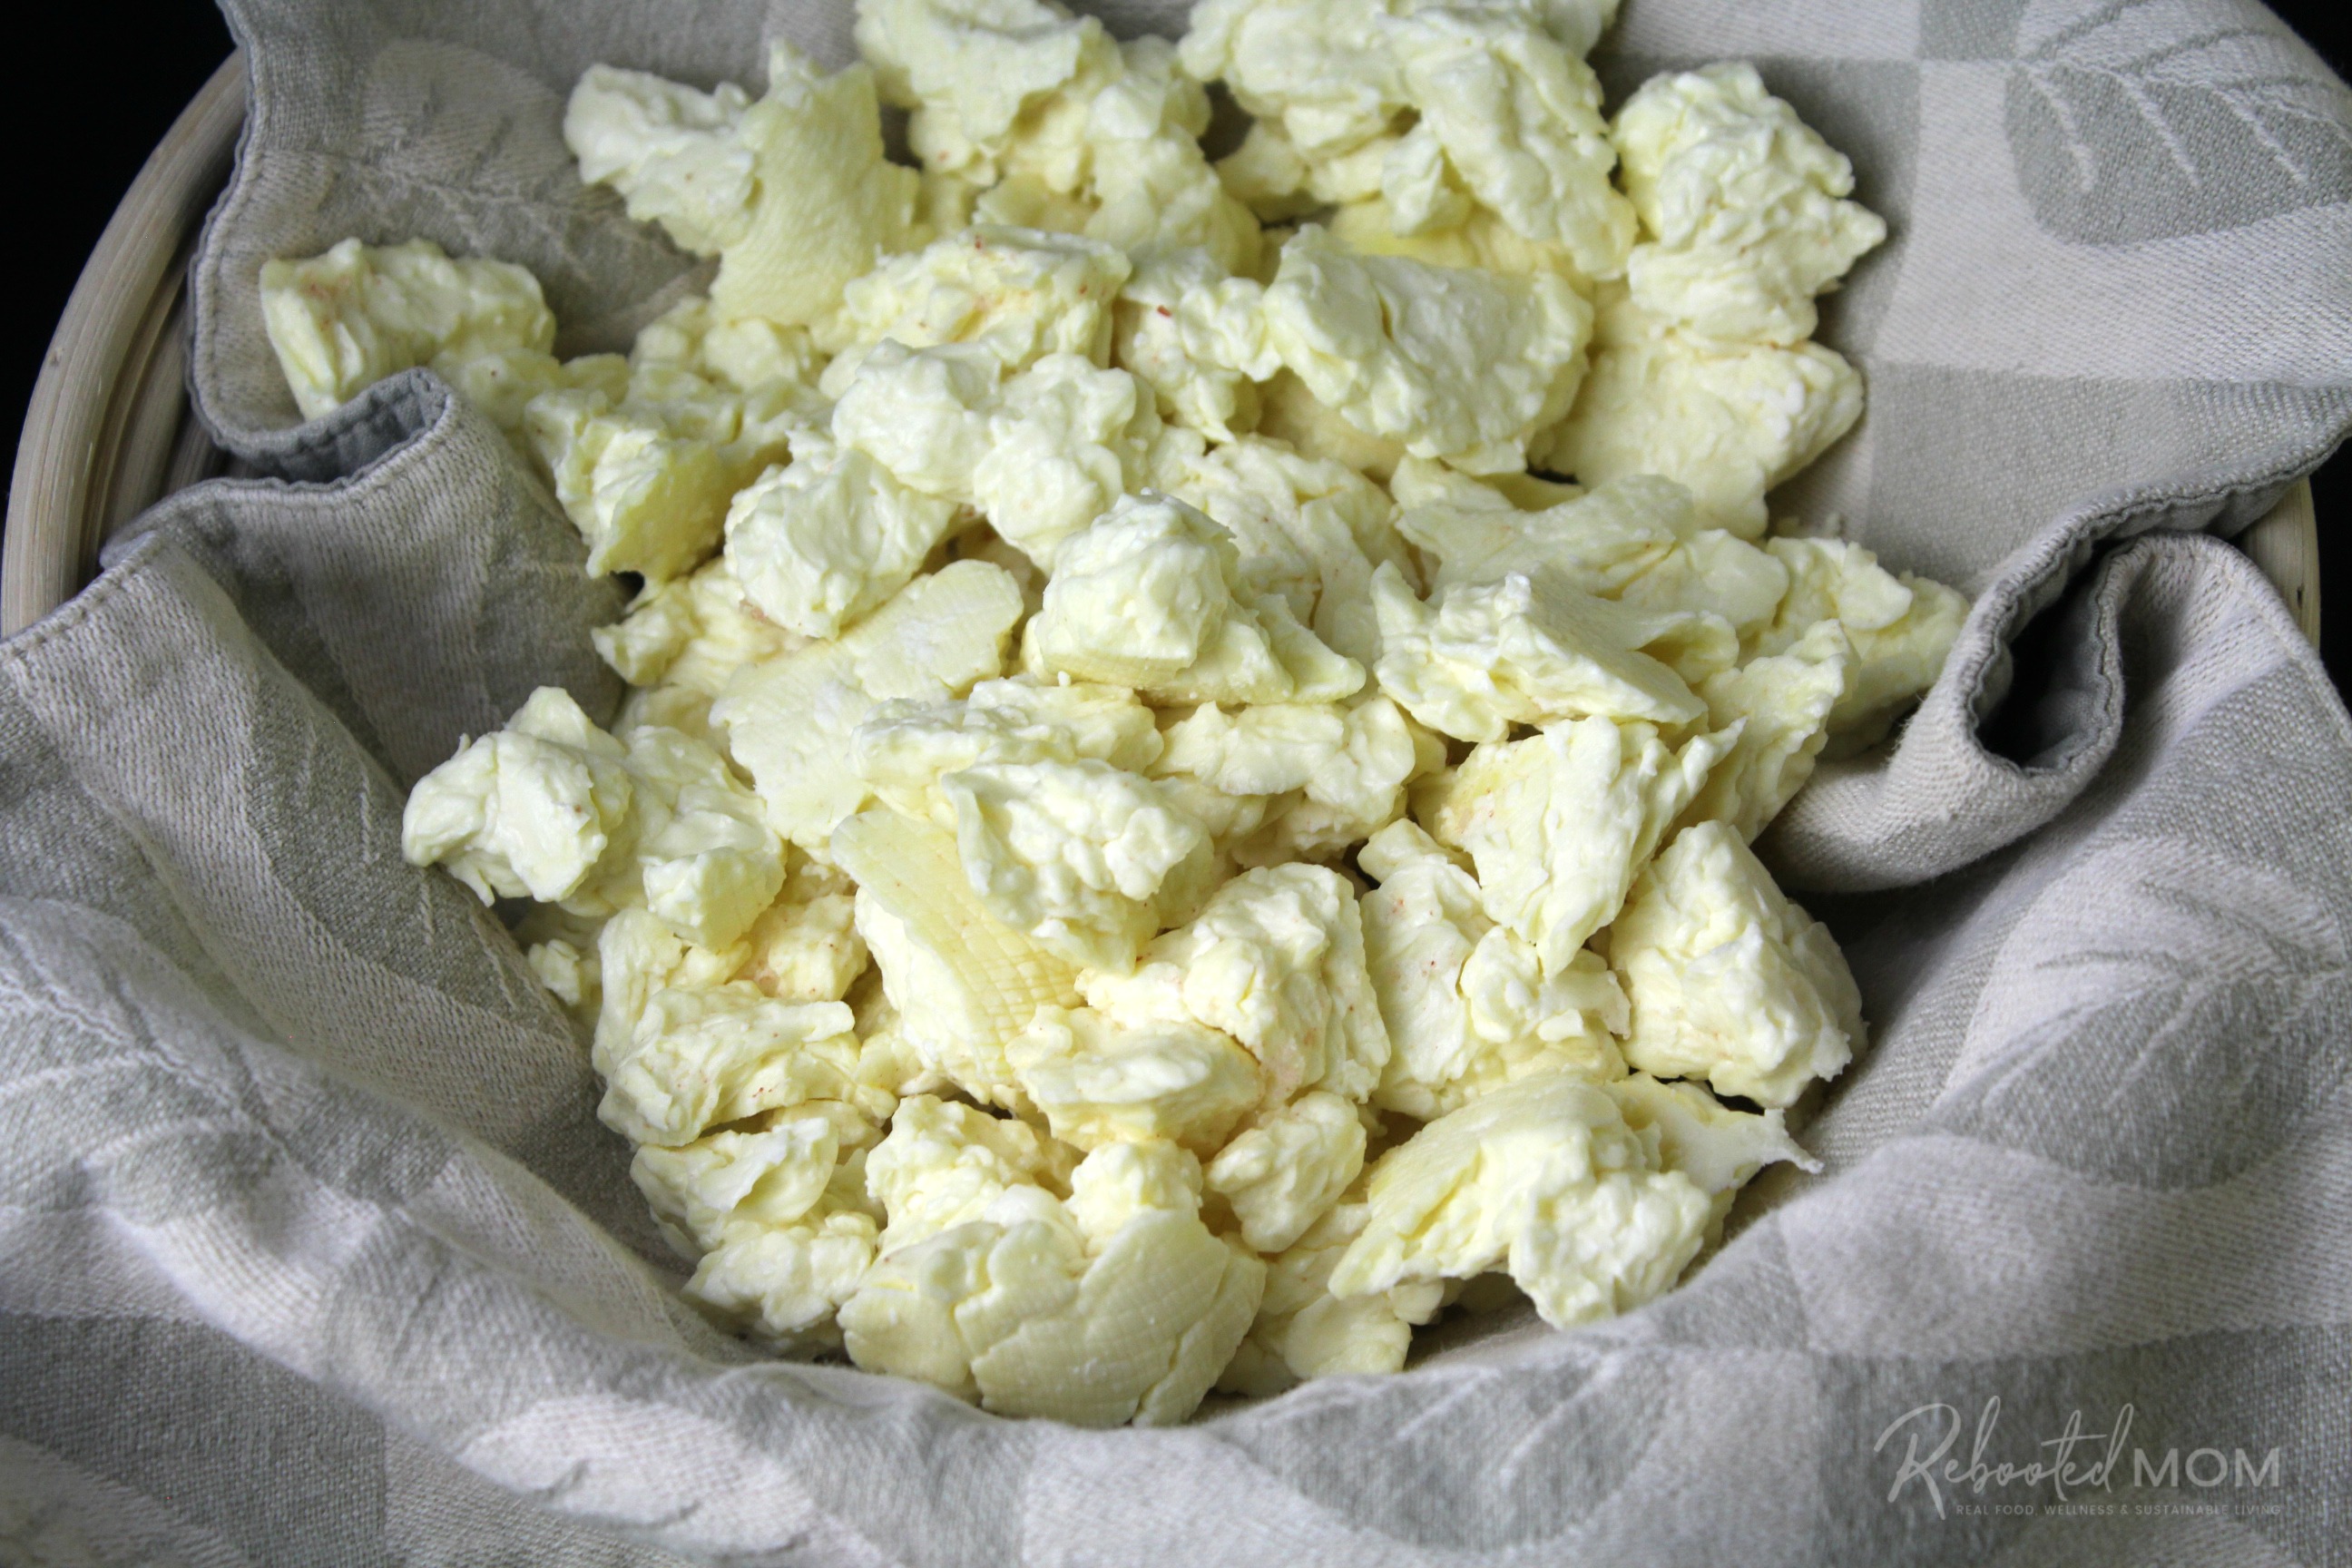
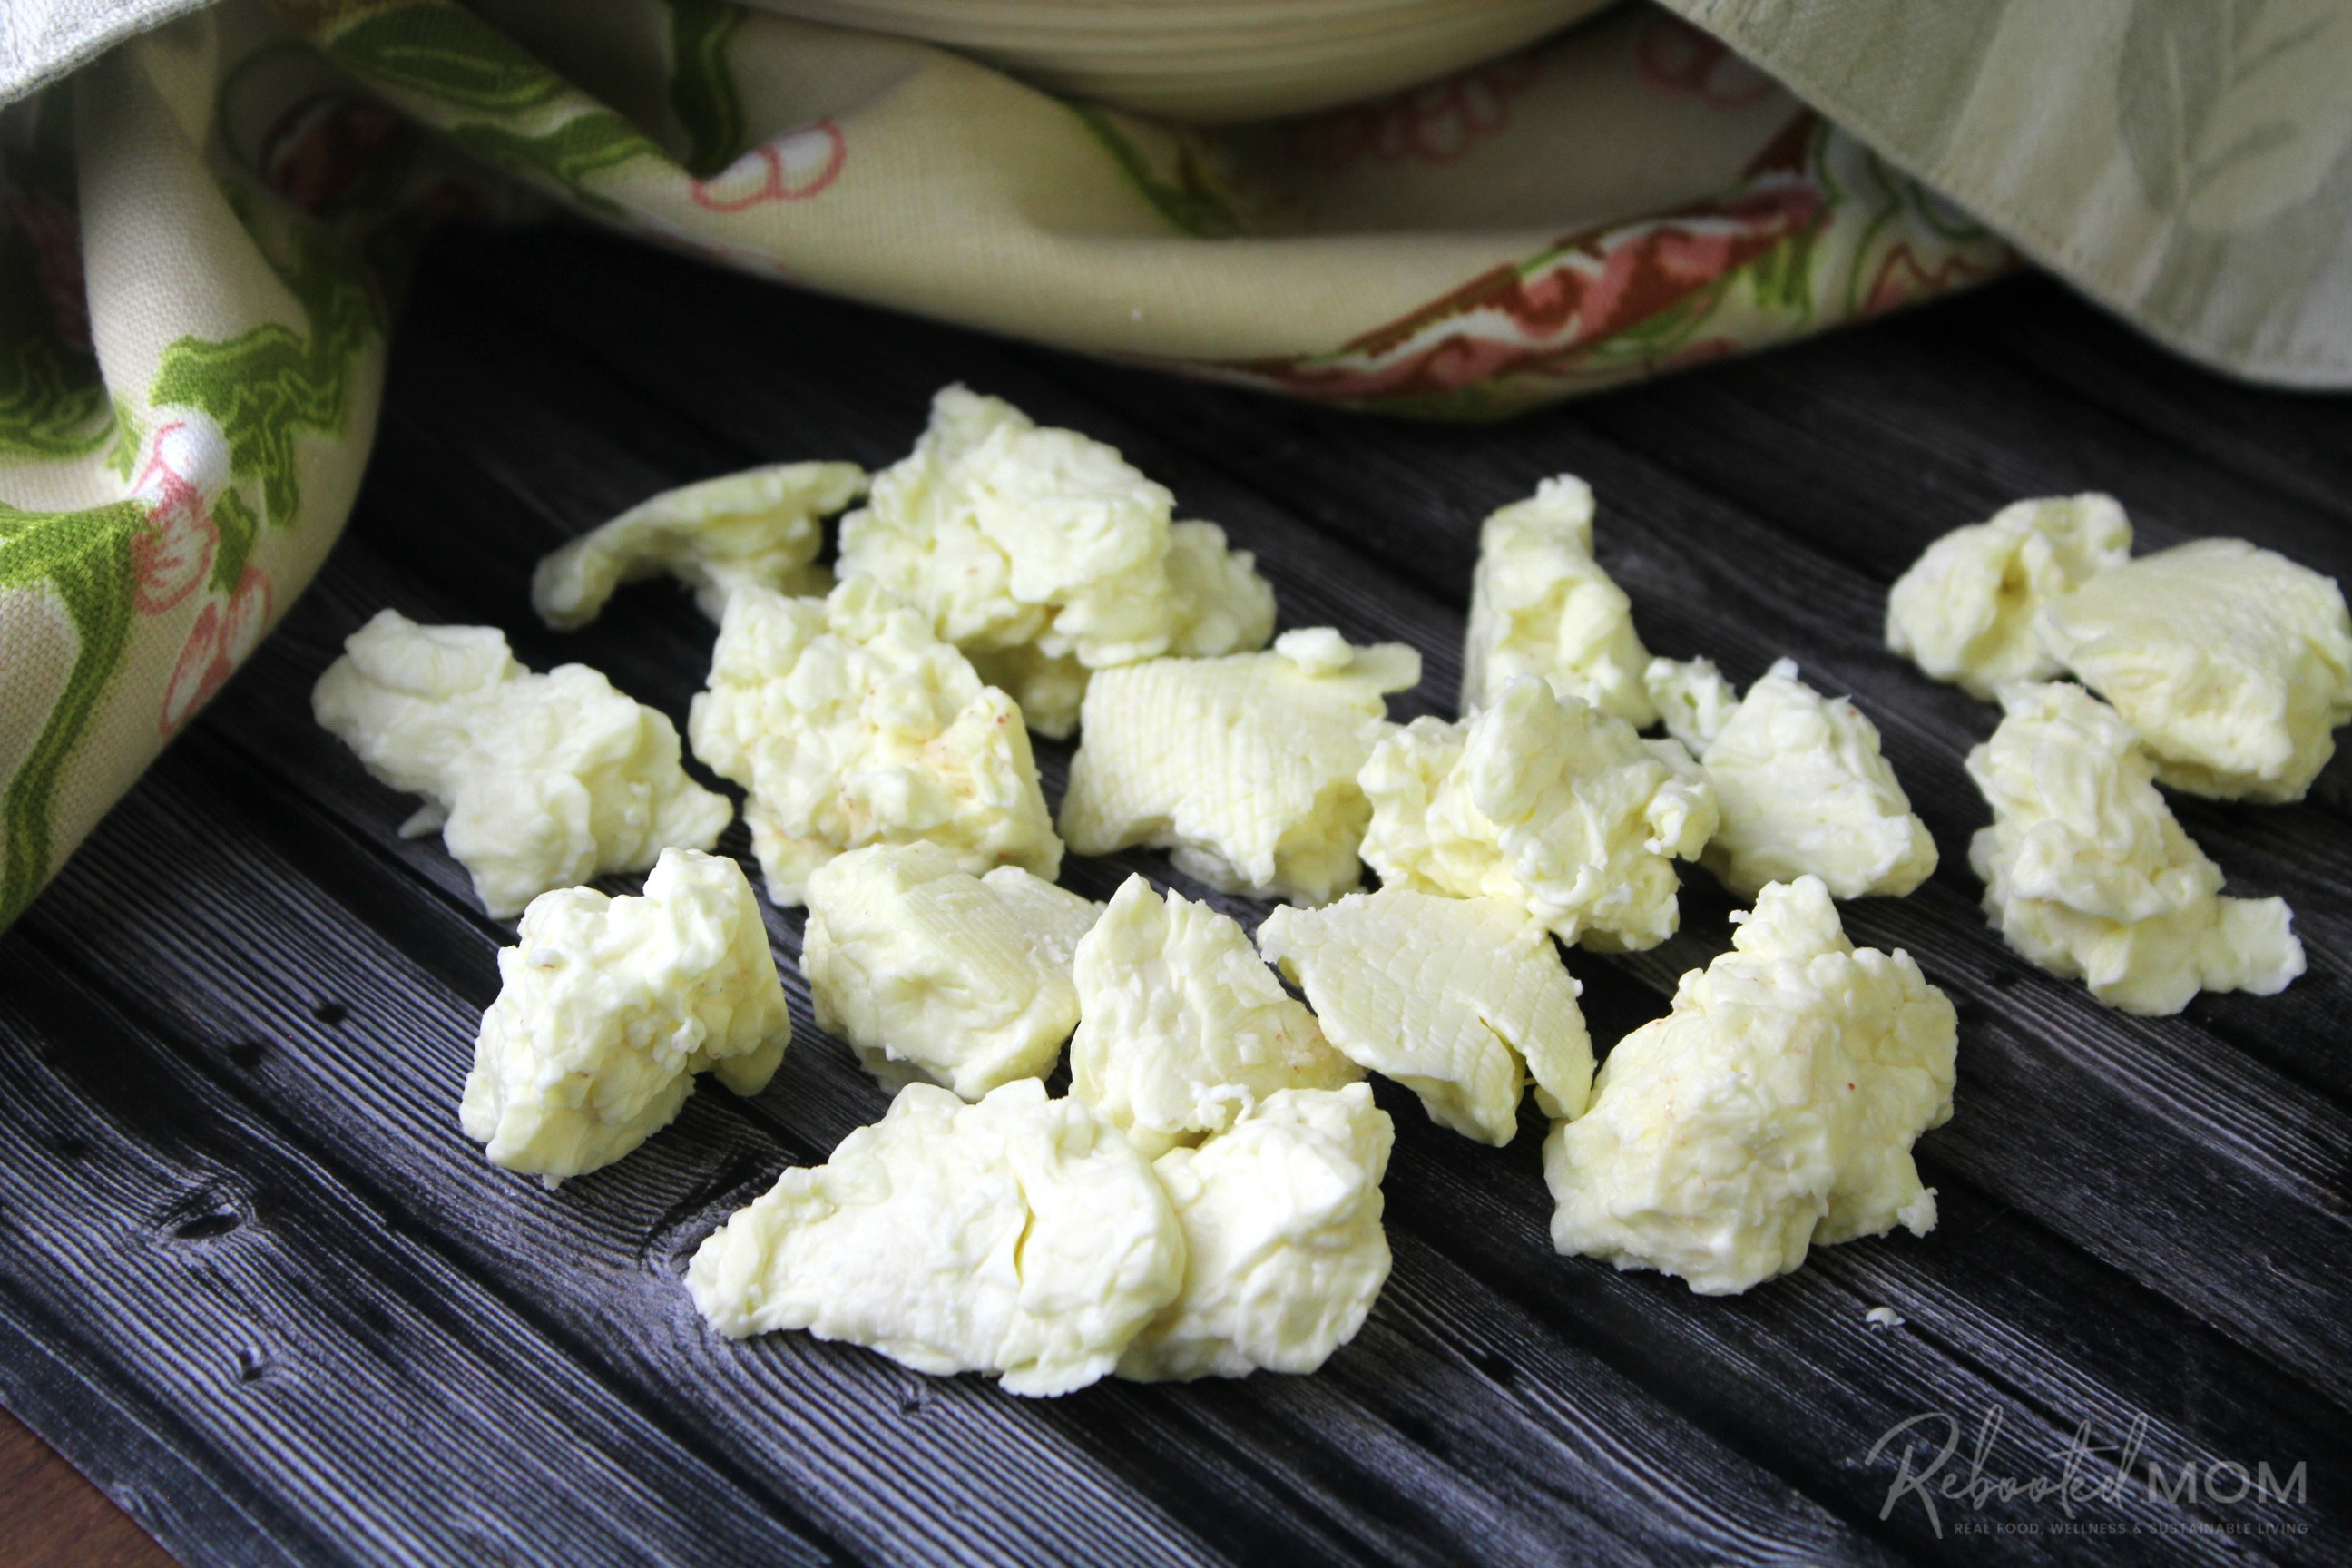
#7: Break Apart the Curds
Once the hour passes, gently unwrap the cheesecloth from the mass and break the mass apart into curds. Salt the curds to your liking, then enjoy.
If you are storing them, a gallon size ziploc bag placed in the fridge works well.
Cheese Curds Recipe
Ingredients
- 2 gal milk whole
- 1 packet thermophilic culture
- 1/2 tsp rennet single strength
- 1/4 tsp annatto optional
- 1 tsp cheese salt
Instructions
Heat your Milk & Add the Culture
- In a large, stainless steel pot, bring your milk to a temperature of 96 degrees F. Turn the heat off and sprinkle your packet of thermophilic culture on the surface of the milk. Allow it to hydrate for 30 seconds.
- Gently stir the culture in with an up and down motion. Then cover the pot and let the culture work for 30 minutes.
Add the Rennet
- After 30 minutes, measure out the rennet and add it to a 1/4 C. of cool water. Stir it into the milk on the stove, using a gentle up and down motion.
- Cover the pot once again and allow it to sit for 40 minutes, undisturbed. After that time, the milk should have a firm set.
Cut the Curd
- Use a long knife to cut the curd in a checkerboard pattern, about 1/2 inch - 3/4 inch rows. The whey that fills in as you cut should be clear (if not, then allow the milk to set an additional 5-10 minutes).
- Allow the curds 5 minutes to rest, then bring the temperature of the pot back up to 96 degrees F. and stir the curds. They should start to become smaller over time.
Cook the Curds
- Now it's time to heat up the curds. Over the next 30 minutes, heat the curds to 116 degrees F. Try to do this slowly, so keep the heat on the lowest setting. As the curds shrink, more whey will release.
- After that 30 minutes, turn off the heat and allow the curds to remain at that temperature for an additional 30 minutes. The thermal mass of heat within the pot should hold the temperature steady during this time.
Drain the Curds
- Once the curds are done, they will fall to the bottom of the pot. Line a colander with cheesecloth and transfer the curds to drain.
- Tie the ends of the cheesecloth up at the corners, and hang on your cabinets for 30 minutes. During that time, the tightness of the cloth will press the curds together in a mass.
Press the Curds
- You want to press your curds for at least 1 hour but no more than 3 hours. To do this, a flat plate topped with a gallon jug of water is sufficient.
- As you press, the mass should come together nicely. While you can press for 3 hours, I always stick with an hour unless I lose track of time.
Break Apart the Curds
- Once the hour passes, gently unwrap the cheesecloth from the mass and break the mass apart into curds. Salt the curds to your liking, then enjoy.
Notes
- Cheese curds are best stored in a ziploc bag in the refrigerator.
- They can be frozen for up to 4 months.
Looking for more homemade cheese recipes?

What if you don’t have access to raw milk? Will
Store bought pasteurized milk work? Does it have to be whole milk? Thank you. Can’t wait to try this!
I haven’t used pasteurized milk but I have a friend who did (when I used to have Instagram, her name was Lisa Peterson, her channel is: Cheese52). She used pasteurized milk and I believe she had to use Calcium Chloride. Here’s her video (it might help!) If you have Insta, follow her. She’s super sweet!
https://www.youtube.com/watch?v=5dITuVOawUs
Am I understanding correctly (after reading many other recipes) that the only difference between using raw milk and pasteurized milk is using calcium chloride to any pasteurized milk and only rennet and the culture to raw milk? Thanks
Kevin, when you use pasteurized milk, you’ll need to use calcium chloride. Other than that, cheese can be made with either raw or pasteurized milk using rennet and the appropriate culture (culture will vary based on the cheese you want to make). I haven’t ever used pasteurized milk, just raw.
I have a friend who makes cheese on her YouTube channel – she’s quite experienced and she uses pasteurized milk because she can’t get raw milk where she is. Here is her channel, it might help you as well.. she’s in the state of Idaho: https://www.youtube.com/channel/UCAyJJlLsdWg8f0VrKfB73Ew
Thank you for your service.