


Bring some life to your wood furniture with this DIY Beeswax Furniture Polish you can make easily at home. This recipe is a simple way to care for your beautiful furniture without chemical ingredients!

One of the easiest things you can whip up at home is this DIY Beeswax Furniture Polish. With just 2 simple ingredients, you an have something that works beautifully to restore your old, yet precious, wood furniture.
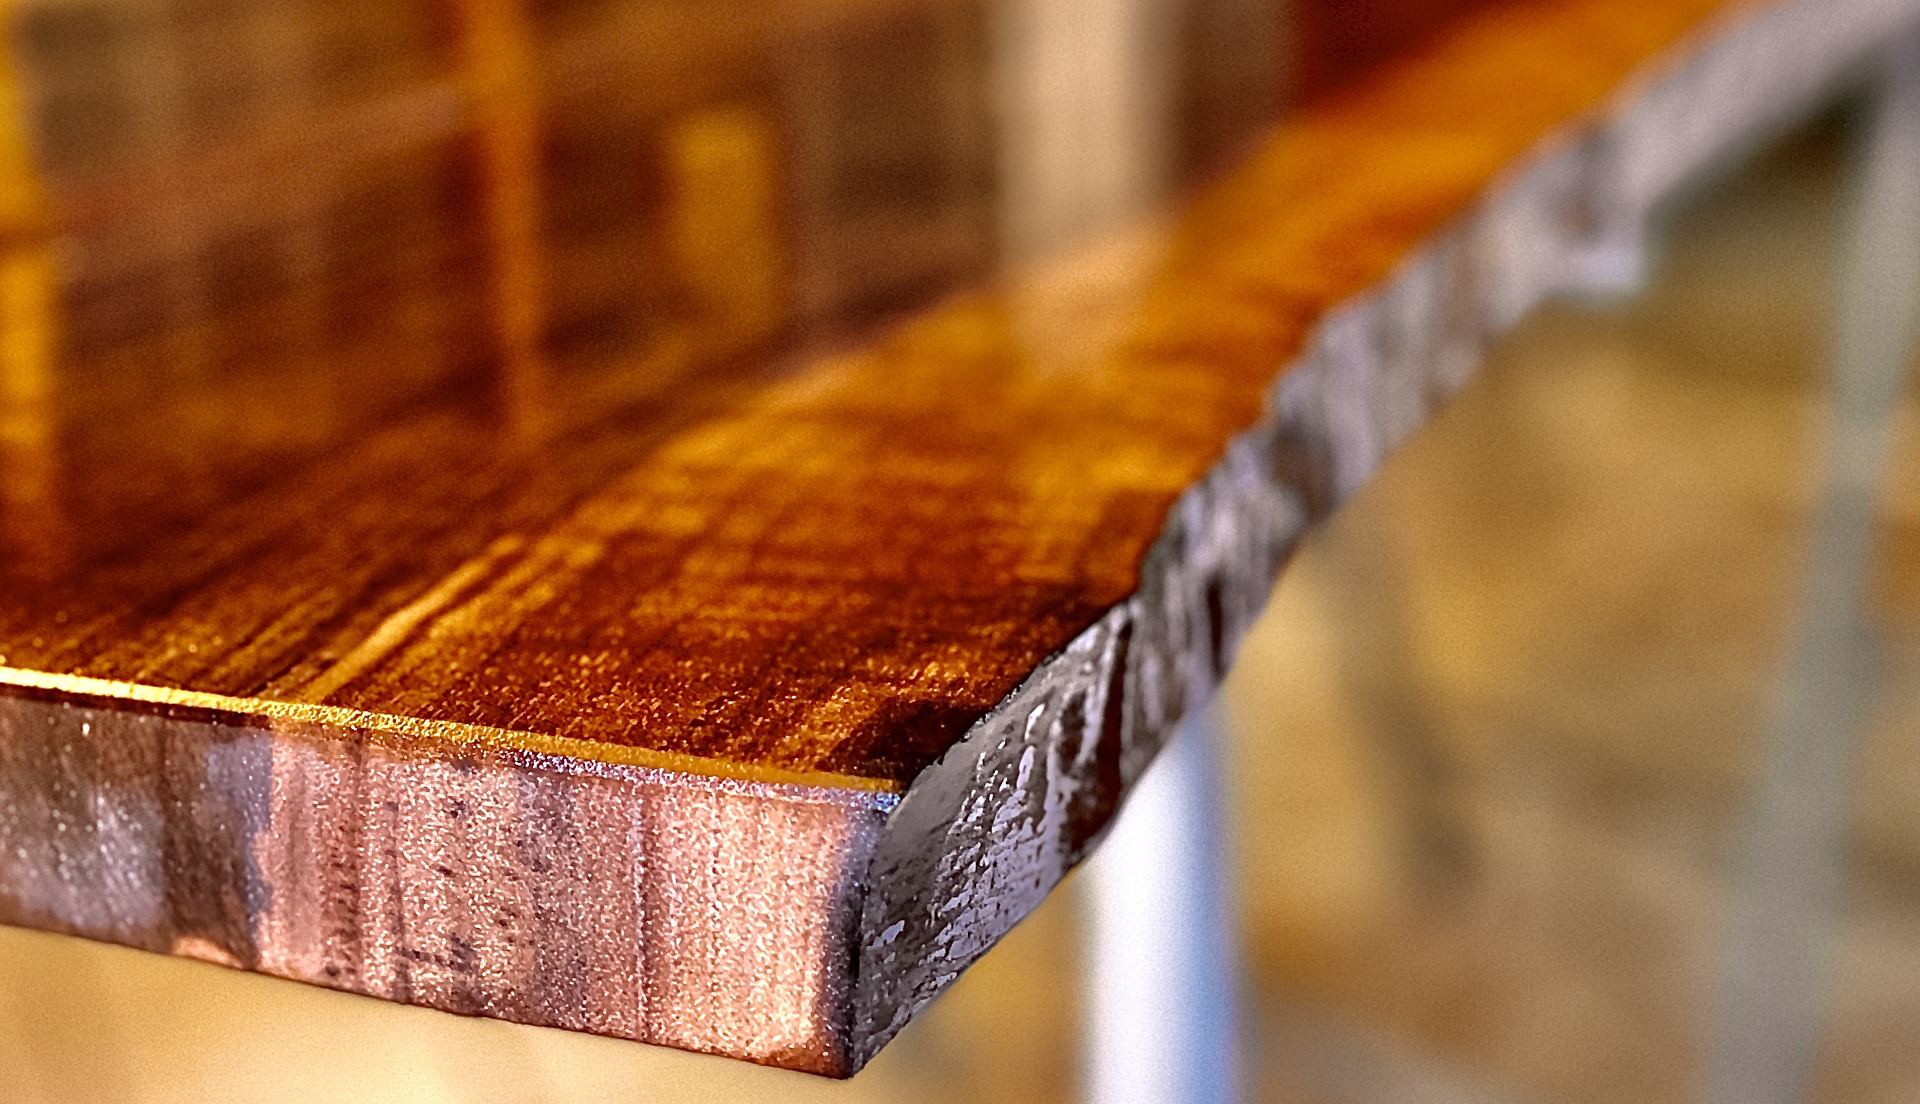
From heavy kitchen tables to coffee tables, beds and even old dressers, beeswax and some olive oil can work wonders for taking it up a level (or two!)
What is beeswax?
Beeswax is a natural wax that is produced by honey bees. Bees use the wax to construct their comb and provide storage for food and young bees.
The best part about beeswax – it’s always in abundance! Bees definitely make a lot more wax than they need. The beeswax that is left over after the honey is extracted can be put to use. Beeswax can be used for so many things around the house, and DIYs for beauty (even leather balm!)
What is the advantage of beeswax?
Beeswax provides a really nice cover for the wood surface – it’s safe, moisturizing, and enhances (not alters) the appearance of wood. Unlike chemical products, it doesn’t leave a fake finish. You can even use beeswax on your kitchen cutting board, too – that’s just how safe it is!

Commercial products vs Beeswax
Beeswax is a bit different than using commercial products, for a variety of reasons:
traditional wood furniture polish seals the wood, offering wood and sun protection
while beeswax is light – and will need to be reapplied often
traditional commercial products contain chemicals, carcinogens and questionable ingredients that may not be safe for your health nor the health of the wood
while beeswax is just beeswax – readily available and inexpensive
DIY Beeswax Furniture Polish
This simple DIY for beeswax furniture polish relies heavily on two main ingredients:
- beeswax
- olive oil
If you order your beeswax on Amazon, it’s likely that it has already been cleaned. However, if you are using your own raw beeswax, I suggest cleaning it by straining the melted wax through a piece of nylon – by doing this you will remove any bits of dirt that you might find present in the wax that can scratch the surface of your wood furniture.
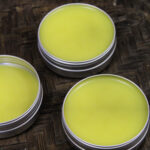
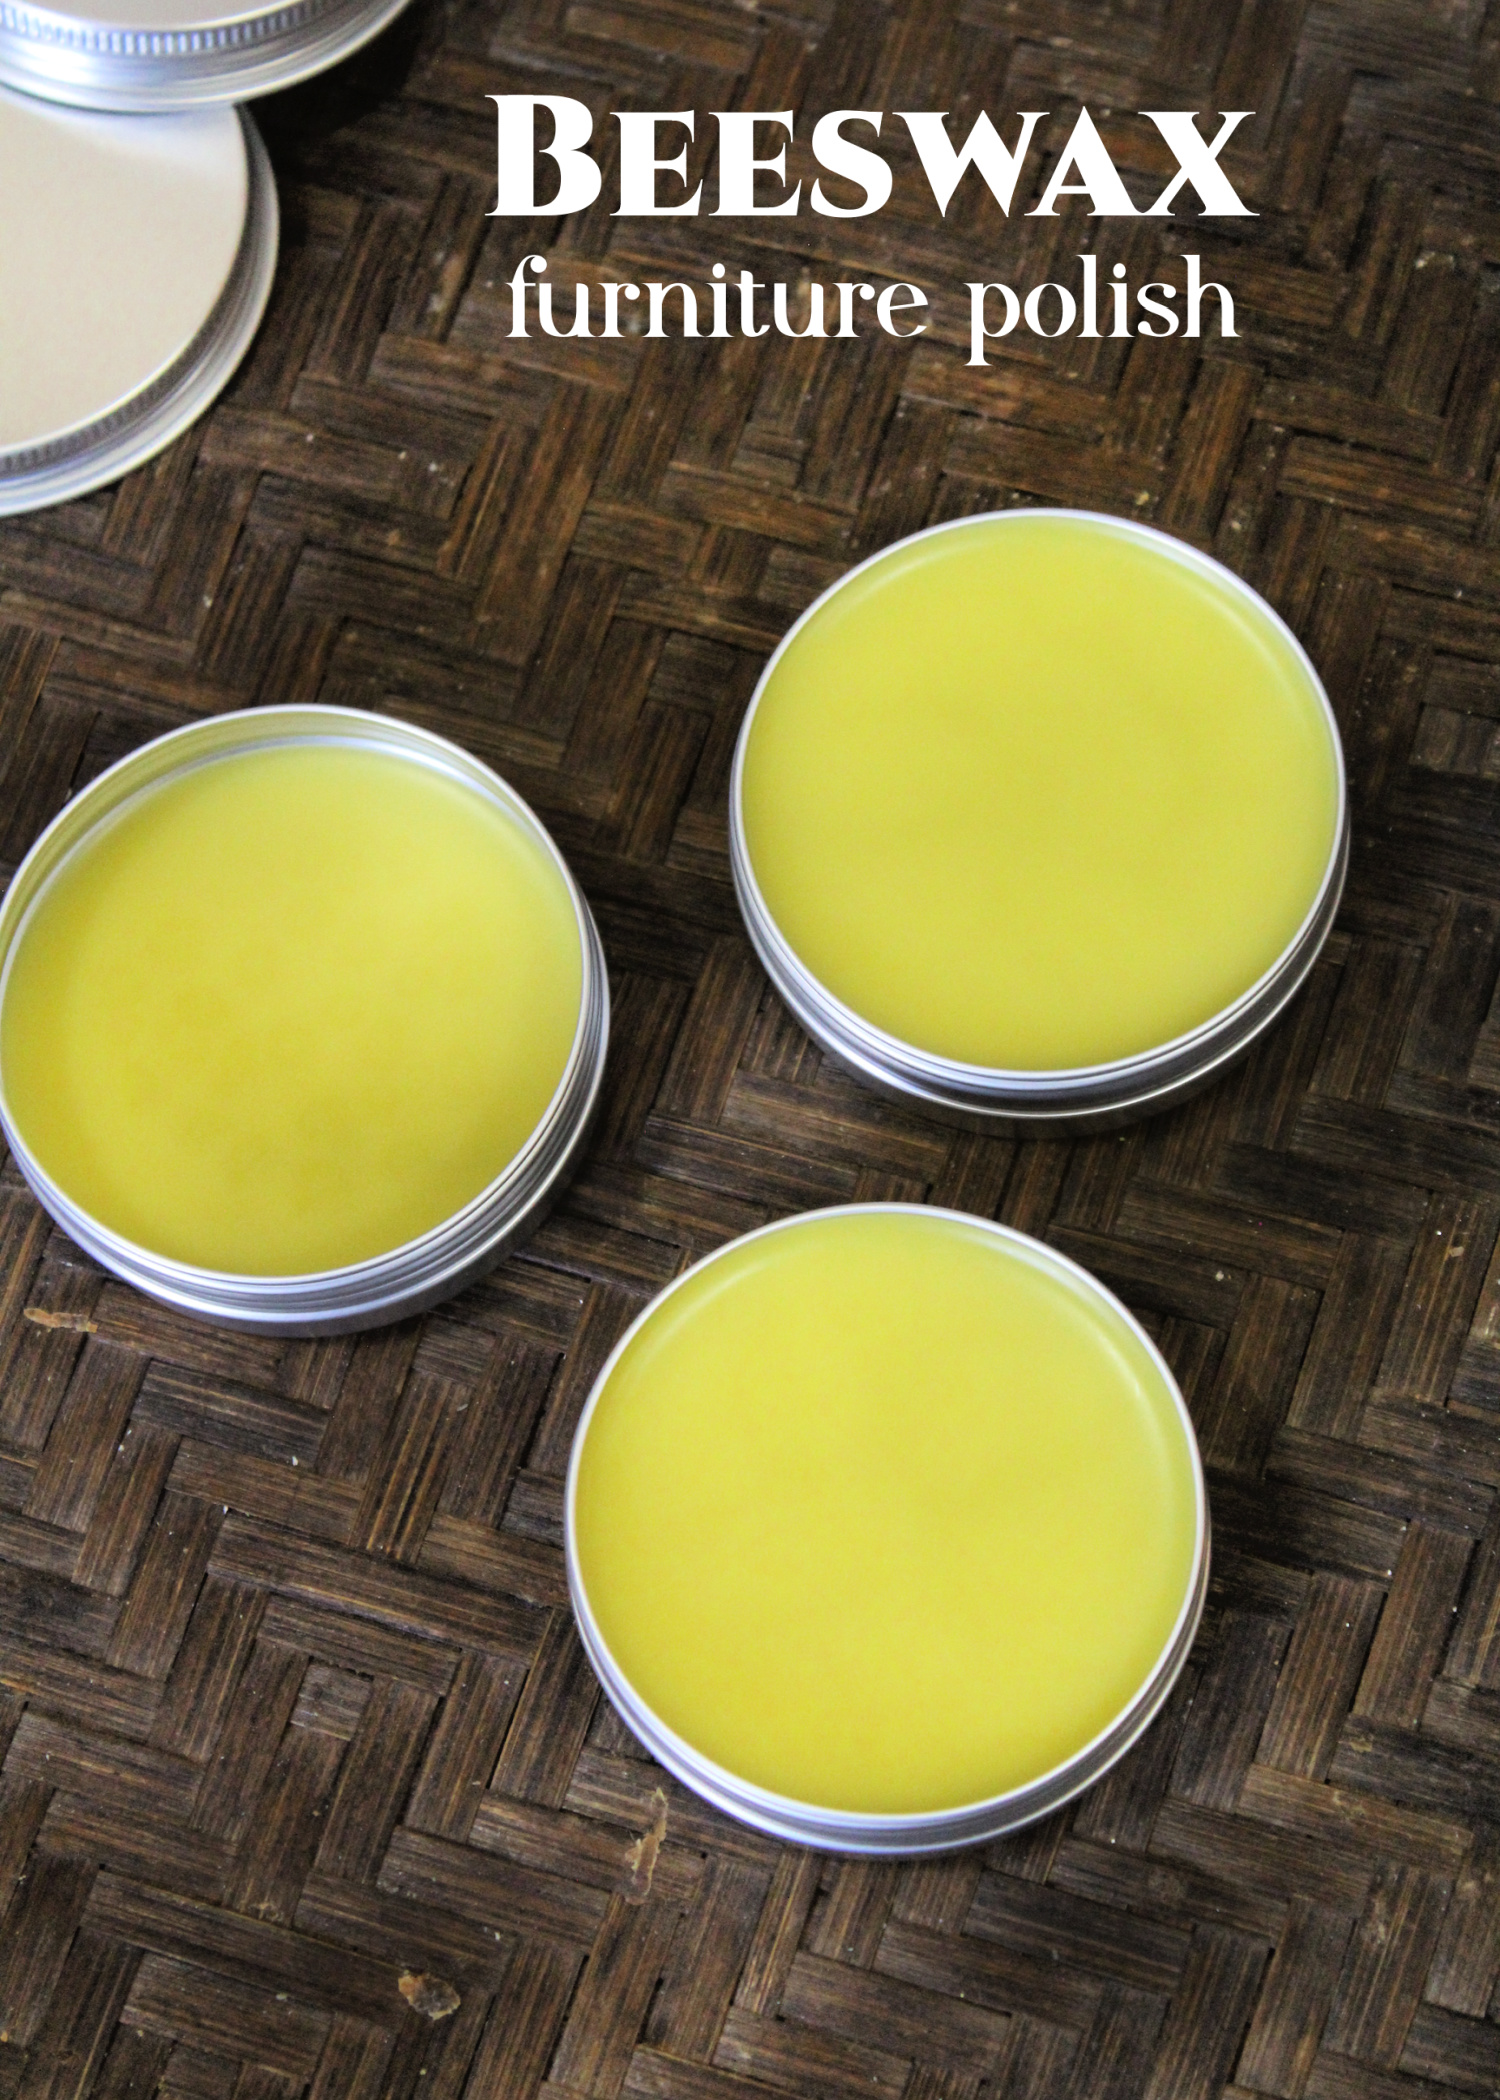
Follow the simple guide of 1:4 – one part beeswax to four parts oil, and you will find that the furniture polish is the perfect consistency and spreads well on your wood furniture. Store your finished salve in the refrigerator between uses.
DIY Beeswax Furniture Polish
Equipment
- 2 2 oz Tins
- double broiler
- hot plate or stovetop
Ingredients
- 4 oz olive oil
- 1 oz beeswax pellets
- 5 drops orange essential oil
- 2 drops vitamin E oil optional
Instructions
- Add your beeswax and olive oil to your double broiler. You can use pellets or chunks of beeswax, whatever works best for you.
- On low heat, melt the beeswax and slowly stir the beeswax into the oil until well-combined.
- Remove from the heat. Add your essential oil and vitamin E oil drops (if you are using them). The vitamin E is not required, but it will help maximize the life of the furniture polish.
- Pour into your chosen type of container. Allow to cool and harden and seal with a lid.
How to use beeswax furniture polish
Once your polish is complete and finished, add a small amount to your wood furniture using a cloth or rag. You’ll want to wipe with the grain of the wood (avoid going in a circular motion). Let the polish sit and work on the wood for a few minutes, then gently wipe off the excess.
Prior to using on your wood surface you’ll want to ensure that the wood surface is clean; your polish will serve as a sealant to protect the wood from stains, thus renewing the surface. With regular use, it will enhance the look of your wood and keep your furniture looking nice.

Leave a Reply